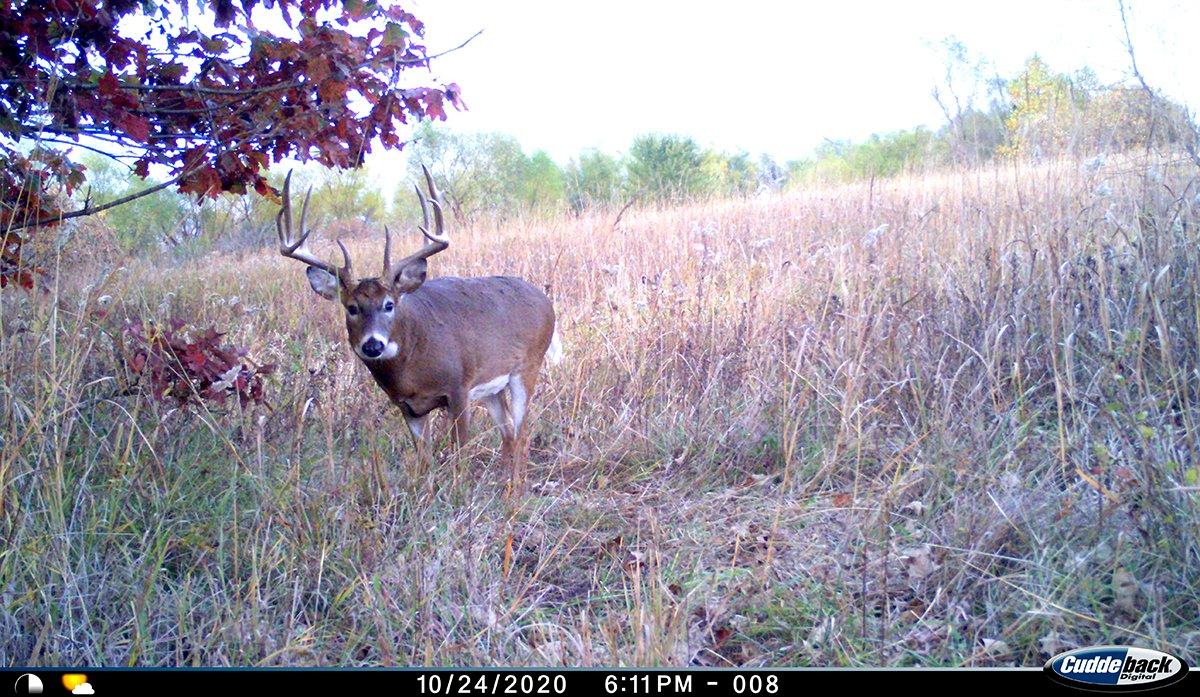
Sure, you can get deer pictures. But are you leveraging the full scouting potential from your trail cameras?
I'll never forget the foggy picture of a dandy buck meandering underneath my treestand. The image was captured at one-something in the morning, but that didn't sap my innocent, then-13-year-old hopes. My wheels turned for weeks following that capture, and I dreamed of encountering the buck in person. But ultimately, I couldn't make something out of that single piece of data, and the deer never ambled past my camera again. It was a stark reality check for a young hunter. Trail cameras don't put a buck in front of you while hunting.
So much has changed since I captured that image 18 years ago. Trail cameras have gotten much better and more importantly, hunters have become more effective at using them. A large percentage of the Realtree Rack Reports I've written involve bucks that the successful hunters first captured on their trail cameras. I'd venture to say that, without the trail-camera data, many of those success stories wouldn't have unfolded.
The Midwest Whitetail team has long been successful with using trail cameras, and I recently spoke with MW's Jared Mills on the subject. During our chat, he outlined five tips every deer hunter can use to boost his or her trail-camera strategies. The question is, are you missing some of them? Read along and find out.
(Don't Miss: The New Hunter's Guide to Buying Your First Deer Rifle)
1. Hang Cams on Intersections
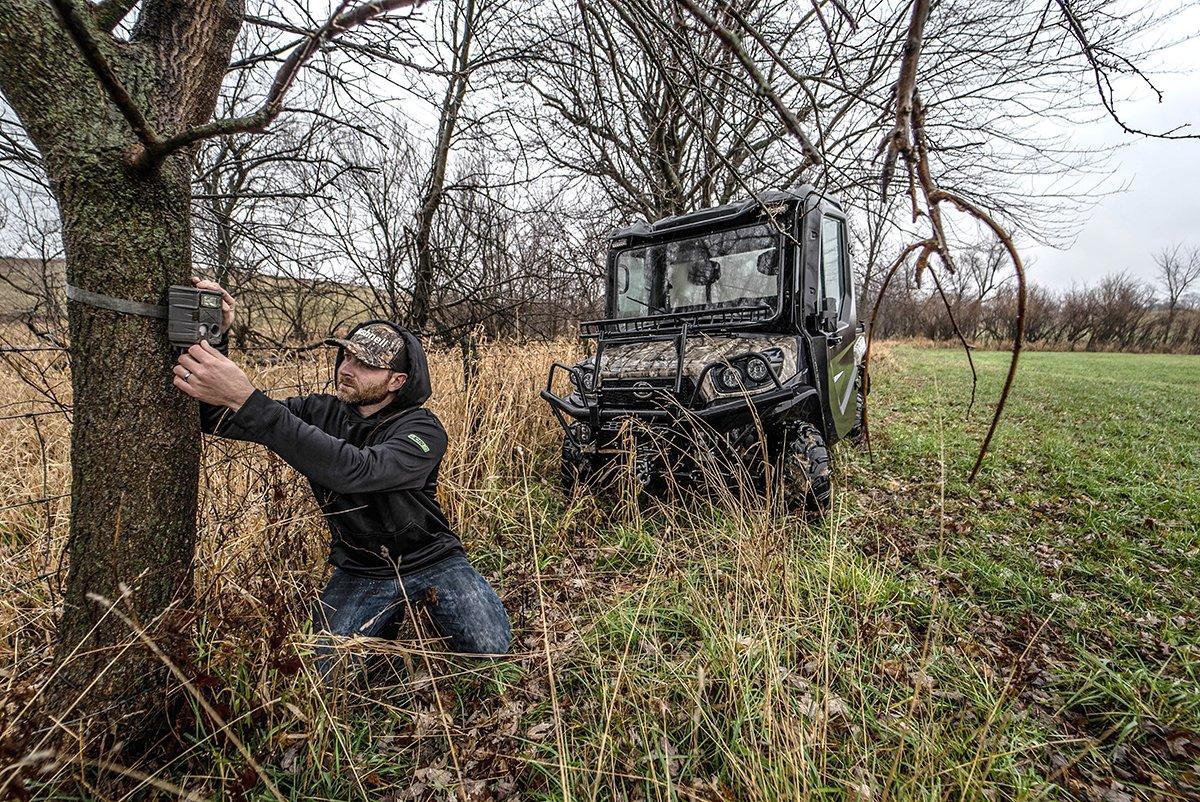
Although some situations call for it, hanging your camera over one trail can produce spotty results. Mills suggests hanging cameras in locations where multiple things come together, like the intersection of several trails or a scrape along a food-plot edge. Try to identify high-traffic areas that a lot of deer frequent daily.
If I'm hanging a camera in the timber, I don't put it on one trail, Mills says. I'll hang it on an intersection of trails. The more you can combine into a single spot, the more images and information you'll obtain.
These types of locations might not be as obvious on public land, so search carefully. Often, the head of a ditch creates a travel route where deer trails intersect, Mills says. You could call that a forced-movement spot. Also, consider food sources. If it's a field, there's usually an entrance and exit. Likewise with oak ridges, where deer feed on acorns. Identify where deer are entering and exiting the food source, then put your camera(s) there. You can take it a step further by adding a mock scrape to virtually any camera location.
(Spartan Ghost Cam / Team Realtree's Cell Cam of Choice)
2. Reduce Your Impact
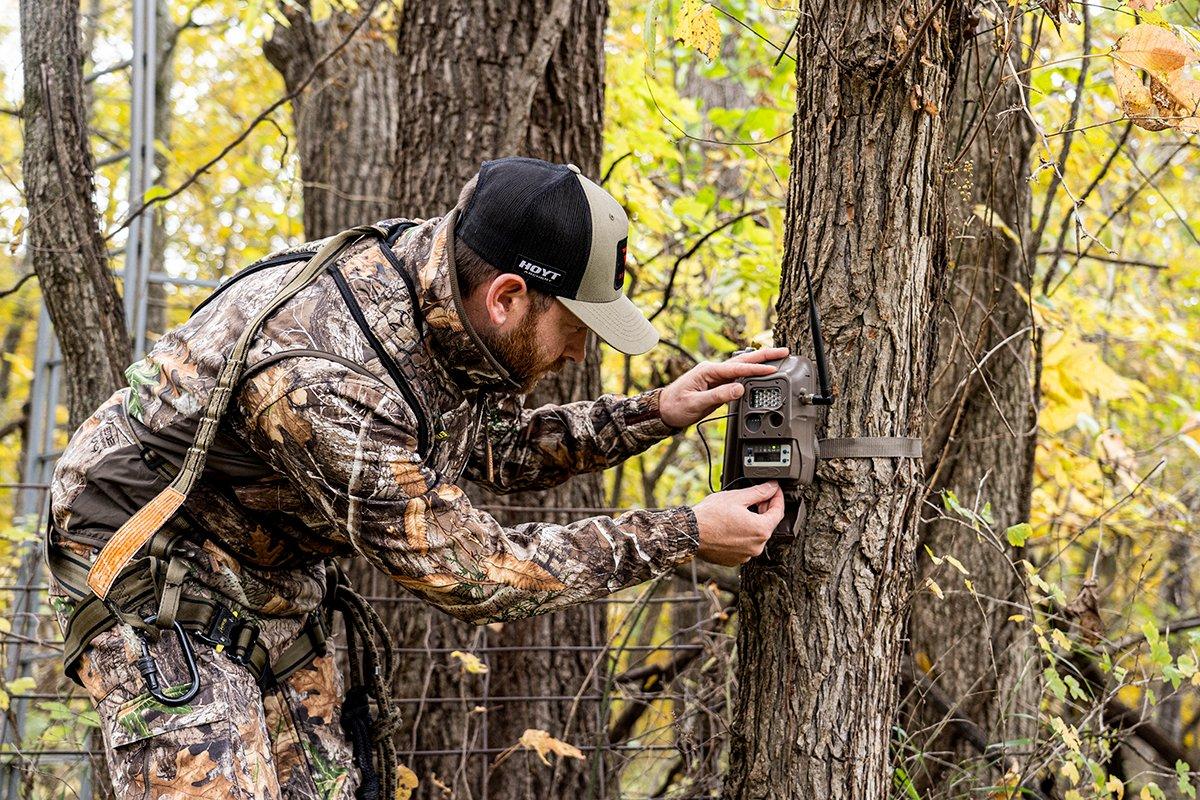
The more you're in the woods, the more you'll impact deer movement. That's just common sense. To reduce intrusion, the Midwest Whitetail team heavily uses CuddeBack's CuddeLink system, Mills says. We can receive data remotely without visiting every camera location. If you're using conventional non-wireless trail cameras, it's important to keep them accessible. I always suggest edges where deer expect some human activity. Logging roads and field edges are two such locations. Think of areas where there's already some minimal existing human activity. This will allow you to check the cameras more often with less impact than if you hang them deep in the timber.
"I'm a big believer that your window of opportunity to kill a big buck is sometimes only a day or two."
Another idea is an access trail to your treestand that you walk when you go hunting, he continued. You can pull the card on your way to the stand, meaning you don't need to make two separate trips into and out of the area. Combine the trip to reduce your impact. Be wise about how you access cameras to minimize disturbance.
Additional precautions when checking a camera at its physical location are to wear rubber boots and spray down with a scent eliminator. Even better, check the camera in the rain so that your scent washes away. Not every camera can be checked quietly, so if needed, wait for windy days to mask your approach.
3. Move Cameras Around During Season
Don't get hung up on one location. If you know that a big buck is in the area but aren't getting any pictures of him, don't be afraid to move your cameras around during the season so that you can find and figure that deer out, Mills suggested. The same applies when you're getting only nighttime pictures. Move your cameras around until you start getting more relevant information. I'm a big believer that your window of opportunity to kill a big buck is sometimes only a day or two. A trail camera can provide the info you need to identify that opportunity.
Mills thinks many hunters are too conservative and are afraid to go in and make changes during the season. But that can cause you to miss out on opportunities. Once you have things figured out, by all means, leave them alone, but until then, don't sit back and wait if you know a big buck is in the area but not frequenting your existing trail-camera locations, he says. Productive camera locations can change from year to year, so don't rely entirely on past data. Moving cameras is a risk-versus-reward maneuver, but in my experience, you can usually get away with more than you think. In other words, bumping a deer once doesn't necessarily end your season. Of course, repeatedly bumping a deer can have adverse effects, but one trip in to move cameras often isn't enough for a buck to completely relocate. Usually, he'll return to where you bumped him.
(Don't Miss: The 5 Best Bullet Styles for Deer Hunting)
4. Place A Wildcard Camera and Leave it Out
Many hunters place trail cameras in the same locations every year. That's natural. But, do you ever wonder what's happening over the next ridge or in a distant bedding area? While it's wise to hang trail cameras in proven spots, Mills believes it's equally important to mix things up in new places.
I designate a few cameras to locations I rarely or never check during the season, he says. These are areas you cannot access without bumping deer out. Think bedding areas or spots where you've never focused in the past. Let your cameras sit there the entire season, with good batteries and a large memory card. You'll be surprised at what you can learn after the season ends by looking through the months of data that they accumulate. Then, apply what you learn to the following season's strategy.
5. Don't Base Hunting Decisions Solely on Pictures
Trail cameras are tools that provide valuable insights that can influence your hunting decisions. But, did you ever consider that they can negatively influence hunting decisions?
While you can learn a ton from trail cameras, you can't rely on them for everything or you'll miss opportunities to have great hunts. I can't tell you how many times I've had incredible hunts during which I saw multiple bucks — shooters included — in the vicinity of my trail cameras without getting a single photo during the hunt. That's proof to me that they don't capture everything that's happening. Yes, let trail cameras provide the initial intel, but don't always wait to hunt until a shooter appears on your trail camera during daylight. You never know what's happening by your stands that your trail cameras aren't capturing.
(Killer Buy Alert: EZ T-Post Bracket)


