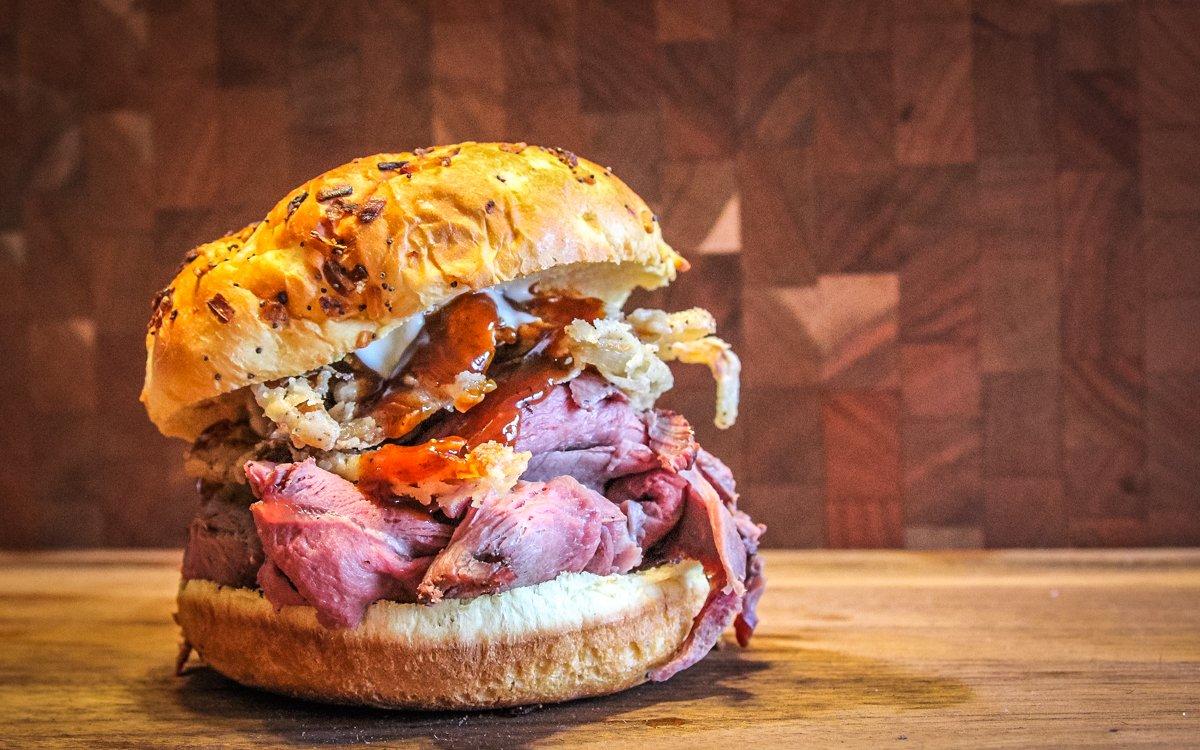
Using the sous vide method of cooking makes perfect sliced venison for sandwiches.
Tender Sous Vide Sliced Venison Sandwiches Recipe
30 Min
Prep Time
720 Min
Cook Time
5-7
Servings
Medium
Difficulty
Do you love perfectly pink, thin-sliced roast beef piled high on a sandwich? I do. What's better than roast beef? Venison. We've tried several cooking methods over the years to get that perfect texture on a venison roast. Most over or under cook the center of the roast, or dry out the venison, making for a tough slice.
To add flavor, we inserted a few sprigs of fresh rosemary and a couple pats of butter to the bag before sealing. Since the sous vide method cooks the roast at the same temperature without exposing it directly to dry heat, the surface of the meat doesn't get golden brown. The best methods for browning after sous vide cooking include a hot cast-iron skillet or high-heat grill.
To top the sandwiches, we dredged and deep fried some thinly sliced onions and piled them high, along with a smear of creamy horseradish sauce and a dollop of sweet and tangy Bourbon BBQ sauce.
Ingredients
3- to 4-pound venison roast
2 sprigs fresh rosemary
3 pats of butter
1 to 2 large sweet onions, sliced thinly and soaked in ice water
2 cups seasoned flour (all-purpose flour seasoned to taste with salt, pepper, onion and garlic powder, and paprika, about a teaspoon of each)
Buns
BBQ sauce
Horseradish sauce
Cooking Instructions
For sous vide cooking, you can use an immersion-style cooker, or an enclosed sous vide unit with a tank. We use an Anova brand immersion style. Either type works the same way, water at a set temperature circulates around the vacuum-sealed food at a set temperature.
Place the rosemary sprigs and butter on the venison roast. No other seasoning is necessary until the searing process later in the cook. Slide the roast into a vacuum bag and seal.
Place the sealed roast into a pot of water (using warm water speeds the heating process) and set the sous vide unit to the desired temperature. If your roast wants to float, simply weight it down with a saucer or coffee cup.
Allow the roast to cook for the desired time. We chose 12 hours for maximum tenderness. We have cooked as little as 5 hours and as long as 24 hours. Since the temperature never goes above the setting, you don't have to worry about the venison overcooking. In general, the longer the meat cooks, the more tender it will be.
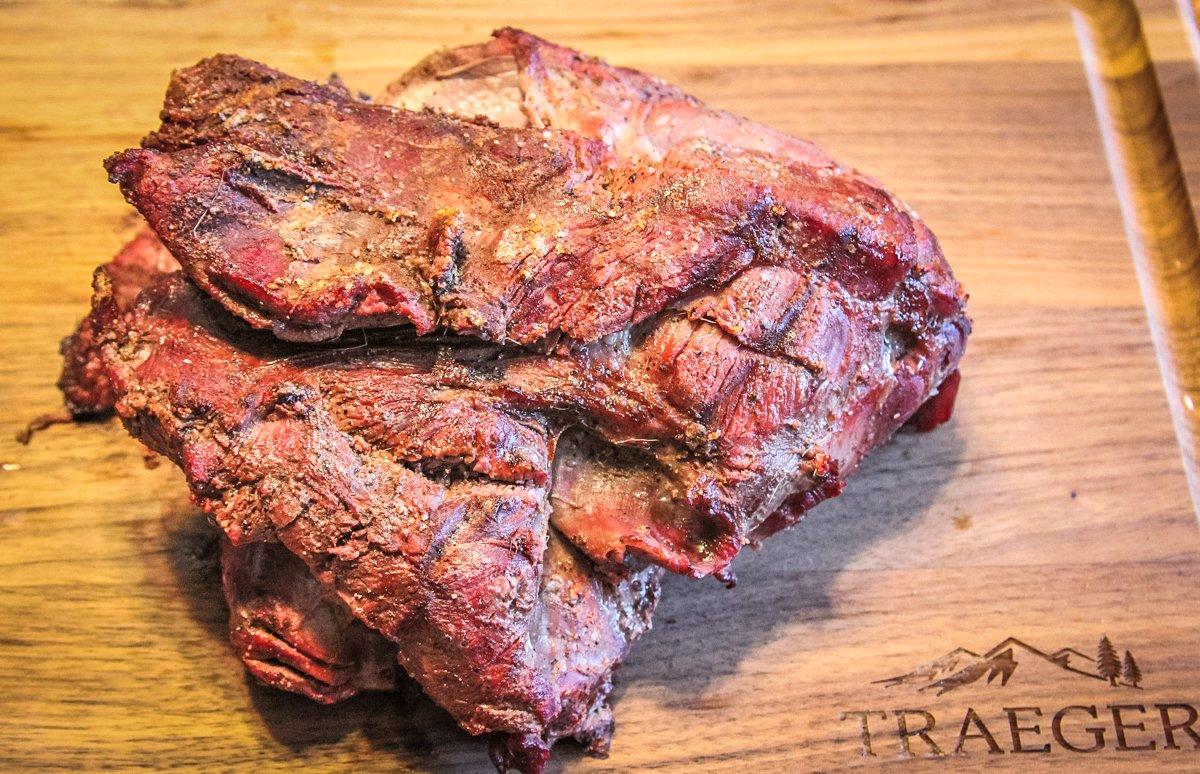
Once the venison roast has finished sous vide cooking, season the surface liberally with salt, pepper, and a pinch of garlic powder. Heat a cast-iron skillet over medium-high heat or build a hot fire or set your grill to high.
While the grill pre-heats, slice one or two sweet onions into thin rings or half-rings. Shock the rings in a bowl of ice water while you work on the roast.
Once your grill is hot, sear the roast for 2 to 3 minutes per side, turning often until all surfaces have been evenly browned. Since the roast has fully cooked at this point, all you are doing is adding color and flavor to the surface.
Once it has browned, move the roast to a warm platter and loosely cover with foil to rest. Heat two inches of vegetable oil in a heavy pan over medium-high heat. While the oil heats, dredge the sliced onions in the seasoned flour. Flash fry the onions till they are crispy and golden brown.
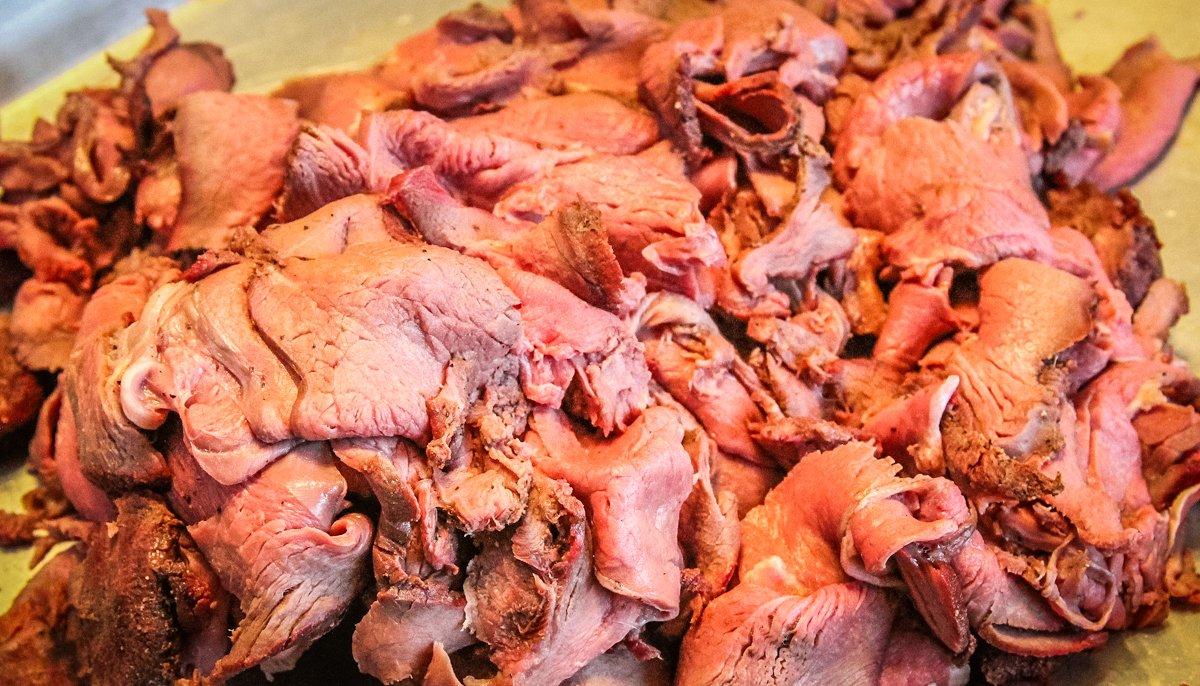
Slice the rested roast thinly, across the grain. A meat slicer like the Magic Chef Slicer is perfect for this task. To serve, pile the sliced venison high on a toasted bun. Top with the crispy fried onions and a bit of horseradish and your favorite BBQ sauce.


