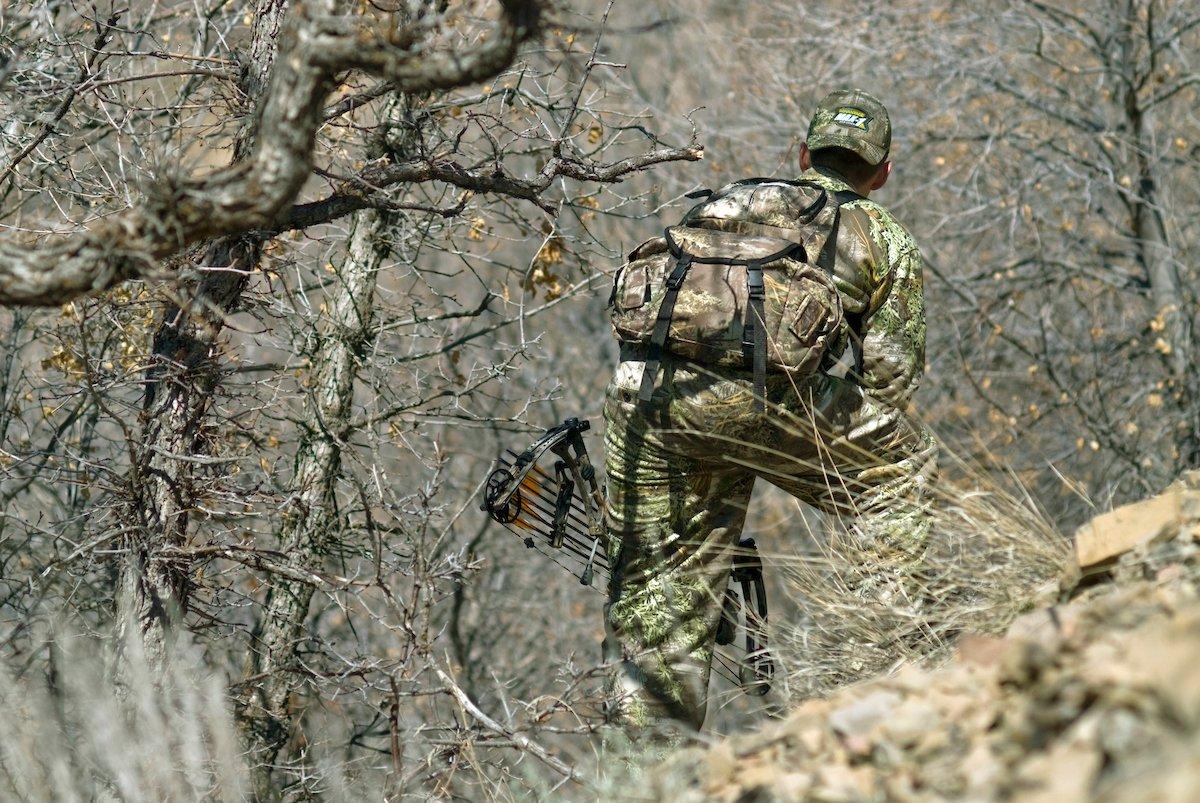
Are You a Hard-Core, Backcountry Backpack Hunter?
Dave drove all night to reach the trailhead. After a short nap in the front seat of his truck, at daybreak he strapped on his 70-pound pack and began the long 8-hour hike to reach his camp-out area. It would be in the high 70s later in the day, so he wanted to get started before the coolness of the morning was gone.
After three hours of hiking, he felt a headache coming on. His pack was beginning to feel somewhat weighty and his waist and shoulders were feeling pinched and sore. He was walking slightly crouched, too, to keep the pack from feeling lopsided and top heavy.
By noon, not only was his headache developing into a migraine, but hotspots were forming on the balls of his feet and his heels. He thought this was odd, since he'd never been prone to getting blisters. But he'd never carried such a heavy pack, either. The bottoms of his boots were warming like barbeque coals with each passing step.
He stopped to rest in the shade, giving his feet a break. Before the trip, excitement was running high. He had read so much about bowhunting the wilderness, researching gear and hearing about others' success stories. This piqued his curiosity and eventually the wilderness thing grew into a full-blown obsession. Living off the land and chasing game around seemed like the ultimate way to hunt and he was determined to do it. Now he was having second thoughts about just how ultimate he really was.
He pressed on and hiked the remaining miles, which led to blisters forming on his feet. He reached his camping area around nightfall — well after schedule — and pitched his tent on an open ridgeline. Within 30 minutes, rain began pelting his coffin-like shelter. He crawled inside his sleeping bag, feeling exhausted and sick from the hike. He took some Ibuprofen, hoping the pain would subside, but it only got worse when the vomiting started. It wasn't long before thunder shook the sky and lightning violently struck the mountaintop he was camped on. This dream hunt was turning into a nightmare, and fast.
Dave was now trembling with fear and decided that he would be off the mountain by daybreak. Feeling the affects of altitude sickness and open-wounds on his feet, he knew he had no choice but to call it quits. This hunt was over before it even began.
The realities of wilderness hunting have a way of driving out the unprepared. When you are not physically and mentally prepped for the backcountry, you quickly run out of steam and can't seem to fulfill the mission. When weather conditions go sour and you don't know how to improvise, you risk getting cold and miserable. When you are lost and don't know which way to turn, you lose valuable hunting time and even place your life at risk. When you are ill versed in altitude sickness and unaware of the measures to prevent it, you become sick and lose all motivation. When you know little about equipment selection and basic pack fit, discomfort becomes a part of your every move.
Although there is no foolproof approach, being ultra-prepared is the best way to ward off nightmares from happening in the backcountry. When you take this approach you end up enjoying the adventure and productively hunting game, wanting to do it again and again, instead of wanting to tuck tail and head back to civilization. With that in mind, let's look at how to successfully hunt the wilderness.
Step 1: Ready the Mind
Some wannabe wilderness hunters are in love with the idea of pursuing game in the backcountry but never think of the actual day-in, day-out process of living in the wild under extreme camping conditions. We don't learn to shoot a bow well in one trip to the range. Nor should we expect to hunt the wilderness well with one trip out. The only way to grow accustomed to wilderness living is to acclimate yourself, gradually, of course.
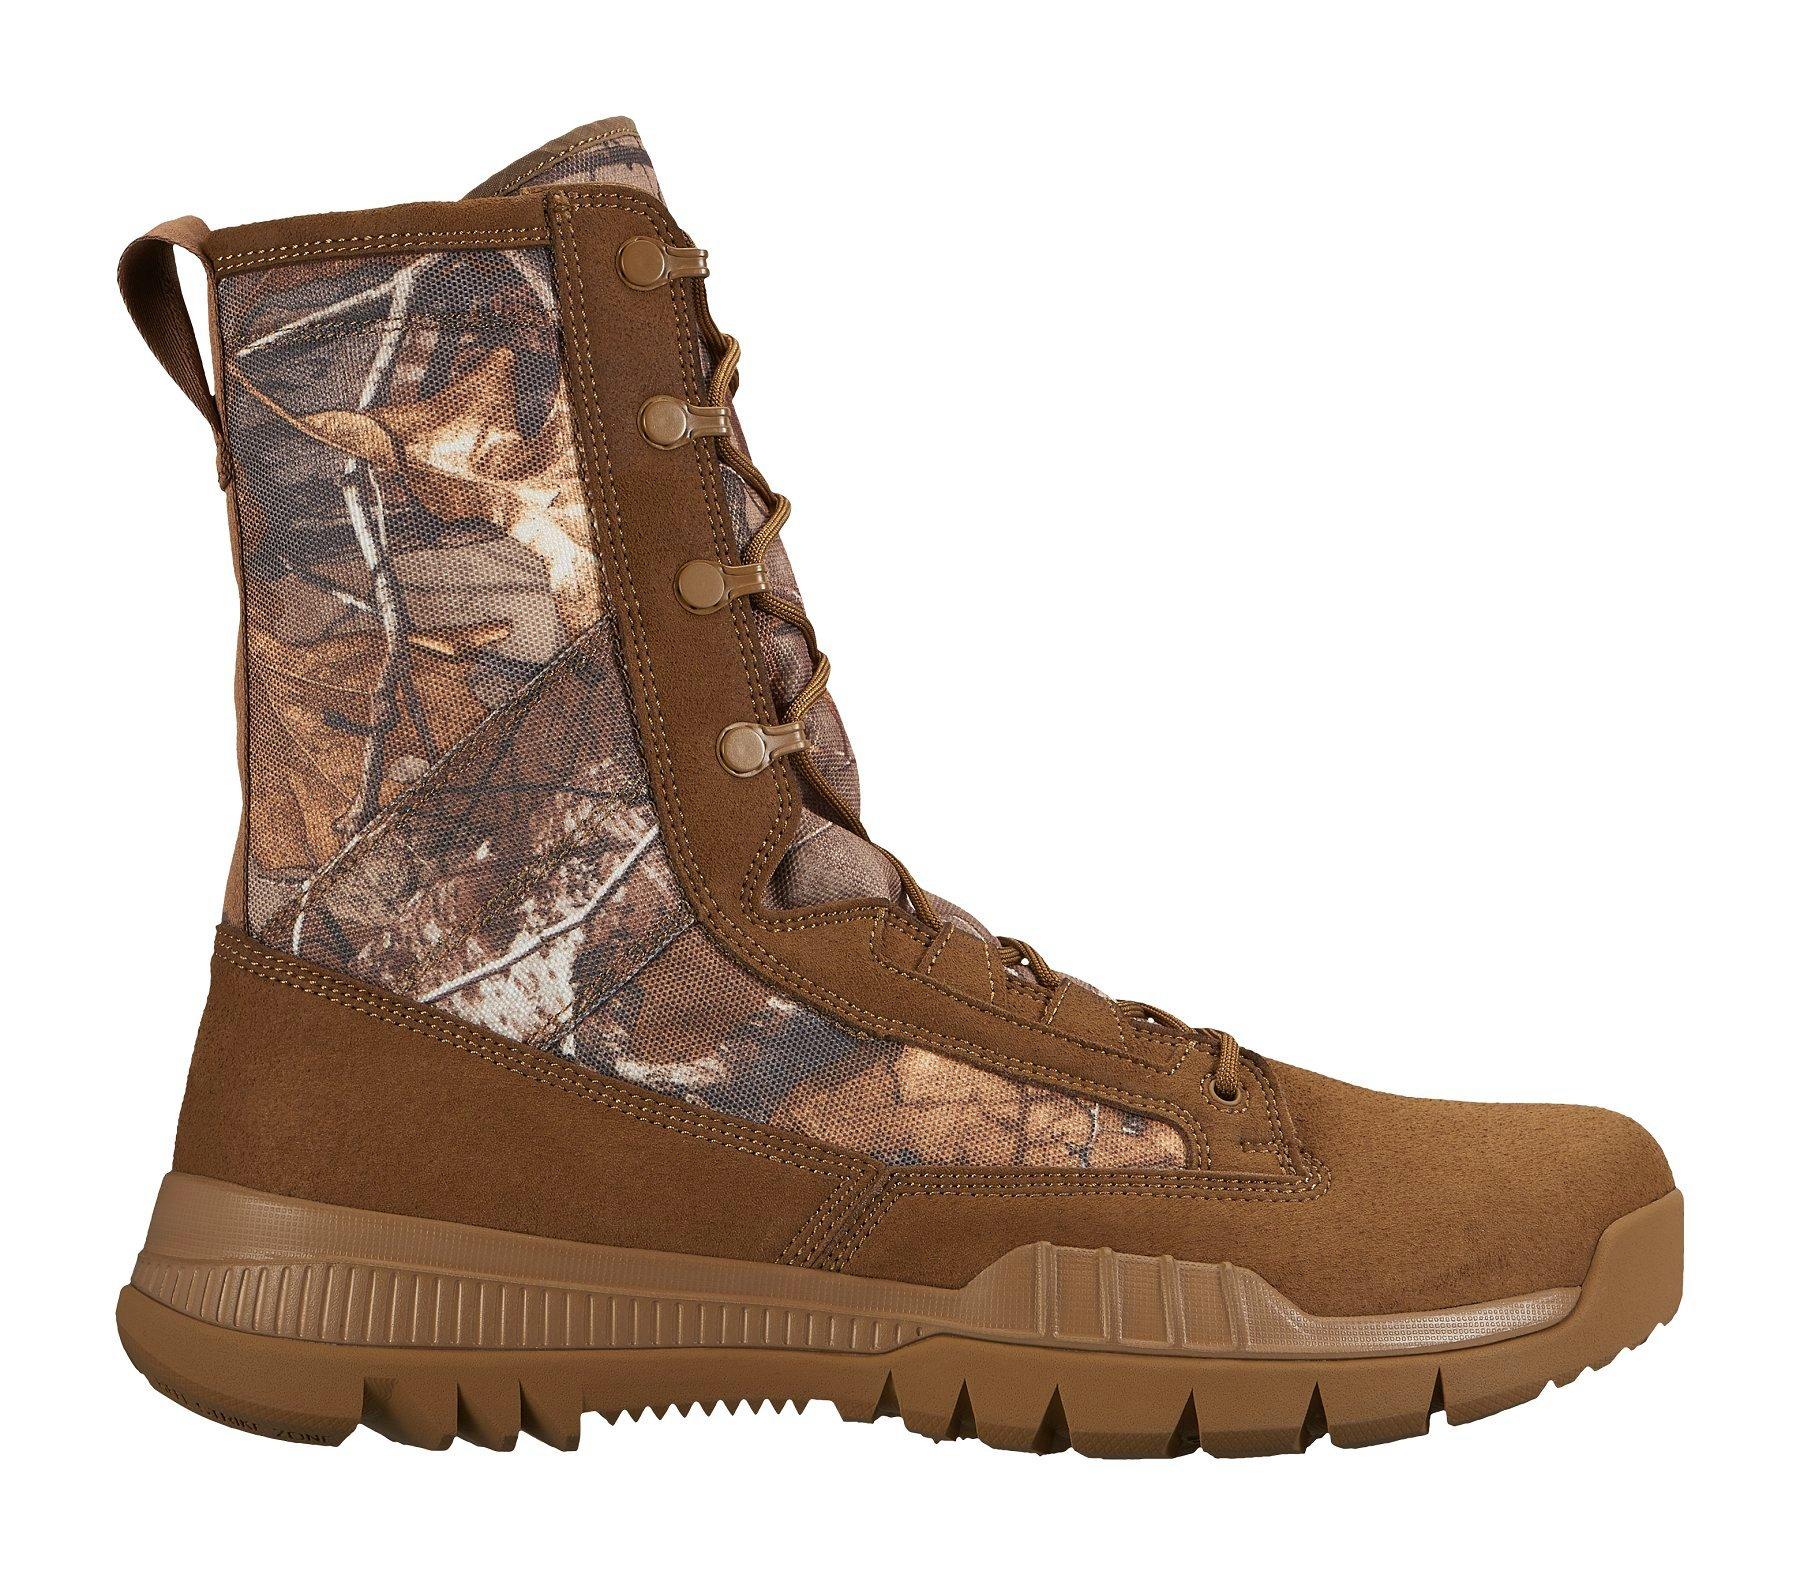
Men's Nike SFB Field 8 Realtree Boot
Before heading off on a 10-day hunt, be sure to plan a couple transition outings before the big trip. Get out for two or three nights in the spring or summer. These trial runs will prove their weight in gold for testing gear and for preparing the mind for the challenges in the backcountry.
Step 2: Get Physically Fit
You don't have to be a marathon runner to hunt the backcountry. You just have to be in legitimate mountain shape. This means a year-round lifestyle change, not hitting the gym a couple weeks before the hunt. You should be focused on shooting, and planning out every detail of your wilderness trip (scouting, talking to biologists, etc), not worrying about whipping into shape in time for the hunt. It never works out great that way.
Learn how to stay active. Incorporate a fitness plan that provides three-times-a week cardiovascular workouts. Most fitness buffs recommend that you do a variety of workouts, so you can utilize as many muscle groups as possible. However, I think it's most important to do what you really enjoy, even if it is just one thing. Great examples include fast walking, hiking, running, biking, swimming and so on. Personally, I get my cardio workouts by mountain biking.
Also, exercise your abdominals and lower back so when the hunt comes, you can reduce the strain that goes along with carrying a heavy pack, especially when you're packing out meat and antlers.
Also, adopt a healthy diet—now. Say no to greasy foods and high-calorie drinks, cheating only occasionally. Eat lots of vegetables, oats, nuts and other natural foods. Insist on lean sources of protein, and be sure to start your day with a large, nutritious breakfast, such as oatmeal with fruit and nuts, or granola cereal with toast and peanut butter. This, along with proper exercising, will increase your metabolism and help you burn off calories instead of storing them away as fat. Drink lots of water, too. Do all you can to reduce your desire for sweets, which rarely exist on the trail. This will prevent taste-bud burnout. This will be critical to keeping your mind strong and motivated for the hunt.
Step 3: Use Lightweight Gear — No Exceptions
You need to be ready for any situation. Don't go unprepared. Make sure you have the gear you need.
Author's 7-Day Base-Camp Pack
- Badlands 4500 pack - 7 lbs.
- MSR Hubba-Hubba (2-Man Tent) - 4 lbs. 8 ounces
- Sleeping Bag - 2 lbs.
- Sleeping Pad - 1 lb. 4 oz.
- Raingear - 1 lb.
- MSR Pocket Rocket Stove and 3 Fuel Canisters - 2 lbs
- MSR Titanium Kettle Pot, plastic bowl, fork, spoon, mug - 11.2 oz.
- Food for 7 days - 12 lbs.
- Stuff sack for food - 4 oz.
- MSR Waterworks Water Filter --1 lb.
- Leatherman XTI Multitool - 9 oz.
- 2 Platypus Water Bladders (100 oz Hosser, 70 oz. Bladder) = 5 oz.
- Shower Head Accessory for Platypus Bladder - 3 oz.
- Parachute cord (25 feet) - 6 oz.
- First-Aid Kit w/ACE bandage - 4 oz.
- Lighter and waterproof matches - 1 .25 oz.
- Water Jug 2 ½ gallon collapsible - 7 oz.
- Small container soap - 1 .5 oz.
- Map & GPS w/extra batteries - 14 oz.
- Digital Camera w/extra Lithium batteries - 12 oz.
- Sunglasses - 2 oz.
- 1 Tikka Headlamp w/extra battery set - 5 oz.
- Pensize Flashlight (backup) - 1 .5 oz.
- Duct Tape (tiny roll) -- 1 oz.
- MSR Ultralight Pack Towel - 3.6 oz.
- Misc. Items (lip balm, compact toothbrush and paste) - 3 oz.
- Extra pants, long-sleeve shirt, fleece pullover, stocking hat, (add fleece vest and 1 set thermals when mid-Sept. or later). - 3 lbs.
- Archery Items: 3 Extra broadheads w/extra blades, 1 field point, Allen wrench set, extra center-serving material (6-feet of thread only), dental floss (4 feet). 12 oz.
- Satellite or cell phone w/extra battery- 12 oz.
- Game Bags (Alaskan Deer Sock) - 8 oz.
- Drinking Water (3 liters): 6.6 pounds
Total Weight: Approximately 57 Pounds
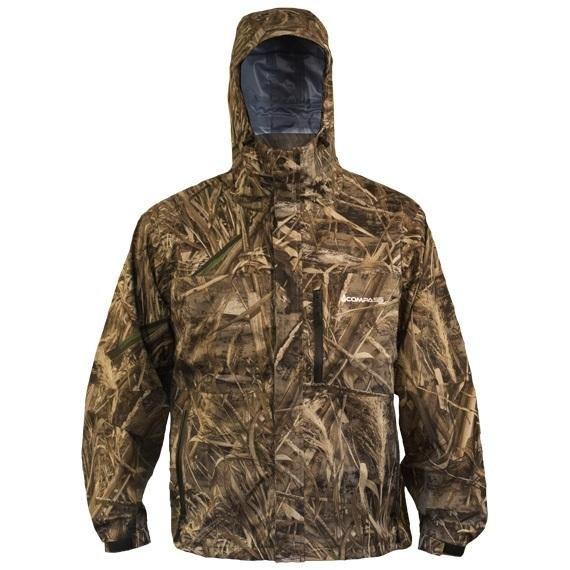
Compass 360 Gale Camo Rain Jacket in Realtree Xtra and MAX-5
Author's Three-Day Bivy Pack
- Badlands 2800 pack - 6 lbs. (w/large stuff sack for center shelf)
- MSR Hubba - 3 pounds
- Down Mummy Sleeping Bag - 2 lbs.
- Therm-a-Rest ProLite 3 Sleeping Pad - 1 lb. 4 oz.
- Cabela's Ultra Space Raingear - 1 lb.
- Lexan fork and spoon, mug - 5 oz.
- Food for 3 days - 6 lbs (no stove or heat-up meals)
- Water-Purifying Tablets - 1 oz.
- Leatherman XTI Multitool - 9 oz.
- 2 Platypus Water Bladders (100 oz Hosser, 70 oz. Bladder) = 5 oz.
- Parachute cord (25 feet) - 2 oz.
- Small First-Aid Kit w/ACE bandage - 4 oz.
- Lighter and waterproof matches - 1.25 oz.
- Map & GPS w/extra batteries - 14 oz.
- Digital Camera w/extra Lithium batteries - 12 oz.
- Sunglasses - 2 oz.
- 1 Tikka Headlamp w/extra battery set - 5 oz.
- Pensize Flashlight (backup) - 1.5 oz.
- Duct Tape (tiny roll) -- 1 oz.
- Extra pants, long-sleeve shirt, fleece pullover, stocking hat, (add fleece vest and 1 set thermals when mid-Sept. or later) - 3 lbs.
- Archery Items: Three extra broadheads w/extra blades, 1 field point, Allen wrench set, extra center-serving material (6-feet of thread only), dental floss (4 feet). 12 oz.
- Game Bags (Alaskan Deer Sock) - 8 oz.
- Satellite or cell phone w/extra battery- 12 oz.
- Drinking Water (3 liters): 6.6 lbs.
Total Weight: Approximately 37 Pounds
Everything you take in must ride on your back, which means the lighter the better. Unfortunately, this gear is expensive, but there's no way around it. Here are my personal recommendations on selecting gear.
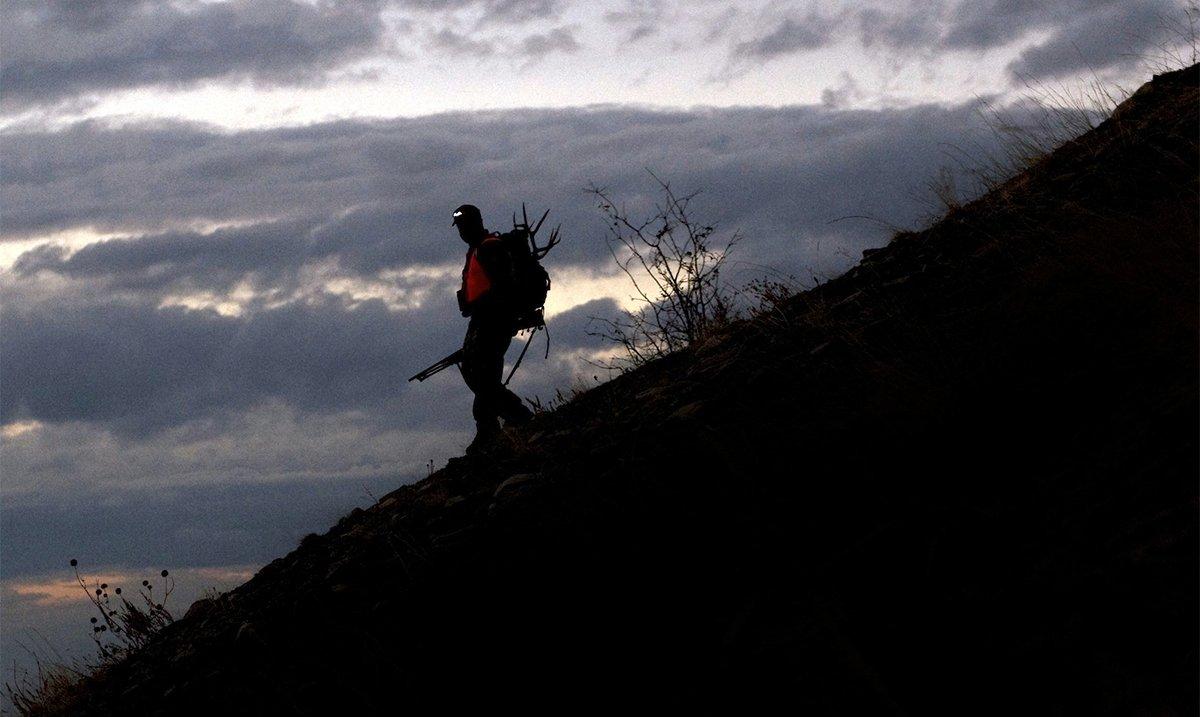
I use the Badlands 4500 pack. This one offers an adjustable torso feature and comes in two waist sizes. However, adjusting the pack to your body does require knowledge. Purchase this pack from a proven dealer that can size the pack to fit you, or request to pay for a pack-fit consultation. Do not skip this step.
As far as size goes, 3,500 cubic inches of pack will make a legitimate bivy pack. Otherwise, you'll run out of storage room. For non-bivy hunting, where you hike in to a specific camp spot, a larger pack is necessary for more gear. I prefer 4,500 cubic inches or slightly more for any trip beyond three days.
When loading your pack, store the lightest items at the bottom and top of the pack, and the heaviest items near the center. For better balance, items sitting side by side should weigh the same.
Shelter: I prefer the safety and comfort of a one-man tent. I like the MSR Hubba best since it will withstand serious weather and offers lots of vestibule space for your pack and footwear. At 3 pounds, this tent is 1-½ pounds heavier than a top-quality bivy sack.
If you plan on hunting in mid to late September, a two-man design (MSR Hubba Hubba or Big Agness Seedhouse SL2) might be better since it offers more protection for your gear.
Sleeping Bag & Pad: Buy a down-filled sleeping bag and don't look back. If you can afford it, buy a 750 to 900-fill down model, which are lighter, compress into a smaller package, and offer increased loft and warmth for the weight.
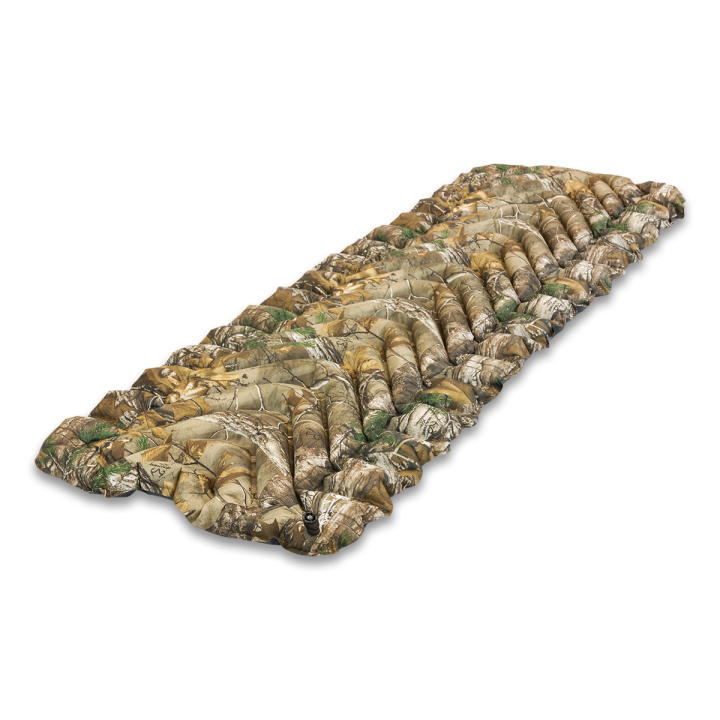
Choose a sleeping bag with a temperature rating of a minimum of 30 degrees. For mid-September hunts at timberline, go with a 15-degree bag. If I could only have one bag, I'd go with a 15 or 20-degree model. As far as the ground pad goes, I prefer the self-inflating ones for their comfort and low bulk.
Step 4: Know Where and How to Hunt
Like I referred to earlier, there are two ways to tackle the wilderness: You can hike in to a remote area and live and hunt from a single camping spot. Or you can bivy, taking your camp with you, camping somewhere different each night to stay closer to game.
The size of your hunting area is important when bivy hunting. Unlike a single wilderness camp, where five miles of wilderness surroundings could offer plenty to hunt, when bivy hunting, you'll need lots of room to roam. This allows somewhat easy traversing for one basin to the next. Most roadless, wilderness-designated areas will offer this.
Scour topo maps for the easiest routes to your area, usually beginning at a trailhead of some sort. Trails that aren't maintained or that see little use (pack trails usually) may be hard to find, so study your map so you won't waste precious time and energy trying to find your way with a heavy pack on. This is critical.
Step 5: Stake Out Water Sources
This could be the most vital step. Make sure your travel coincides with water sources each day and that you take preparations to treat it before drinking.
For the most part I prefer to filter my water. Though pumping takes a long time, I can do what I want with it, even drink from the hose as I pump. Remember, there will be serious lulls in the hunt (particularly during the hot midday) and this is the best time to re-hydrate, dip your bare feet in cold water, and get revived.
With iodine tablets, you must wait to drink and rid the nasty taste by adding powered drink mix. For shorter trips, I'll just use tablets since most water filters weigh about a pound—too much extra for a bivy pack.
In my pack I use a Platypus Hosser reservoir (3 liter size) and carry an extra Platypus 2-liter canteen or Nalgene bottle (for camp water/drink mix and as a safety back up).
Step 6: Ensure Safety
Backcountry travel is best done in pairs, for safety's sake and peace of mind. If you must go solo (not recommended), be sure you map out your daily hunting routes and give these routes to your family in case of an emergency. Satellite phones are a must with solo wilderness goers, and are even wise for group hunts. Always bring two-way radios and cell phones (if they work) when hunting in pairs.
A compass, GPS and topo maps are also mandatory to navigate the backcountry, even in the most open country. Know how to use all of them in tandem. When fog rolls in, you'll have to use the map and compass combo in order to get around.
Lightning is always a concern when hunting the wilderness, and you should do your part to stay out of harm's way. Never camp next to tall trees or along open ridges where you are a sitting duck for a lightning strike. Choose a ravine in slightly lower country and never put your tent in a wash or runoff area, such as below a sheer rocky bluff where water can spew on top of your tent like a waterfall. I highly recommend reading books on basic compass navigation and mountain survival.
Also, bring a pack cover to protect your gear from getting wet in case of a sudden downpour. Bring along super lightweight raingear for this reason as well. I prefer Cabela's Ultra Space rainwear, as you can find it in Realtree AP or Advantage MAX-1. A small tarp can double as a pack cover and as an emergency shelter. It can also remedy as an extra rain fly (using some parachute cord) if your tent becomes ripped.
Step 7: Be Ready for Bears
When in bear country, be sure to pack a whistle and some bear spray. Also, it's necessary to bring a small stuff sack and some parachute cord in order to hang your food rations each night.
Step 8: Plan Out Meat Retrieval
The way I see it, if you're hunting deer, you can bone it out and pack it out complete in one trip. A completely boned out mule deer with antlers will weigh about 80 to 90 pounds—a blacktail deer much lighter. Yes, it will be tough, but it can be done.
With an elk, now, you'll need a buddy to help divvy up the 175-pound load. Otherwise, hire a wrangler and pack animals to take on the chore. With elk, I say if you're 5 to 6 miles in, you can haul out meat with a buddy. Beyond that it can get tricky and tough.
Always take along a minimum of five game bags. I prefer Alaska Game Bags (made for quarters). Four are used for meat, the fifth for my cape or as an extra.
If nighttime temps are around 40 degrees, you can keep meat cool nearly all day. Monitor it all day and keep it in the shade. If temps go skyward, or if suddenly the meat feels warm to touch, you'll need some waterproof sacks (not trash bags; they puncture and leak) to place the meat in a cold stream. Cabela's and Sea to Summit offer dry sacks. Otherwise, you'll have to transport the meat to a cooler immediately.
Step 9: Use Appropriate Clothing/Footwear
Nowadays, I don't like cotton for wilderness use. They retain sweat/moisture and smell after a few days, making them heavy and a liability during a stalk. I prefer polyester garments such as Cabela's Hunt Tech Series or Bass Pro's EnduraSkin Relaxed-Fit garments. All are quick drying and offer odor protection. They are light, as well, and compress into a small wad so you pack an extra no problem.
Static V Realtree Xtra Camo Sleeping Pad by Klymit
On August hunts, and sometimes even in early September, I usually wear cotton pants since your legs don't sweat much and cotton is comfy, soft and rugged. If I doubt the weather, particularly on September elk hunts, I use Cabela's Micro-Tex pants.
As far as underwear goes, I wear Cabela's MTP boxer shorts almost exclusively. These wick moisture well (reducing the chance of chaffing/skin irritation) and they feature a smooth waist-line rib, to prevent a bump at the back line, which can cause serious soreness with your pack's weight compressed against it.
I take a fleece pullover, thermal shirt with zip-mock neck, (maybe a pair of Smartwool micro-thin thermal pants) and stocking hat for warmth at night and at dawn.
With 40 to 50 pounds on your back, you'll need supportive footwear to keep your feet and ankles tracking appropriately. Legitimate backpacking boots are heavier and designed for maximum torsional rigidity and stability — kind of like walking with 2x4s strapped to your feet. Danner and Nike make good backpacking boots.
To prevent blisters and hot spots, be sure your boots are broken in and you use an extra thick wool sock and liner combo. I prefer Smart Wool Hunting Socks (midweight or heavy) along with a micro-thin Cabela's Thermax extra-tall liner sock. Change socks immediately when they become soaked with sweat.
Personally, I think guys lose their hunting focus and motivation in the backcountry after just a couple days due to poor rations. On a recent wilderness trip I just about vomited after eating a pouch of rice and chicken. It got to the point where I couldn't eat a full meal. Thankfully, I had appetizing snacks to supplement calories.
For breakfast I eat granola (sometimes with a bit of Grape Nuts) and powered milk almost exclusively in the wilderness. It can be served warm or cold — and eaten out of a durable quart-size Ziploc. Instant oatmeal is good, too, but you need a Lexan bowl and it needs to be scrubbed with water and soap afterwards (not bivy-camp friendly).
For lunch I pack everything into a gallon-size Ziploc. It includes large flour tortilla or plain bagel, peanut butter and jelly/honey (in separate soft pouches), Cliff bar, corn nuts, fruit (about 3 to 4 packs), trail mix, snack-size Doritos, yogurt raisins and maybe a small candy bar.
I also substitute the peanut butter and honey with hard salami, cheese and mustard. Do your best to find cheese in single-serving packs that don't require refrigeration. Some of the cheese will say on the package require refrigeration. These usually last for 2 to 4 days before spoiling (depending on temps). No-frig cheese can be hard to find, Hickory Farms and Jack Links make it. Also, Velveeta brand cheese and other American cheese products need no refrigeration.
My dinners have always been Mountain House Pro Pak 16-ounce meals, which only require 1-½ cups of boiling water. If you are a bigger guy, say 180 pounds plus, go for the standard serves 2 20-ounce size pouch. My favorite hands down is spaghetti and meat sauce, followed by lasagna (but it can stick to your fork), and grilled chicken breast with mashed potatoes. I can eat the spaghetti for three or more days. The others I can handle for two days or so before my taste buds turn.
I also pack instant coffee and tea bags (decaf tea for nighttime) and some hot chocolate when I know it'll be chilly.
Step 10: Prevent Altitude Sickness
If you know you're prone to altitude sickness, be sure to camp at a lower elevation (usually the trailhead and below 8,000 feet) for at least one to two days before heading out on the trail. This effectively acclimates your brain to the thinner air and lower oxygen levels. Symptoms of altitude sickness include headache (throbbing kind), loss of appetite, stomach sickness, vomiting, feeling weak and lazy, not sleeping well and feeling dizzy. Any time you feel the effects of altitude sickness coming on, get to lower ground immediately until symptoms subside. If the symptoms are mild, you can usually stay at your current elevation, but you must exert yourself little, if any, and drink lots of liquids until your body becomes acclimated and symptoms go away.
Consuming a lot of carbohydrates prior to and during your trip can help as well. This includes eating lots of breads, cereals, rice and pasta.
Also, you can ask your doctor to prescribe acetazolamide (Diamox). This speeds up how fast your body gets used to the higher altitude. Wilderness Athlete has a product called Hy-Alititude Advantage. I know a couple people that have used this with amazing success.
Preparation is your biggest ally when hunting the backcountry. The better you plan, the smoother your trip will likely go. By addressing each important factor in this article, I'm certain your next wilderness foray will provide positive, lasting memories. Eventually, you'll come to enjoy hunting and living in the wilderness. When this happens, consistent bowhunting success will follow.
Editor's Note: This was originally published in 2009.
Are you a big game hunter thirsty for knowledge? Check out our stories, videos and hard-hitting how-to's on big game hunting.
And follow us on Facebook. It's the 21st century, dude. Get with the program.

