How to Build a Self-Bow and Kill a Deer with It
Posted 2018-11-19T16:29:00Z by
Have You Ever Tried Doing This Before?
Wildlife biologist Joe Lacefield shot compounds competitively for years. He was good at it, often beating some of the best in the country at the time. That accuracy transferred over to his hunting, with deer falling regularly to his bow.
Looking for more of a challenge, Lacefield took up traditional archery about 10 years ago. The demands of traditional gear relit Joe's fire for bowhunting. But after a few years, he found himself looking for an even greater challenge.
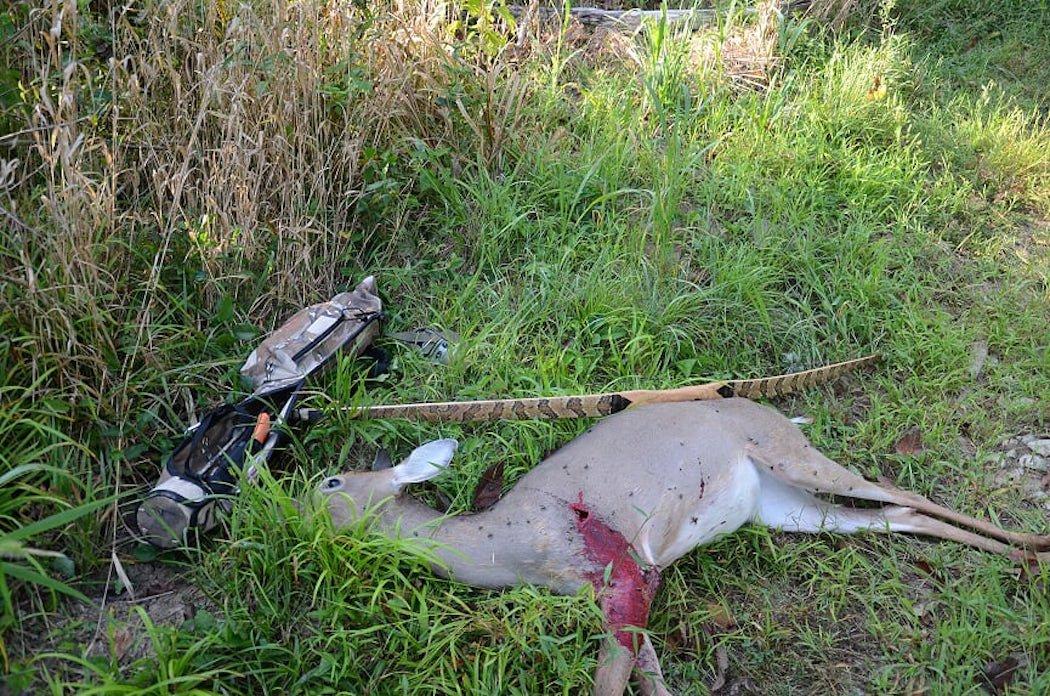
That is when Lacefield decided to build a stick, or self, bow from tree to finished hunting instrument. And then he took it out and killed a doe with it. Since then, Joe has made several bows from many different tree species. He has taken around 15 deer with his stick bows, including a couple of Pope and Young bucks.
Think building your own bow sounds like an interesting project? These tips will take you from a split stave to a treestand.
While bows can be made from just about any hardwood, and even cedar if you can find one with a straight enough grain pattern, Lacefield says his favorite is Osage Orange.
Osage just makes a faster bow, pound for pound, Lacefield said. And I like the character the wavy grain pattern gives the finished product.
Lacefield estimates that a bow made from Osage will outperform a similar weight bow made from a straight hardwood like hickory or ash by as much as 15 feet per second. That might not sound like much when it comes to modern compound speeds; but that can be as much as a 15 percent increase in a self-bow.
Don't Miss: Deer Hunting with a Recurve

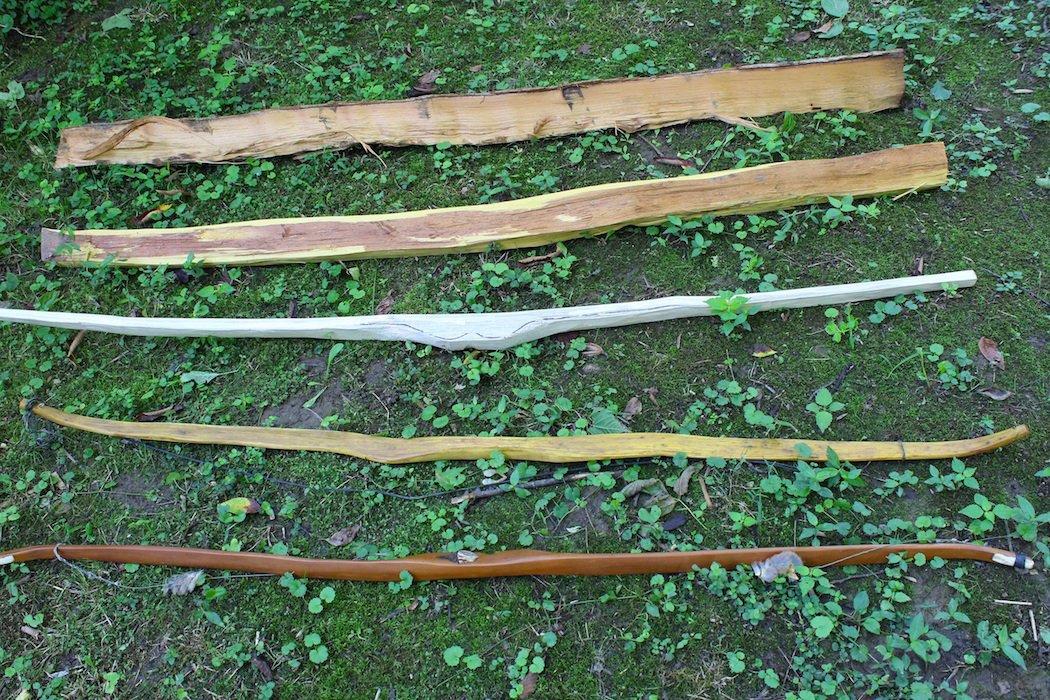
Once you have a straight-grained tree picked out, cut it to length. Lacefield prefers staves in the 72-inch range, expecting to lose a bit of length in the shaving and tillering process. Split the log sections into triangle-shaped wedges, around 4 to 5 inches across at the bark side. A set of steel-splitting wedges and a hammer are perfect for the task.
After your staves are split, they need to be dried. Joe prefers drying his staves indoors, in his garage, to prevent insects from boring into the wood. He cautions that, if you want to dry your staves outdoors in a barn or shed, you should strip the bark and seal the wood with polyurethane to prevent insect damage.
Lacefield often adds weight to the center point of his staves to introduce a slight reflex bend over time. A reflex bend turns the tips of the bow in the opposite direction from the finished product, giving the bow a bit more flex when strung and shot, and thereby increasing the speed of the finished product.
Don't Miss: A First Deer with a Recurve Bow
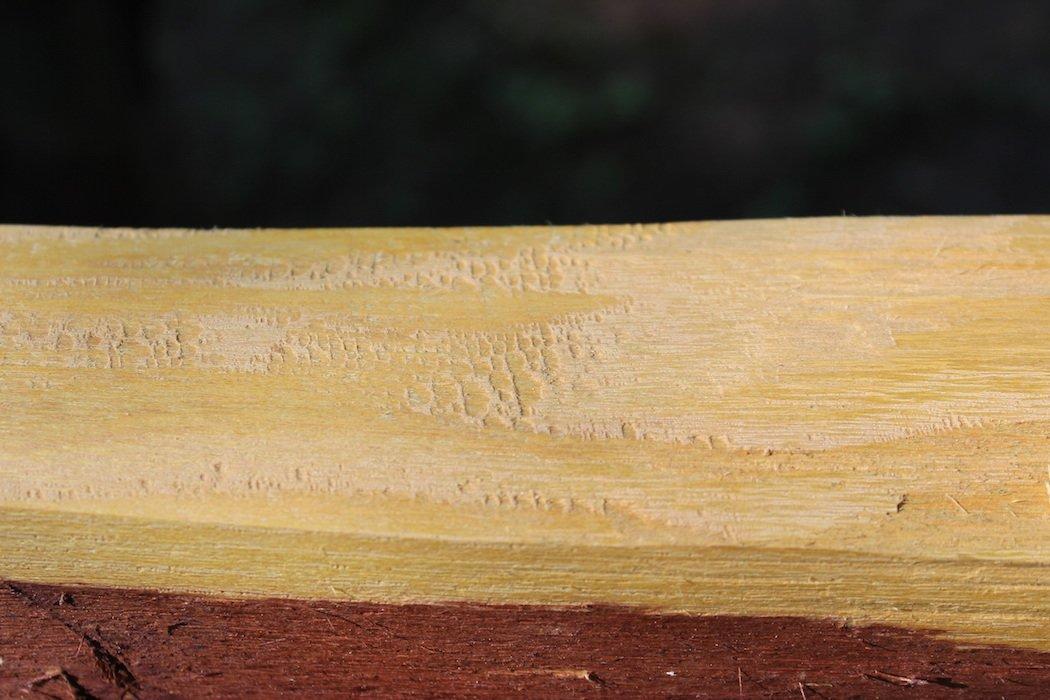
Begin by shaving away the bark and wood from the outer surface of the stave. If you look at the end grain of the stave, you should notice a distinct size difference in the outer rings versus the inner portion of the wood. Trim away the thinner outside rings to expose the first thick growth of heartwood. This will make your bow more durable and less prone to splitting. If you prefer a thicker handle, you can leave a bit of the outer wood in the center of the stave to provide a larger grip area. Since this grip portion of the bow doesn't flex, it is less likely to split than the more active limb sections.
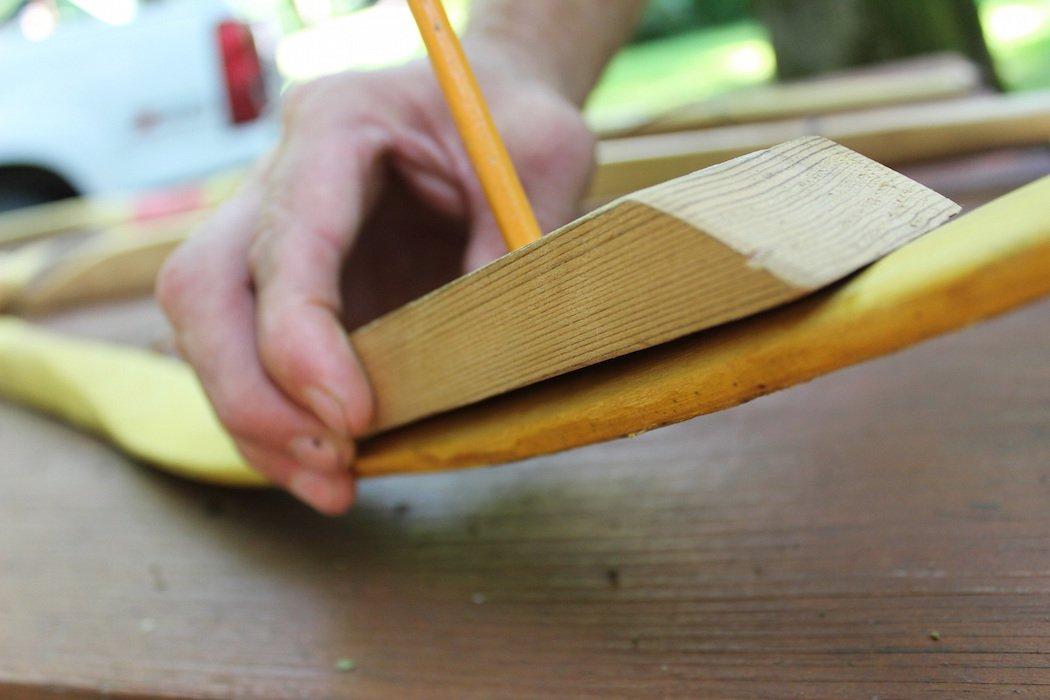
After you have a good ring exposed for your bow's outer face, draw a rough outline along the side of your stave to your desired shape with a marker. Use a draw knife or bandsaw to remove most of the excess wood outside your finished shape.

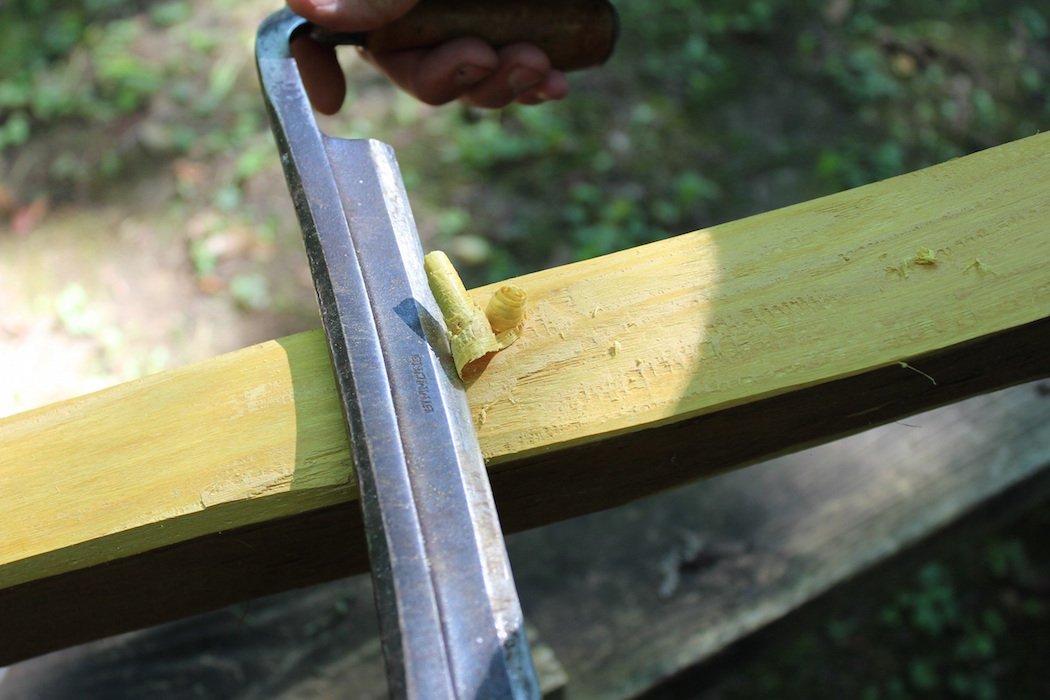
Lacefield uses two tools for the bulk of his bow shaping. A draw knife for the rough work and faster material removal, and a paint scraper for more detailed finish work. Use first the drawknife, then the scraper to remove any excess wood from the outer ring. Use the paint scraper to remove any of the honeycomb shaped layer that separates the rings of the stave and to finish the detailed scraping. If you break through the ring you are working on, you'll have to start all over with the shaving to expose the next full ring below. A dedicated stave press, mounted to a bench, helps during this process by providing a stable hold on the stave and comfortable seat for the bowyer.
After you get the back of the bow to a near finished state, use the draw knife to shape the sides and belly of the bow. Leave the bow thicker than your desired finished product so that you can remove wood as needed to tiller the bow and fine tune the finished draw weight. If you prefer to shoot off a shelf instead of your grip hand, cut the basic shape of the shelf into the bow at this point.
Many bowyers prefer no-stretch Fast Flight string material for the increased speed it offers over traditional Dacron strings. Since Fast Flight material has no give, it will quickly eat into tips of your bow's top and bottom limbs. Many bowyers get around this problem by gluing on a harder material at the limb's tips to provide extra strength to the point of the string loops. Lacefield prefers natural materials like antler, bone, or buffalo horn for this step.
Don't Miss: Rabbit Hunting with a Recurve
The tiller of your bow, in basic terms, is the amount of bend in each limb. You want the bend to be as close to equal as possible on both the top and bottom limbs when the bow is strung and drawn.
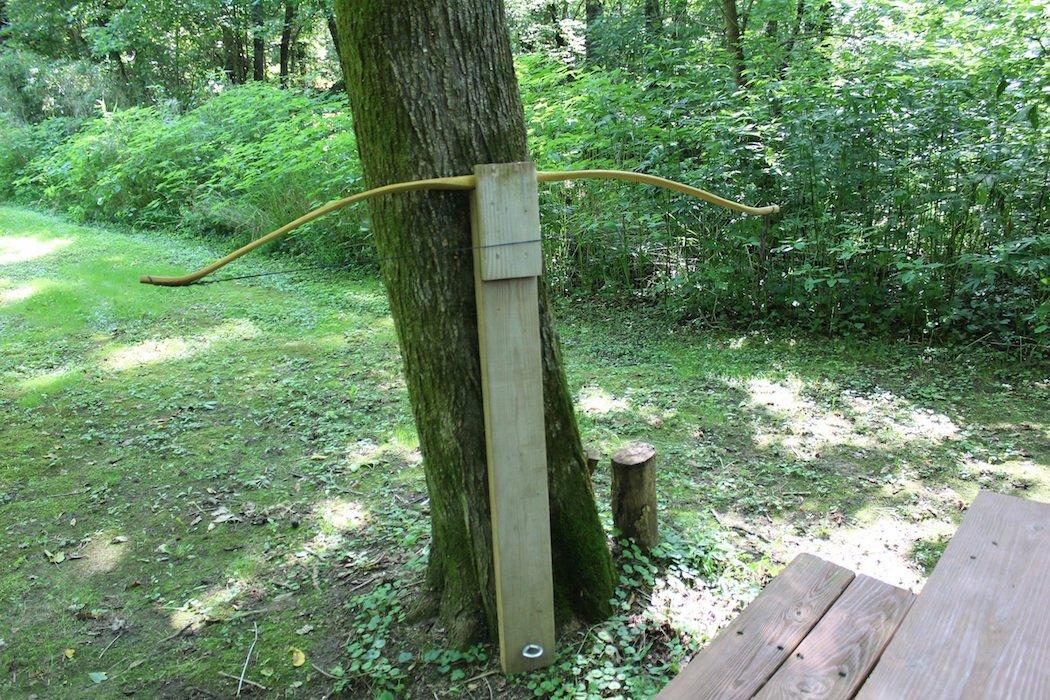
The easiest way to check tiller is to make a tiller jig tree. It can be as simple as a 4-foot section of 2x6 with a bracket on one end to cradle the bow handle and an eyebolt so that you can attach a small crank winch hooked to a scale. String the bow, lay the handle in the cradle, and attach the scale to the center point of the string. Slowly start to crank the winch to draw the bow.
Take note of the bend in the limbs. Is it equal? If not, take the bow off the tiller jig and shave material from the belly of the stiffer limb. This is a detailed and fine process, be careful not to remove too much material at once. It can't be put back on.
Lacefield cautions to never draw the bow longer than your intended finished draw length and never to pull more weight than your intended finished draw weight. If you pull the string 3 inches and the scale reads 55 pounds, stop and remove more material.
Draw weight on a finished bow will increase approximately 3 pounds per inch of draw. If your bow reads 35 pounds on the scale at 20 inches, your finished draw weight at 28 inches should be in the neighborhood of 59 pounds. Lacefield recommends a finished minimum draw weight of about 45 pounds for a hunting bow.
Once your bow draws evenly at the weight you desire, use sandpaper to smooth the bow to a finished look. Attach your rest material, closely trimmed fur-on deer hide works well, and glue on your limb tip material. Lacefield prefers a Tung oil finish on his bows to protect them from the elements, often applying as many as 10 layers of oil. Allow each application to dry fully, then sand lightly with steel wool and wipe with a clean cloth before applying the next layer.
Many bowyers prefer to decorate the back of their bow's limbs with materials like snake skin or turkey feathers for a personalized touch.
Don't Miss: Going Traditional
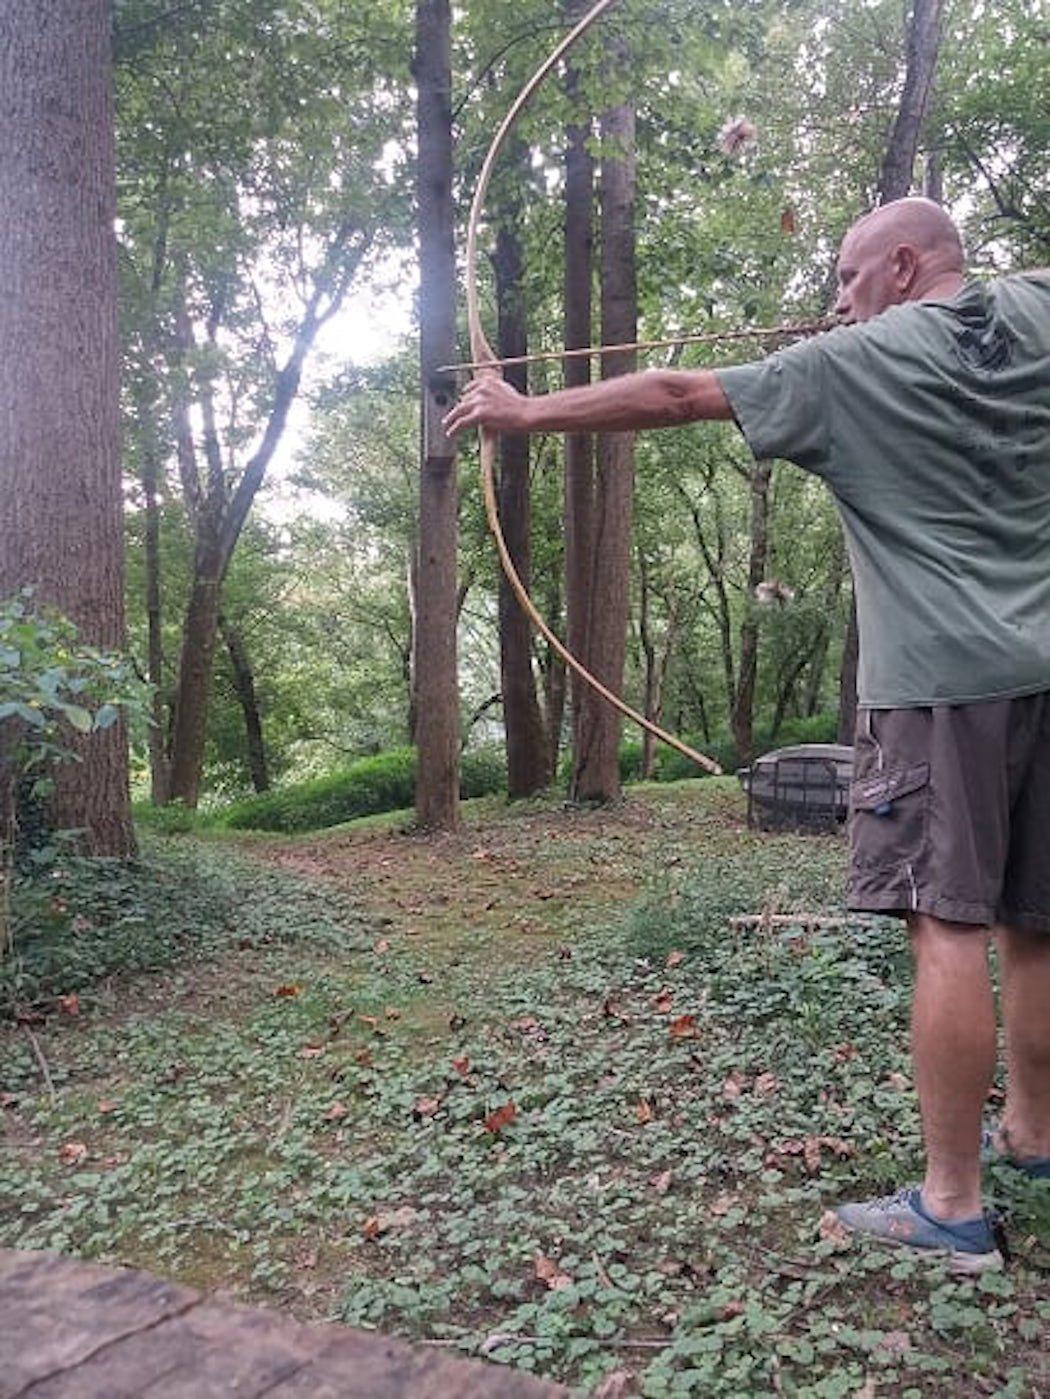
Shooting a self-bow accurately takes lots of practice. Don't be discouraged when you don't shoot compound-sized groups right away. Or ever. A big part of the self-bow challenge is getting into extremely close range with your quarry, often 10 yards or less. Lacefield says that many self-bow shooters prefer cedar, bamboo, or other wooden shafts when shooting their bows, but carbon often provides the best accuracy. He likes a heavy arrow, with extreme FOC weight distribution. His preferred setup is a 125-grain cut-on-contact, razor sharp broadhead screwed into an 80 grain insert.
When hunting with your self-bow, set your stands with the bow's limitations in mind. Stay low in the tree for the best shot angle, situate your stands tight to the trail for close range, and put them in a tree with plenty of cover to help hide your draw movement from a deer that might be only yards away.
Don't Miss: Big Jim's Bow Building: How to Build a Traditional Bow
Are you a bowhunter wanting to learn how to accomplish your goals? Check out our stories, videos and hard-hitting how-to's on bowhunting.


