Follow This Step-by-Step Guide for Success
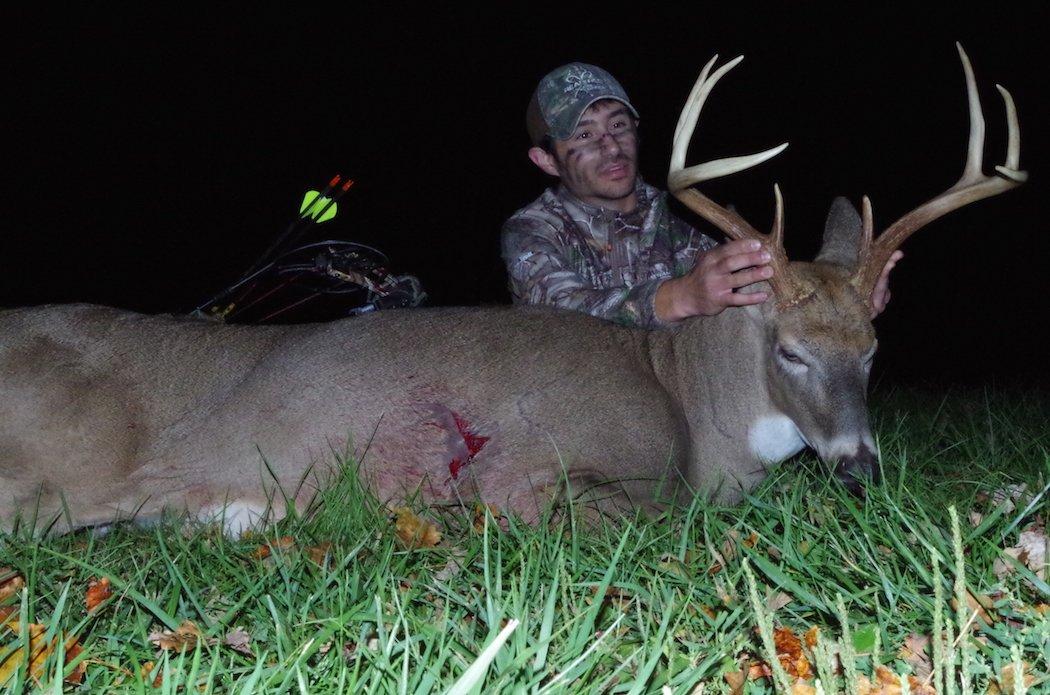
The pre-rut is here. Do you have a tag left? If you do, this is your plan for success. Follow this step-by-step guide for killing a pre-rut monster.
Wait for the Right Weather
Weather is very important, especially during the pre-rut. Good weather is a must-have. A single day with great conditions beats a week with bad conditions. So make sure you pick the right days to hunt.
Cold Fronts: A strong cold front will help your odds.
Warm Fronts: A warm-up on the backside of a cold streak can be productive.
Precipitation: A steady rain generally gets deer on their feet earlier than normal.
Moon Phase: Based on studies, there might not be much to it. But you might as well try to avoid the full moon.
Moon Overhead/Underfoot: Deer activity peaks at two points each day. Hunt the days when it peaks closes to sunrise and sunset.
Wind Speed: Deer prefer low to moderate wind speeds, but high winds aren't detrimental to movement.
Barometric Pressure: The best window is right around 30.00. Don't miss prime days.
Day 1
Some might think it a bad decision to spend time scouting. However, it's much better to spend one or two days scouting, instead of hunting in a bad spot for five.
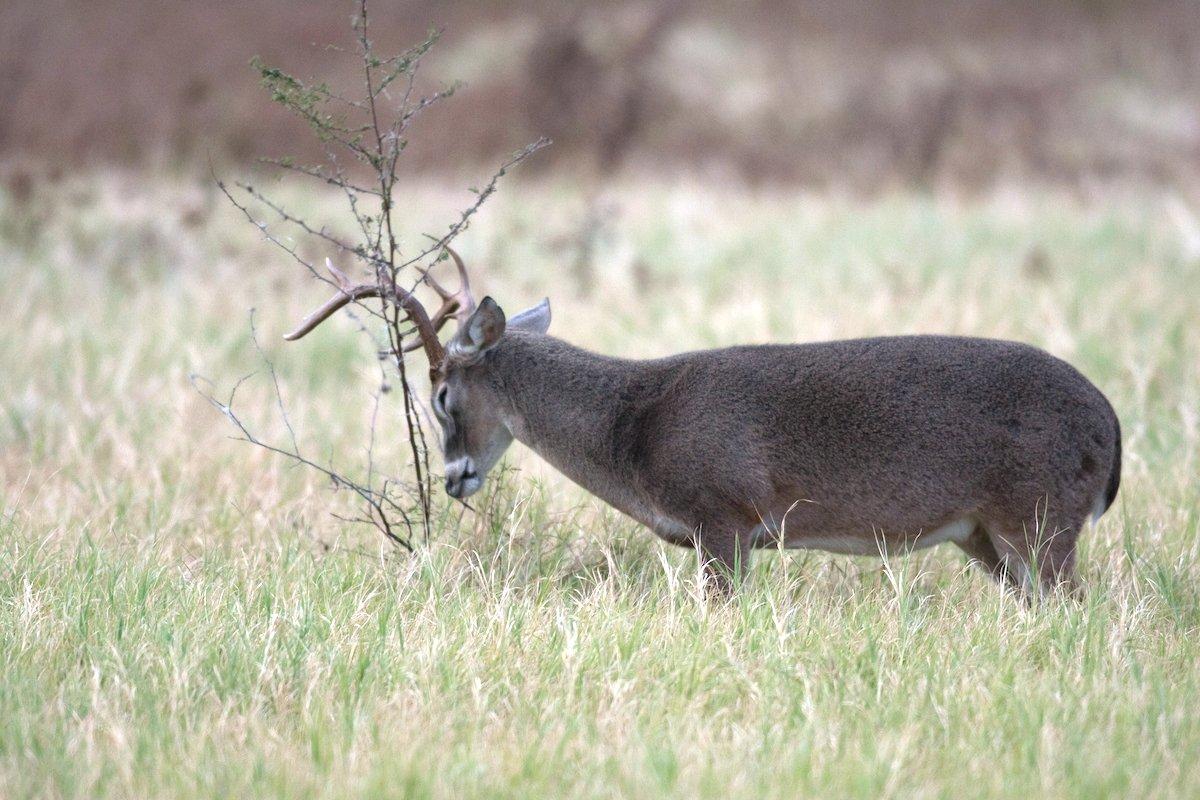
The early season is driven by food. That's just how it is. That same mentality transfers into the pre-rut. The only difference is you're now diving back deeper into the cover where big bucks are trying to avoid hunters. So your first scouting assignment is to find those spots. Bucks have been laying down sign for several weeks now, so it shouldn't be too difficult to come across a few rub lines or scrapes.
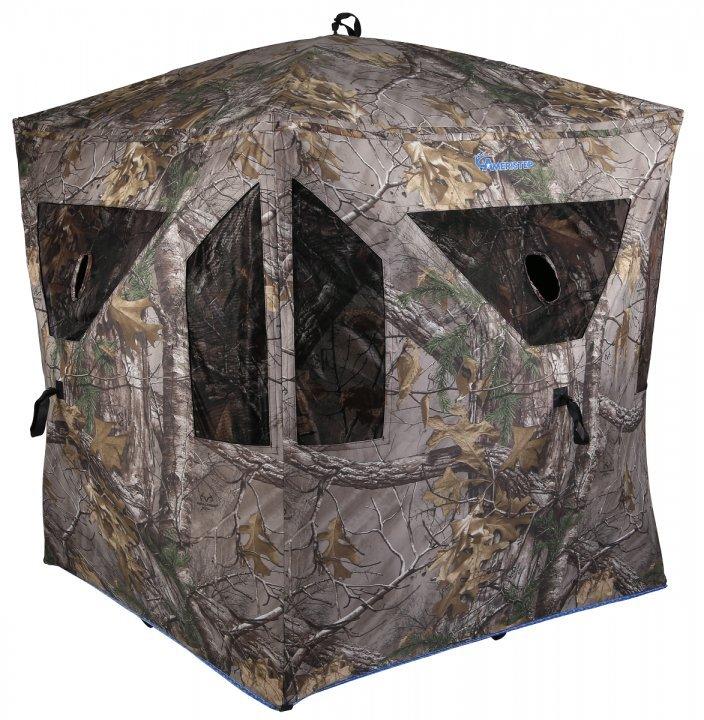
Ameristep Spartan Blind - Realtree 30th Anniversary Edition
Food sources are beginning to lessen in variety, but there is still plenty of grub out there. This year has yielded an incredible acorn crop. That's what the deer are keying on. It's possible ag fields are of some interest. But acorns are king. Scout for buck sign in amongst big stands of oaks. Then follow the signs and trails back toward the bedding areas to locate quality setups.
Finding the food is the first step. Studying the terrain is the second. Begin with aerial images and topography maps. You need to know where deer are bedding. Places of interest during the pre-rut are generally more secure than during the early season. They are on high alert from the heavy hunting pressure they've felt. So don't slip up, or you'll educate the deer you're hunting even more. Then all bets are off. You'll have to start from scratch.
You've narrowed down likely feeding destinations and bedding areas. Now, get to the woods and verify. Start in the mid-morning hours (to allow deer to get back to their beds) on foot by scouting food sources and trails for fresh sign. It's not uncommon to find fresh rubs and scrapes at this time. When you find the sign you're after, hang cameras so they can monitor activity going into the evening hours. Set the camera so that it takes photos every so often, even if deer don't trigger the sensor. This will help capture photos of deer not within that 50- to 60-feet range. Hang cameras at least 5 feet high so deer don't detect and spook from your cameras.
Then, based on your findings from the field, hang an observation stand and hunt that first afternoon. Don't get too close. Get just close enough that you might get a shot, but far enough away that you can watch a large area. This will help you determine where to hunt the rest of the trip. Also, I prefer to allow my camera to monitor areas that I'm not watching that first afternoon. This increases your chances of pinning down a deer you want to hunt.
Day 2
Day two will be very similar to the first. You might see deer that first evening, and your trail cameras might have captured countless deer. But you might not have pegged a deer you want to shoot. Don't worry if you didn't. Repeat your efforts from day one.
Don't fret if you aren't seeing deer. It's possible hunters have already pressured deer enough that they're seeking better cover. Locate good security cover that is harder to get to. Ditches, swamps, marshes, deep woods, long ridge points, brush piles, drainages, fencerows and other places yield great bedding cover. Check these places for fresh sign. Look for four-finger-wide tracks. Most mature bucks have them. The area should be littered with rubs and scrapes if there are deer in the area.
If you found the deer you're after, it's time to make a plan. You could be in the money if the weather conditions are right. If you're confident you know exactly how to kill the deer that you either have on trail camera or sighted in person, move in for the kill. If you are hesitant, stay in an observation stand for one more hunt. Just hang it a little closer to where the deer are emerging so you have somewhat of a chance of killing the deer if it slips up.
Day 3
It's ideal if you've laid eyes on the deer you want to hunt by now. If you haven't found the right buck, hunt the best looking sign you can find and stay after it. Keep those cameras out, too. Check them after the evening hunt.
Don't get discouraged if you haven't filled a tag yet. I've noticed a pattern in my personal hunting experiences. I killed several of my top-scoring bucks by hunting the same stand three or four days in a row. Granted, I'm not encouraging stand burnout. But a buck isn't going to do the exact same thing every day, so how can it hurt to be there when it's not? You just have to be extra cautious with your entry and exit routes. Make sure deer can't see, smell or hear you while walking to and from the stand.
Day 4
Time is running out, but don't give up hope. Stay focused. Continue with low impact entry and exit routes. If you still haven't pegged a deer, get closer to bedding areas or places you've seen deer coming out.
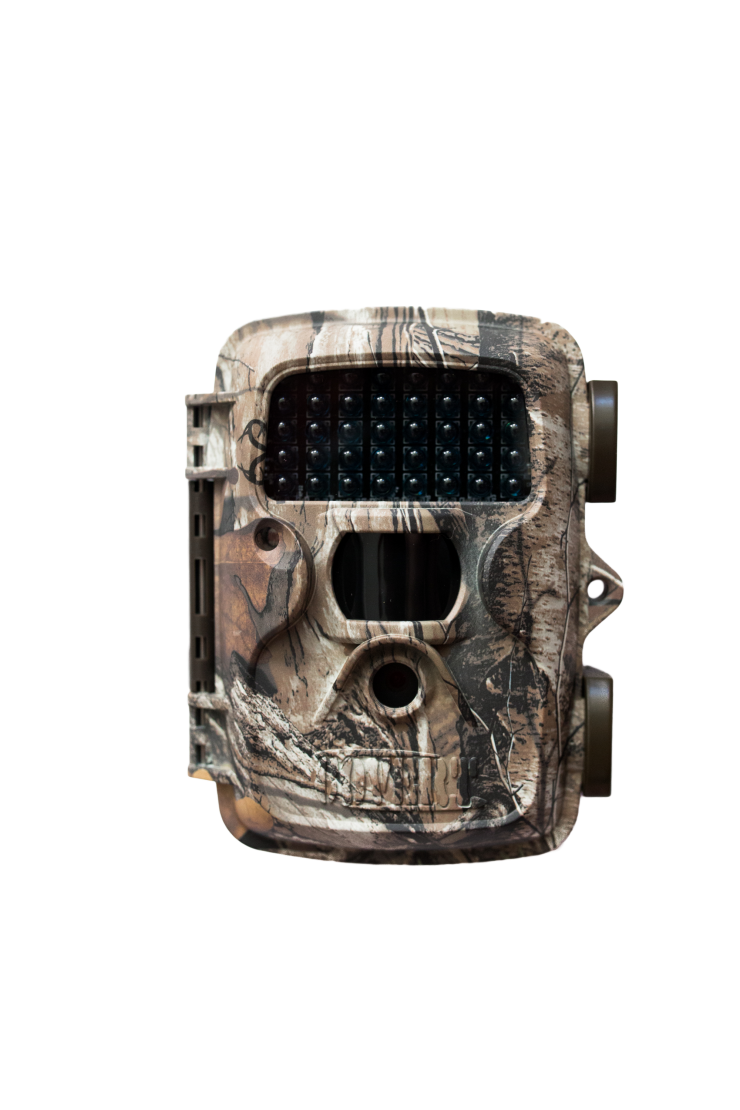
Covert Trail Cameras in Realtree Camo
Afternoons used to be better during the early season, but things are changing. Hunt mornings, too. They're just as good or better now. Make sure you continue to avoid food sources during your morning sits. Don't avoid water. As bucks begin chasing, they'll be hitting the H20.
Every second counts on short hunts. Be in a tree. Hunting closer to bedding areas during morning hunts is the key. Ensure your entry routes keep you away from food sources and your exit routes take you away from bedding areas during the morning hunt and vice versa during the evening.
We're starting to get to the point now where all-day sits could prove productive. Most mature bucks pattern hunters by this point in the season and move primarily at midday during daylight hours. Setting up on the fringes of bedding areas can be effective because of this.
Day 5
Hopefully by now you've collected enough intel to kill a deer. If deer aren't reaching the food sources until dark — which is probably the case if you haven't seen any big boys in person yet — move closer to the bedding area. You're taking a risk. But it's your best bet on the last day.
As previously mentioned, many studies — and plenty of my own trail camera photos — suggest bucks frequently move around lunchtime, especially as we move closer to the rut. So pack a lunch and stay a little later in your morning stand location. If you haven't seen anything by early afternoon, pull out and head to your afternoon perch. It's the last sit. So get as close to those bedded deer as you dare without bumping them.
It's very possible you could kill your target deer today. Hunt smart. Hunt hard. Stay focused. But if the deer you had your sights set on doesn't show, it was a fun hunt anyway. That's why they call it hunting. And that's why it's so fun. It's a challenge. You don't always kill one.
Go here for the author's plan for killing an early-season stud in five days.
Check out the author's plan for killing a late-season stud in five days.
Click here for more deer hunting articles and videos.
Check us out on Facebook.


