How to Break Down a Wild Pig
If your hunting area doesn't have wild pigs, be happy about it. They destroy foodplots, kill timber, wreck feeders and vacuum enough acorns from the forest floor to starve a squirrel. But if you do have them, you might as well eat them.
When hunting for freezer-filler pigs, pick smaller hogs in the 60- to 120-pound range for the best table fare. While wild pigs won't carry the fat of their farm-raised neighbors, their foraged diet and mobile lifestyle lead to a richer, nuttier meat that will shine at the dinner table.
No discussion of wild pigs is complete without an examination of the safety aspects. Wild pigs can carry a couple of nasty bugs. Trichinosis and Brucellosis are both present in wild swine and both are transmittable to humans. To protect yourself, wear latex gloves when field dressing, butchering and packaging wild pigs and avoid rubbing your eyes or touching your face during the process. Clean and disinfect your butchering and preparation area with a bleach based cleaner and wash your hands well when finished.
Cooking temperatures for wild pork are a bit higher than the temperatures needed for domestic pork as well. Make sure your food reaches an internal temperature of 160 degrees to ensure that your meal is safe. That pretty well covers it. If you make sure to wear gloves and wash your hands (which is a good idea for any field-dressing chore), you can rest assured that your wild pork is completely safe.
The actual breakdown of a pig is very similar to the same process in a deer. Start by field dressing the animal as quickly as possible and getting the meat chilled. If the temperature is above 40 degrees, get the carcass into a walk-in cooler soon after field dressing. If a walk-in cooler isn't available, small pigs fit well in large ice chests, I use a 120-quart Igloo, which will hold two small hogs and plenty of ice.
Unless I am roasting the pig whole, I normally skin them before butchering. If you do want to keep the skin on, scald the pig by submerging the entire carcass in 150- to160-degree water for 20 to 30 seconds. Remove from the water and scrape the hair off with a dull knife. The hot water bath loosens the hair follicles and lets the hair slip cleanly from the hide. When the hair no longer pulls out easily, submerge the hog in the hot water again. Continue until all the hair has been removed from the pig.
An alternative method, if there isn't a tub large enough to submerge the entire pig available, is to pour boiling water over a portion of the carcass at a time, scraping each area as you go. If you run across a tough spot, cover the area with a towel and pour the boiling water onto the cloth to hold the heat in place longer.
To skin a wild pig, insert a gambrel into the hind legs and hoist the pig high enough to work on comfortably. Start by slicing the skin up the inside of each hind leg, then circle around the hock. Work the skin down to the head, using a knife to separate the skin from the meat in difficult areas. Saw the front legs at the hock and work the skin down and over the front shoulders. The final step is to remove the head and attached hide.
Besides a pair of gloves, breakdown tools should include a sharp knife or two and a meat saw. To speed the process, I like to employ a cordless reciprocating saw with a clean blade.
Step 1
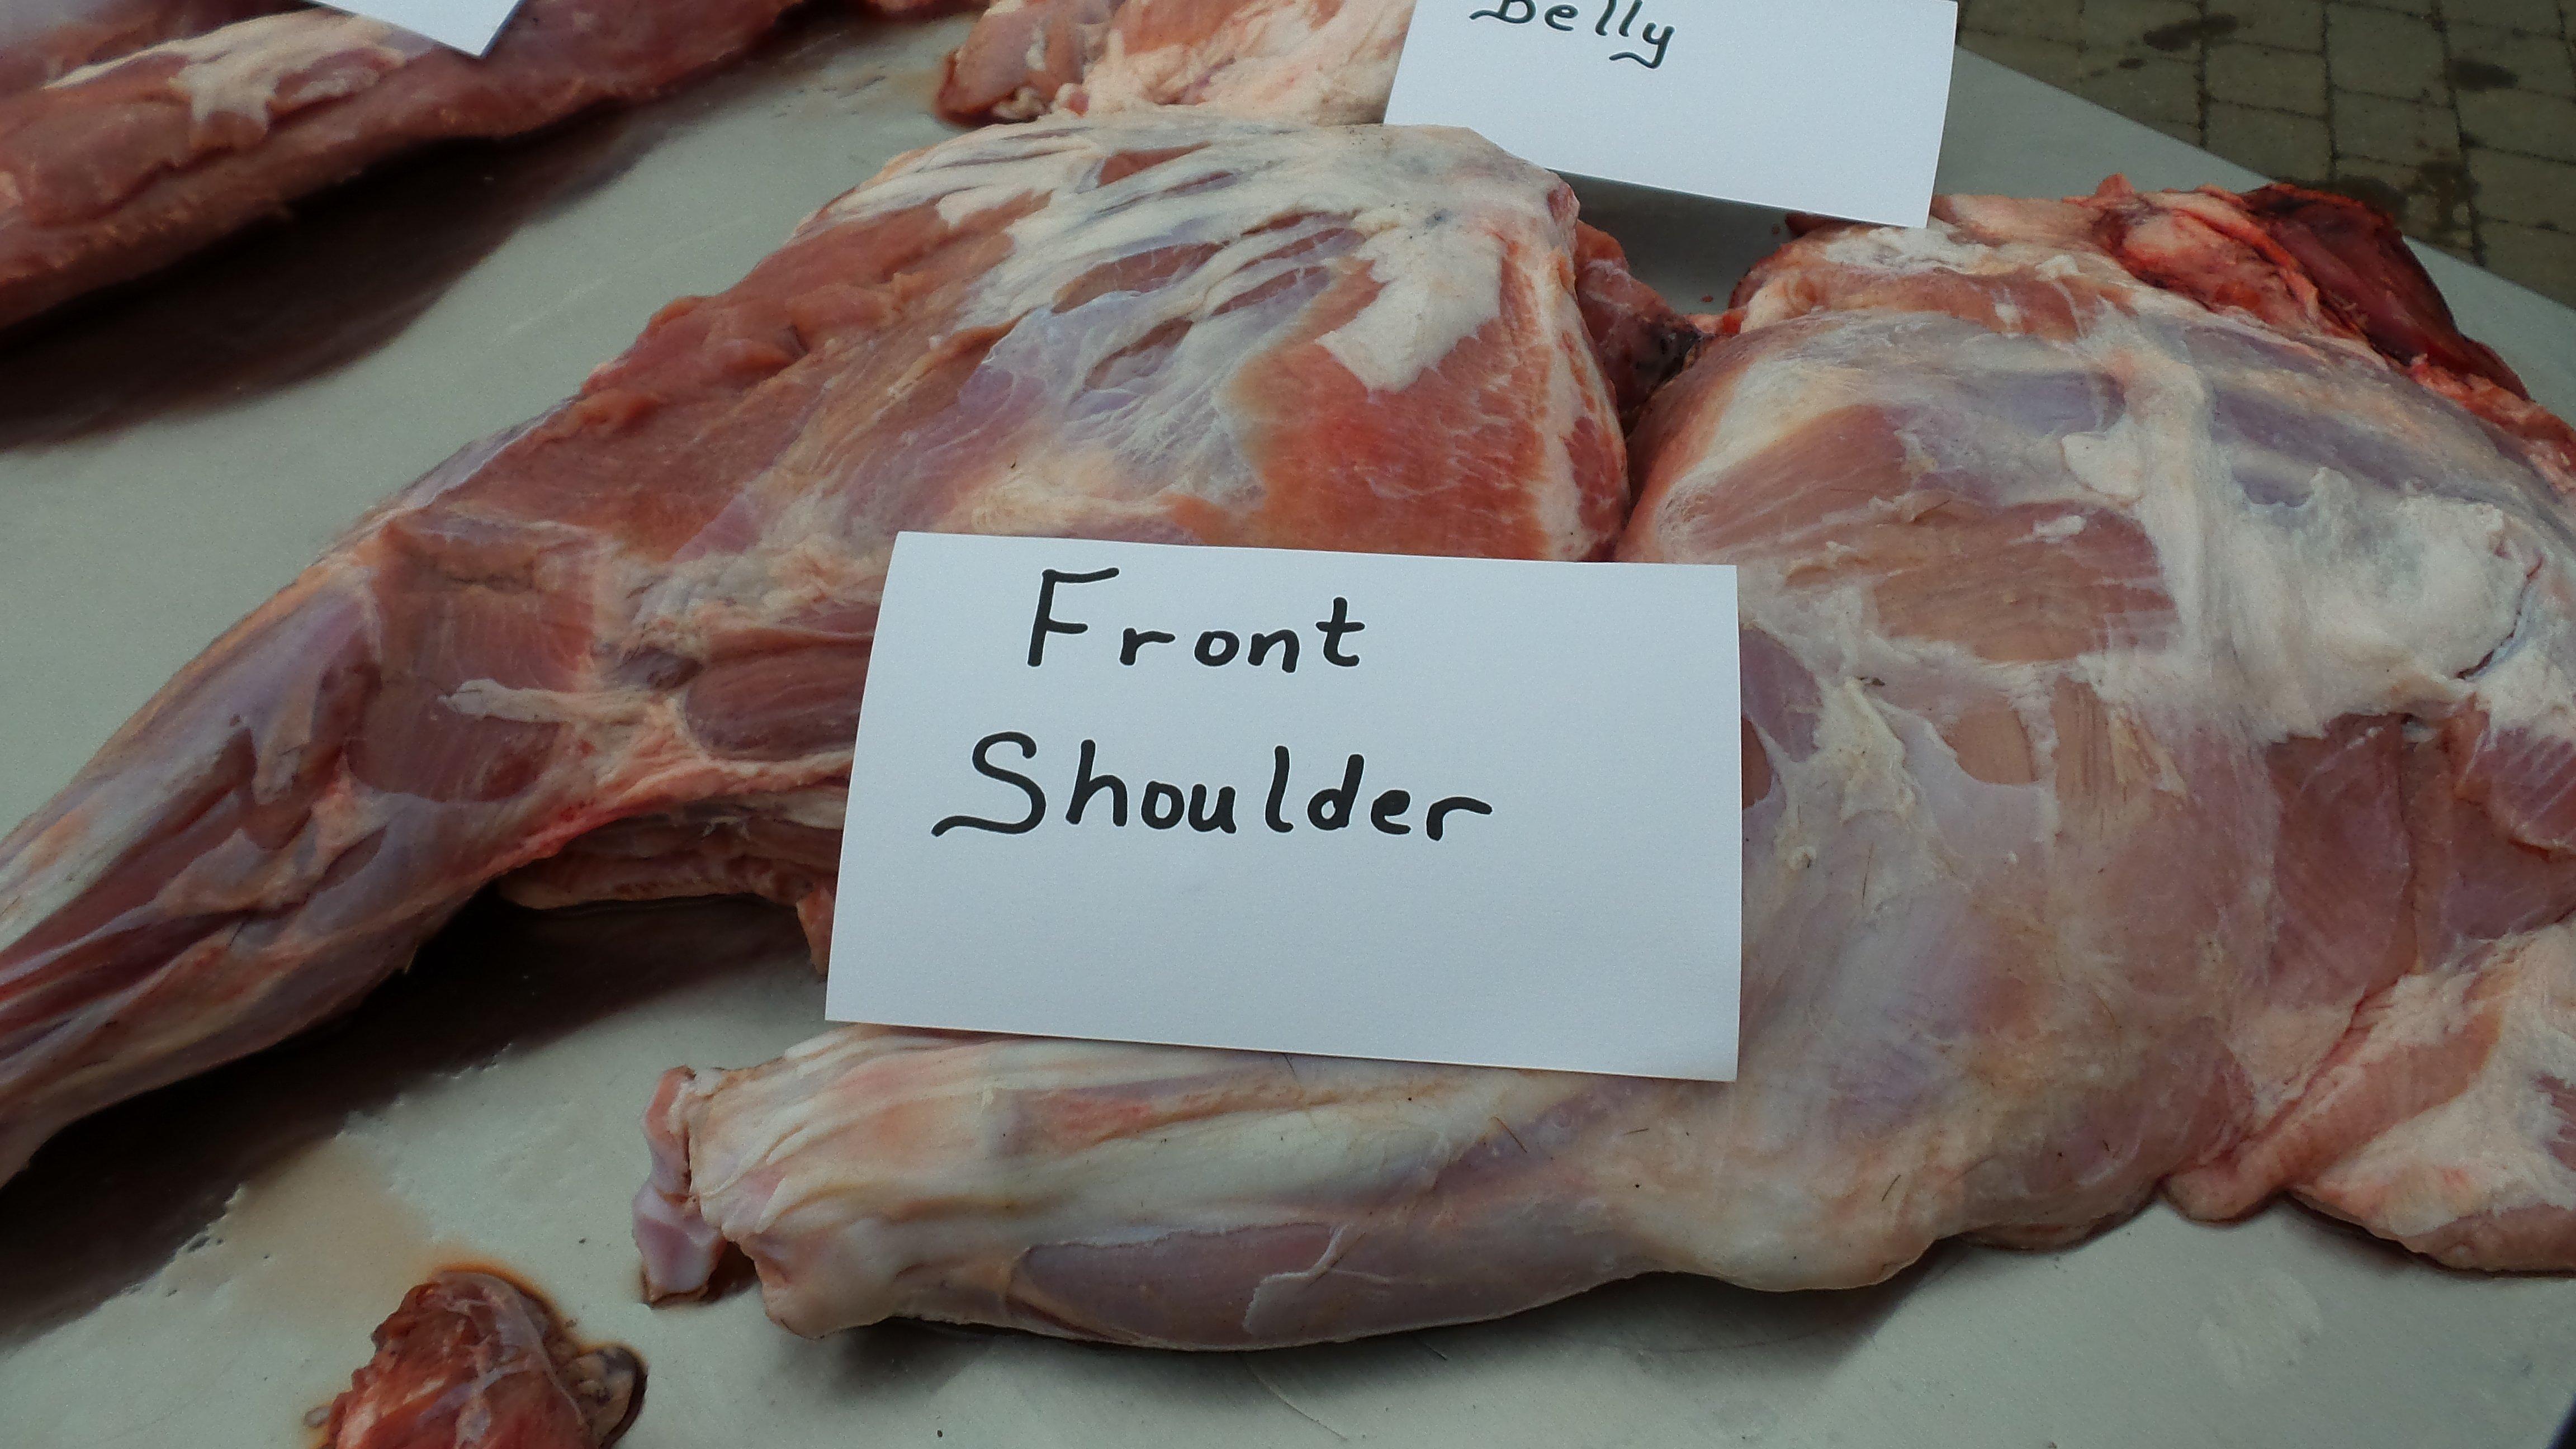
Start by removing the front shoulders. They are attached loosely and will come away from the carcass by simply using a knife to cut through the joint. Cut away any bloodshot meat.
Step 2
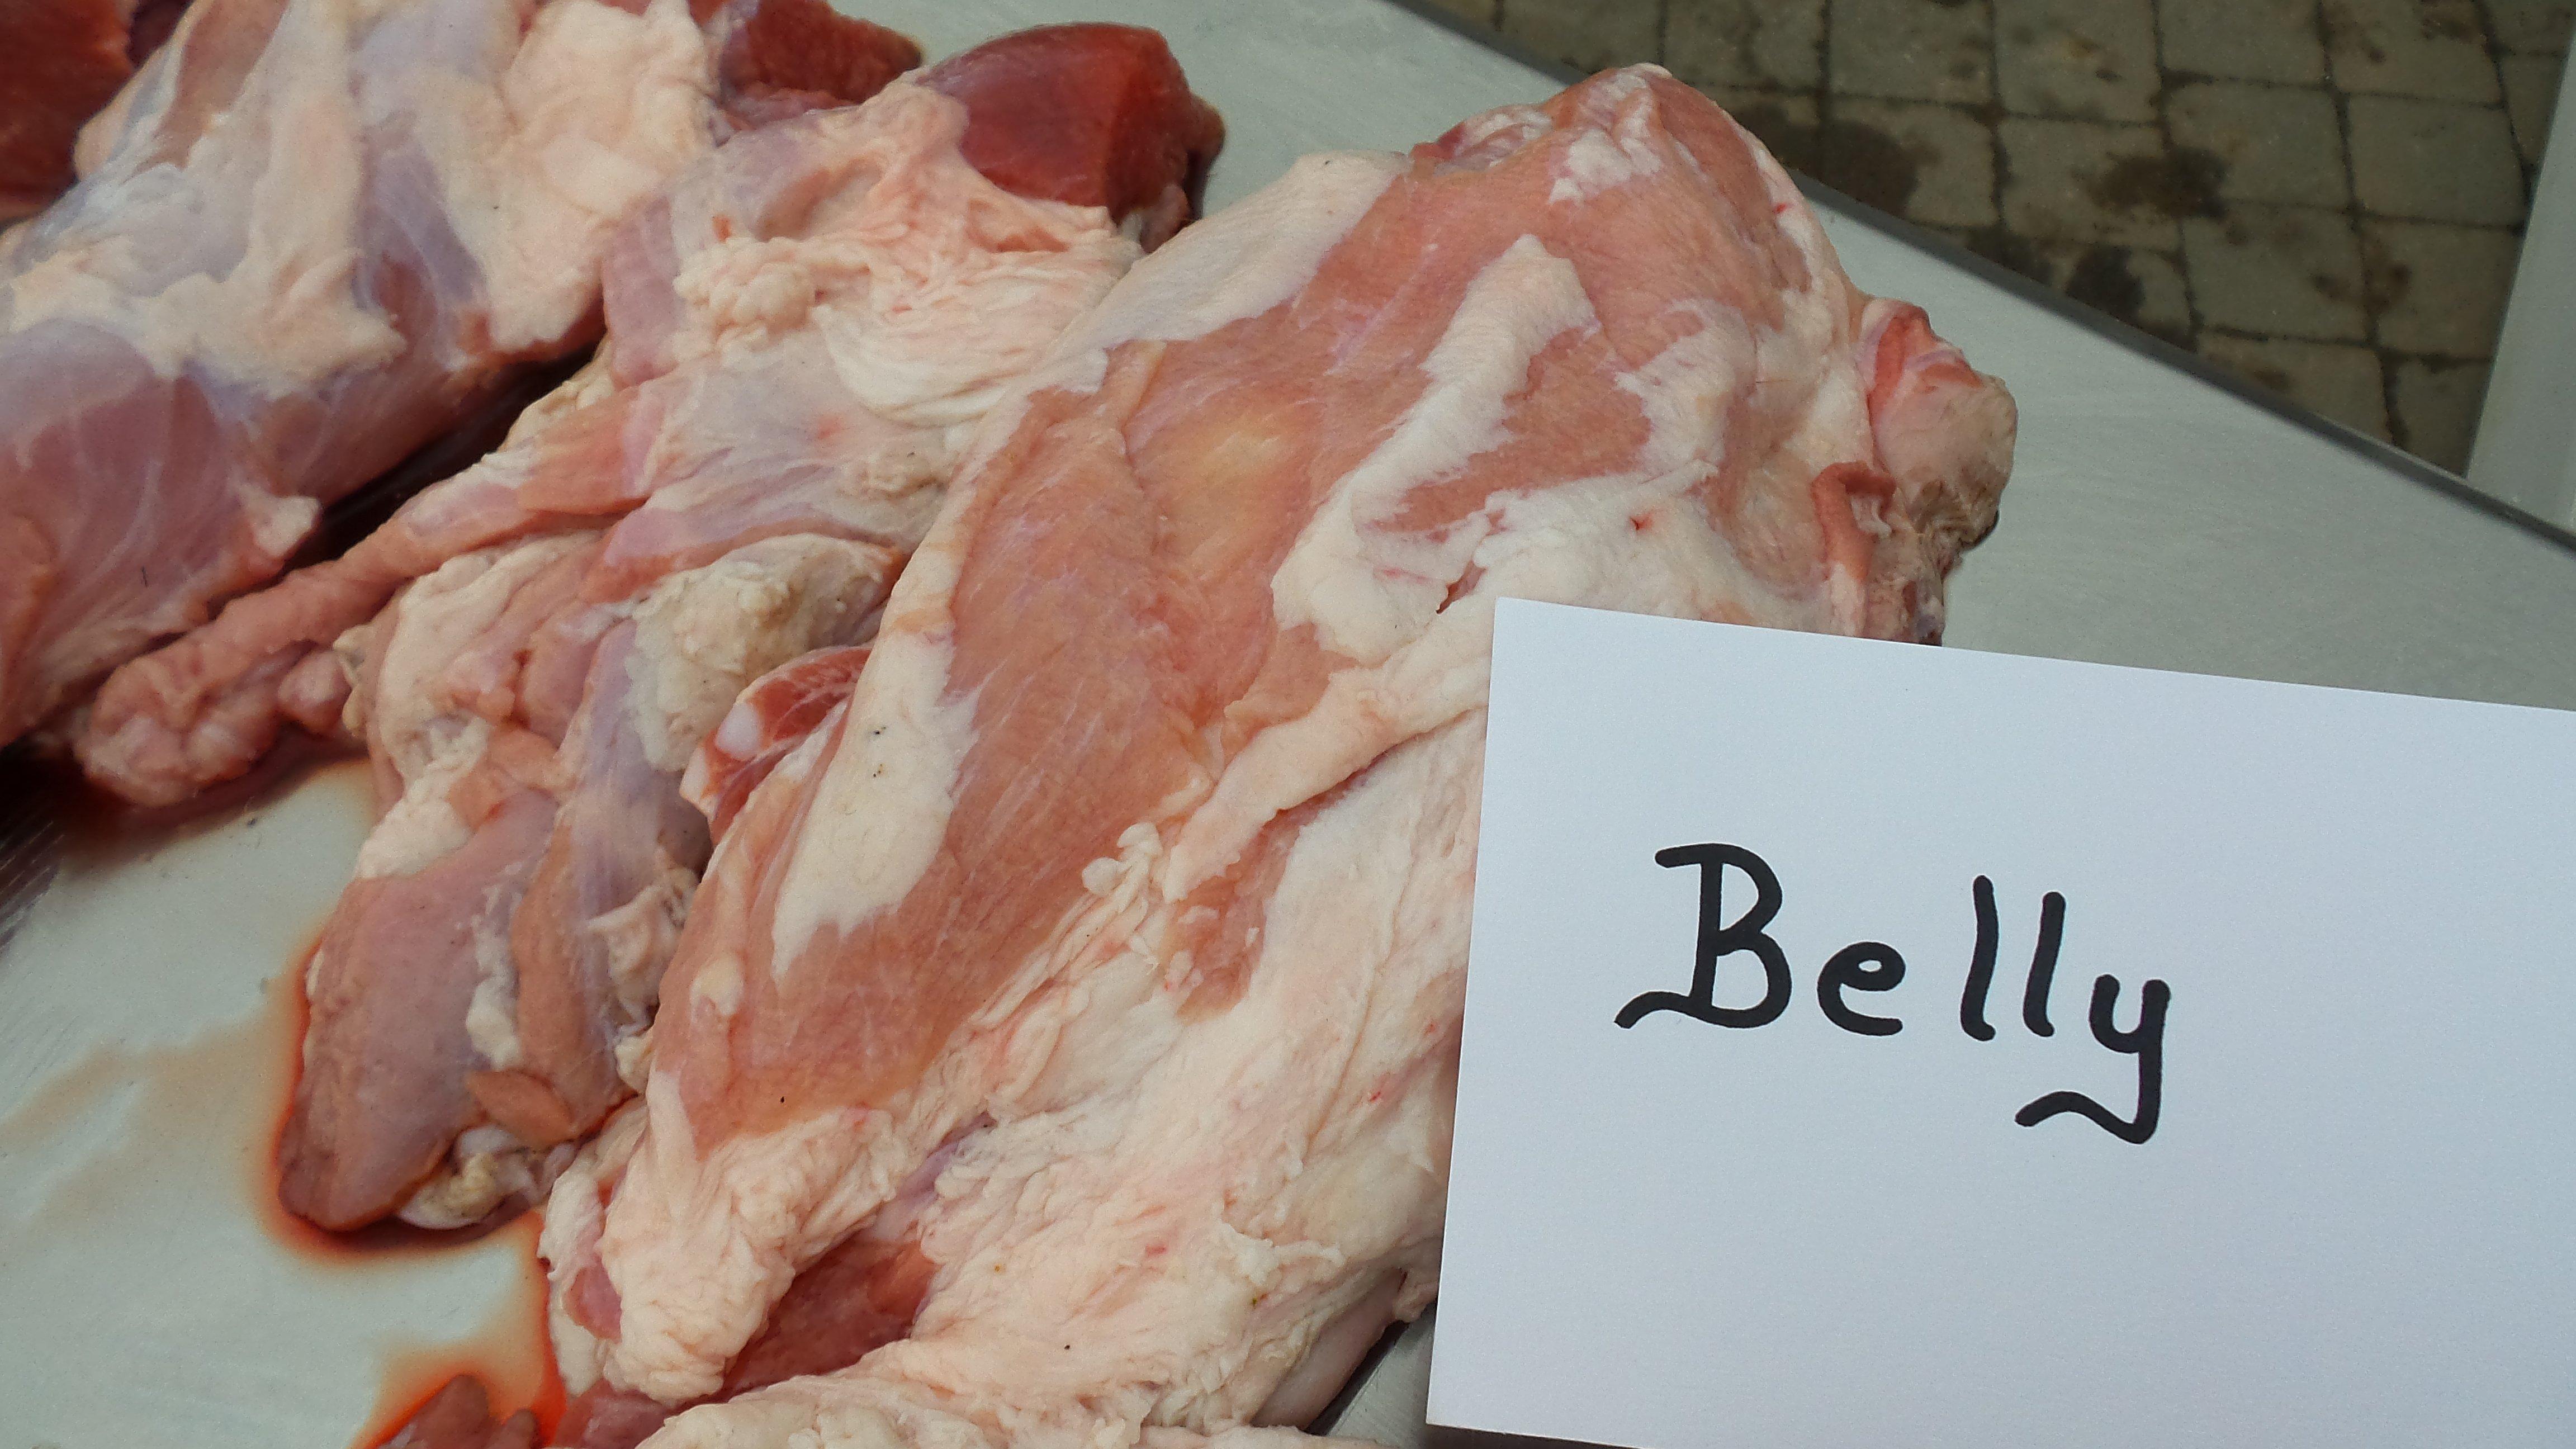
Remove the belly meat from below the ribs on either side of the field dress cut. On a farm pig, this would be the bacon. Wild pigs don't have enough belly meat to cure for bacon, but the cut does make for some excellent fajitas. Look for a recipe for those to come.
Step 3
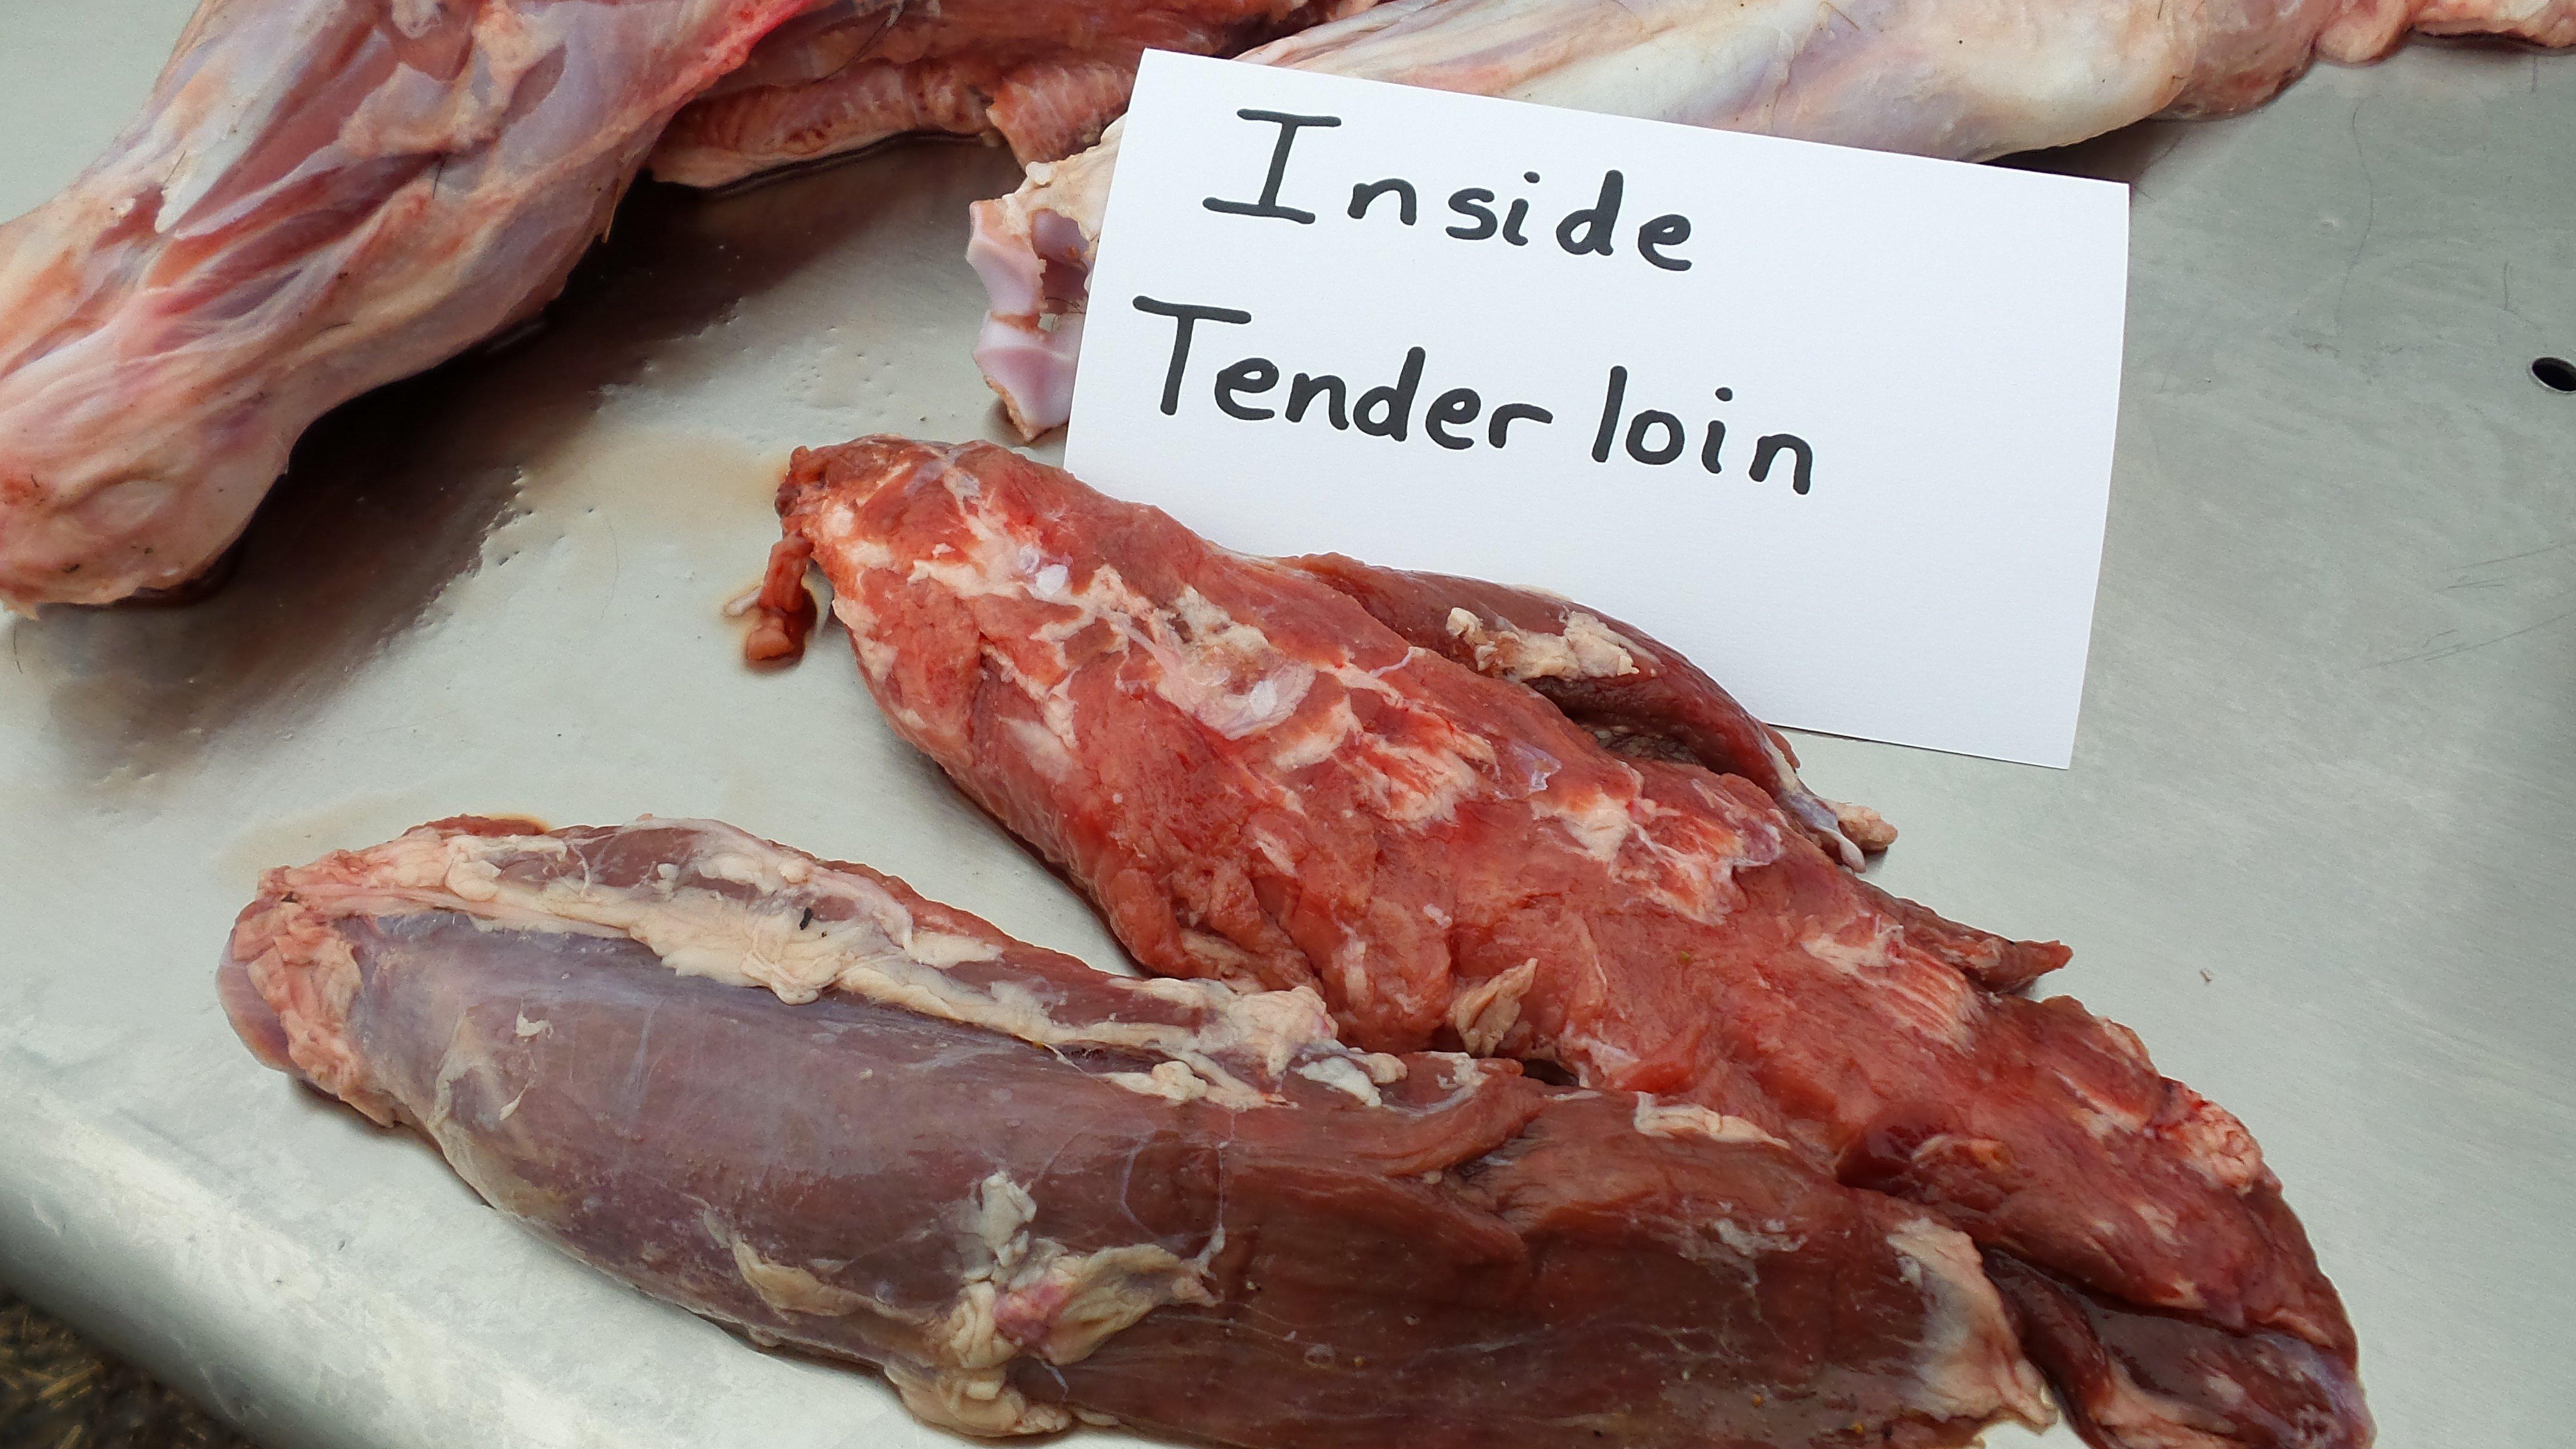
Take out the inside tenderloins. Just like on a deer, they will easily slice or peel away from the backbone. These normally end up in the fajita bag with the bellies when I process.
Step 4
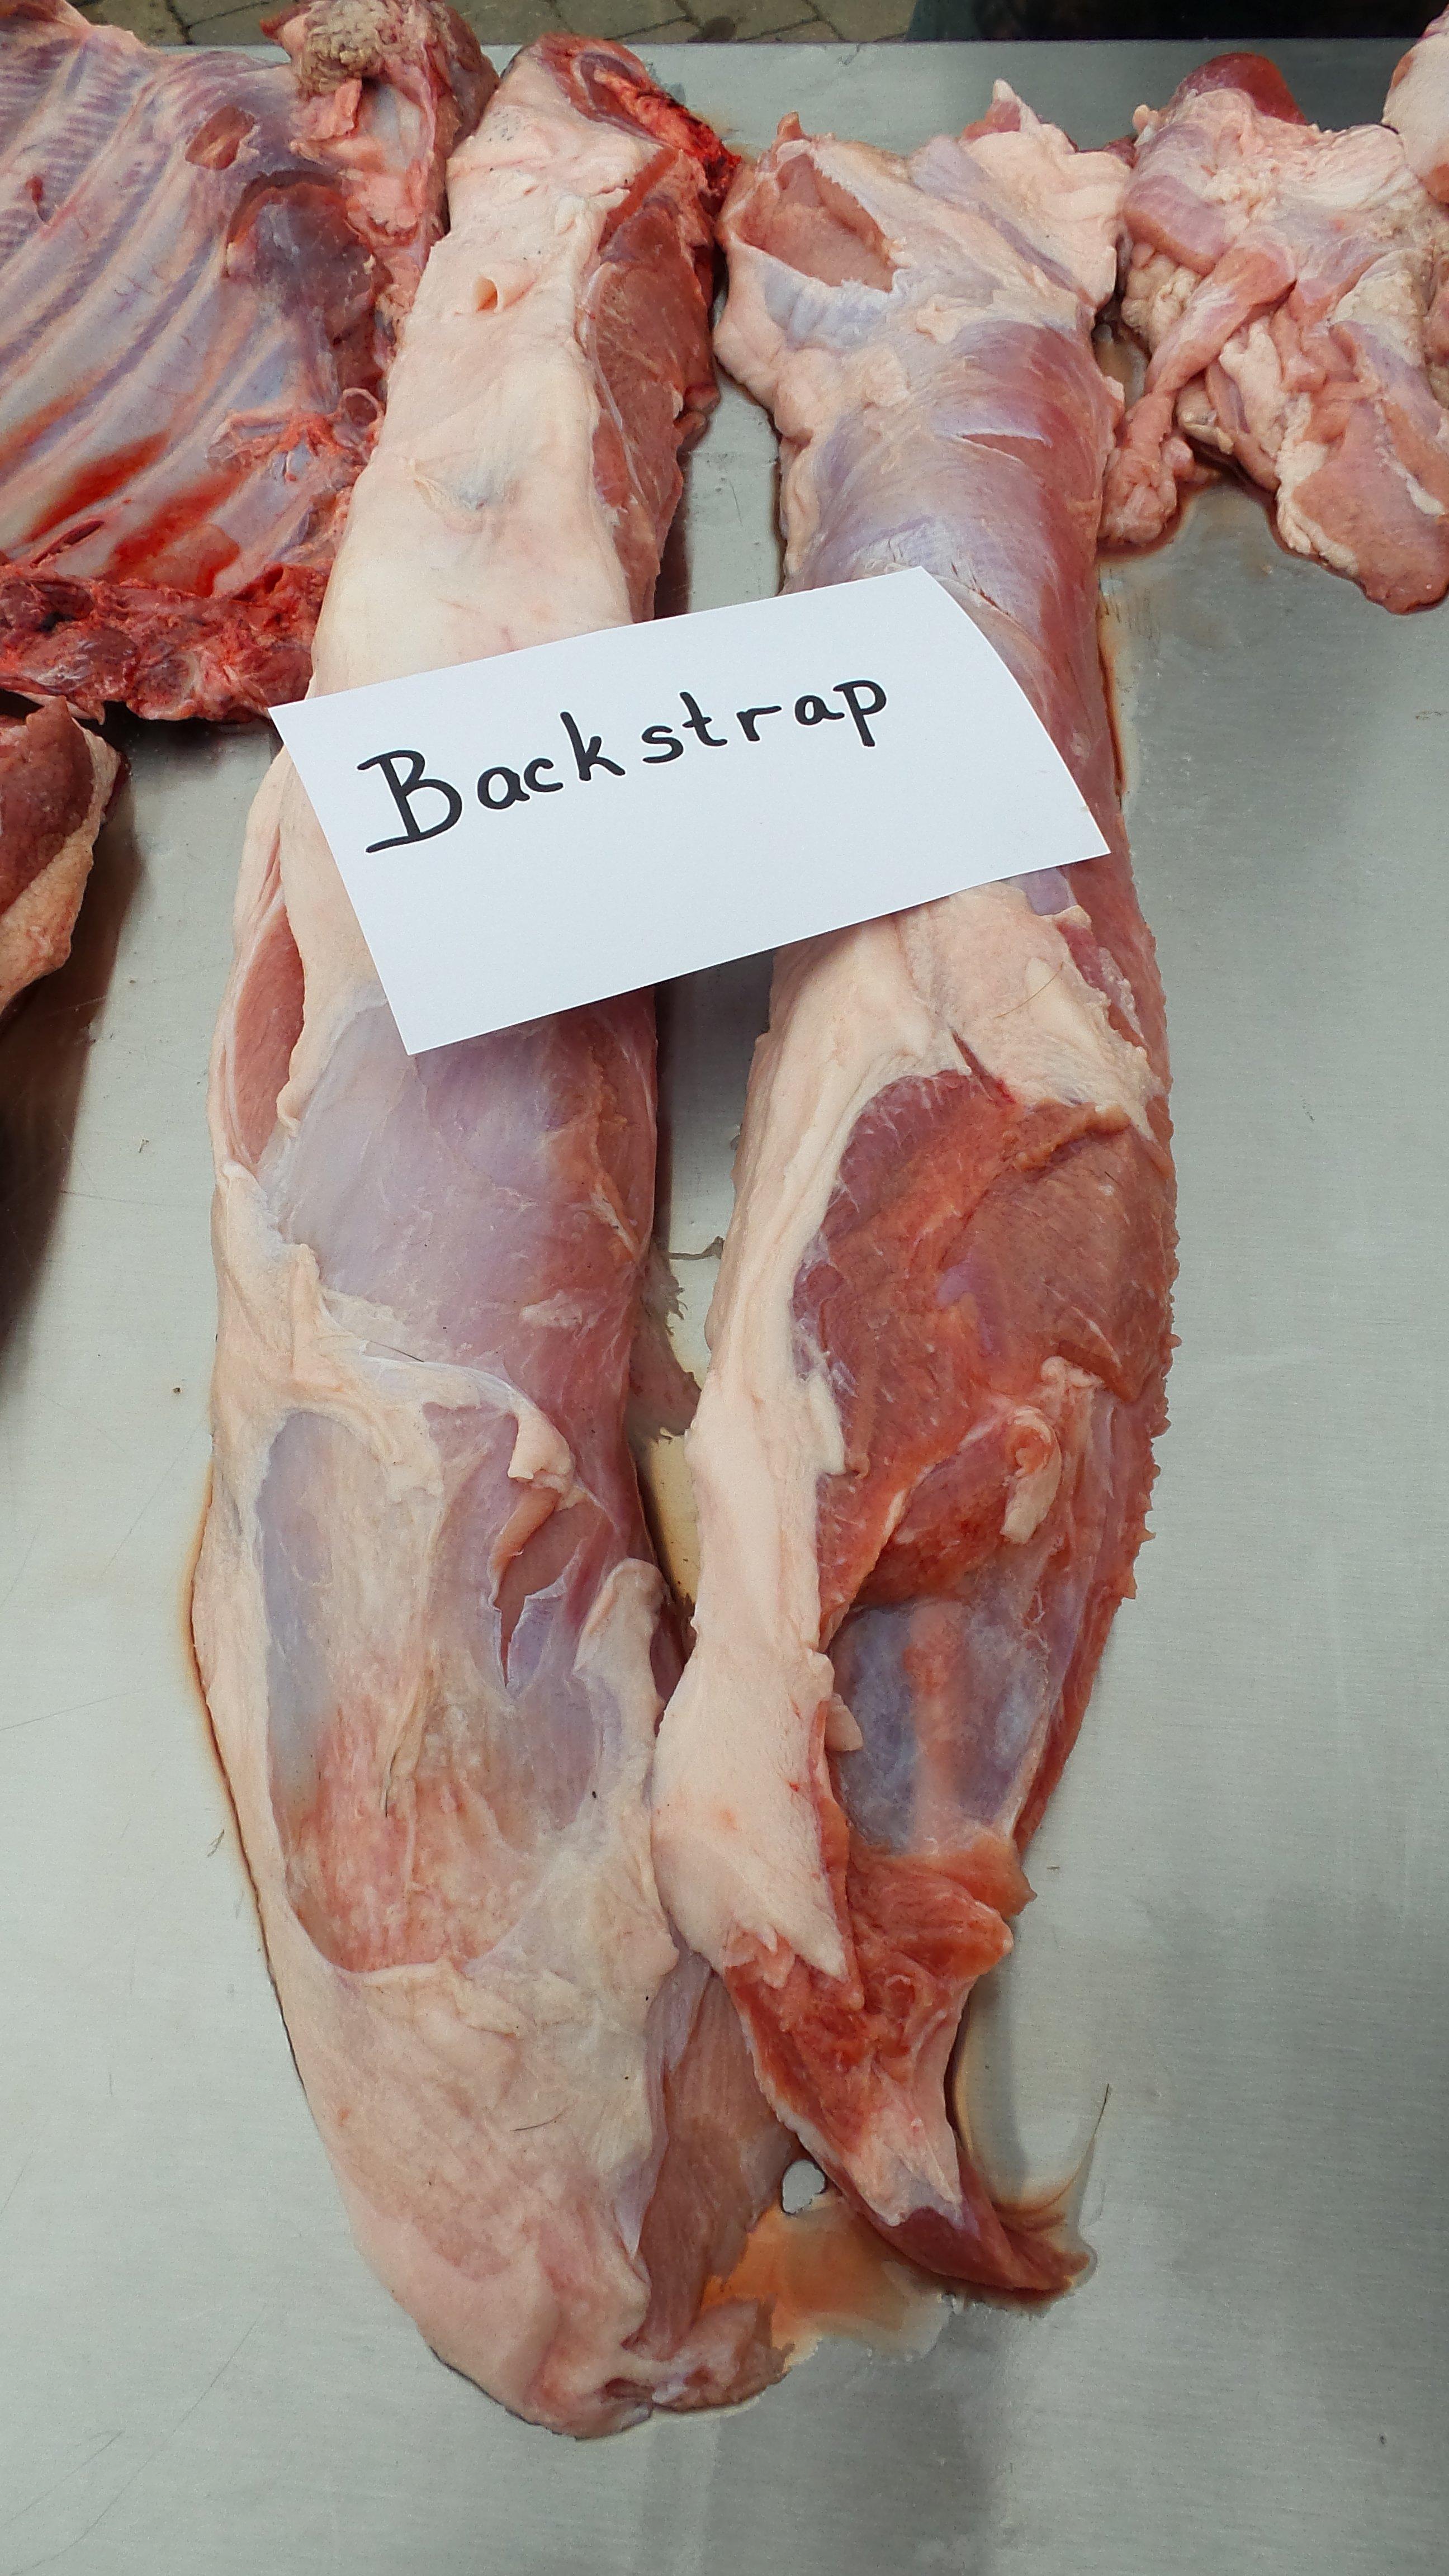
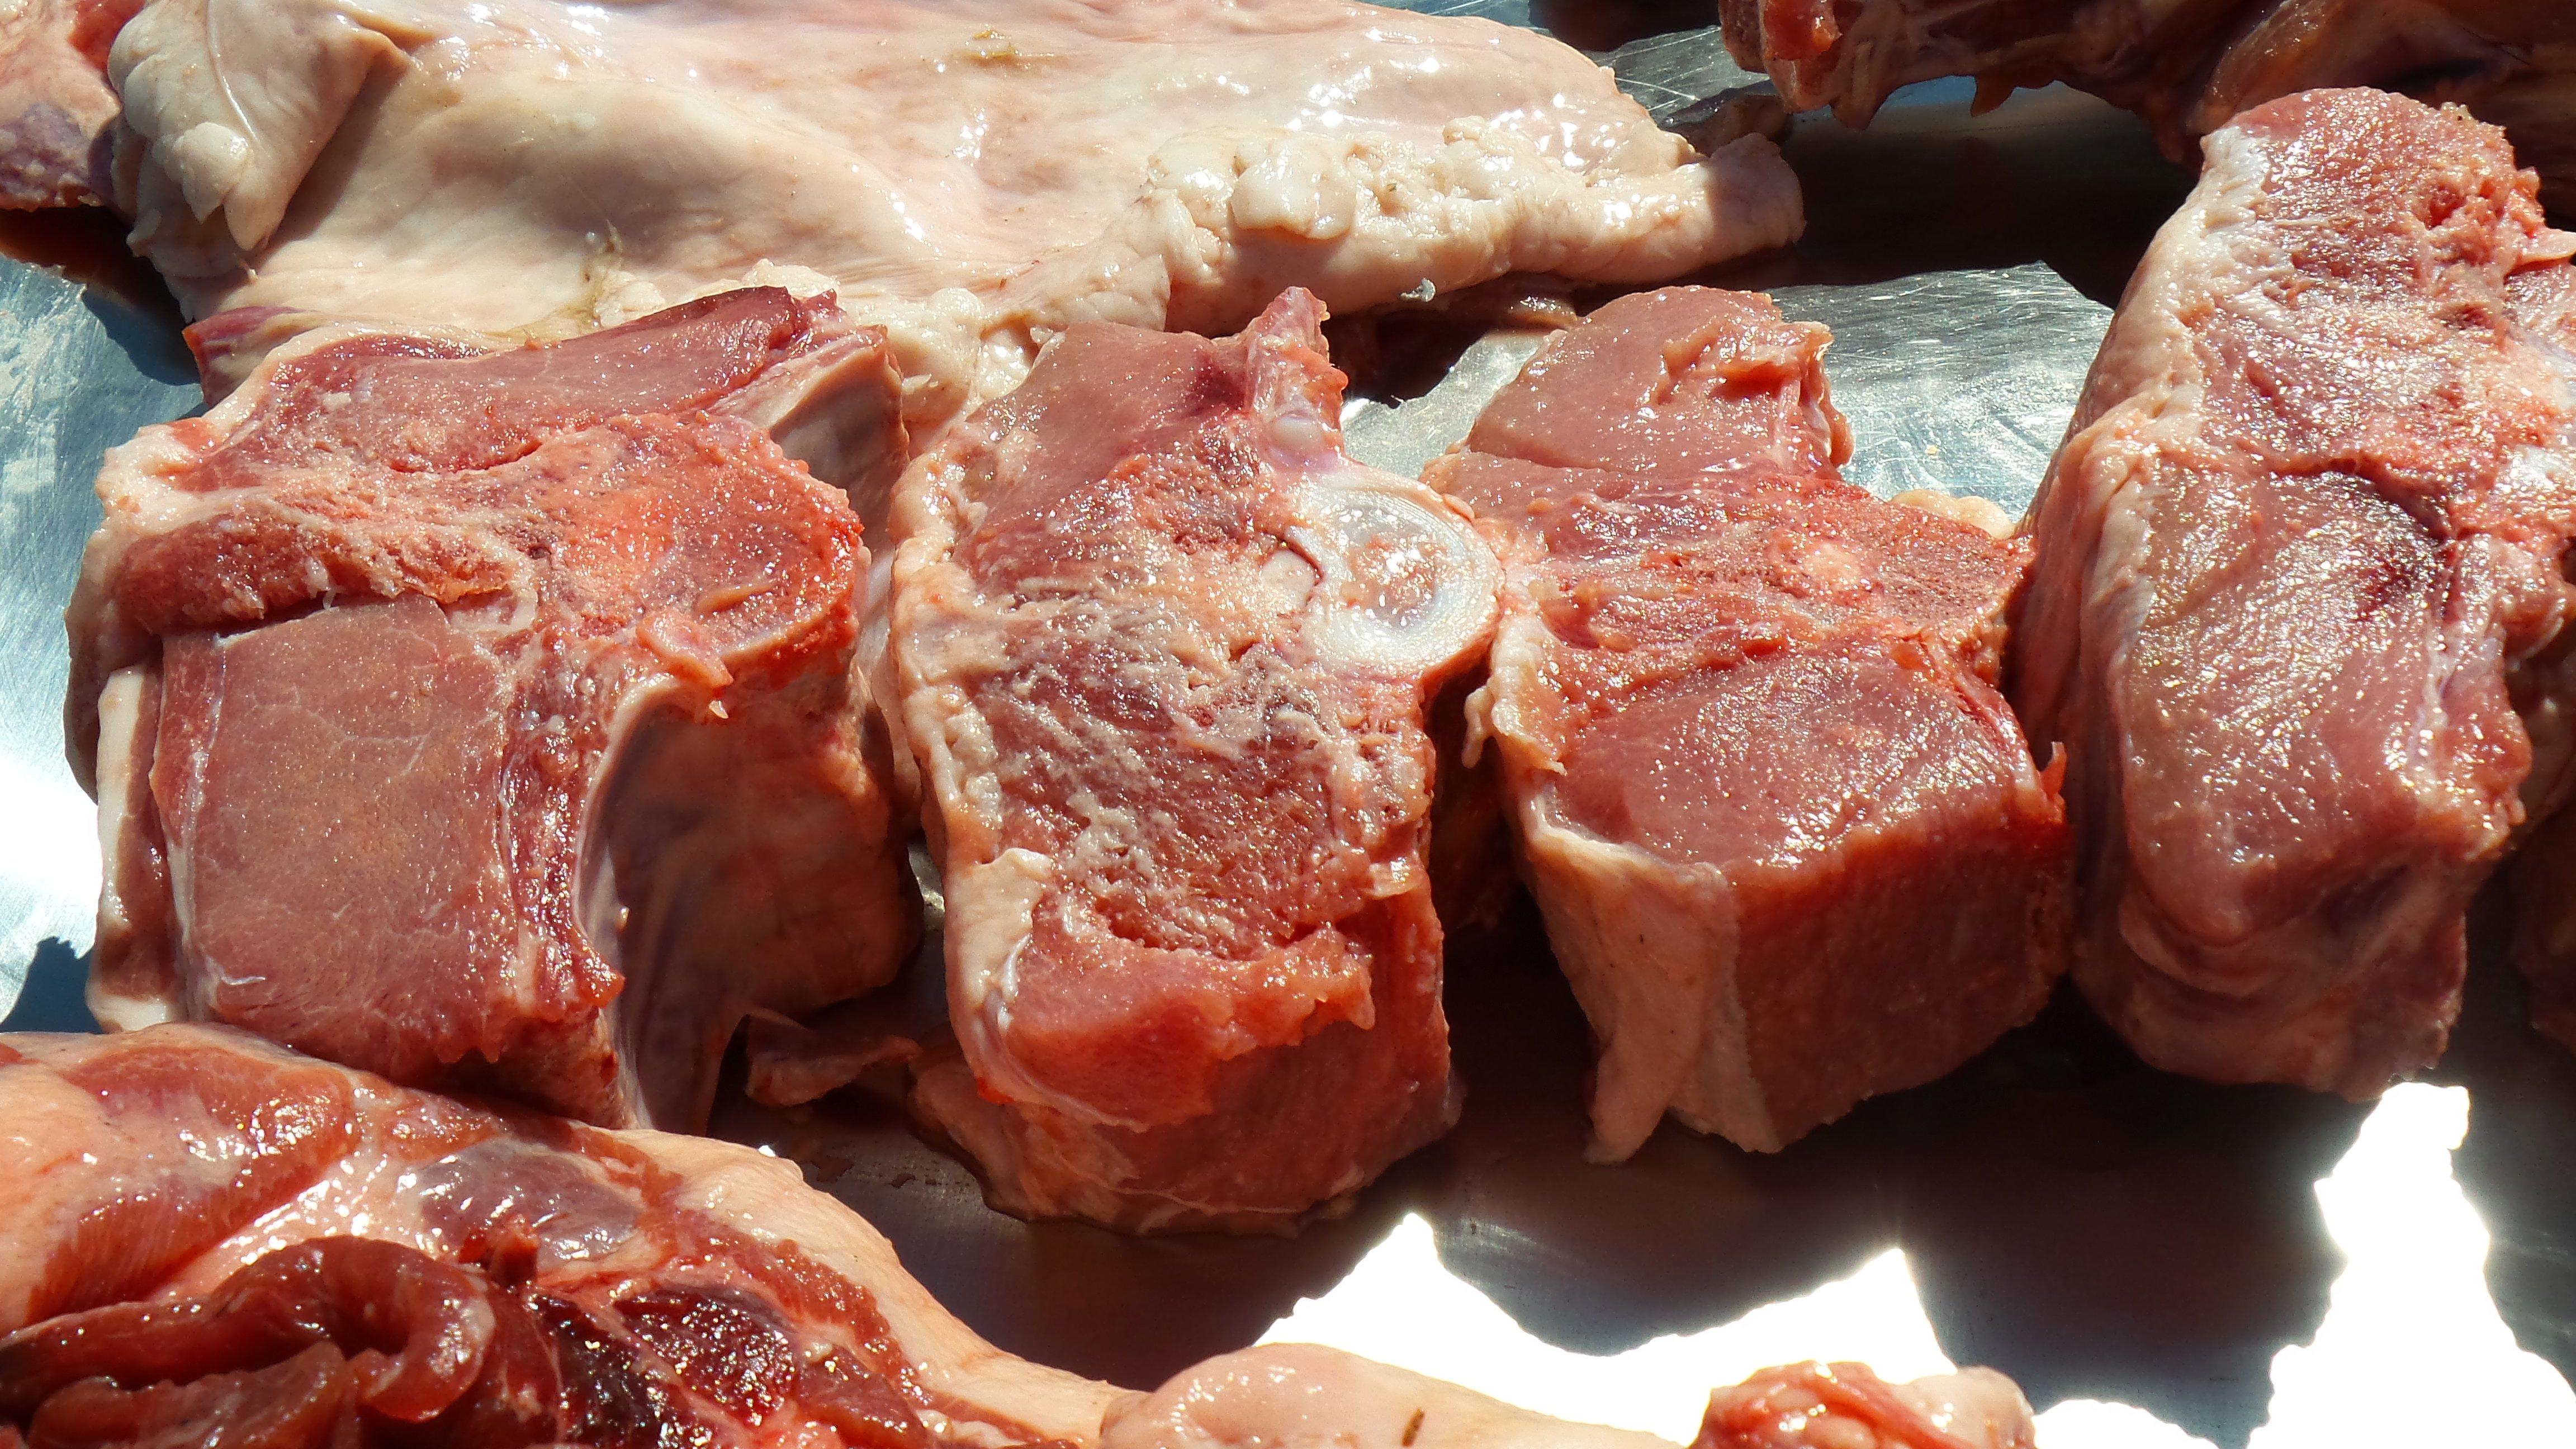
The backstrap. There are a couple of options for the backstraps on a wild pig. One is to leave both sides attached to the backbone and saw into double loin bone-in chops. The second option is to peel the backstraps from either side of the backbone in two long, boneless strips.
Step 5
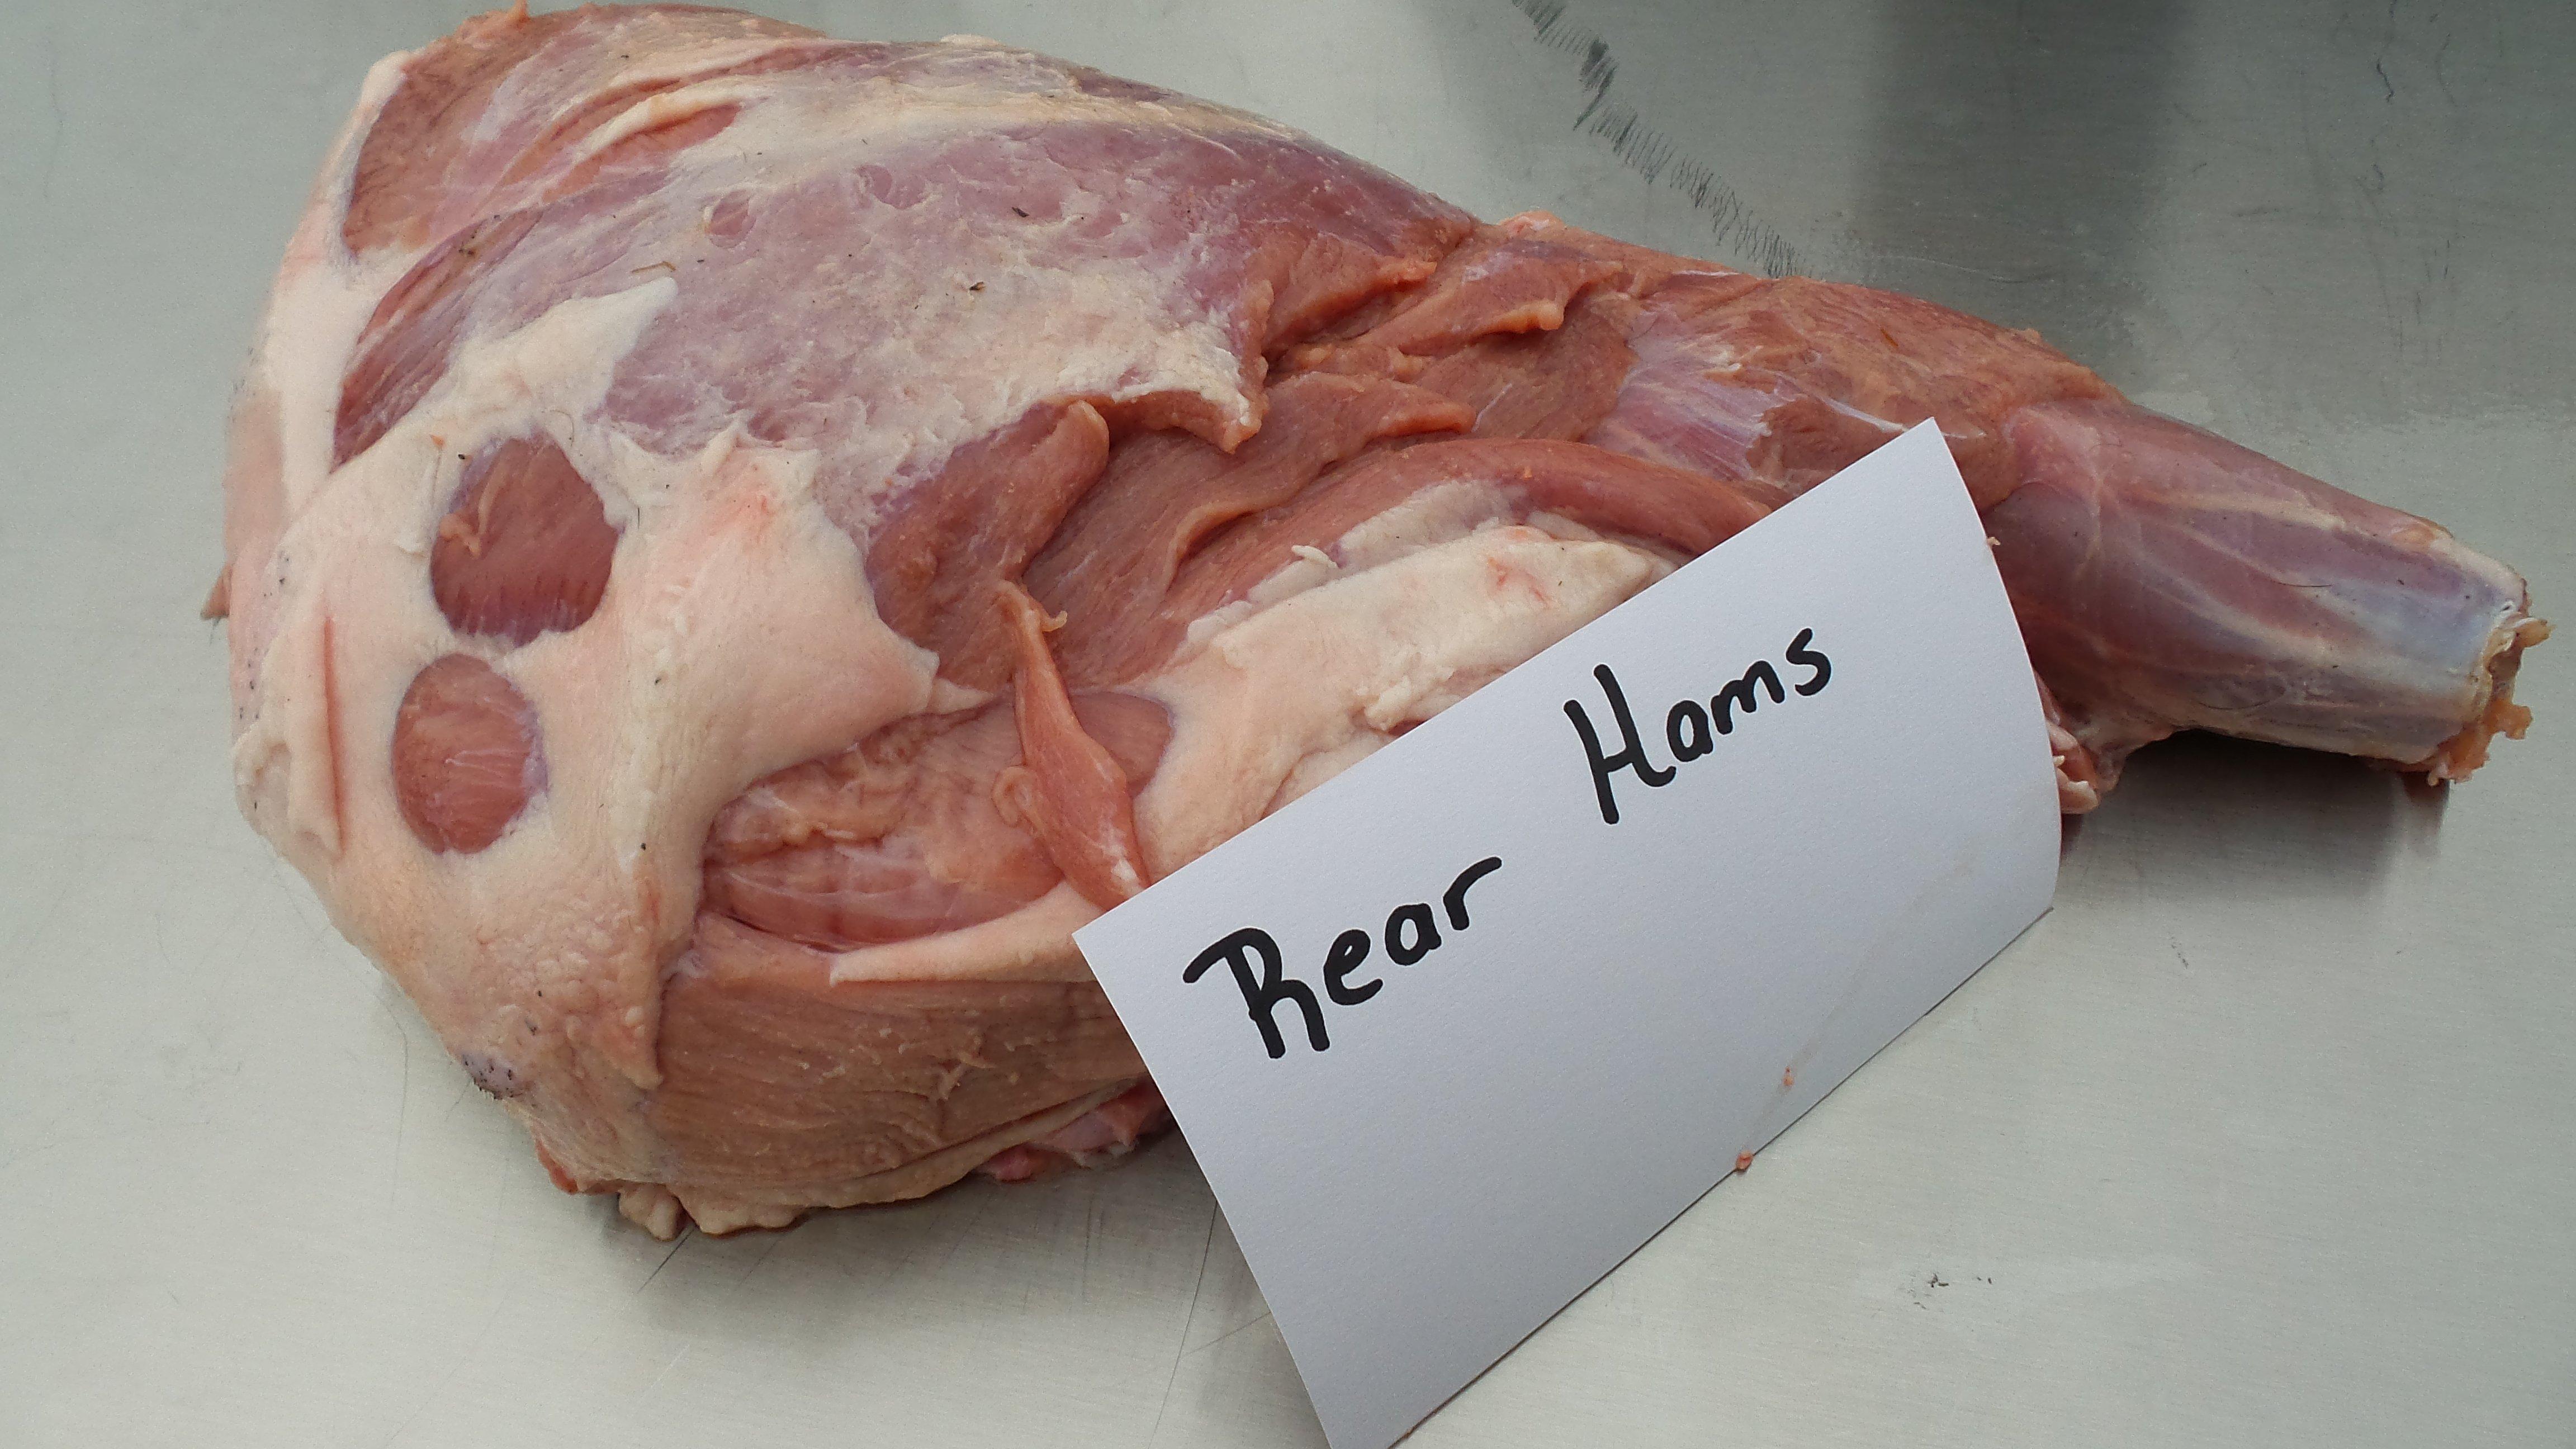
To separate the rear hams, there are two options. The first is to work your knife blade around the pelvic saddle and cut through the ball joint. The easier option is to saw across the backbone just in front of the hams to separate them from the rest of the pig. Then saw down the center of the bone that attaches the two hams to each other.
Step 6
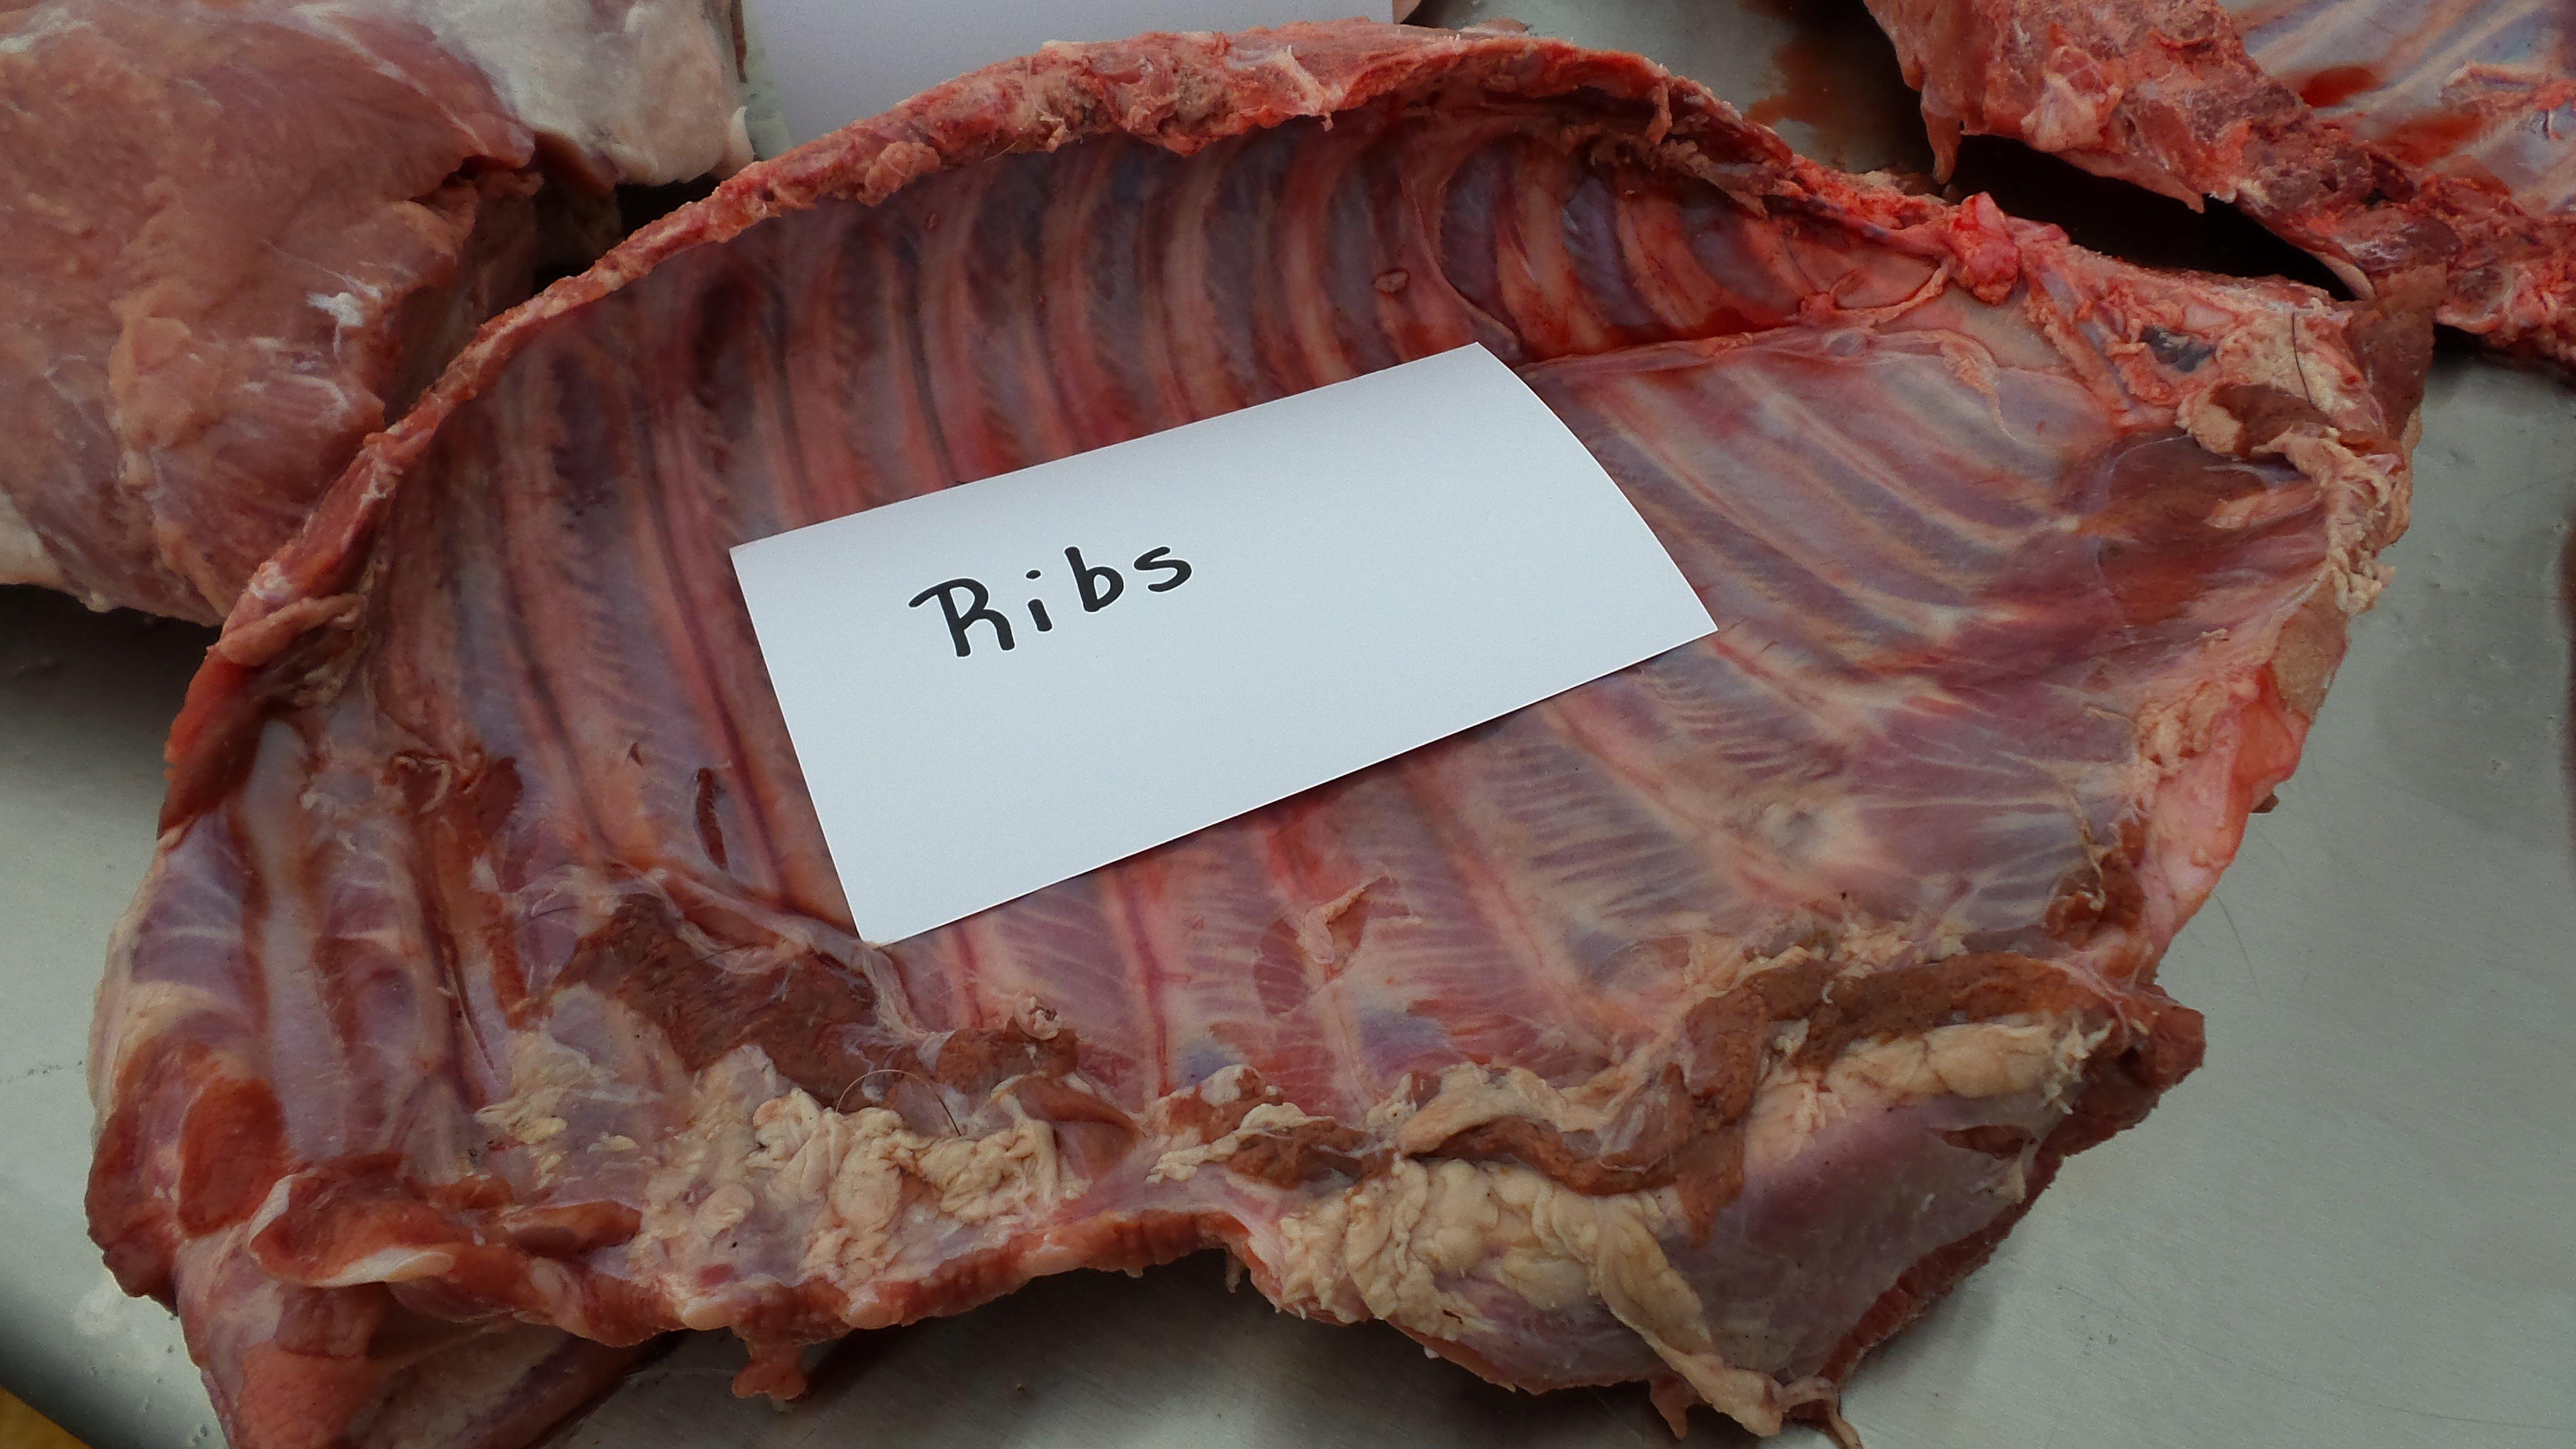
Remove the ribs from just below where the loin attached to the backbone. In domestic hogs, the ribs are separated into spare and loin back sections. Wild pigs have a much smaller bone structure, so I normally leave the ribs as a whole rack.
Step 7
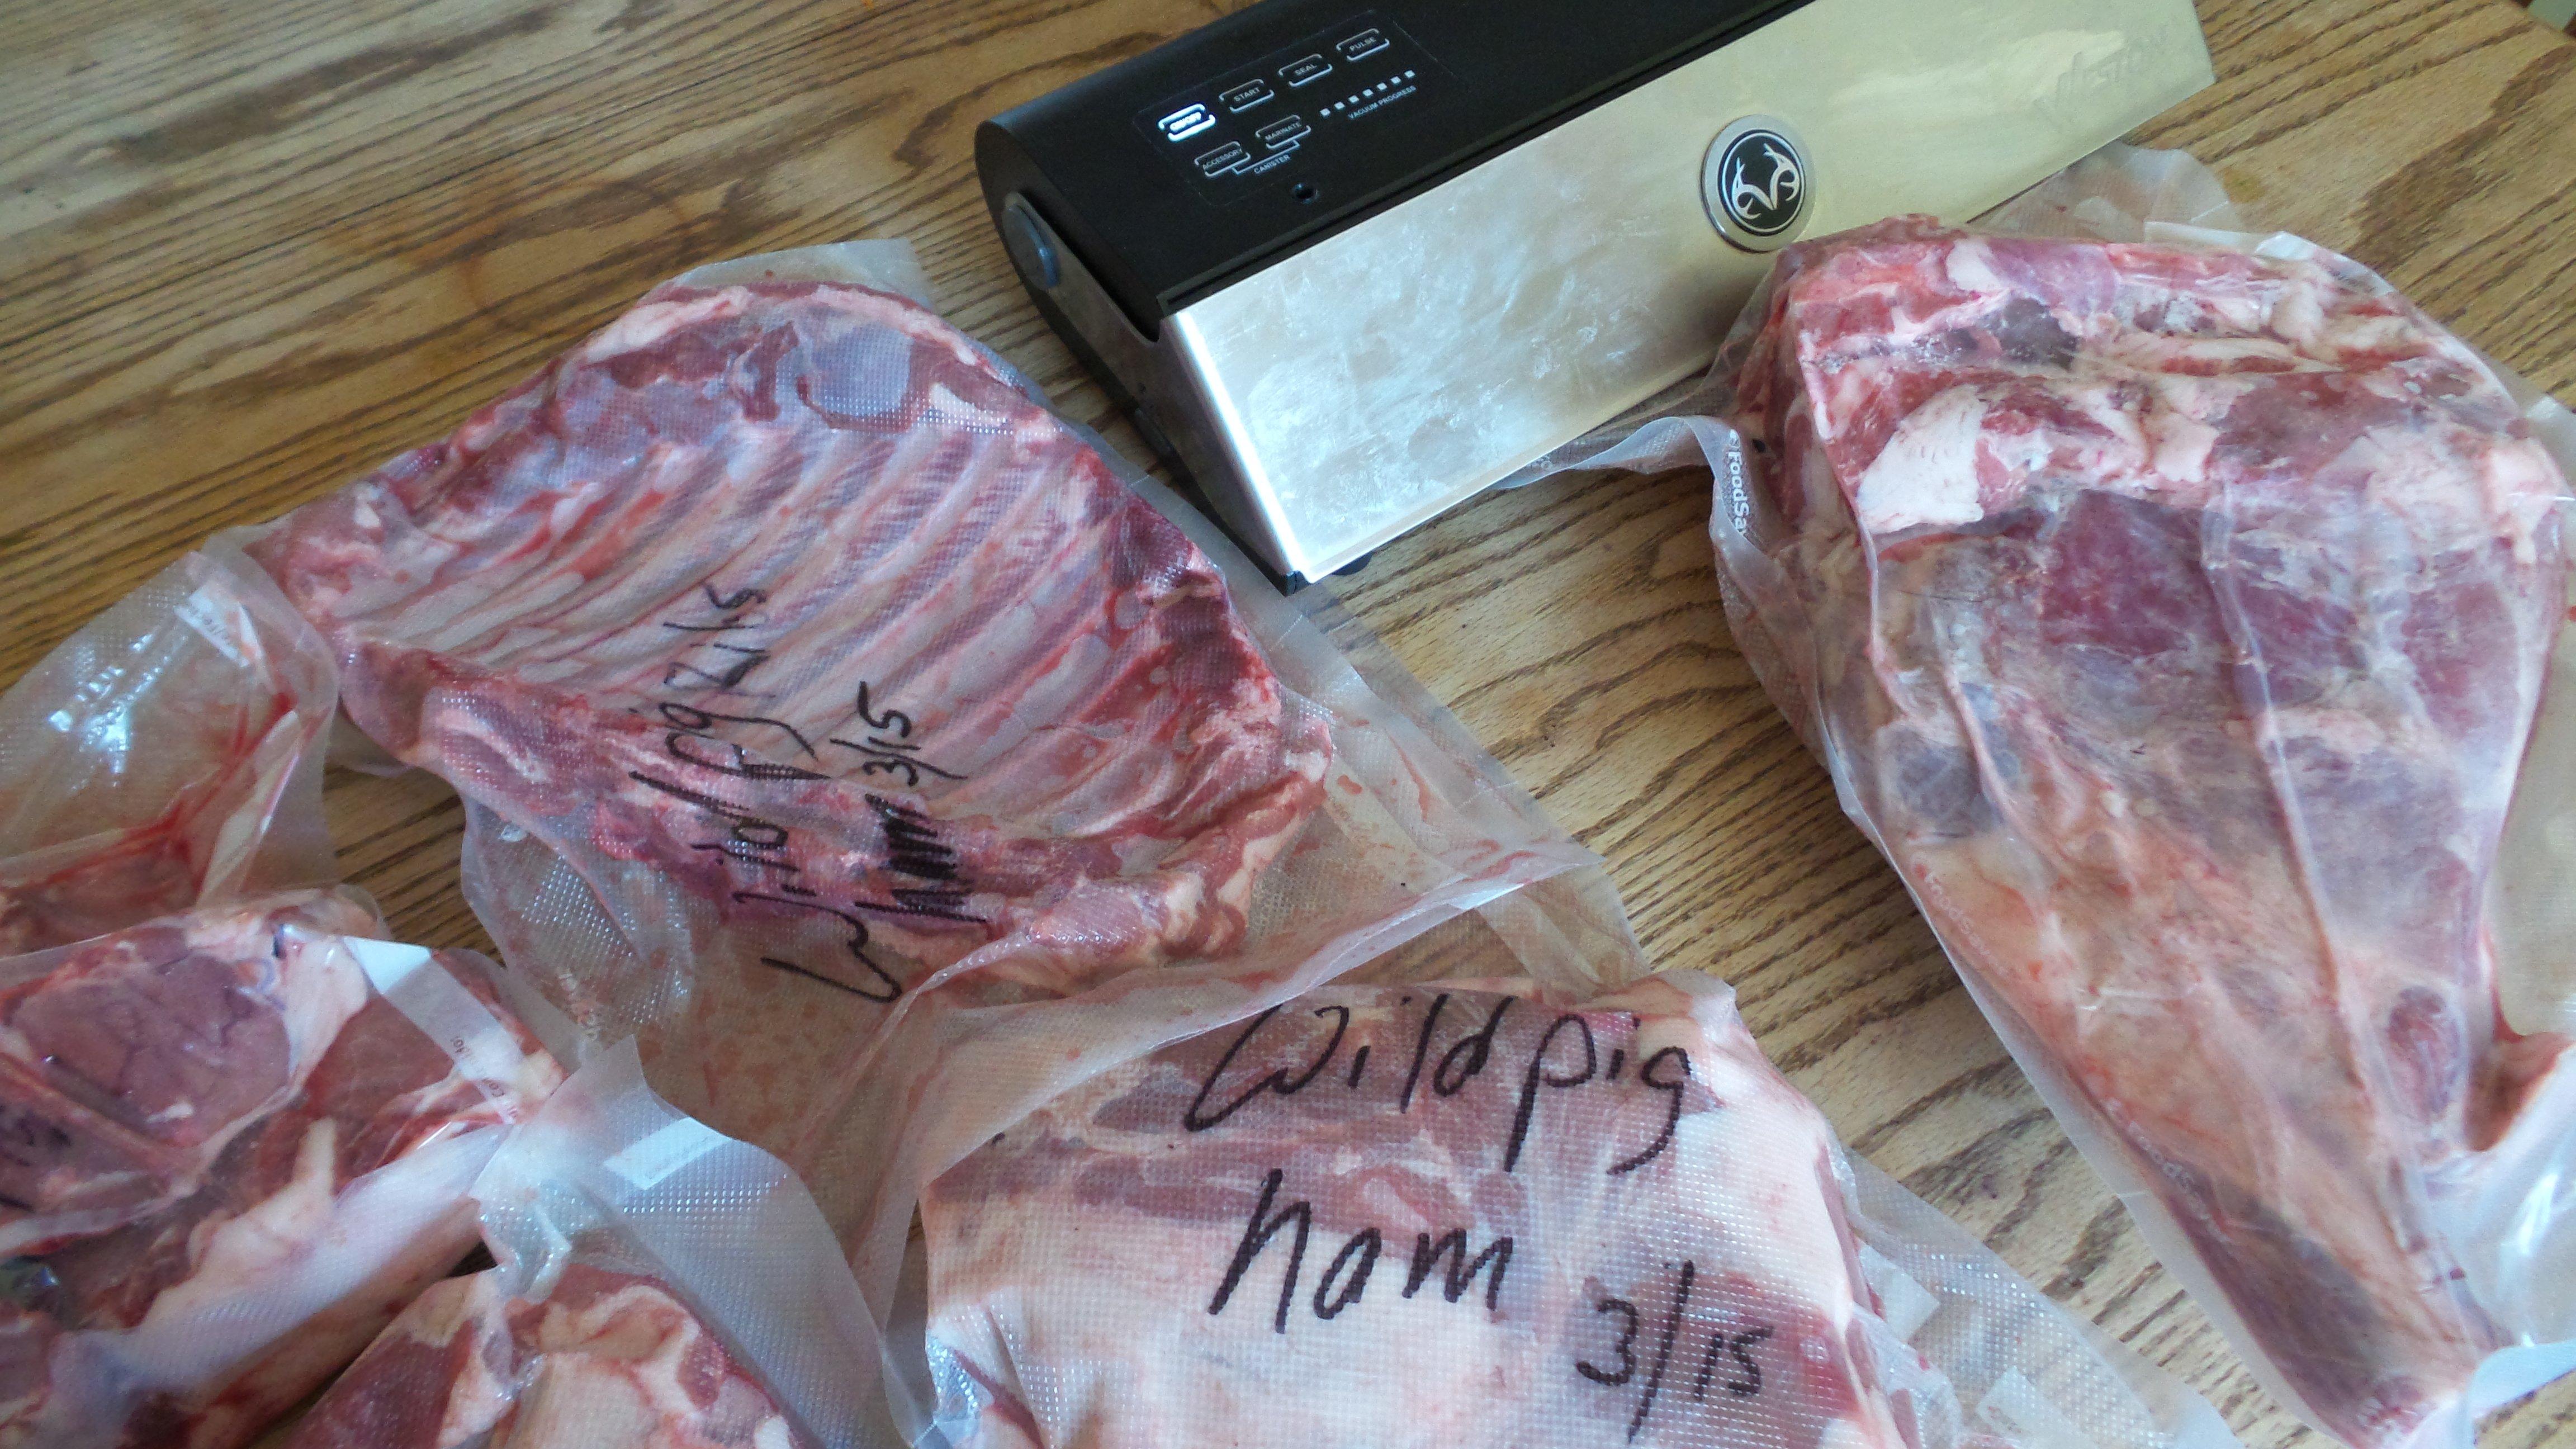
Seal it up for the long haul. The most effective way to store your pork is to vacuum seal it. If you don't have a sealer, double wrap, first with plastic wrap, squeezing out as much air as possible, then with freezer paper. Use plenty of tape and label your packages well.

