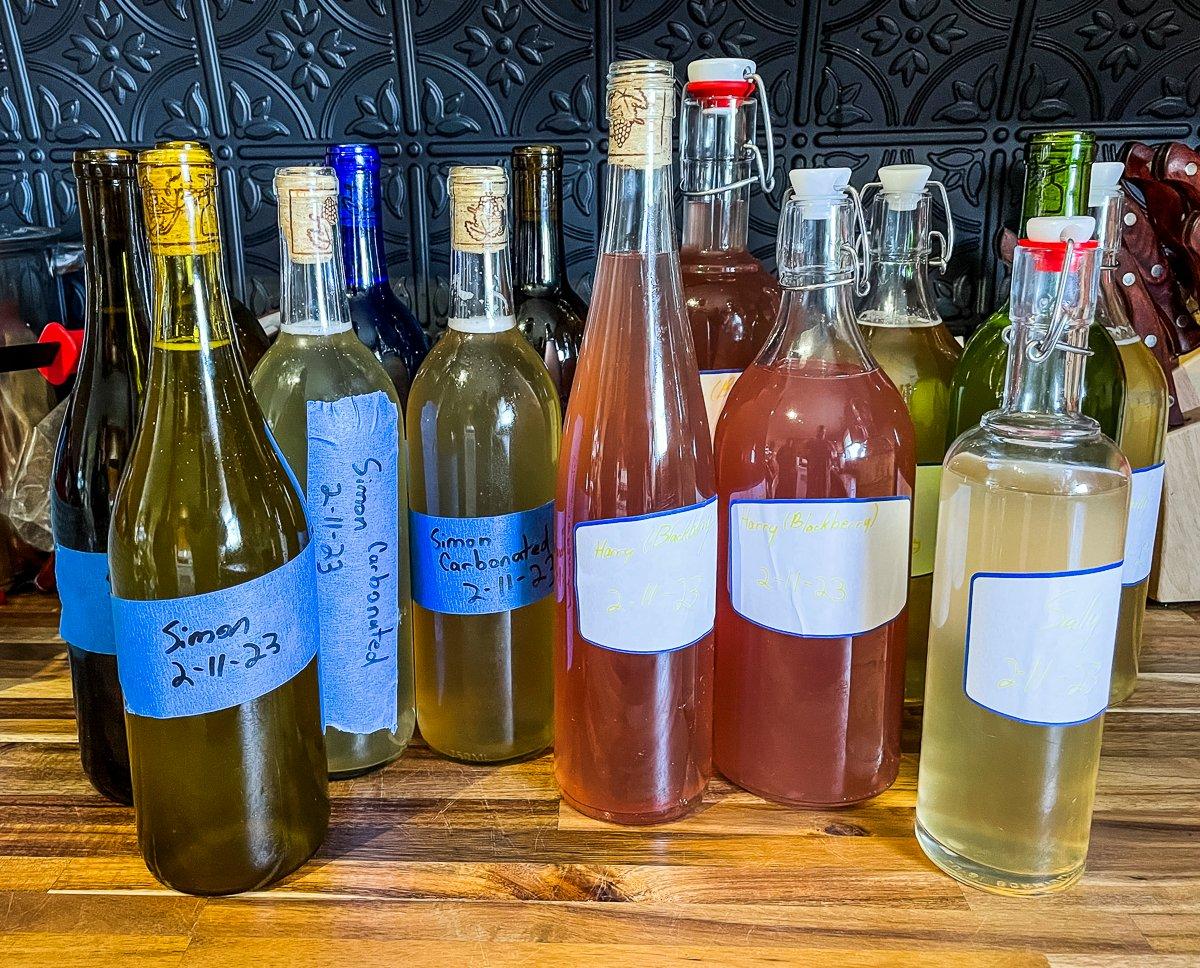
Unleash your inner Viking with this rewarding-to-make mead recipe
One of the best parts of keeping bees, other than the benefit they give to our deer and turkey habitat, is the fact that we always have honey on hand. Sure, honey is great on biscuits or toast, in a cup of tea, or drizzled over some spicy fried wild turkey, but it really shines as the main ingredient in honey mead.
Mead is simply fermented honey in water. It is one the oldest alcoholic beverages known to man, dating back as many as 40,000 years ago, predating even modern agriculture. It is believed that the first mead was discovered in Africa. One origin theory is that rain water might have accumulated inside a hollow tree that contained a wild bee hive. Naturally occurring yeast from the air settled over the honey water and fermented, turning the concoction into a crude version of mead.
(Don't Miss: How Bees Can Help Your Hunting)
Viking lore has it that mead came from the gods themselves and that when Viking warriors were killed and arrived at Valhalla in the afterlife, they were rewarded with a draught of mead served by beautiful maidens.
Wether it came from a Norse god or a hollow tree stump, mead is good stuff. Even better, it's easy and inexpensive to make at home with just small amount of equipment, some of which you might already have in the kitchen. Yes, the initial outlay for equipment can be can run up to a couple hundred dollars in a hurry, but once you have it, you can make mead for pennies from that point on. If you don't want to piece together the stuff you need, you can find a ton of kits online that come with everything except the honey.
Equipment:
Two 1-gallon plastic or glass jugs
Stopper with air lock
Bottles for the finished mead
Wine bottle corker and corks if using wine bottles
Star San or another brand of sanitizer
Hydrometer
Funnel
100ml graduated cylinder
Auto siphon with bottling wand
Large tub for sanitizing
Ingredients:
3 pounds good, raw honey
1 packet ale or wine yeast
Yeast nutrient
1 gallon spring water
The Process
Every batch of mead starts with good sanitization. EVERYTHING that touches your mead should be sanitized before starting. The easiest way to do this is to fill a plastic tub large enough to submerge your equipment in water, then add the recommended amount of Star San or whatever brewing sanitizer you choose. Dunk everything. Don't worry if you see a few bubbles in your bottles when they come out, the sanitizer is tasteless, orderless, and food safe.
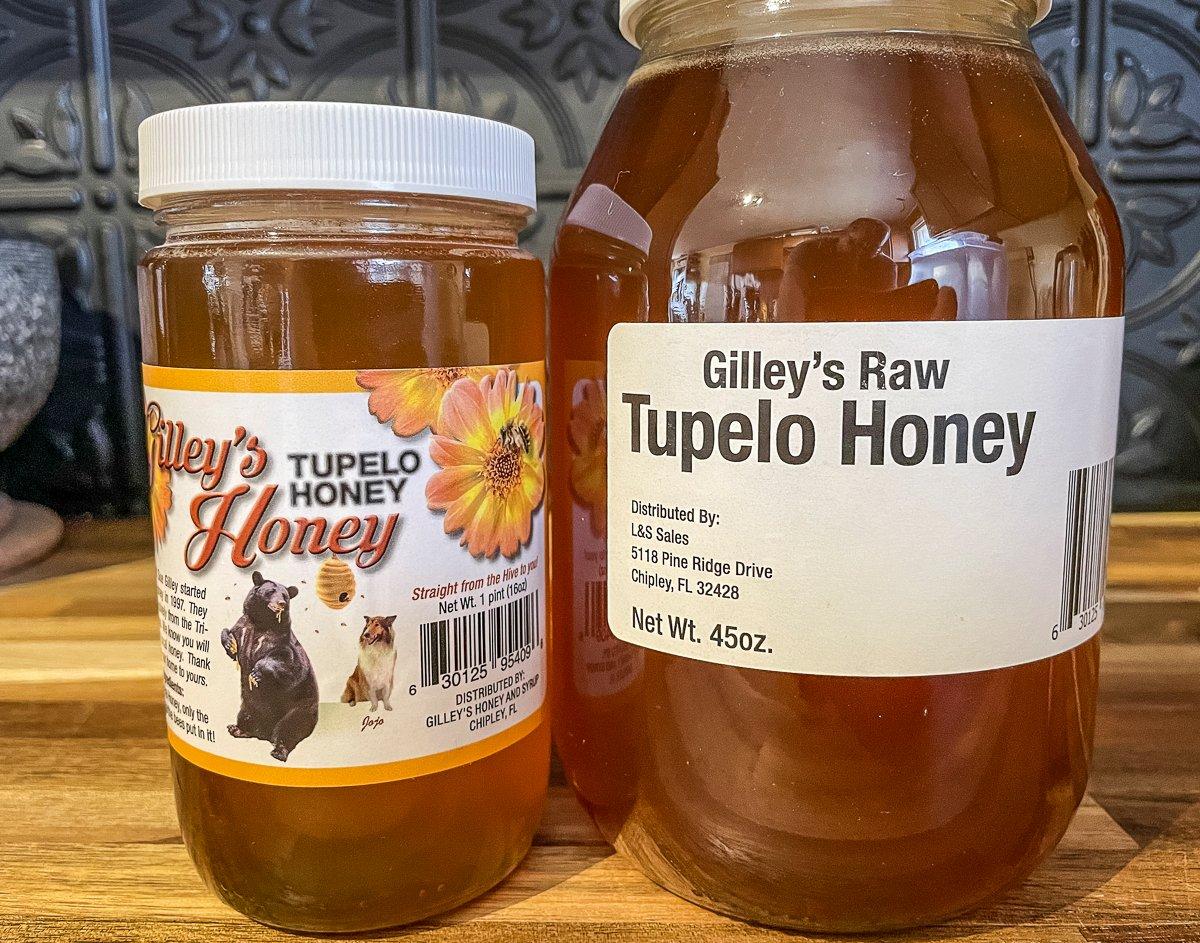
Once you have everything clean, start by adding about half a gallon of spring water (try to avoid chlorinated tap water) to a large pot. Heat it until warm. Add three pounds of good, local if possible, raw honey and stir until the honey is dissolved. This step isn't 100 percent necessary, lots of mead makers simply add the raw honey to the jug and top it with spring water. This method requires a ton of agitation to dissolve the honey, so it seems to work better for me to warm the water and stir in the honey. Don't get it too hot, just warm to the touch is enough to dissolve the honey.
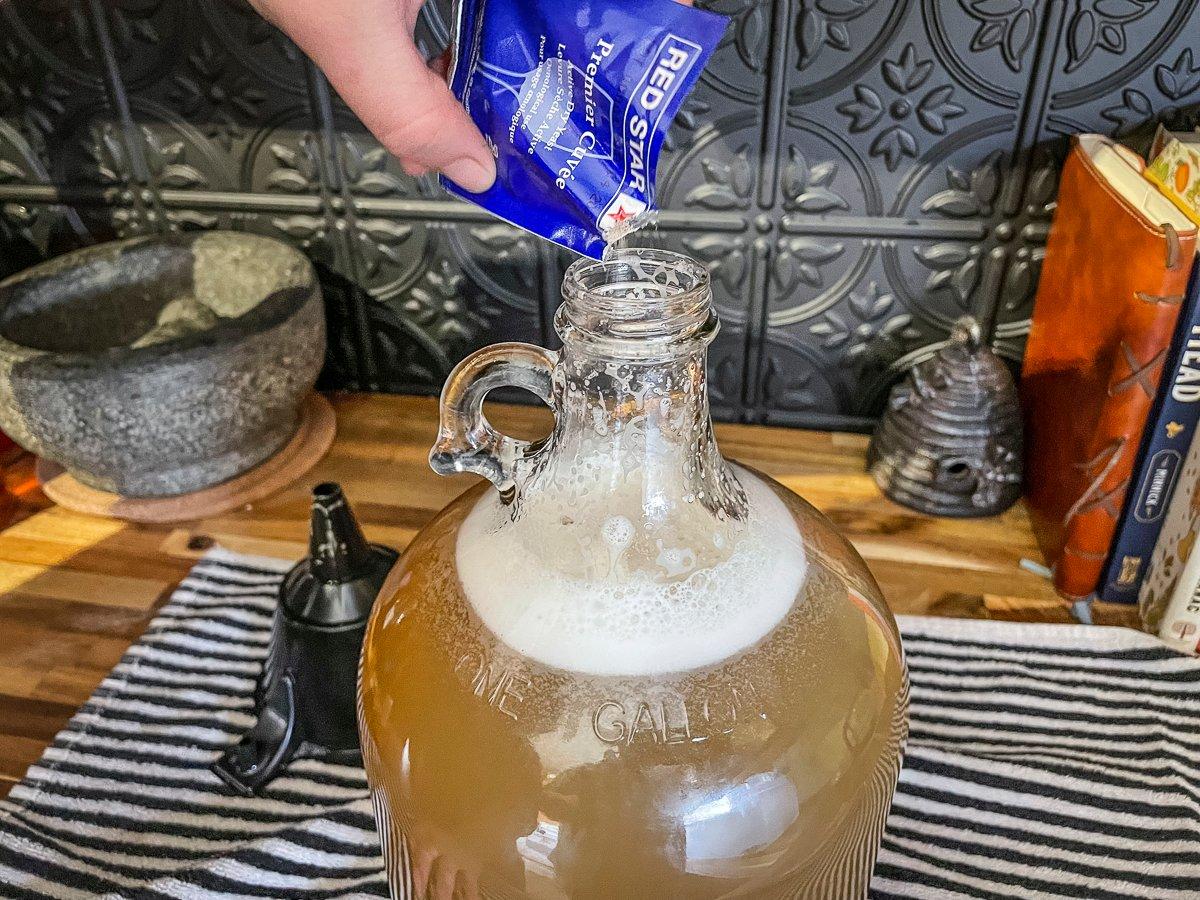
Add the dissolved honey to your fermenting jug. Pour in enough spring water to fill almost up to the neck. Now its time to add your yeast. Yes, you can make mead with standard bread yeast from the grocery, but it won't be as good as a batch made with ale or wine yeast. My favorites are Red Star Premier Cuvee and Calvin D47. Both are available at brewing supply stores or online for just a few dollars for several packs. A pack will ferment up to five gallons of mead, but to be safe, I usually add a half pack to a gallon batch. Many mead makers prefer to dissolve the yeast in warm water before adding to the jug. I've done it both ways and they both work. Since yeast are a living thing, and all living things like to eat, adding a bit of yeast nutrient helps it to kick off and fully consume the sugars for maximum fermentation. Popular yeast nutrients are Fermaid-O and North Mountain. Put a cap on the jug and shake well to combine the yeast and nutrient into the water and honey.
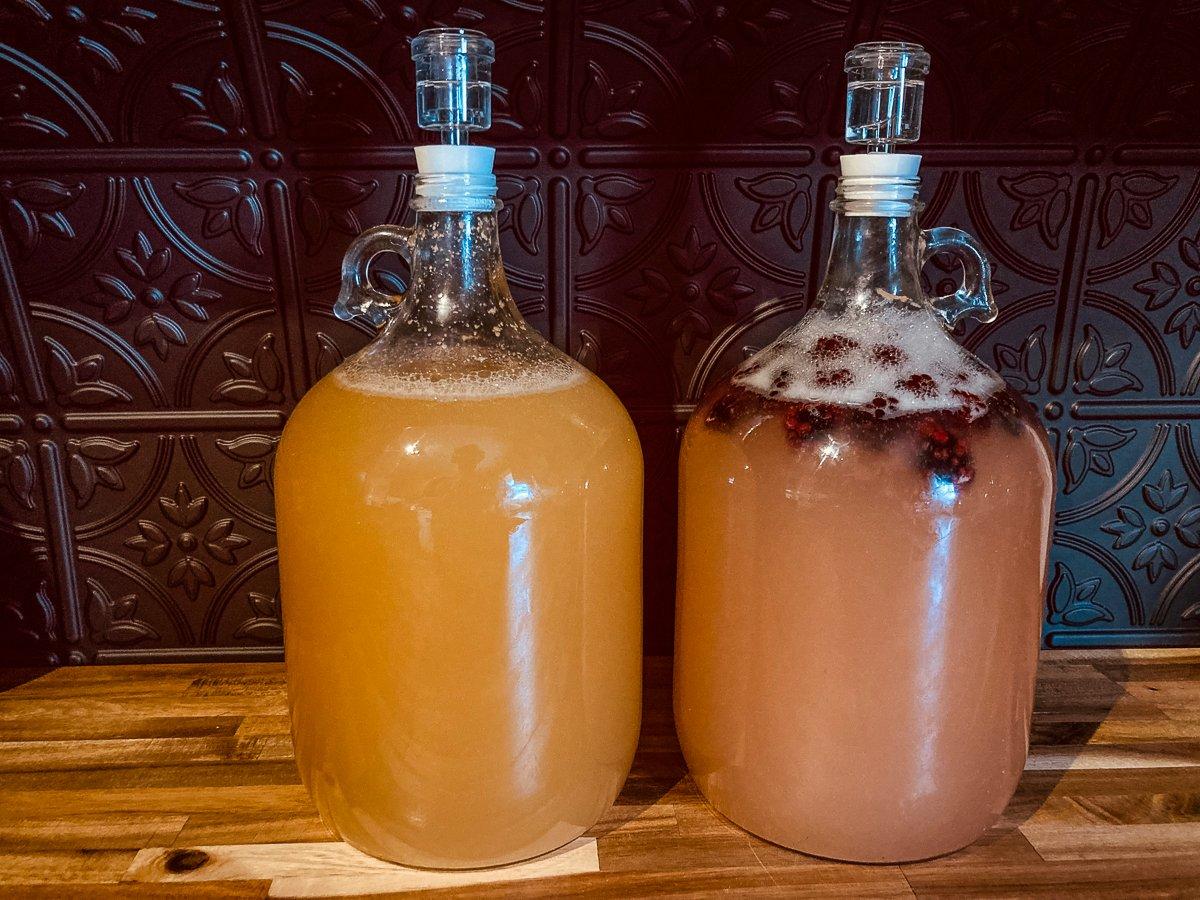
That's it. Those four things are all you need for a basic mead. That isn't to say you can't add other things. Popular fruits are cherries, strawberries, blueberries, mangos, oranges, or pretty much whatever fruit you enjoy. Other recipes call for brewed tea, coffee, vanilla, and any number of herbs and spices. You can find various recipes on line to match just about any taste preference.
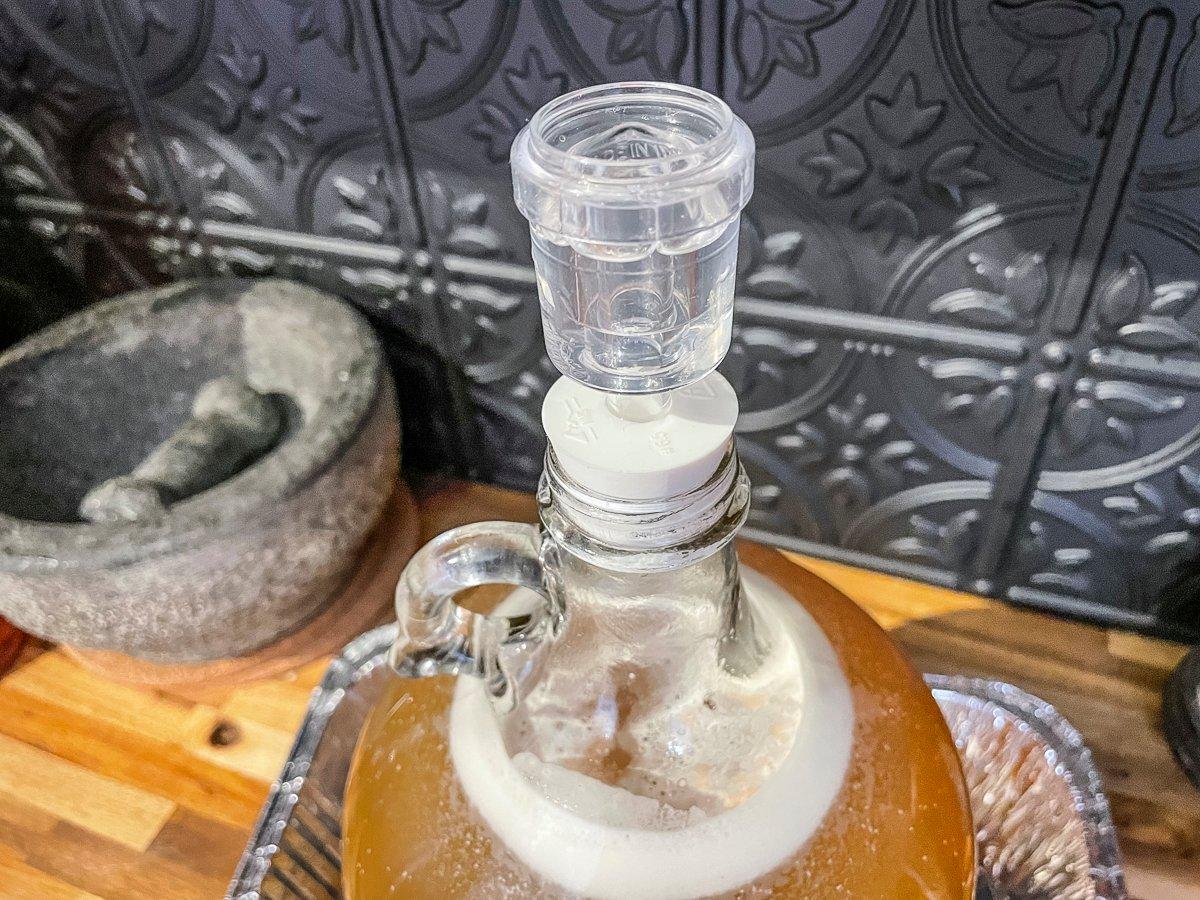
As the mead ferments, it will release carbon dioxide. If it doesn't have a way to vent, it will build pressure to the point that it might blow up or erupt out the top of your fermenting container. At the same time, you want to keep insects, airborne bacteria, and other bad stuff out of the mead. To accomplish this, use an airlock. An airlock is a tube or basin that uses liquid as a barrier, allowing high pressure to escape the chamber while stopping anything from getting in. I like to fill my air lock with water from the sanitization tub. That ensures there are no bacteria on the inside of your air lock.
That's it. Move the mead to a warm spot out of direct sunlight. I like to place the jug inside a large aluminum grill pan in case the fermentation process causes a bit of overrun from the jar. It doesn't always happen, but if it does, you'll be thankful for the pan and the ease of cleanup.
After 24-48 hours, you should start to see a bit of action in your mead. Small bubbles should be rising to the top of the mead and the liquid in the air lock should have a large bubble rise up through it every few seconds.
This part of the process will last about 14 days, so don't rush it. Once the bubbles cease to rise through the air lock, or at least slow way down, then it's time to rack the mead.
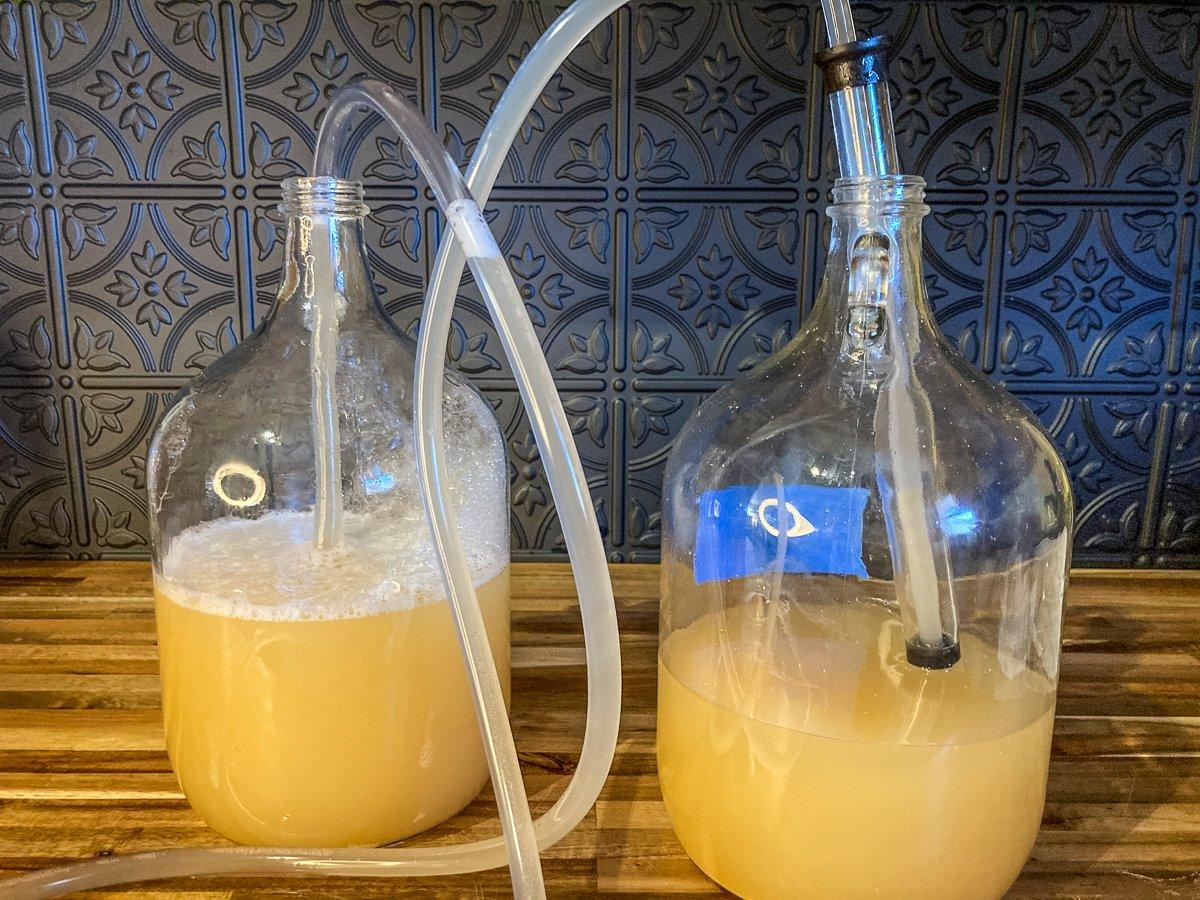
What is racking and why do you need to do it? Look at the bottom of your jug of mead. You will see a layer of sediment, known as lees, in the bottom. While these solids won't hurt you, it isn't the most pleasant thing to consume. Racking is the process of gently transferring the mead from the fermentation jug to a clean and sanitized jug while leaving the lees behind.
The easiest way to rack is to use a pump-style siphoning system. Simply place the pump end into the mead, elevate that jug above the empty jug, then place the end of the siphon tube in the empty jug. Pump the siphon a few times to start the flow, keeping the bottom of the siphon tube just above the lees. Many brewing-specific siphon systems come with a cap that allows the liquid to flow through while blocking the solids.
Once you have the mead transferred, cap the new jug. Technically, the bulk of the fermentation should be over by this point and you don't have to use an air lock, but I like to for added insurance, just in case the mead is still off-gassing a bit. Now the mead needs to rest again for 7-14 days. I said the process was simple, I didn't say it was fast.
After resting the mead in the racking jug, you might notice a new layer of lees. If it is small, you can go ahead and bottle straight from the racking jug. If the layer is thick, you can always rack again into a sanitized jug and allow it to rest a few more days.
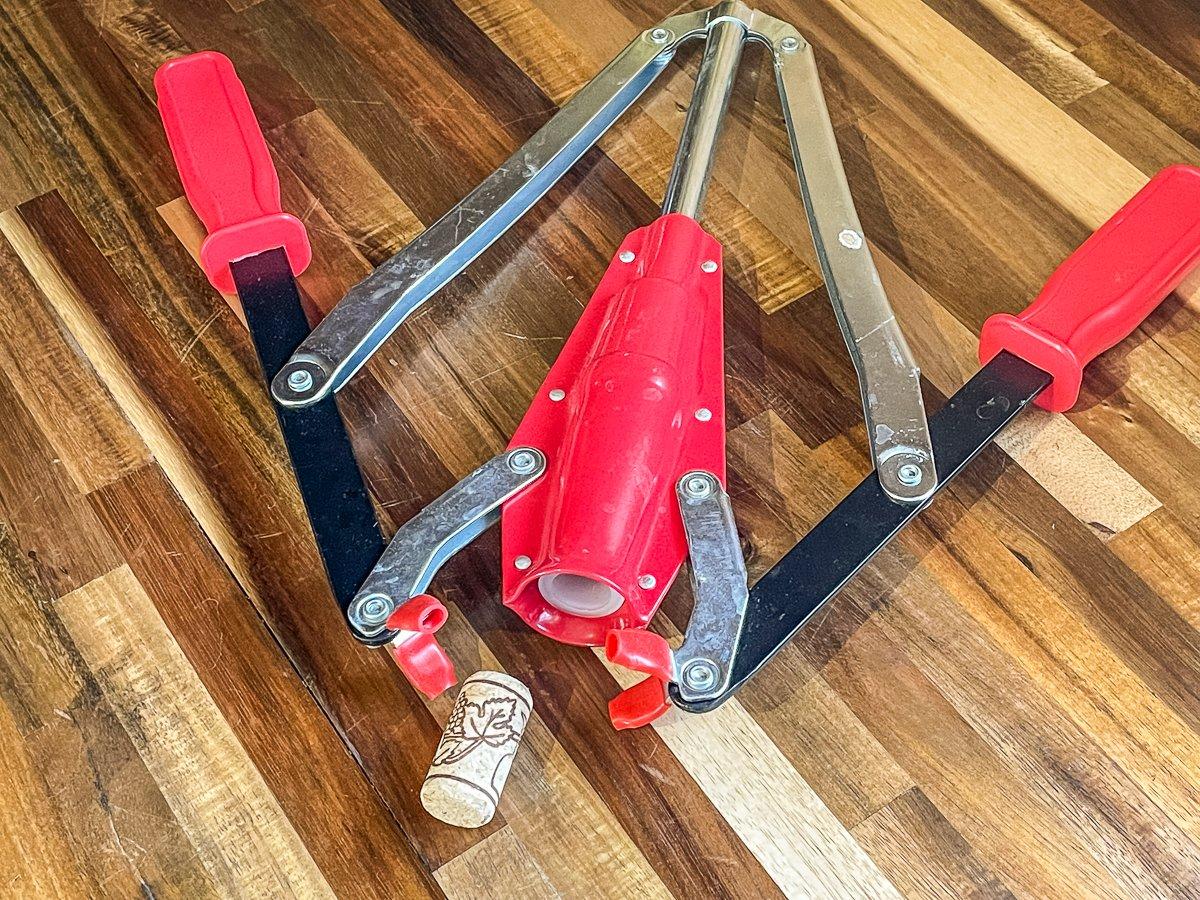
Once you are satisfied that the mead is clear enough, give it a taste. If your yeast did its job, it will have consumed nearly all the sugars in the honey, leaving a dry, crisp mead. If you prefer your mead a bit sweeter (I usually do) then its time to back-sweeten. You can do this with honey, simple syrup, or even sugar substitutes like monkfruit. Take care not to over sweeten, a little bit is usually sufficient. Sweeten, let it set for a few minutes to an hour or two, then taste. If it needs more sweetness, add a bit more. Keep in mind that the mead will sweeten naturally as it ages, and you can always sweeten in the bottle before consuming if it needs it. Once you are happy with the flavor, it's time to bottle. You can use old-fashioned flip top bottles, empty beer bottles, or even recycled wine bottles. Whatever you use, make sure you sanitize them before adding the mead. If you use wine bottles, purchase a butterfly style hand corker and new corks to seal the bottles after filling. If you are using beer bottles, get a similar butterfly capper and new caps for sealing. Both can be found online or at brewing supply stores.
If you want to know the alcohol percentage in your mead, you can test it with a hydrometer. Instructions on use will come with your hydrometer, or you can find detailed tutorials online. The easiest way to test is to fill a graduated cylinder with mead (I use a sanitized turkey baster for this) and carefully drop in your hydrometer. The hydrometer will float to a certain level depending on alcohol content. You can also use the hydrometer at various stages of the process to monitor fermentation stages.
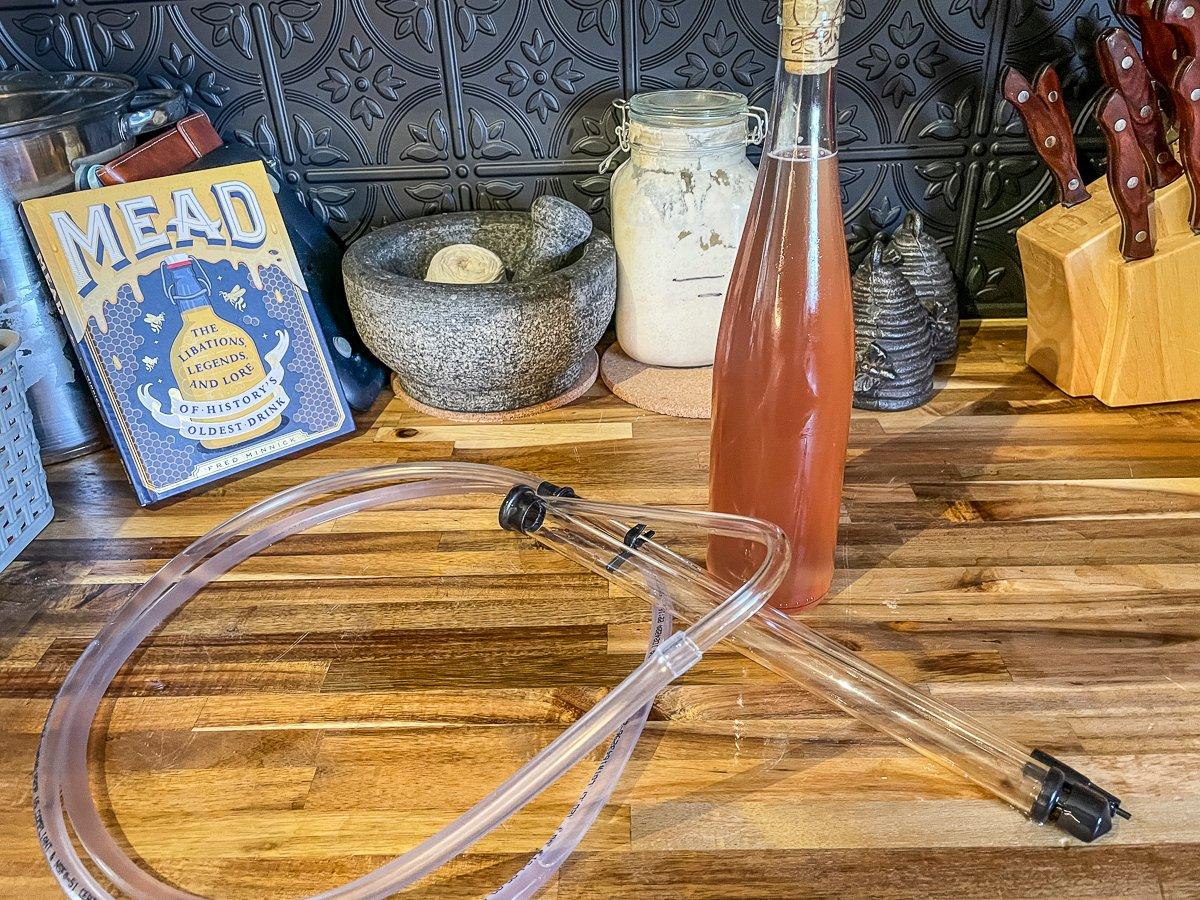
The bottling process is just like the racking method. Place the large end of the siphon system in the mead and the working end into a bottle. Here's where a bottling attachment comes in handy. Bottling wands are tipped with a simple pressure valve that only allows liquid to flow when pressed against the bottom of the bottle. Once the bottle is full and you lift the bottling wand, the flow stops, making it easy to move to the next bottle without making a mess.
Once all your bottles are full, cap or cork to seal. Store the filled mead bottles in a dark cabinet. You can drink the mead as is, but as the mead ages, the flavor improves. I like to give fresh mead at least a month in the bottle before consuming. Aging lengths of a year or even much longer aren't uncommon. Don't worry if you have a few questions. There are a ton of recipe ideas and how-to videos online.
Tips and Tricks
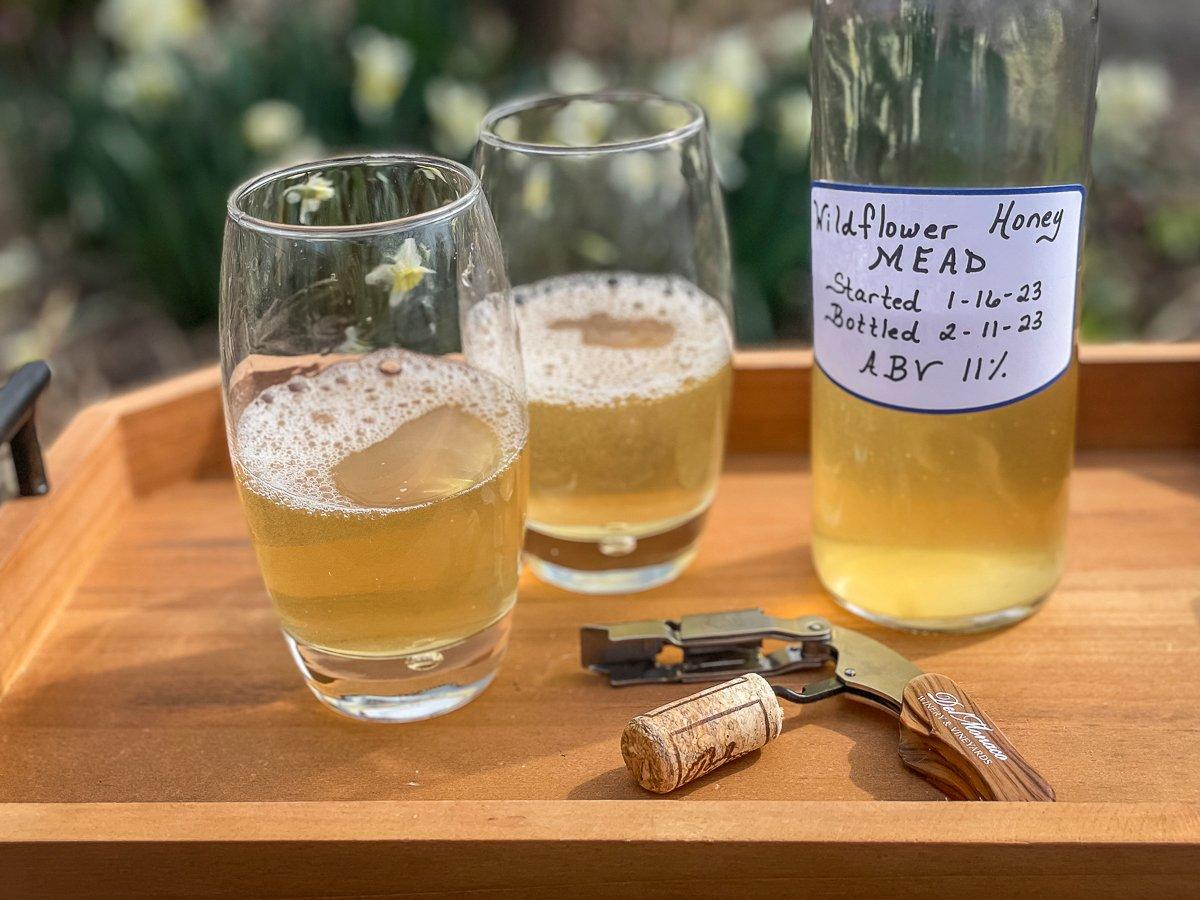
Keep detailed notes for each batch, including type of honey used, date mixed, date racked, date bottled, any flavorings added, and alcohol by volume (ABV) of finished product. This makes it easy to replicate favorite recipes and avoid those you don't enjoy as much.
You can stop the fermentation process by cold crashing the mead. That simply means storing it in the refrigerator for 1-2 weeks to basically kill the yeast and stop the fermentation. If you aren't certain the yeast has consumed all the sugars and stopped releasing gas, this is an easy way to make sure your mead is safe to bottle.
Speaking of safety, there is a thing called a bottle bomb. When mead is bottled before the fermentation process has completed, those gasses that normally escape through your air lock have no place to go in a sealed bottle and can eventually build enough pressure to make the bottle explode. It's dangerous if you happen to be standing next to the bottle when it happens, and messy even if you aren't. If you are concerned, place the newly filled bottles in a heavy duty plastic tote with a snap on lid for two to three weeks after bottling. The tote will hold in any glass shrapnel and mess if a bottle does go ballistic. That said, even with multiple batches of mead under our belt, we've never had this happen, but it is possible.
Flavoring with fruit can be done while the mead ferments, or after racking. Each method yields a different-tasting finished product. Try it both ways to see what you like best.
Mead recipes can be increased. If you find a recipe you really like, simply extrapolate out the ingredient amounts for the batch size you want. Two gallon, five gallon and even larger batches work if you keep the ingredient ratios the same.
If you want to make certain your bottled mead is no longer fermenting, you can pasteurize the finished product by placing the bottles in a large pan or container and filling with water to a level that covers the level of the mead inside the bottle. Use a sous vide to heat the water to 141 degrees and leave for 20 minutes. This level of heat will kill any remaining live yeast without altering the flavor of the mead.
Check your state laws. While all 50 states allow home brewing, some limit the amount you can make in a year.
Chill your mead before drinking. While you can store your mead in a cabinet or storage container at room temperature, always chill before drinking. To me, cold mead is crisper, more refreshing, and just tastes better.

