Get a rich, slightly smoky flavor from your next cup of coffee by fire roasting your own green coffee beans at camp
How to Roast Coffee Beans on the Campfire
45 Min
Prep Time
Easy, Medium
Difficulty
Coffee is life at hunting camp. And when two of your good friends and hunting buddies happen to be the owner and the VP of operations for Bayside Coffee Company based down in Eastpoint, Florida, the coffee game gets even stronger.
When Matt and Josh rolled into camp last week for some Kentucky bowhunting, they brought plenty of their usual outstanding in-house roasted coffee, but they also supplied something a little different: some green, unroasted beans.
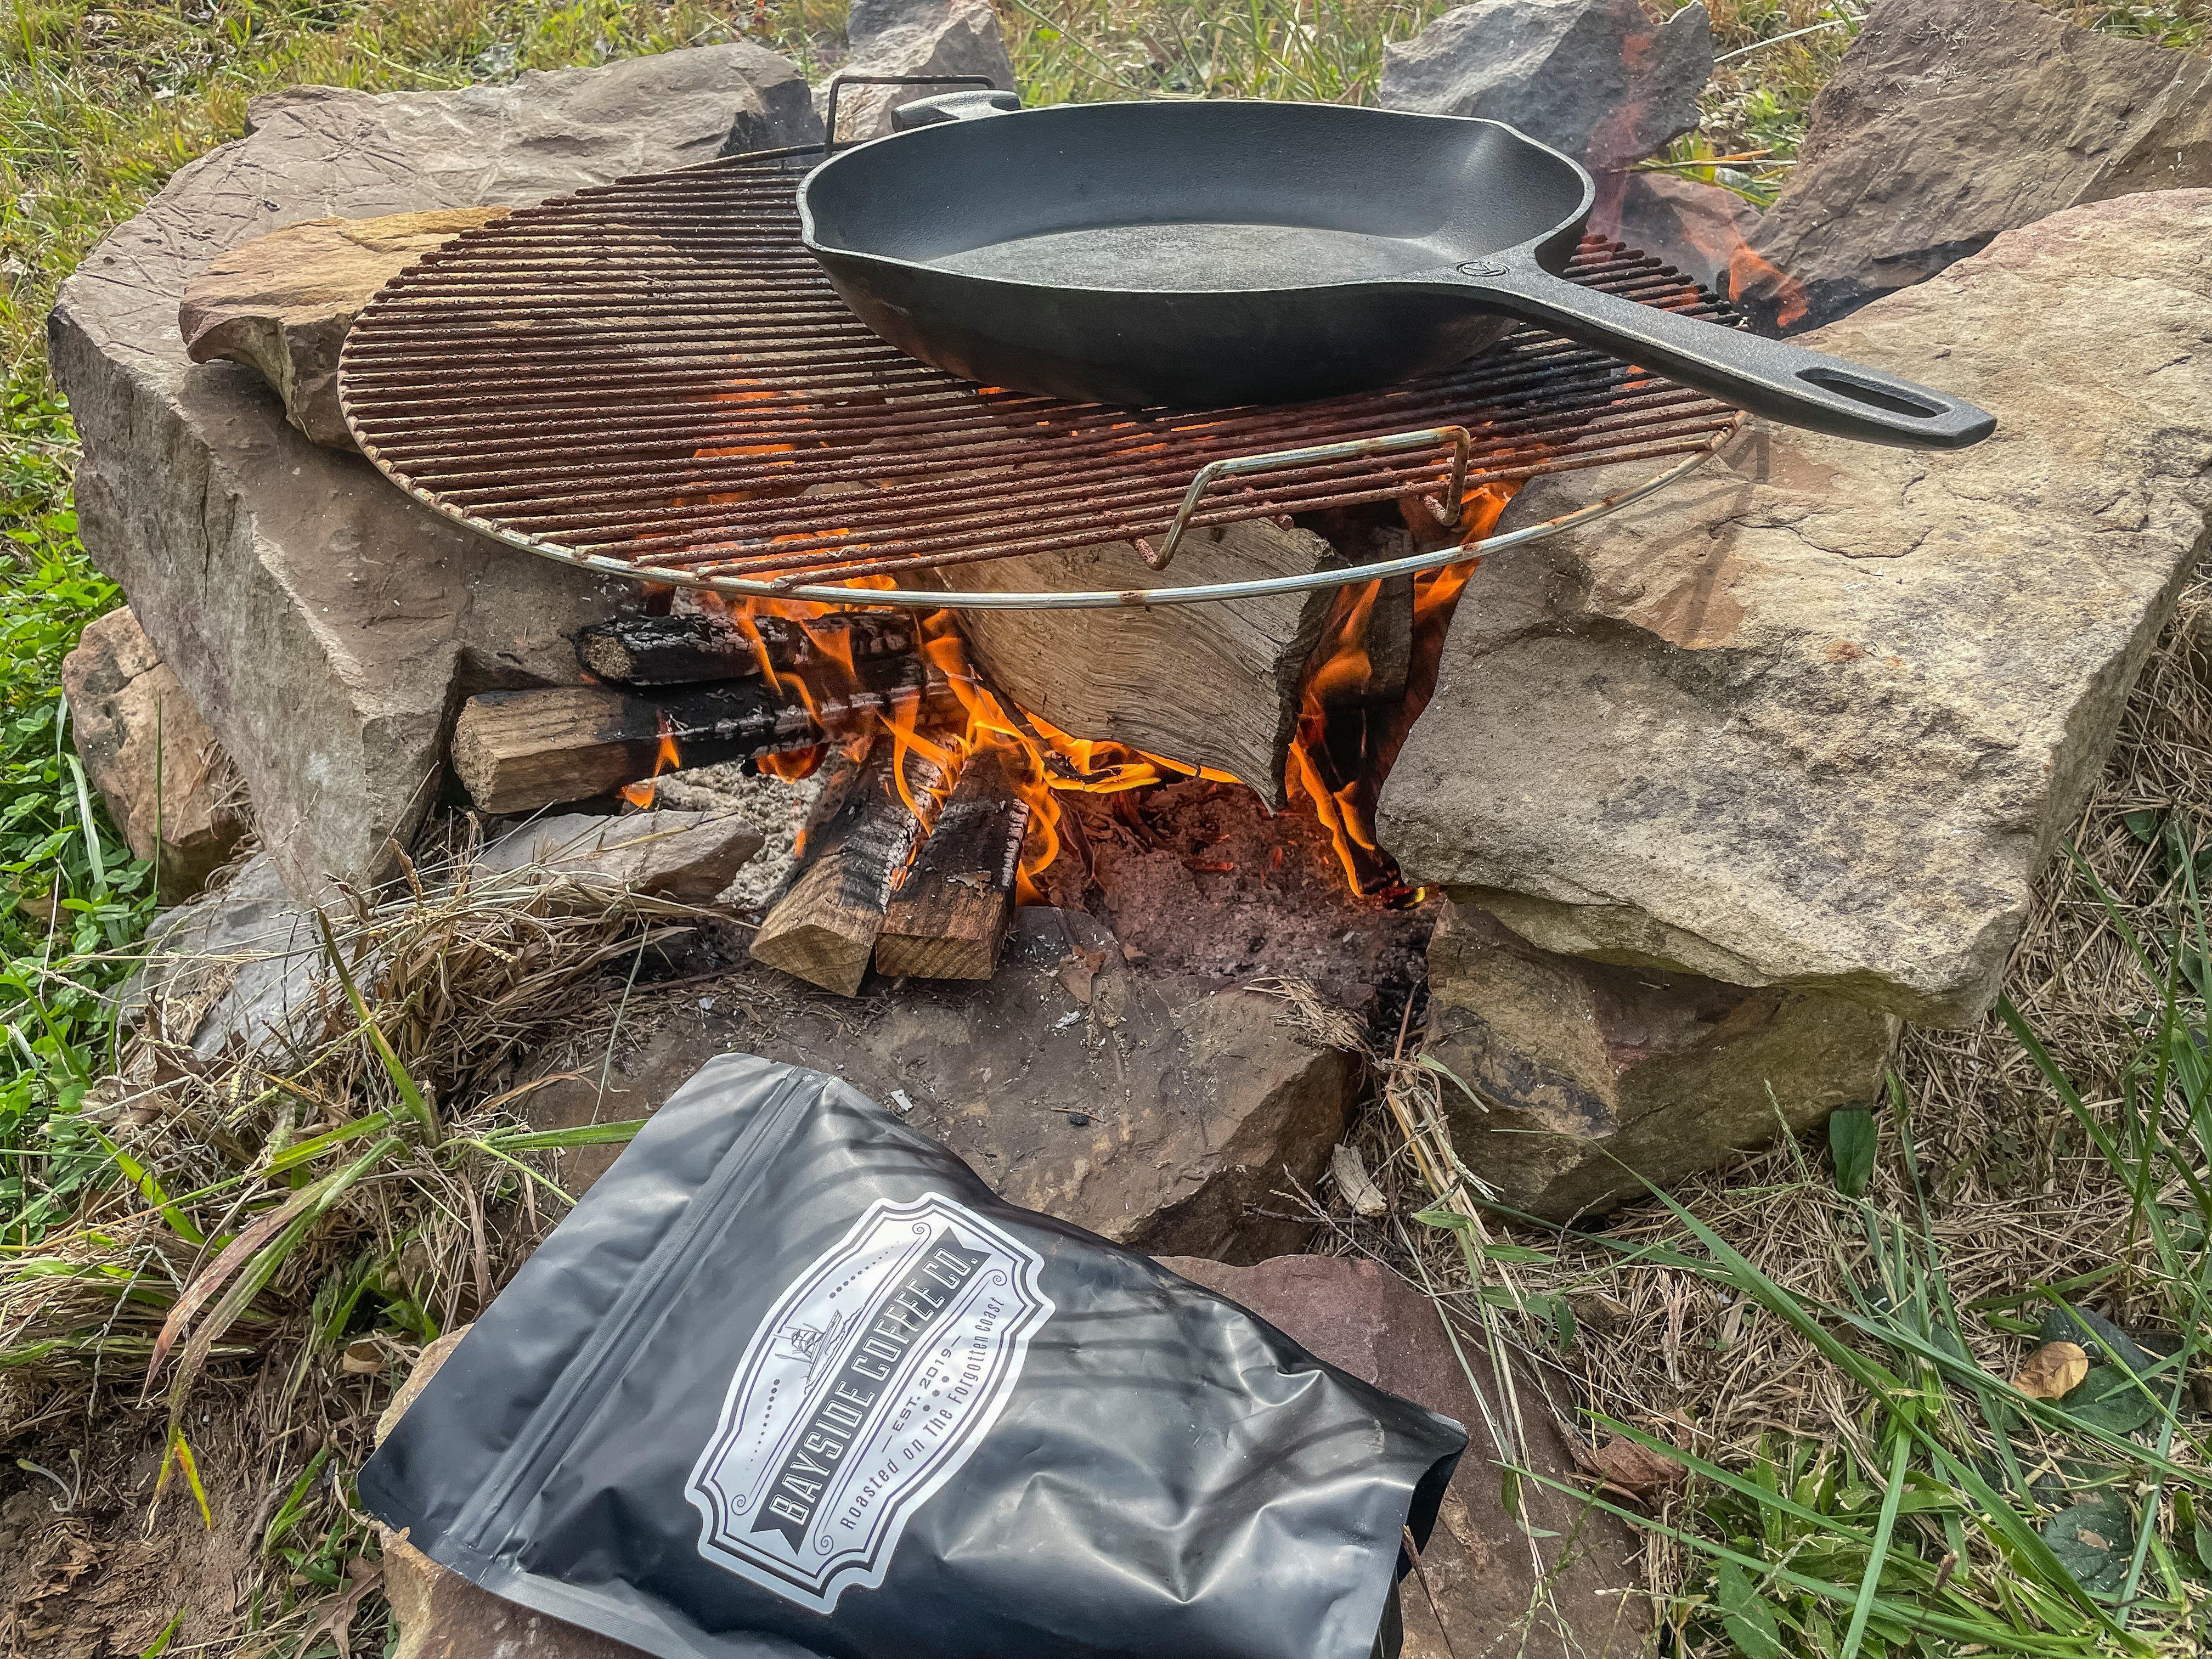
You’ll need green coffee beans, a cast-iron skillet, and a fire to complete this project.
I’d requested the green coffee for a project I’d always wanted to try — roasting them in a skillet over an open fire. Could we get a nice, even roast? Would the smoke flavor transfer from the fire to the coffee cup?
Since he spends the bulk of his days roasting fair-trade, single-origin beans from around the world, Matt took over the roasting duties. The guys offered up these tips for getting a nice roast in a skillet.
- Start with Colombian beans since they are the most forgiving when it comes to roasting times and temperatures.
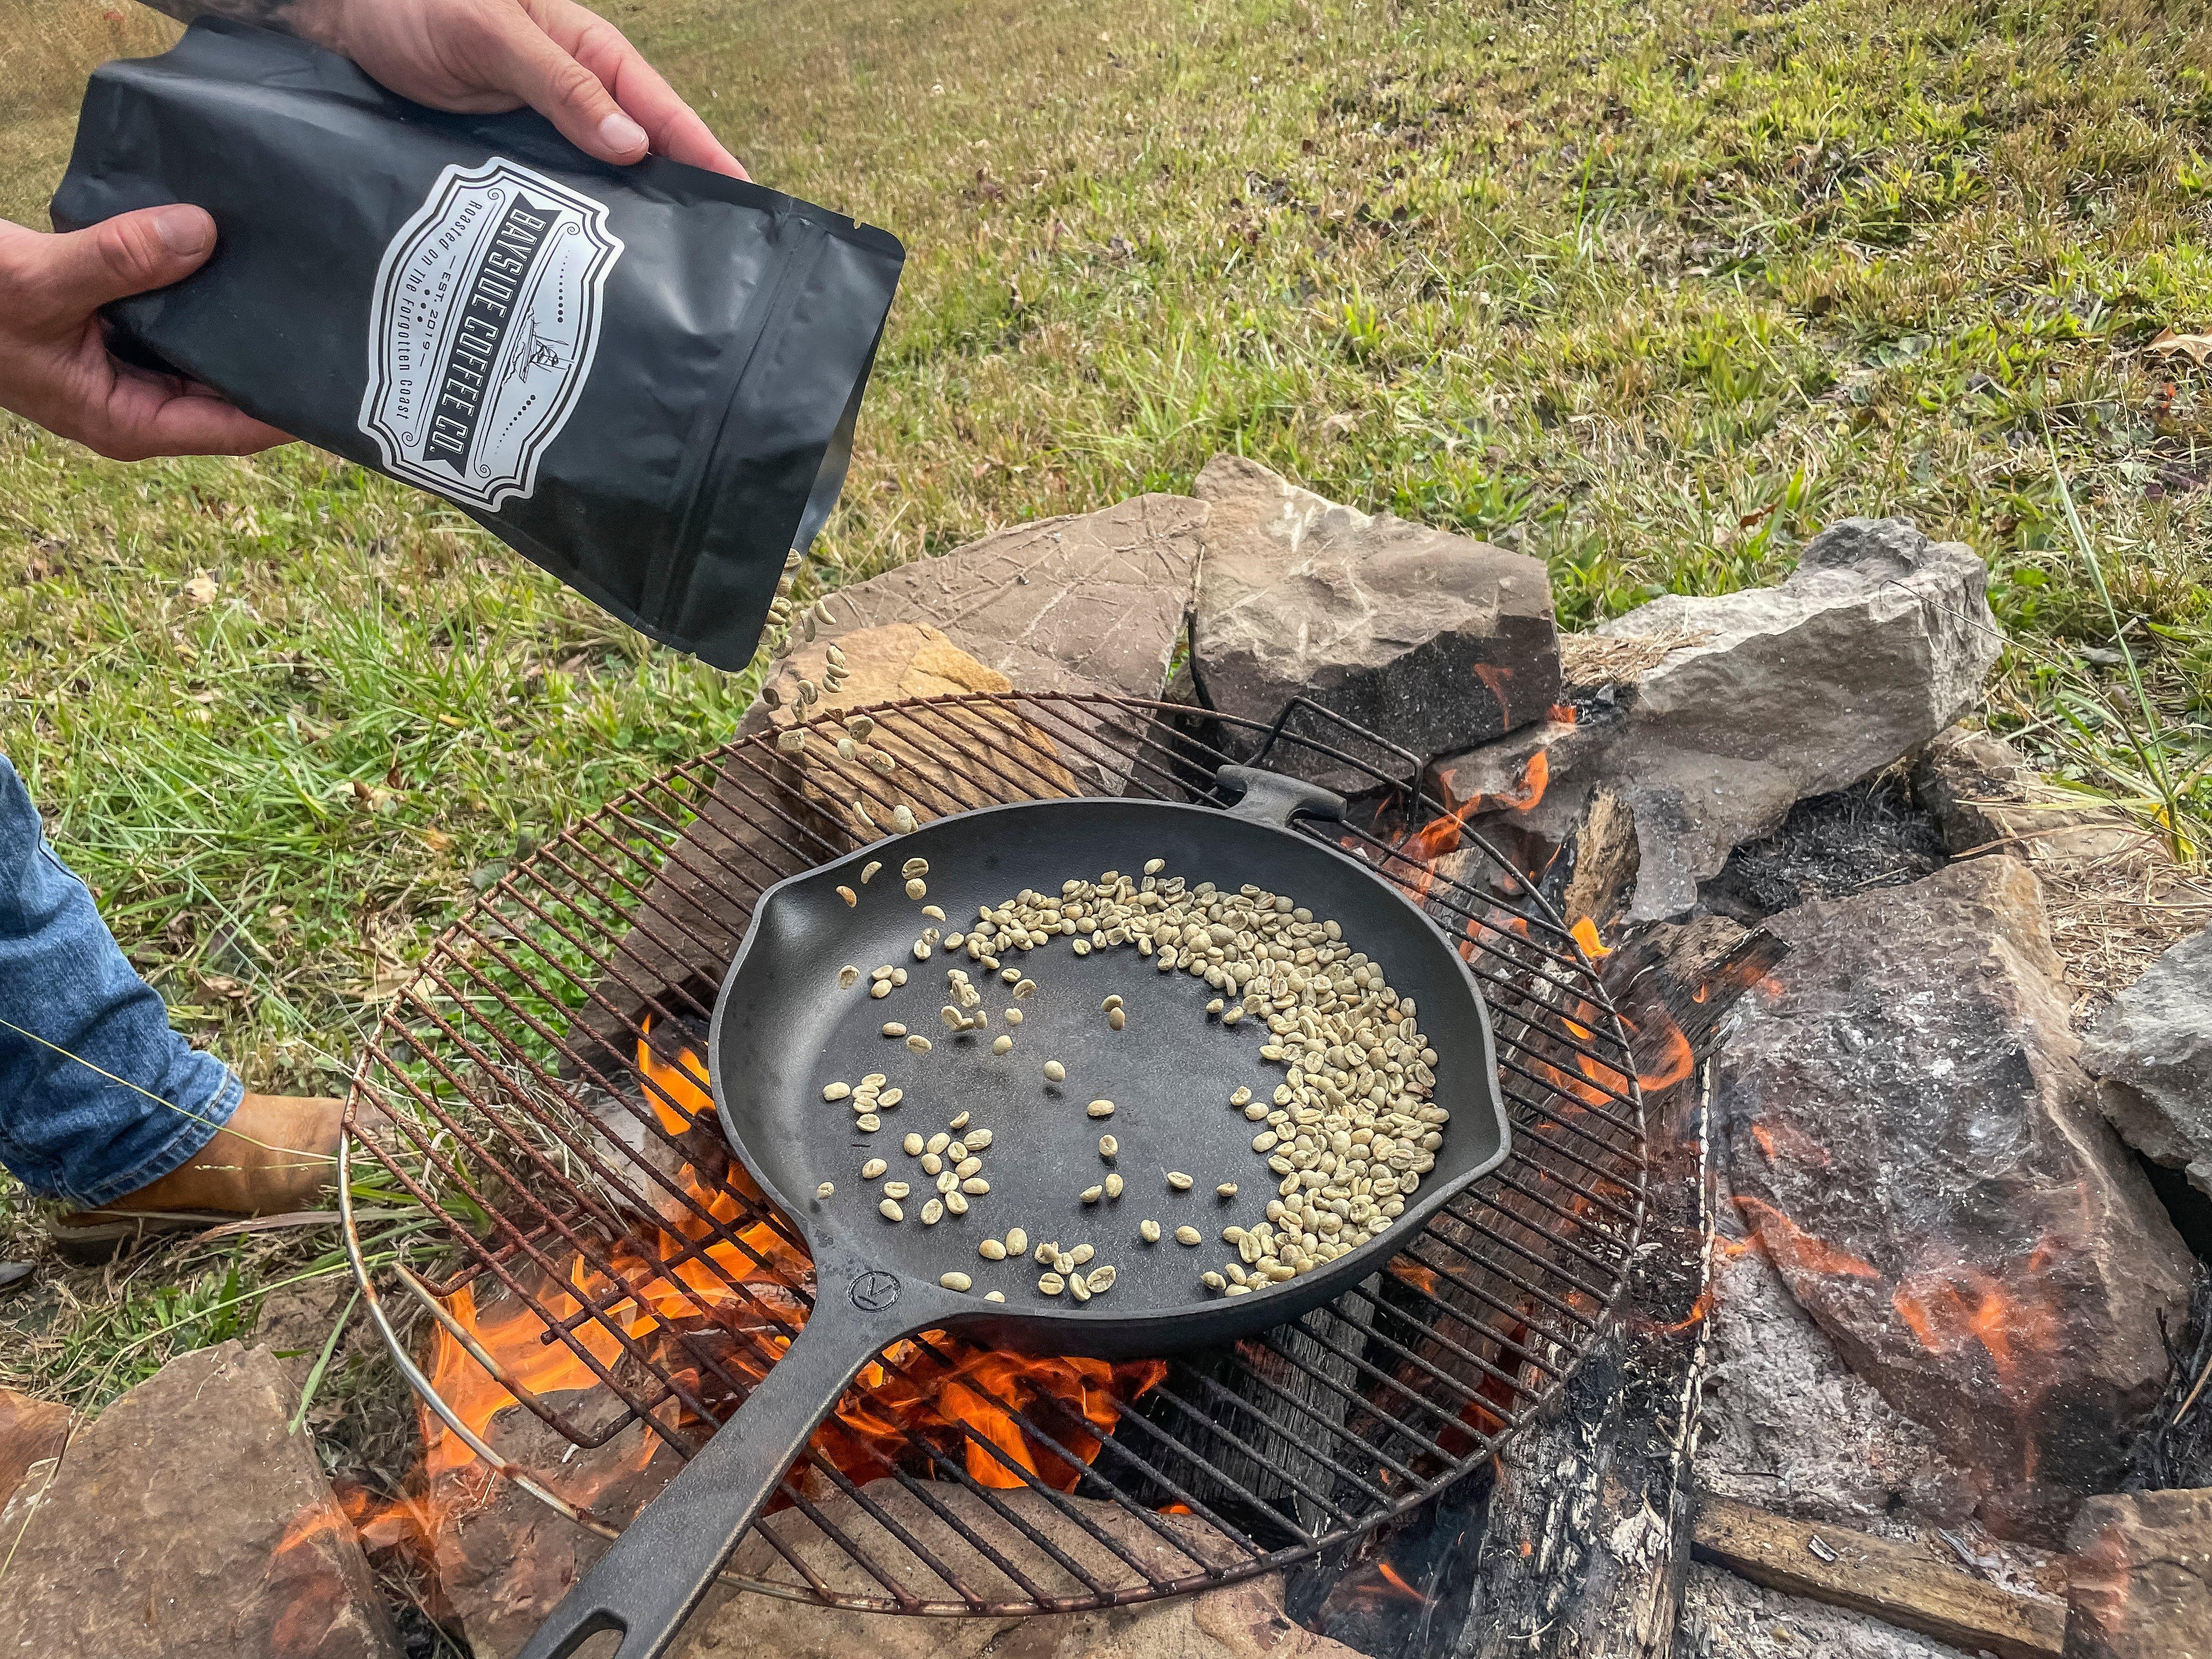
Matt says coffee beans from Colombia are the most forgiving when it comes to pan roasting.
Work in small batches. Stick with three-quarters to a cup of beans per batch so that you can better control the process and you don’t lose a lot of coffee if you happen to let the pan get a little too hot and end up burning some beans.
Use a large enough skillet for a single layer. If your skillet is too small, the beans will pile on top of one another and not roast evenly.
Roast in small batches and use a large enough skillet for the beans to form a single layer for even heat.
Watch for any rocks. Believe it or not, small rocks are common in hand-harvested, fair-trade coffee beans. Just grab them and toss them out if you see any in the pan.
Use a dry (no oil) skillet over medium heat. While the roasters at the shop routinely reach temperatures of 700 degrees, they have a fluid bed action that keeps hot spots to a minimum and the beans in constant motion, something that isn’t as easy in a skillet. A nice low fire and bed of coals is perfect.
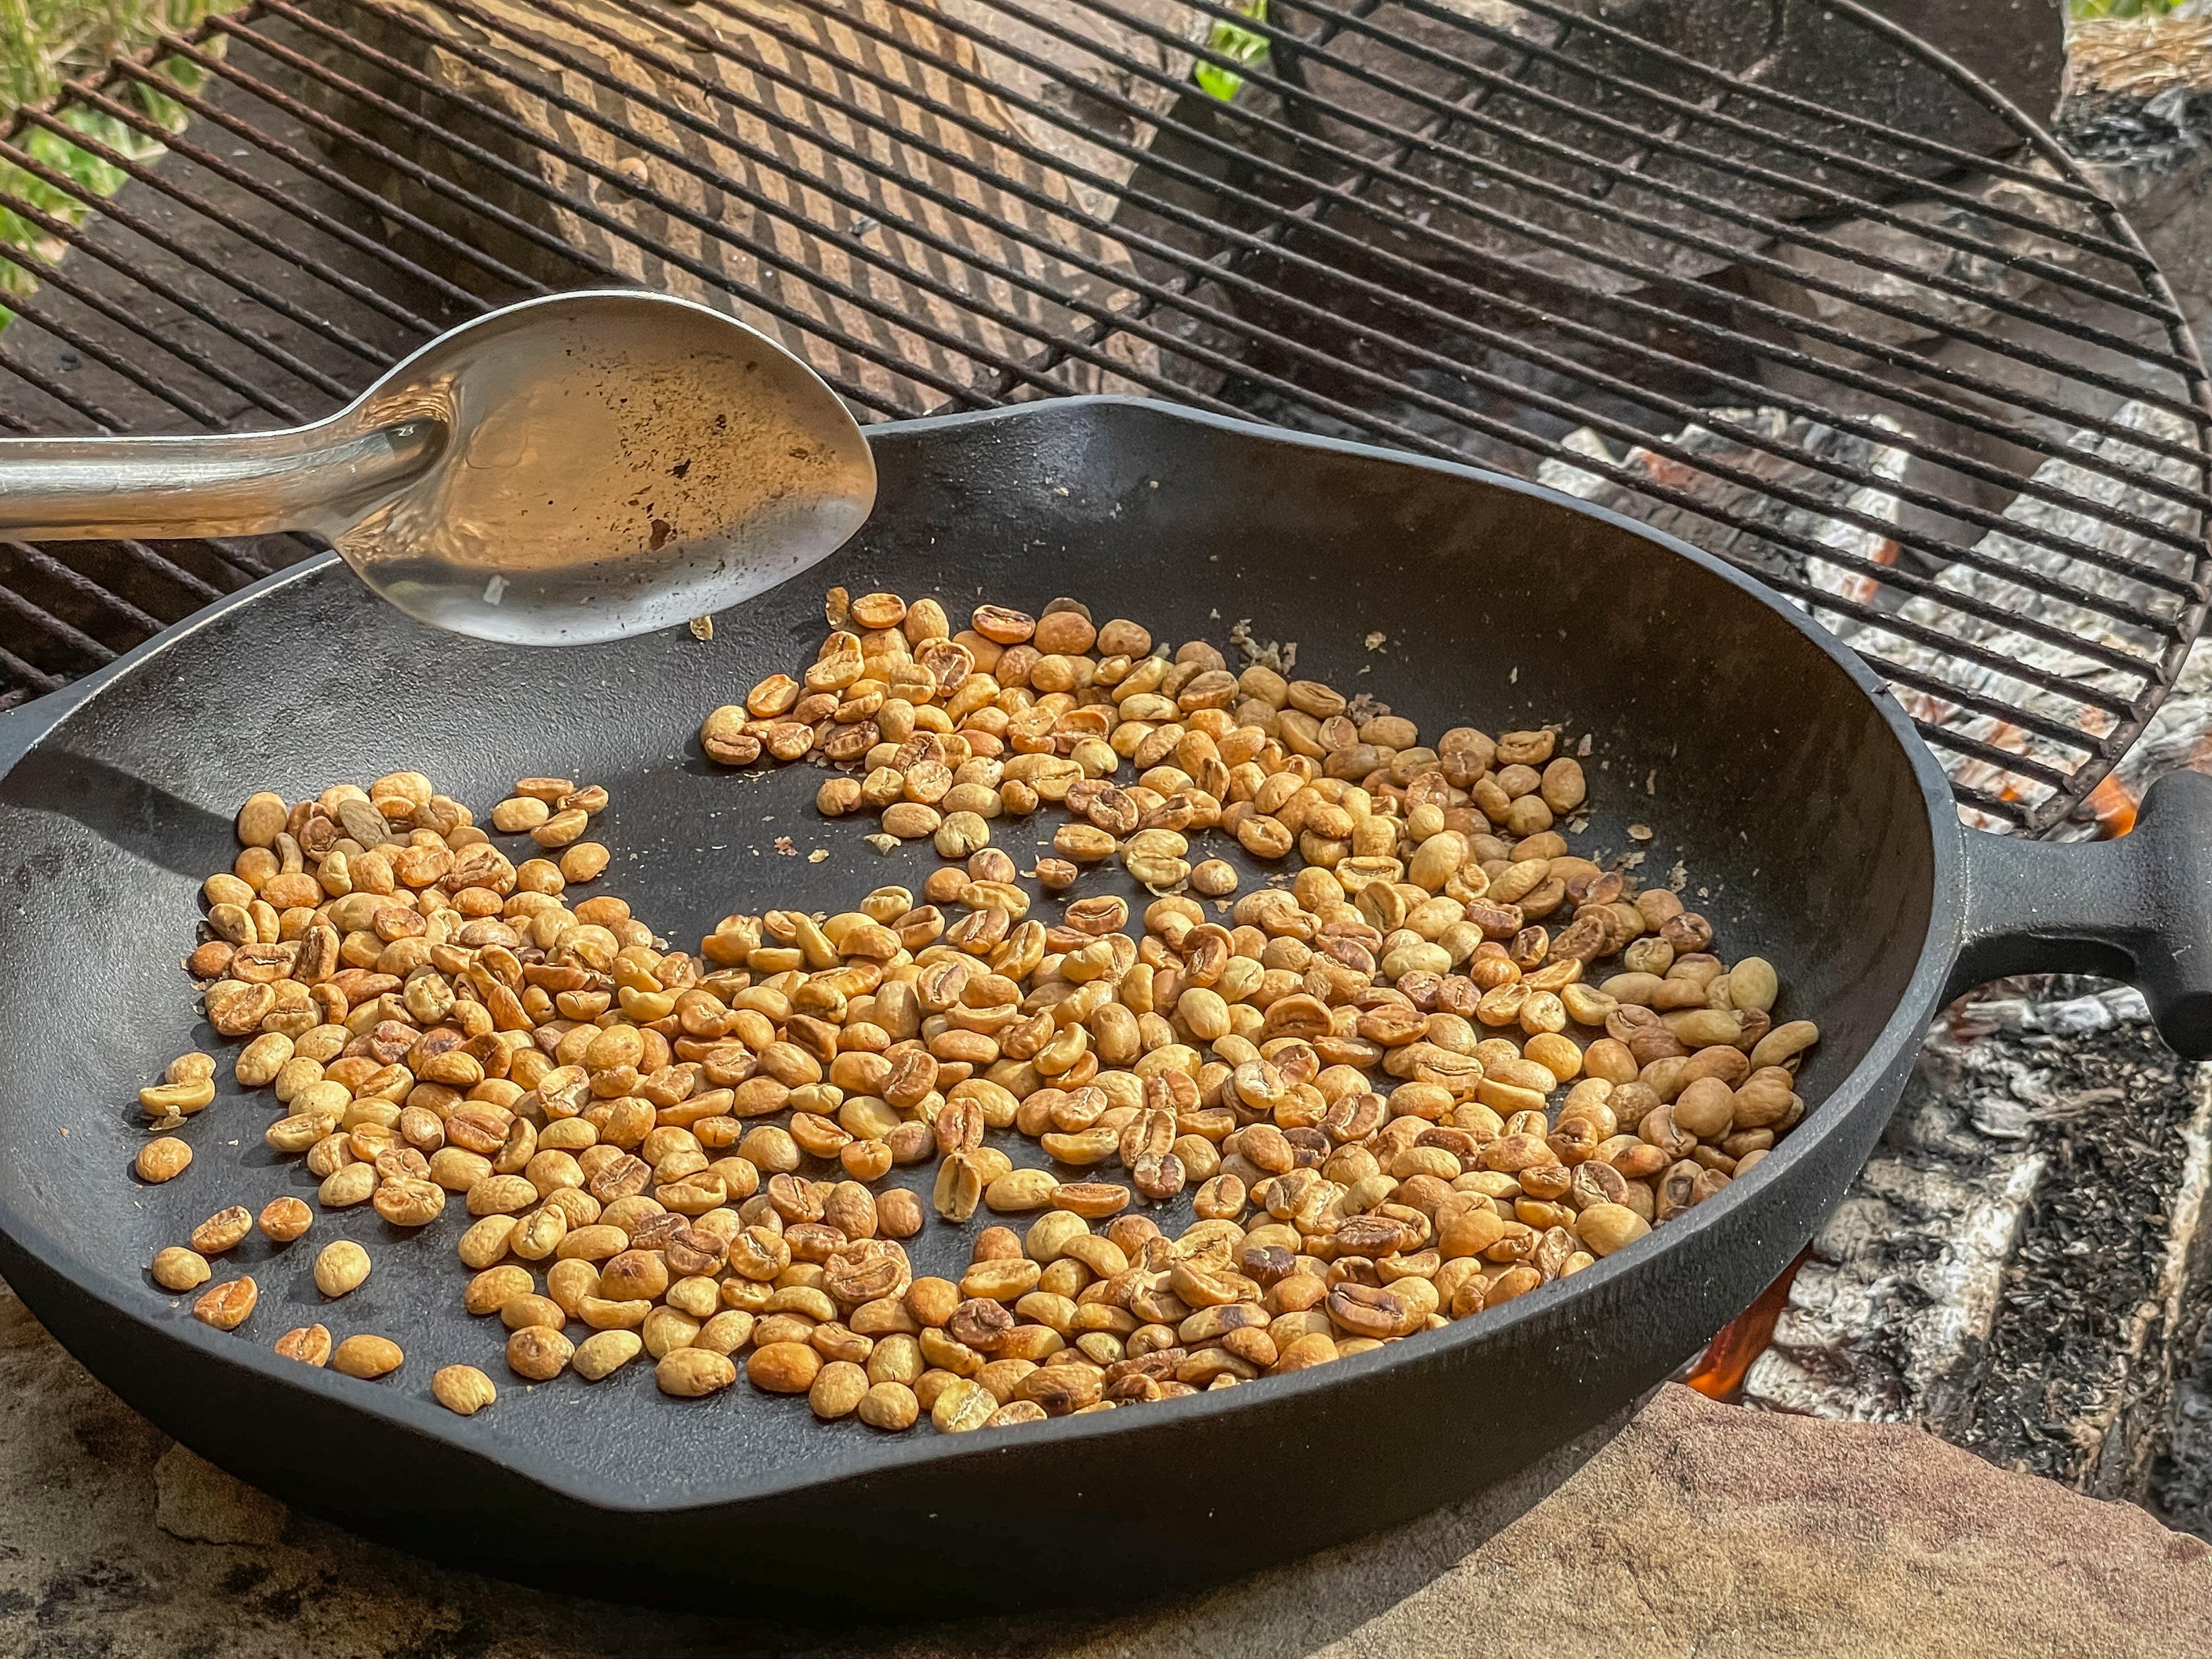
Keep the beans in constant motion. Matt likes a metal spoon or a whisk to get under the beans and keep them flipping so both sides get even heat.
Use a metal spoon or whisk to keep the beans in constant motion as they roast.
Don’t rush. It can take up to 20-30 minutes to get a nice, even roast.
Don’t overroast. While a French-style dark roast is nice, beans over a fire or gas burner can go from dark to burnt in a second. And no one wants to drink burnt coffee. Shoot for a medium roast.
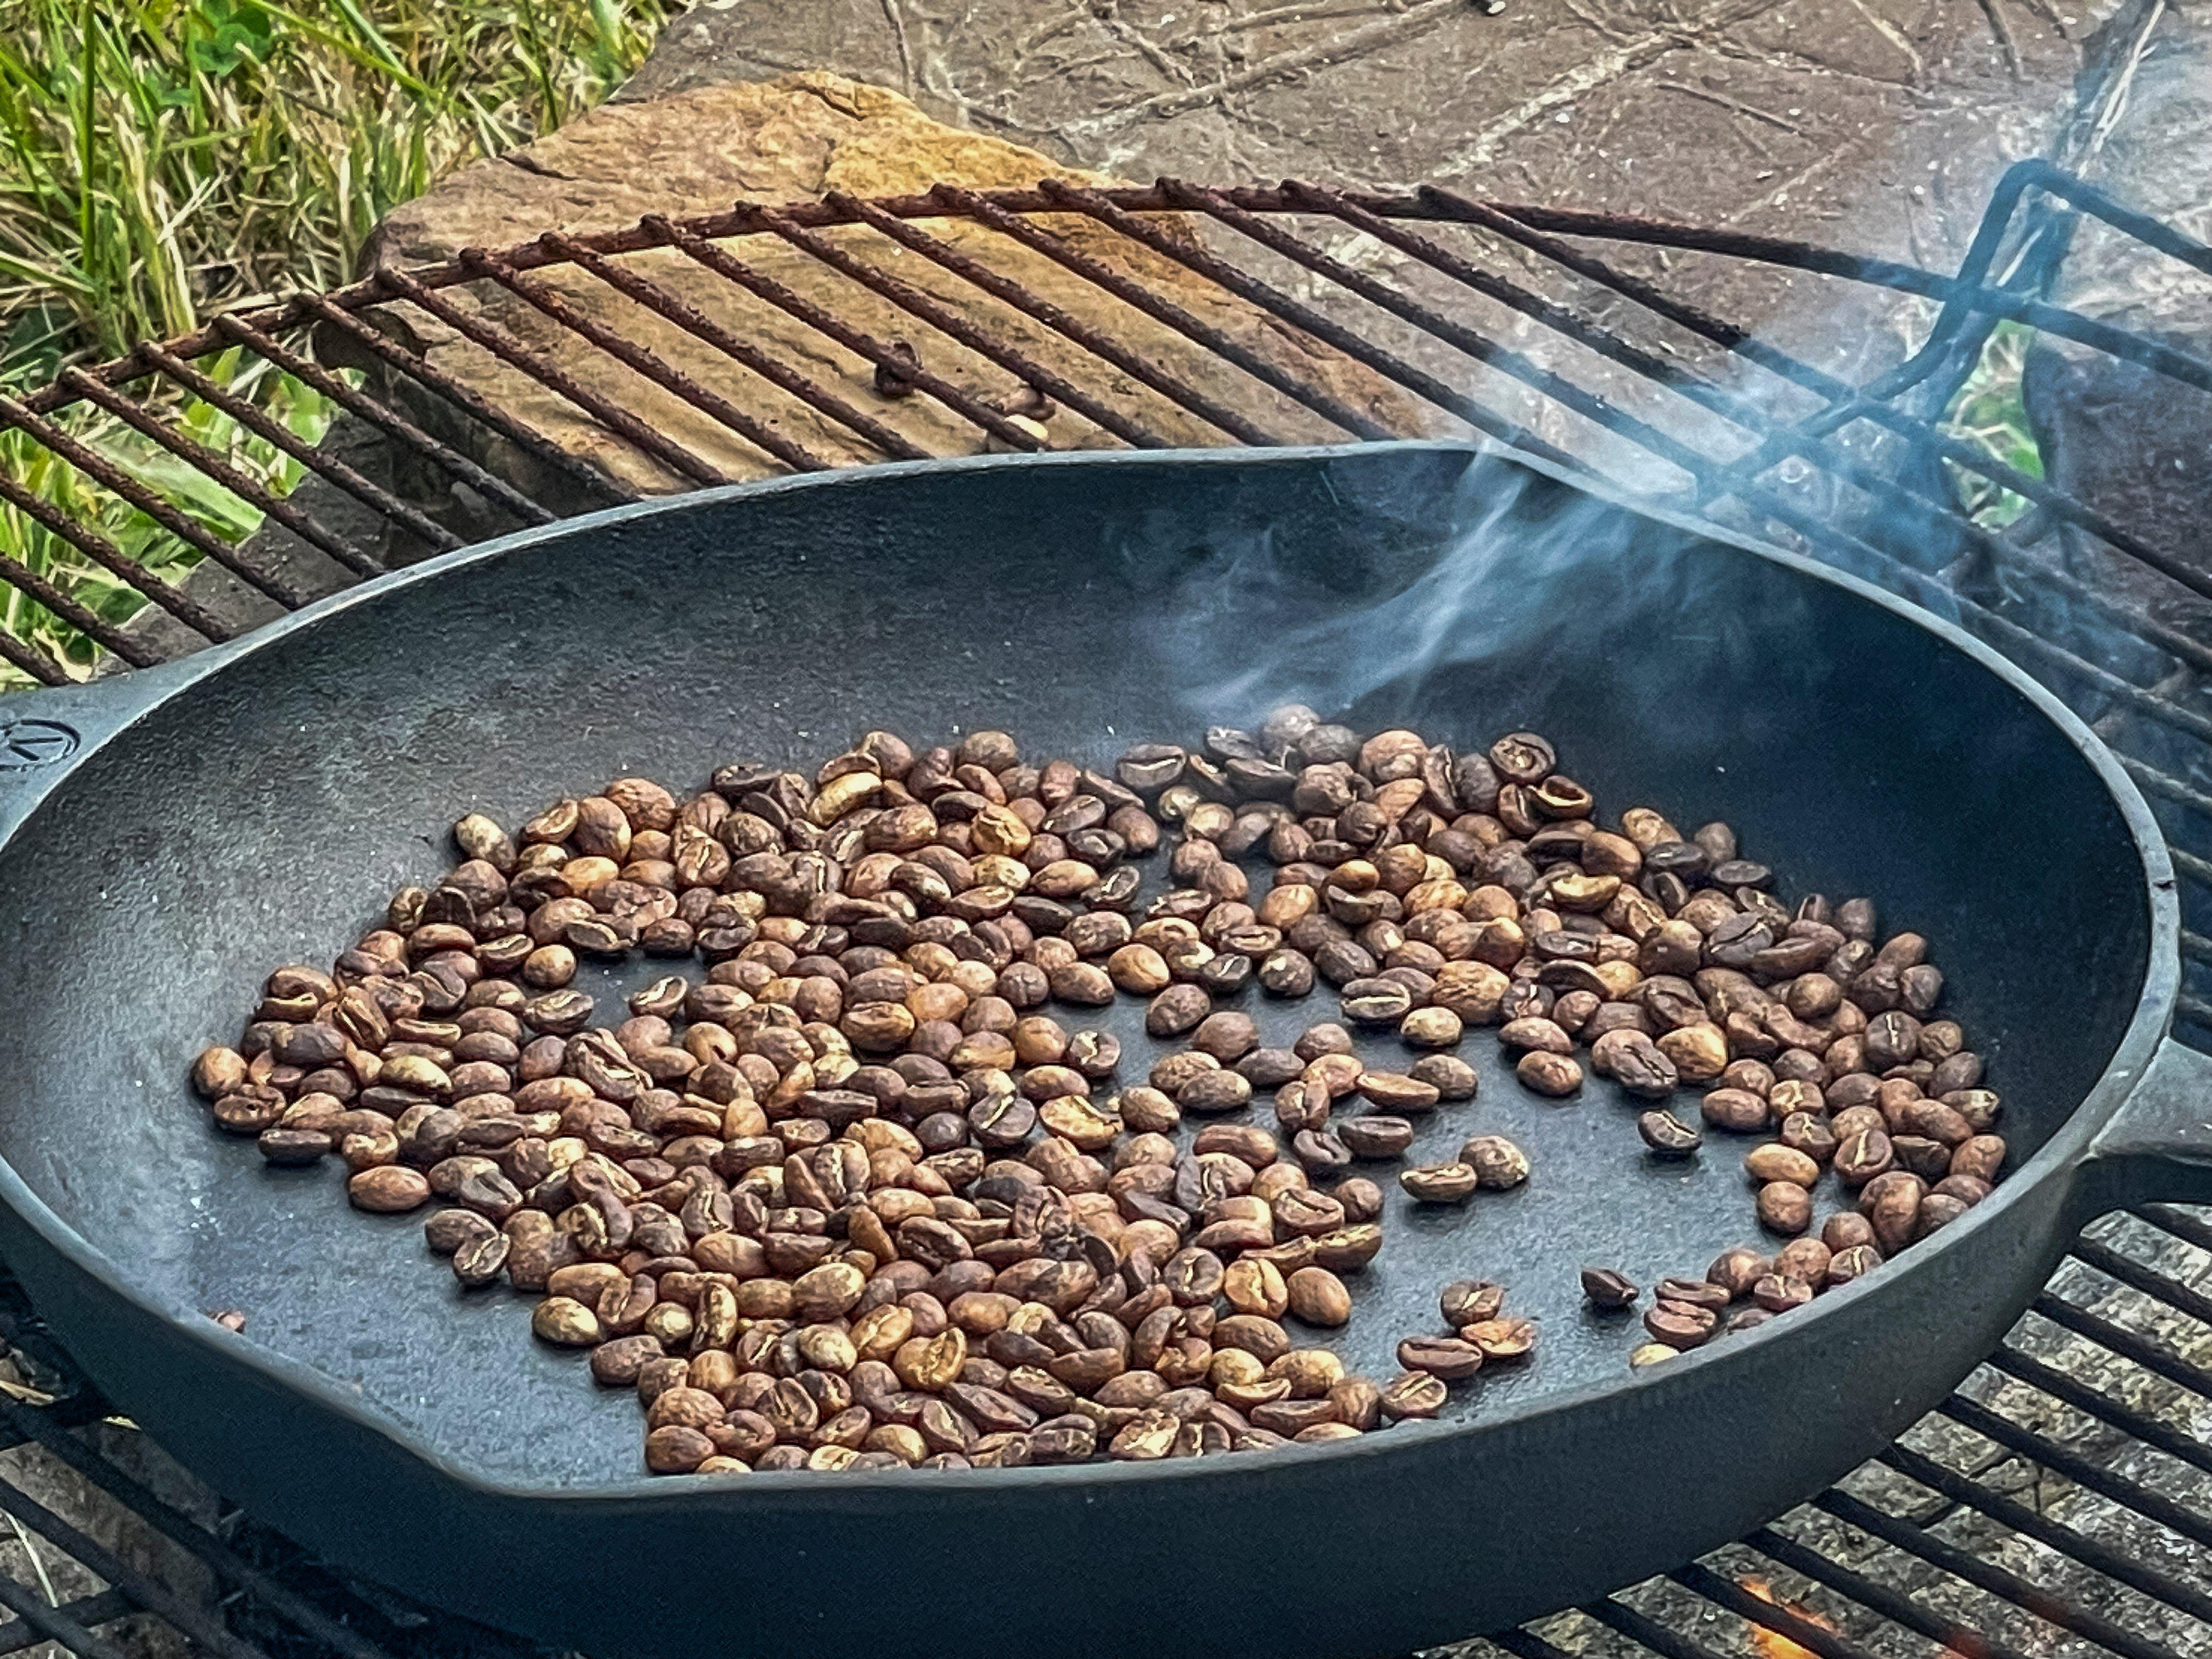
Roast the beans beyond the “first crack” stage but stop before they turn too dark to prevent scorching.
Cool the beans as soon as they are done roasting. Tossing in a colander works well, or move to a cool pan or bowl and toss well to quickly and evenly cool the beans. This step will also remove any loose chaff that might be stuck to the outer surface of the beans.
Put the cooled beans in a paper or plastic bag, but don’t grind them right away. The beans will release CO2 in a degassing process. The best flavor comes 24-48 hours after roasting.
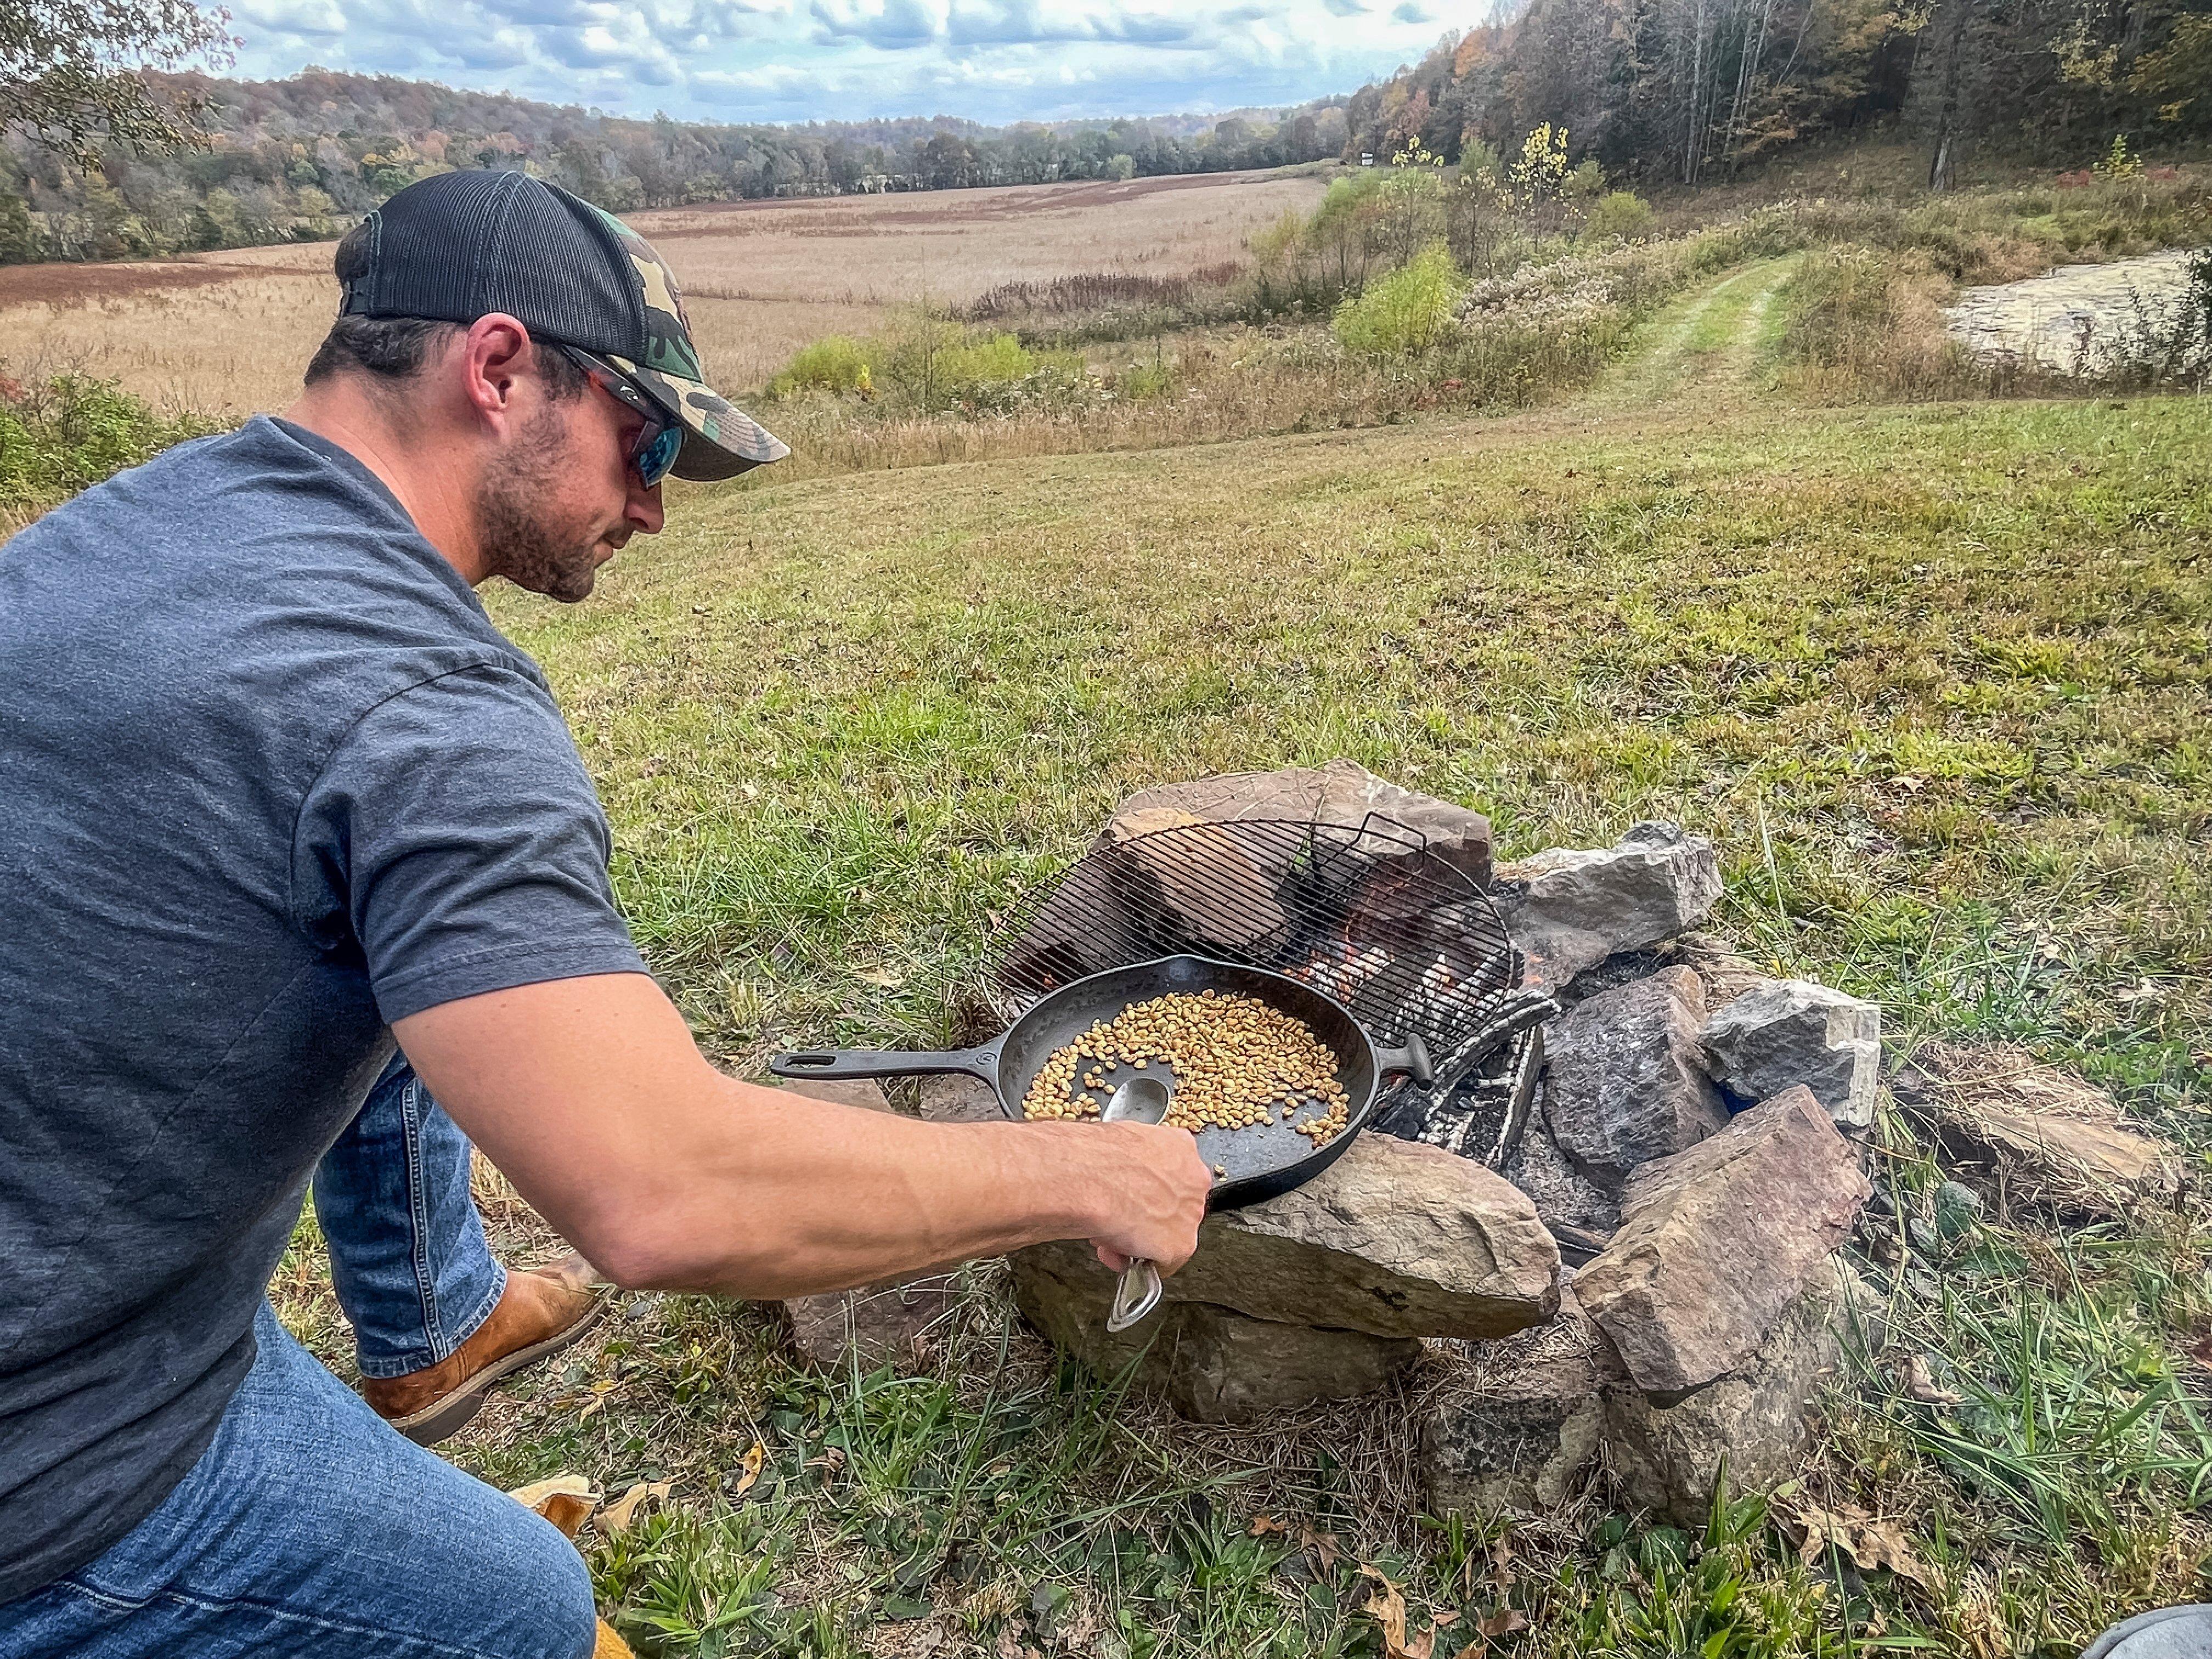
Start by adding the beans to a skillet. Use the spoon to keep them in constant motion to avoid burned spots. Don’t be concerned if you don’t see much change in color for the first few minutes.
As the beans start to darken, you will eventually hear what coffee roasters refer to as “first crack.” The noise sounds a little like popcorn, and if you stare closely at the beans, you can see them jump a little as they crack. The process starts to happen once the beans hit about 385 degrees Fahrenheit, depending on the variety and the location grown. It happens because the beans start to release moisture once they hit this temperature. You will notice an oily sheen on the surface of the beans and you should smell roasted coffee flavor. At this point the coffee is considered light roast.
As the coffee continues to darken, there will be a second crack at about 430 degrees. At second crack, the coffee starts to reach the dark roast stage, so you might choose to stop the process just before second crack. For a medium roast, you are looking for a deep caramel color, similar to the top of a pan of baked brownies. You will smell a deeper roasted flavor at this point.
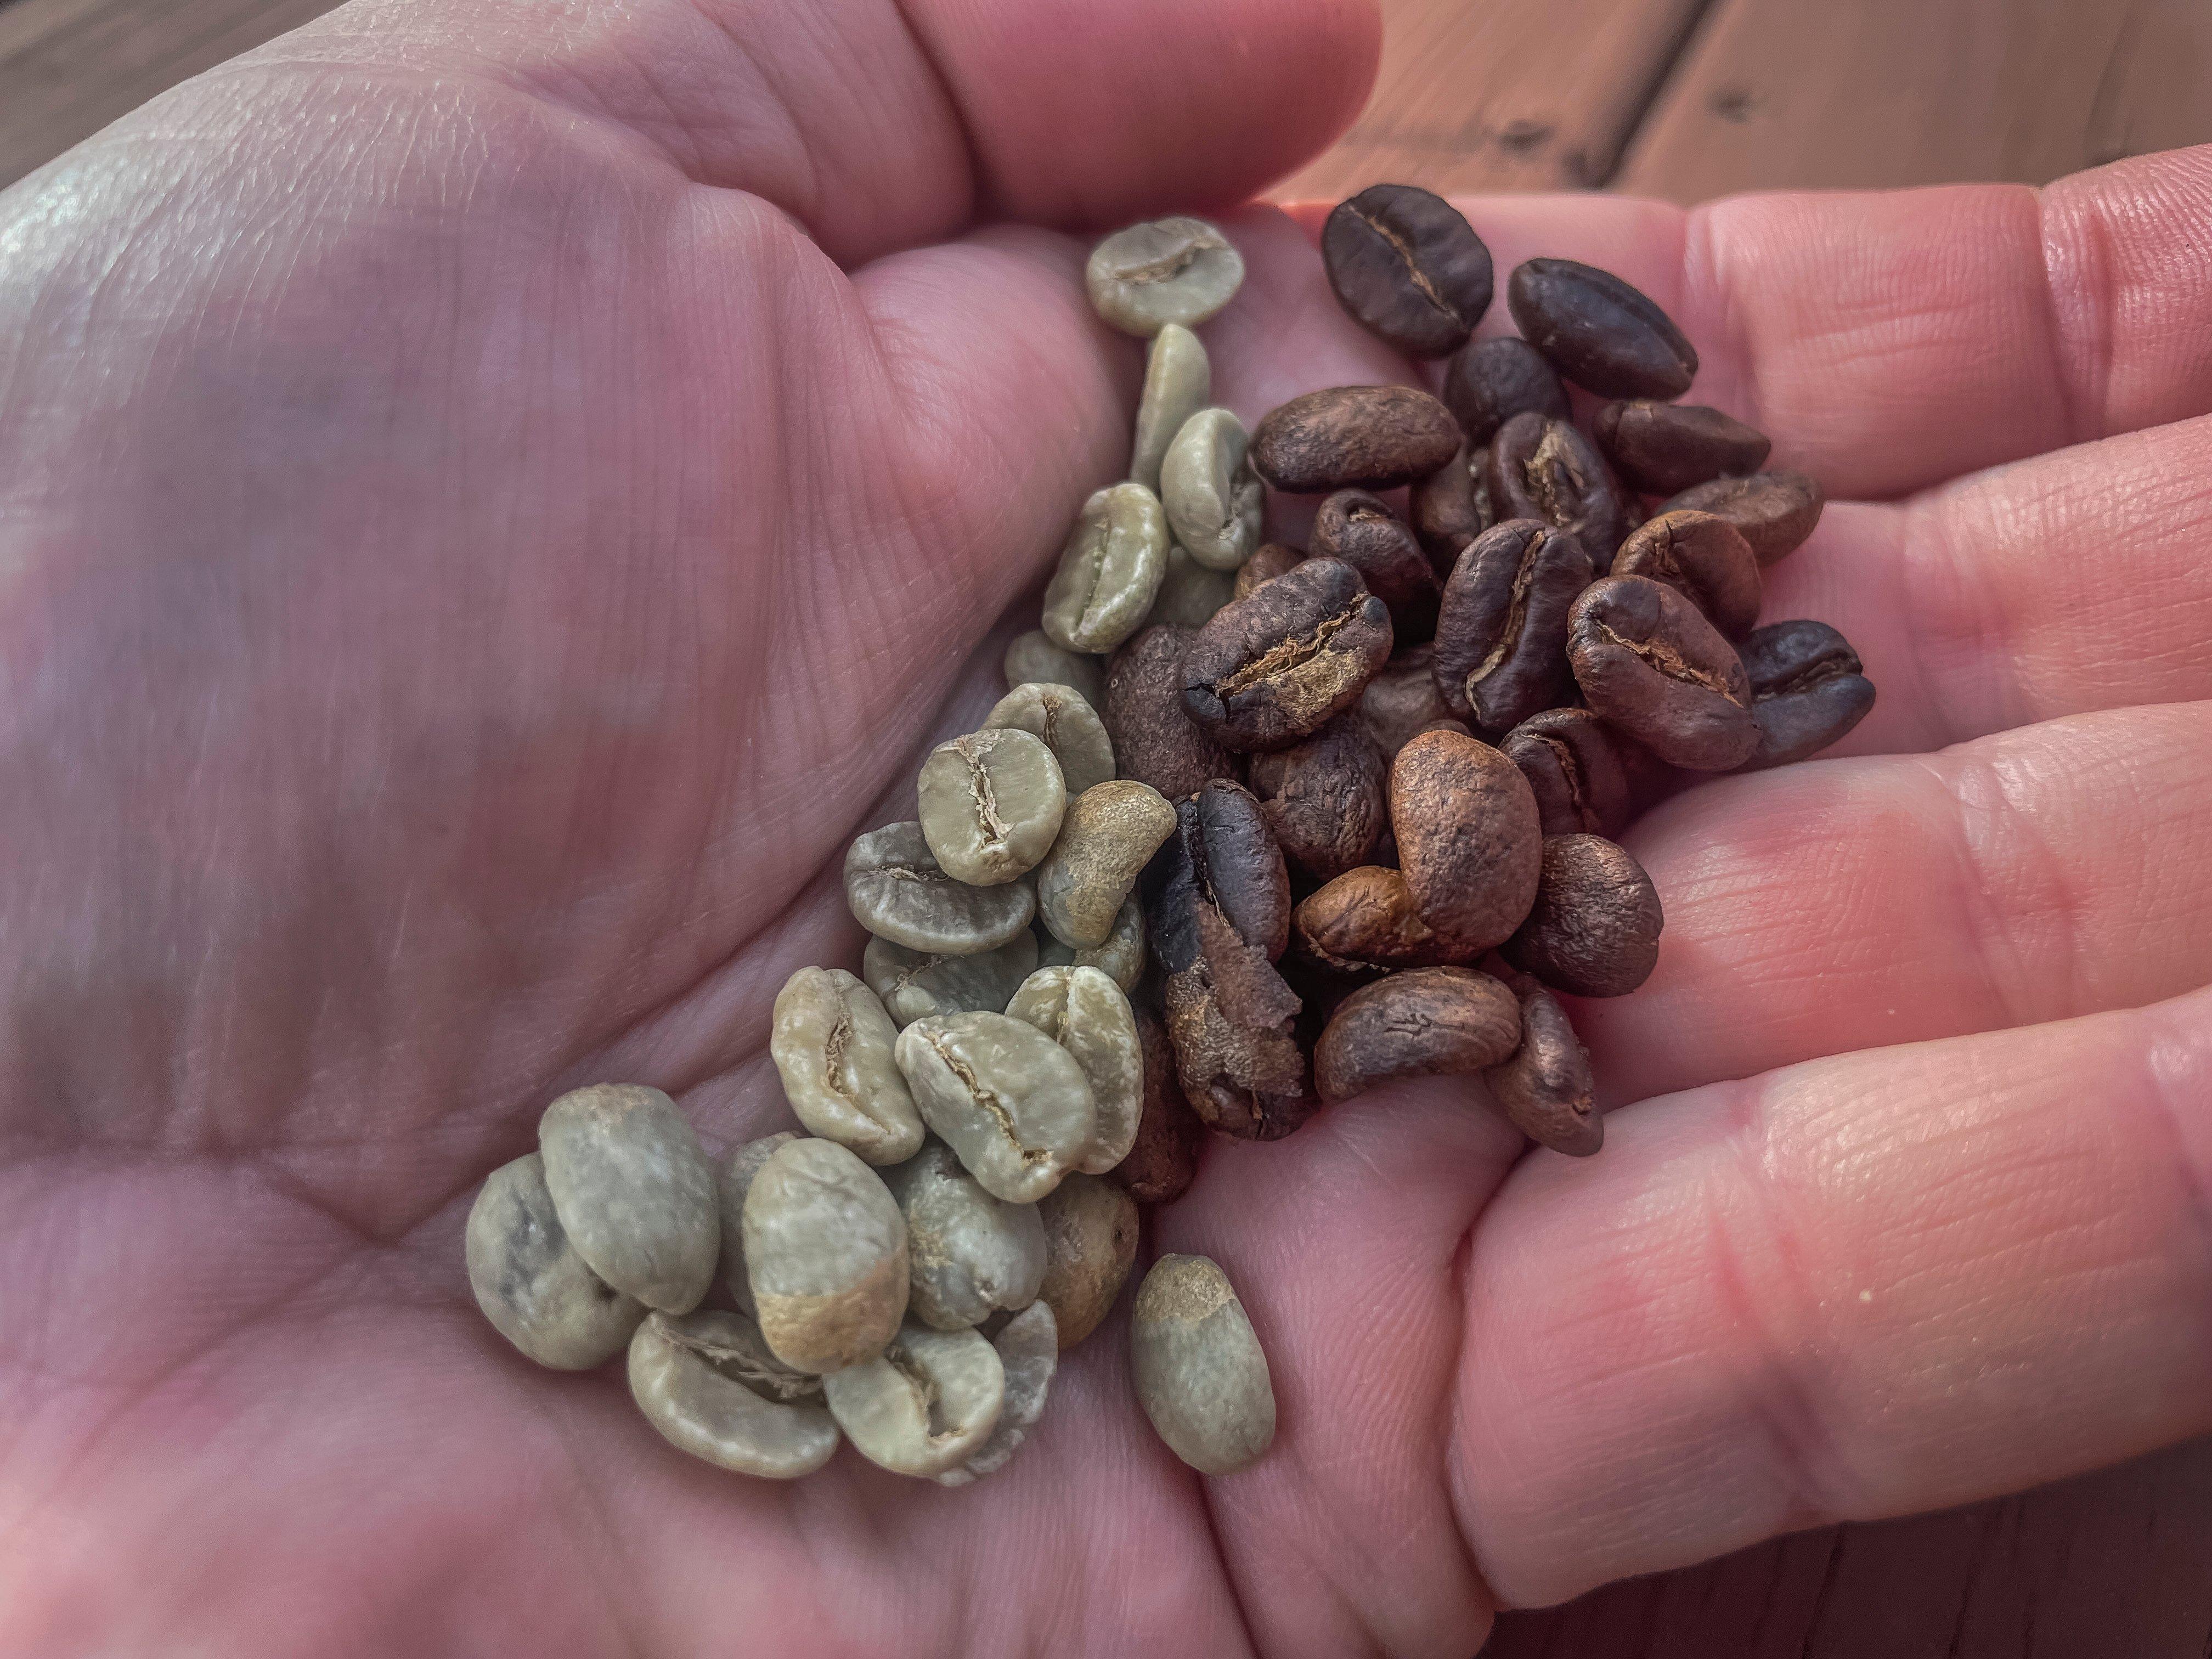
Medium roasted beans compared with green coffee beans.
Once you hit your desired roast level, quickly transfer the beans to the colander or waiting bowl or pan and toss them repeatedly into the air to cool. Once they are cool, place the beans in a bag to rest and degas.
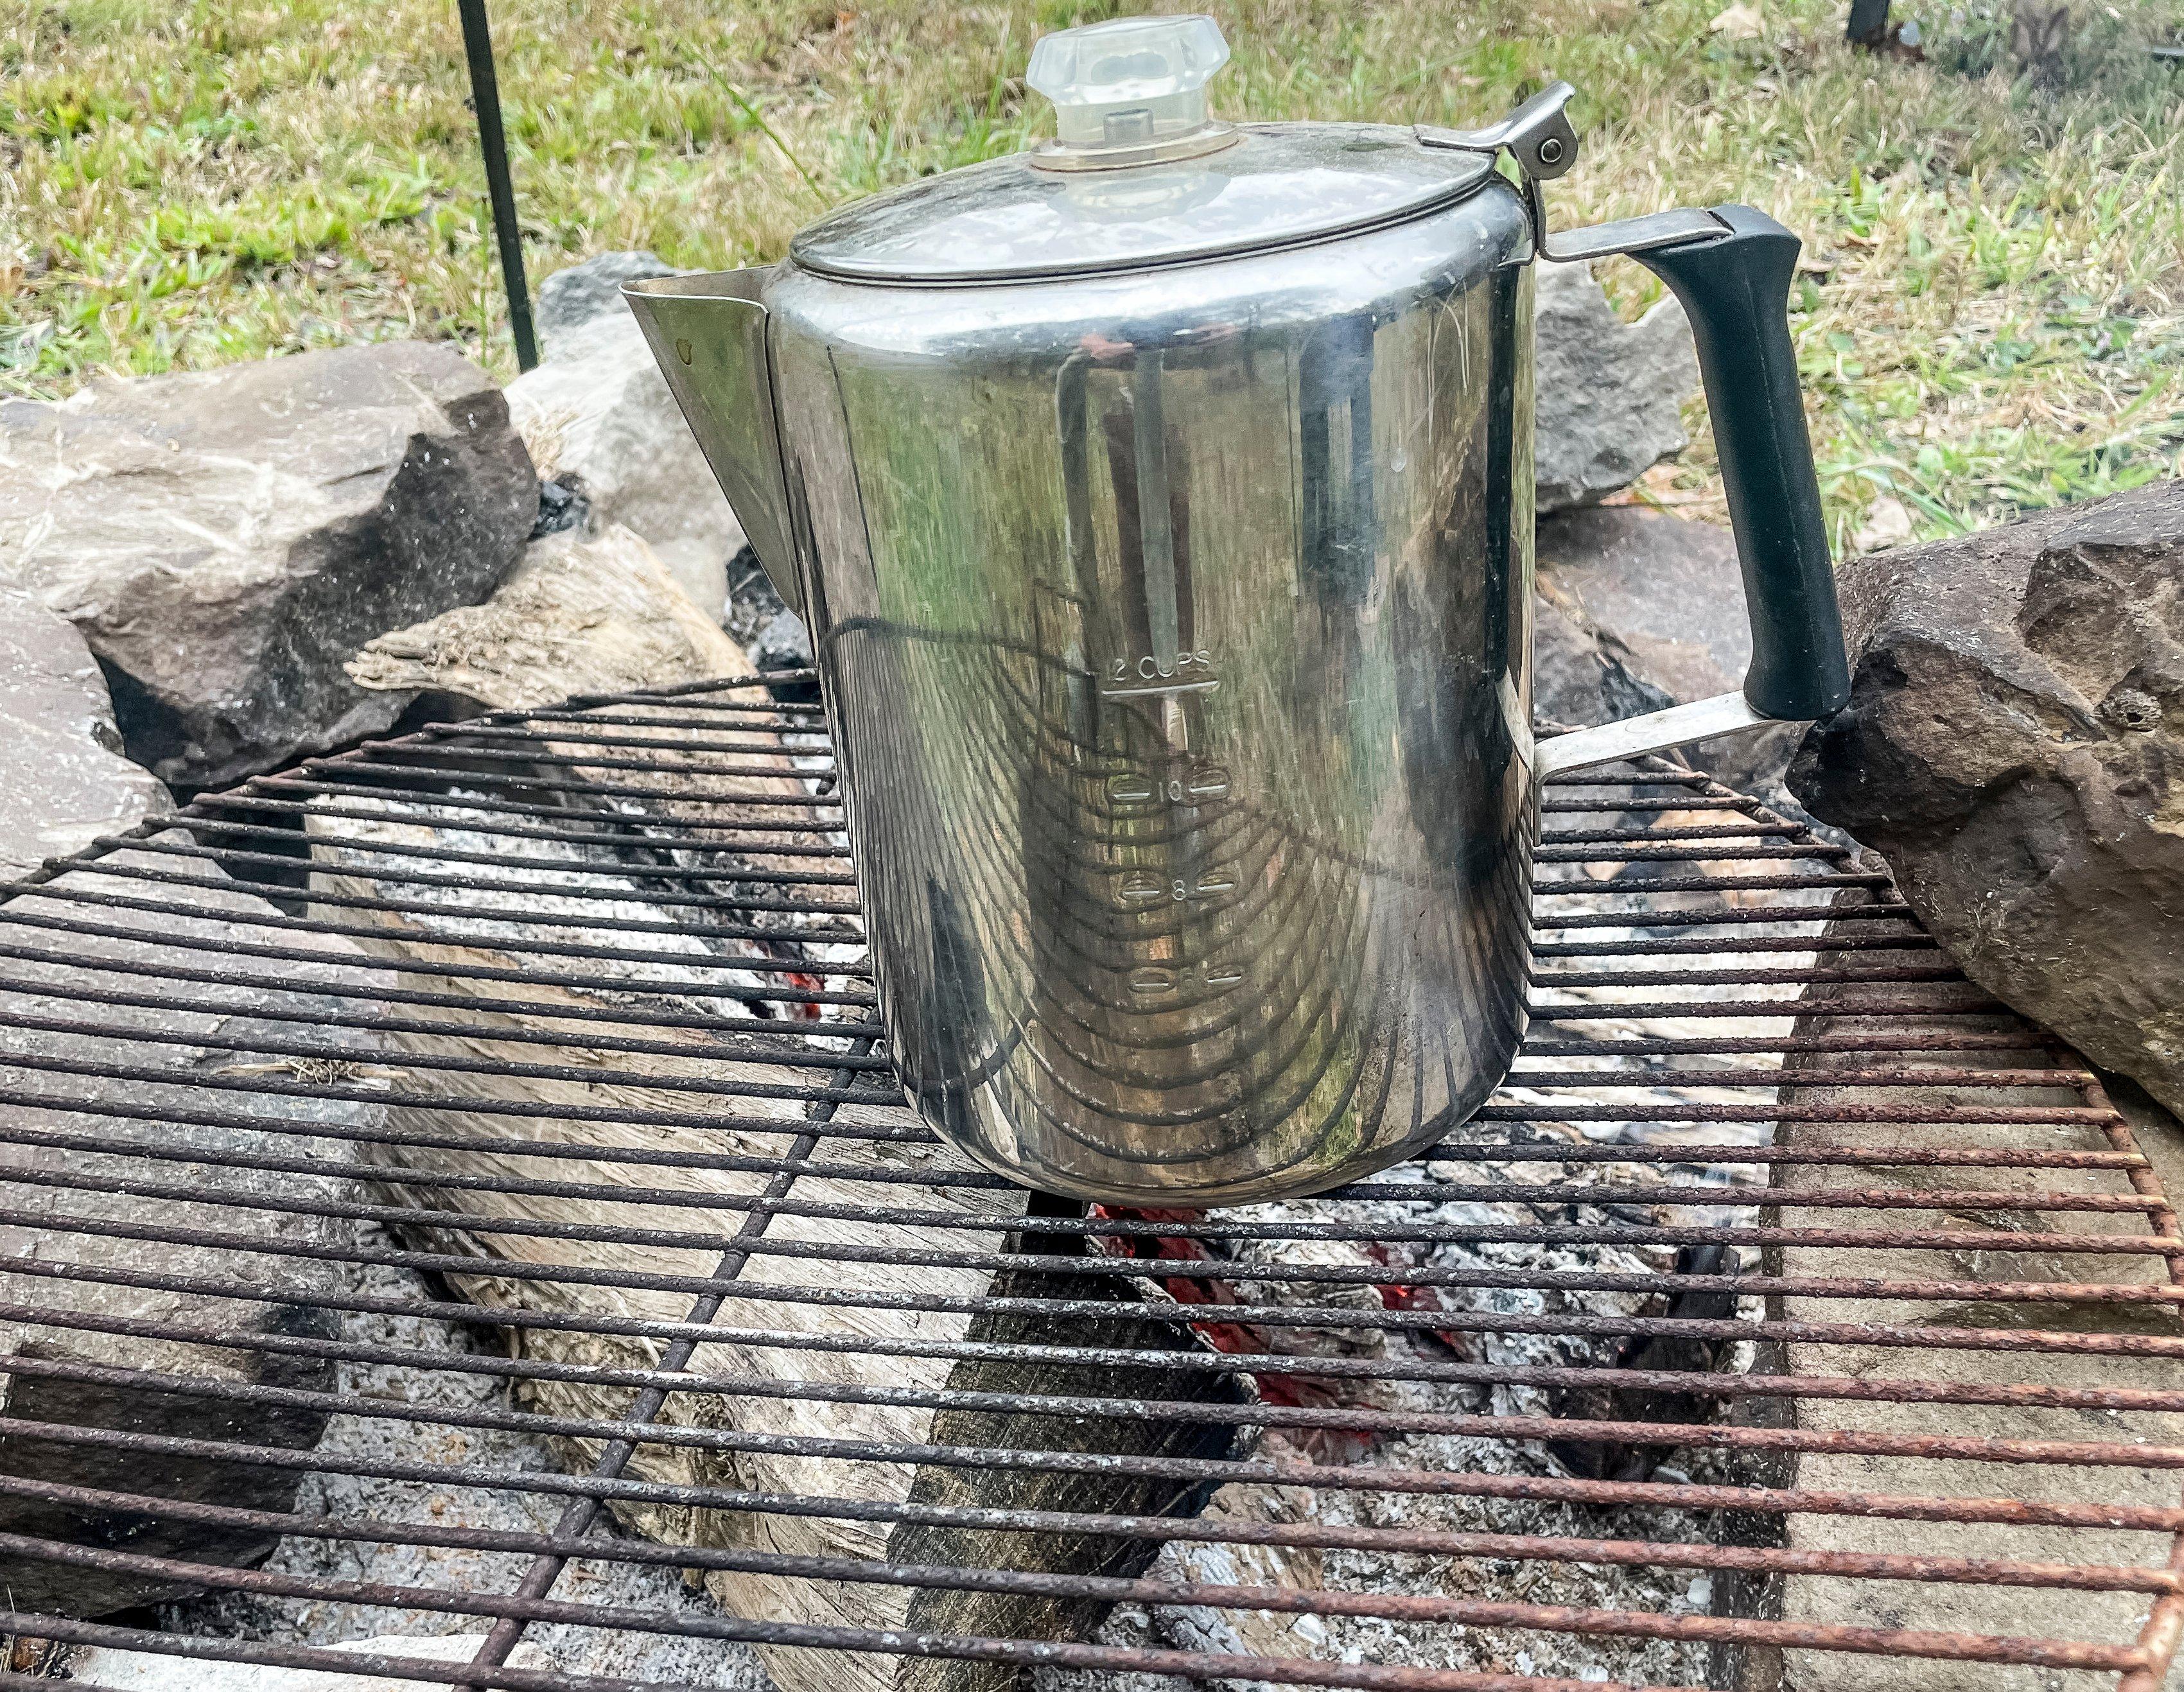
The finished product had a rich flavor with a hint of campfire smoke.
So, how did the coffee taste? Really good. We all sat around the fire sipping percolated coffee and discussing the upcoming hunt. The flavor was rich, not as rich as the darker roast I normally drink, but very smooth with no bitter flavor. Even better, there was a definite hint of smoky campfire in every sip, something you can’t get in commercially roasted beans. All in all, just a fine cup of coffee.
Ingredients
1 pound raw green Colombian coffee beans
author at Realtree Timber-2-Table


