If time and smoker space allow, there’s no better way to feed a crowd at hunting camp than by roasting a whole hog
Feeding a hungry crowd of hunters isn’t always easy. Set dinner schedules at camp are usually pure folly. Everyone makes it in from the woods at different times, and often there is an evening deer or two down that needs to be tracked and processed. You want a meal that can hold for a while. But you still want it to taste good. Hunters are generally a hungry lot, so you’ll need plenty of meat to satisfy everyone. And finally, you want a good camp meal to be a memorable experience for everyone in attendance.
If you have the time, roasting a whole hog checks all those boxes. Be warned though, roasting a hog is a hands-on process. Someone will need to be there to monitor and maintain the fire, so the designated cook isn’t going afield that day. But when everyone digs in and fills their plate with whole hog BBQ, the payoff is worth it.
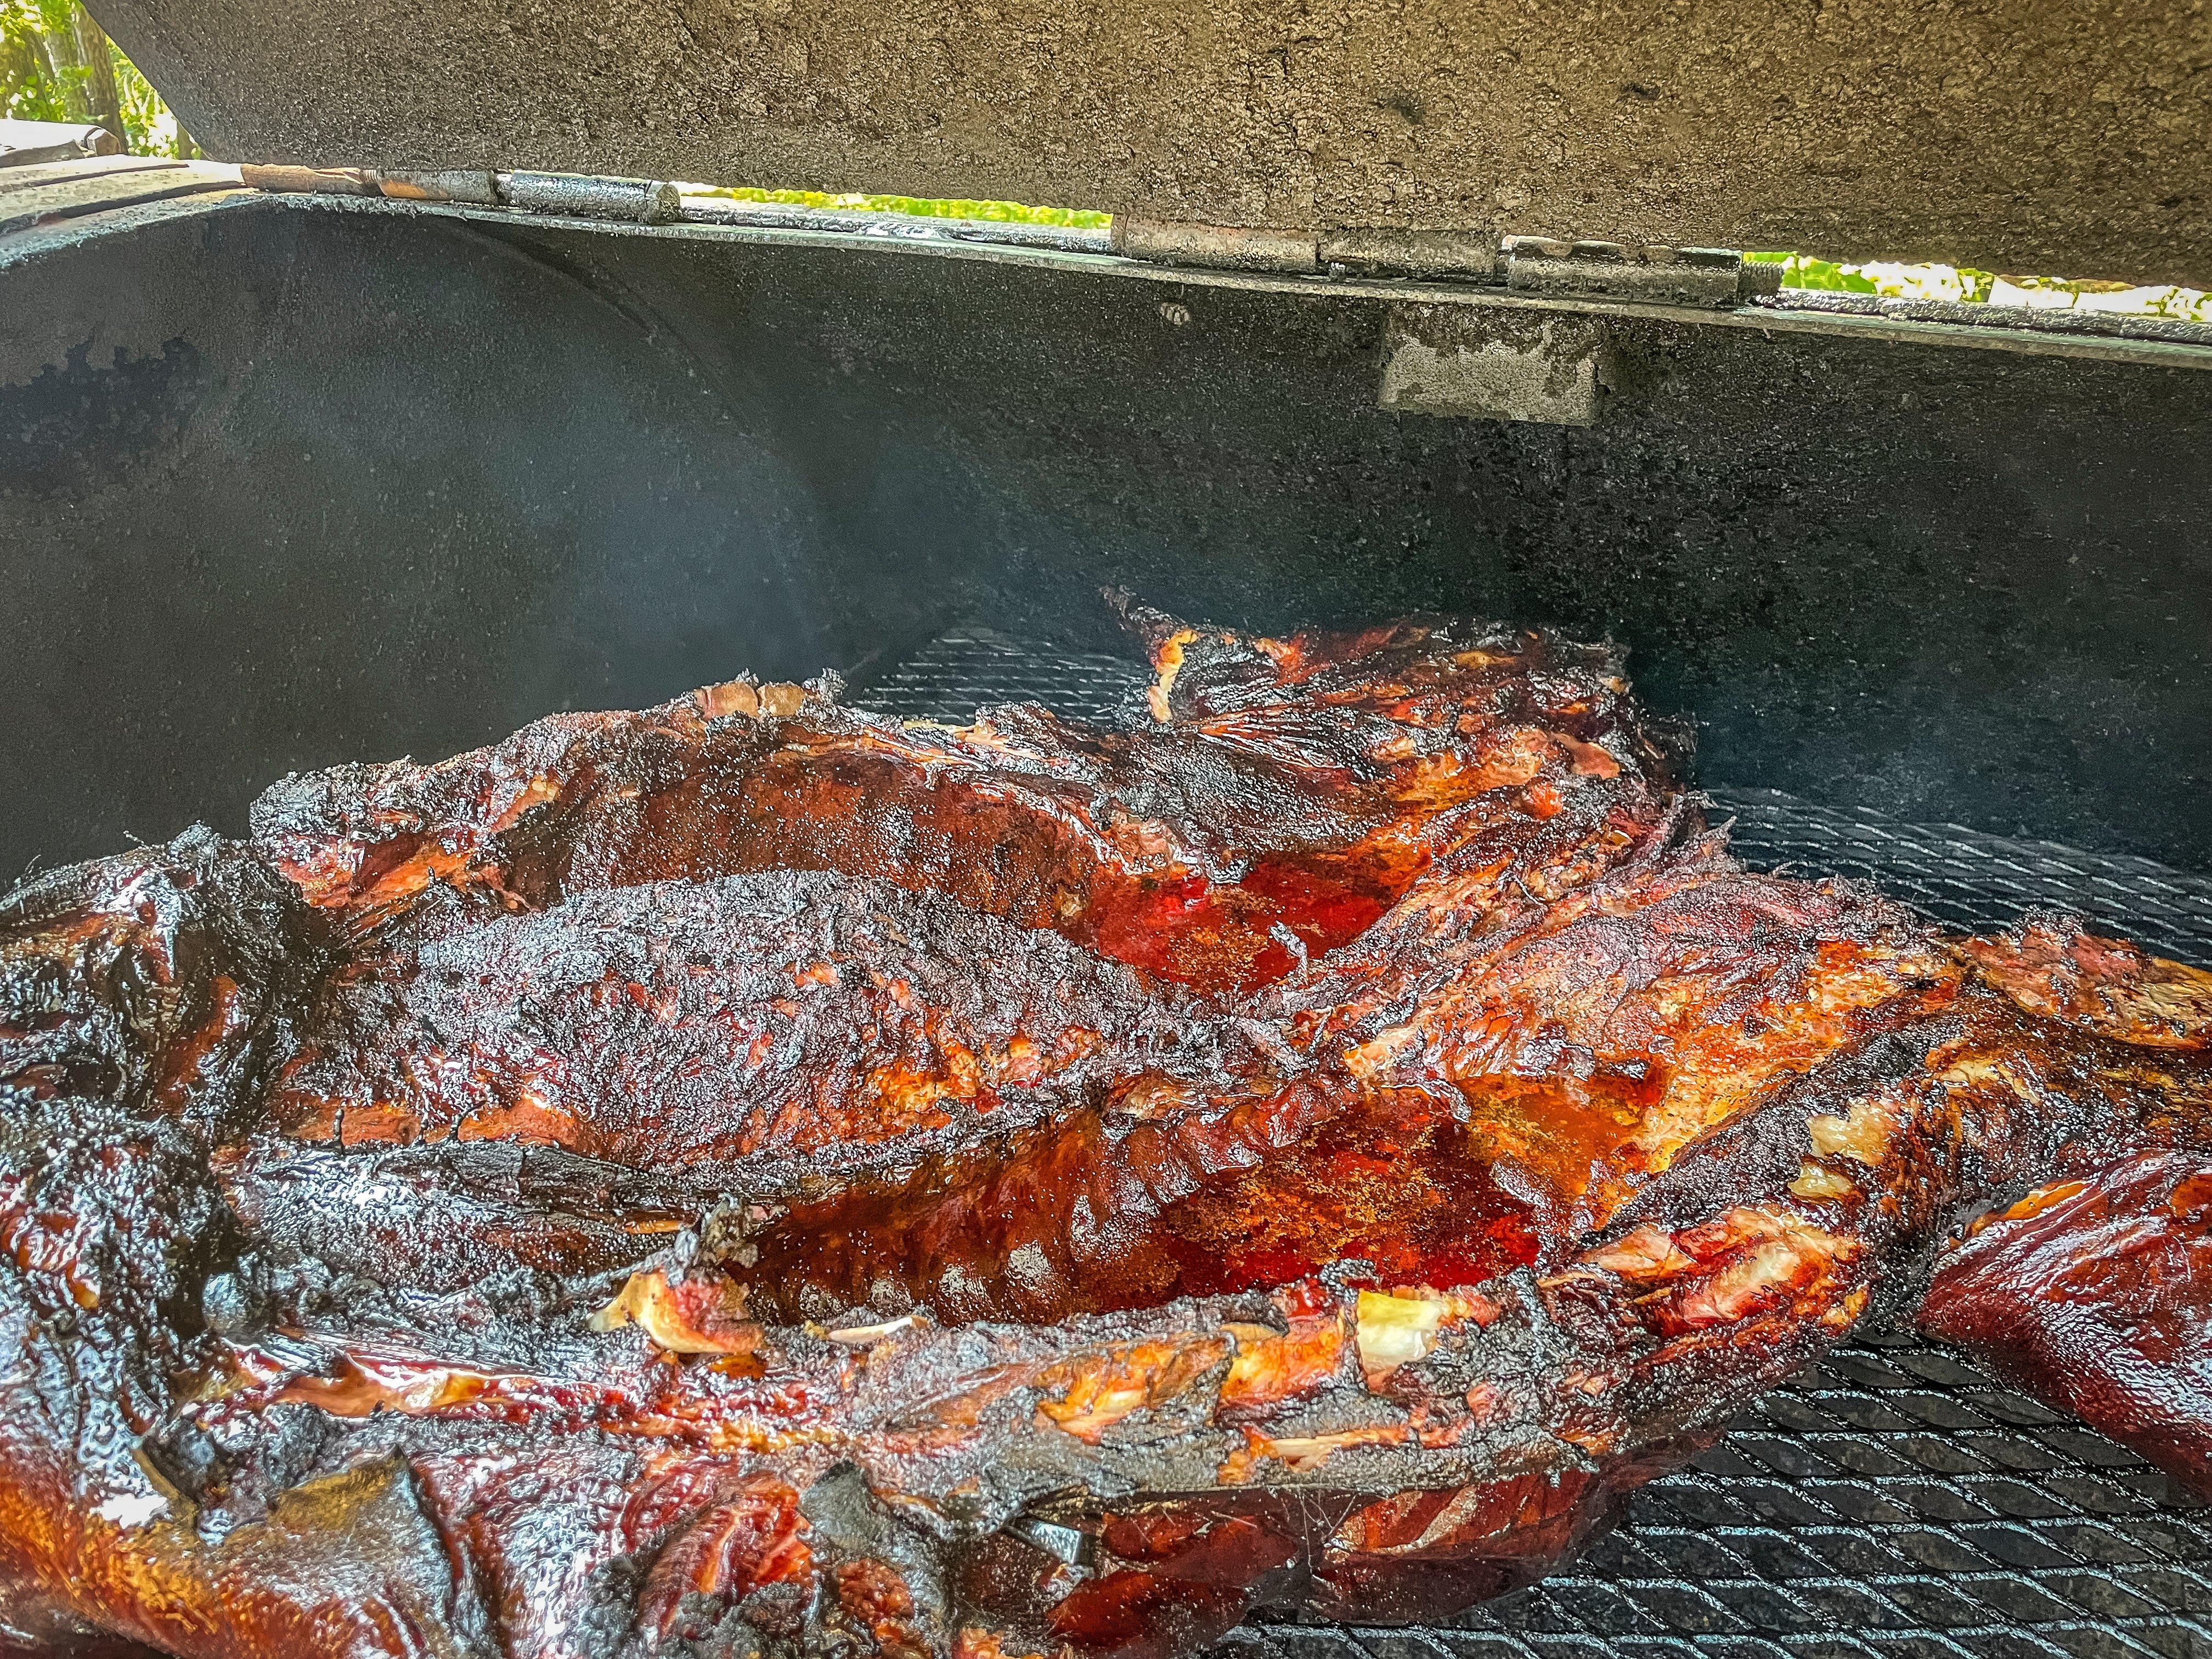
Start the hog belly down on the smoker, then flip it and finish with the skin down and closest to the heat.
The first thing you will need is a cooker of some sort. A big offset smoker is probably the easiest, but if you don’t have access to one that will hold a pig, you can make a passable hog cooker out of stacked concrete blocks and a sheet of expanded metal for a grate. Do a quick search online and you’ll find hundreds of how-to articles and videos on building a concrete block pit. It can even be temporary. Just unstack the blocks when you are finished and store them somewhere until your next hog roast.
Once you have a cooking apparatus built or procured, you are going to need a hog. Wild hogs work, especially cornfed pigs, but generally it’s more reliable to get a commodity hog from a farmer or butcher shop. Shoot for a dressed weight of 60-100 pounds, depending on how many people you plan to feed.
Many butcher shops will sell whole hogs dressed, scalded (hair removed), and ready to roast. If you buy your hog directly from the farm, you’ll need to get it ready yourself. That process starts with the shot. I prefer a standard .22 LR for this part. You want the hog to be calm. A bit of feed on the ground will usually calm them down and occupy them so they are standing still at the shot. Draw an imaginary X from the base of the ear down to the opposite eye. Now do the same on the other side. Where those two imaginary lines cross is your target. Place the rifle barrel an inch or two from the forehead and squeeze the trigger. Take your time. You want to make the first shot count, so wait until the pig is still and you are aiming at the right spot. The pig should hit the ground. Immediately stick a sharp knife into the throat to sever the carotid artery and jugular vein. The pig should start bleeding out instantly.
Once the pig has bled, you need to get it up where you can work on it. A tractor front bucket is the easiest way to do this, but hanging with a gambrel in the hind legs from a handy limb will work just fine.
Now it’s time to clean the pig. A pressure washer or garden hose with a tight stream and a stiff brush will take off any caked-on dirt and debris. Once the pig is clean, you need to get the hair off. Pigs are hairy. To remove that hair, use a process known as scalding. Heat a large tank of water to 150 degrees. Old-time hog killers used to say it was hot enough when you could only hold your hand submerged for 3-5 seconds, but I rely on a digital thermometer for accuracy. Don’t overheat the water, or you will cook the skin and make the hair set in and difficult to remove. Keep a hose or bucket of cool water nearby to add to the tank if the water gets much above 160 degrees.
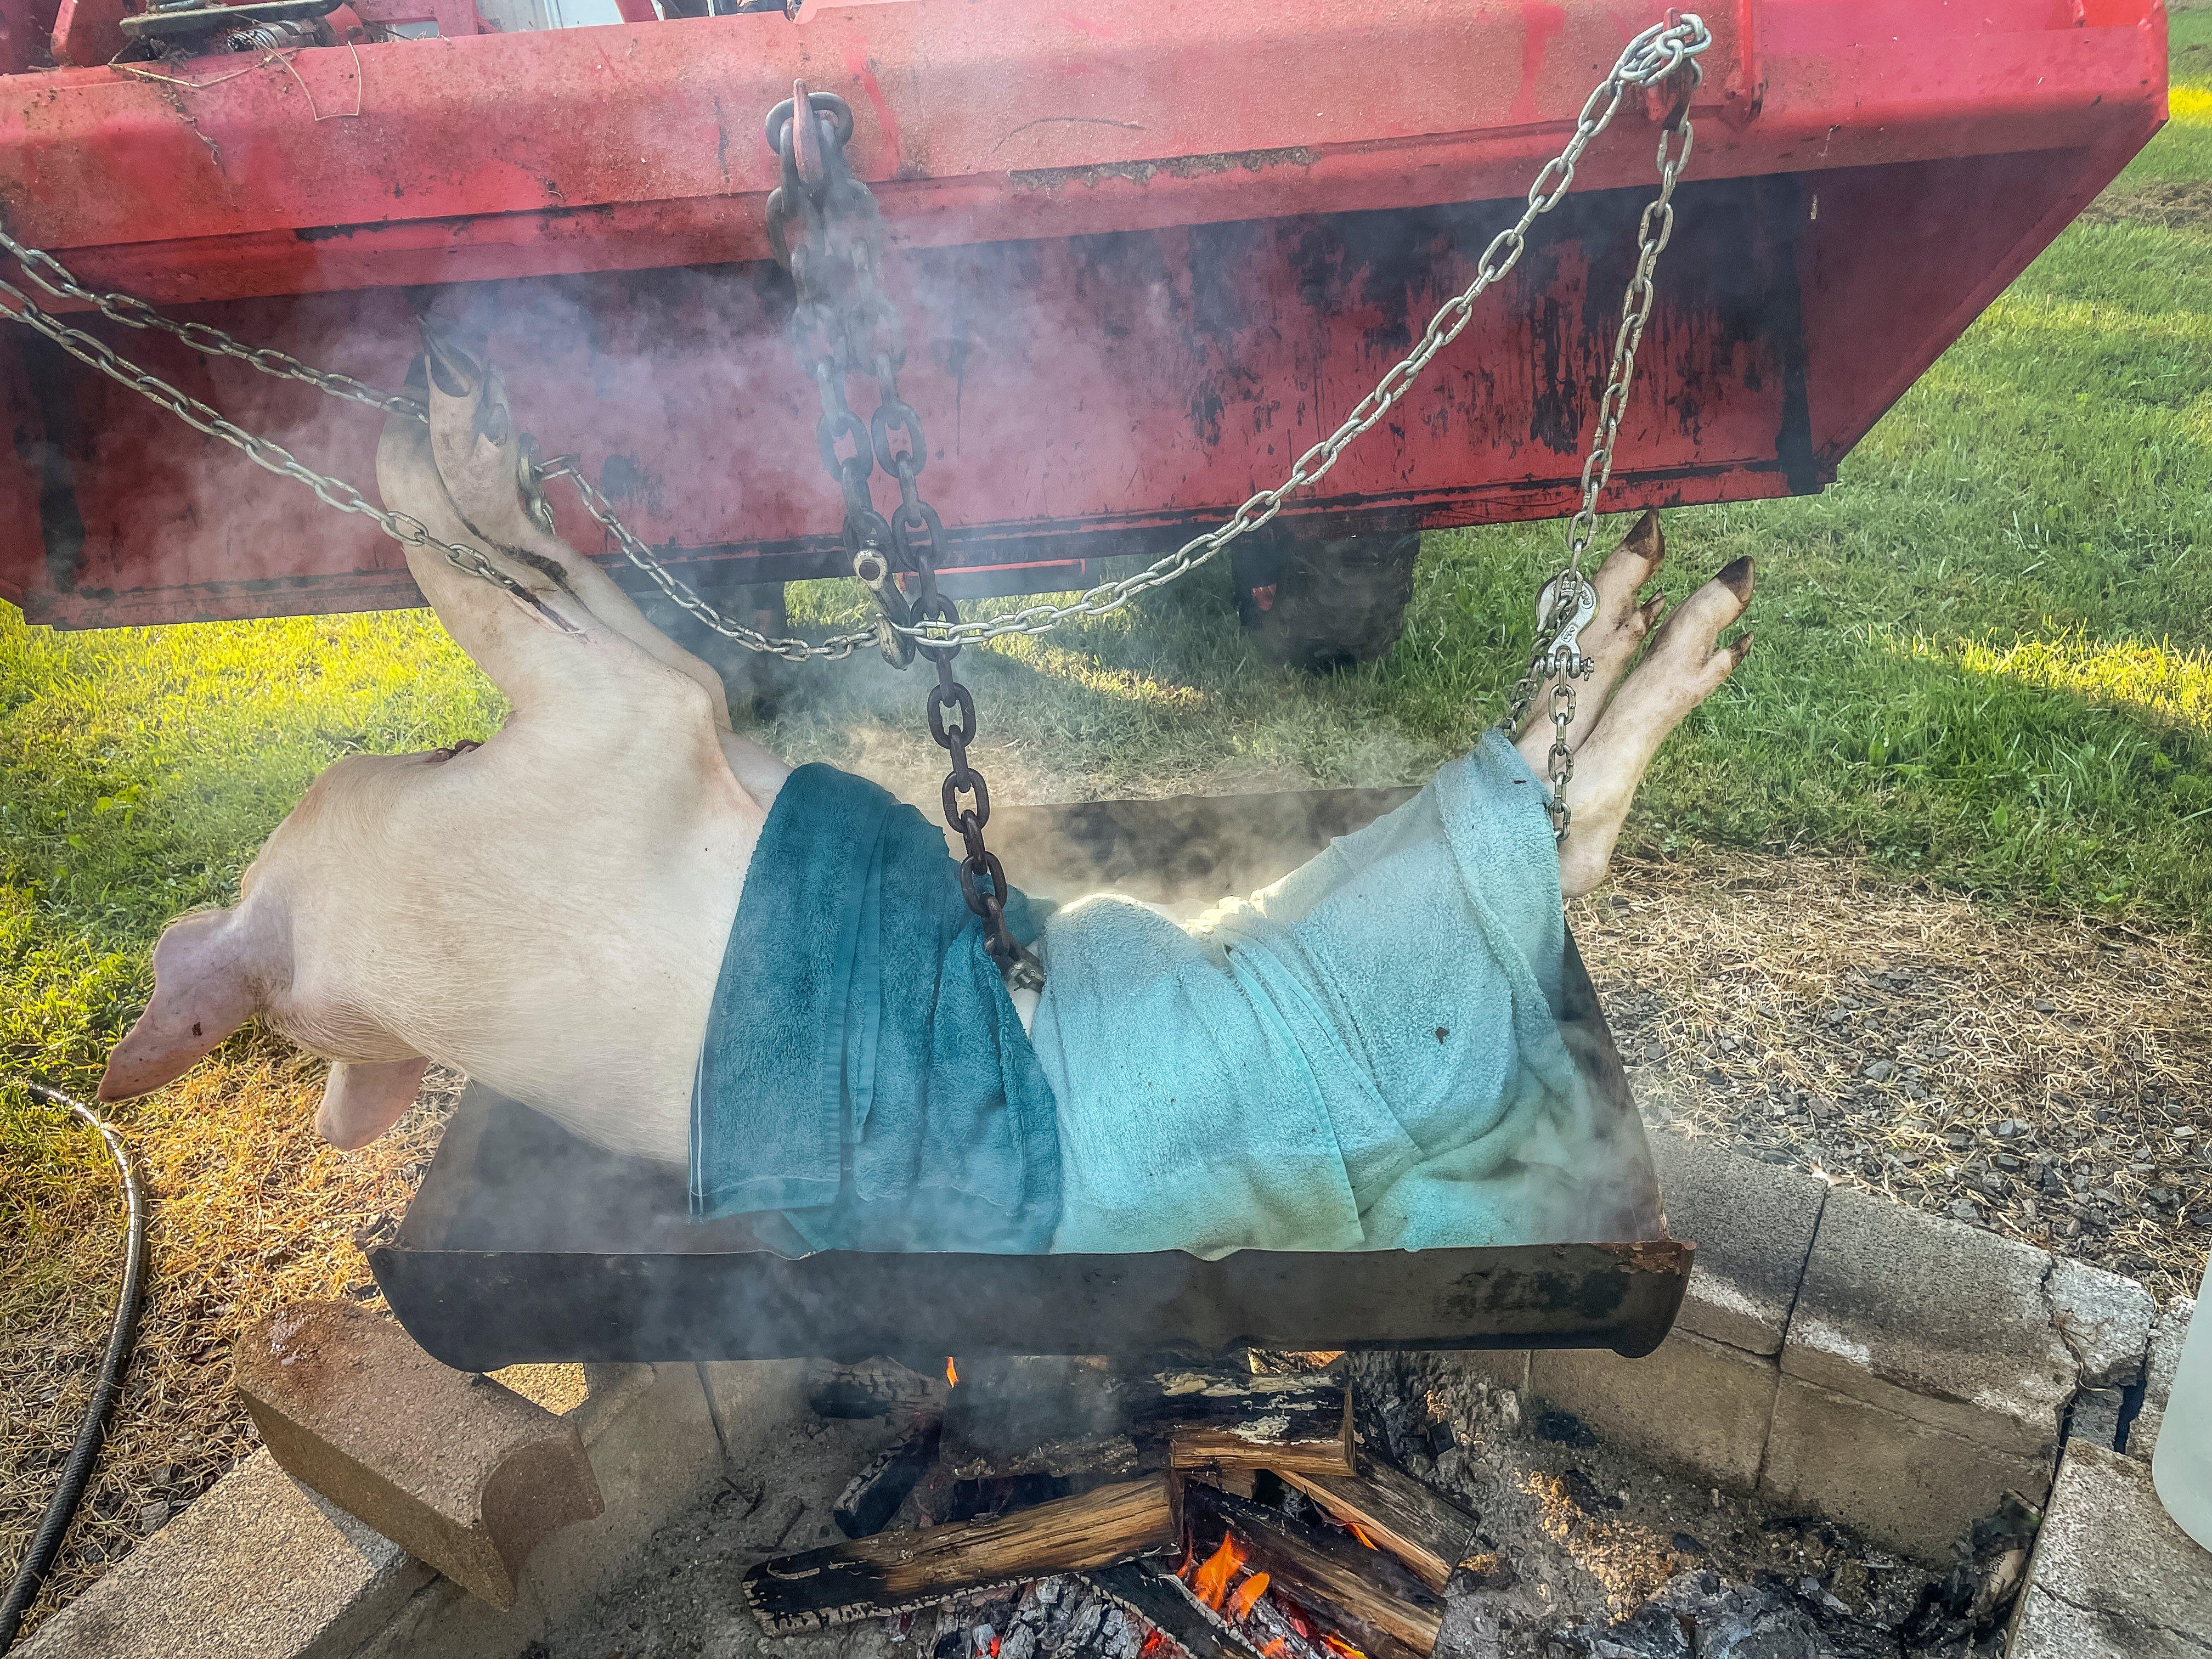
Dip the pig into 160-degree water, using towels to cover any areas that don’t get submerged, until the hair loosens and can be easily scraped away from the skin.
Submerge the pig in the hot water. If it won’t all fit at once, just do it in sections. If your tank isn’t deep enough to fully submerge the hog, cover it with old towels or blankets and pour hot water from the tank over the top to wet the material. Just keep dipping and pouring. The scalding process should take about 5-8 minutes for the hair to start to slip. Test by lifting the hog and scraping at the hair with a knife or metal scraper. Don’t cut into the skin; just scrape across it. The hair should easily pull away. Scrape the entire scalded area to bare skin. If your hog was too big to dip all at once, repeat the process with the unscalded areas. Hang the hog and look for any missed hairs. Burn those off with a handheld propane torch.
Once all the hair has been removed, gut the pig just like you would a deer. Just like with a deer, take extreme care not to nick an intestine. Once the entrails are out, give everything a quick rinse. You can do this step up to a day or two in advance. Just keep the pig on ice in a large cooler until you are ready to cook.
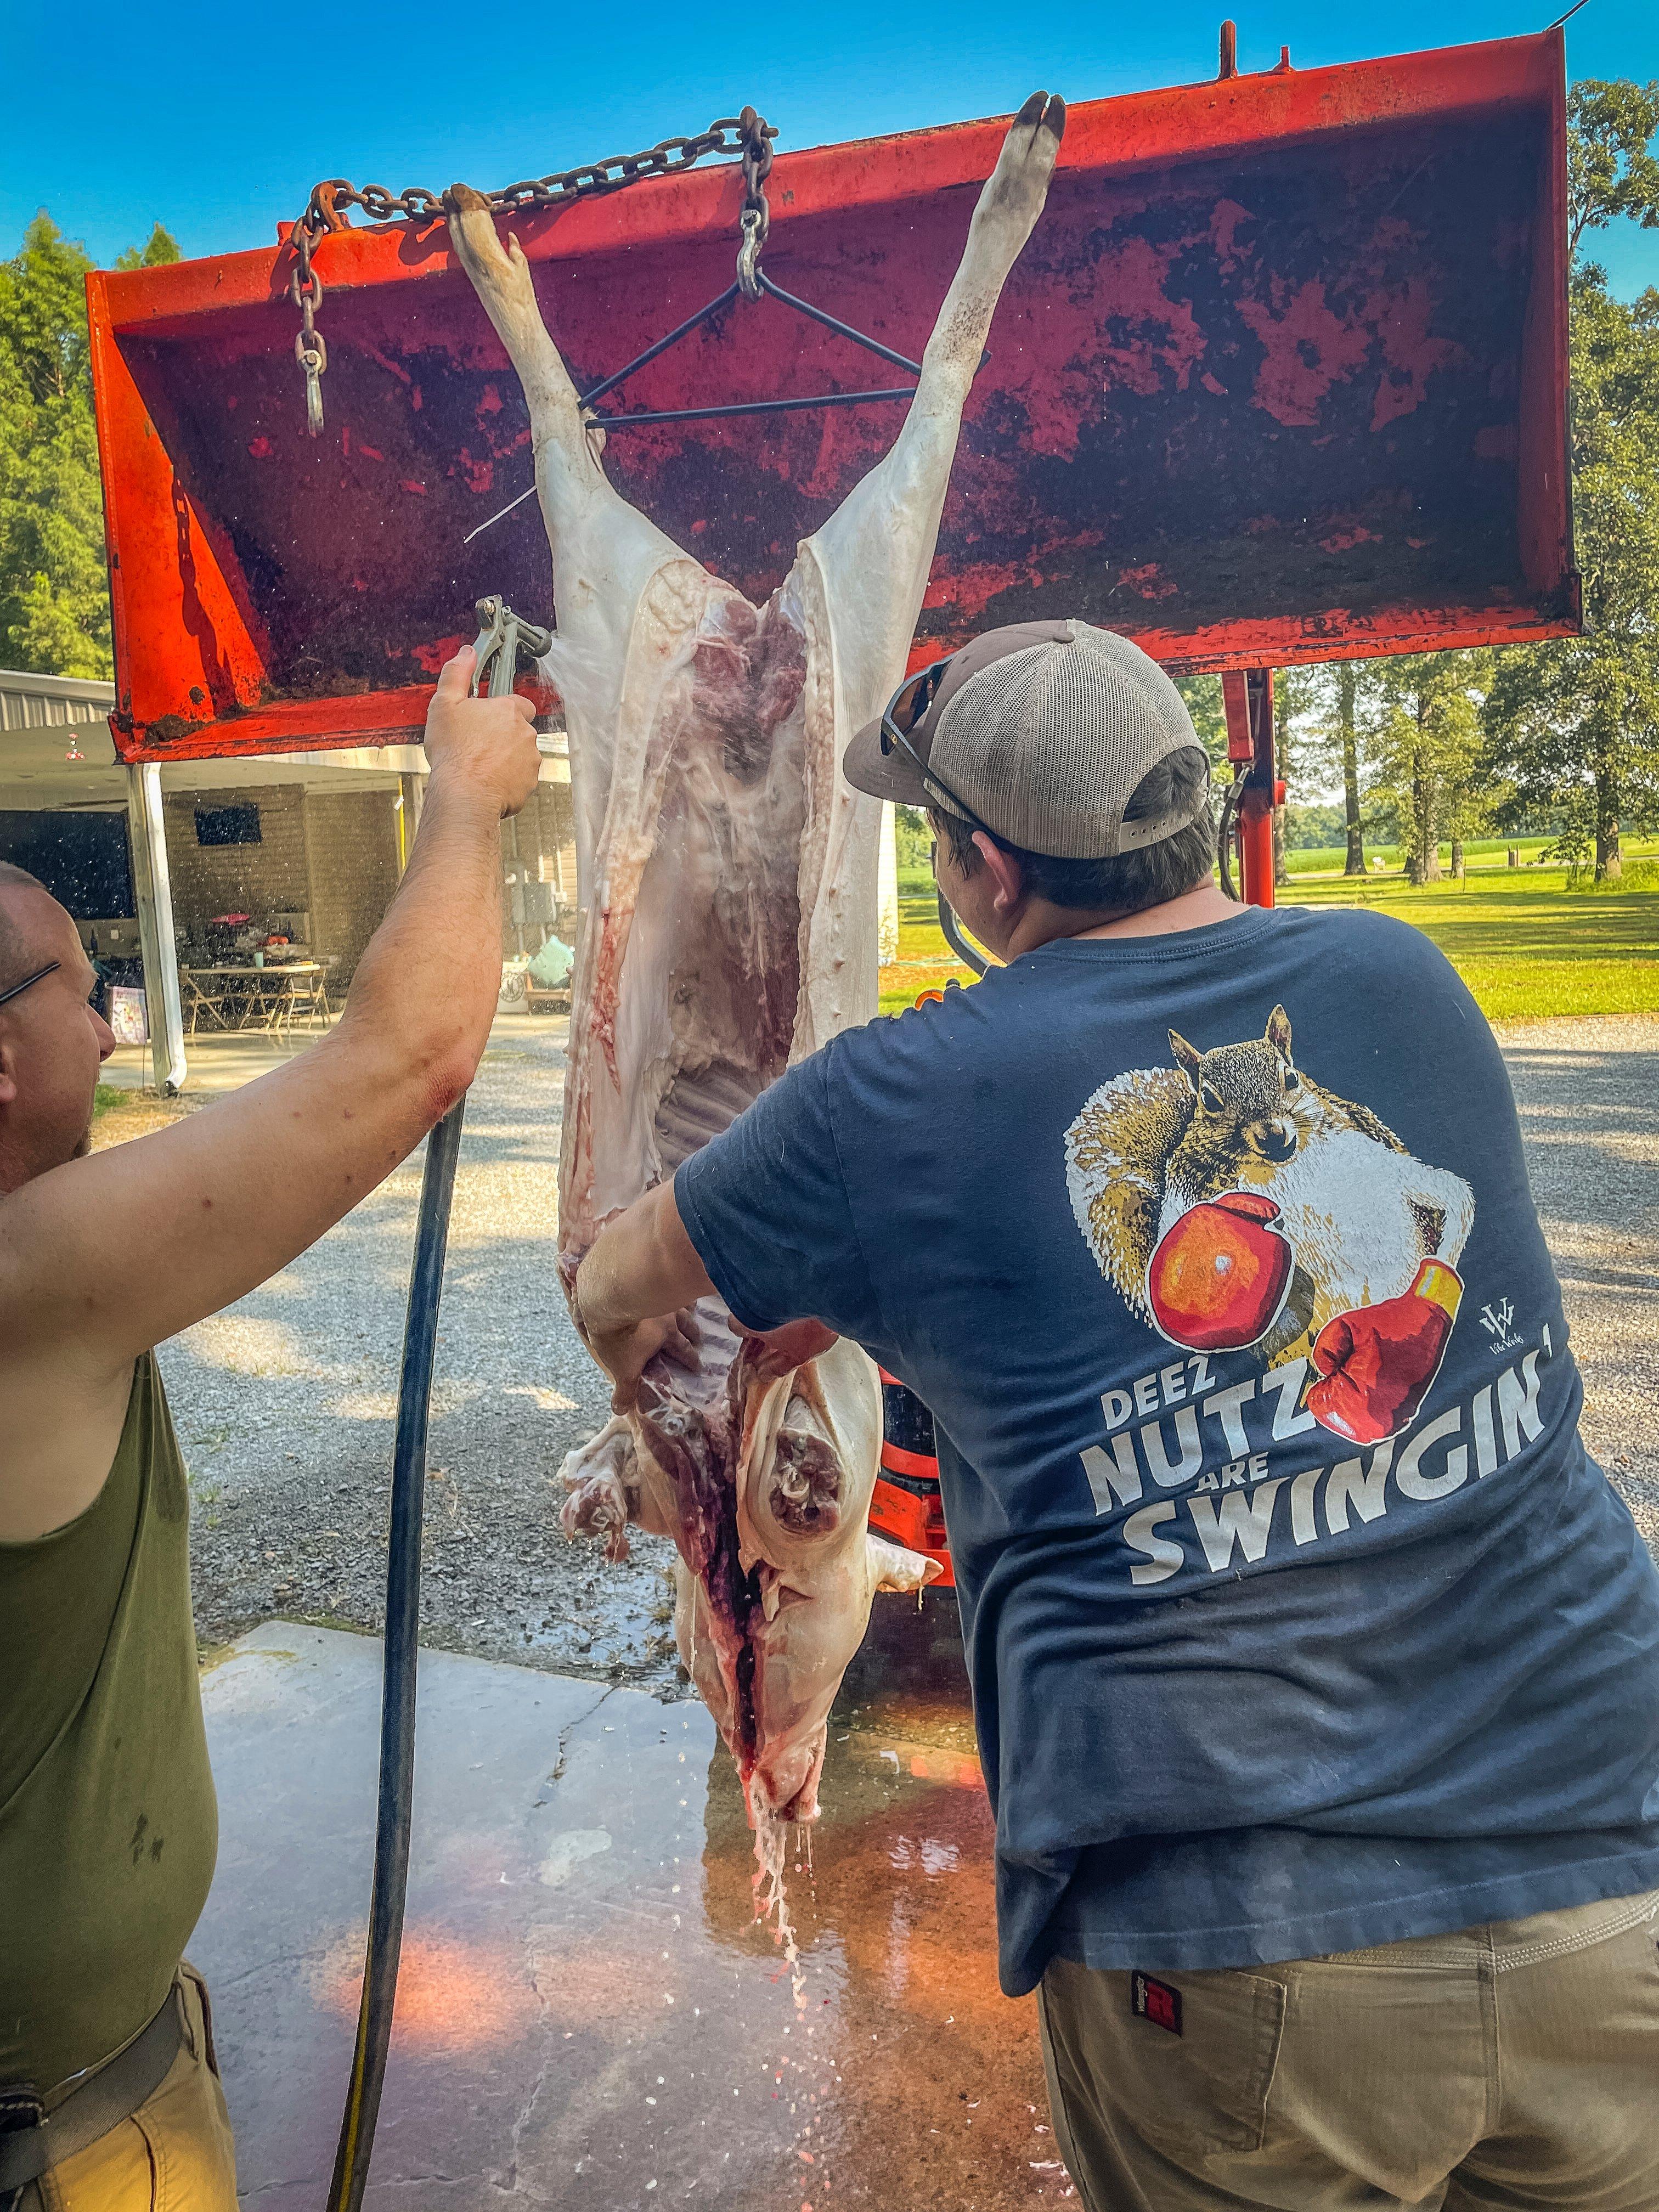
Once the hair has been scraped away, field-dress the pig just like you would a deer, then wash down the cavity.
On roasting day, you need to do a little math. I know, trust me, I was an English major — math sucks. But sometimes it’s necessary. Take your hog’s dressed weight and figure roughly 1.5 hours for every 10 pounds. A 100-pound hog should take around 13-15 hours at 250 degrees.
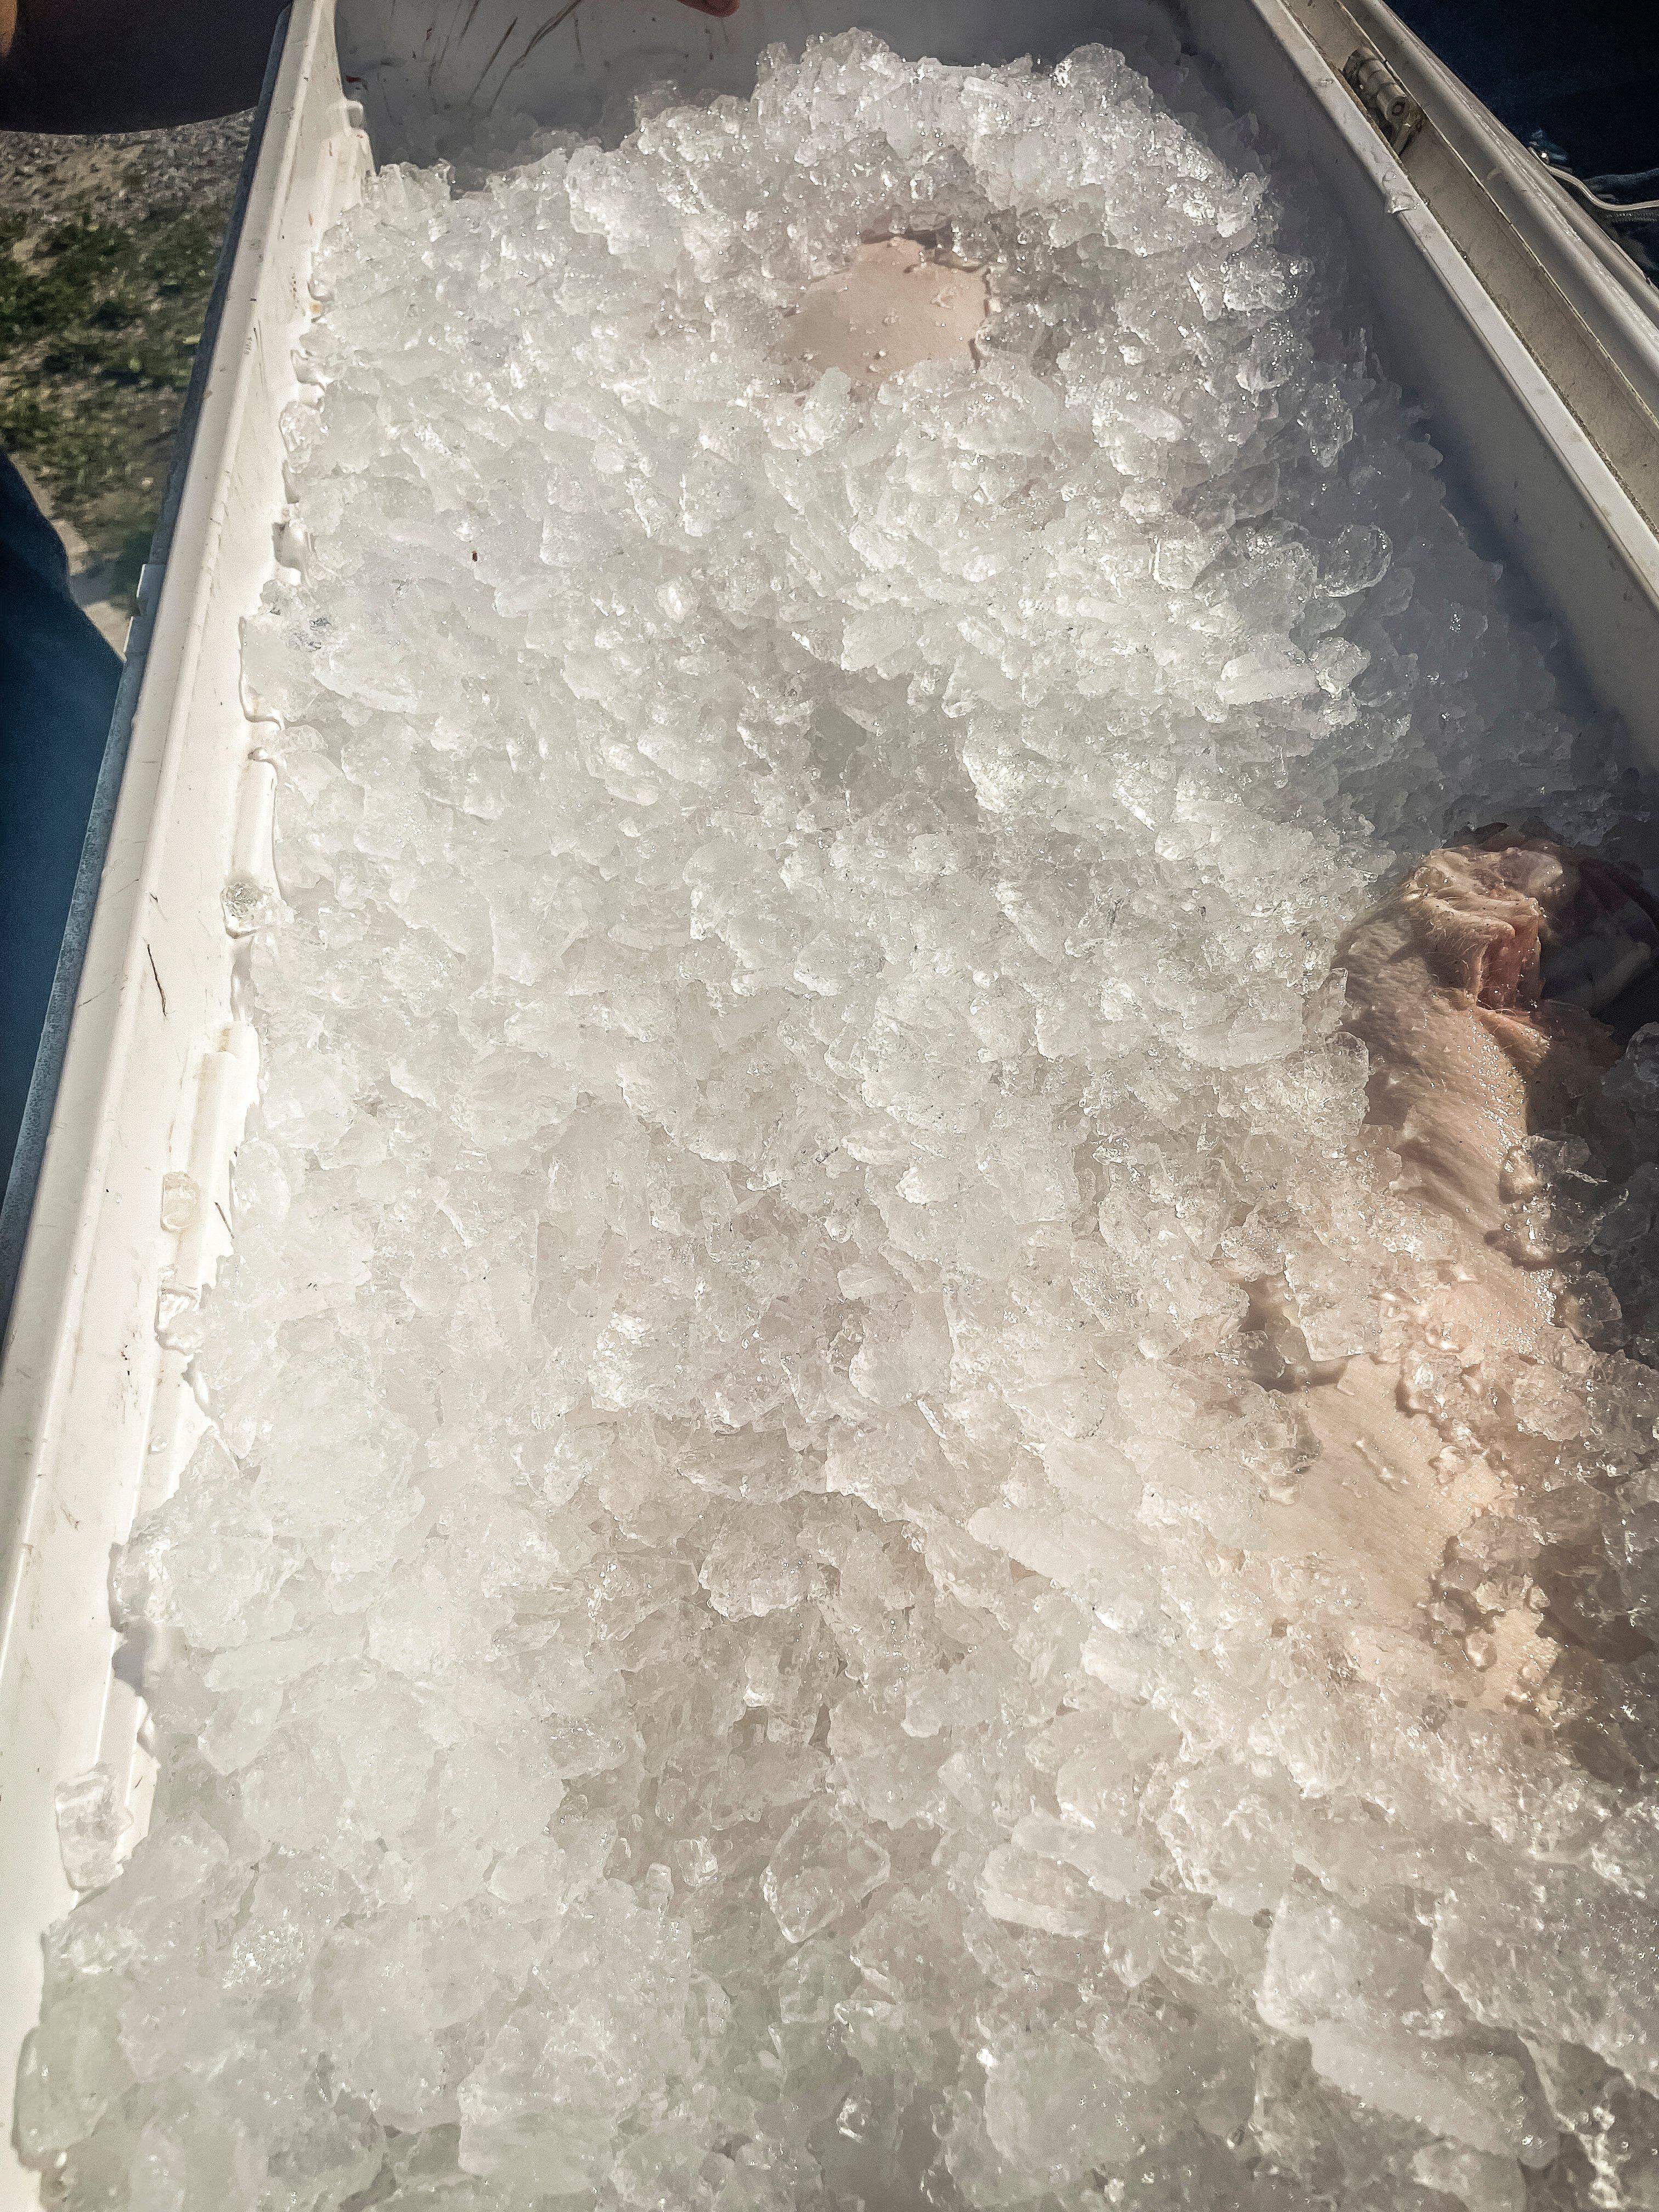
If you process the pig a day or two in advance, store it on ice in a large cooler until you are ready to cook.
Pull the hog from the cooler and place it belly up on a table. Use a cleaver, hatchet, or saw to split the spine and pelvis from head to tail so that the hog will lie flat. I like to inject a hog for extra flavor and juiciness. My injection starts with a 64-ounce bottle of apple juice. Pour out 2 cups. Go ahead and chug it. You will need the energy and hydration later. To the empty space in the bottle, add ½ cup soy sauce, ½ cup apple cider vinegar, ½ cup brown sugar, and ½ cup honey. Shake well to combine. Use a large marinade injector to squirt the marinade deep into the hams, shoulders, and loins of the pig. Keep going until you have injected the entire contents into the pig.
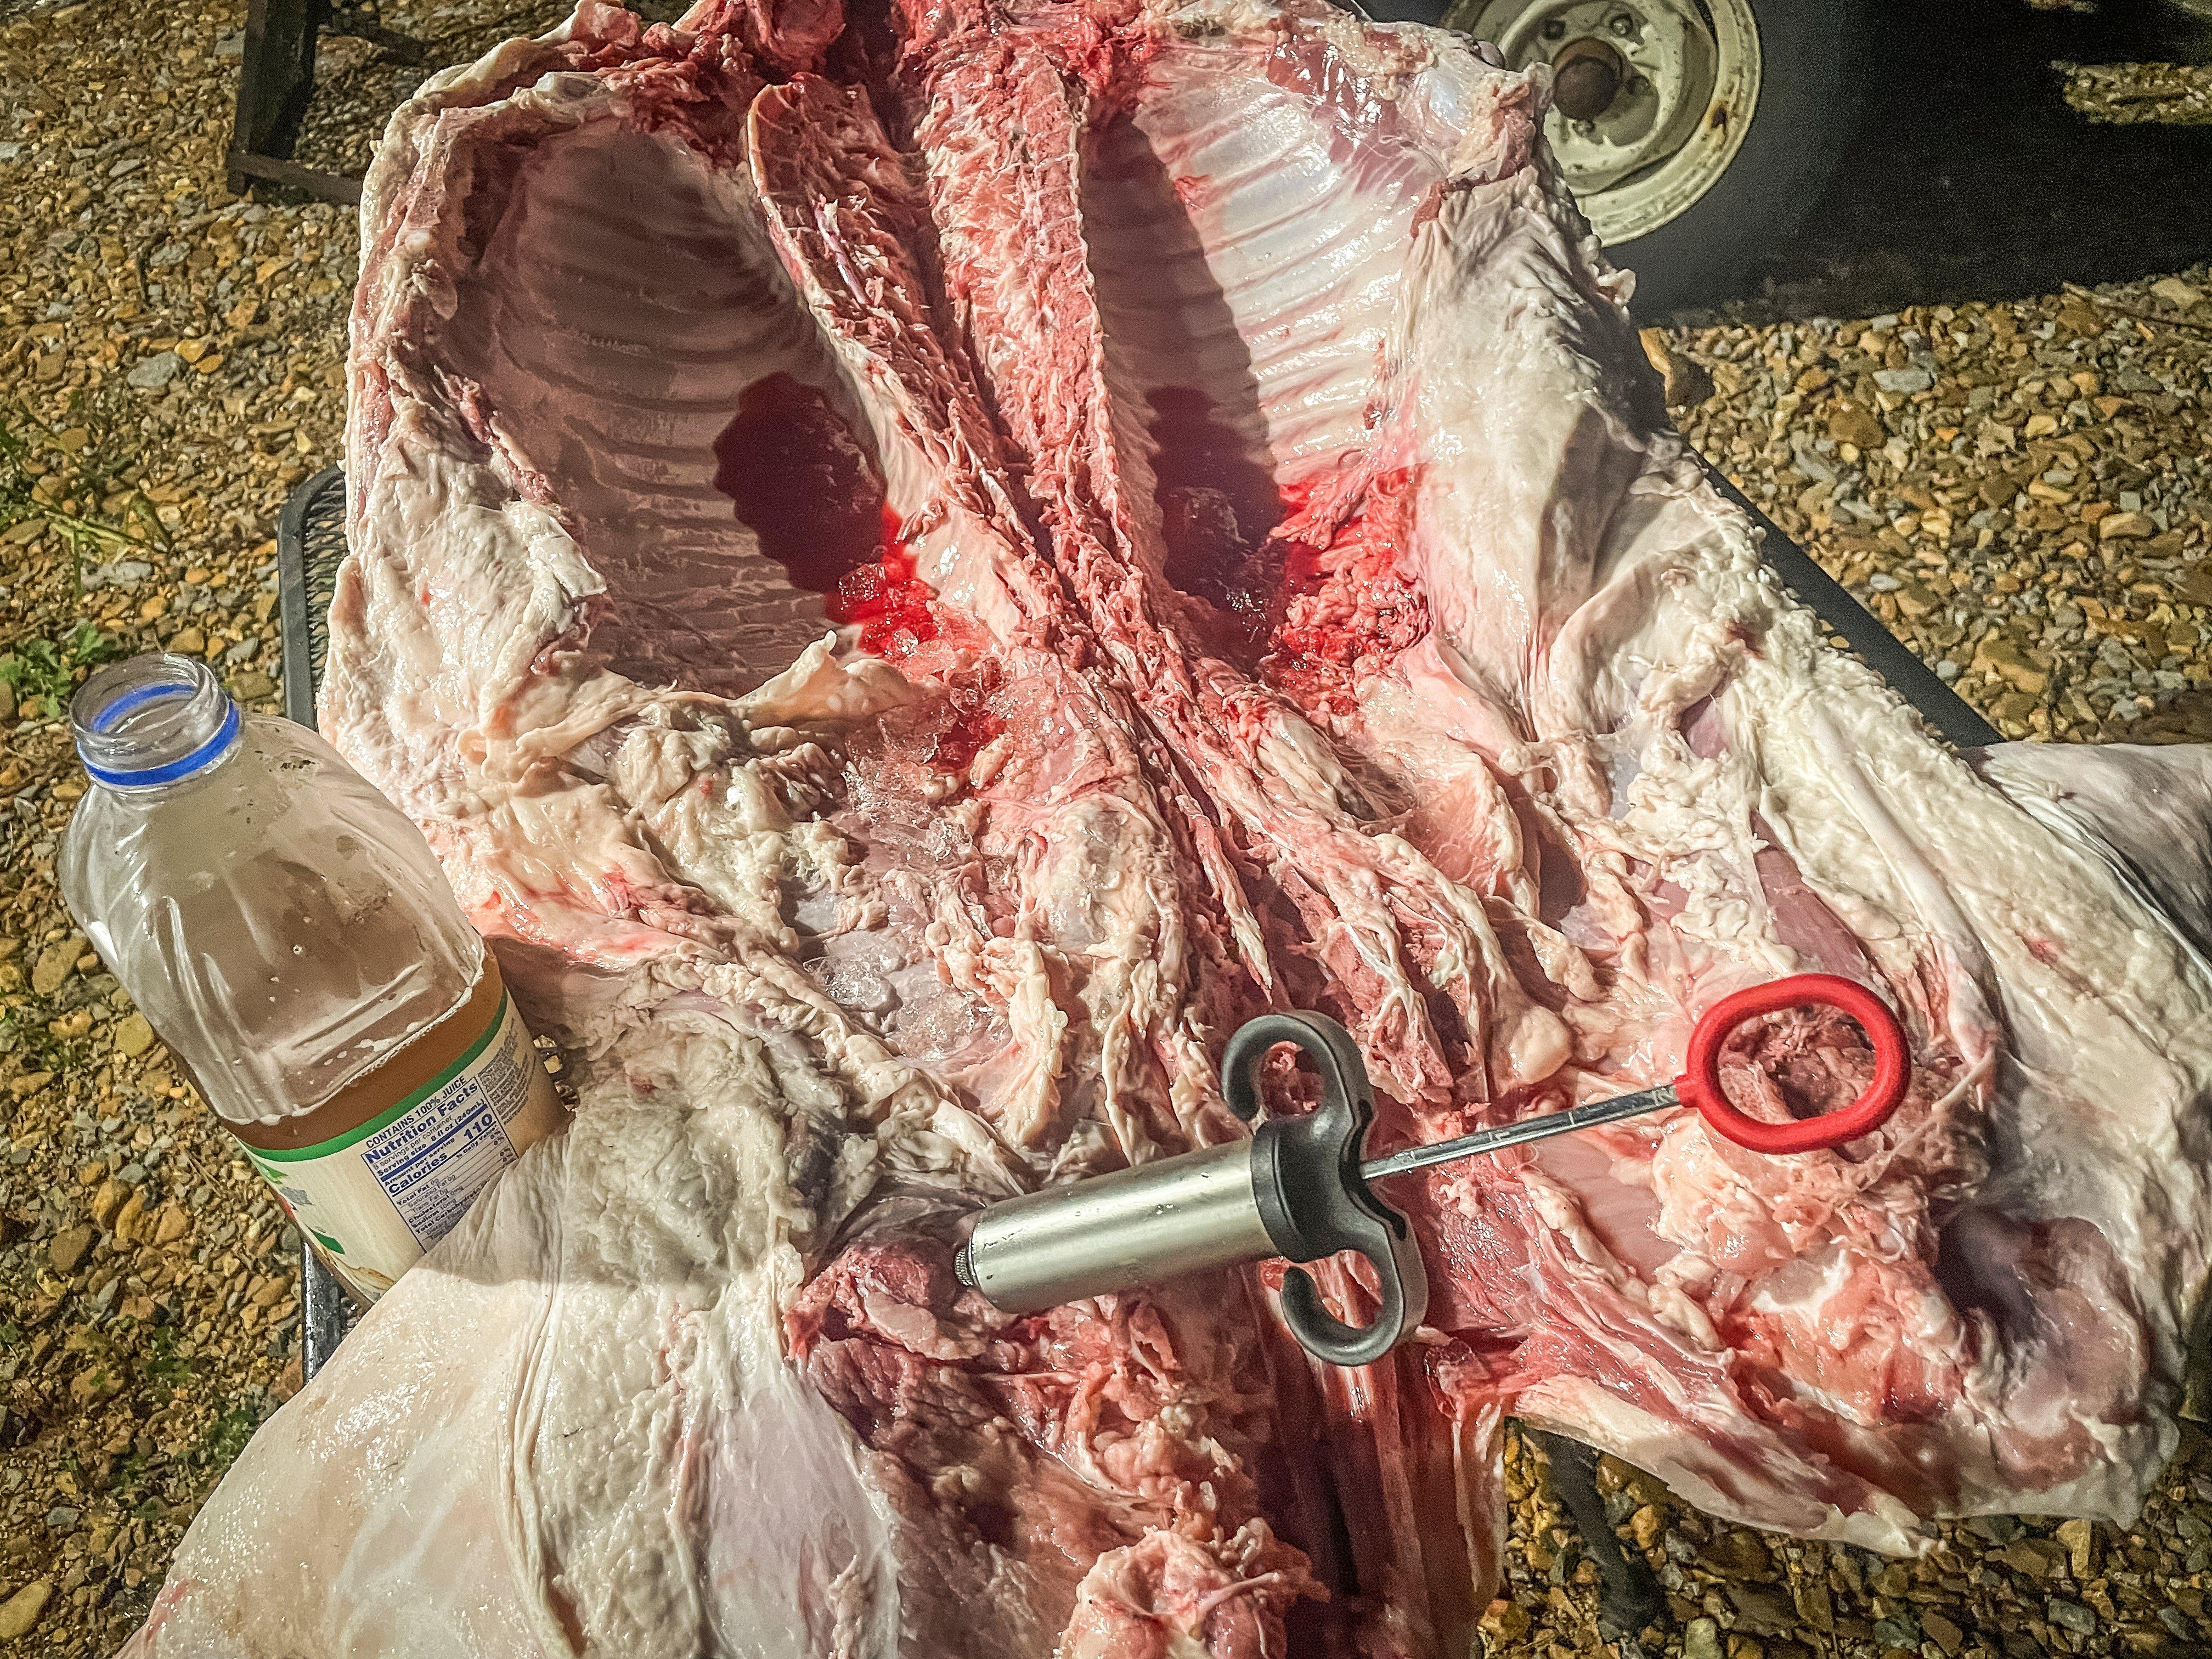
Inject the pig with the apple juice mixture before smoking.
Next it's time to season. Salt and pepper are my main choice at this point. Apply a heavy layer to the entire belly side, then flip the pig and hit the skin with more. I like kosher salt for this. Next, cover the ears and tail with foil to keep them from burning. Once your smoker is holding steady at 250 degrees, place the pig, belly down, on the smoker. Smoke for 3-4 hours.
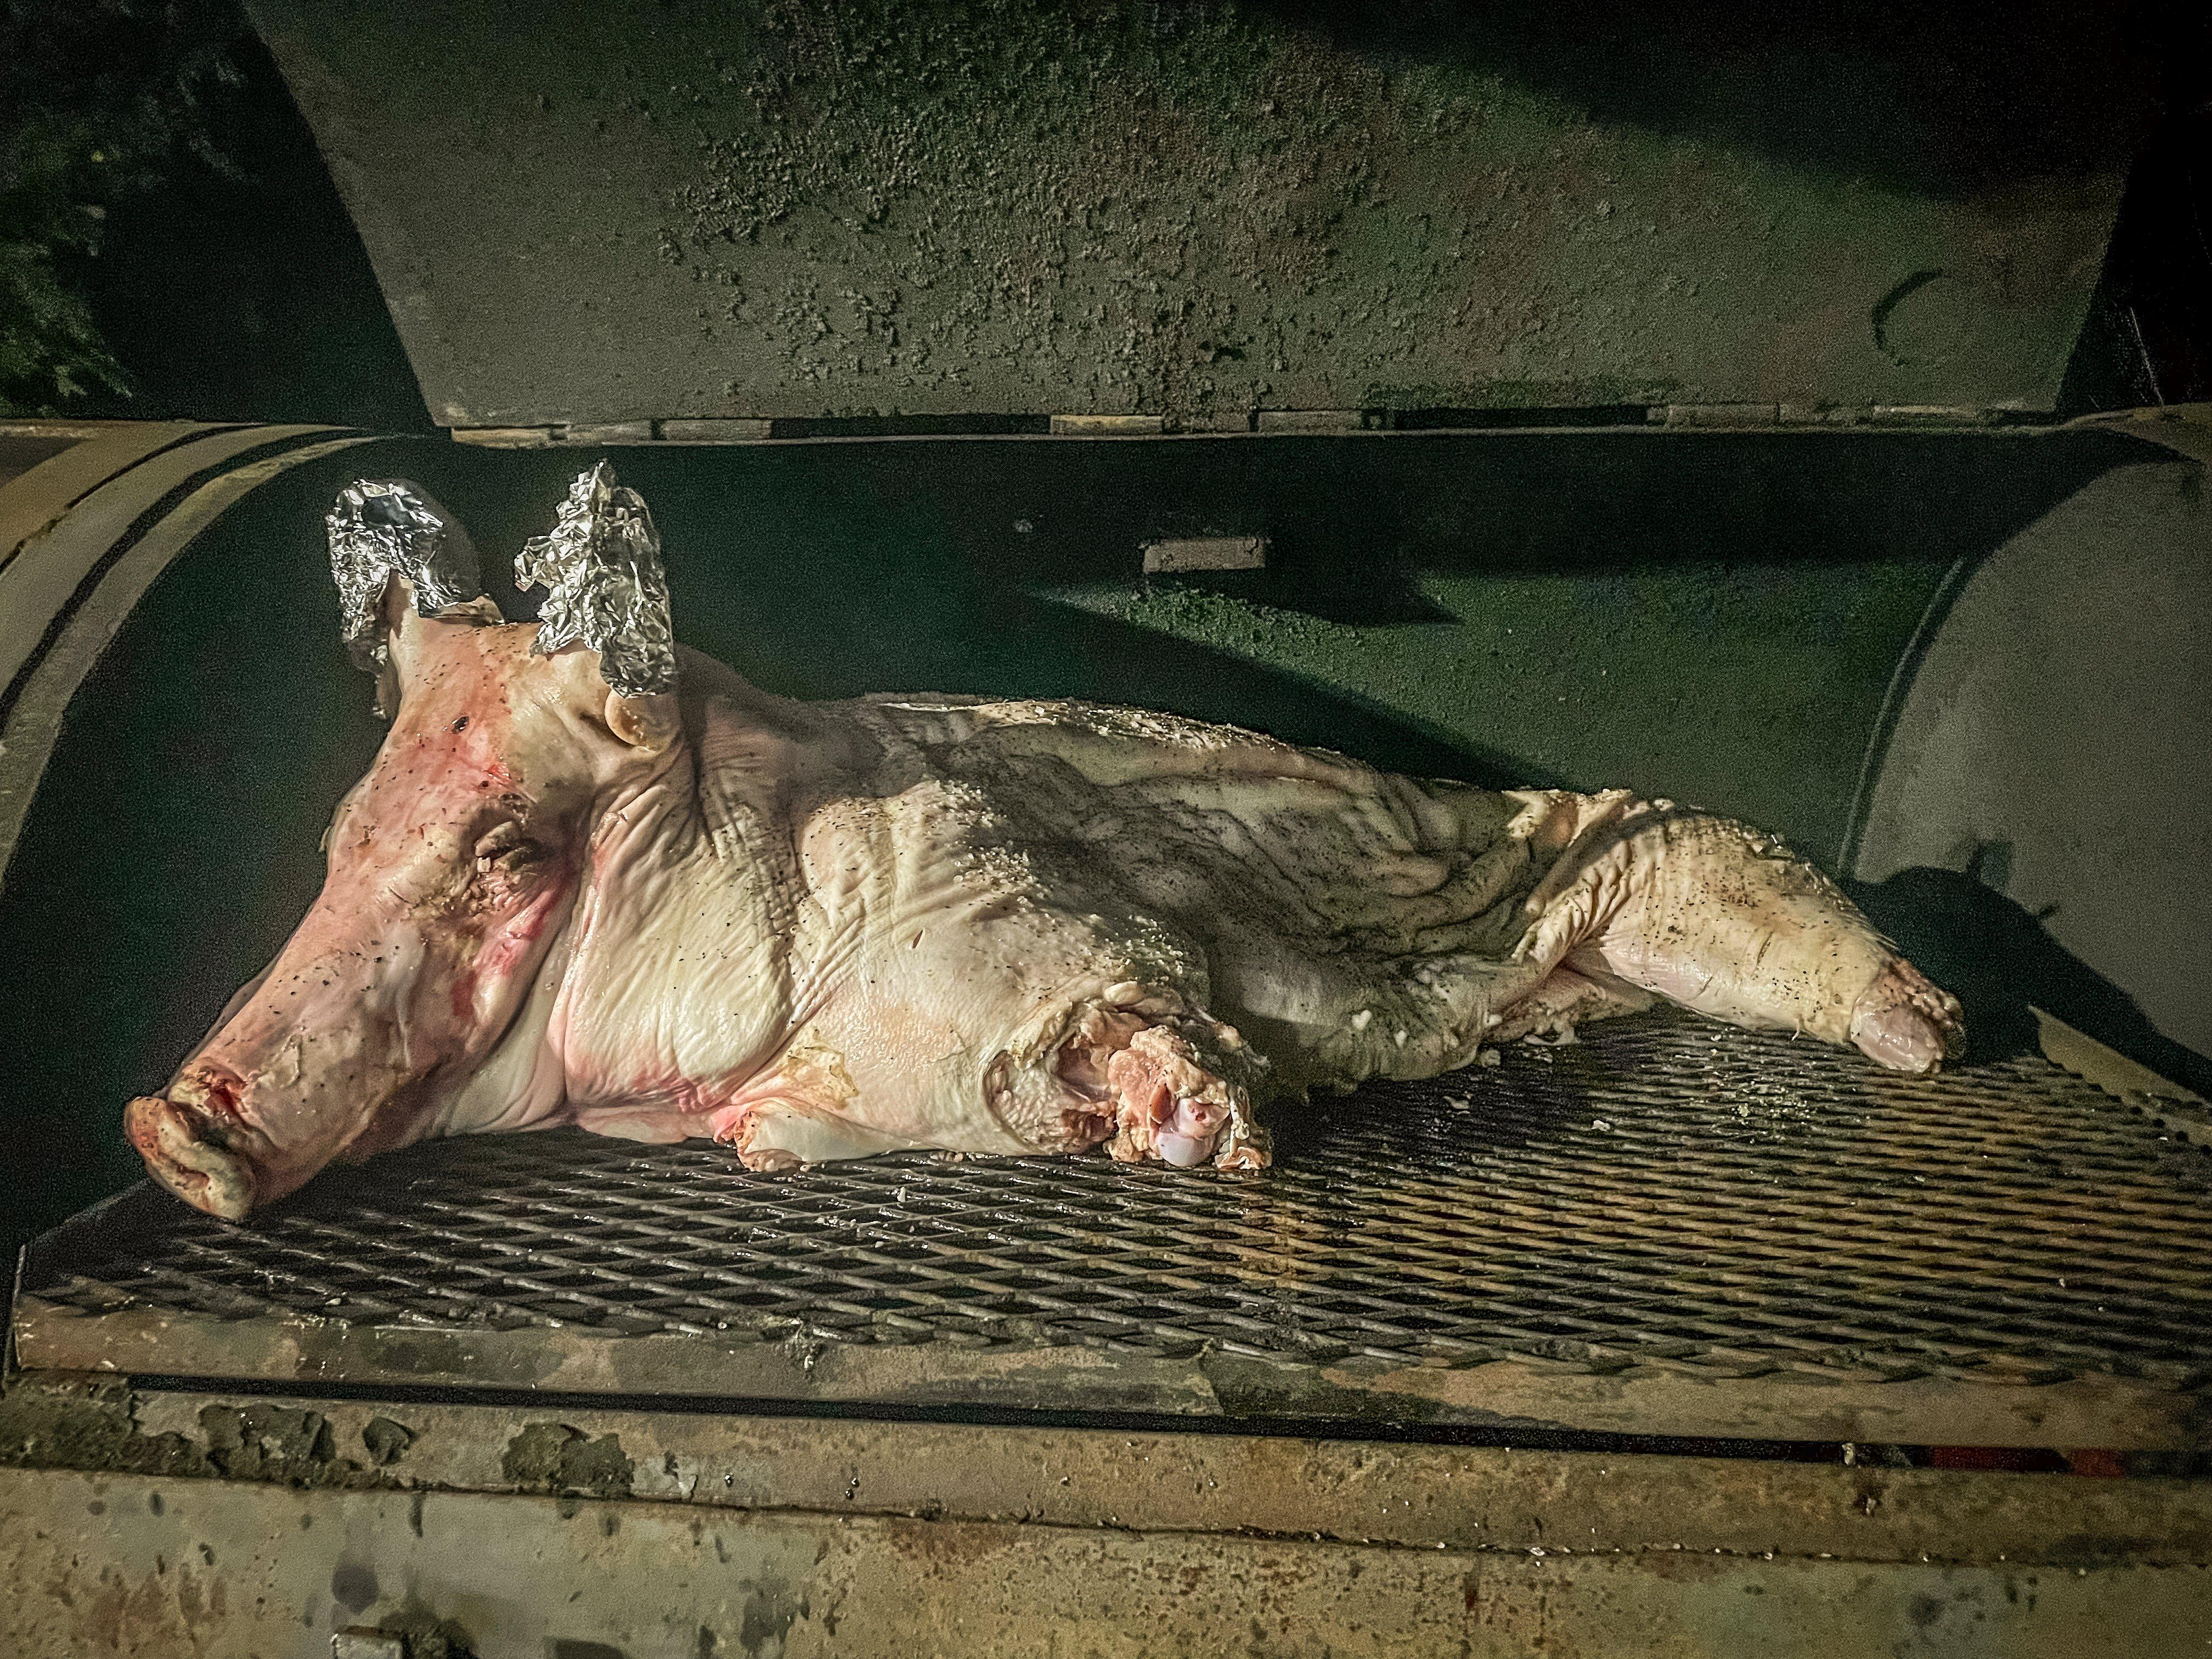
Start the pig belly side down and cover the ears and tail with foil to prevent them from burning during the long cooking process.
After the hog has taken on a nice mahogany color, flip the hog belly up. Apply a liberal coating of your favorite pork seasoning. Continue smoking until the shoulders reach 200 degrees and the hams about 180. A note here on whole hog cooking: In a perfect world, shoulders finish at 200, hams at 180, and loins at 145. You won’t get this while cooking a whole hog, but you can get close by positioning the pig so that the hams and shoulders are at the hottest part of the smoker. You might have to rotate the pig halfway through the cooking process to make this work.
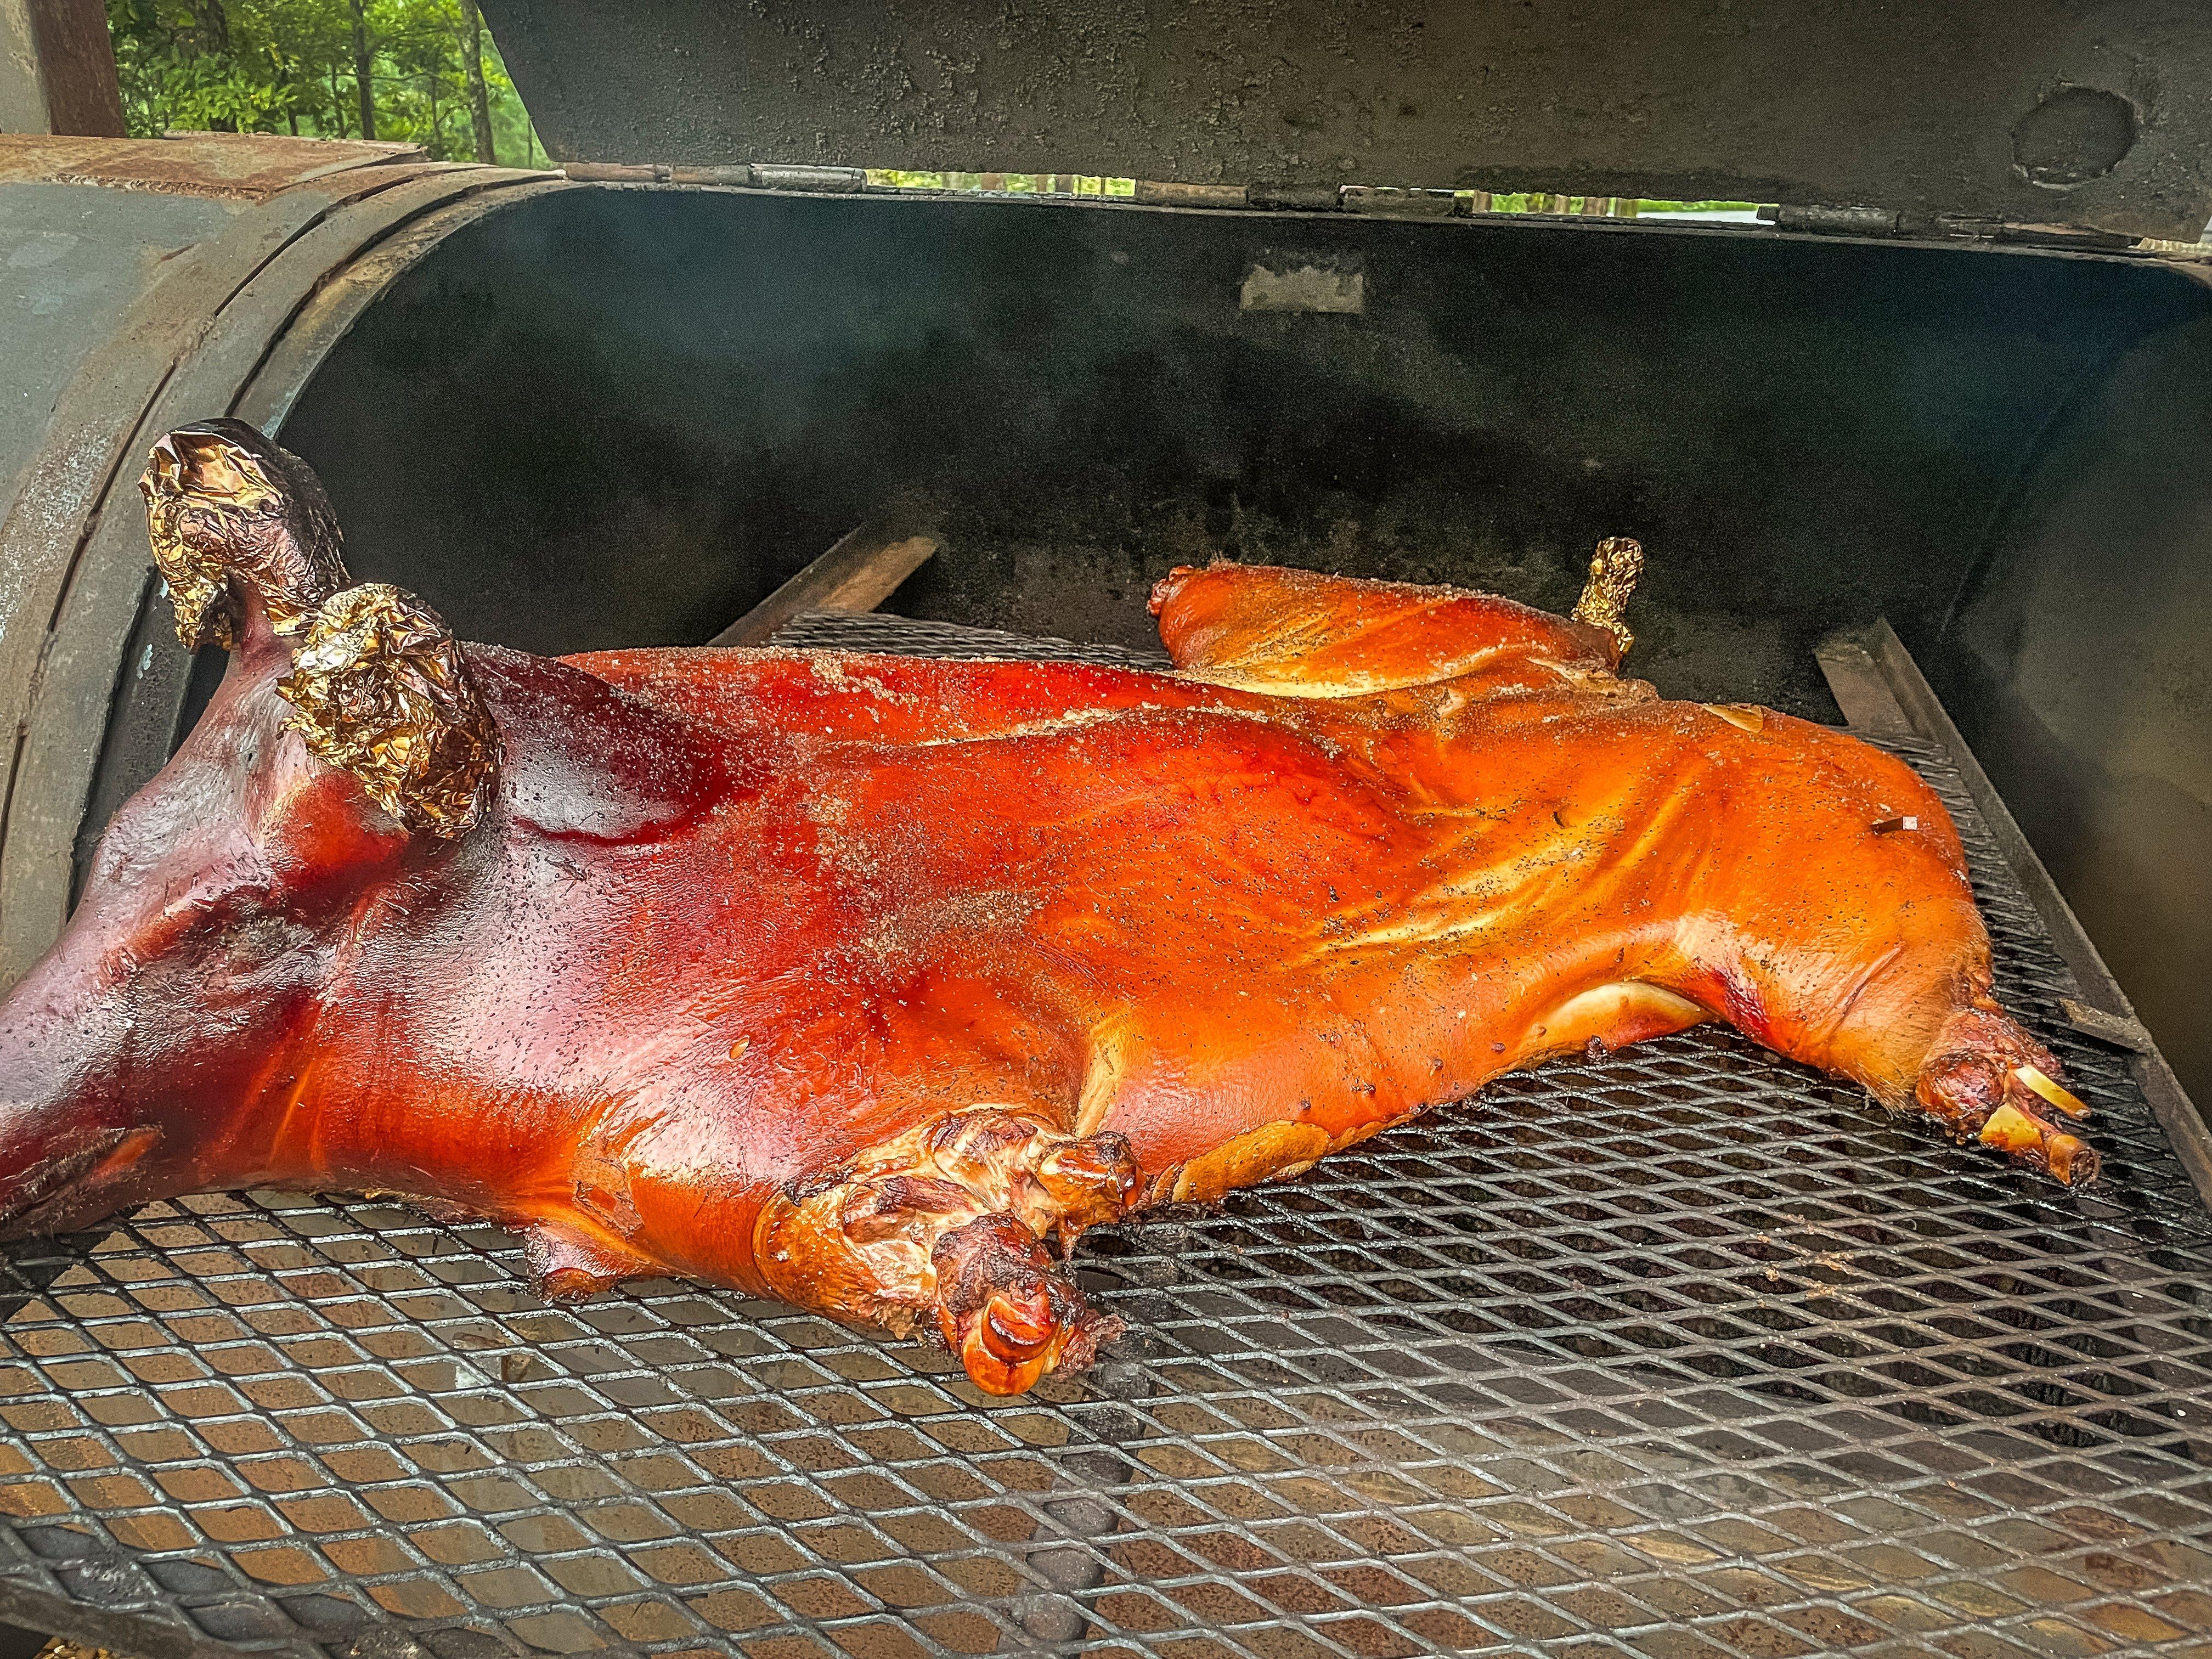
After the pig has roasted for 3-4 hours and taken on a nice mahogany color, flip it skin side down and apply your favorite BBQ rub to finish roasting.
When the pig is ready, and everyone is in camp, transfer the smoker rack to a table or just pick it on the smoker. Peel the ribs away to expose the belly and loin sections. Split the crispy skin and chop it with the pork for a tasty treat. Don’t forget the cheeks, or jowls, of the pig. They are the tastiest part.


