Increase your FPS the right ways
Arrow speed is important. A few extra feet per second won't make up for serious ranging errors, but 30-40 fps will widen your acceptable limit of error at the long end of typical bowhunting ranges. Here are seven ways to accomplish that.
1. Increase Draw Length
If betting on an arrow speed contest, take the tall guy every time. All else being equal, the guy with the longest draw length will win. The farther you draw the bow the more energy you store in it. With more potential energy in the drawn bow, there will be more kinetic energy in the released arrow. That means more arrow speed.
As you lengthen your draw, you must use longer and stiffer arrows for the same maximum draw weight, though. This additional arrow weight is usually not enough to offset the increase in stored energy. In other words, you'll be shooting an arrow that contains more energy, and you'll be shooting it faster.
If you don't want to give any of that speed back in the form of a heavier arrow, you can go to a Super Lite aluminum or an internal component carbon shaft. Even though these arrows are potentially lighter than the one you shot before, you won't give up penetration energy because you're putting more energy into the arrow by extending the draw length.
Though increasing your draw length brings speed advantages, you can't do it indiscriminately. It has to be done carefully. To find the maximum draw length that you can shoot without giving up accuracy, you'll need a mirror or a friend to help you.
First, find your optimum anchor point. Do this without a bow to make the process easier. Pretend you're at full draw. Put your release hand in position to simulate your anchor point. Then, continue moving the anchor point forward and backward until your forearm is perfectly in line (elbow pointing straight behind you). This is your proper anchor point for both speed and accuracy. If you're drawing too far, the elbow will point to the left (right-handed shooter). If you are not drawing far enough, your elbow will point to the right.
For most bowhunters, the proper anchor point puts their fist in a position where it is pressed up against the back of their jawbone. Now, assume the same anchor point with a bow and your hunting release or finger tab. (This may require a draw length change on your bow.) Double-check and fine-tune your draw length to make sure your forearm is in line with an actual shaft. This is your optimum draw length.
If you are shooting an aggressive cam, speed may increase 3 to 3 1/2% for each inch of additional draw length. So, if you're shooting 250 fps with your current set-up, and anchoring an inch short of your optimum position, you could gain as much as 9 fps, not to mention the benefits of greater accuracy that comes from using the correct draw length.
As your draw length increases, if you're already shooting the lightest shaft your bow can handle, the numbers won't be quite as impressive if you have to use a stiffer shaft. (Only paper tuning will determine this.) Under these conditions, you increase your speed approximately 2 1/2% per inch of draw length added. This is still a significant boost to performance, though.
2. Increase Draw Weight
If you can boost your poundage without overburdening yourself, you'll increase both speed and penetration. Spring is the time of year to make this change since you have several months to build up slowly. If you shoot a lot - a couple of times per week (or more) - a draw weight increase of a pound or two each month will barely be noticed. For a reasonable hunting weight bow, a 5-pound weight increase will result in a speed improvement of about 10 fps. If you're under-bowed, it's well worth the change.
A word of caution: Don't try for too much draw weight. Your maximum accurate draw weight is the one for which you can draw the bow without having to raise your arms above shoulder height. Another test is whether or not you can draw the bow when sitting flat on your butt on the ground. You should also be able to hold it at full draw for at least 30 seconds without shaking.
3. Understand Cam Design
There are two ways you can get a faster cam. First, buy a new bow. That's an obvious approach, but a reasonable one considering how affordable performance bows have gotten these last few years. A less obvious approach is upgrading your existing one. In some cases, it may be possible to put a different cam system on your current bow that will make it faster.
Check with your manufacturer or local archery pro. Some bow companies offer wheel modules that allow you to very simply and inexpensively change the force draw characteristics of your bow. If you're really serious about increasing speed, consider a cam with lower letoff (65% instead of 75% or 80%).
Be forewarned, however, a cam upgrade may also require the need for different limbs to make the same draw weight and a different string and harness system. In the end, it may actually be cheaper (and certainly easier) to simply buy a different bow. Also, such an upgrade will typically void a warranty, so proceed at your own risk. The only way you will know if your bow can be easily upgraded is to ask. Each bow design is different.
You could see a significant increase by upgrading to a more aggressive bow. Going from a round wheel bow to the most radical cam, at the same draw weight and draw length, the increase will be approximately 15-20%. Also, the switch from 80% to 65% letoff would net you about 2% more.
4. Shoot Lighter Arrows
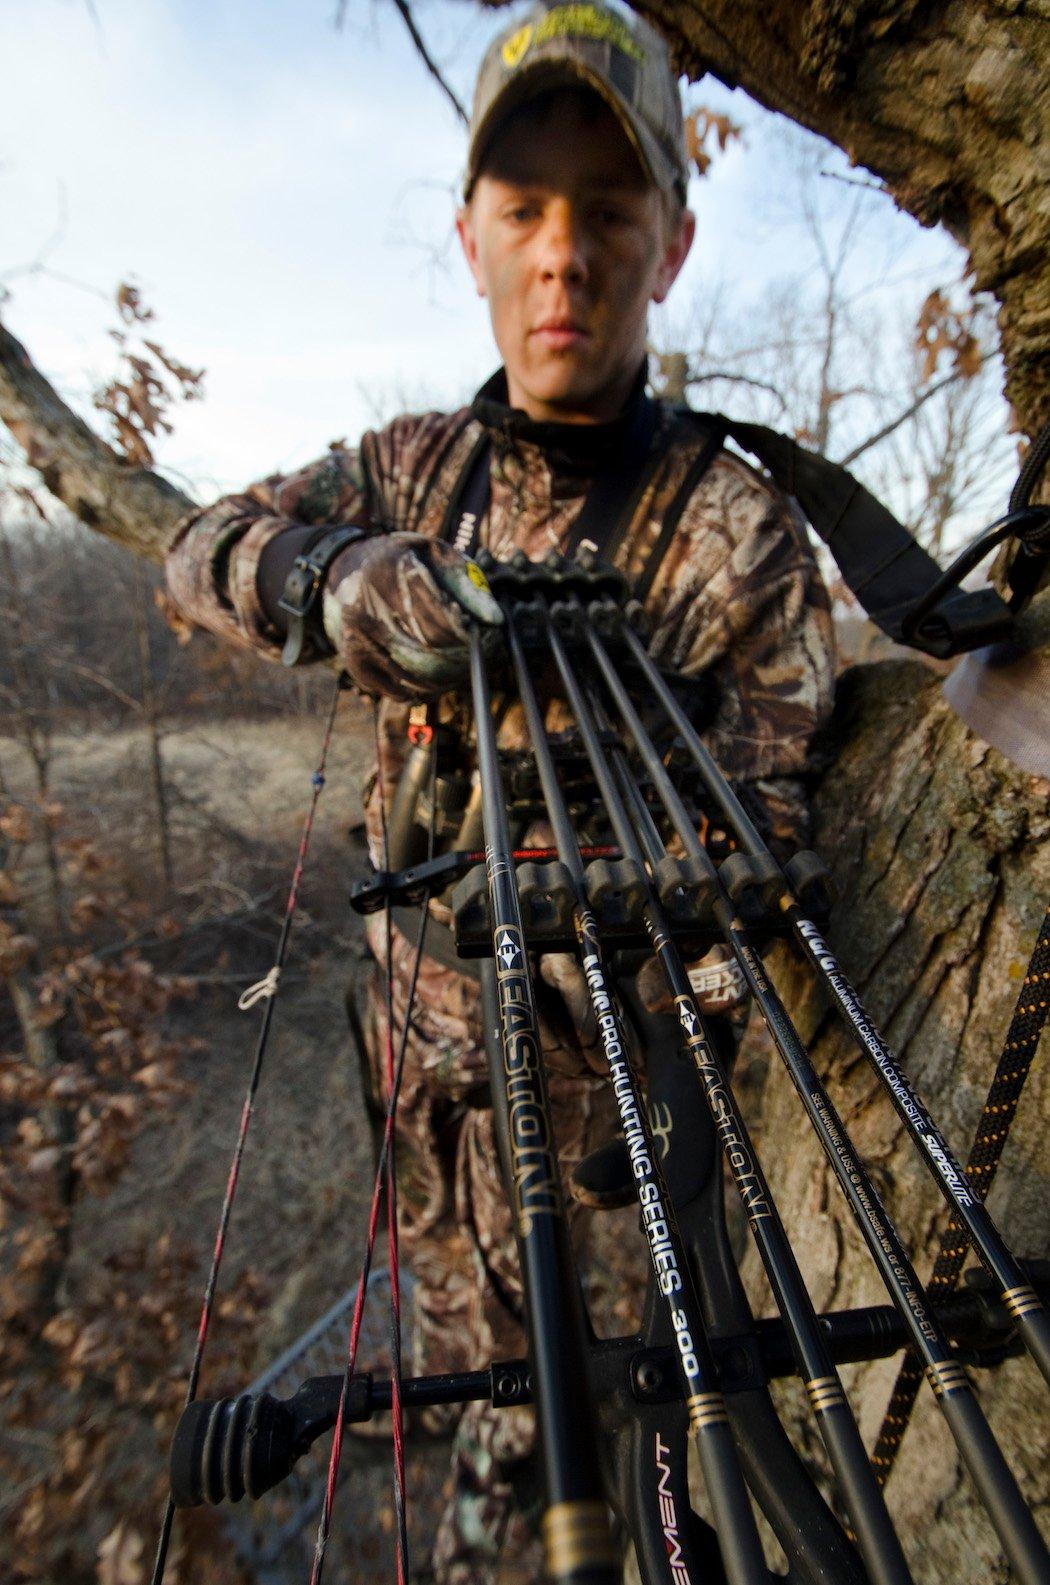
The marketplace is full of arrow options. You can choose from standard aluminum, thin-walled aluminum, pultruded carbon, carbon/aluminum composites and even internal component, cross-weave all-carbon arrows. With these options, you can select full-length arrows with weights ranging from as low as 5 to as high as 10 grains per pound of your bow's draw weight. (For a 60-pound bow you can find properly spined arrows weighing anywhere from 300 to 600 grains) There's a lot less incentive to use an overdraw today than there was a few years ago. In fact, purely from an arrow weight perspective, there's no reason at all to use an overdraw. That's one of the reasons so many high-performance bowhunters are sticking with full-length arrows.
How much more speed will you gain with a lighter shaft? You'll see roughly 1 fps increase in speed for every 5 grains of arrow weight reduction.
A word of caution: Don't overdo this arrow weight thing. There are practical limits to how light you can shoot. Going below 6 grains of arrow weight per pound of draw force is generally considered risky as your bow will be forced to absorb a lot more vibration. Also, shooting fixed-blade broadheads accurately at speeds over 250-260 fps is very challenging. If you plan to take your speeds above this range, you should consider mechanical heads or plan on spending a lot of time fine tuning your bow and shooting form.
5. Optimize Cam Rotation
With most designs, the bow's draw force characteristics are affected as the wheel pivots to accommodate the effects of string stretch or draw length adjustment. There is one rotational position for any cam at which the bow stores the maximum amount of energy. In simple terms, your bow will be faster when the cam is rotated properly. You do this by adjusting string or harness length.
If the cams of a two-cam bow are over-rotated (rolling up too much string) you can correct it most easily by putting twists in the string. But remember, when you adjust string length you must then go back and reposition your nock set or string loop position and re-sight your bow. If the cams are under-rotated, you have to twist the harnesses equally to keep the cams in time. After making this adjustment, be sure to go back and check your cam timing.
Many bowhunters think you don't have to worry about such things as cam rotation with a single-cam bow. But it is just as important (if not more so) with a single-cam as with a two-cam. Proper cam rotation will not only assure that the bow produces the optimum force vs. draw characteristics for good speed but also correct nock travel and draw length. If the cam is under-rotated (it needs to roll up more string), put a few twists in the power cable. This is the cable that goes from the cam directly to the axle on the other limb tip. (Not the one that either attaches to the idler wheel or wraps around the idler wheel and then attaches to the bottom cam again.) If the cam is over-rotated (which is the normal case) put twists in the string equally on both sides.
If you're unsure of the proper cam rotation for your bow, a call to the manufacturer's customer support hotline is usually all that's required. Make sure when choosing a new bow that it fits your draw length (as described above) exactly when the cam(s) are rotated to the optimum position. When you get it right, the speed increase could be in the range of 2%, or more. At 250 fps, that's another 5 feet per second.
As with any task, if you don't know what you're doing, consult a pro shop or take your bow to an archery expert.
6. Check Proper Specs
Your bow will perform better with the limbs bottomed. The amount of pre-stress on your limbs affects the shape of the draw-force curve and how much energy your bow stores when you draw it. When the limbs take on a greater bend at brace, the bow comes up to poundage faster and stores more energy. Your only recourse in controlling pre-stress is to shoot your bow with the draw weight adjustment bolts cranked down. This also reduces the bow's brace height slightly by changing the angle of the limbs which will also increase energy storage and arrow speed.
Let's say you want to shoot 55 pounds. You can back off a 70-pound bow or max out a 55-pound bow. The second option will produce a lot more speed for the same poundage. If you're backing your bow limbs well off their bottoms, you will gain more speed by simply buying a set of lighter limbs from your dealer so you can shoot the bow closer to its maximum poundage. The difference can be very substantial, especially when dealing with a high-energy cam that is sensitive to pre-stress. A 5% speed increase is definitely not out of the question, and it could be even more.
7. Make Small Tweaks
String weight: Keep the string weight down to a minimum, especially at the center of it. This can make a several-feet-per-second difference. Use a lightweight peep sight, reserve your string with a shorter section of serving and consider serving on your nock sets or using a string loop instead of heavier nock locating systems. This can produce a speed increase of about 3 fps.
Install speed bumps: By adding a small amount of weight, equivalent to two brass nock sets on the string out near the cam and idler, or both cams in the case of a two-cam bow, you may be able to increase your speed by 2-5 fps. If you are really serious about getting every foot per second you can, use a chronograph to fine-tune the location of the weights to find the sweet spot for maximum speed.
Lubrication: Keeping the wheel bushings and axles lubricated will add another few fps. Also, focus on your cable guard rod and slide. A Teflon slide will decrease friction, as will waxing the rod with paraffin wax (not bowstring wax). These steps will add a few more feet per second, too.
Put It All Together
When you add up all the speed increases you can expect with an average hunting bow, the difference is significant.
Starting with a bow that has an IBO speed of about 310-320 fps, the sum total of all these speed improvements adds up to an eye-opening 55-60 fps when shooting hunting-weight arrows. This is assuming a 5-pound increase in draw weight, a 1-inch increase in draw length and a decrease in arrow weight of 50 grains. With that, I guarantee you'll notice an improvement.
While it can be counterproductive to worry about a few feet per second here and there - you'll never notice the difference. It's worth your time and effort if you can add 20%, or even 10%, to your arrow speed. When done carefully, in a way that doesn't detract from accuracy, you'll definitely become more effective when taking shots near your maximum range.
Don't Miss: A New Place to Consume Midwest Whitetail Content
Check out more stories, videos and educational how-to's from Bill Winke and Midwest Whitetail.


