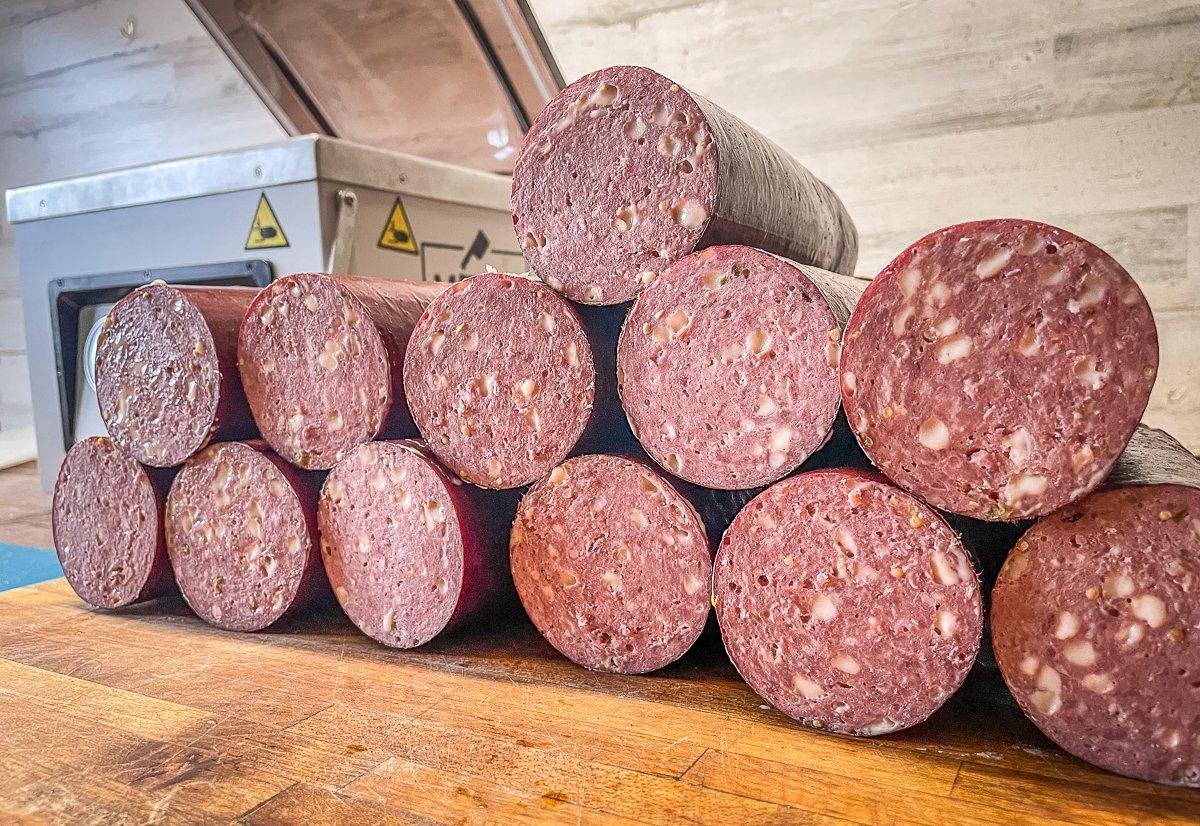
Once you get your summer sausage ground and mixed, it's time to stuff it into casings, cook, and package
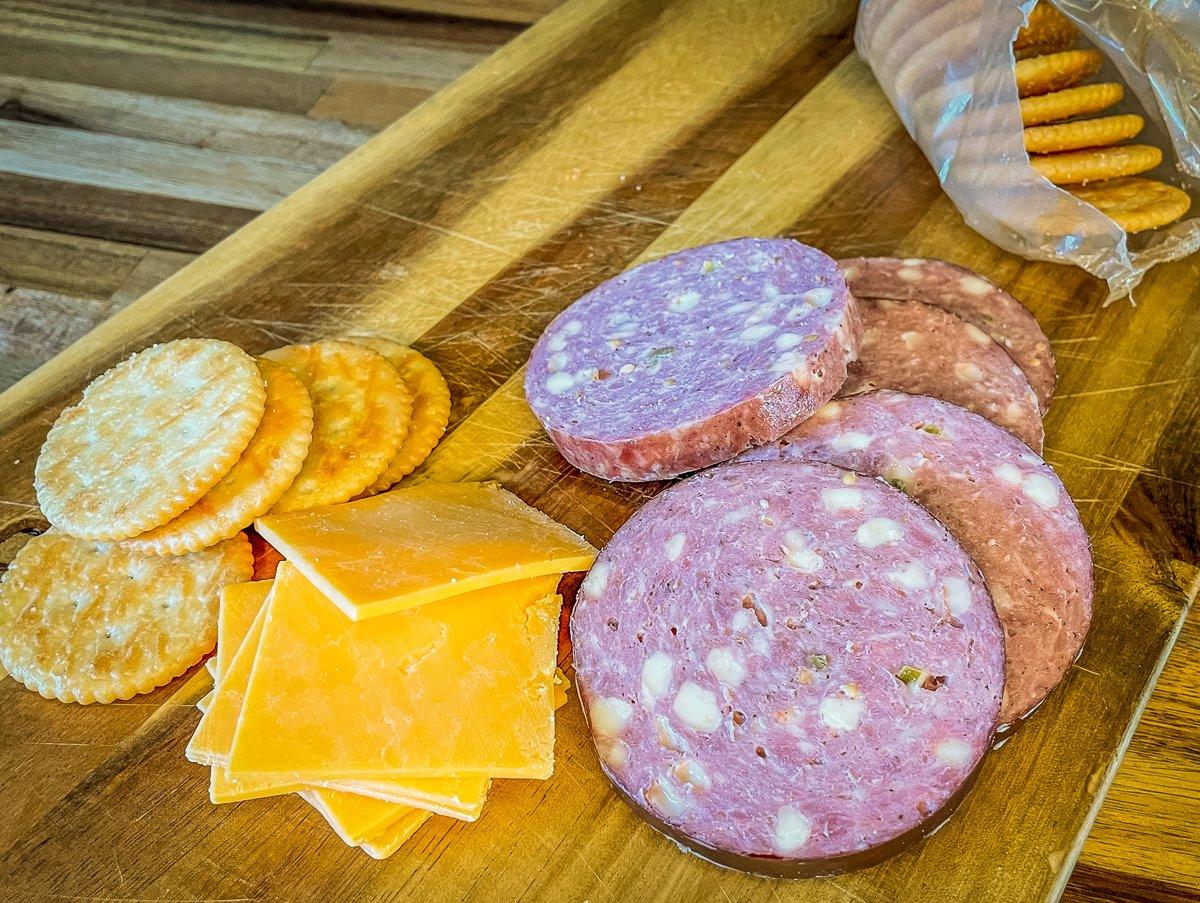
There's no better tree stand or turkey blind snack than a few slices of homemade summer sausgage. This is part two of how to make your own venison summer sausage at home.
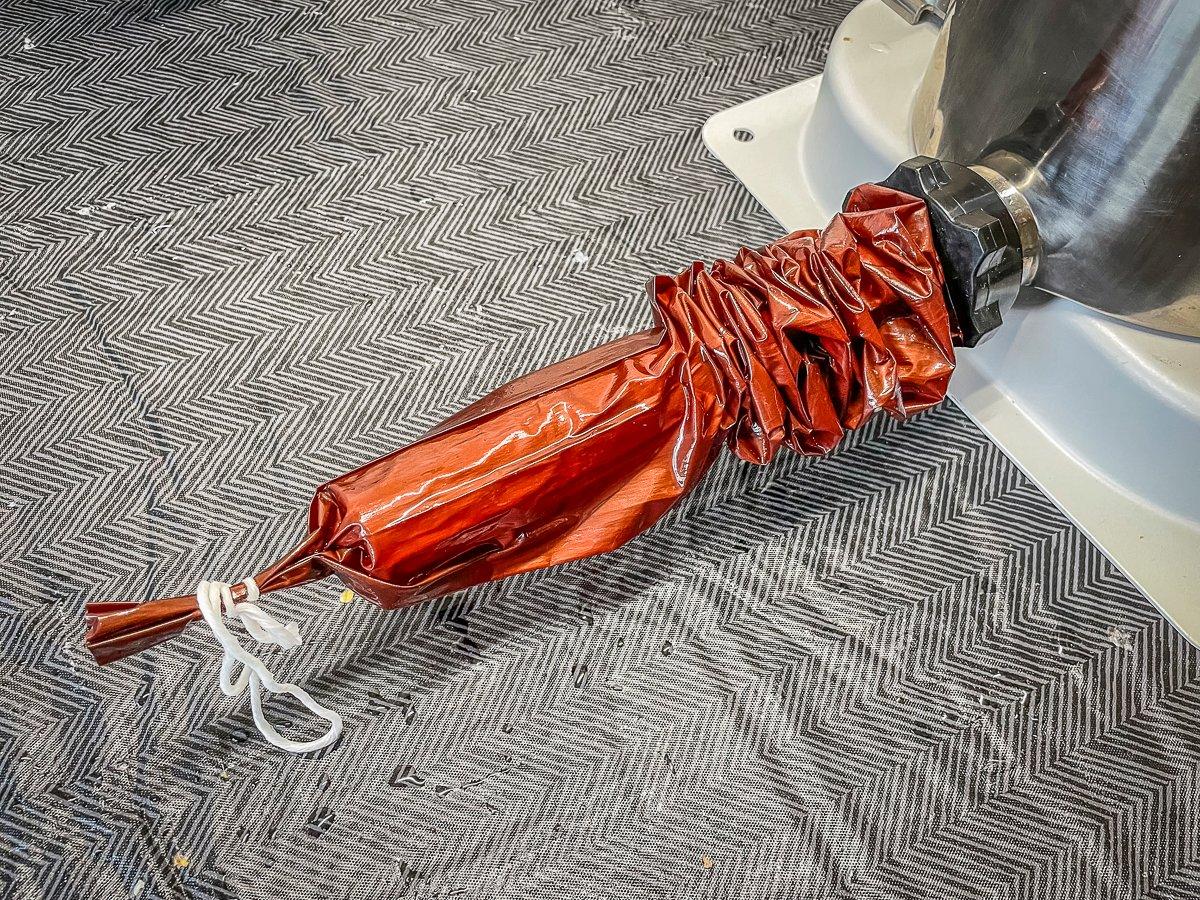
Let's pick up right where we left off in part one. Start by filling the stuffer with the sausage mixture. Crank the handle until the meat just enters the stuffing tube. Slide on a soaked casing all the way to the closed end. Use one hand to hold the casing tightly to the tube. Use the other hand (or a helper) to slowly crank the stuffer handle to feed the meat into the casing. Hold plenty of pressure to pack the casing tightly. You don't want air pockets in the casing or in the sausage itself.
When the tube is filled to about 3 inches from the end, reverse the crank to relieve pressure on the meat. Twist the open end of the casing to pack the sausage tightly inside. Use a metal hog ring or length of butcher's twine to tie the end of the tube. Repeat until all meat has been stuffed into the casings.
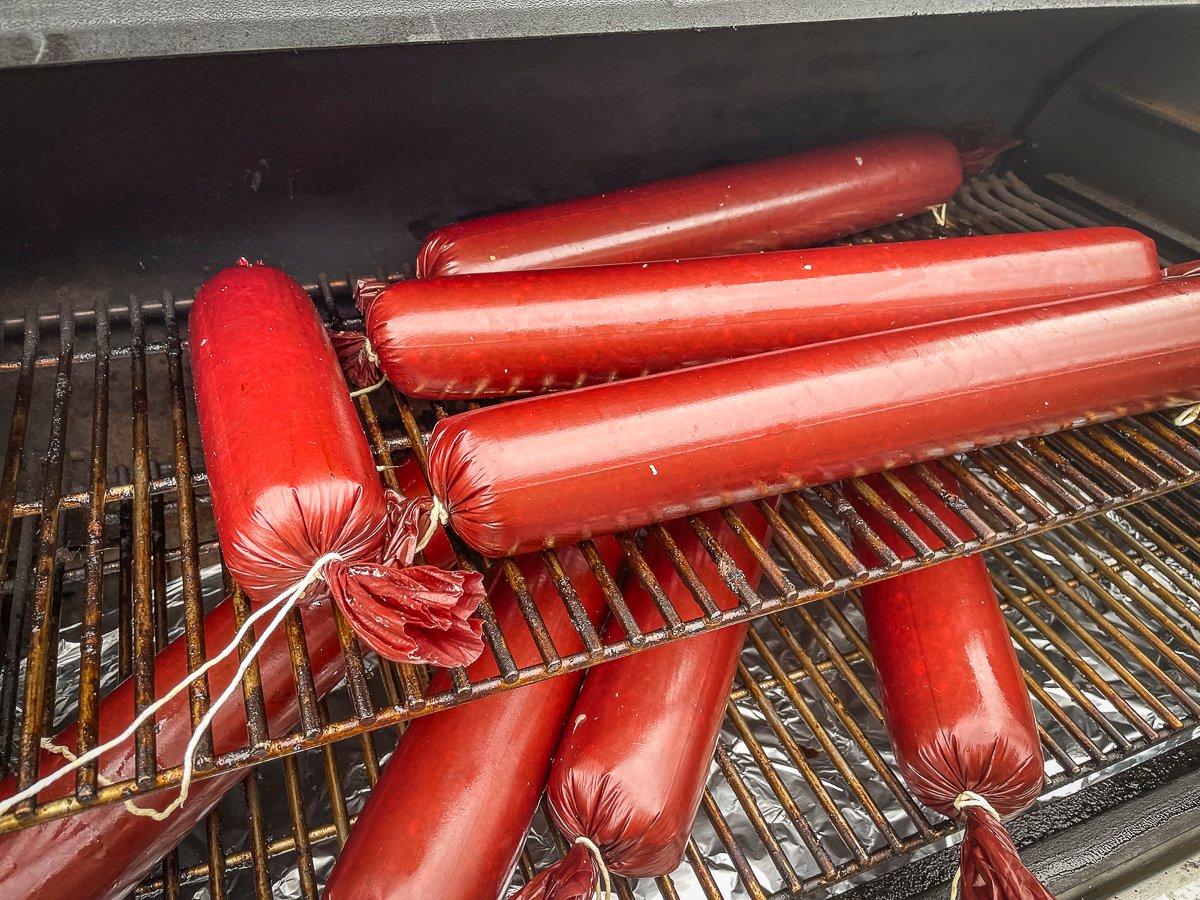
Move the sausage to a pre-heated grill or oven set at 165 degrees. Cook two hours, then turn the temperature to 185 for two more hours. Finally, turn it up to 205 and start monitoring the internal temperature of the rolls with a digital thermometer.
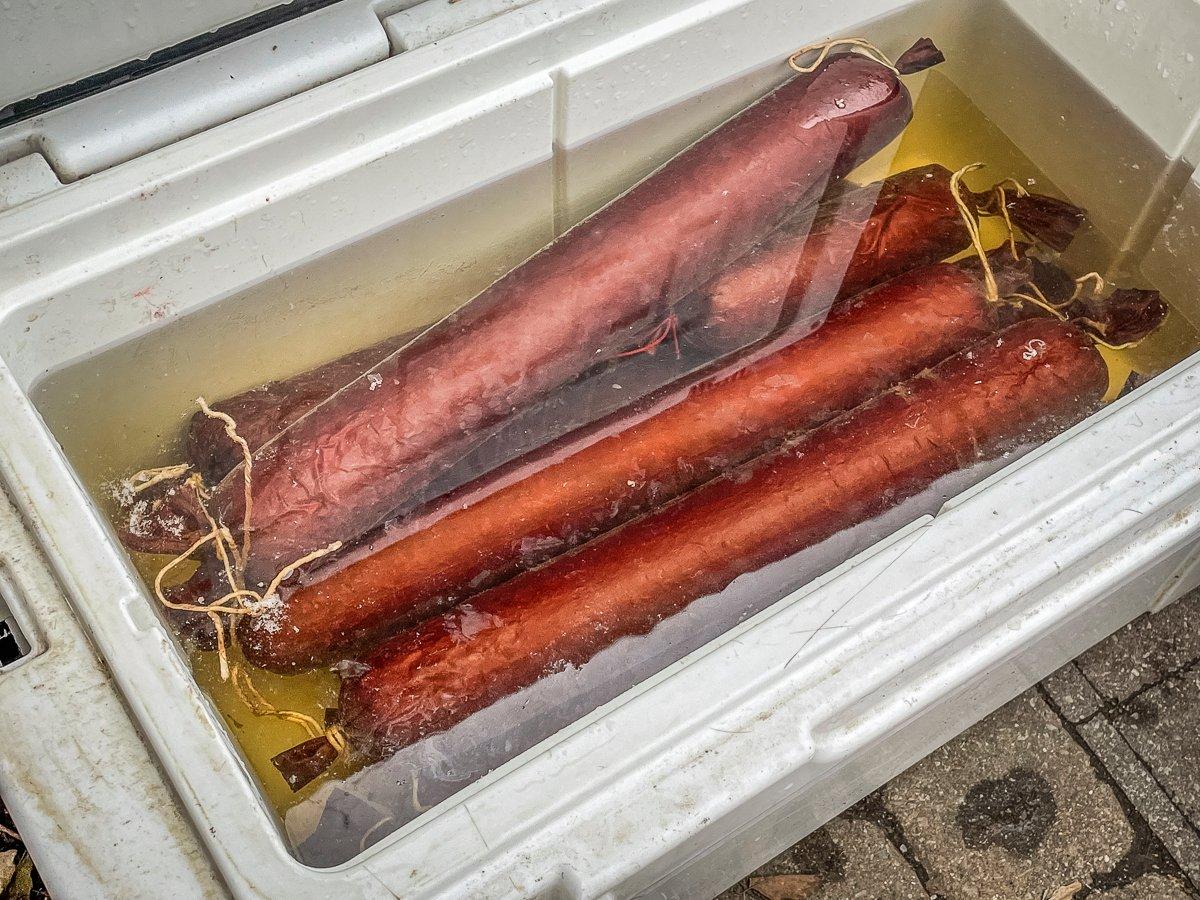
Once the sausage hits 155 in the center, immediately move it to a cooler of ice water to stop the cooking process. Soak for 30-45 minutes to cool the sausage completely. The rolls should fill firm, but still have some give. Refrigerate the sausage overnight.
For packaging, we first cut the 3-pound rolls in half. Pack each half roll into a bag and vacuum seal. If you don't have a vacuum sealer, tightly wrap each roll in plastic wrap, then freezer paper.
Store the extra sausage in the freezer and keep a roll in the refrigerator for a handy snack anytime you are in the mood.

