From Trash to Treasure: How to Restore a Neglected Flat-Top Griddle
Posted 2025-07-08 by
Even if your flat-top griddle looks like it might be beyond saving, some time and a few simple tools can bring it back to cooking condition
It’s that time of year. Believe it or not, some folks only cook outside during the warm summer months. That means they are just now getting their grills and griddles out to see what kind of condition they are in.
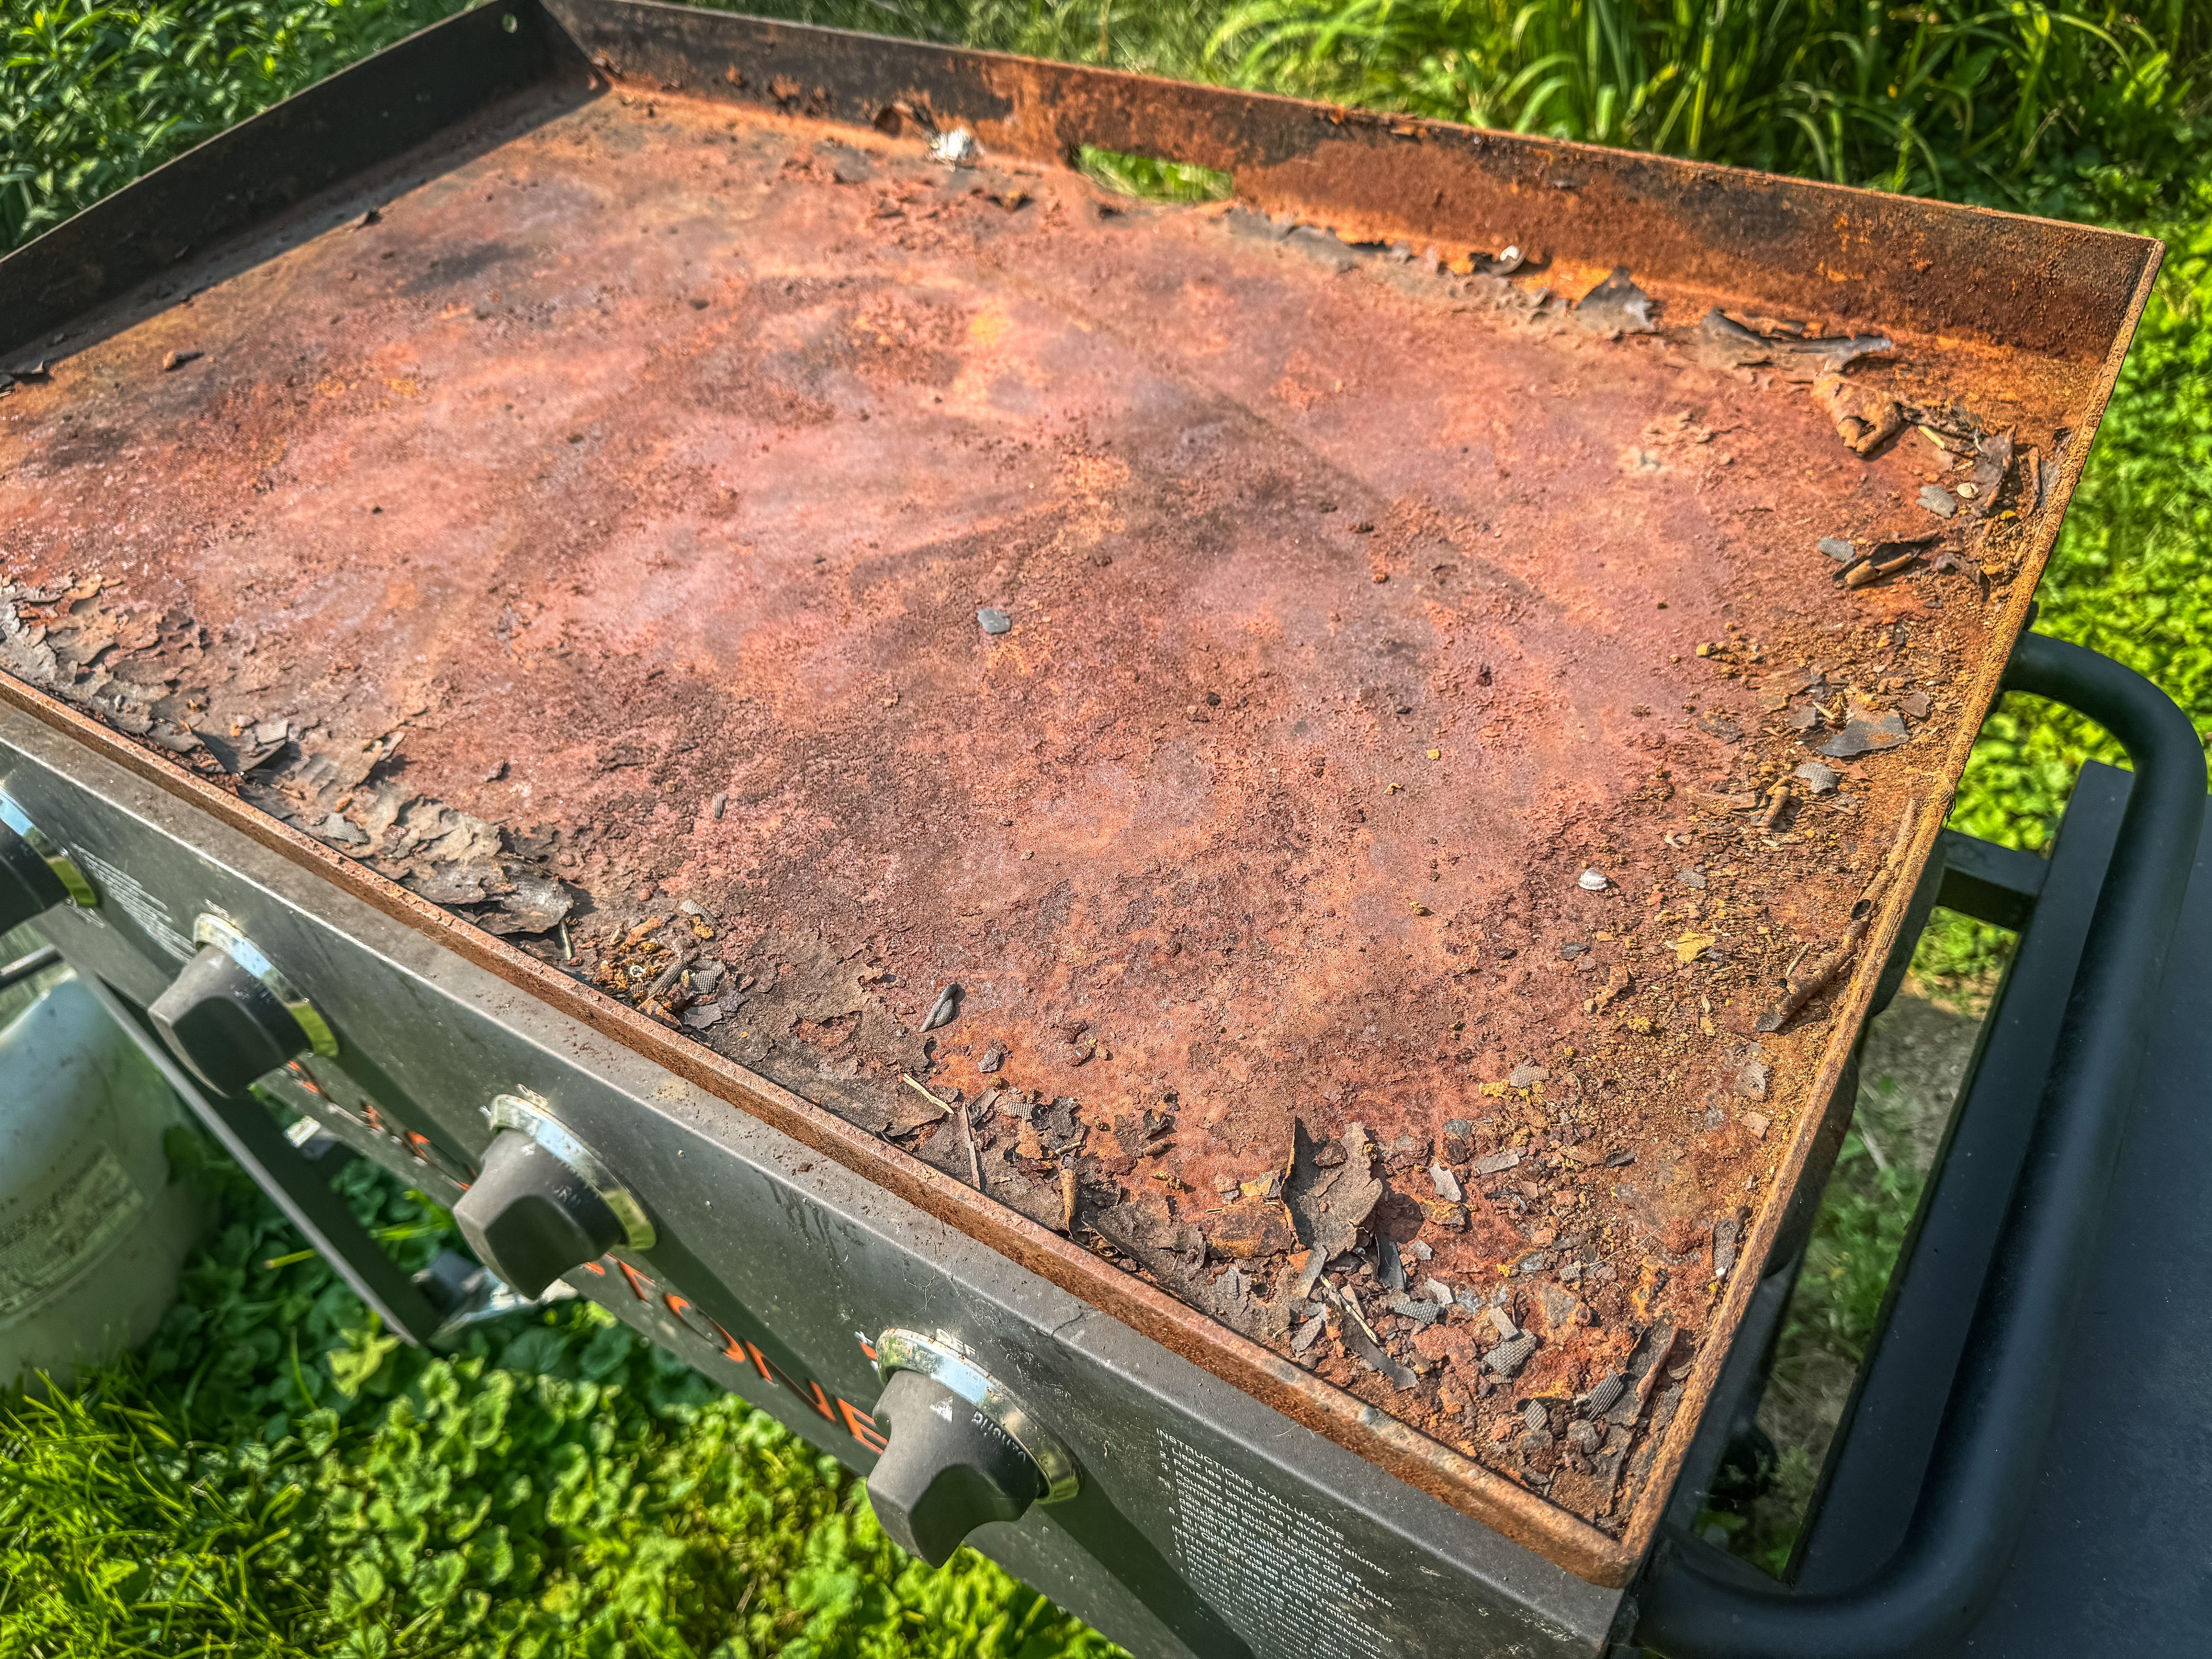
This time of year, you can often find curbside rusted griddles for free or for very little cash. Images by the author.
With griddles in particular, if people didn’t put them away clean, dry and protected, the cooking surface is probably going to look bad. I mean really bad. If water stood on it all winter, it might even be deeply pitted.
When most folks see this, their first reaction is to just go buy a new one. Scan your local classified section or Facebook marketplace. I bet you can find at least one rusty griddle. Best part is, most folks only want them out of the way, so they are giving them away or trying to sell them super cheap. You can often pick up a rusty griddle for free just by driving around a neighborhood and finding one sitting on the curb.
No matter how rusted, with a little work, you can restore a griddle to cooking condition.
That was the case with this Blackstone. It was in rough shape. And it was free. Since my daughter had just moved into her first new place and needed a griddle, we picked it up and went to work.
CLEAN UP
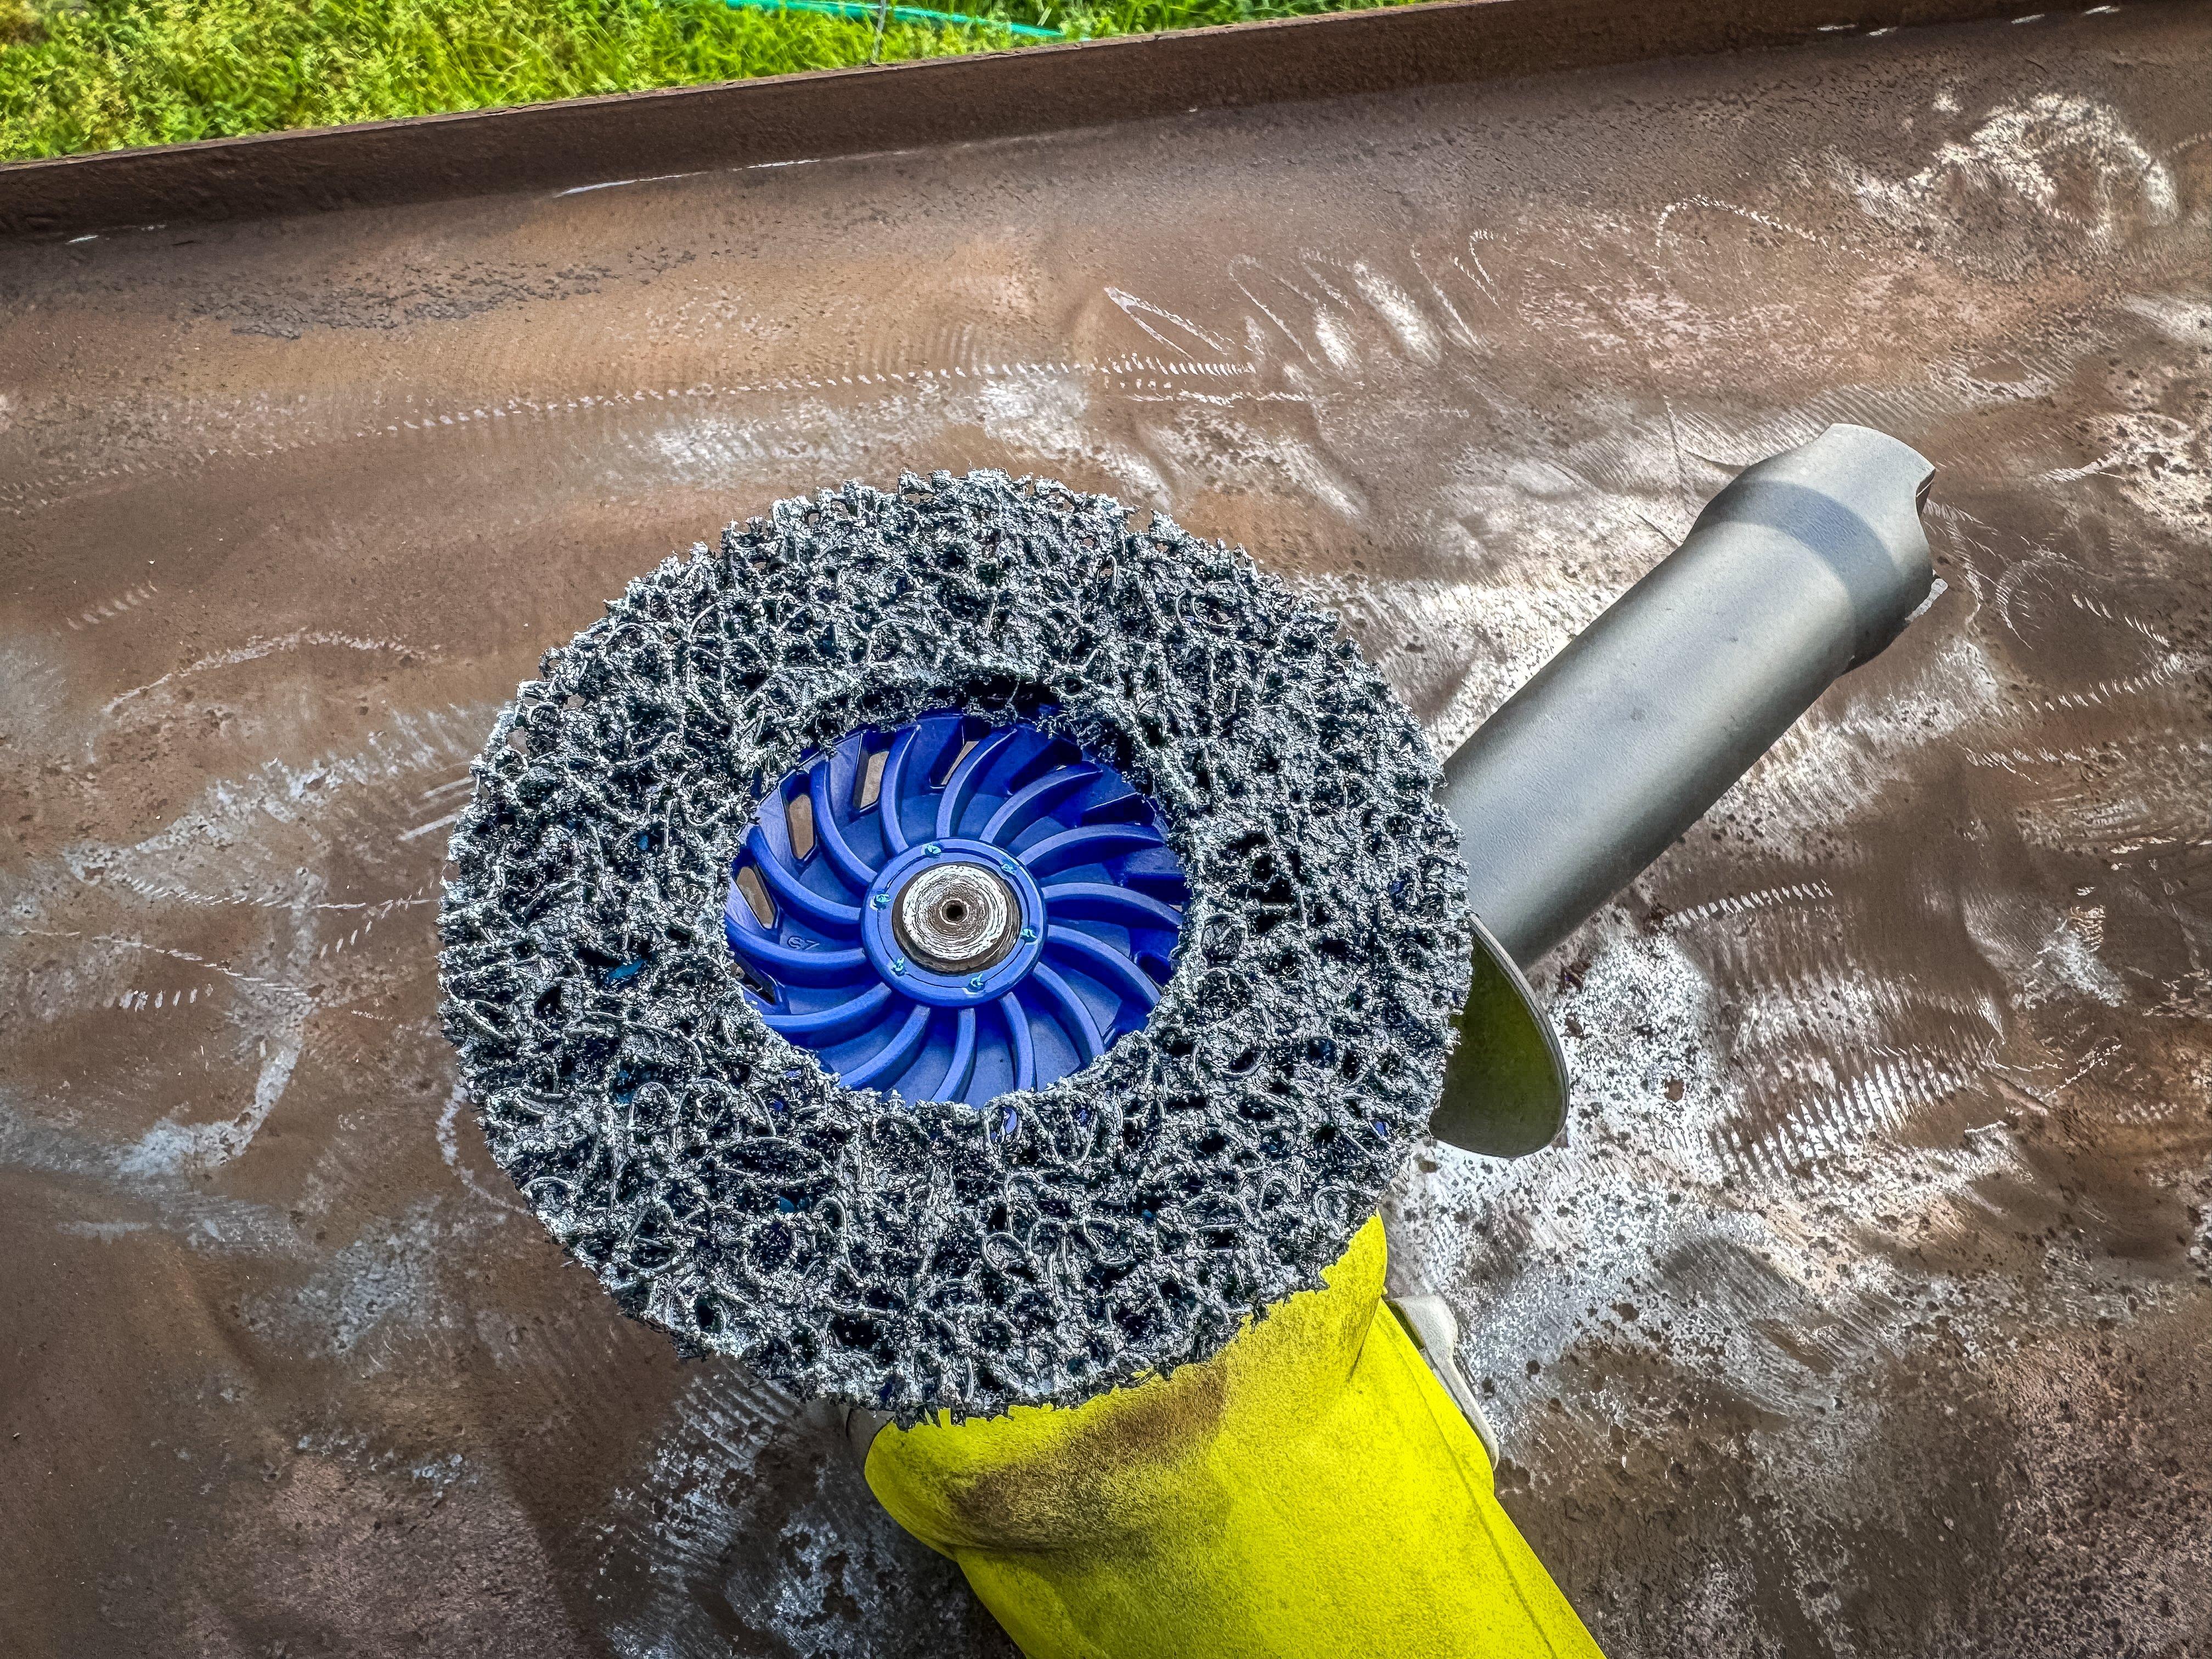
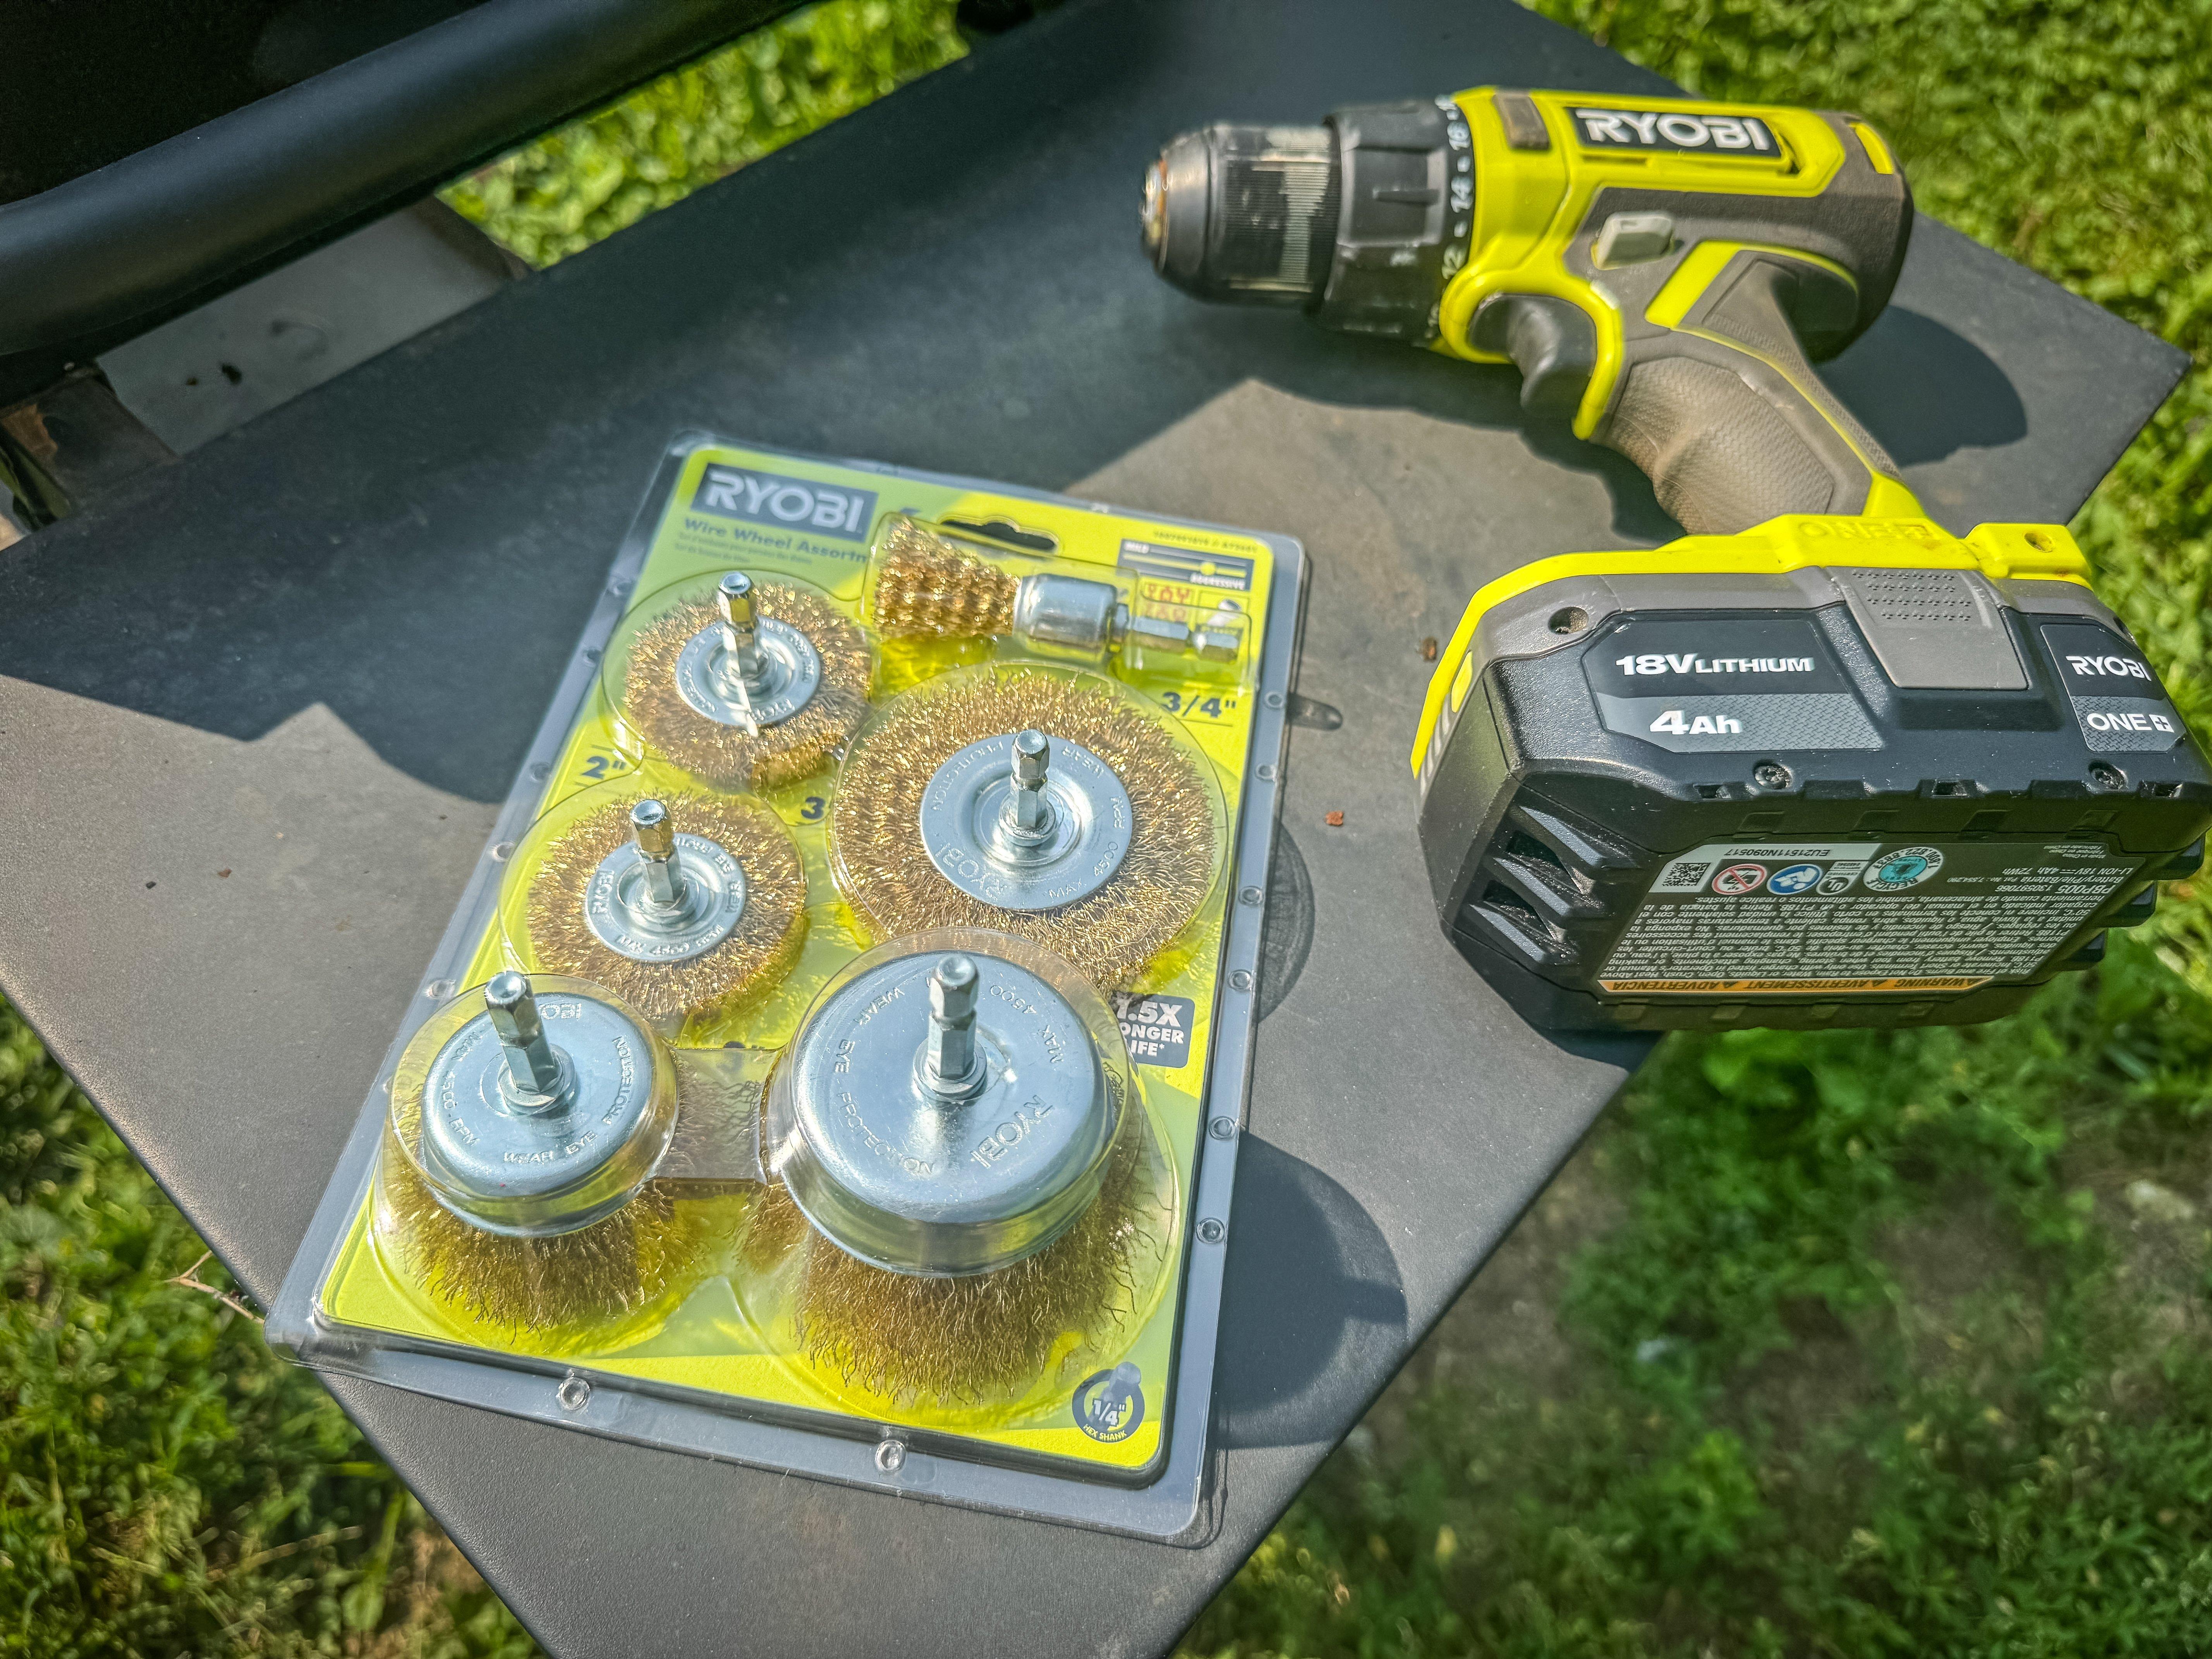
To restore even a badly rusted and pitted flat-top like this, you will need a few tools. A scraper, scrub sponge, some white vinegar and a cordless drill with a wire brush will get the job done if you are lucky. If your cooking surface is deeply pitted like the surface of this one, you will also need an angle grinder and a couple of metal grinding discs. A stripping disc can be handy if you have some stubborn buildup on the surface.
If the surface is only lightly rusted, a simple rubdown with a wire brush in a cordless drill might be all it takes.
Start by firing up the griddle. A hot surface helps to loosen rust. When the griddle is warm, use a metal scraper to loosen and remove surface rust. After you have everything scraped off that will come loose, blow or wipe the surface to clean it.
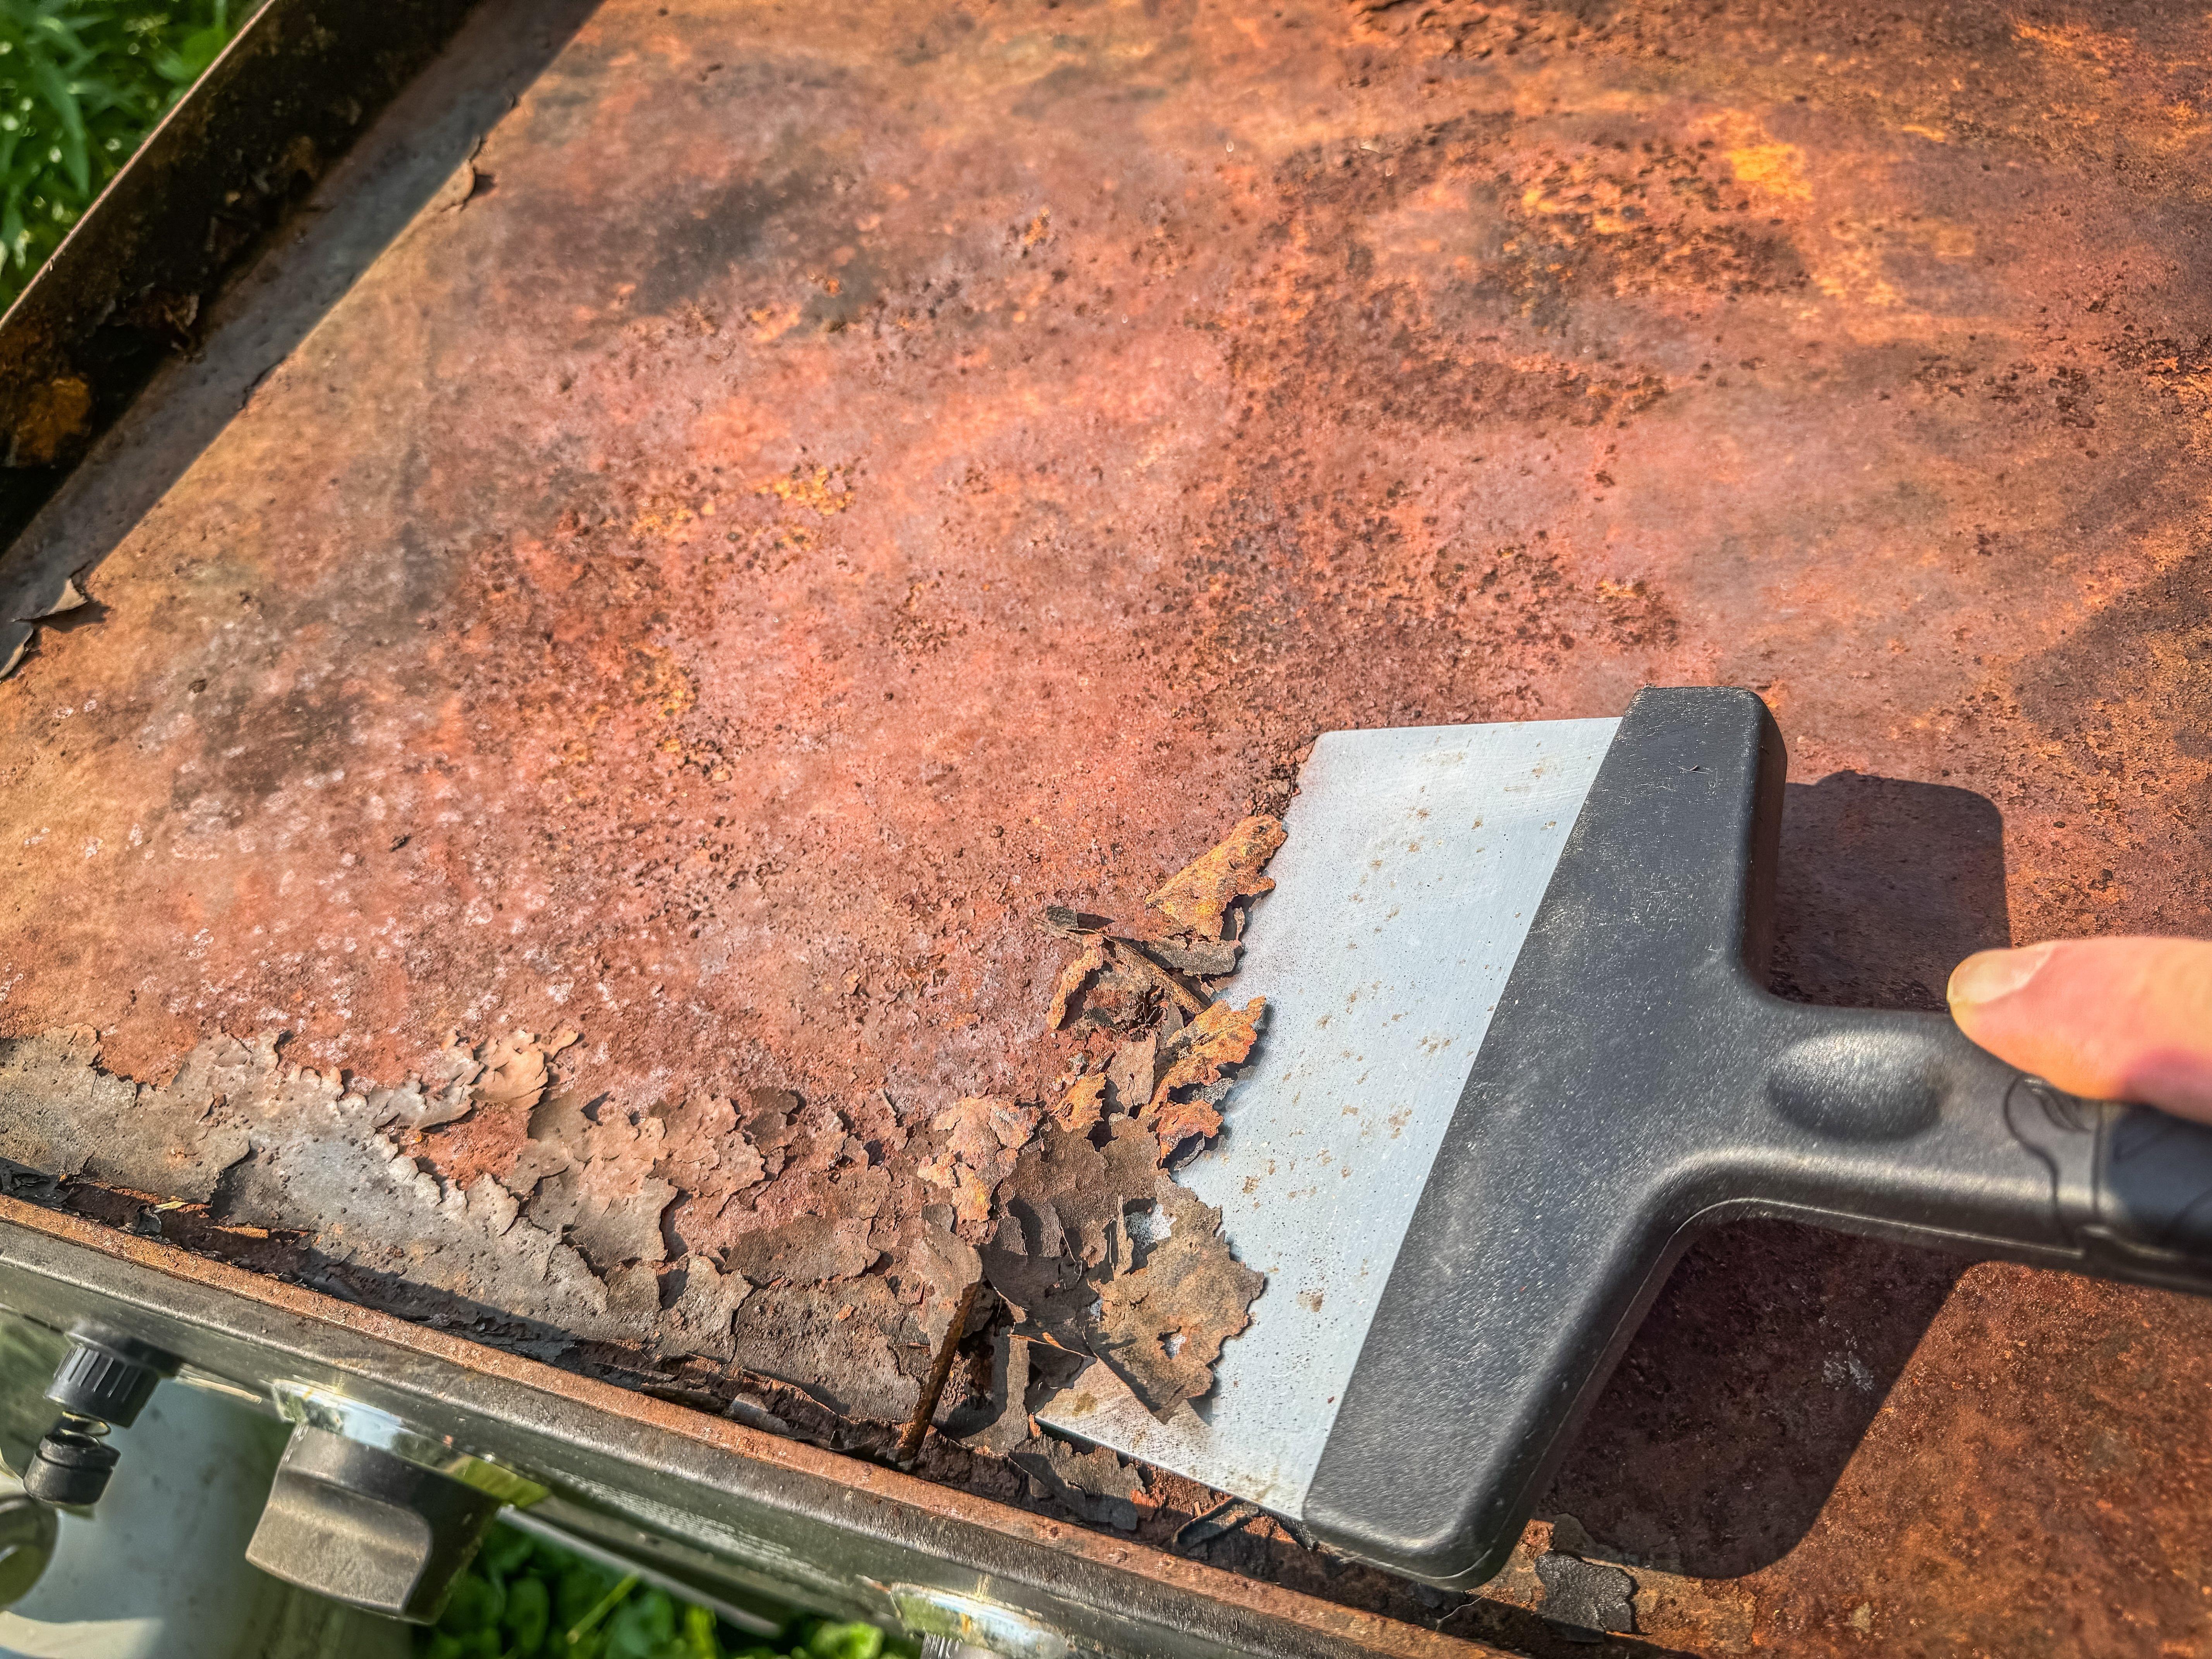
Heat the griddle and scrape away any loose surface rust.
Next, wipe the surface down with white vinegar to remove more rust, and then give it a quick rinse.

A scrub sponge is a good tool for wiping down the griddle between steps.
Chuck a wire brush in your cordless drill and go to town on any remaining rust. After you have it down to bare metal, repeat the vinegar wash and rinse. If your surface is smooth, a round or two of these steps should get it down to bare metal. If you got lucky and yours looks good, go ahead and skip to seasoning.
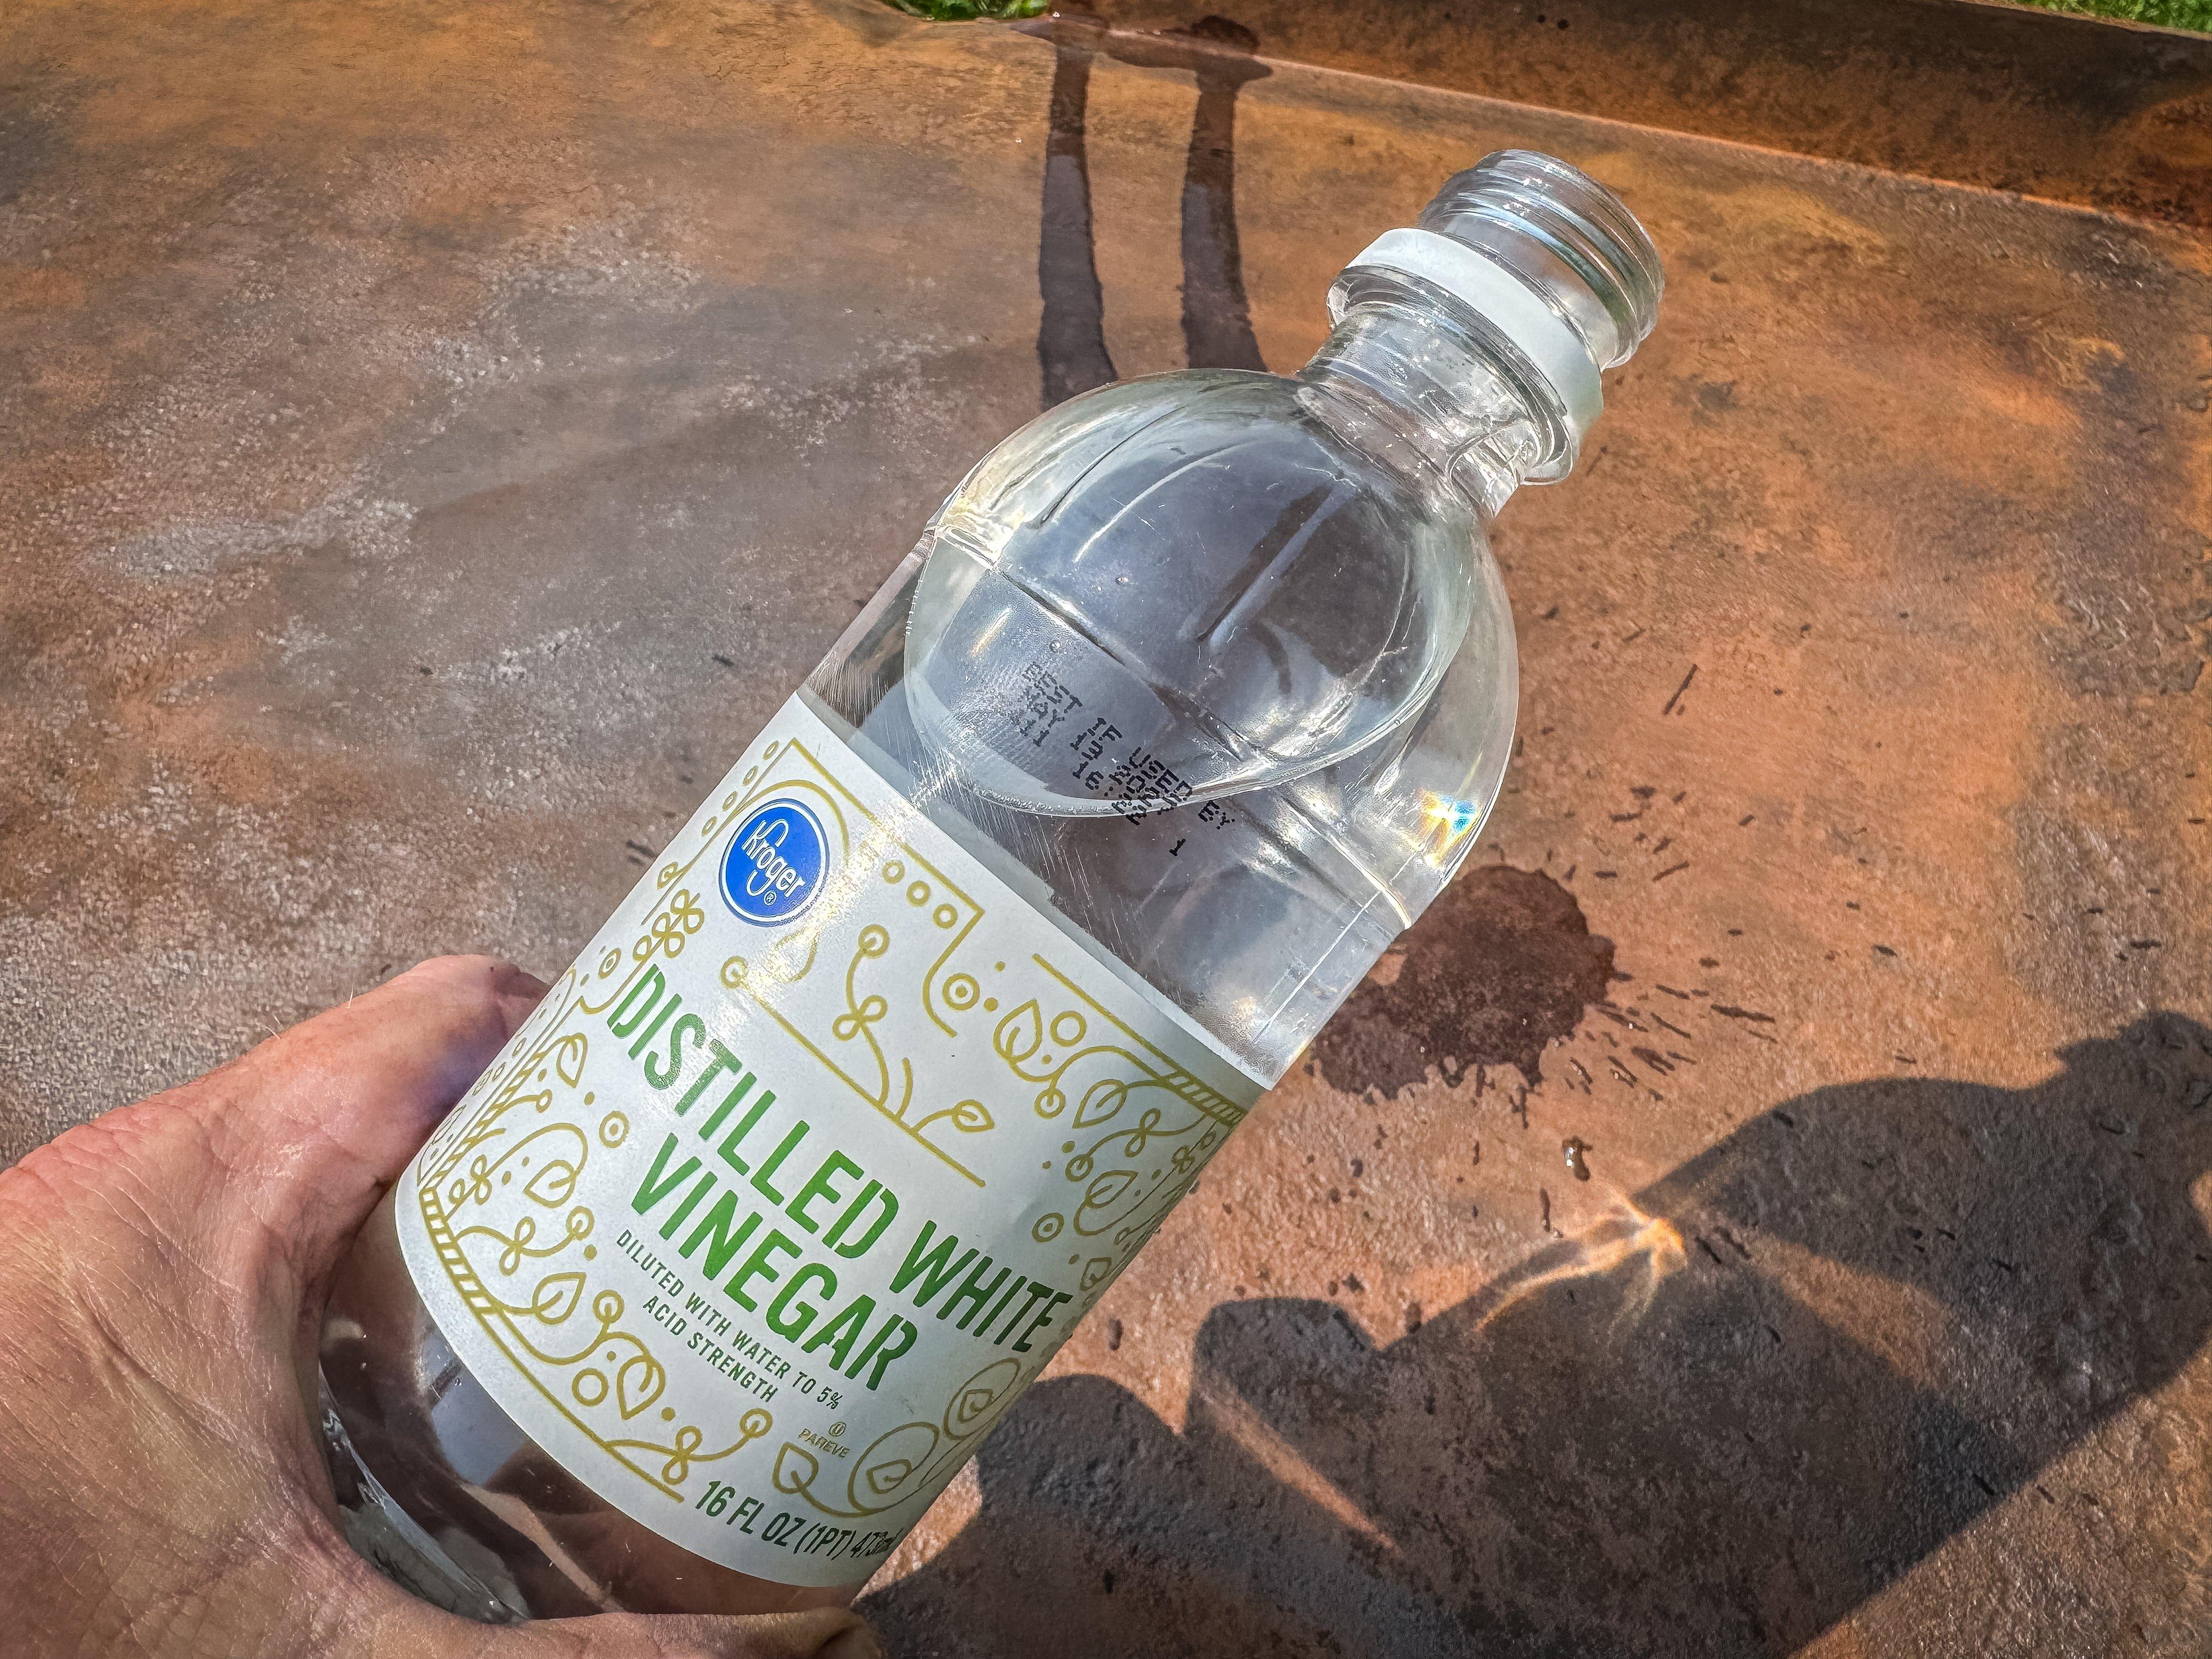
A wipedown with white vinegar helps remove surface rust.
If your surface has pitting like this one, you will need to get a little more serious. It’s time to step up the tools and break out an angle grinder and metal grinding disc. Go to town on the pitted surface, but keep the disc flat so that you don’t dig into the metal, causing even more damage.
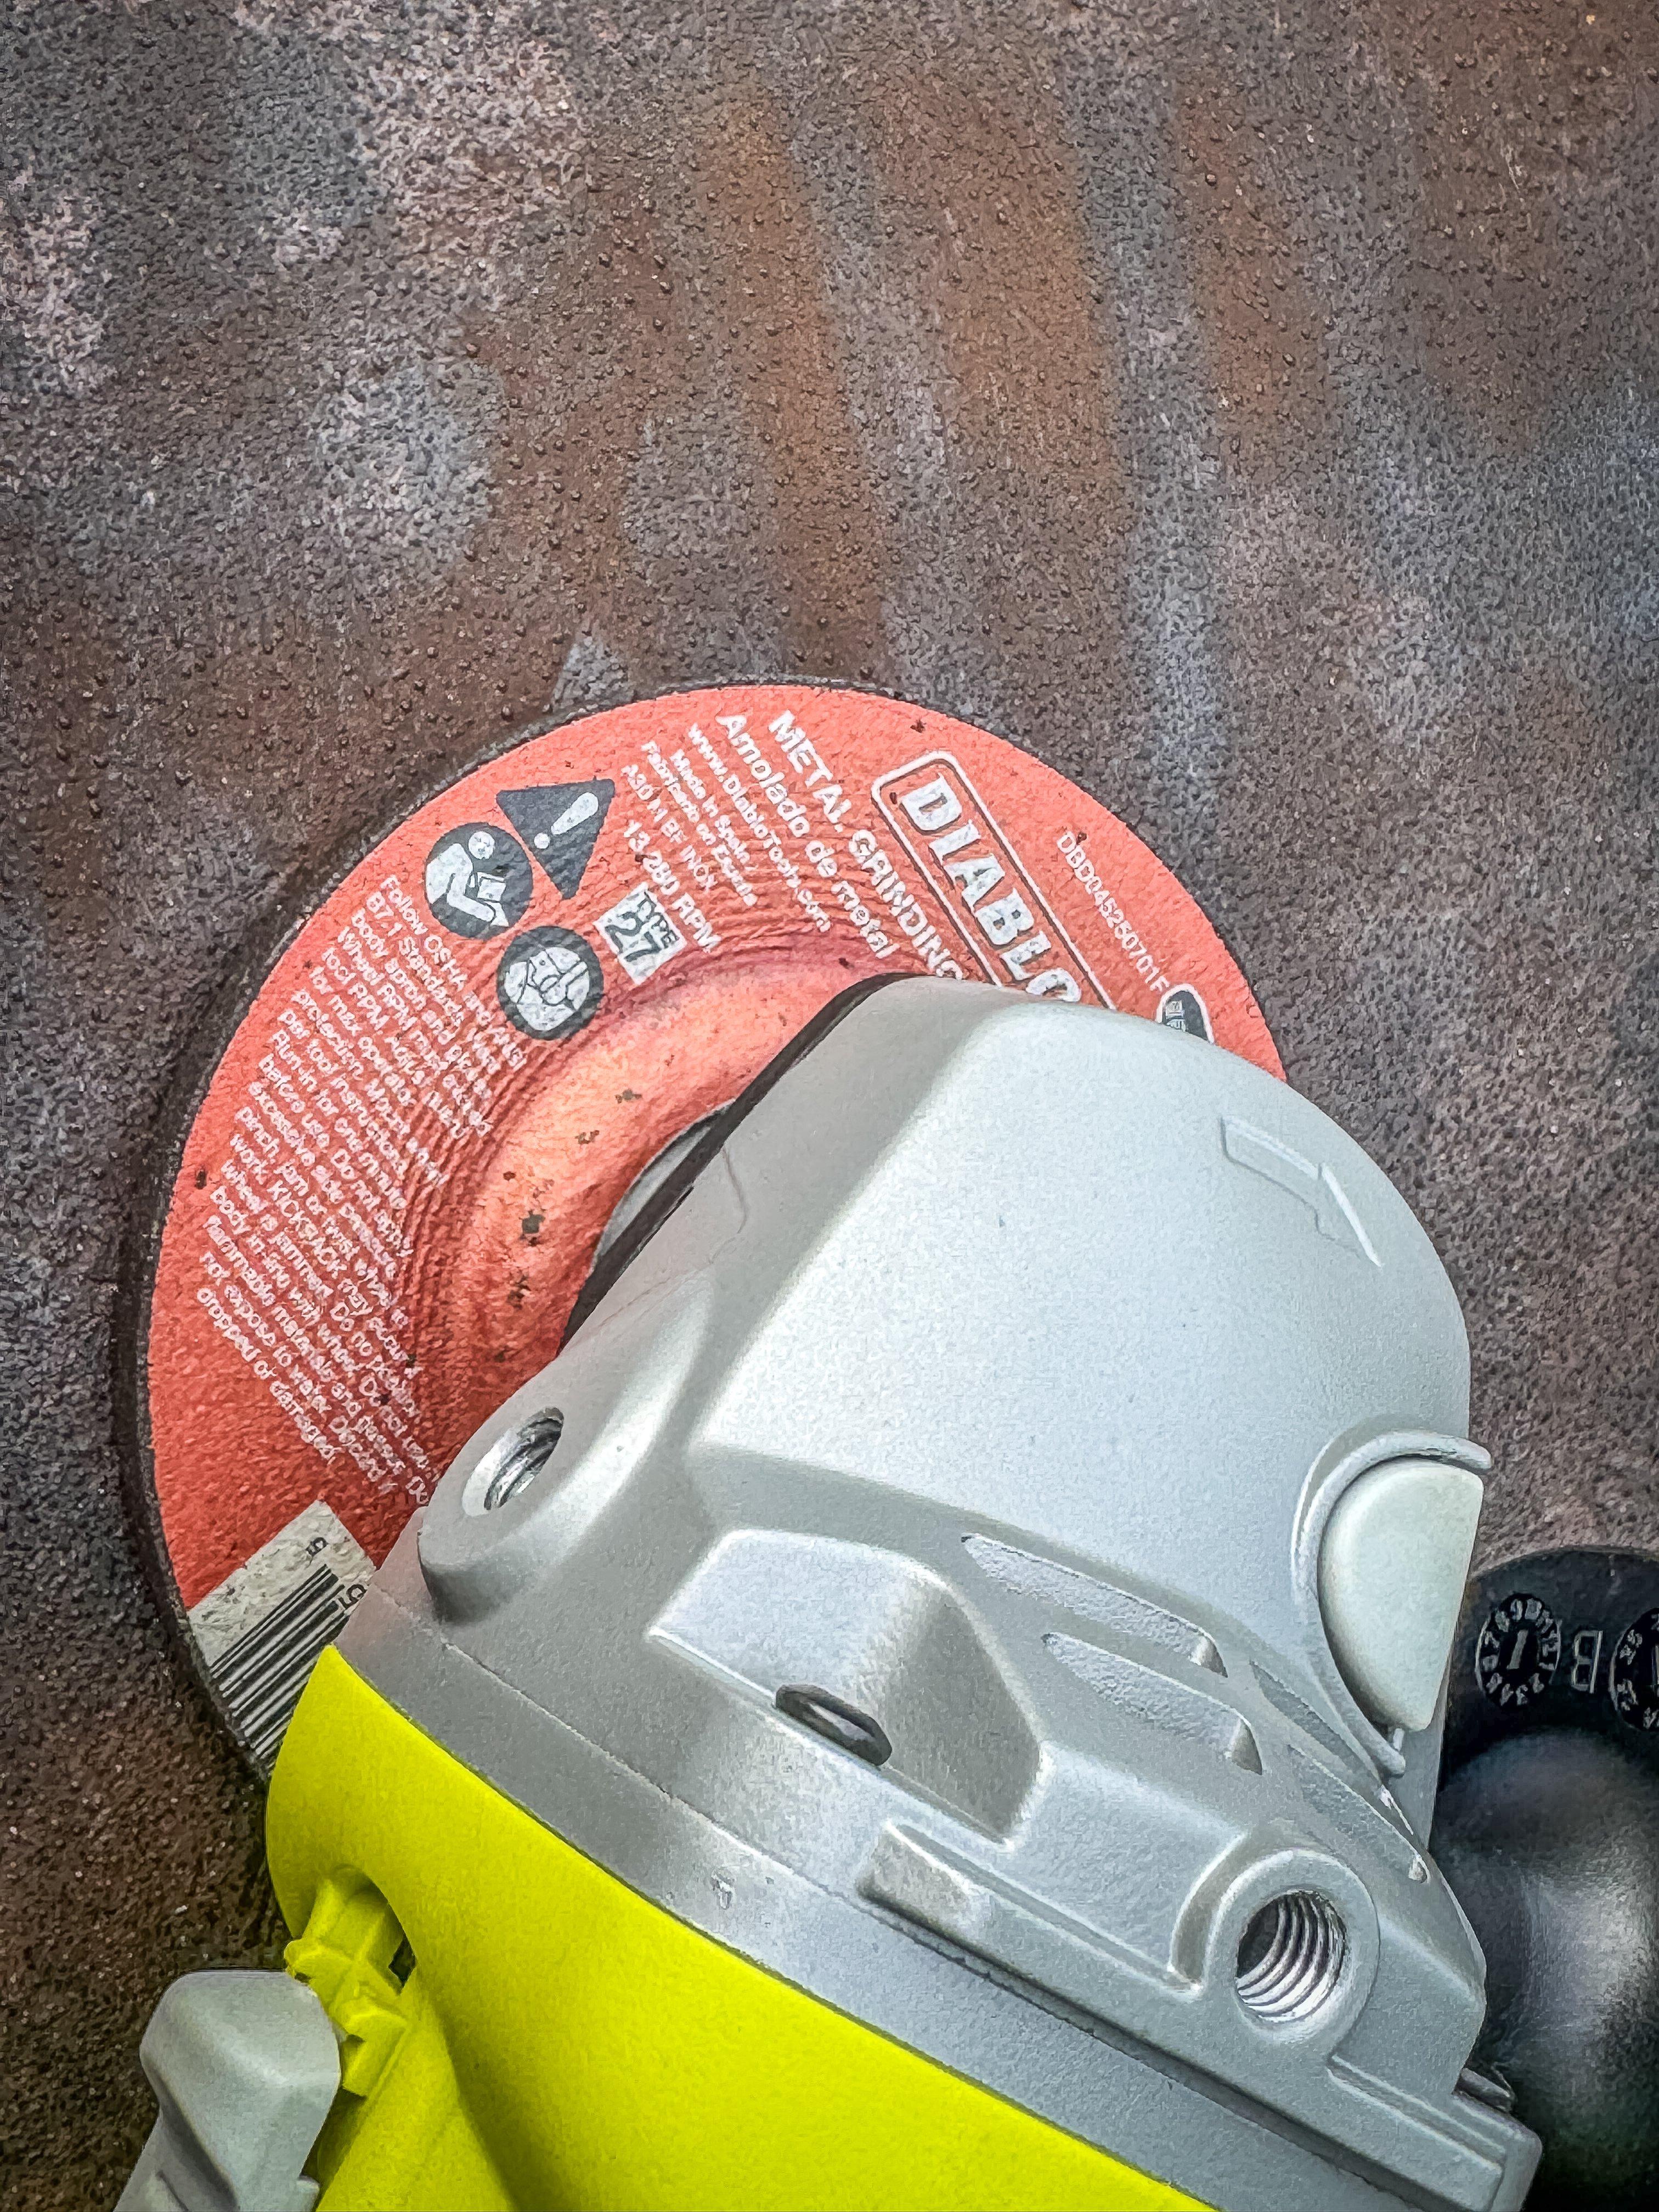
A deeply pitted surface will require a grinding disc.
Don’t worry if you can’t get every pit out. Just get the main cooking surface to the point that it is smooth when you run your fingers over it (careful if you just finished grinding, as it will be hot). Heavy use will help continue to smooth the surface through time.
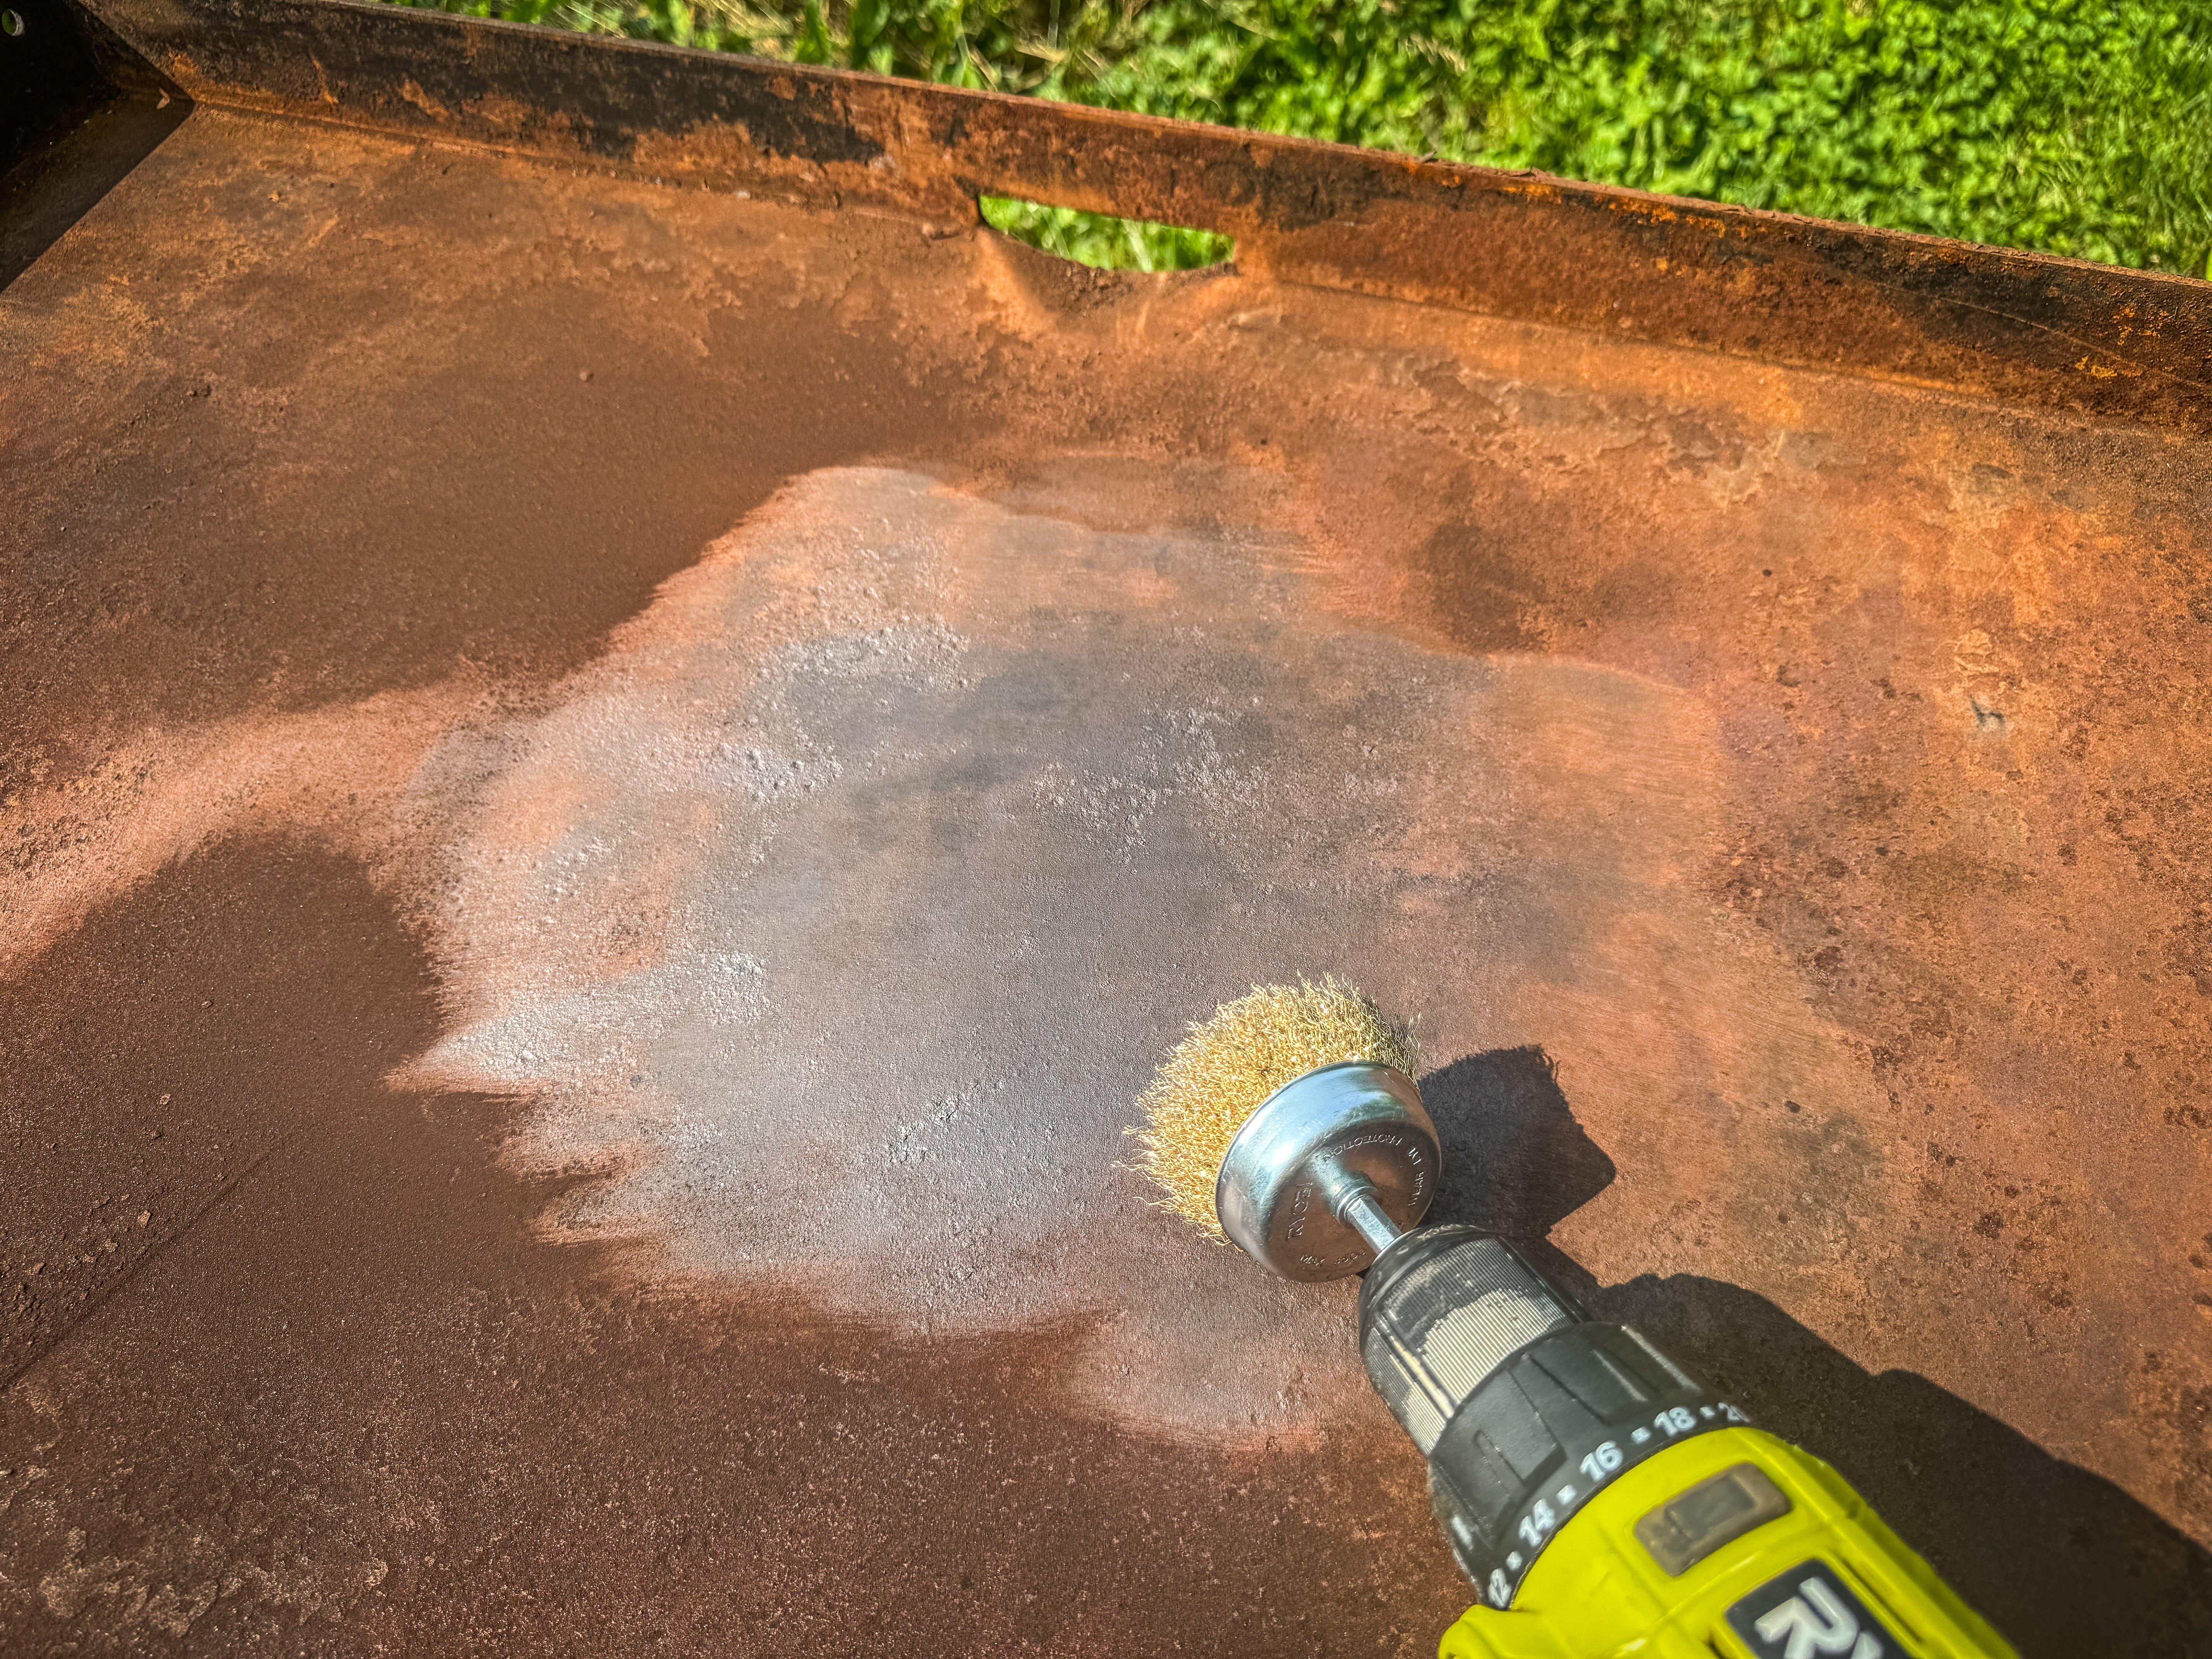
Alternate a wire brush and a grinder until your surface is smooth and rust free.
SEASONING
When you have the surface smooth enough for your liking, it’s time to pre-season. You will need a high smoke-point oil. Canola, grapeseed, avocado, or peanut oils work well. Start with a final vinegar cleaning and fresh water rinse, and then turn on the burners. When the surface is hot and completely dry, add just enough oil that you can spread a thin layer over the entire surface. I like lint-free blue shop towels for this step. Hold the towel with a set of grill tongs and evenly wipe the oil over the cooking surface.
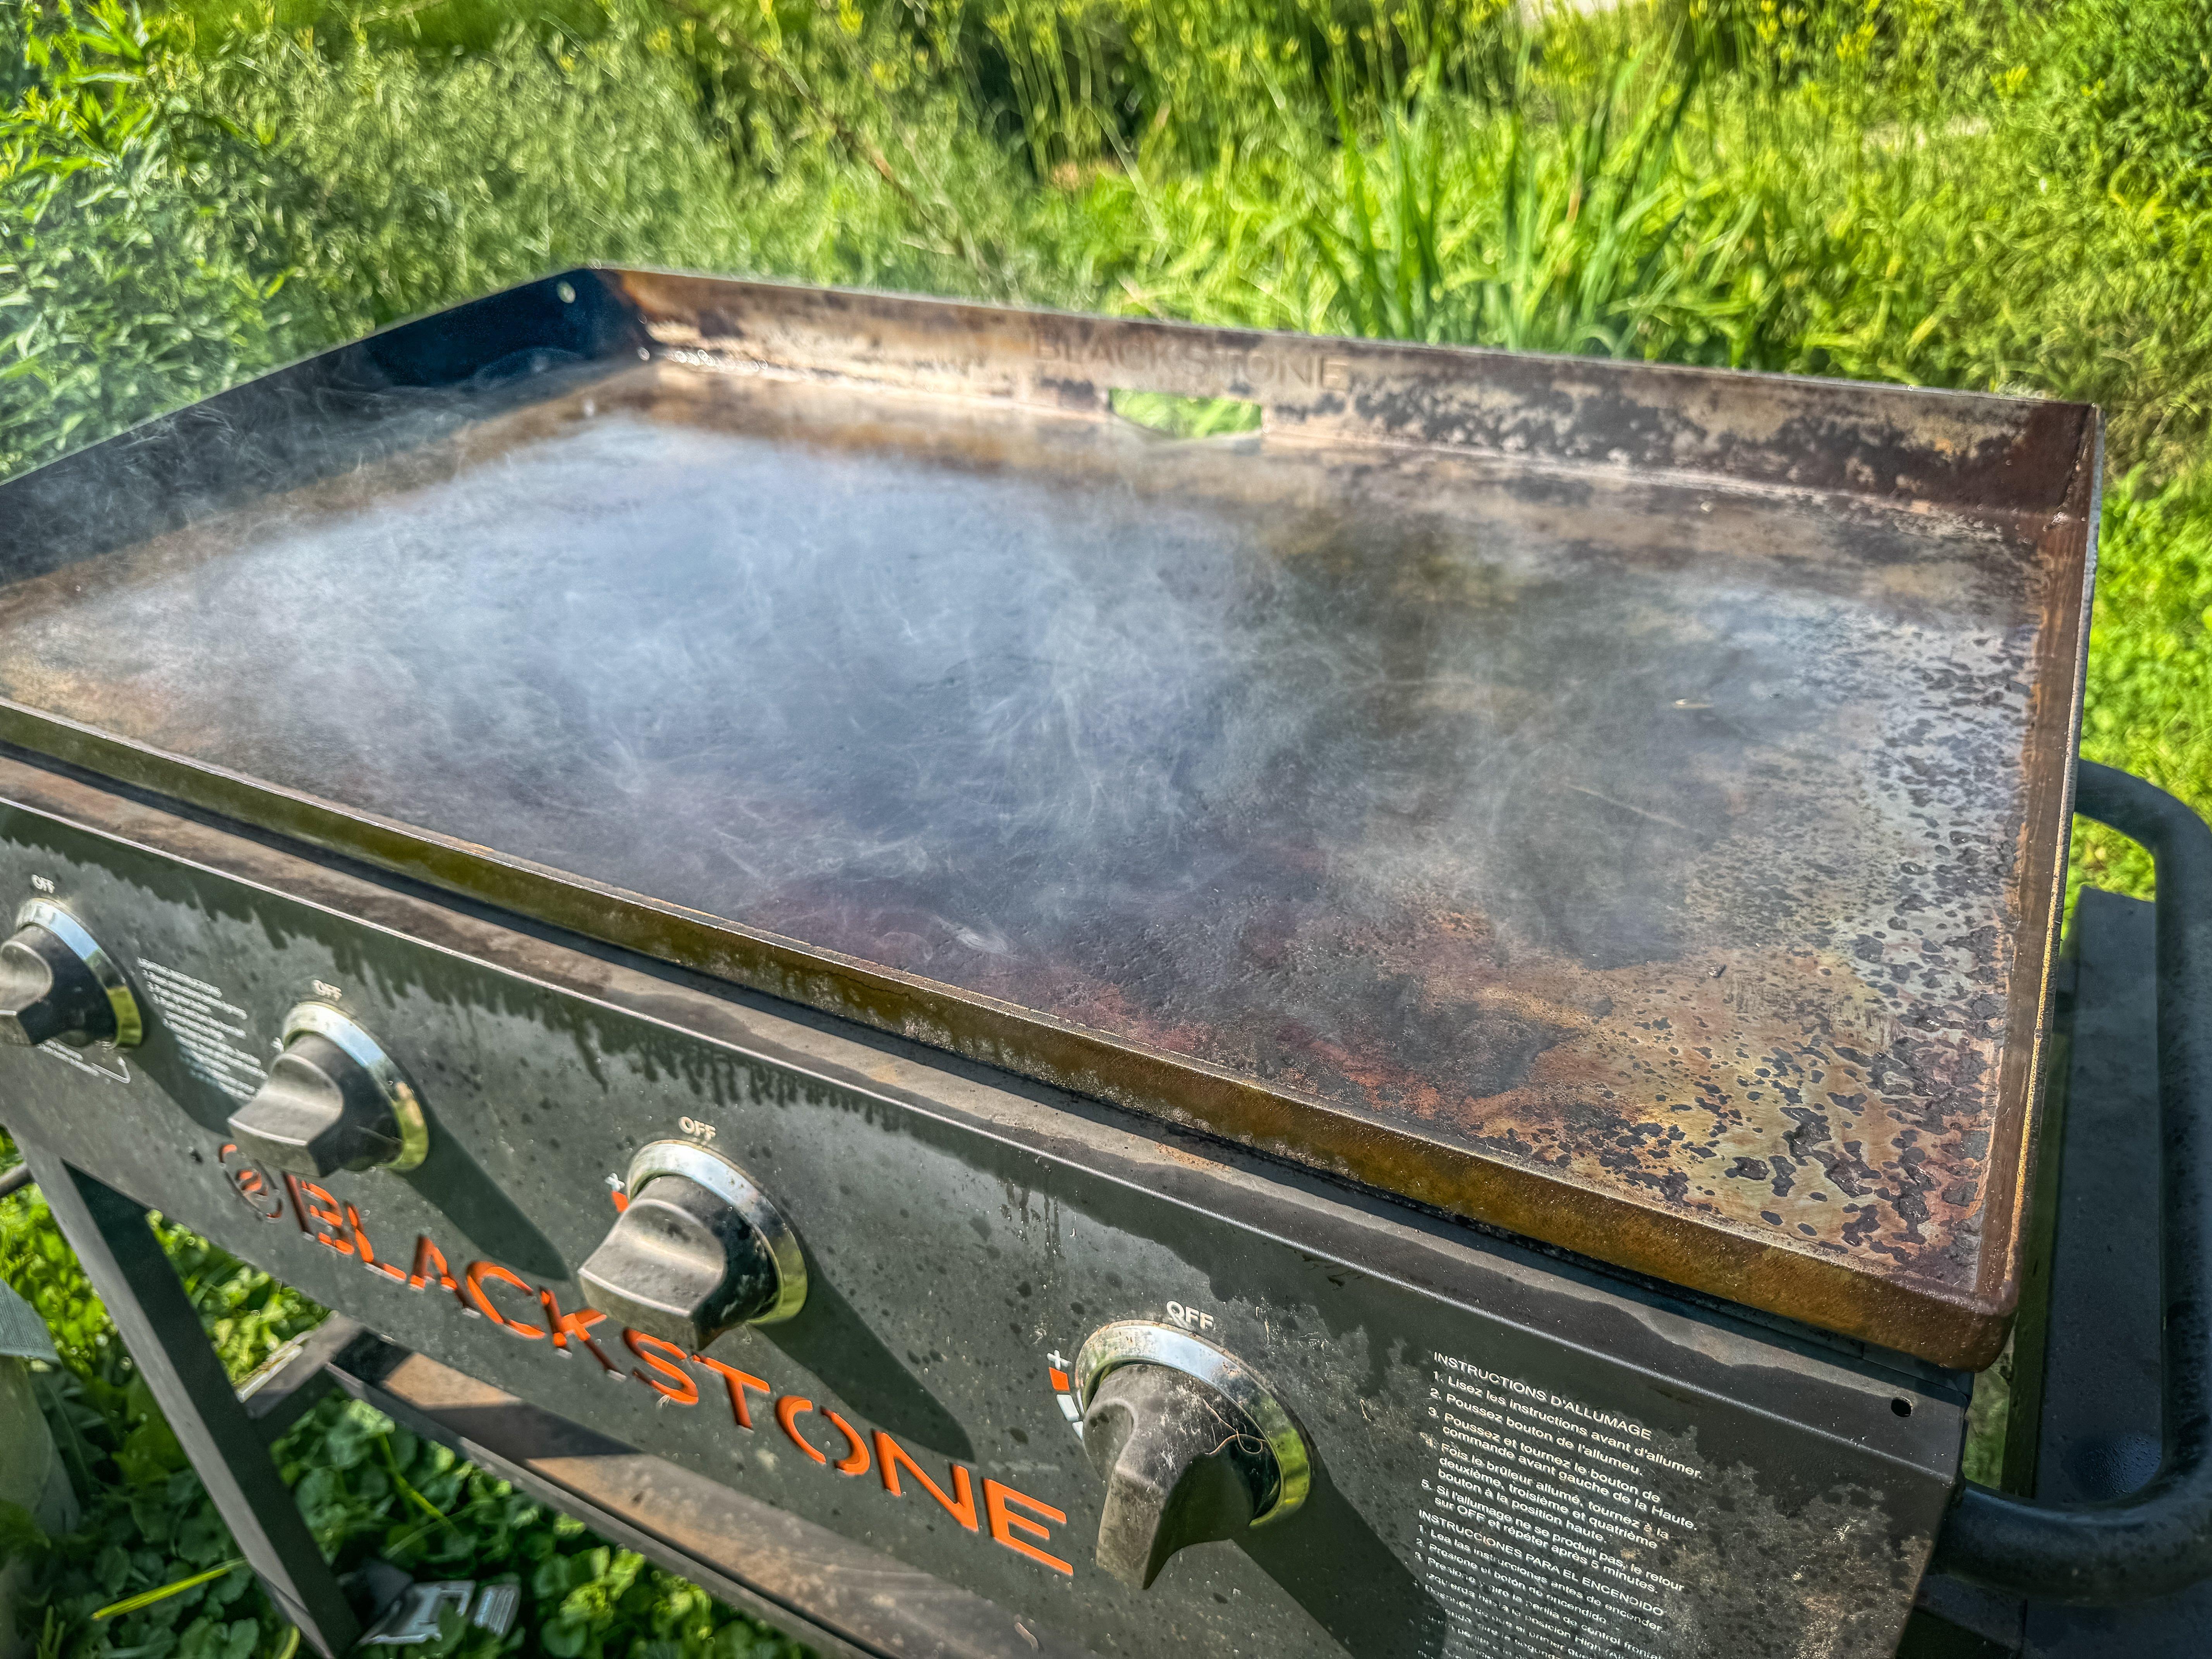
When your surface is clean and smooth, start the seasoning process with light layers of oil.
Leave the burners on high. After a few minutes, the oil will start to smoke. Watch closely. When the oil stops smoking, add another coat. Wait for it to start and then finish smoking, and then repeat. I like to do a total of four to six applications, making sure I cover the vertical edges inside and out. You should notice the cooking surface becoming dark and shiny. This is what you want. After you have added enough coats to your liking, allow the griddle to cool down. It is now ready to cook.
STORAGE
That griddle you just worked on got into the shape it was in because it wasn’t stored correctly. After you put in the work to bring it back, keep it in pristine condition by cleaning it well while it is still warm after each cook. I like to pour a little room temperature water on the surface, and then scrape away any stuck-on food with a metal scraper. After the surface is clean, wipe it down with a very thin coat of oil while the griddle is still warm. Make sure there is no moisture standing in the corners.
Keep your seasoned griddle covered with a good waterproof soft cover or a metal lid. I like to store mine in my shed when I’m not using it to make sure it stays dry and ready to cook on the next time I need it.