How to Make Homemade Wine from Wild Fruits
Posted 2026-06-05 by
This age-old method of using and preserving wild fruit is easier than you think and makes a fun hobby
Have you ever looked at a tree loaded with persimmons or pawpaws, or maybe a big clump of blackberries growing around your favorite fishing pond, and thought about all the ways you could utilize that wild bounty?
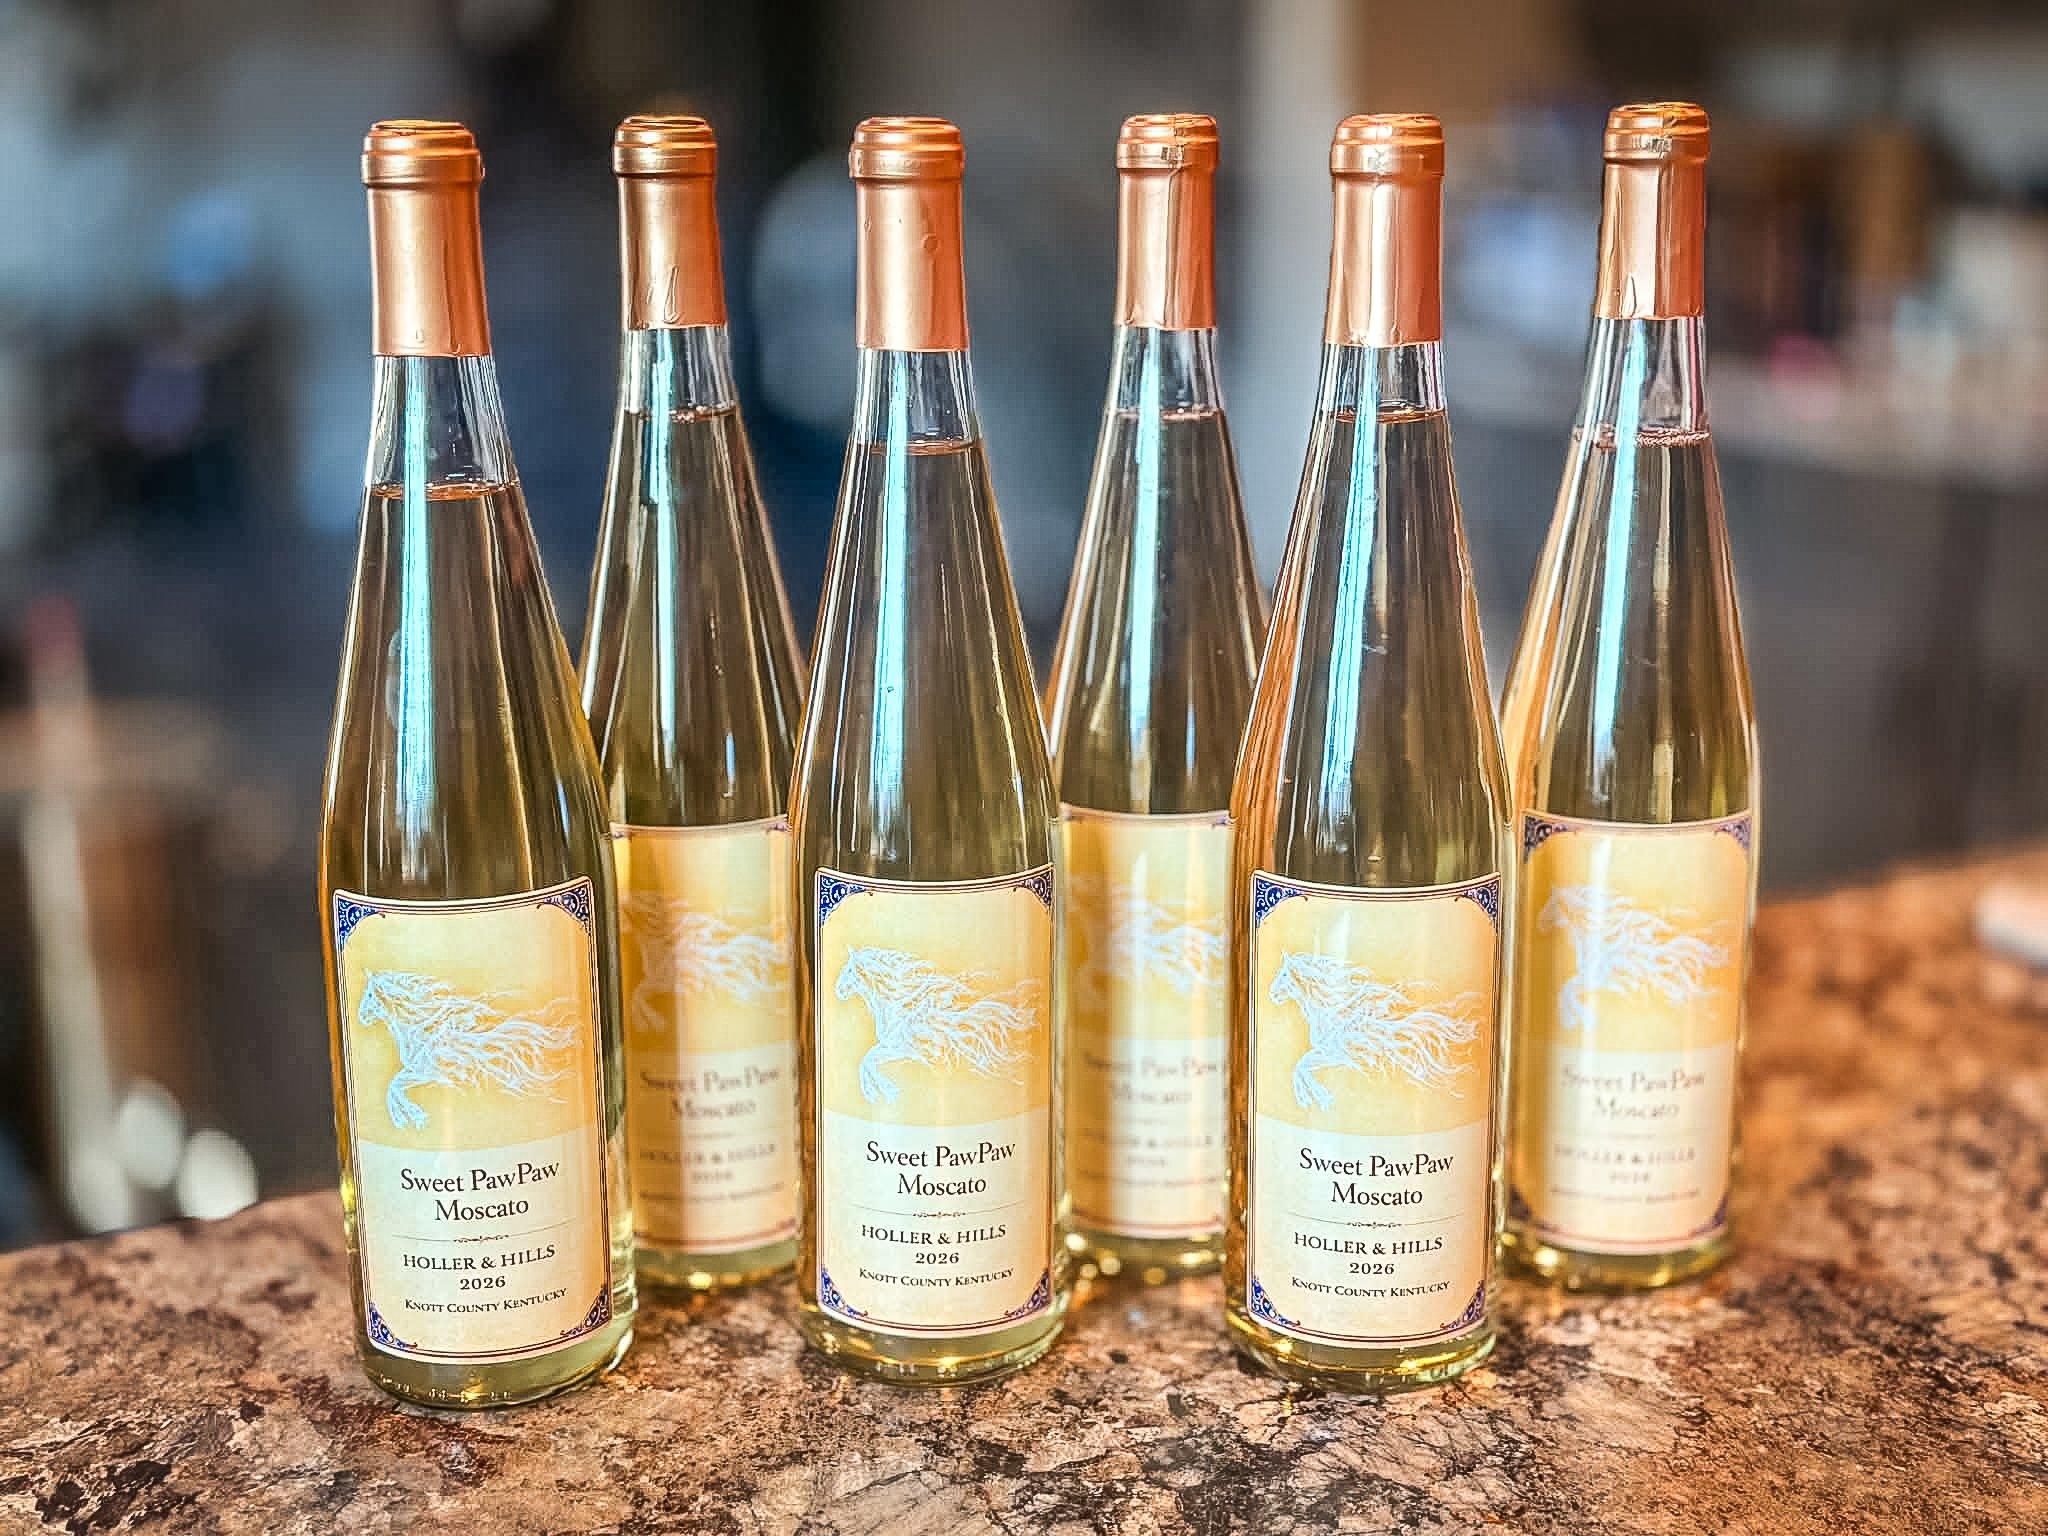
Homemade wine is an interesting and tasty way to preserve your wild fruit bounty. Images by Andrew Maxwell and author
Besides eating it fresh off the tree or briar bush, one of the oldest ways to utilize and preserve that fruit was to turn it into wine. Archeologists have found evidence of fermenting fruit in containers from as far back as 6000 B.C. The earliest winery ever found was located in a cave in Armenia. The container shards and tools found there were dated back to 4100 B.C. We’ve been doing this a long time.
Back then, fermented drinks were a means of survival more than a social treat. Water quality was often poor and the fermentation process helped make it safe to drink. Today, we don’t usually have to worry about the safety of our drinking water, but bringing out a bottle of wine that you made yourself from wild fruit is a great way to liven up a party or get-together. Wild fruit wine, done well, rivals anything you can buy from commercial wineries in flavor.
To get the full rundown on making wine at home, I turned to good friend and award winning wine maker Andrew Maxwell (who also happens to be one heck of a custom gun and knife maker) to talk about his method for making wine from wild persimmons and pawpaws. The method is similar no matter what fruit you use.
A quick note on legality. It is legal to make up to 200 gallons of homemade wine per year per household in the United States for home consumption. If you get to the point that you want to sell your product, you will have to apply for a license.
THE FRUIT
As mentioned, Maxwell had just finished a batch of both pawpaw and persimmon wines when we talked, so our conversation centered on those. Other wild fruits that make excellent wine include blackberries, dewberries, blueberries, raspberries, plums, elderberries, gooseberries, wild strawberries, and choke cherries.
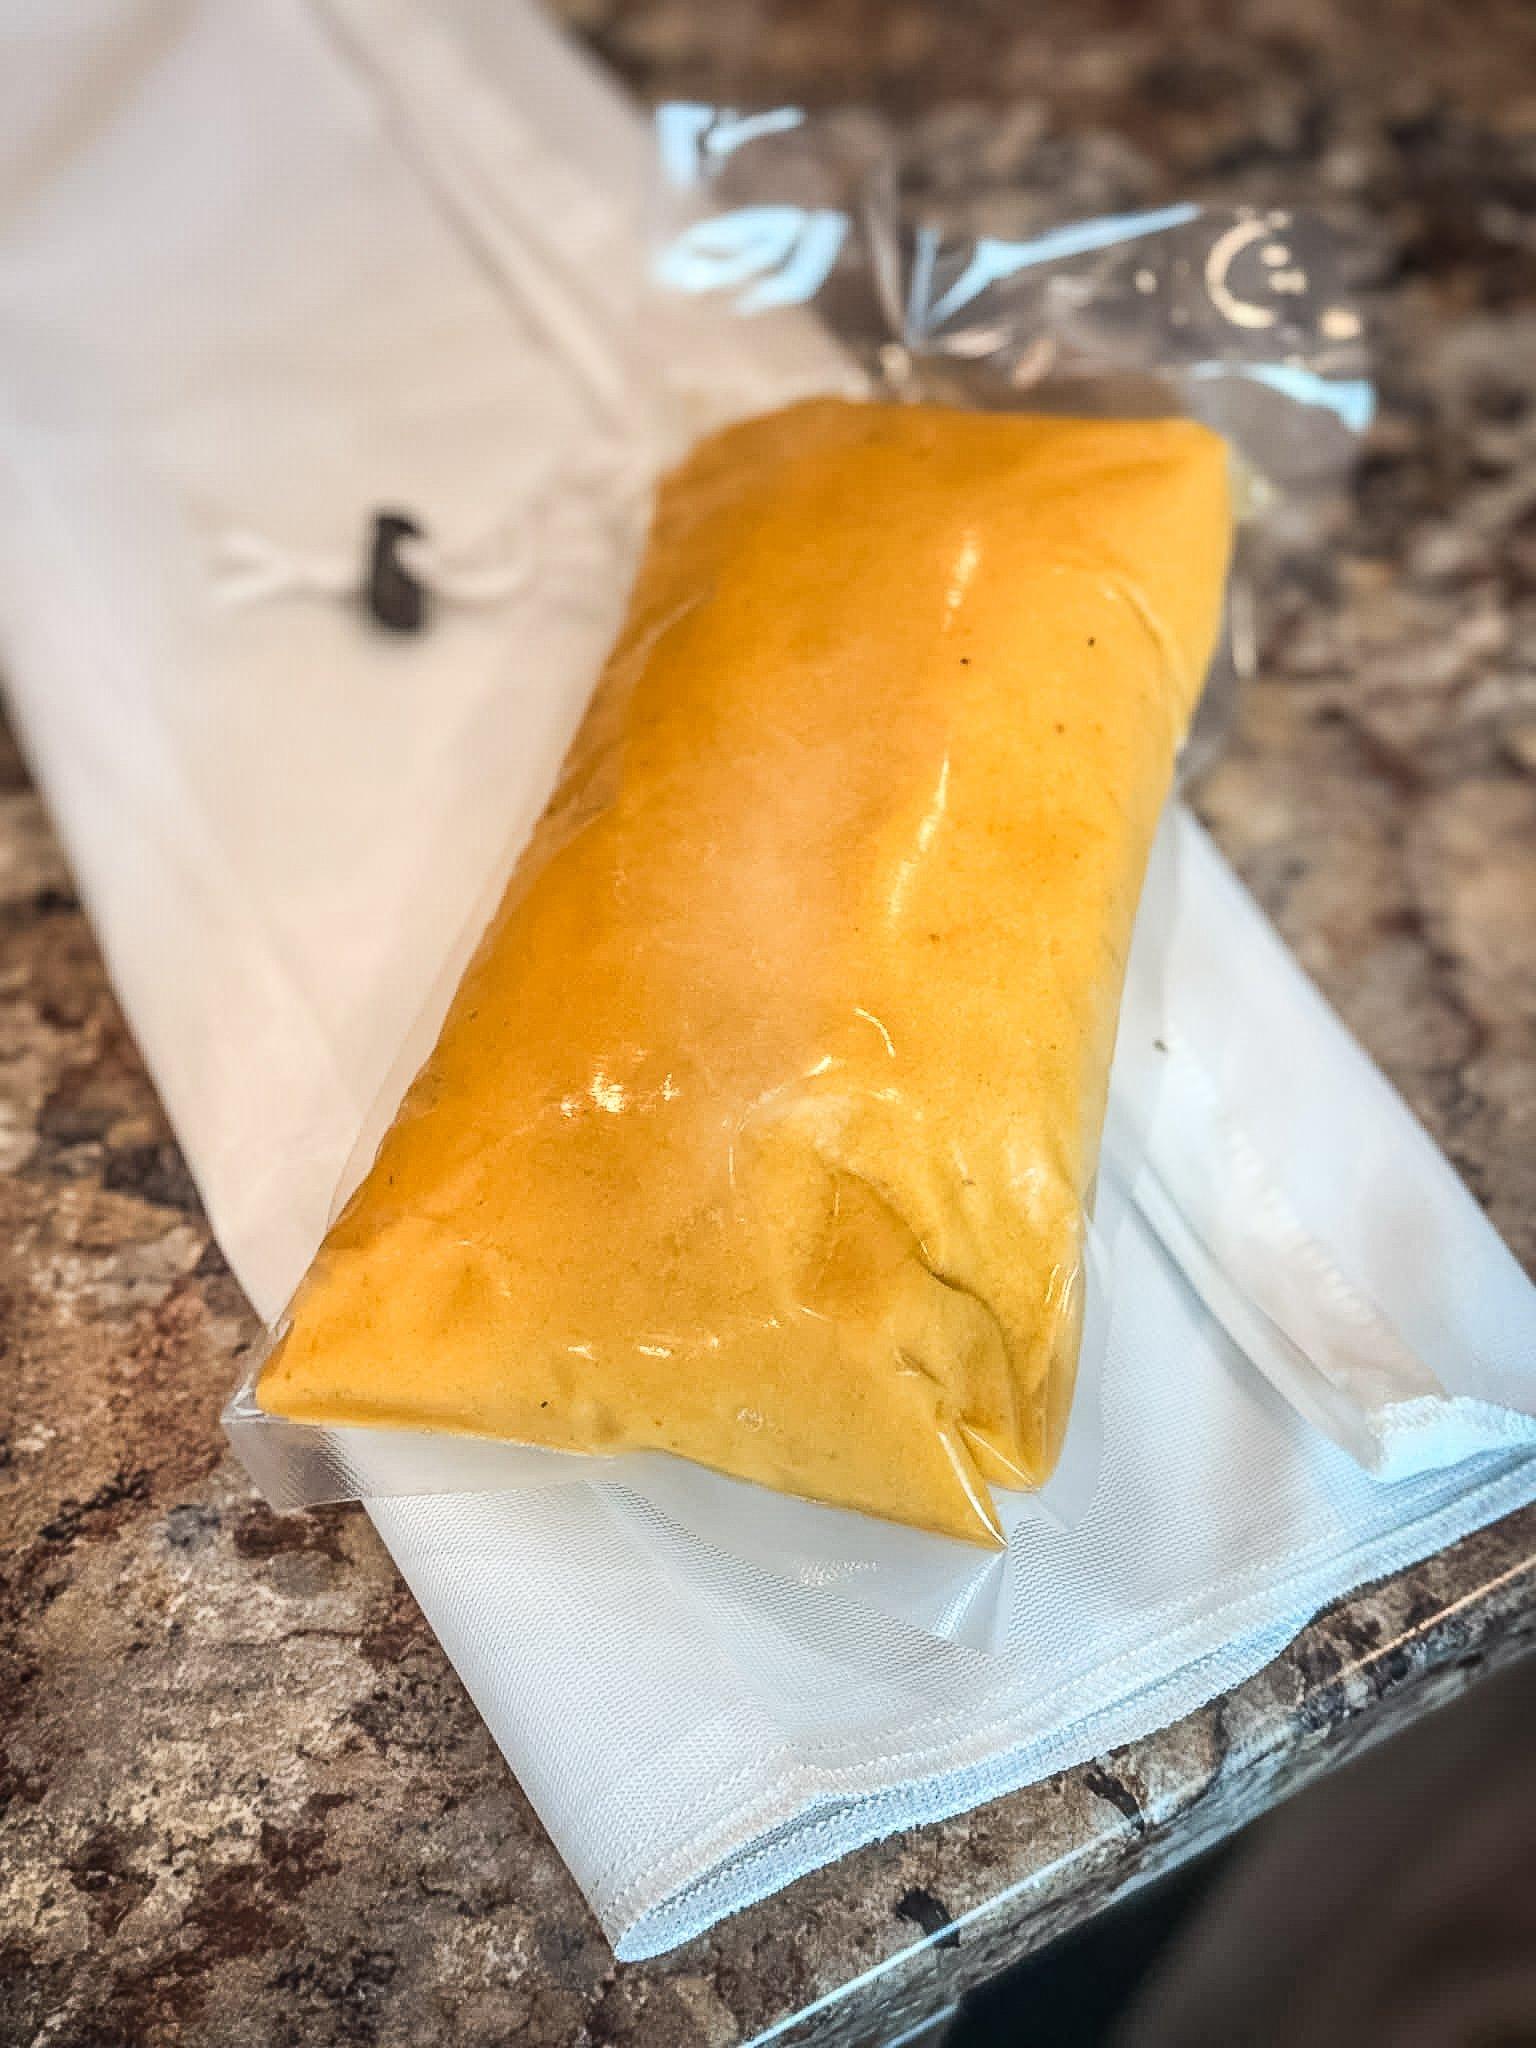
You can use fresh fruit, or freeze it and use it later, like this pawpaw pulp.
You can use the fruit fresh, but the beauty of wine making is that you can also preserve the fruit when it is at its peak production and make wine anytime. For berries and seeded pawpaw pulp, freezing works well. Maxwell likes to dry persimmons in his dehydrator before using those. For a 5-gallon batch, you will need about 10 to 15 pounds of fresh or frozen fruit (less if you use grape juice as your base instead of spring water in which case you can cut back to 5 to 10 pounds) or lesser amounts of dried.
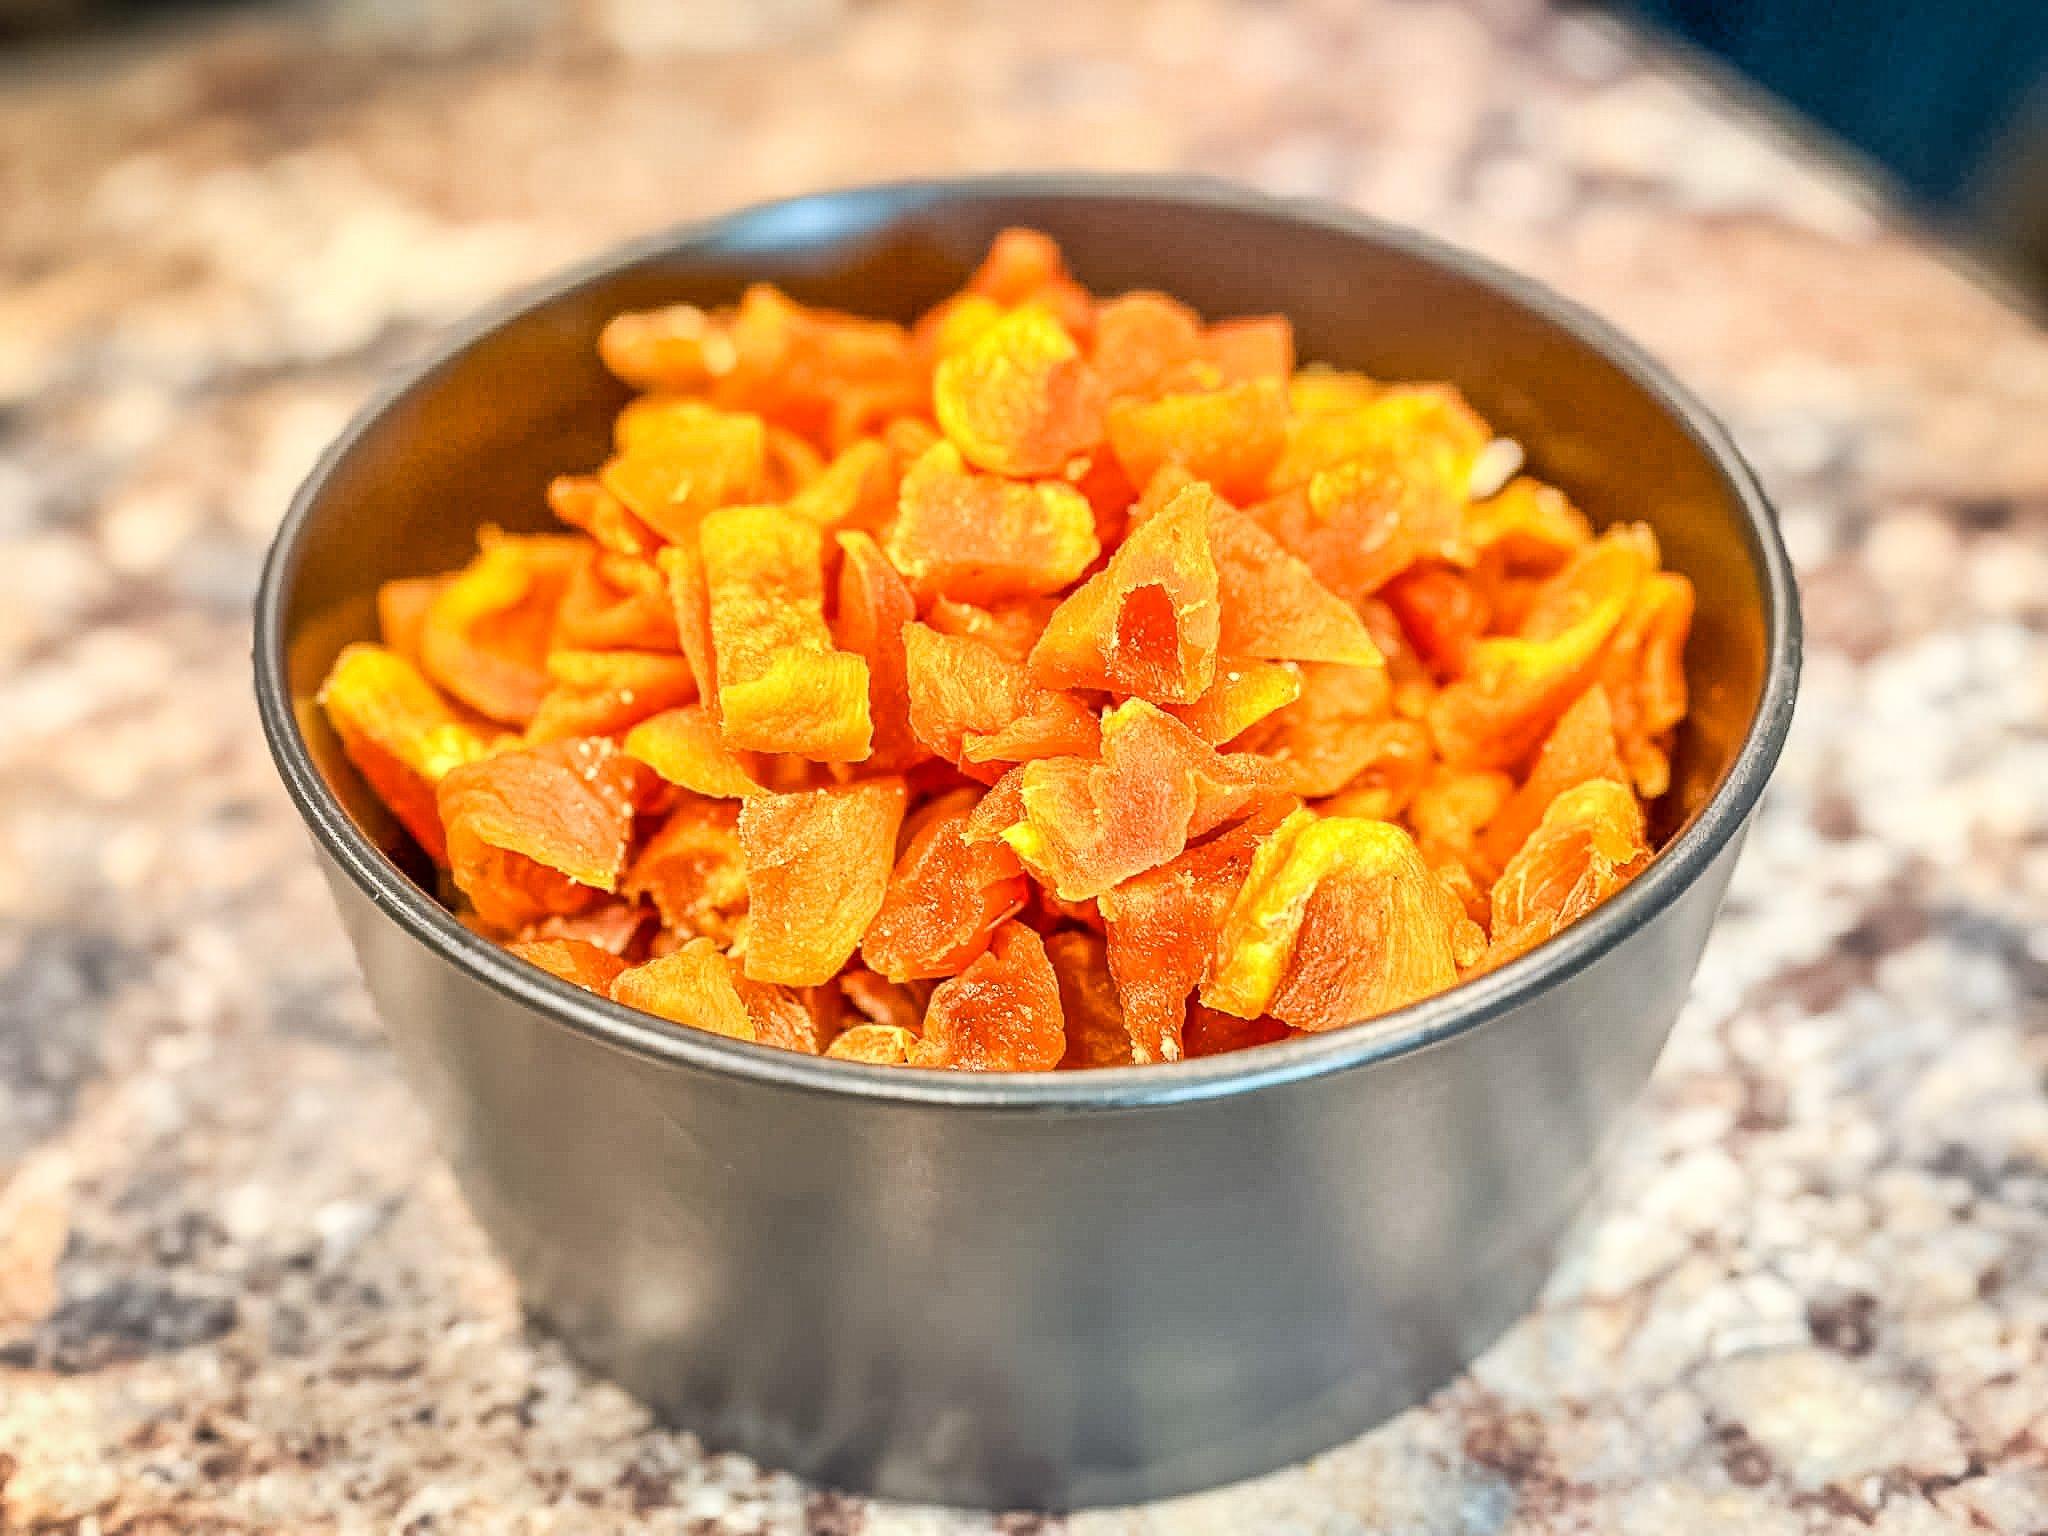
You can dry fruit like persimmons to preserve it and still use it for winemaking.
THE GEAR
You will need a few simple tools for winemaking but, luckily, none of them are expensive or hard to find. As you get more into the hobby, you can upgrade your equipment, but these basics will always work. You can find all of these online from brewing supply houses or in many large liquor stores.
5-7 gallon food-grade plastic bucket, with water and air tight lid (for primary fermentation)
1-gallon glass carboys (for secondary fermentation)
Airlock and rubber stopper
Siphon / auto-siphon tubing
Sanitizing solution (like Star San or Campden tablets)
Hydrometer
Mesh bag or cheesecloth to contain fruit
Bottles with corks or spring stoppers
Bottle corker
Other Ingredients:
White sugar
Spring water or grape juice; Maxwell prefers muscat grape
Wine yeast
Yeast nutrient and tannins, optional
THE METHOD
When you are making your own wine, the most important step is the very first one. Everything must be sanitized to prevent contamination of your wine. By everything, I mean everything, including bottles, buckets, siphons, corks, airlocks, and measuring equipment. If you introduce bacteria to your wine, it will probably go bad. At the very least, it won’t taste good. At the worst, it can make you sick. My sanitizer of choice is a liquid concentrate called Star San. Fill a large tub with water, pour in the appropriate amount of Star San, and let everything soak for a bit before making your wine.
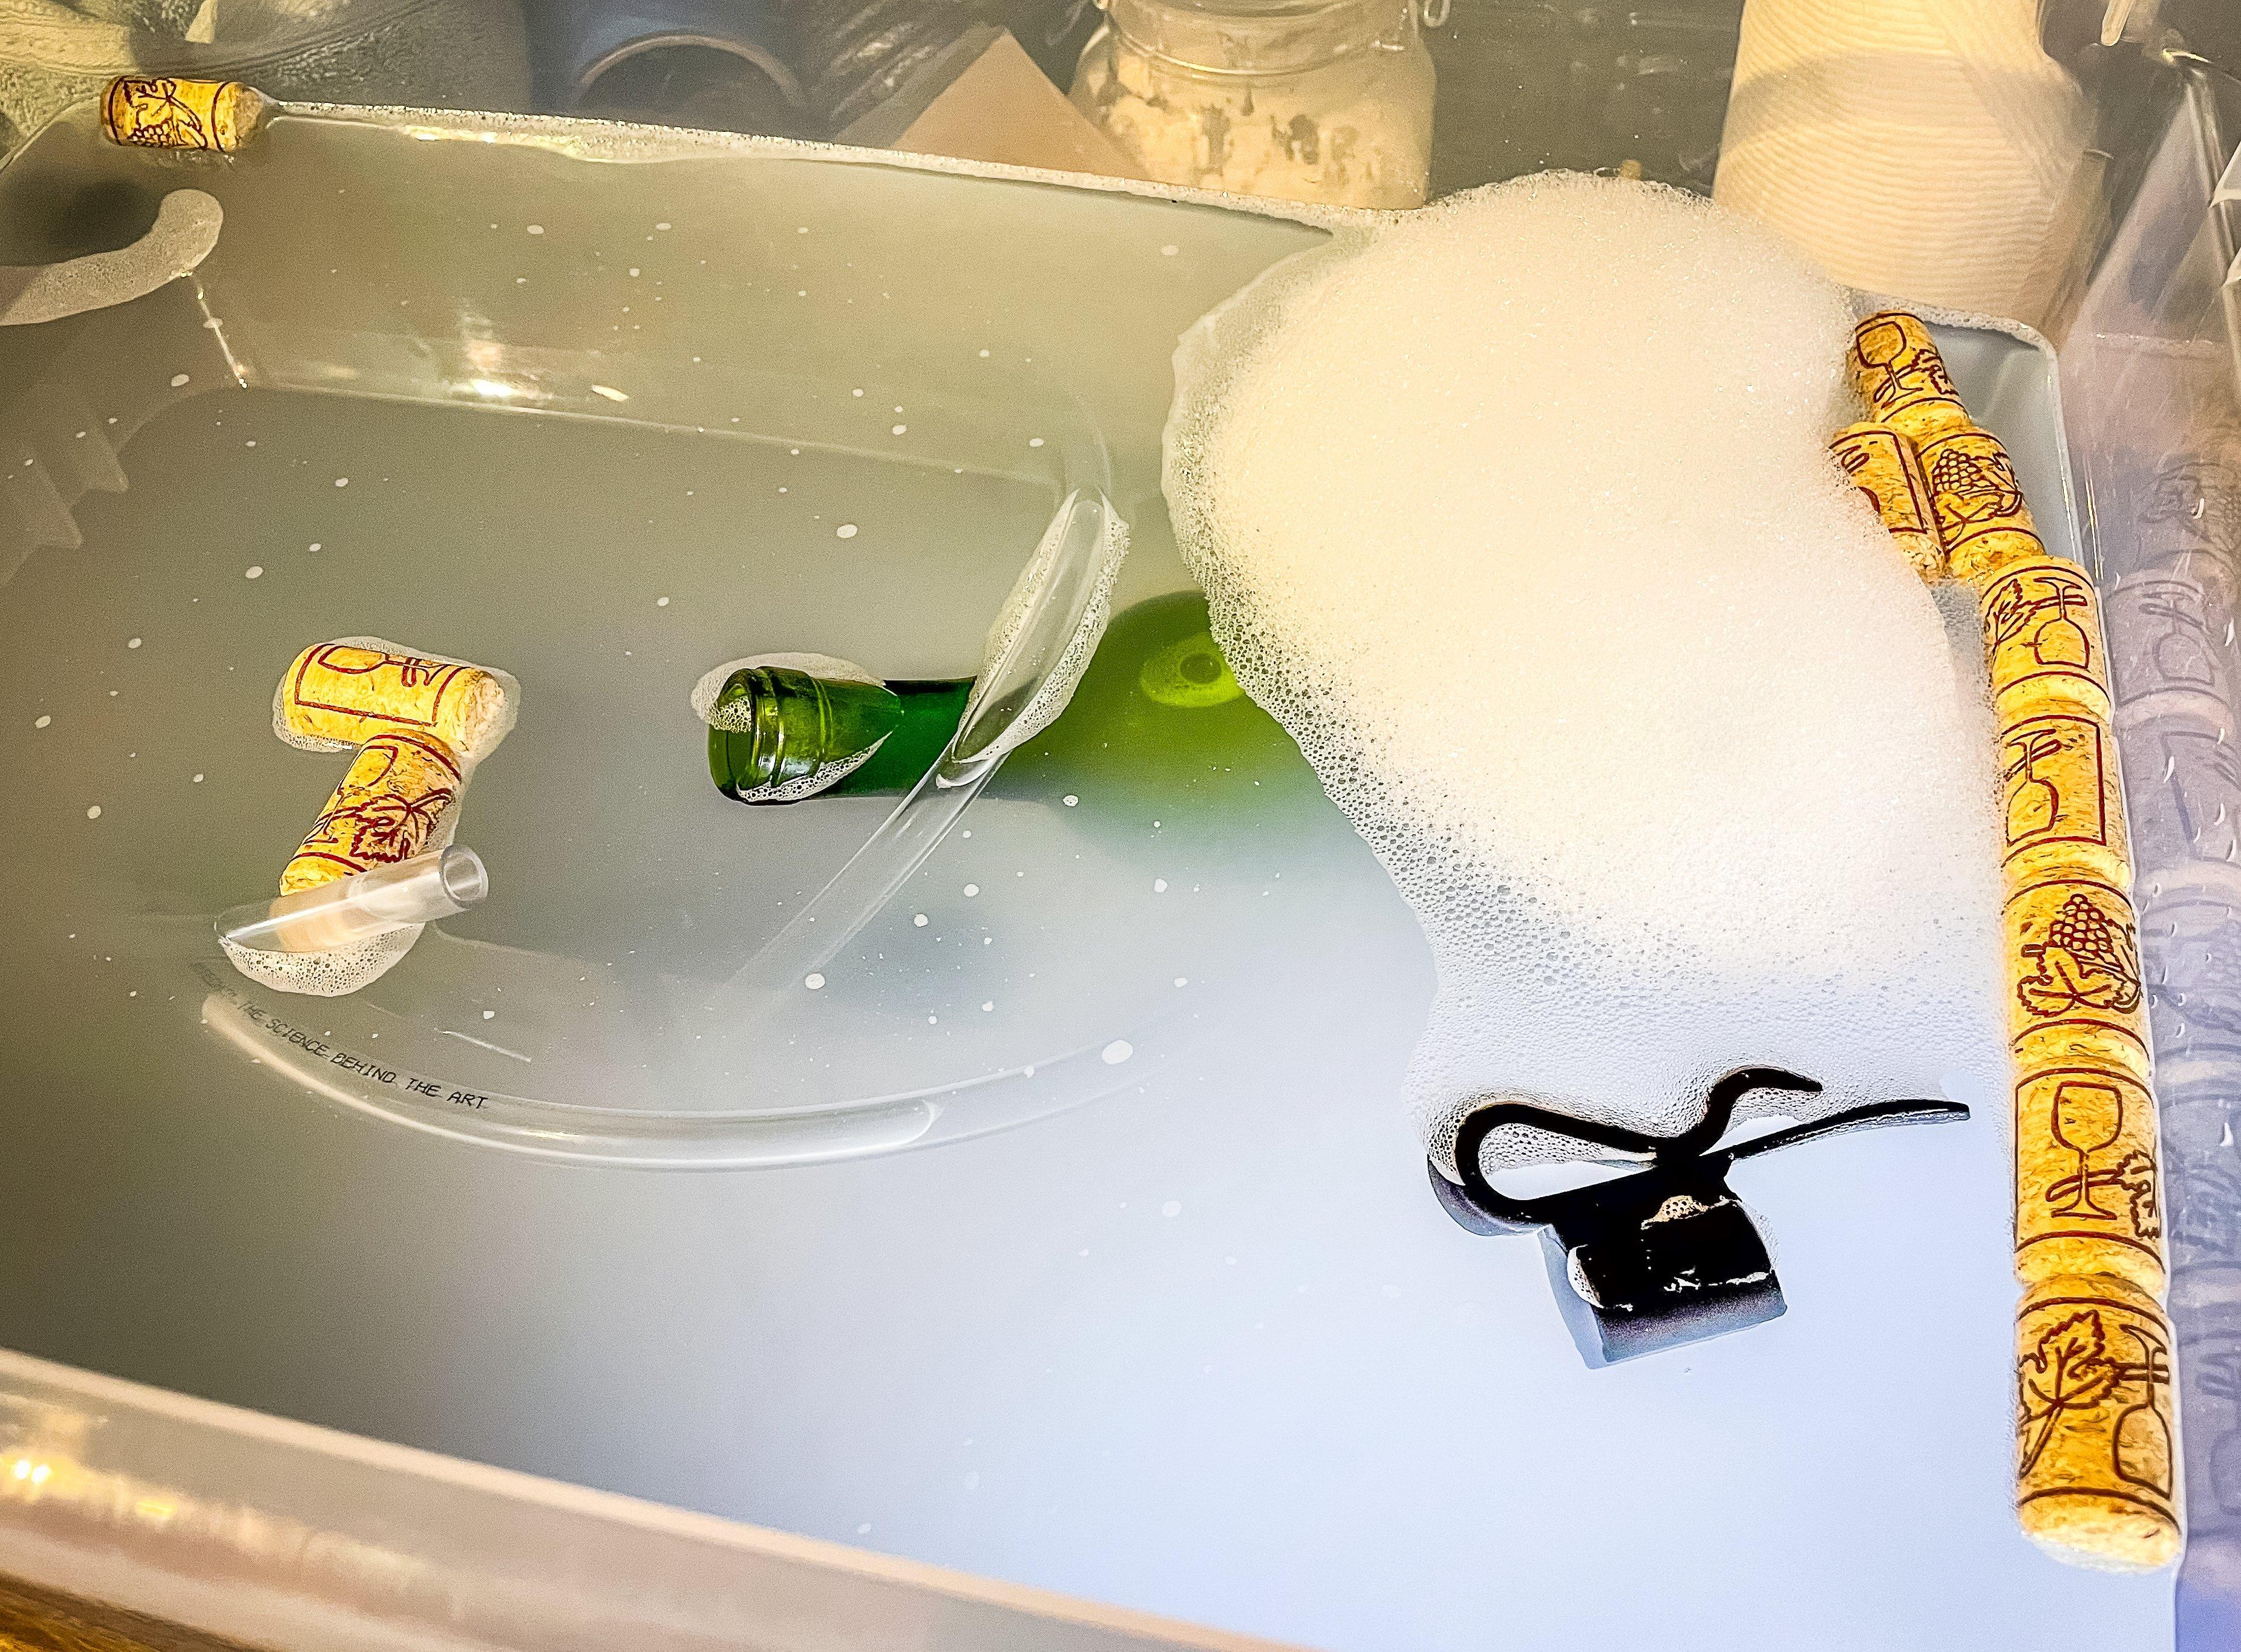
The first rule in wine making is to sanitize everything before each step.
For the base, you can use spring water (avoid tap water with its accompanying chlorine) or grape juice. Maxwell prefers muscat grape juice which is more traditional among wine makers. You can also use off-the-shelf juice from the store. The benefit of juice over straight water is that the grape juice already has the tannins and nutrients needed to make a palatable wine. If you use straight spring water, you will have to add those in during the process. You also run the risk of an extremely bitter wine when using bramble berries like black or raspberries when using only water.
Start with your fruit. If using fresh berries, wash 5 to 10 pounds if using grape juice as your liquid or 10 to 15 pounds if using water. Pick out any leaves, stems or other debris, and crush them lightly. I like to put my fruit in a mesh or cheesecloth bag to make bottling easier down the road. Add it to your bucket. Next comes the white sugar. This is what feeds the yeast during the fermentation. You will need about 11 cups. Add it to the fruit in the bucket. Bring one gallon of spring water to a simmer. Pour over the fruit and sugar, then stir to dissolve the sugar.
You can feed the yeast an additional yeast nutrient at this point to speed the fermentation process, if desired. Now is the time to add additional tannins if using water as your base liquid. Amounts vary by brand, so follow label instructions. Top the must with grape juice or spring water up to about an inch from the top of your bucket. Stir everything well with a sanitized long spoon. If you want to know what your finished alcohol content will be, take a hydrometer reading now and record it so that you can compare with a reading after all fermentation is complete. There are many online calculators that will give you your alcohol percentage if you plug in both readings.
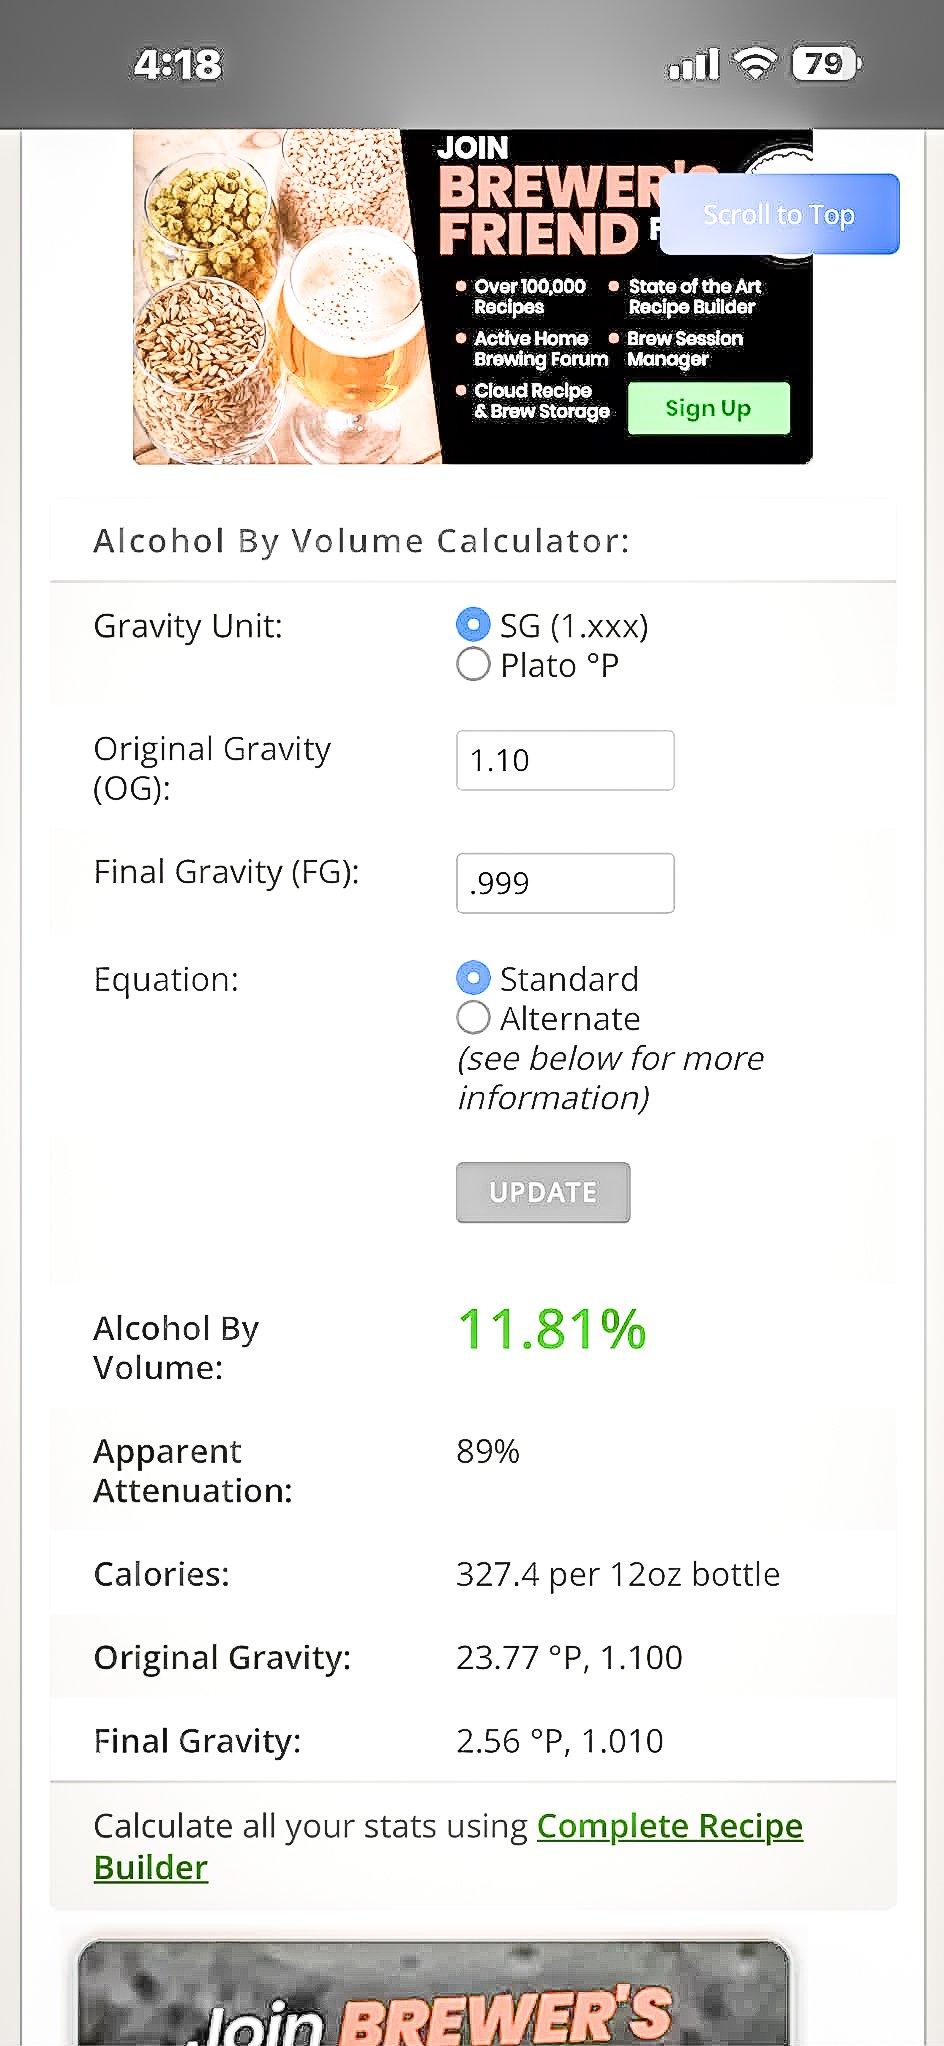
Handy online calculators help figure accurate alcohol content in your finished wine.
Next comes the yeast. Use a wine yeast like Lalvin EC-1118 (Maxwell’s favorite) for dry/crisp product or 71B for fruity wines. There are many wine yeasts on the market, so experiment to find your favorite. Add the packet of yeast to your must by sprinkling it over the top.
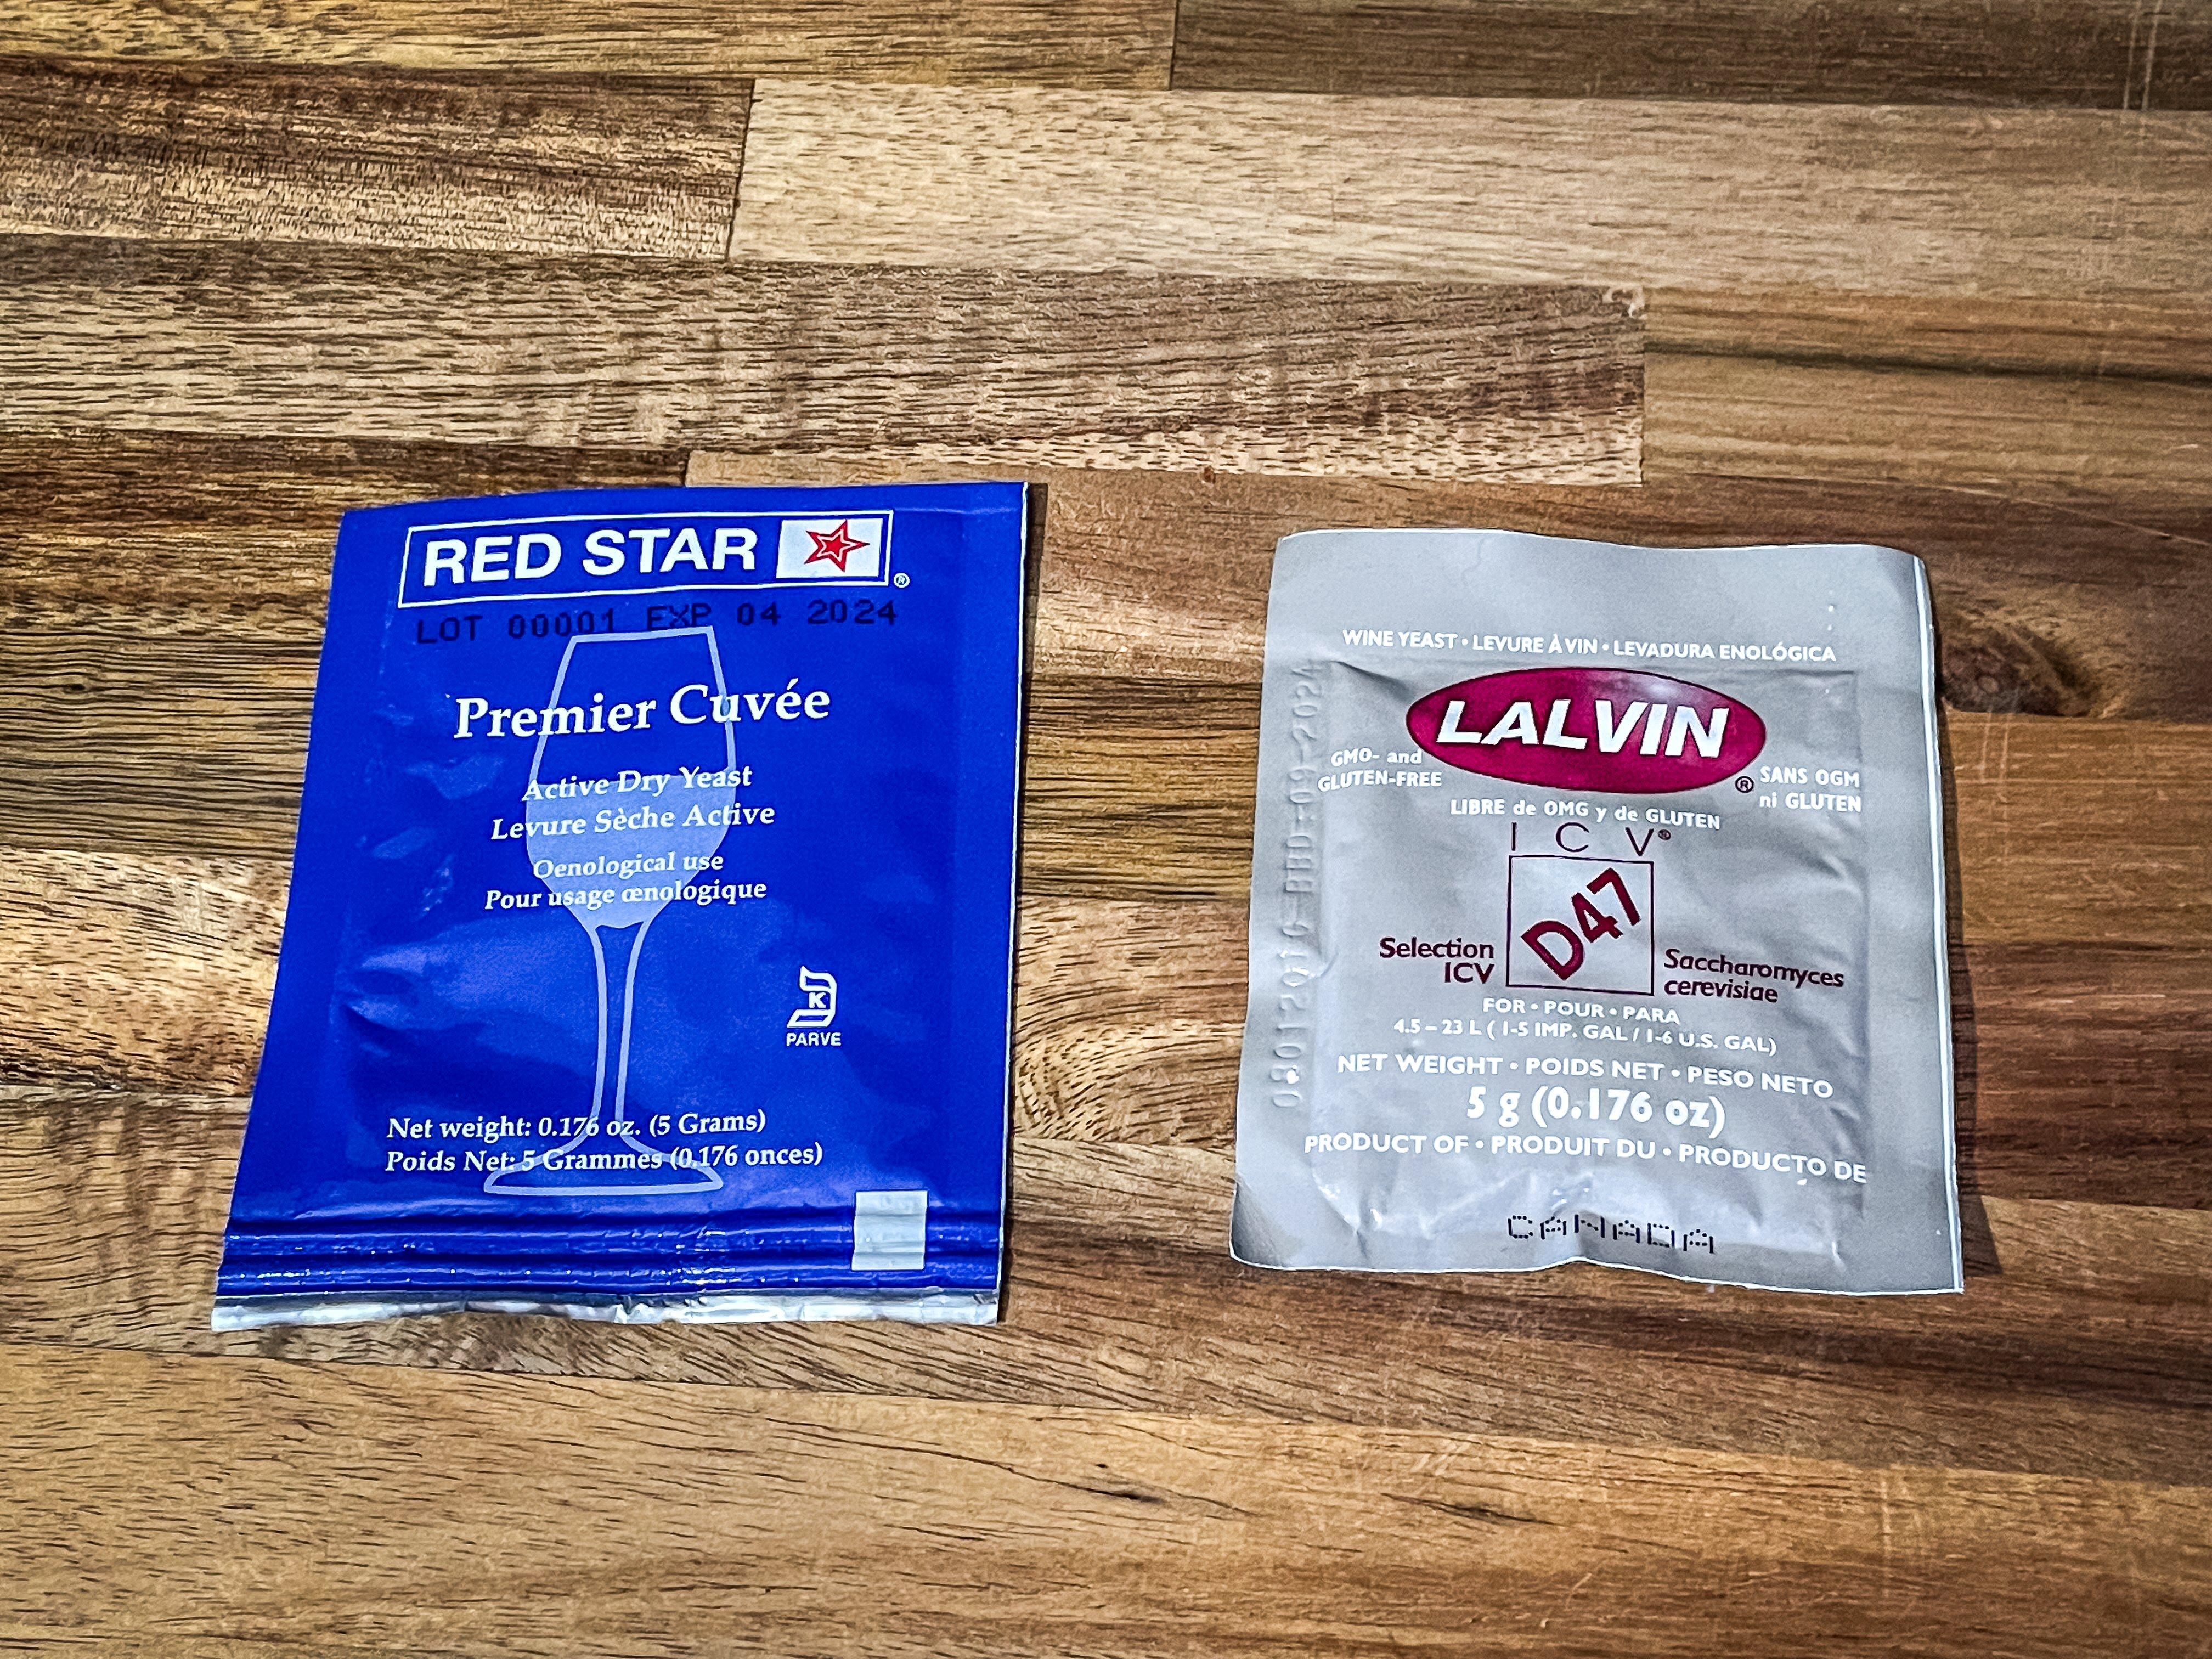
There are several varieties of wine yeast on the market. Experiment and find your favorite.
A quick word about air locks. A lot of things are about to happen in your bucket, including the formation of some pretty serious gasses. An air lock is a one-way valve, usually filled with water or another liquid, that allows these gasses to escape so that pressure doesn’t build. Without one, you just made a five gallon juice bomb that is going to end up in a serious mess and possible divorce if it happens in your kitchen. The liquid inside the air lock prevents contaminants and insects on the outside from getting down into the wine. If you purchased your bucket from a wine or mead making supply house, it probably came with a lid that had a grommeted hole to allow the insertion of an air lock. If yours doesn’t, drill the appropriate sized hole, add an o-ring for an air-tight seal, then give the lid a quick dunk in the sanitizing tank in case you got any contamination on it during the process. Insert the air lock through the hole and place the lid tightly on the bucket. Place the bucket in a sheltered area, room temp, around 70-80 degrees, away from direct sunlight.
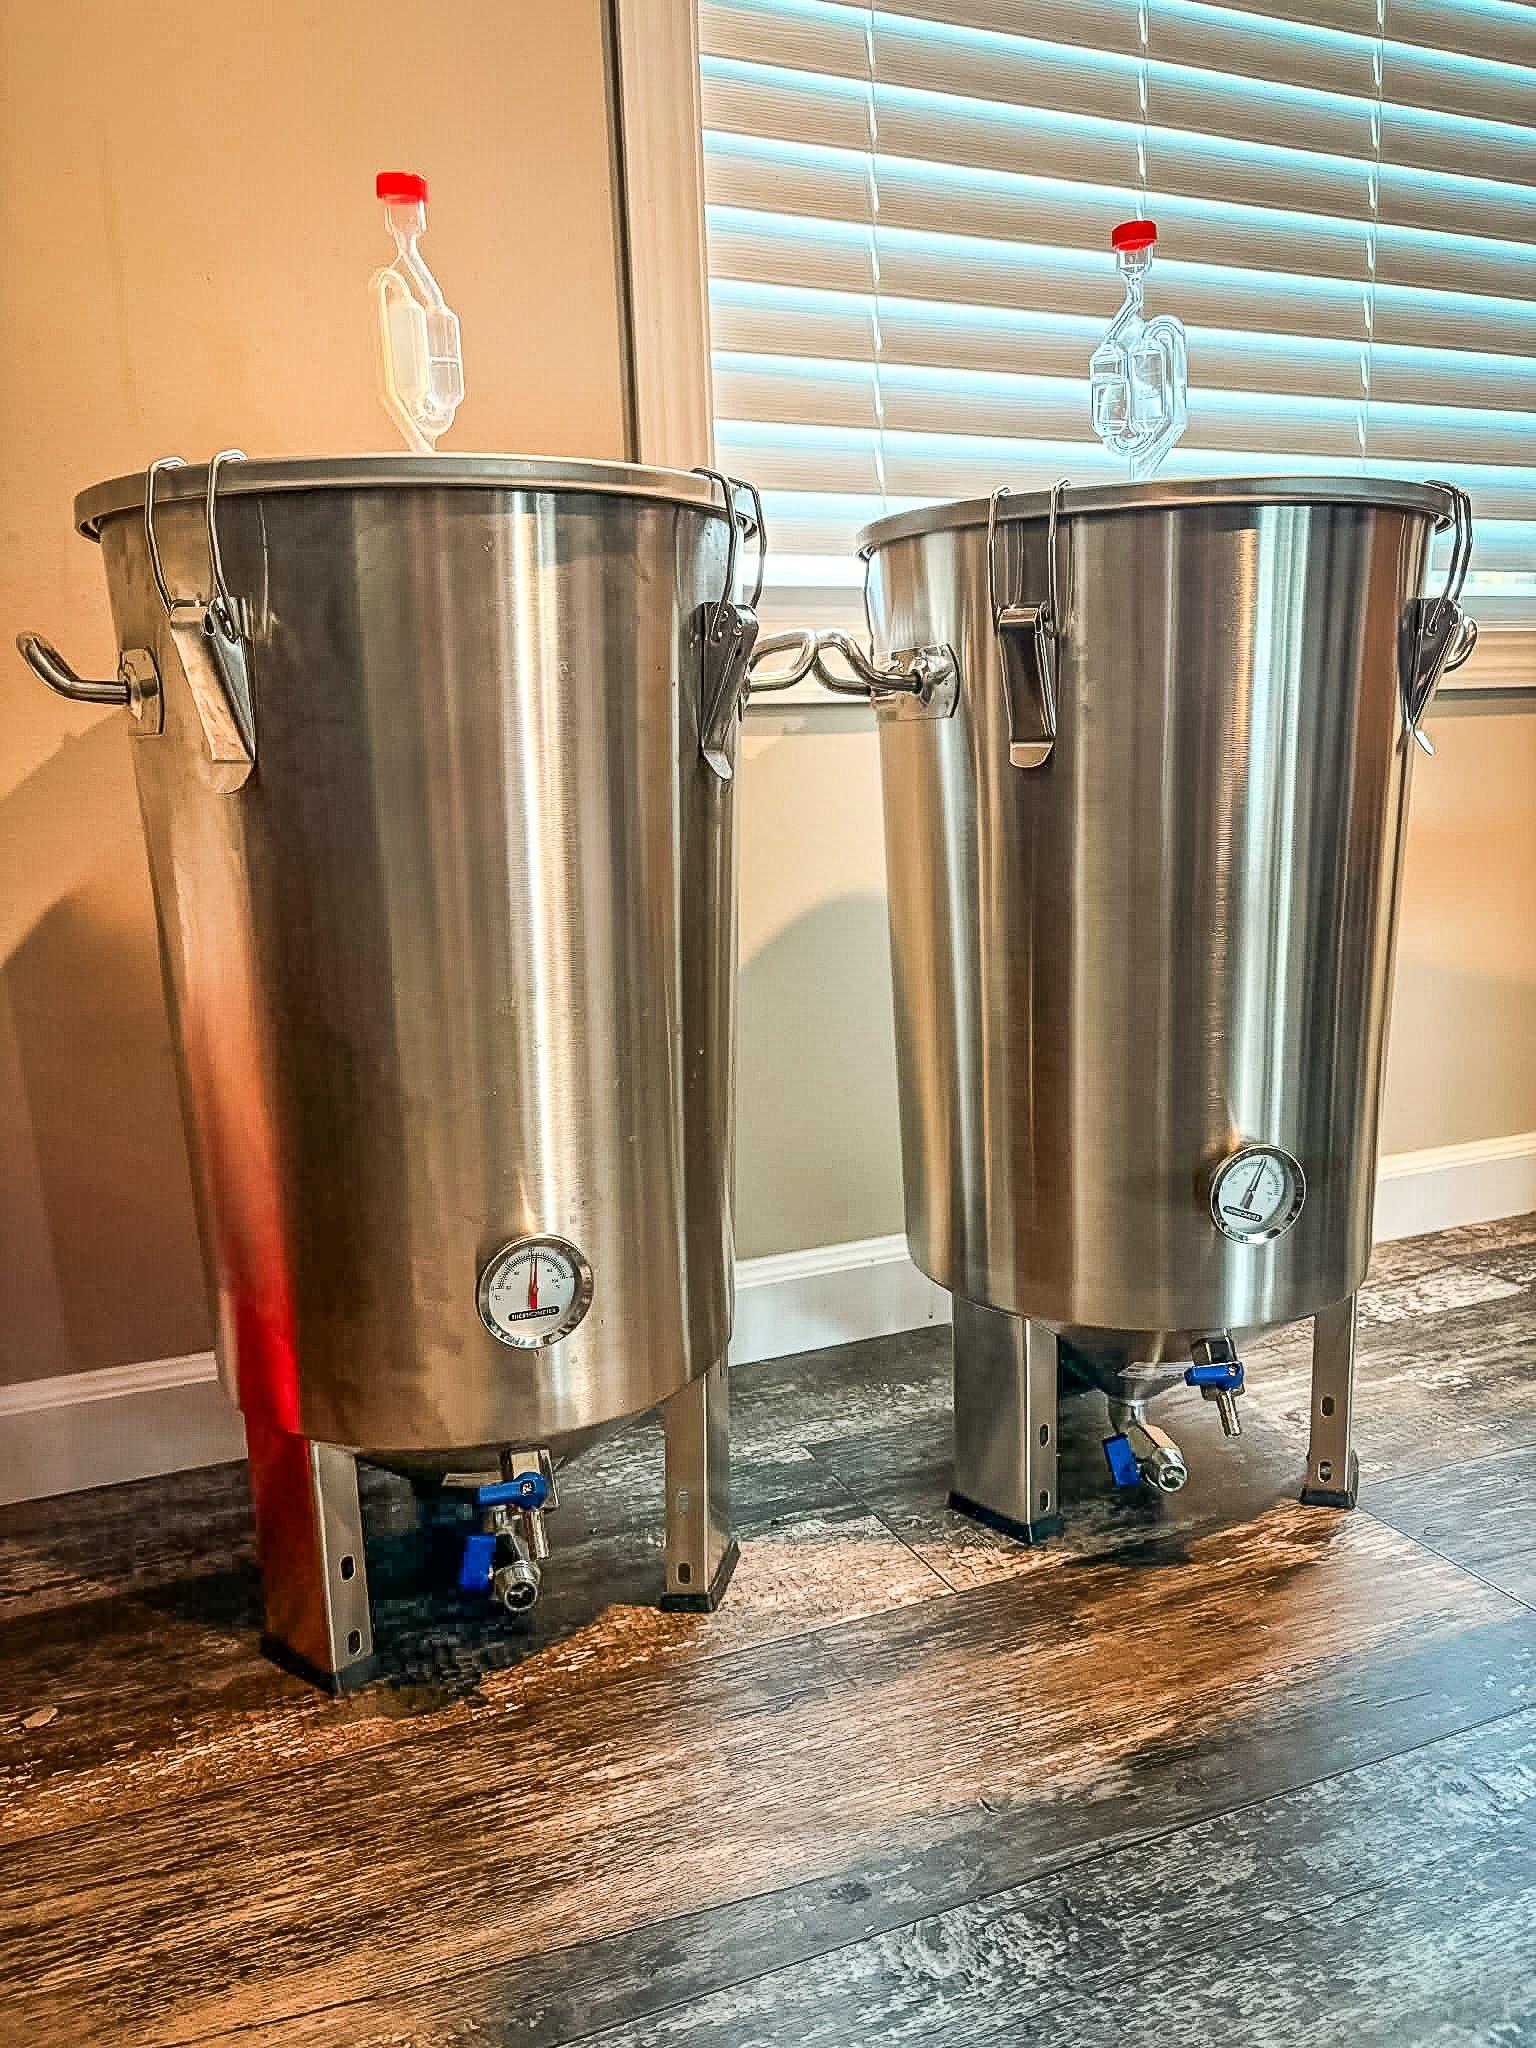
Note the airlocks on these fermentation tanks that allow gas to escape but prevent any contamination from entering the wine.
Now wait. After a day or two, you will notice air bubbles making their way up through the air lock. This should go on for 7-10 days. Once the bubbles stop, your wine is fermented. Your wine at this point is dry, meaning there is very low sweetness level. If you prefer a sweeter wine, you can add simple syrup at this point to increase the sweetness level before final bottling. If you do this, you need to also add potassium sorbate or Campden tablets to prevent the wine from starting a new fermentation and blowing the corks out of your bottles. Now is the time to move them to glass carboys (large glass bottles) for secondary fermentation.
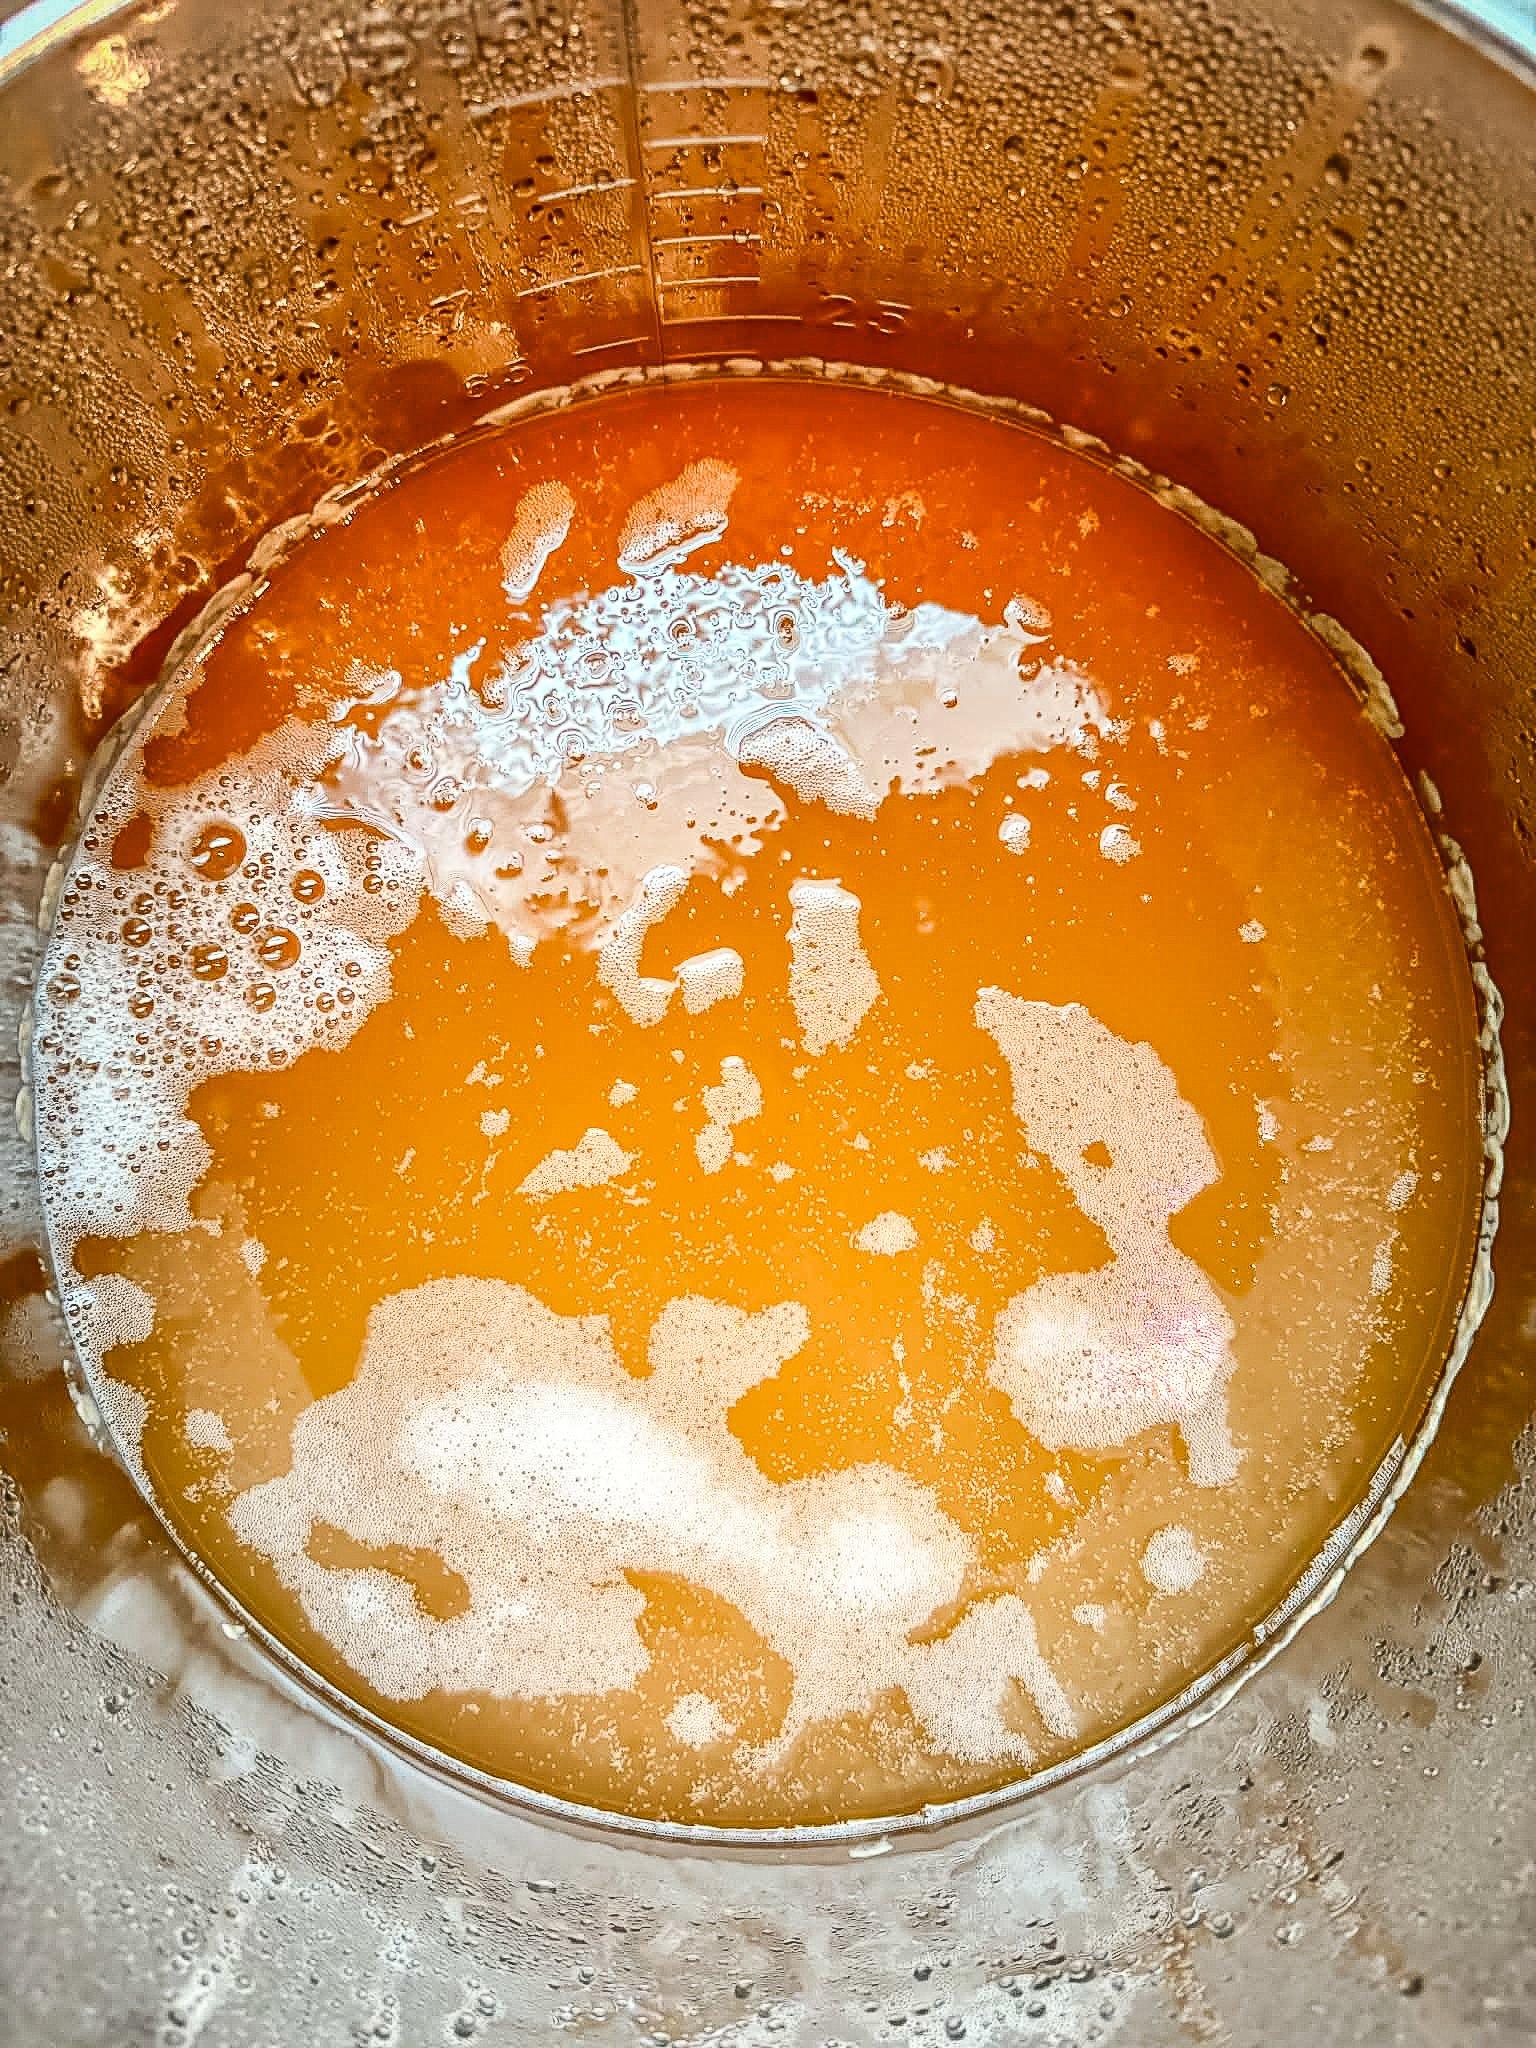
As the wine ferments, gas will be released as the yeast consumes the sugars.
You will need a siphon system. You can get by with a clean hose, but bottling tubes are available from wine and mead making suppliers and they make the process much simpler and less messy. Again, everything needs to be sanitized before starting this step. Carboys, siphon hose, air locks, it all goes into a siphon tank. The beauty of Star San is that it doesn’t have to been rinsed away, meaning you can go from sanitizing tank directly to filling carboys.
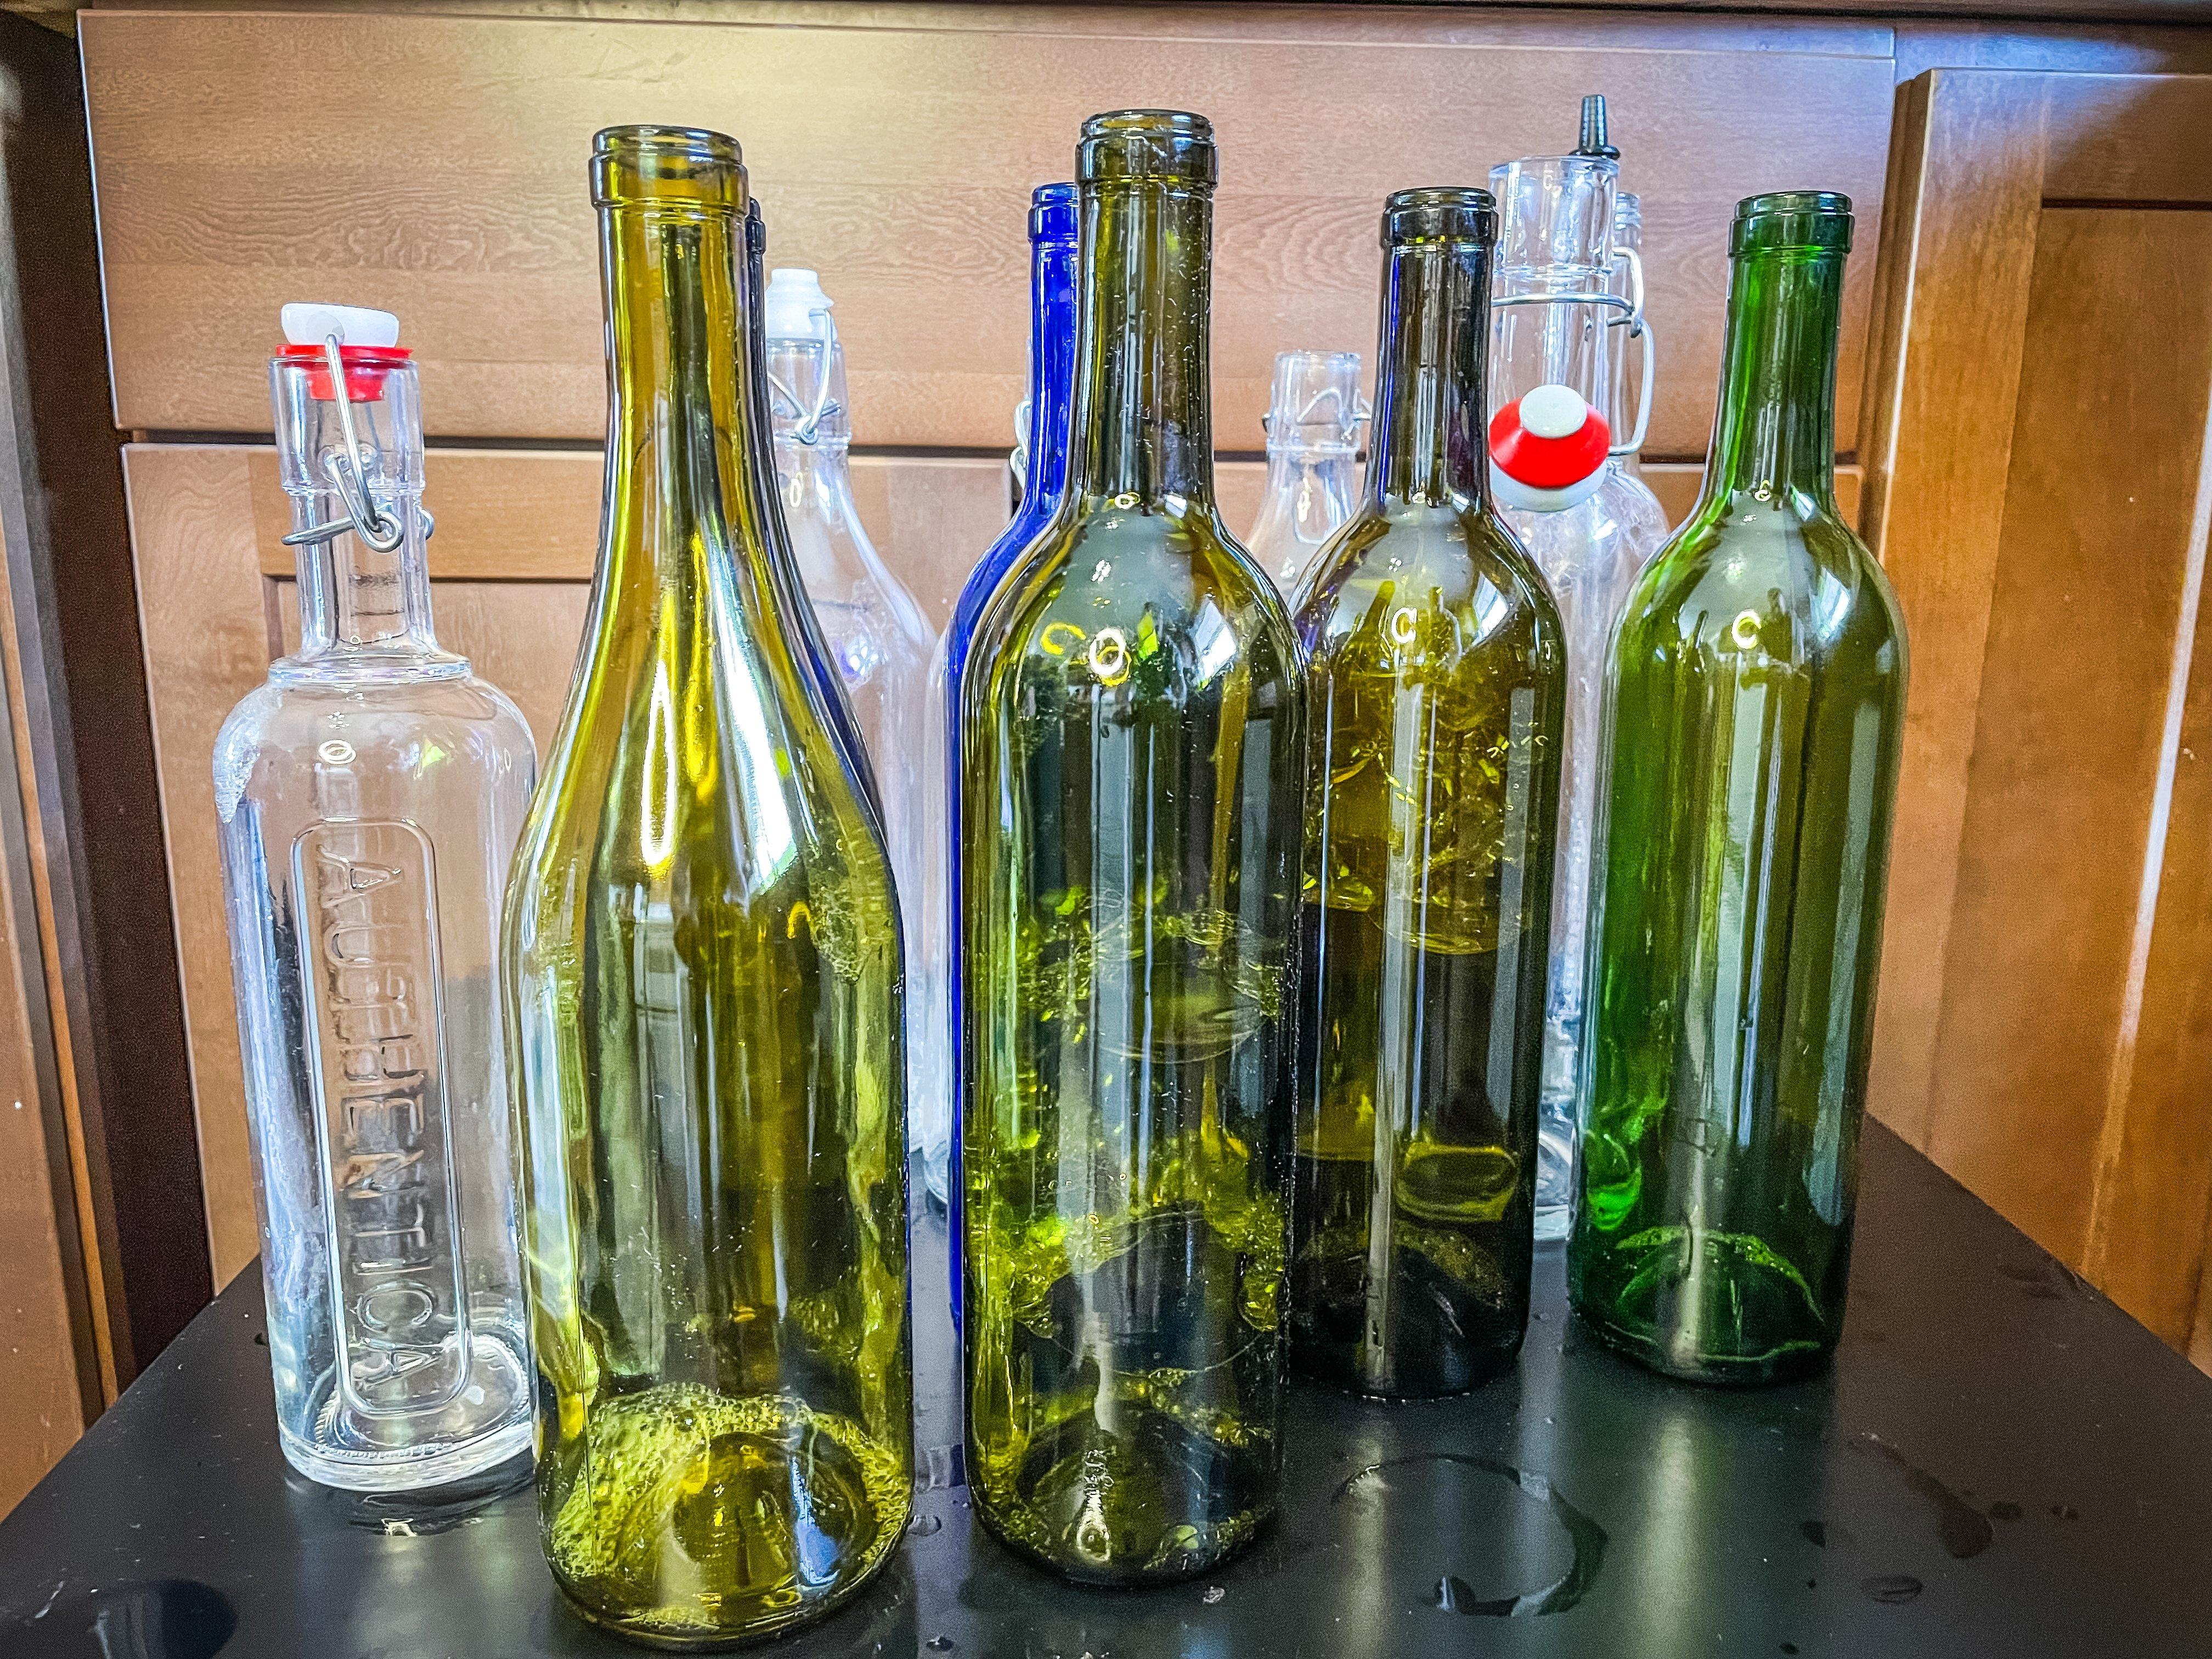
Sanitize everything at every step.
Place the bucket on a high counter or table, and the carboys below. Carefully siphon the liquid from the bucket into the carboys, taking care not to suck up any of the accumulated solids from the bottom of the bucket. You want the wine a clear as possible at this point, but it will continue to clear during secondary.
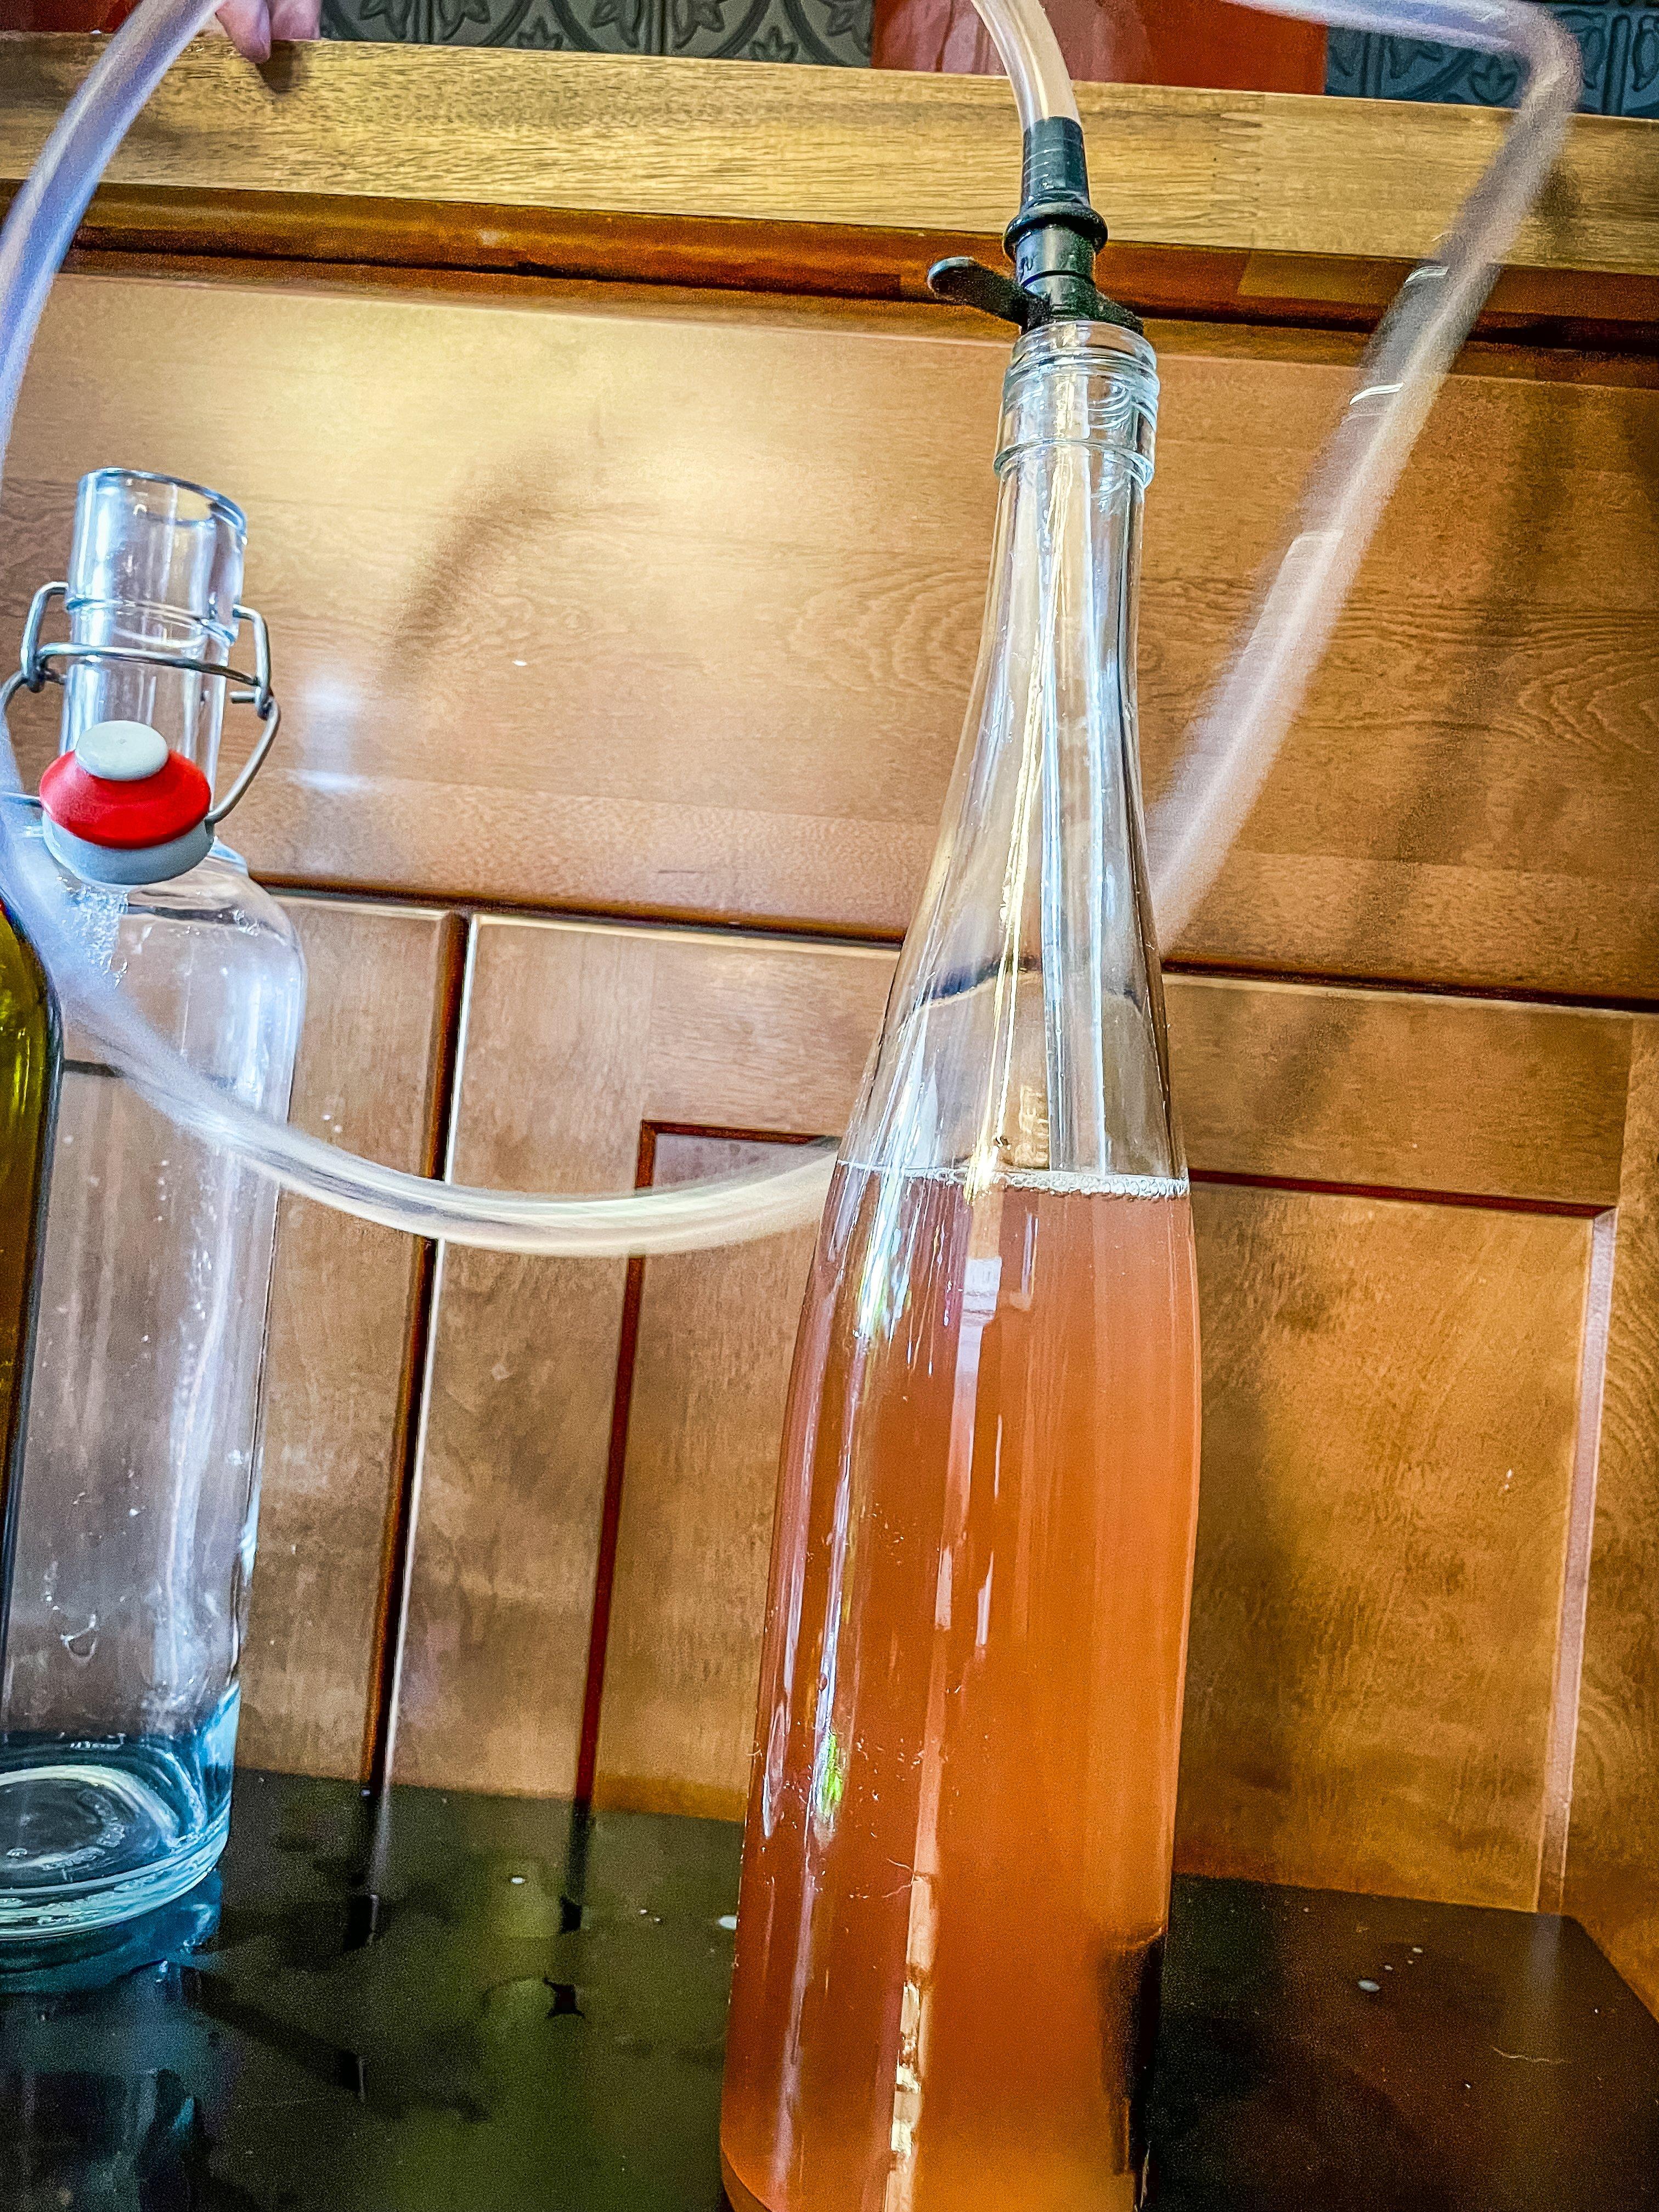
A good siphon system helps to transfer the wine between fermentation and bottling.
When the carboys are full, again, place a tight fitting top with an airlock (carboys are often sold in a set with an airlock equipped stopper). Let the wine set in a cool, dark place for 1-3 months. It will continue to clear and you will probably notice a small layer of solids in the bottom of the carboy. That’s natural and nothing to be alarmed about.
Once you are ready to bottle, again clean and sanitize everything. You can use traditional wine bottles, or bottles with airtight spring stoppers. In my, and Maxwell’s, experience, traditional wine bottles with fresh corks are superior for long term storage. A bottle corker makes inserting the fresh natural or synthetic corks into the bottle a breeze.
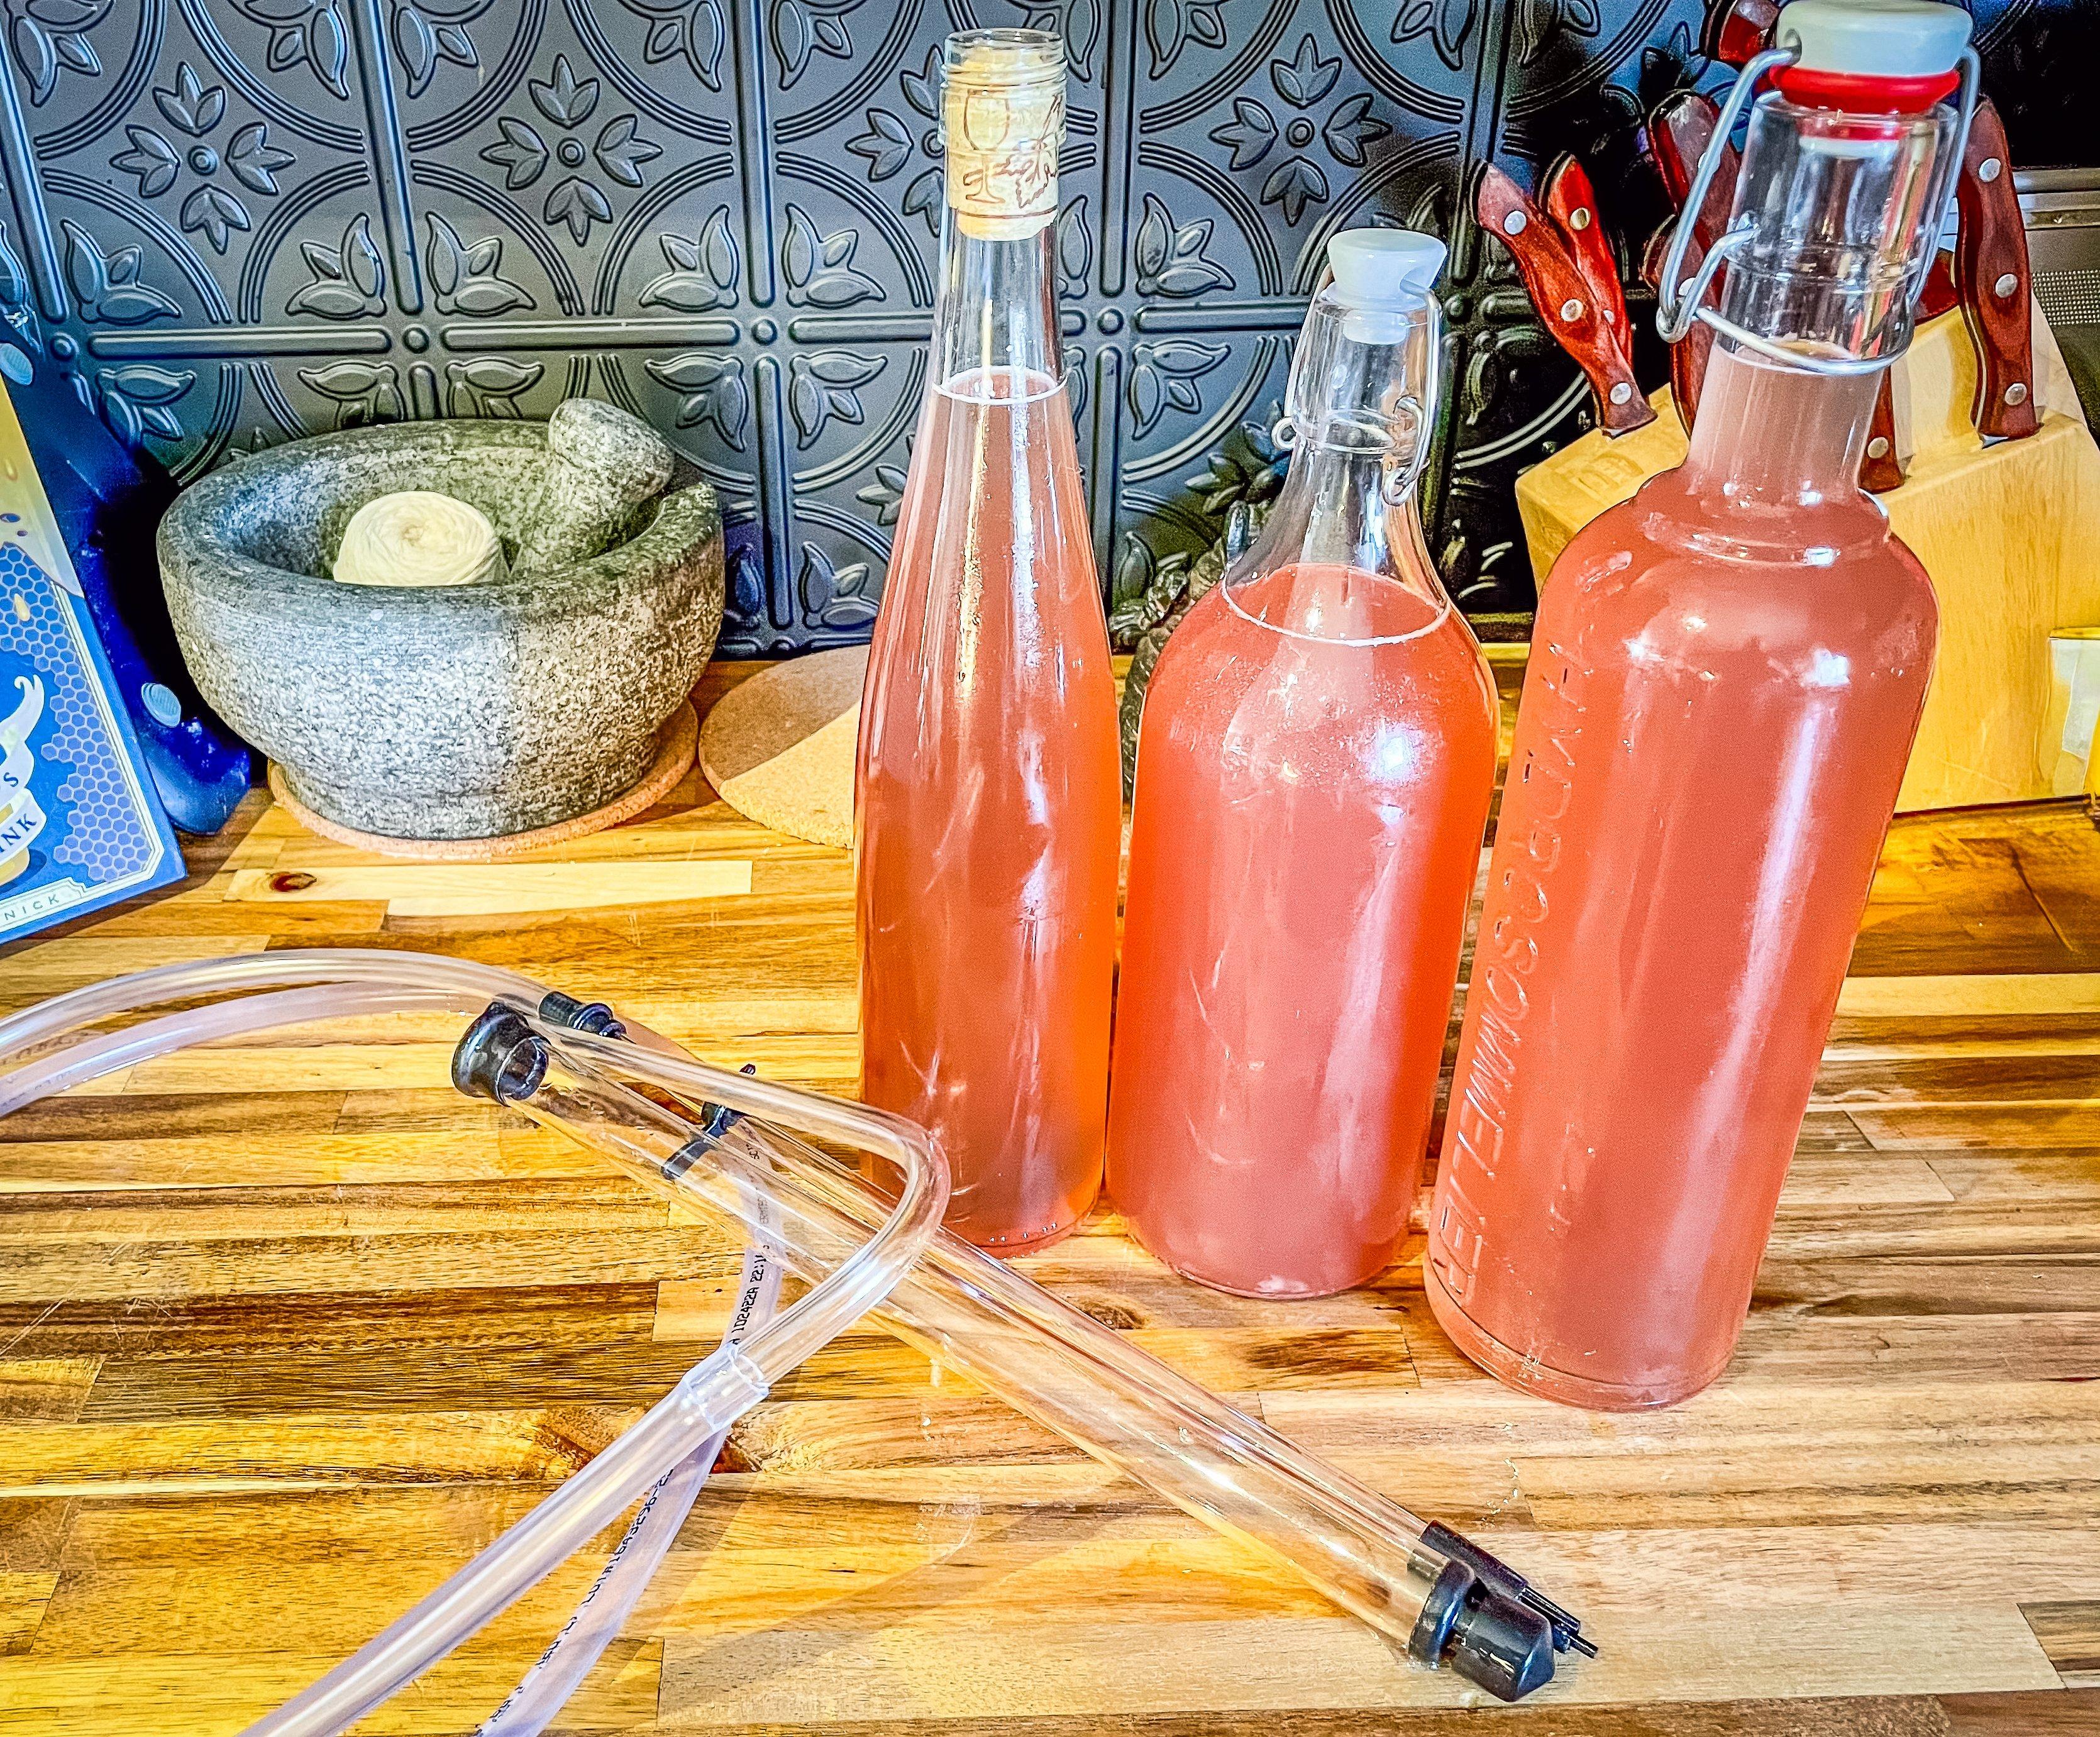
You can use traditional bottles with cork stoppers or, for short term storage, bottles with airtight spring stoppers.
Again, repeat the process by placing the carboy onto the upper surface and siphoning directly into the sanitized bottle. Avoid dipping the siphon tube down into the solids that have accumulated at the bottom of the carboy, transferring only clear wine into the bottle. If you are curious about the alcohol level in your wine, you can use a hydrometer to measure the density of a liquid relative to water. In winemaking, it is used to measure sugar content, track the progress of fermentation, and calculate the alcohol content of your wine.
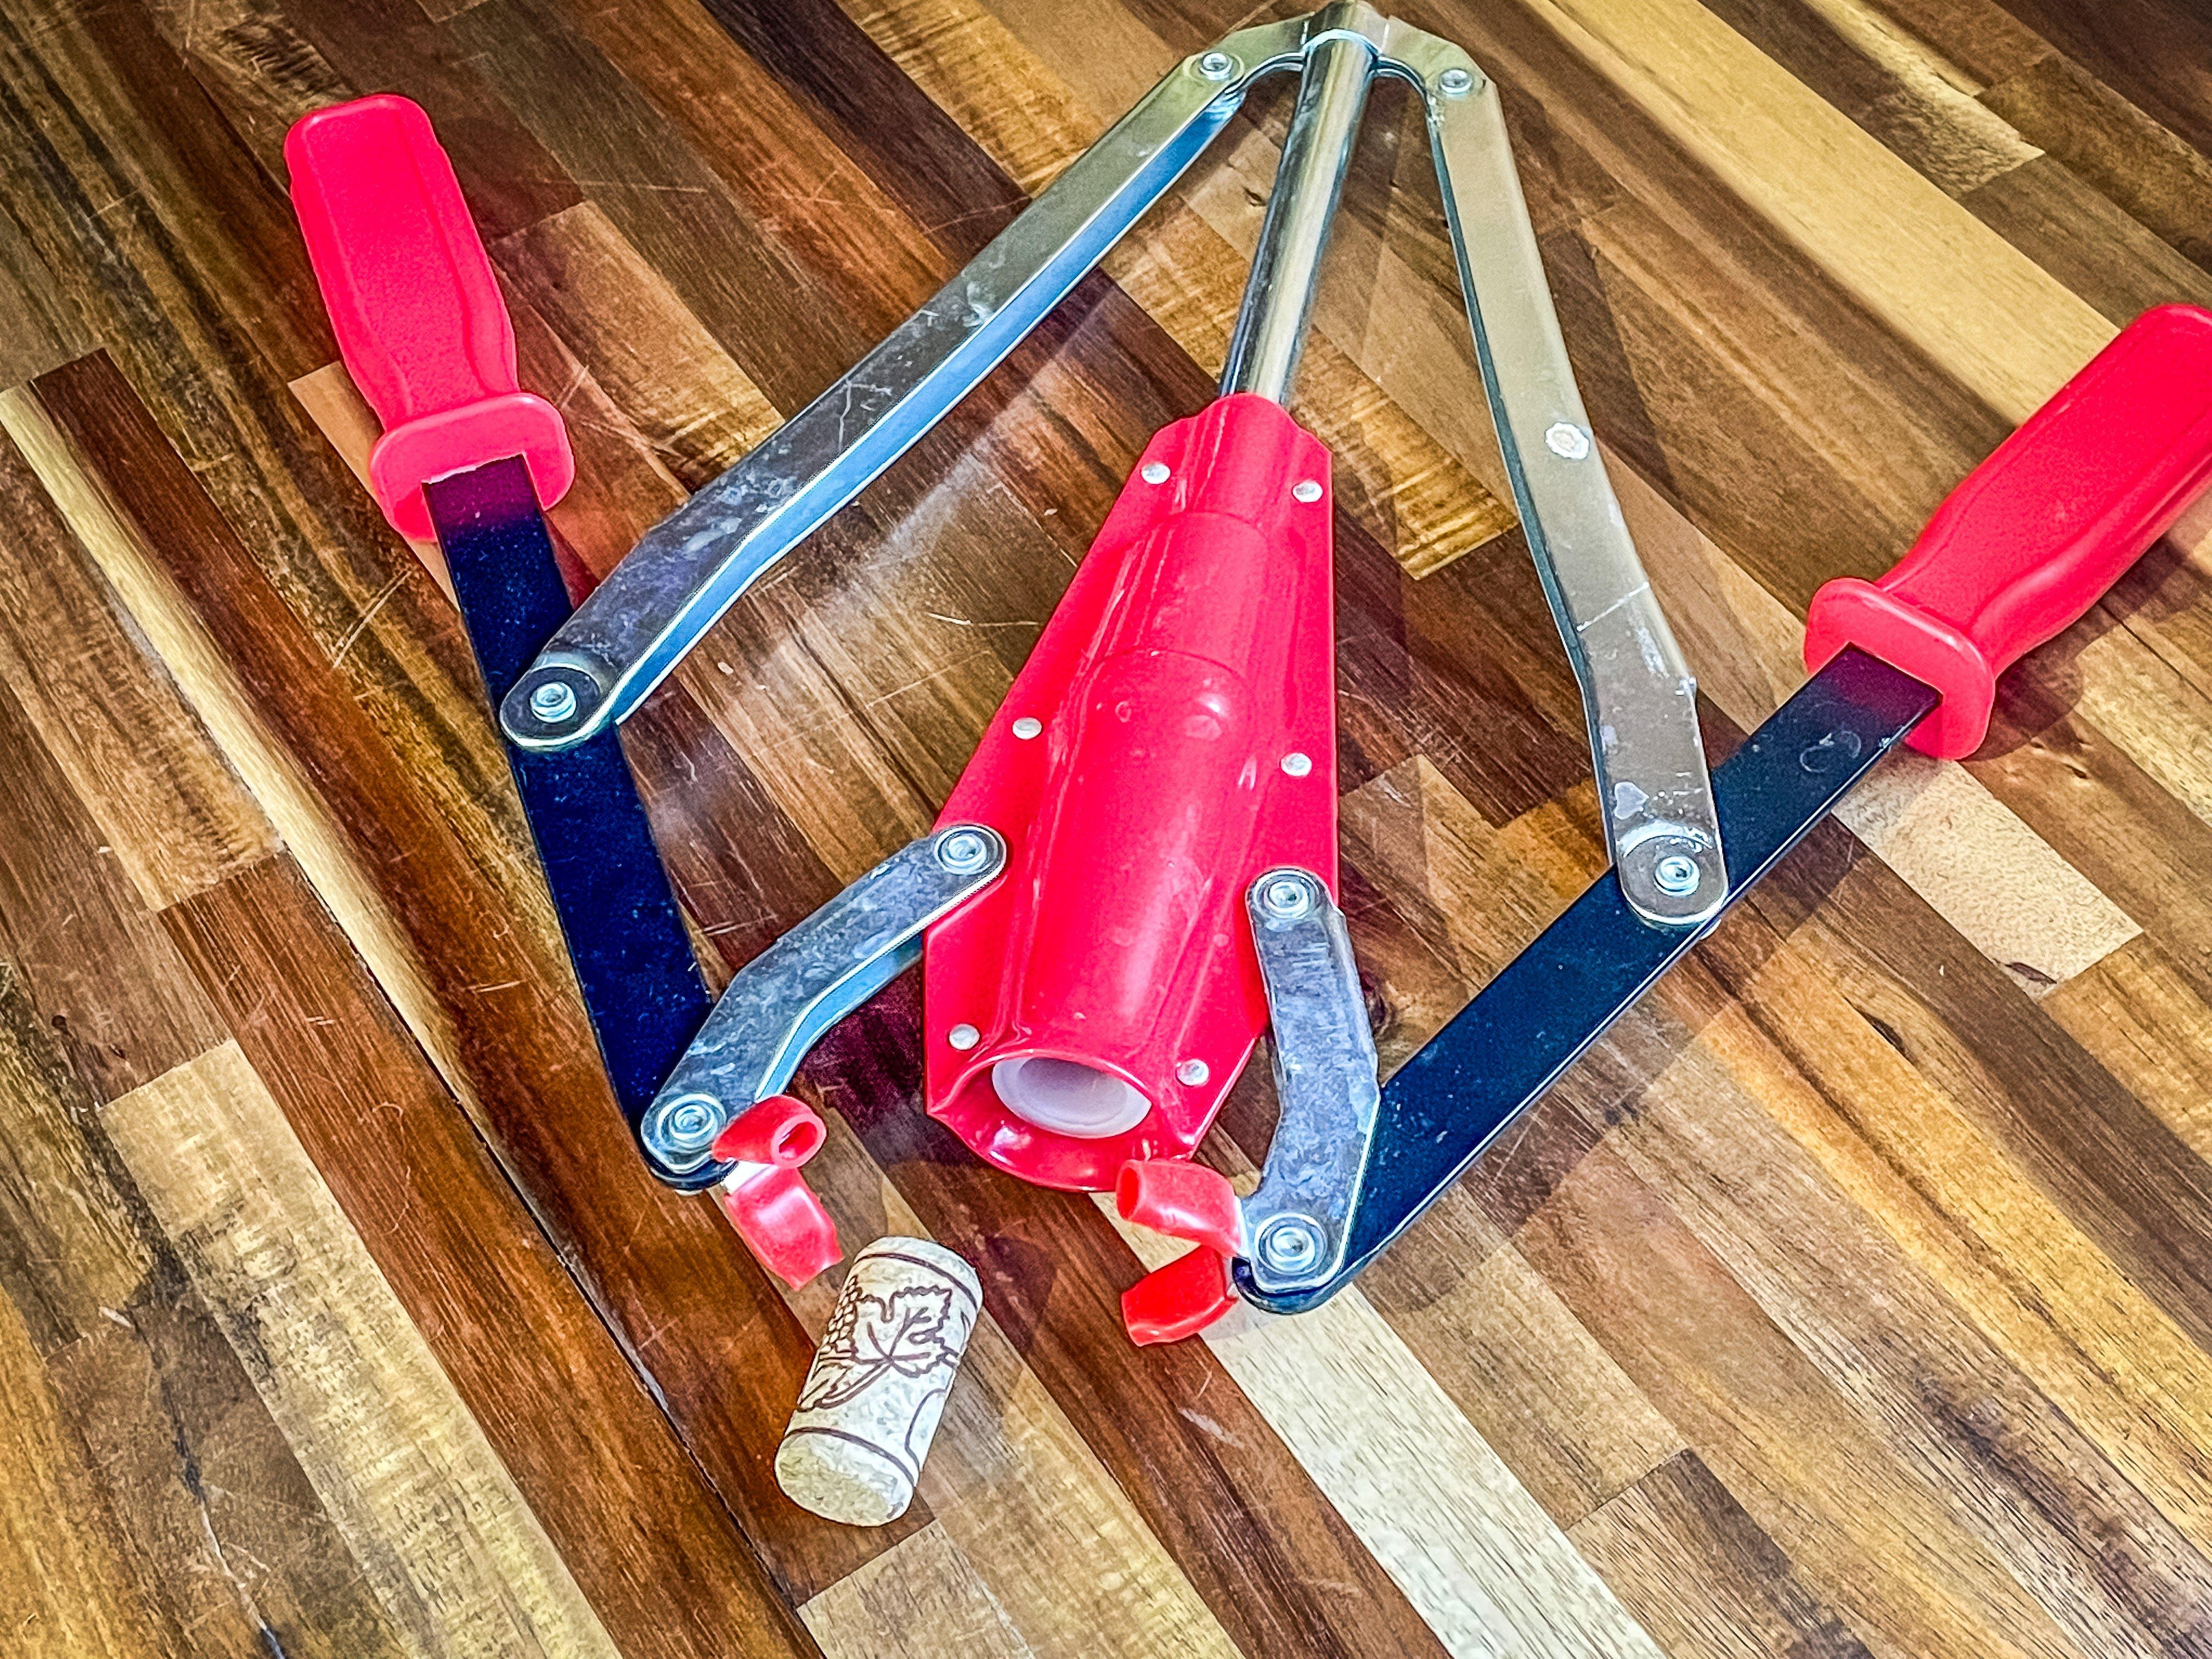
A bottle corker is inexpensive and makes capping your bottles quick and simple.
Cork or cap the bottles and you have made wine. I prefer to serve wild fruit wines lightly chilled.