5 Tips for Glassing Mule Deer
Posted 2025-08-07 by
If you’re heading west this fall with a muley tag in your pocket, follow these quick tips for a smoother hunt
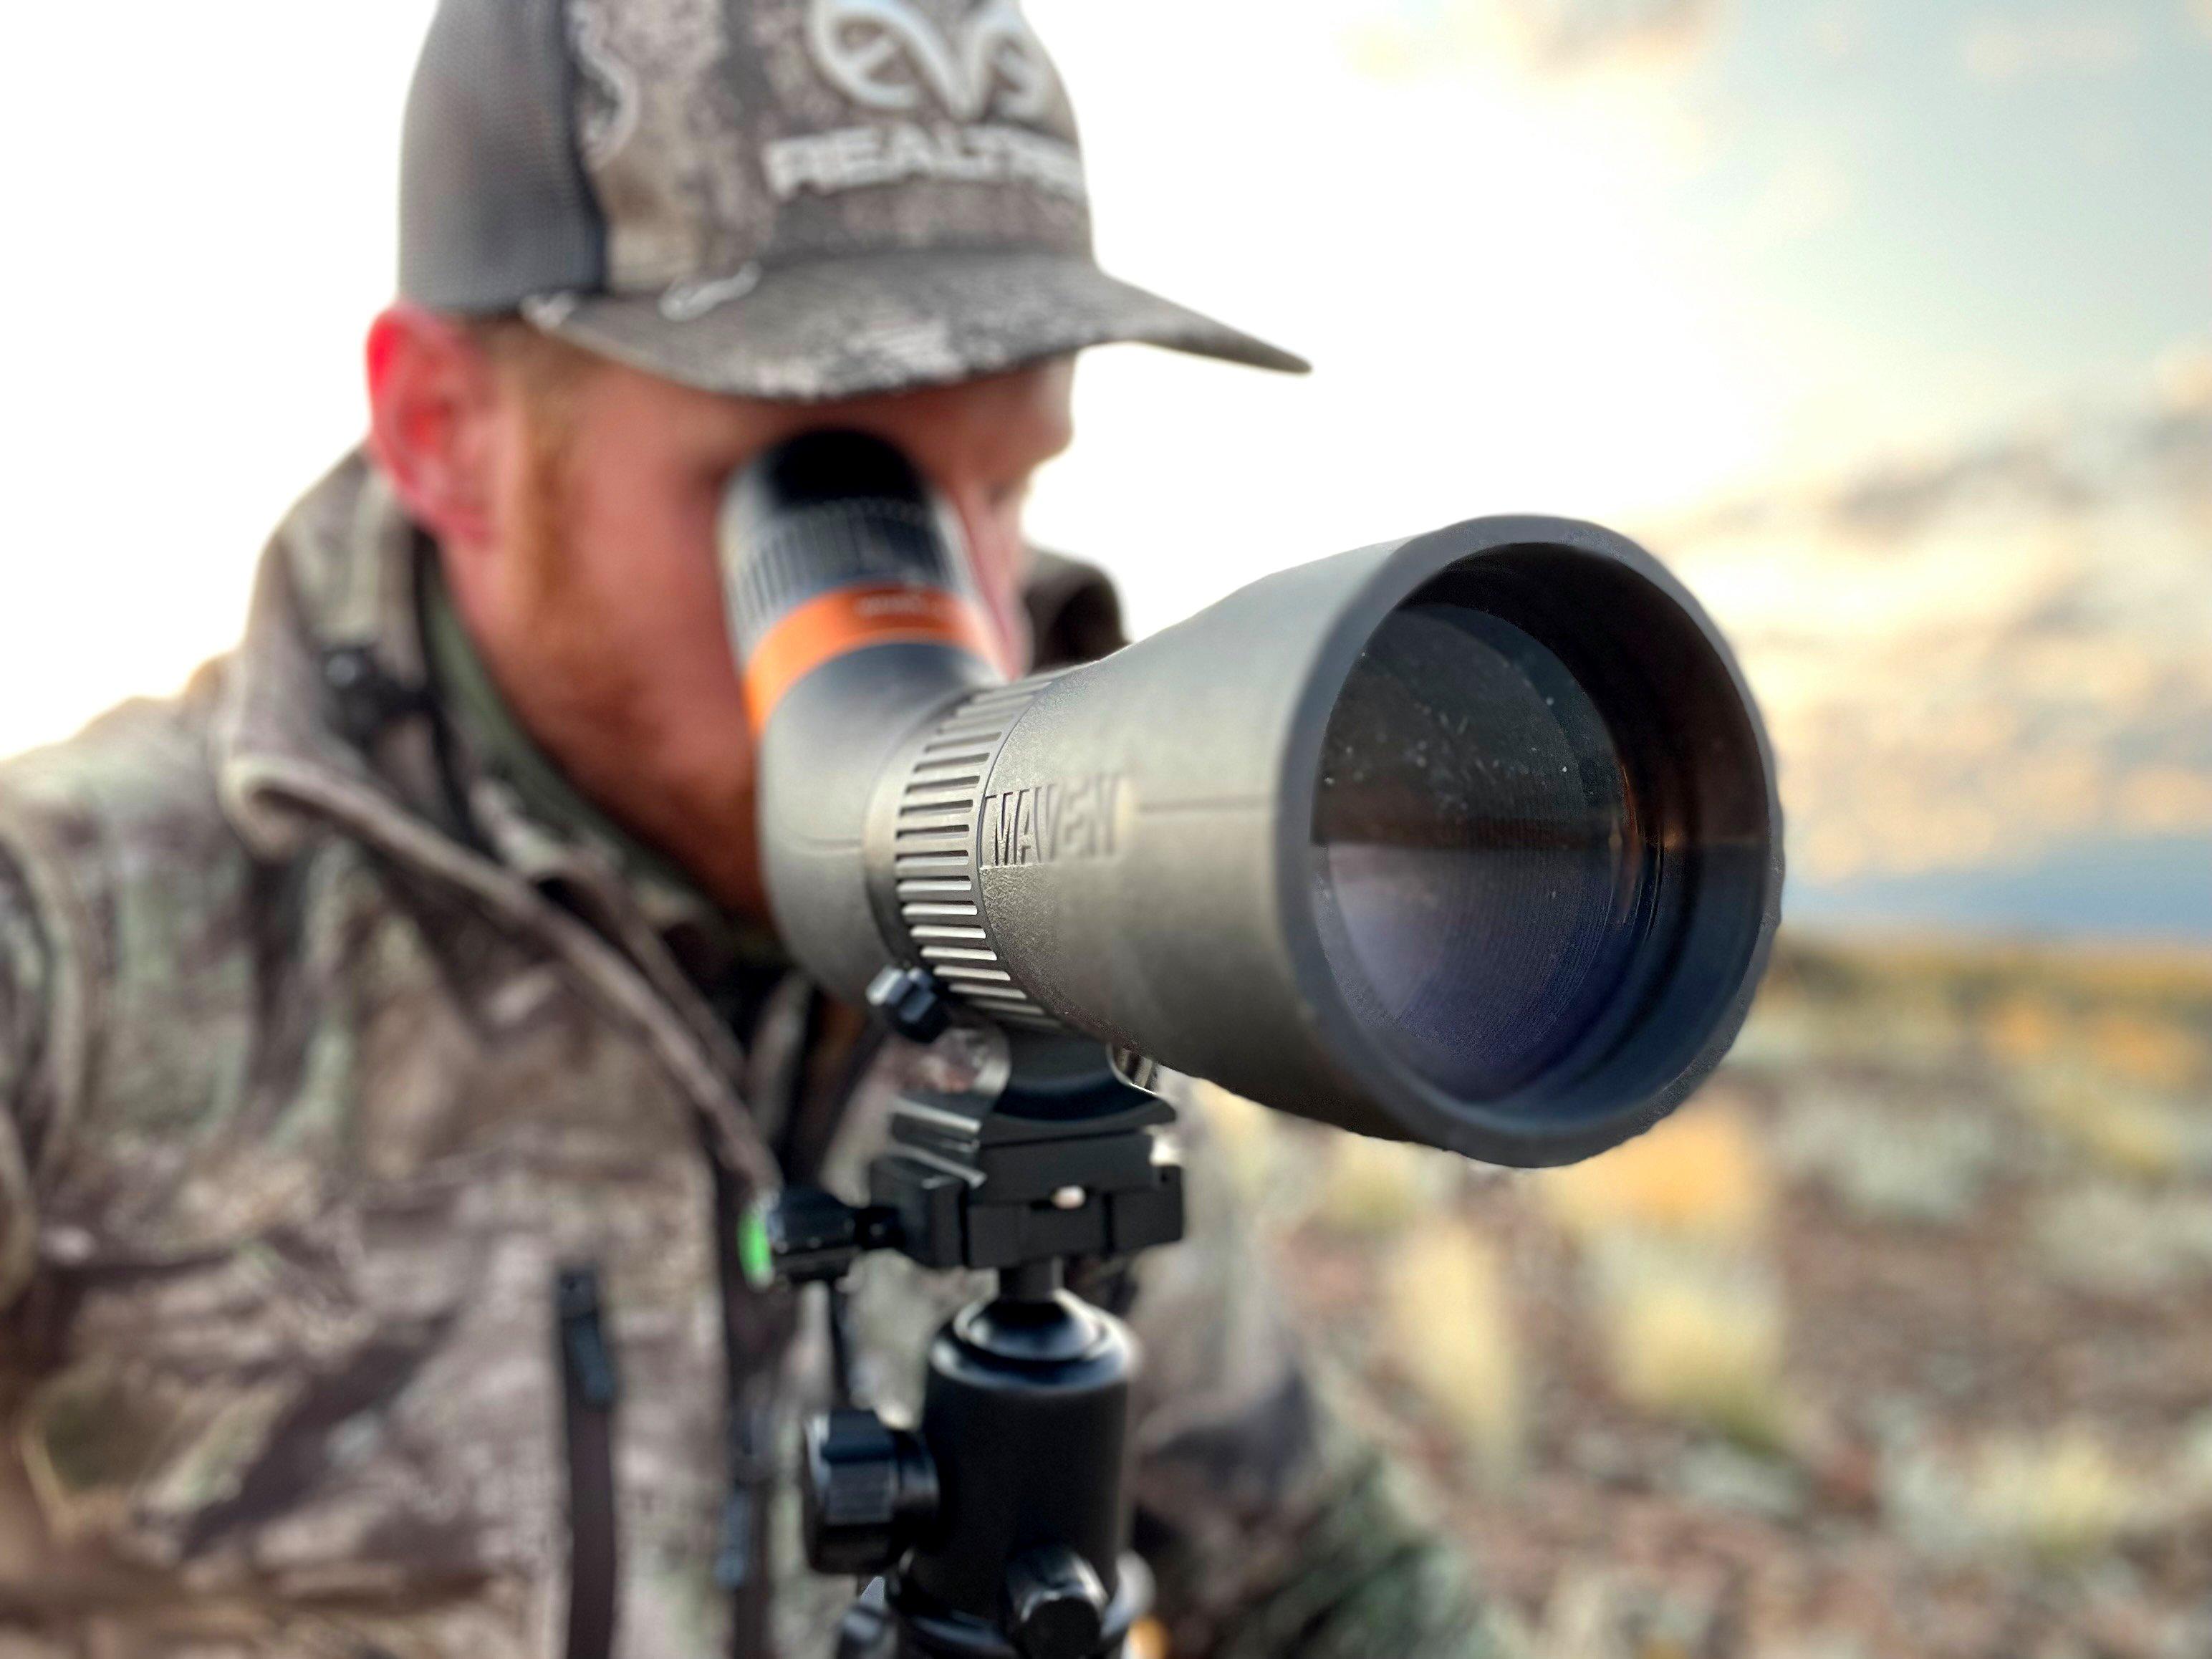
Glassing is pretty straightforward, but to get the best results, extra details matter. Photo courtesy of Darron McDougal.
If you put regular unleaded fuel in an engine designed for ethanol-free premium fuel, the engine will run, but the performance and engine longevity will be lacking. Glassing for mule deer without a strategy is akin to that.
Fundamentally, glassing is simple: Use your binoculars to scan areas of interest until you spot animals, and if you spot nothing, move to the next spot and repeat.
This works OK for some, but how many bucks aren’t you seeing? A more technical approach to glassing can reveal more animals and improve the glassing experience. Here are five tips that can make you more effective at glassing mule deer.
SPOT ANY DEER TO GET A SCALE
Glassing mule deer on the prairies is one thing, but glassing them on the slopes of higher elevations from more than a mile away is tough. It’s easy to scan right over deer because you’re expecting deer to be larger in your glass than they are. Spotting the first deer of the day always seems to help you get a scale as to what you should be looking for, and then you’ll generally have an easier time finding more deer.
Don’t Miss: The 2025 Midwest Deer Season Forecast
WORK IT LIKE A MATH PAPER
If you’re impatient, it’s tempting to scan back and forth and up and down erratically with no apparent strategy. This is a great way to miss deer. I’ve had the best success by slowing down and working the landscape like a math sheet: from left to right, then moving down a layer, and then glassing left to right again. I do this at least a few times during my post to thoroughly cover the area I’m glassing.
LOOK FOR PARTS OF THE DEER, NOT THE ENTIRE ANIMAL
If you’re looking for an entire deer, you might be missing a lot of bucks in your glass. The glimmer of an antler or the twitch of an ear can give away a buck’s location. The white rump of a muley is also a detail to watch for. I’ve spotted countless animals by identifying suspicious white patches in the brush. Be attentive to small details, and fixate on anything that looks out of place until you are sure that it’s not a deer.
Don’t Miss: 4 Ways to Shake Up Deer Season This Fall
STAY A LITTLE LONGER
Lots of hunters don’t glass as many bucks as they could because they move to the next glassing knob. Covering ground can be advantageous during the rut, when bucks are on their feet more, but early season is the time to be patient. Bucks spend tons of time bedded, but they stand several times throughout the day to browse or adjust with the shifting shadows. By glassing from one spot for longer durations — especially if you know the area you’re glassing holds deer — you can spot deer that were previously buried in the brush as they get up for a snack or to shift beds.
STEADY OPTICS EQUAL MORE EFFECTIVE GLASSING
Spotting scopes are always more advantageous than binoculars when sizing up a buck from long distances, but initially spotting deer is generally easier with binoculars because of the wider field of view. The caveat to that is that the binos must be fixed to a sturdy tripod.
Check Out Our Latest Camo Pattern: Realtree APX
Think about it. The easiest time to spot an animal is when it lifts its head, walks forward or runs. When you are moving because your optics are not 100% steady, it essentially disguises the movements that animals make, and it’s more difficult to detect. Install a tripod adapter on your binos. You will have a more enjoyable glassing experience, and you’ll almost certainly spot more deer.