Are You Using These Tips?
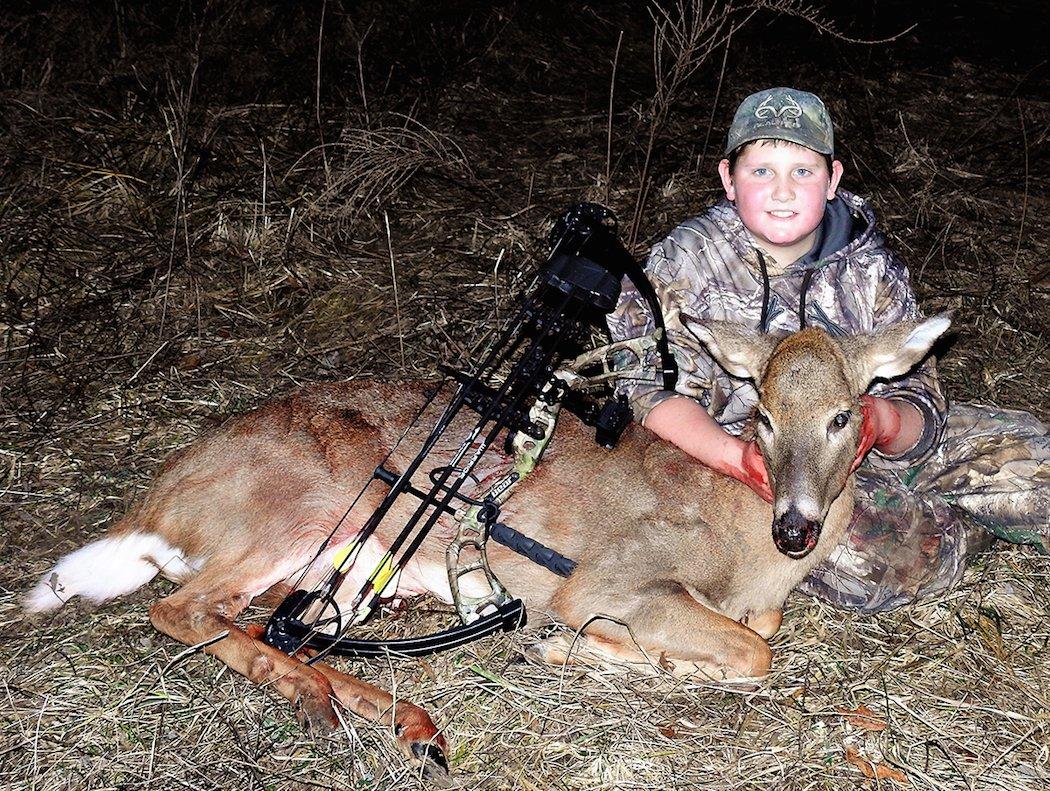
Modern advancements in archery equipment have opened the sport to an entirely new demographic. Long gone are the days of struggling to pull back a high-poundage recurve or older compound in order to get enough power to cleanly take large game with archery equipment.
Today's bows are easier to draw, require less poundage to hold at full draw, and are vastly more efficient than bows of even a few years ago. Because of these technological advancements, both female and youth archers are taking to the field in record numbers.
1. Maximize Energy
The killing power of an arrow is measured in Kinetic Energy. Think of it as the force behind the arrow that drives it. More force equals deeper penetration. You can figure the KE of your arrow using a formula. Don't care for math? Use our handy calculator https://www.realtree.com/kinetic-energy-and-momentum-calculator to figure the kinetic energy for your rig.
According to Easton Archery, the minimum KE required for deer-sized game is 25 pounds. Most modern bows with at least a 30- to 40-pound draw weight and a 24-inch arrow can achieve that. That said, we all know that real-life hunting situations sometimes lead to less-than-perfect shots. Here are a few tips to maximize your low-poundage bow's ability to cleanly take deer-sized game and give you the maximum penetration on a hit that might not be precisely where you wanted.
2. Use Cut-On-Contact Broadheads
Traditional archers have known about this for years. The force required to punch a wide or expandable head through an animal's hide is fairly substantial. While a higher-poundage bow launches an arrow with plenty of energy to penetrate the hide and continue cutting its way through internal organs, low-energy arrows can't afford to lose the momentum needed to punch that style of head through hide.
A narrow, cut-on-contact head starts slicing the second it contacts the animal. These heads slip more easily through the hide, leaving more energy in the arrow to push deeply into the animal. Try heads like the Slick Trick Razor Trick, Magnus Stinger or G5 Montec for maximum penetration.
3. Install a Fall-Away Style Arrow Rest
While it is true that contact style arrow rests only slow an arrow a fraction, every little bit counts when you are dealing with a low-KE arrow to begin with. Since drop-away rests eliminate all contact with the arrow at the moment of release, no speed is scrubbed. Most modern fall-away rests also offer full containment when the arrow isn't being released — a benefit in hunting situations.
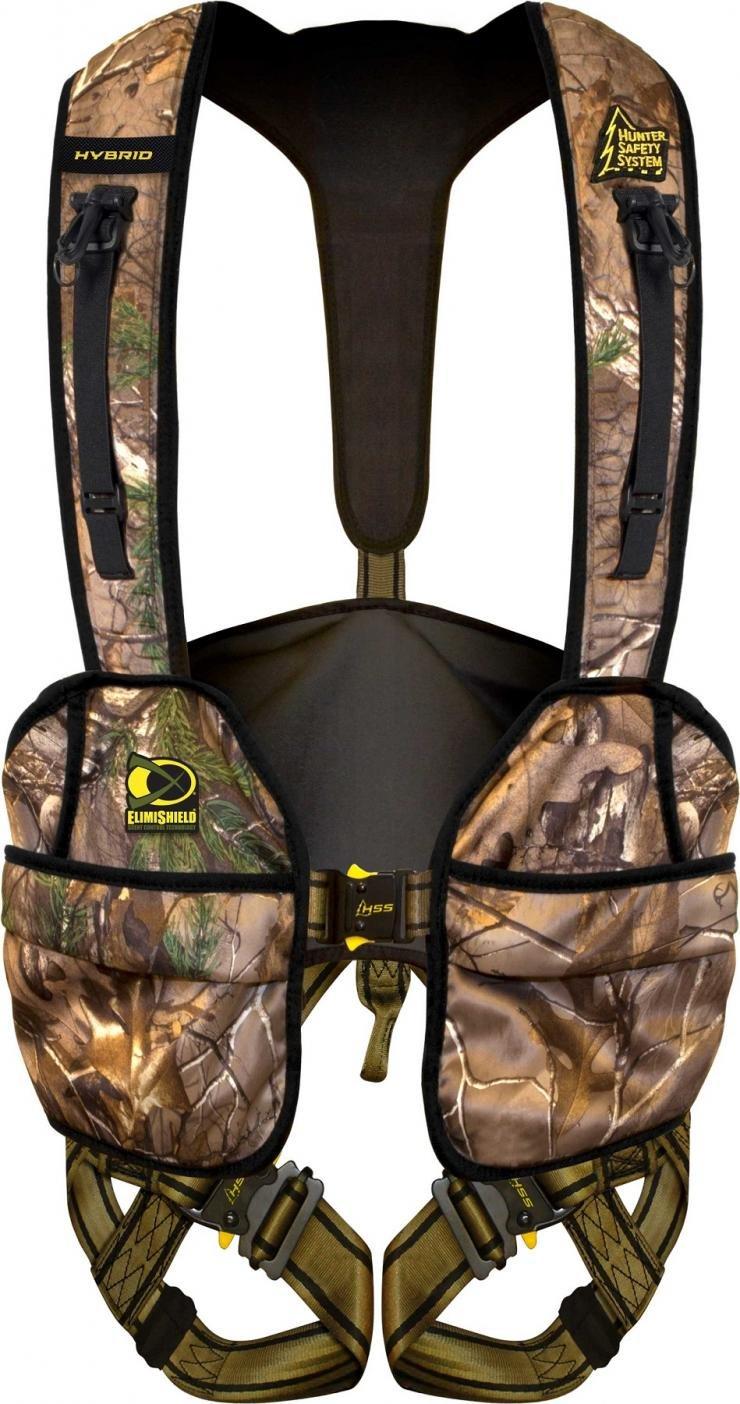
Hybrid Flex Safety Harness by Hunter Safety System
4. Use a Heavy, Low-Diameter Arrow
All other things being equal, a heavier arrow at a slightly lower speed will out-penetrate a lighter arrow at a slightly faster speed. Think of it like this — A basketball zipping through the air is much easier to stop than a bowling ball flying at half the speed. Use a heavy-for-diameter shaft to increase your finished arrow weight. Don't be afraid to leave the arrow a few inches long for draw length. The added weight will increase momentum, and, if they belong to a young archer, might give the arrow a few more months of useful life for a fast-growing shooter.
Along those same lines, pick the skinniest shaft available. The thinner the diameter of the arrow, the less drag put on it as it passes through an animal. Shafts like Easton's Axis and FMJ are perfect for low-poundage hunting bows because they have a thin diameter and thicker walls.
Narrow diameter shafts also cut down on wind drift. An important consideration when shot placement is critical. Remember that, too.
5. Tune the Bow
Arrows need to fly perfectly straight to hit the target with maximum momentum. Any vertical wobble (called porpoising), or horizontally (known as fishtailing), will bleed speed and energy from the arrow. A broadhead that strikes the target perfectly straight will also penetrate much better than the same head hitting the target at a slight angle.
To get perfect flight, make sure the bow is timed and tuned. Check arrow flight by shooting through a sheet of paper suspended several feet in front of your target. A perfectly tuned bow will leave a small, round hole in the paper with the fletching tears centered perfectly over the arrow hole. If your paper is torn in any direction, adjust the rest or nock point to eliminate wobble.
In basic terms, fletching tears above the arrow hole requires a lower nocking point or higher rest. Fletching tears below the arrow hole need the opposite movement in either nock point or rest height. For fletching tears left of the arrow hole in paper, move the rest to the right. Tears to the right get the opposite treatment. If you can't get perfect flight on your own, then a trip to your local pro shop is in order.
6. Pick Shots Carefully
With any archery equipment, shot placement is crucial. But with heavier, faster equipment, there is more margin for error. Shots with low-poundage equipment should be limited to broadside or quartering-away deer. While low-energy arrows might completely penetrate a deer's lungs on a broadside shot, they probably won't blast through heavy bone or muscle. Stay back off the shoulder blade and avoid quartering-to shots. Spend plenty of time studying the anatomy of the game you intend to hunt so that you will know exactly where to aim your arrow for maximum penetration.
7. Get Close
Probably the most effective way to get maximum penetration from a low-poundage bow is to keep the shots close. I limit my kids to 20 yards and under on archery shots at deer. Besides maintaining near-maximum KE at those distances, close shots also cut down on the chance that a deer might jump or move before the arrow arrives, leaving the archer with a less-than-perfect hit on a shoulder blade or through heavy shoulder muscle.
Treestands should be positioned fairly low in the tree when hunting with low-poundage equipment. A stand over 15 or so feet high narrows the kill zone and increases the amount of distance the broadhead has to travel inside the deer for complete penetration.
Even better than a stand, a well-placed ground blind offers level shots at game, allowing the maximum penetration when the arrow enters the animal. If possible, position the blind well in advance of the actual hunt date so that the deer in the area are comfortable around it and not as likely to be on high alert. When positioning ground blinds for my family, I try to get them out at least three weeks before opening day, and I try to disturb the area as little as possible during the time between installing the blind and the hunt date.
Don't Miss: 4 Tips for Youth Bowhunters
Are you a bowhunter wanting to learn how to accomplish your goals? Check out our stories, videos and hard-hitting how-to's on bowhunting.


