Off-season options for improving security cover on your hunting grounds
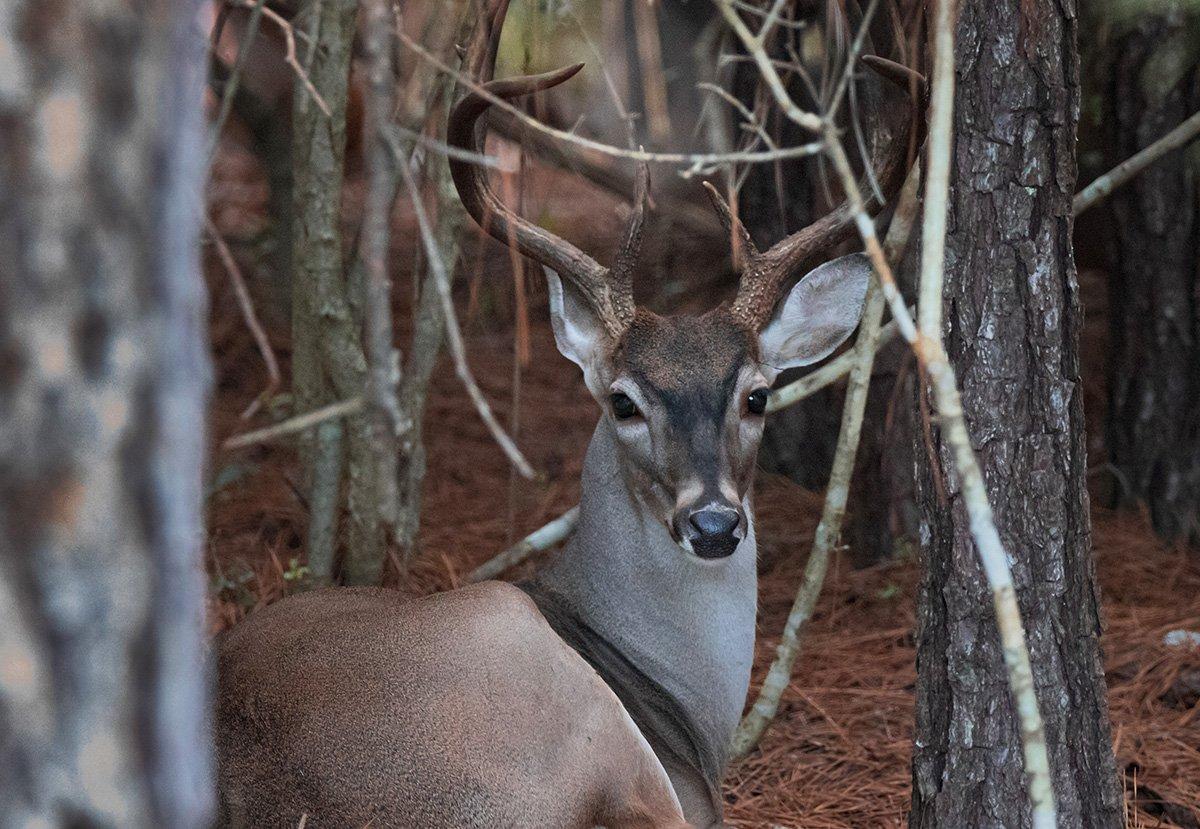
We all need a place to lay our heads after a long day. The same goes for big, mature bucks. But not all private land has adequate bedding cover to hold deer during legal shooting hours. Fortunately, in many places — and for many budgets — that can be fixed. The off-season is the perfect time to get to work.
Prelims
First, understand a deer's basic needs — food, water, bedding and space — before establishing a habitat strategy. It's better to create multiple small bedding areas than one big one. Mature bucks need space, and during most of hunting season likely won't bed close to other older deer. Theoretically, creating multiple smaller bedding areas increases the carrying capacity of mature deer.
Setting up bedding areas in a way that you can hunt around them is key, so keep staging areas in mind as you build beds. These are transition zones between bedding areas and food or water sources. They are good places to hunt. Create them by establishing new beds in a linear path with transition areas, food and water.
Once you spend some time identifying the resources on your property and laying out future bedding and hunting areas, it's time to get to work.
1. The Big-Guns Gambit
Cost: $130 (per hour) / $1,040 (per day)
Tools: Dozer, track loader or backhoe
Calling in excavators isn't cheap, but it's the fastest way to make large-scale habitat changes. Plus, you invest little sweat equity when someone else does the heavy lifting for you.
Before starting, walk through the bedding-areas-to-be and note undesirable trees that aren't food sources for deer. Sweetgums, spruce, poplar, birch, sassafras, pine, cherry and other low-value wildlife timber can go. Keep all hard and soft mast trees that benefit deer. Put bright-colored marking tape on these and tell the contractor to only remove unmarked timber. If you can't identify tree species, bring in a biologist or forester. State agency personnel will often do this for free.
Then, call in the big guns. An excavator will use heavy equipment to push over all undesirable trees in the designated area. Removing these trees allows sunlight to hit the forest floor, and new, early successional growth will emerge over time. That new growth will become the thick, nasty stuff bucks like to bed in.
Before your guy gets to work, tell him how you want felled trees positioned. You might want tree trunks stacked in a certain direction to block views and direct deer traffic. Also, you might want to pile some of them along bedding area and food plot perimeters to hide deer from prying eyes. Red cedar trees (not white cedars) are perfect for this. Leaving some of them pushed over within the bedding area for deer to bed by is great, too.
2. The Chainsaw Massacre
Cost: $0 (if you own the gear) / $375 (if you don't)
Tools: Chainsaw and equipment, plus chaps, helmet and eye protection
It starts with the chainsaw itself. When people get hurt with a chainsaw, it's often because they've gotten tired and sloppy. Smaller saws are lighter and easier to handle, especially for this chore. Knowing that, strap on your chaps and put on your helmet. It's time to hinge-cut. This is a much different cover-creating option than an excavator. Excavators push over trees to open up the forest floor to sunlight. Hinge-cutting does that, too, but it keeps the downed tree alive and growing, which creates more food and cover than just a dead log.
Don't hinge-cut extremely invasive trees, such as sweetgums, though. It's best to cut those down completely and kill the stumps. Avoid hinge-cutting food-producing trees, too. Good ones to hinge-cut include most native, non-invasive, non-food-producing species. Also, make sure you aren't cutting valuable timber that you can make money on. If you have a lot of really mature timber, simply logging the area will create new early successional bedding habitat. So, for this method, cut low-value trees, and focus on small- to medium-sized ones that are no larger than 10 inches in diameter.
Some people hinge-cut as high on the trunk as possible, but that's dangerous, especially for shorter people. Never make the cut above chest height. Keeping the saw lower gives you more control over it, which helps manage kick-back.
To reduce risk, fell the tree in the direction where it's already leaning. You want the tree to gently fall, though. No violent crashes. Slowing down the fall and sawing through as little of the trunk as possible is the goal. Take it slow, but generally, you'll have to saw two-thirds to three-quarters of the way through the trunk. If it still doesn't fall on its own, use a wedge and hammer to safely bring it down. Remember, leave as much of the cambium layer intact as possible to keep the tree alive so nutrients continue flowing throughout the tree. If done correctly, this will create green growth for several years to come, providing additional food and cover.
Cutting any tree can be dangerous, even when implementing safe practices. Take a tree-cutting safety course before making the first cut. Once educated, make calculated decisions, remain vigilant, and exercise caution at all times. And always hinge-cut with at least one buddy present.
3. The Hatchet Option
Cost: $200
Tools: Hatchet, eye protection, protective clothing, spray bottle, herbicide
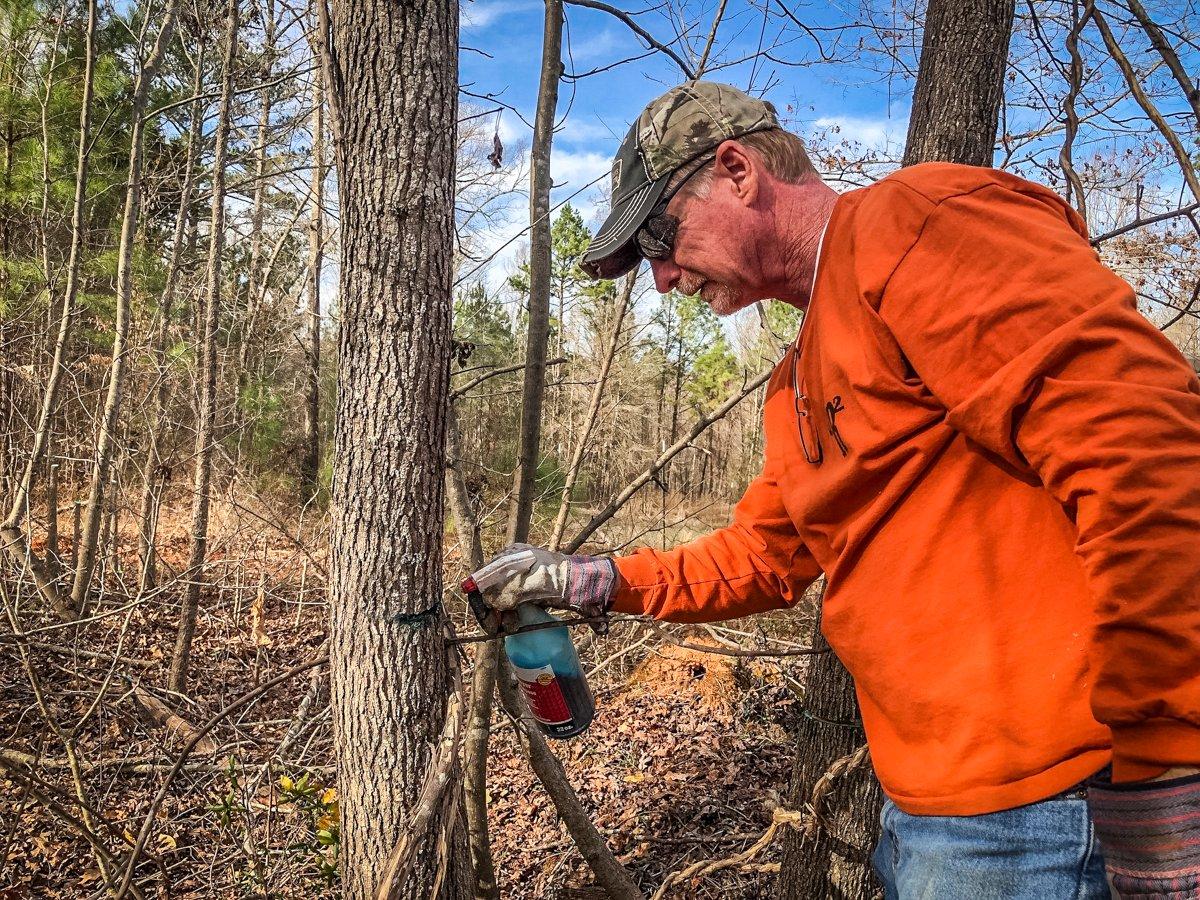
The hack-and-squirt method takes longer to change the habitat, but it is a cheaper (and safer) option than hinge-cutting. This is a popular technique among many land managers in summer, fall and winter. A few disclaimers: Don't use this method in the spring, when excessive sap production can dilute chemical effectiveness. Check the extended forecast, and only use this technique when no rain is forecast. Remember to wear protective gloves, glasses and clothing, too. If chemicals make contact with your eyes or skin, follow the label's instructions for the proper response and treatment.
Various herbicides can work for this but among the most popular include Garlon 3A, Arsenal AC, Dicamba and 2-4-D. These are the most commonly used chemicals for trees. If you're unsure of which product to use, contact your local ag extension agency. They'll point you in the right direction and might even take a trip out to your property to aid in the process.
Once you've selected the right herbicide, use a hatchet, axe or machete to make an angled, downward cut into the tree trunk, deep enough to cut through the bark and cambium layer, and to cup herbicide without it spilling over. one cut and a squirt or two will get the job done on most small-diameter trees, if you make a good cut. Larger trunks might need multiple cuts and additional spray.
4. The Budget Blueprint
Cost: $5
Tools: Gloves
Many don't have the budget or permission to make large-scale habitat changes to a property. In those instances, this plan is still a good bet. Gather all the forest debris and brush that you can find. Cedars are prime candidates. Drag them into the area you'd like deer to bed. Place downed trees or pile treetops in V patterns, but leave an opening at the point of the V. This shields deer on two sides and provides two escape routes on the other two.
Create as many of these V-shaped beds as possible, but don't position them too close to one another. Space them about 5 to 10 yards apart in clusters to attract doe groups, which in turn attracts bucks during the rut. For buck beds, position single Vs in areas that offer the best concealment, with good views and wind advantages for the deer.
Don't Miss: 8 Bedding Habits of Mature Deer
Check out more stories, videos and educational how-to's on deer hunting.


