Coyote Trapping: How to Make Waxed Dirt
Posted 2025-01-28 by
Keep your traps firing in all kinds of weather with this simple, inexpensive trick
Winter trapping seasons coincide with rainy seasons in the eastern United States, especially as you get into February in the Southeast. Those rains and the constant mud they bring, paired with frosty mornings and warm afternoons, can affect a trap’s reliability. It sucks to put in the work required of a trapline and then see a big coyote print in the mud right on top of the pan of a trap that failed to fire.
DON’T MISS: 10 Coyote Trapping Mistakes Beginners Make
Trappers have tricks for overcoming this, including bedding their sets with peat moss and pan covers, but waxed dirt has been the game changer for me. Using it, I’ve caught coyotes after ice storms and even in traps that were under standing water, which sometimes happens when you’re setting on dirt trails. Waxed dirt sheds moisture away and insulates the trap, preventing mud from forming and keeping a trap’s springs, levers, and jaws moving like they’re supposed to.
You can buy pre-mixed waxed dirt from trapping supply outlets, but it’s a lot cheaper to just buy bagged flaked wax and make your own. The wax is also available from trapping supply shops, and a 5-pound bag is usually enough for me to make enough dirt to last through the trapping season (though if you’re trapping on a larger scale, you will obviously need more).
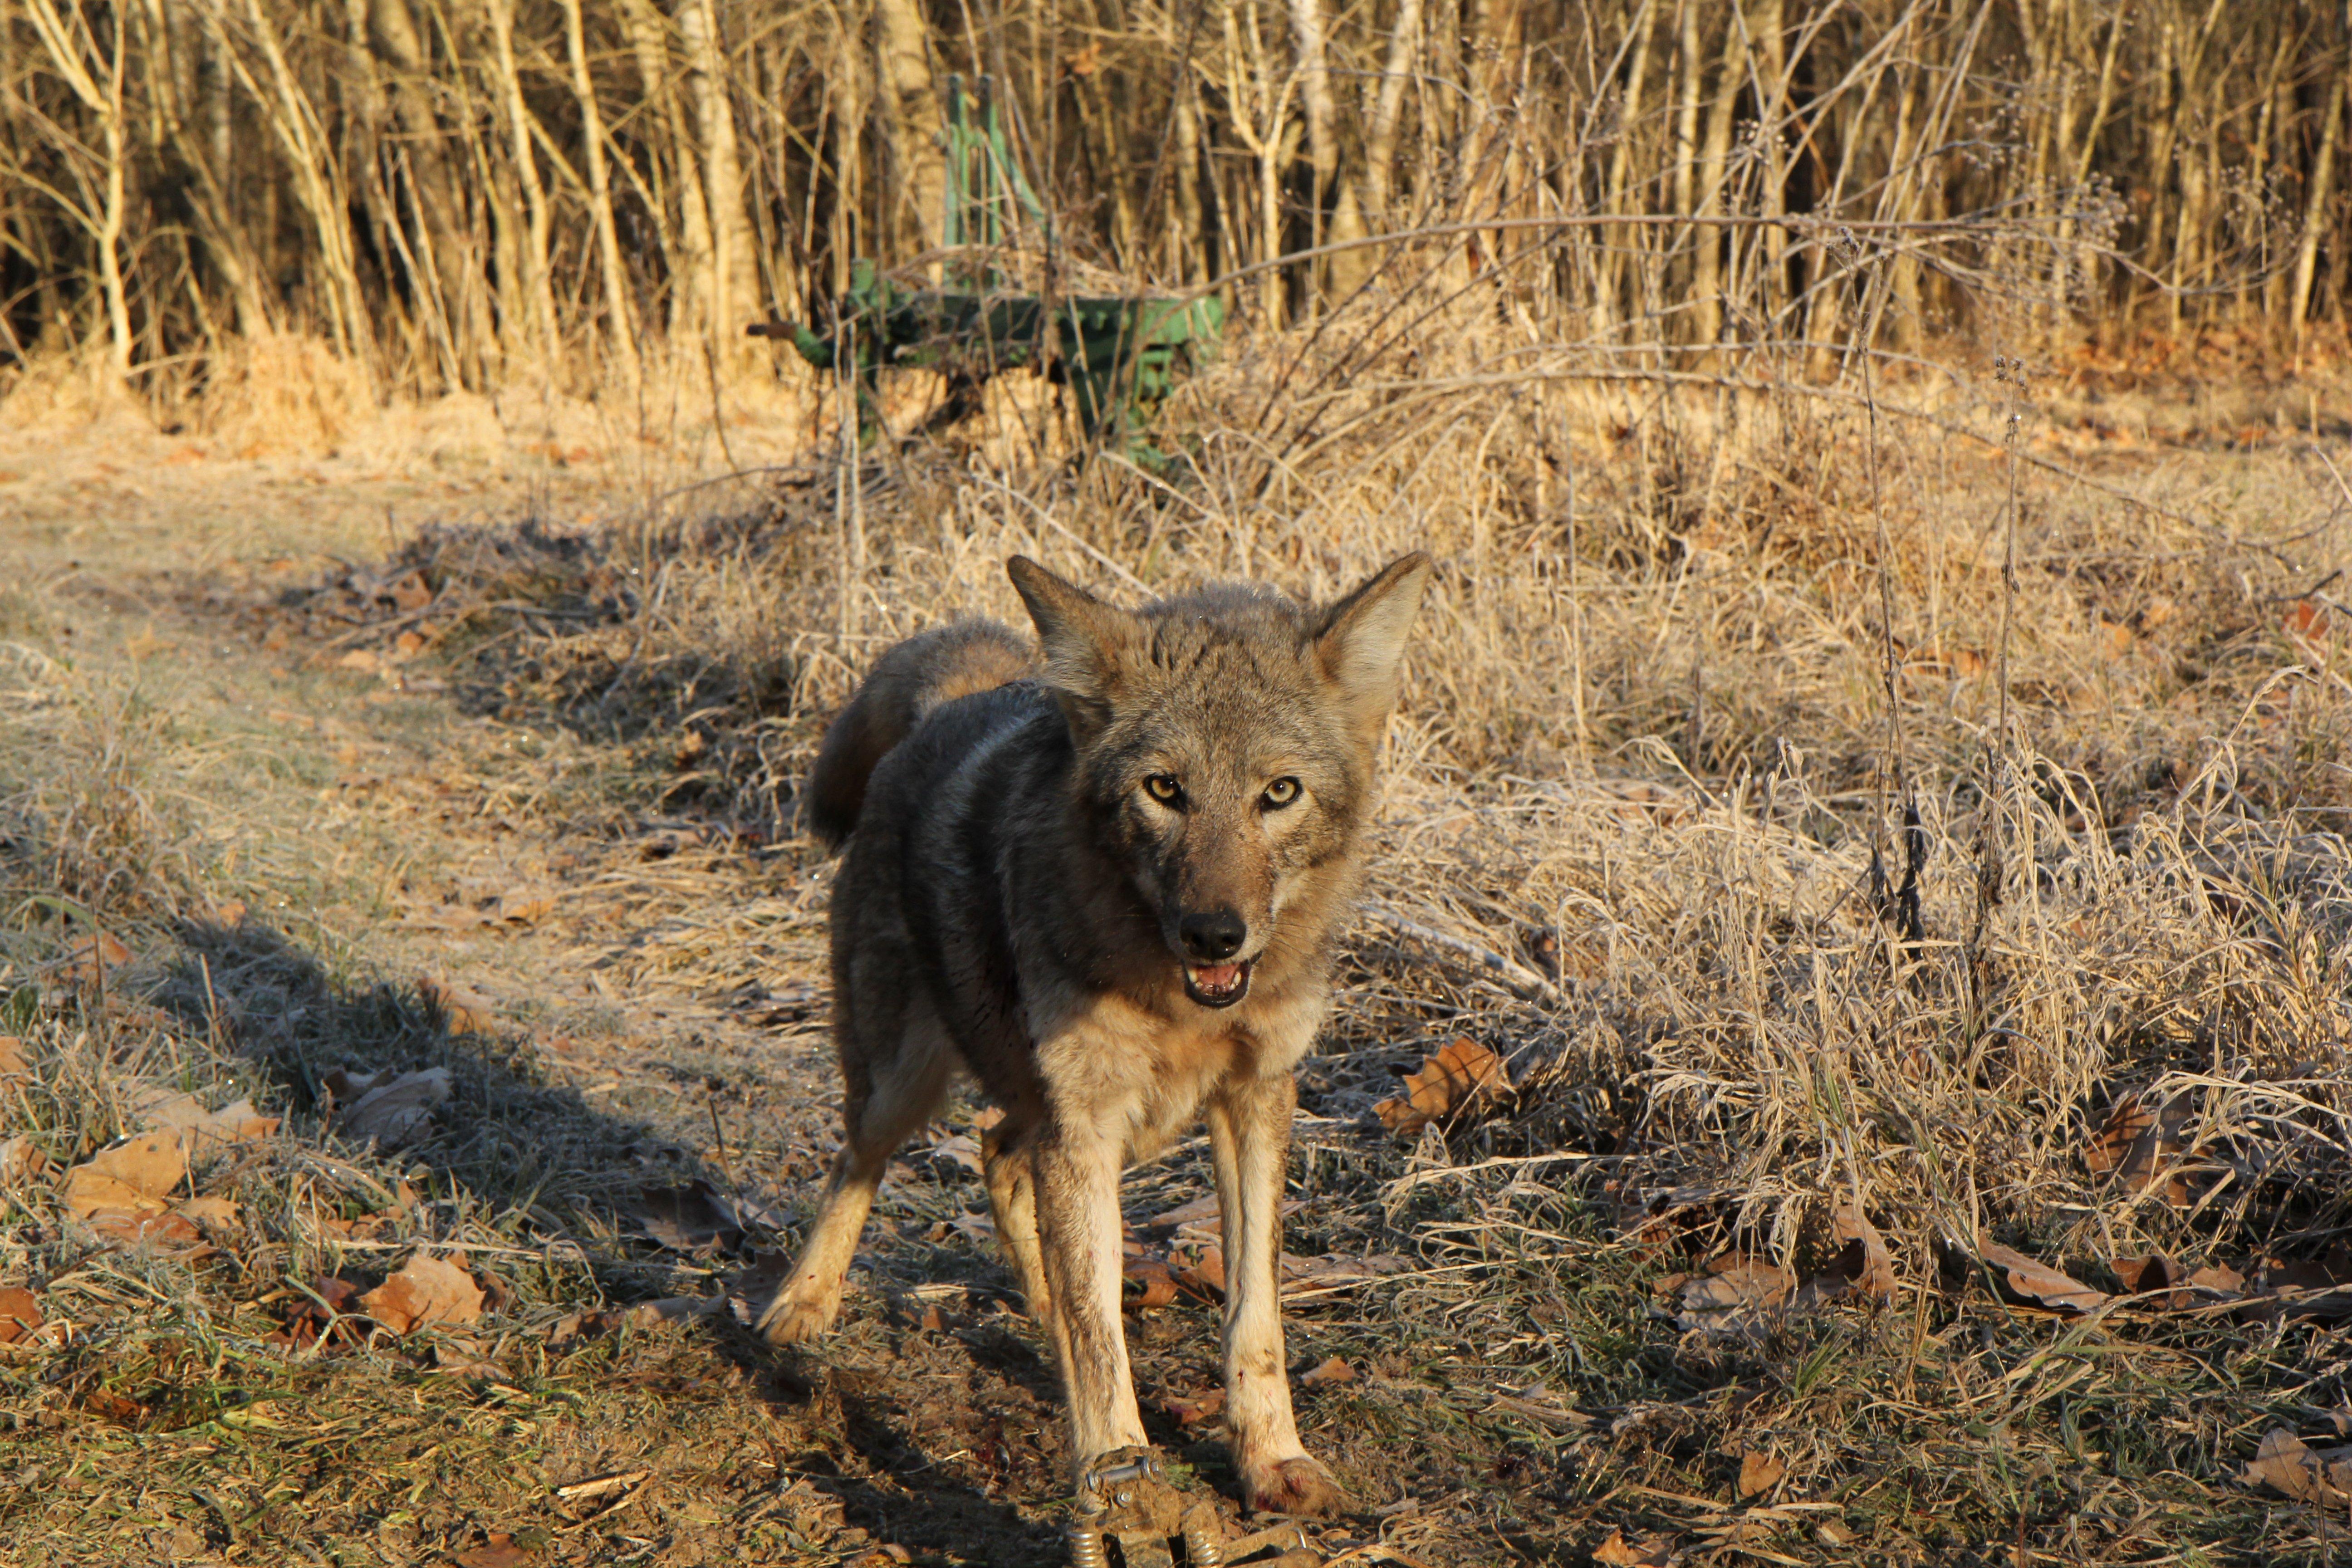
Waxed dirt keeps traps firing regardless of the weather conditions.
GET THE DIRT
You need dry, fine dirt for waxing, and the best of it comes from covered areas such as old barns, sheds, and under bridges. If groundhogs or armadillos have been digging and burrowing in the stuff, all the better. The fine, loose soil they kick up during their destruction is perfect. Be sure the dirt is clean (no oil or chemicals) and dry. Bring a 5-gallon bucket and your sifter, and sift away rocks and debris from the dirt a shovel-full at a time. A mostly full bucket will last me for about a month of running 15 coyote sets, accounting for remakes.
DON’T MISS: How to Make a Dirt-Hole Set for Trapping Coyotes
MELT THE WAX
I pour the dirt a couple of gallons at a time into a metal wash tub, and put that over a propane burner (like a fish cooker). I sprinkle in the wax and mix it thoroughly by hand. A couple of cups of wax per tub of dirt is usually enough to do the trick (you can use a little more or less, but too much wax will cause the dirt to clump together after it cools).
After mixing the dirt and wax initially, light the burner, turn it to low heat, and begin stirring the dirt. You can do that by hand while wearing leather gloves or with a tool (the trowel on my Ground Hog trapping hammer is just about perfect). Keep the dirt moving and off the bottom of the wash tub so it doesn’t burn. You’ll notice a little steam and darker areas in the dirt as the wax melts; it won’t take long. Continue stirring until the entire tub of dirt is just a bit darker than it was, which is your cue that the wax has thoroughly coated everything. You might need to add a little more wax as it melts to get a good mixture. Plan on the process taking about 10 minutes, to heat and mix a couple of gallons of dirt.
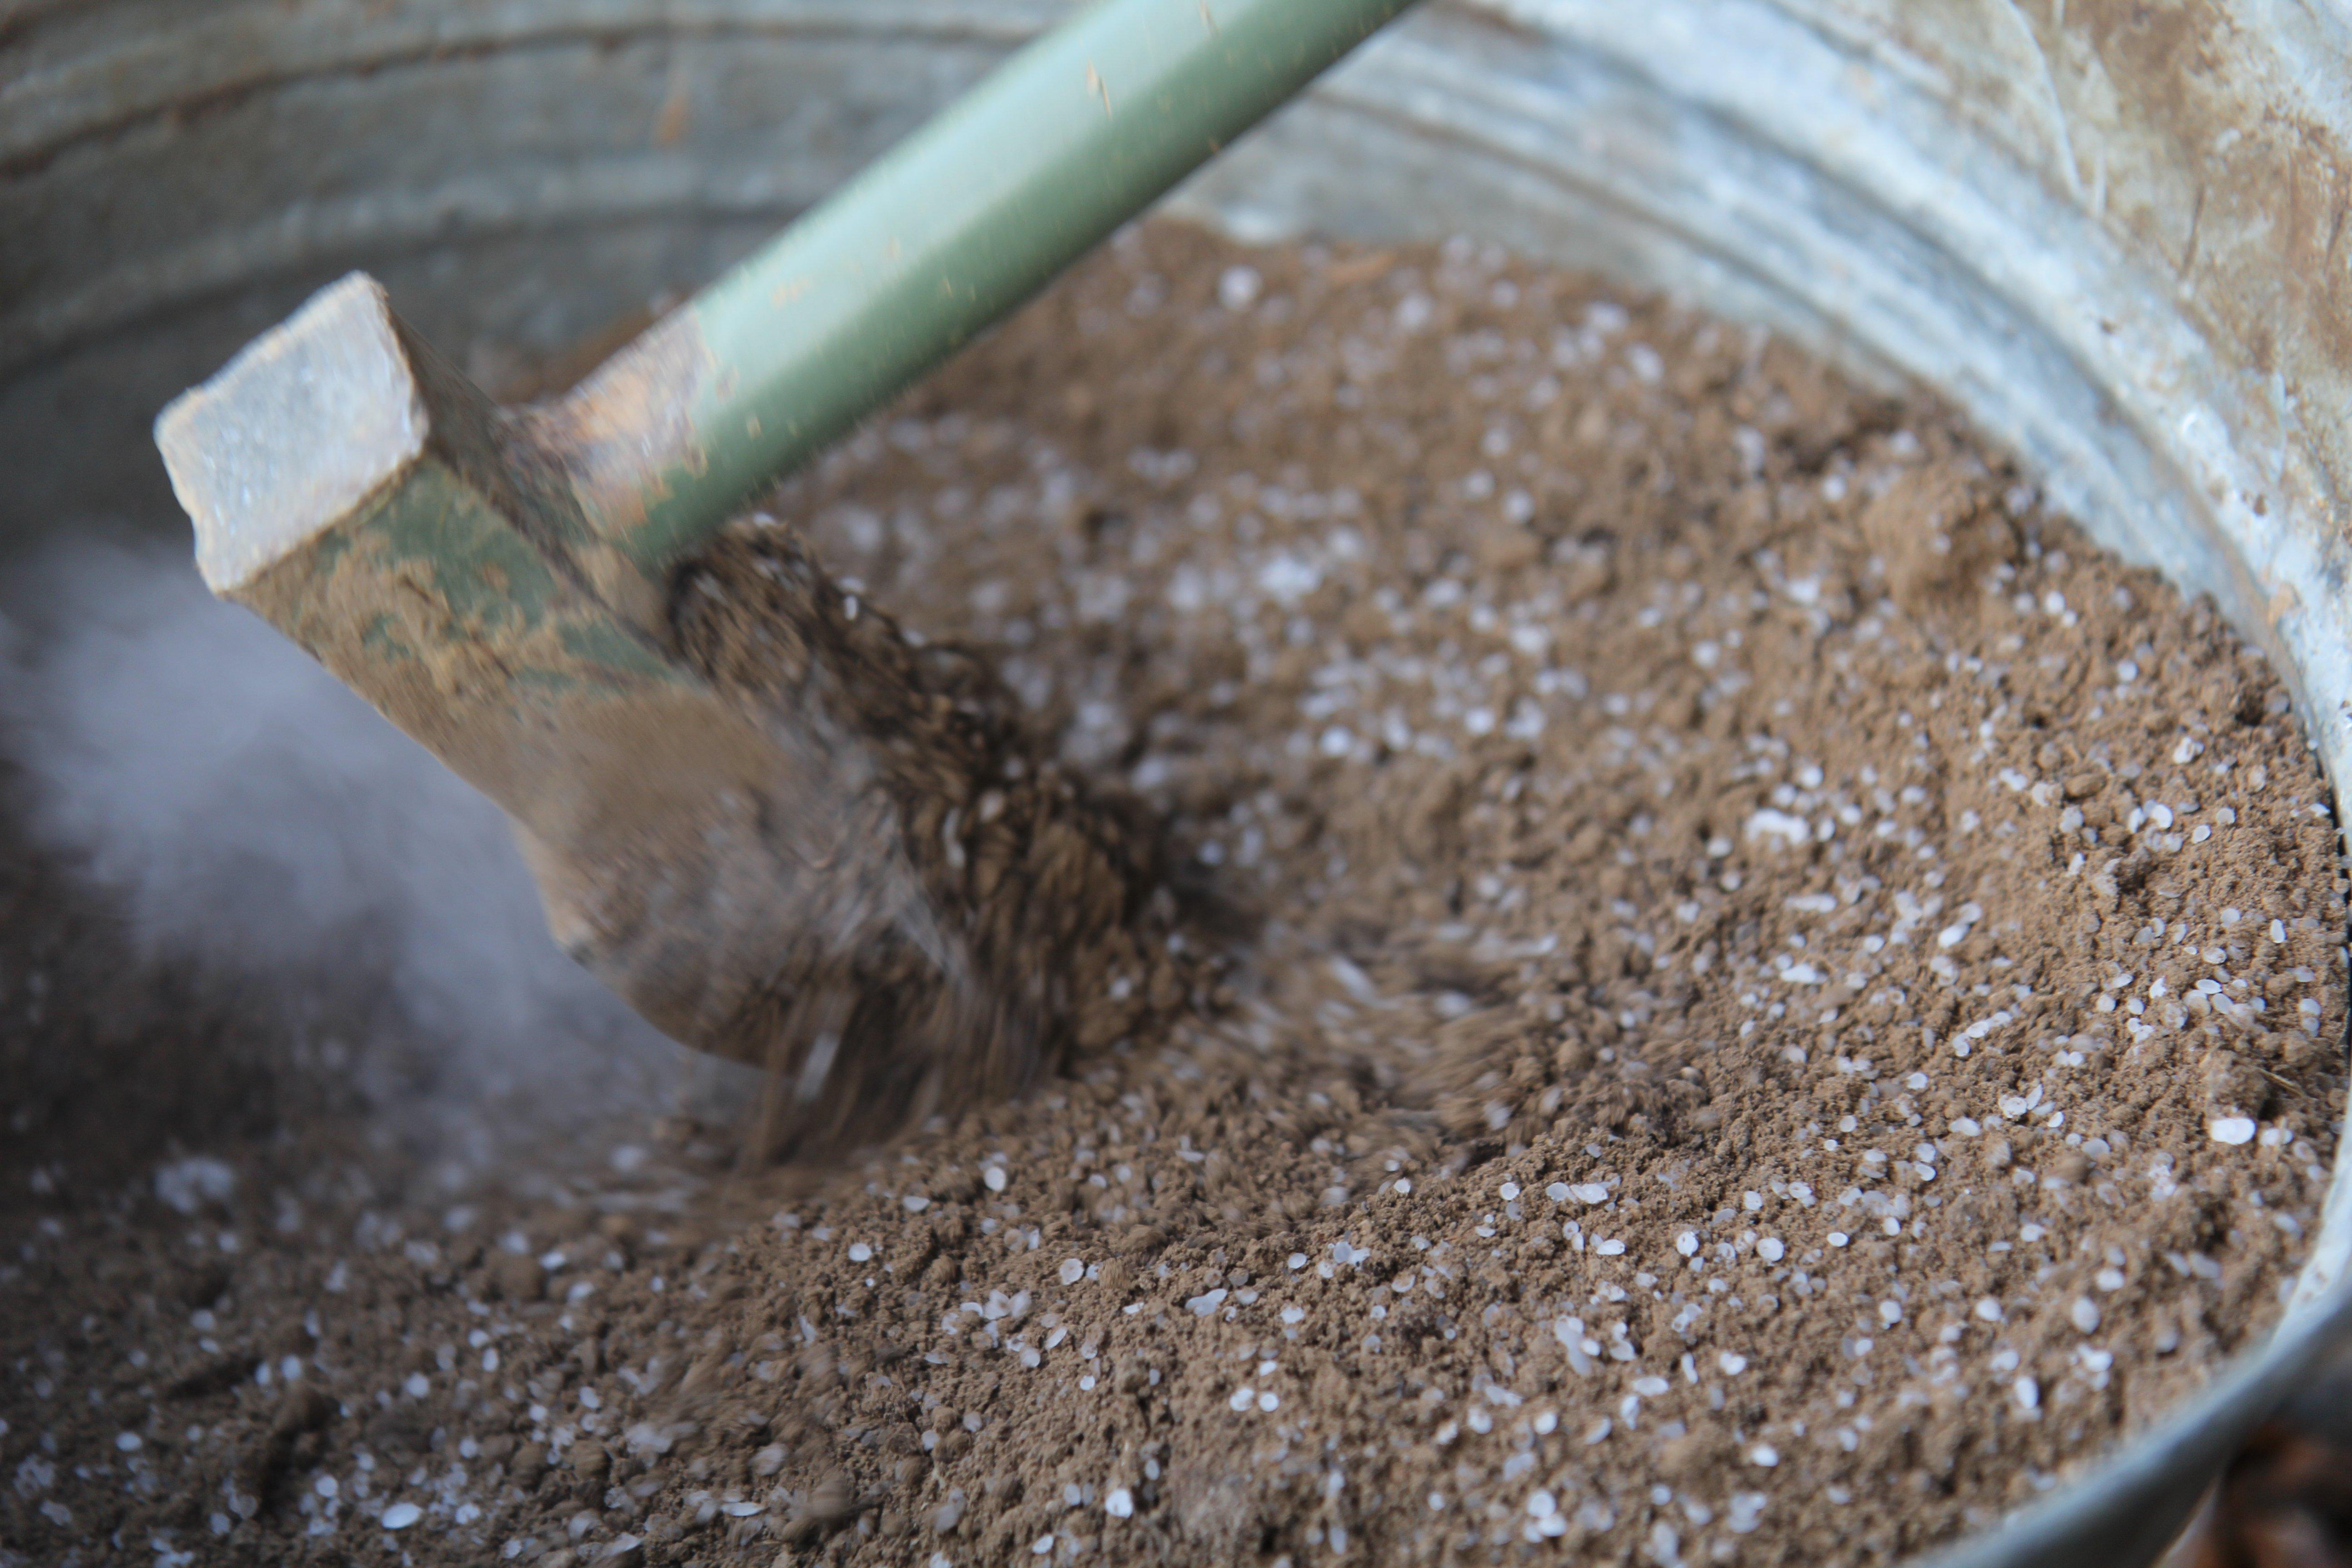
Make waxed dirt by heating flake wax into fine dirt in a metal wash tub over a propane burner, mixing constantly as the wax melts.
PUT IT TO WORK
I like to then shake the “cooked” dirt out into a clean, separate container to cool, and after it does, I store it in gallon-sized Ziplock bags to bring onto the trapline as I need them. Use the waxed dirt to sprinkle over the trap as you’re finishing your setup (see How to Make a Dirt-Hole Set), and be sure to break up any clumps of dirt and wax you find (there shouldn’t be much if you’ve mixed everything properly).
All that done, you can rest easy knowing that your traps will work as intended, even if you get a toad-strangling February rain.