
Use frontier-era technology to make your next batch of sourdough biscuits
Garlic and Herb Dutch Oven Sourdough Biscuits
20 Min
Prep Time
30 Min
Cook Time
Medium
Difficulty
Imagine packing everything you would need to start a new life in a distant land into a small ox- or mule-drawn wagon or even a hand cart, and then traveling 2,000 miles to a land with no stores and very few people.
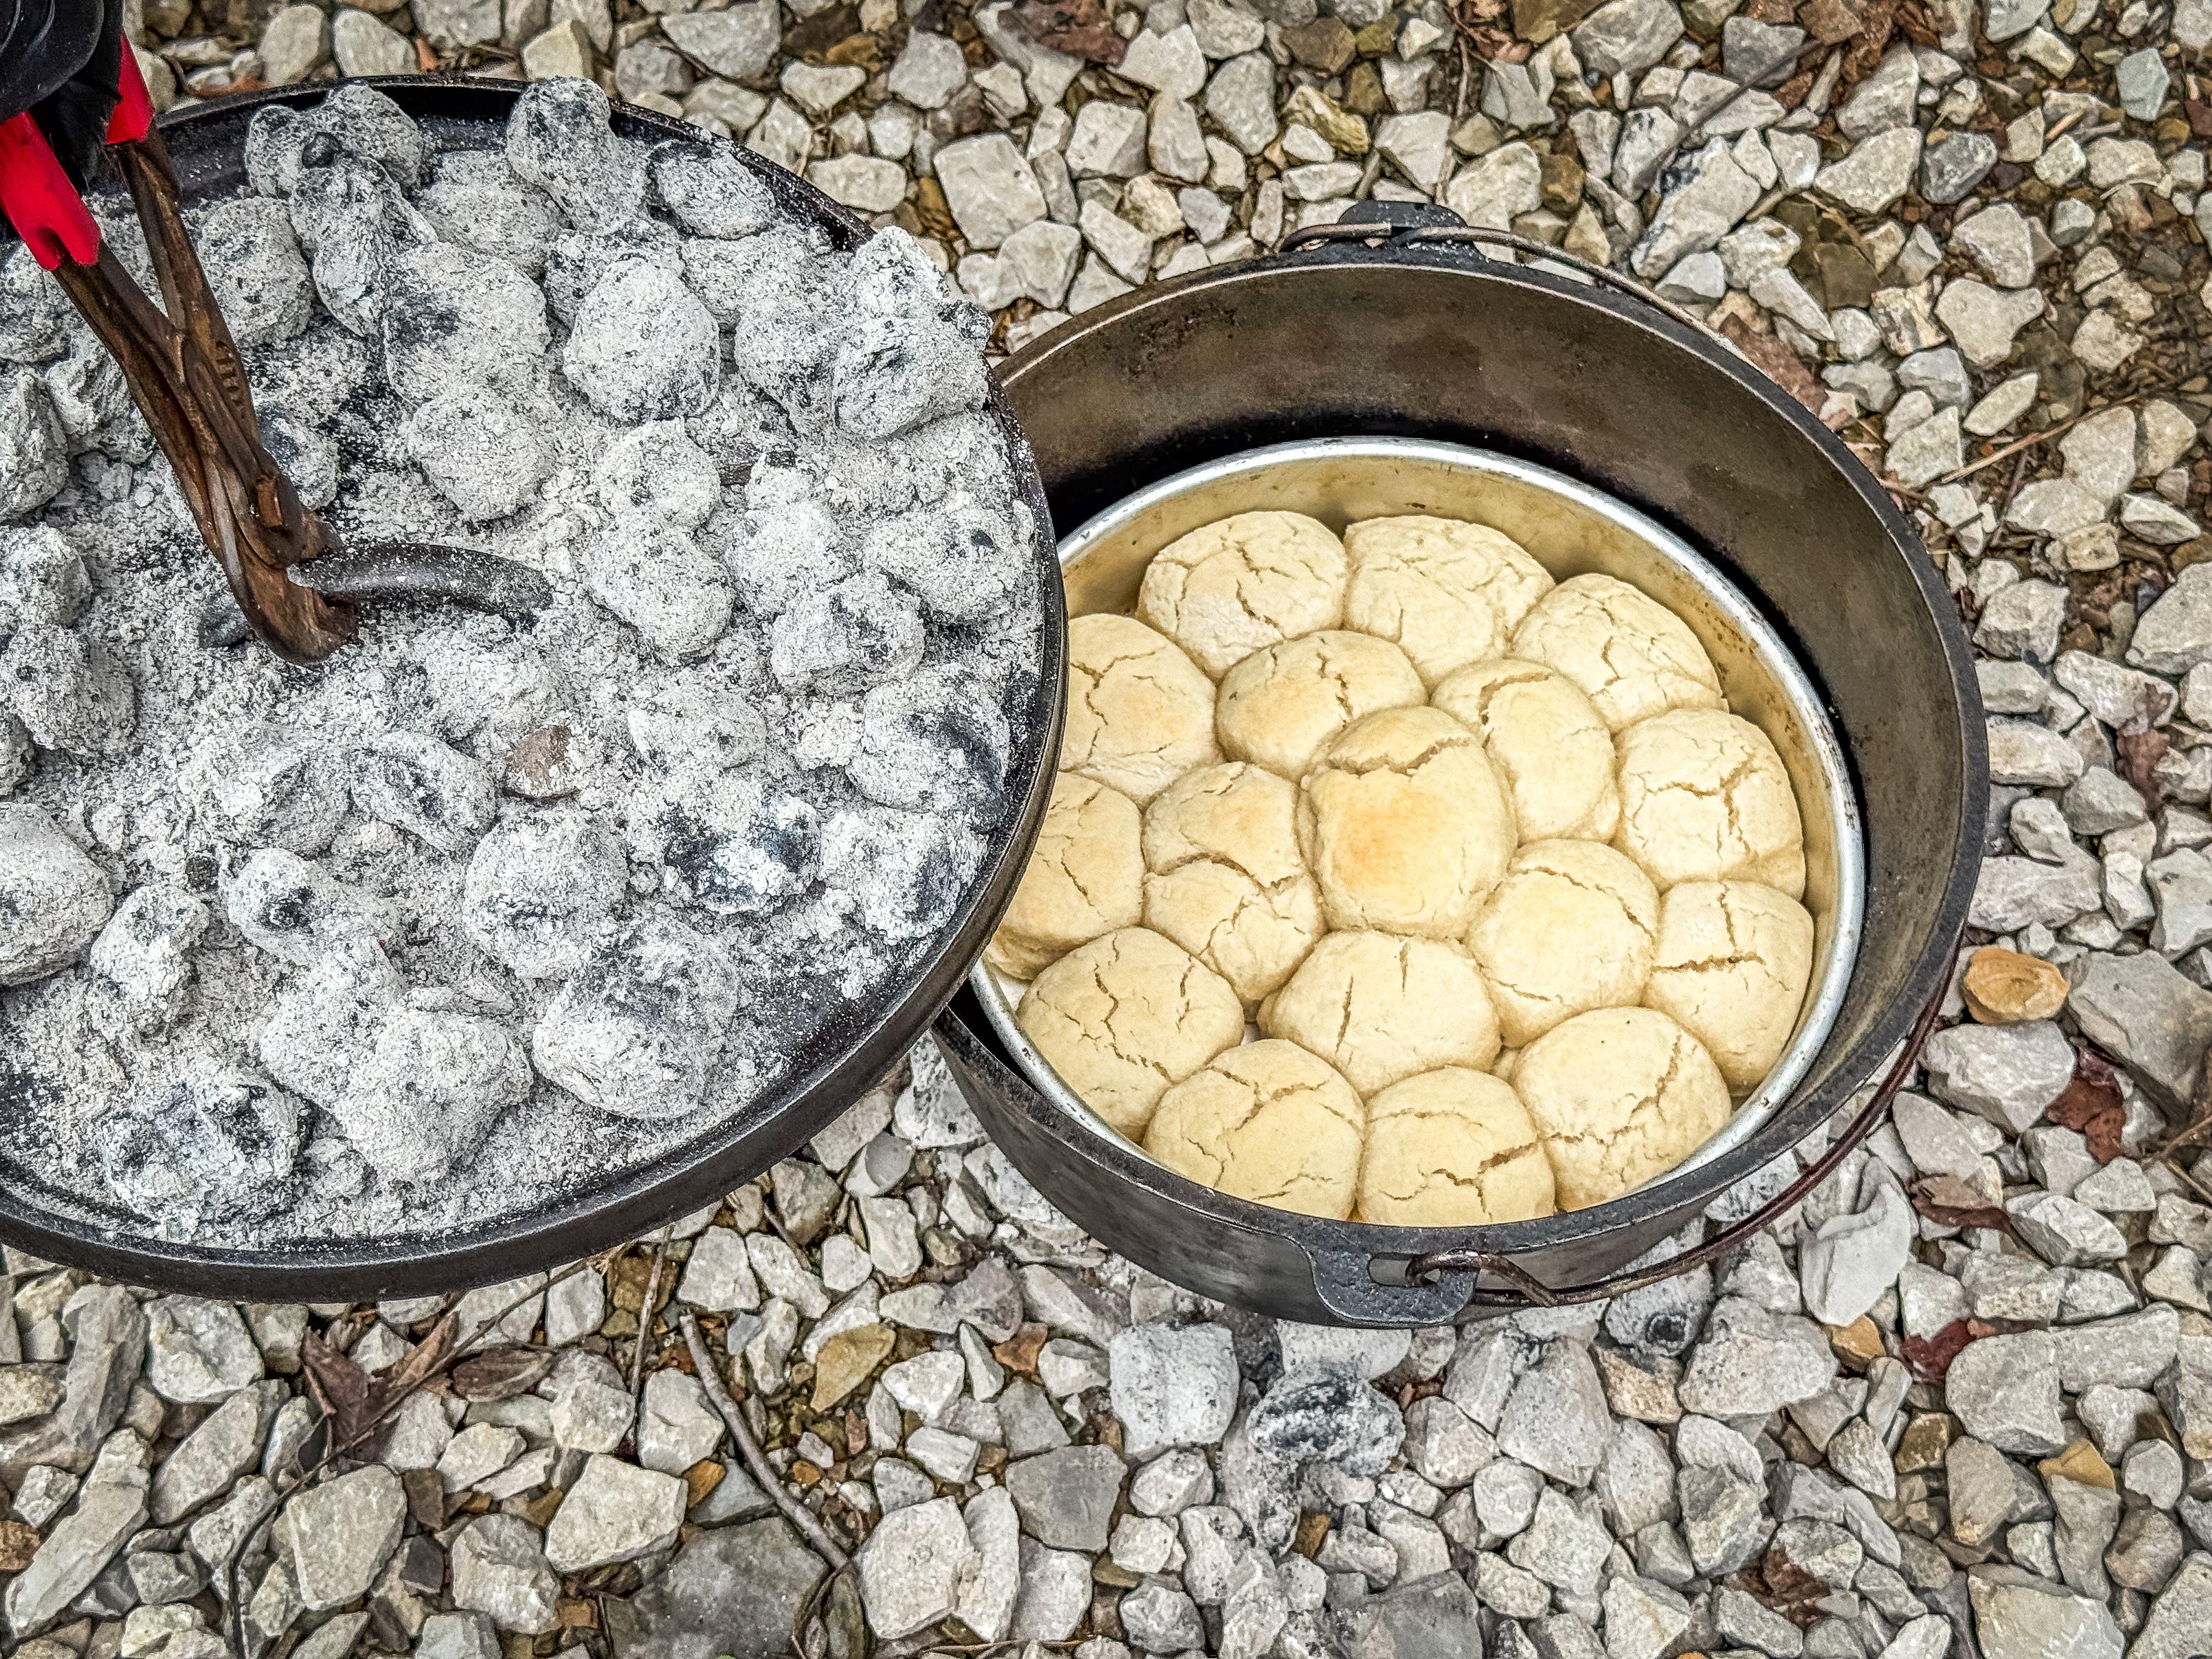
Even when every ounce mattered, early pioneers made sure they had a cast-iron Dutch oven in their wagon. Images by author.
Every item you packed had to serve a purpose. One of the most common tools was a cooking pot. The Dutch oven came to America with early Eastern colonists. Rumor has it that Benjamin Franklin took the large, flat bottomed, domed pot and turned it into what we now know as the Dutch oven. He added feet to the bottom of the pot to hold it above a bed of campfire coals, and then he flattened the lid and added a rim to hold additional coals on top and prevent the ashes from falling into the food.
Although the Dutch oven is heavy, its versatility made the extra weight worth it. You could boil soup or stew in one, fry things when fat was available, roast large cuts of game meat, and even bake biscuits and other breads — a rare treat on the Western frontier.
Those same Dutch ovens are still great for baking today. I use them often in hunt camps and on camping trips. One of my favorite recipes is a good sourdough biscuit. They are easy to make and taste great for breakfast or dinner. This version gets topped with a buttery garlic chive topping for even more flavor.
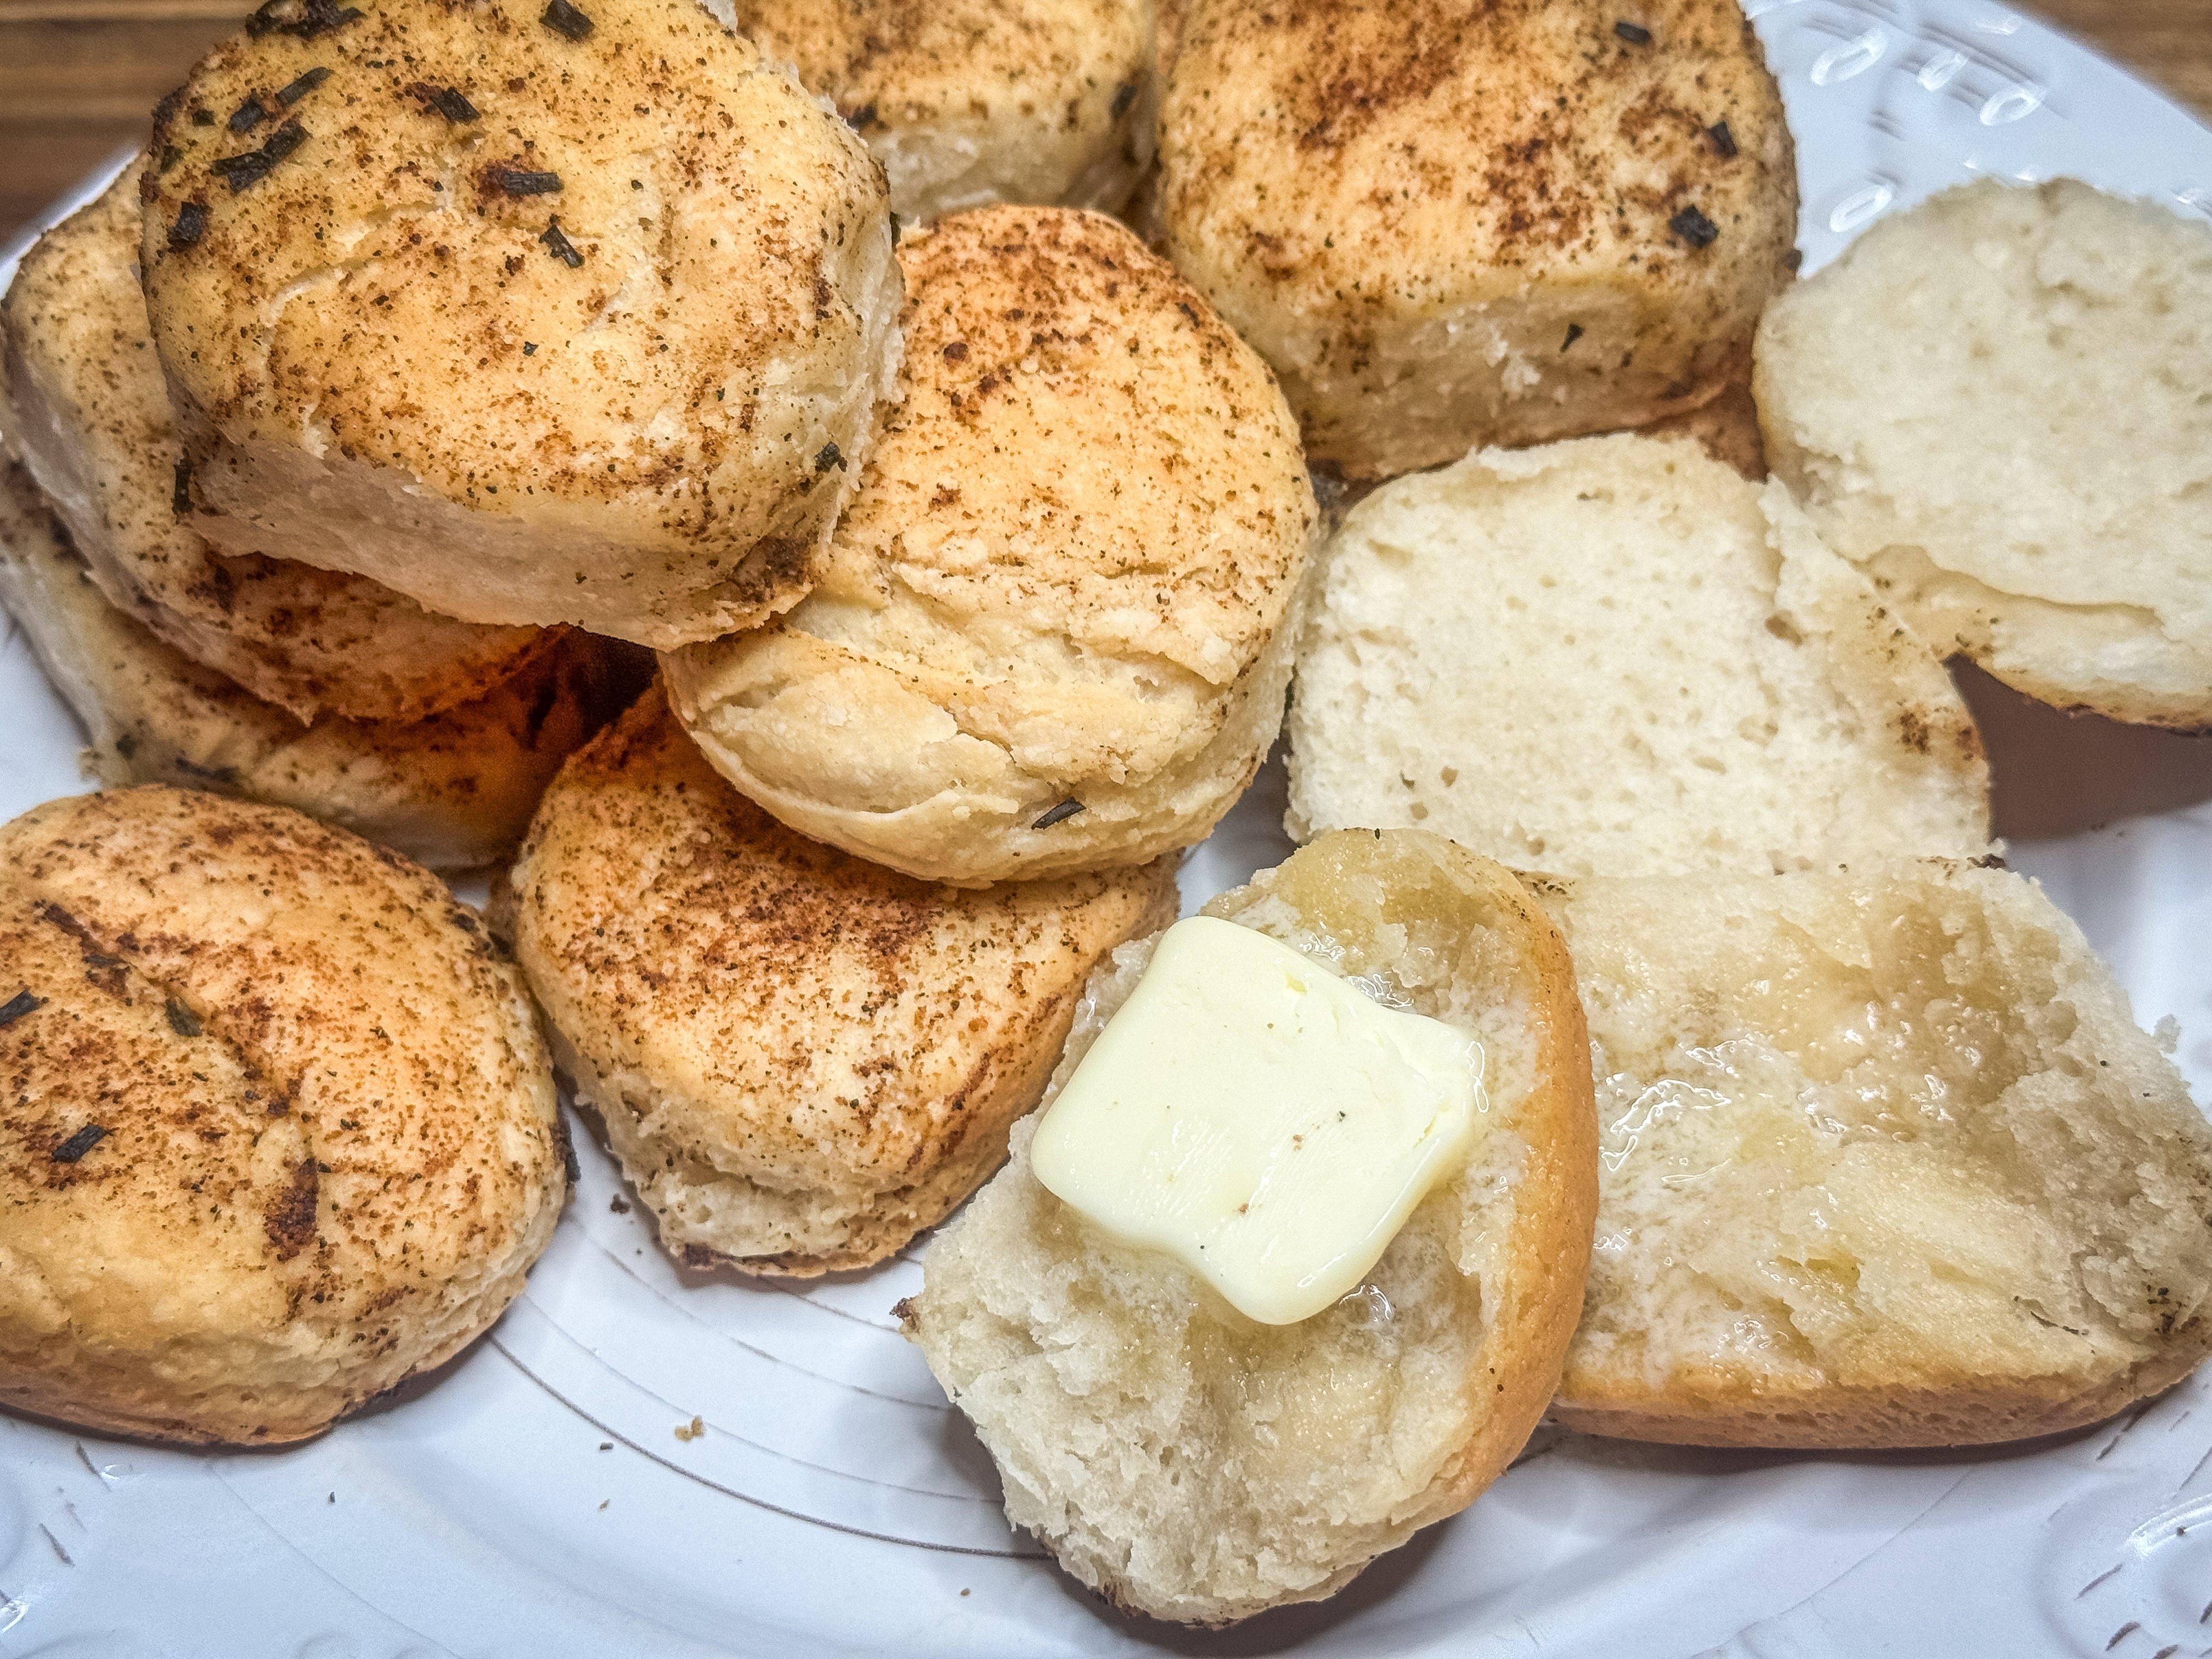
These buttery, garlic chive-topped biscuits are perfect for home or camp meals.
When using my Dutch ovens for baking, I like to place a cast-iron trivet in the bottom of the oven and bake in a round aluminum baking pan just slightly smaller in diameter than the oven. The added air space from the trivet below the pan evens out the temperature and prevents burned biscuit bottoms if your coals are on the hot side. Baking in the pan versus directly in the Dutch oven makes cleanup much easier. I can have a couple of the baking pans in rotation and place one in the Dutch oven to bake while I roll out another round of biscuit dough and fill the second pan. When the first pan is finished cooking, just take it out and drop the second pan into the already pre-heated Dutch oven. You can feed a crowd with a single Dutch oven by using this method.
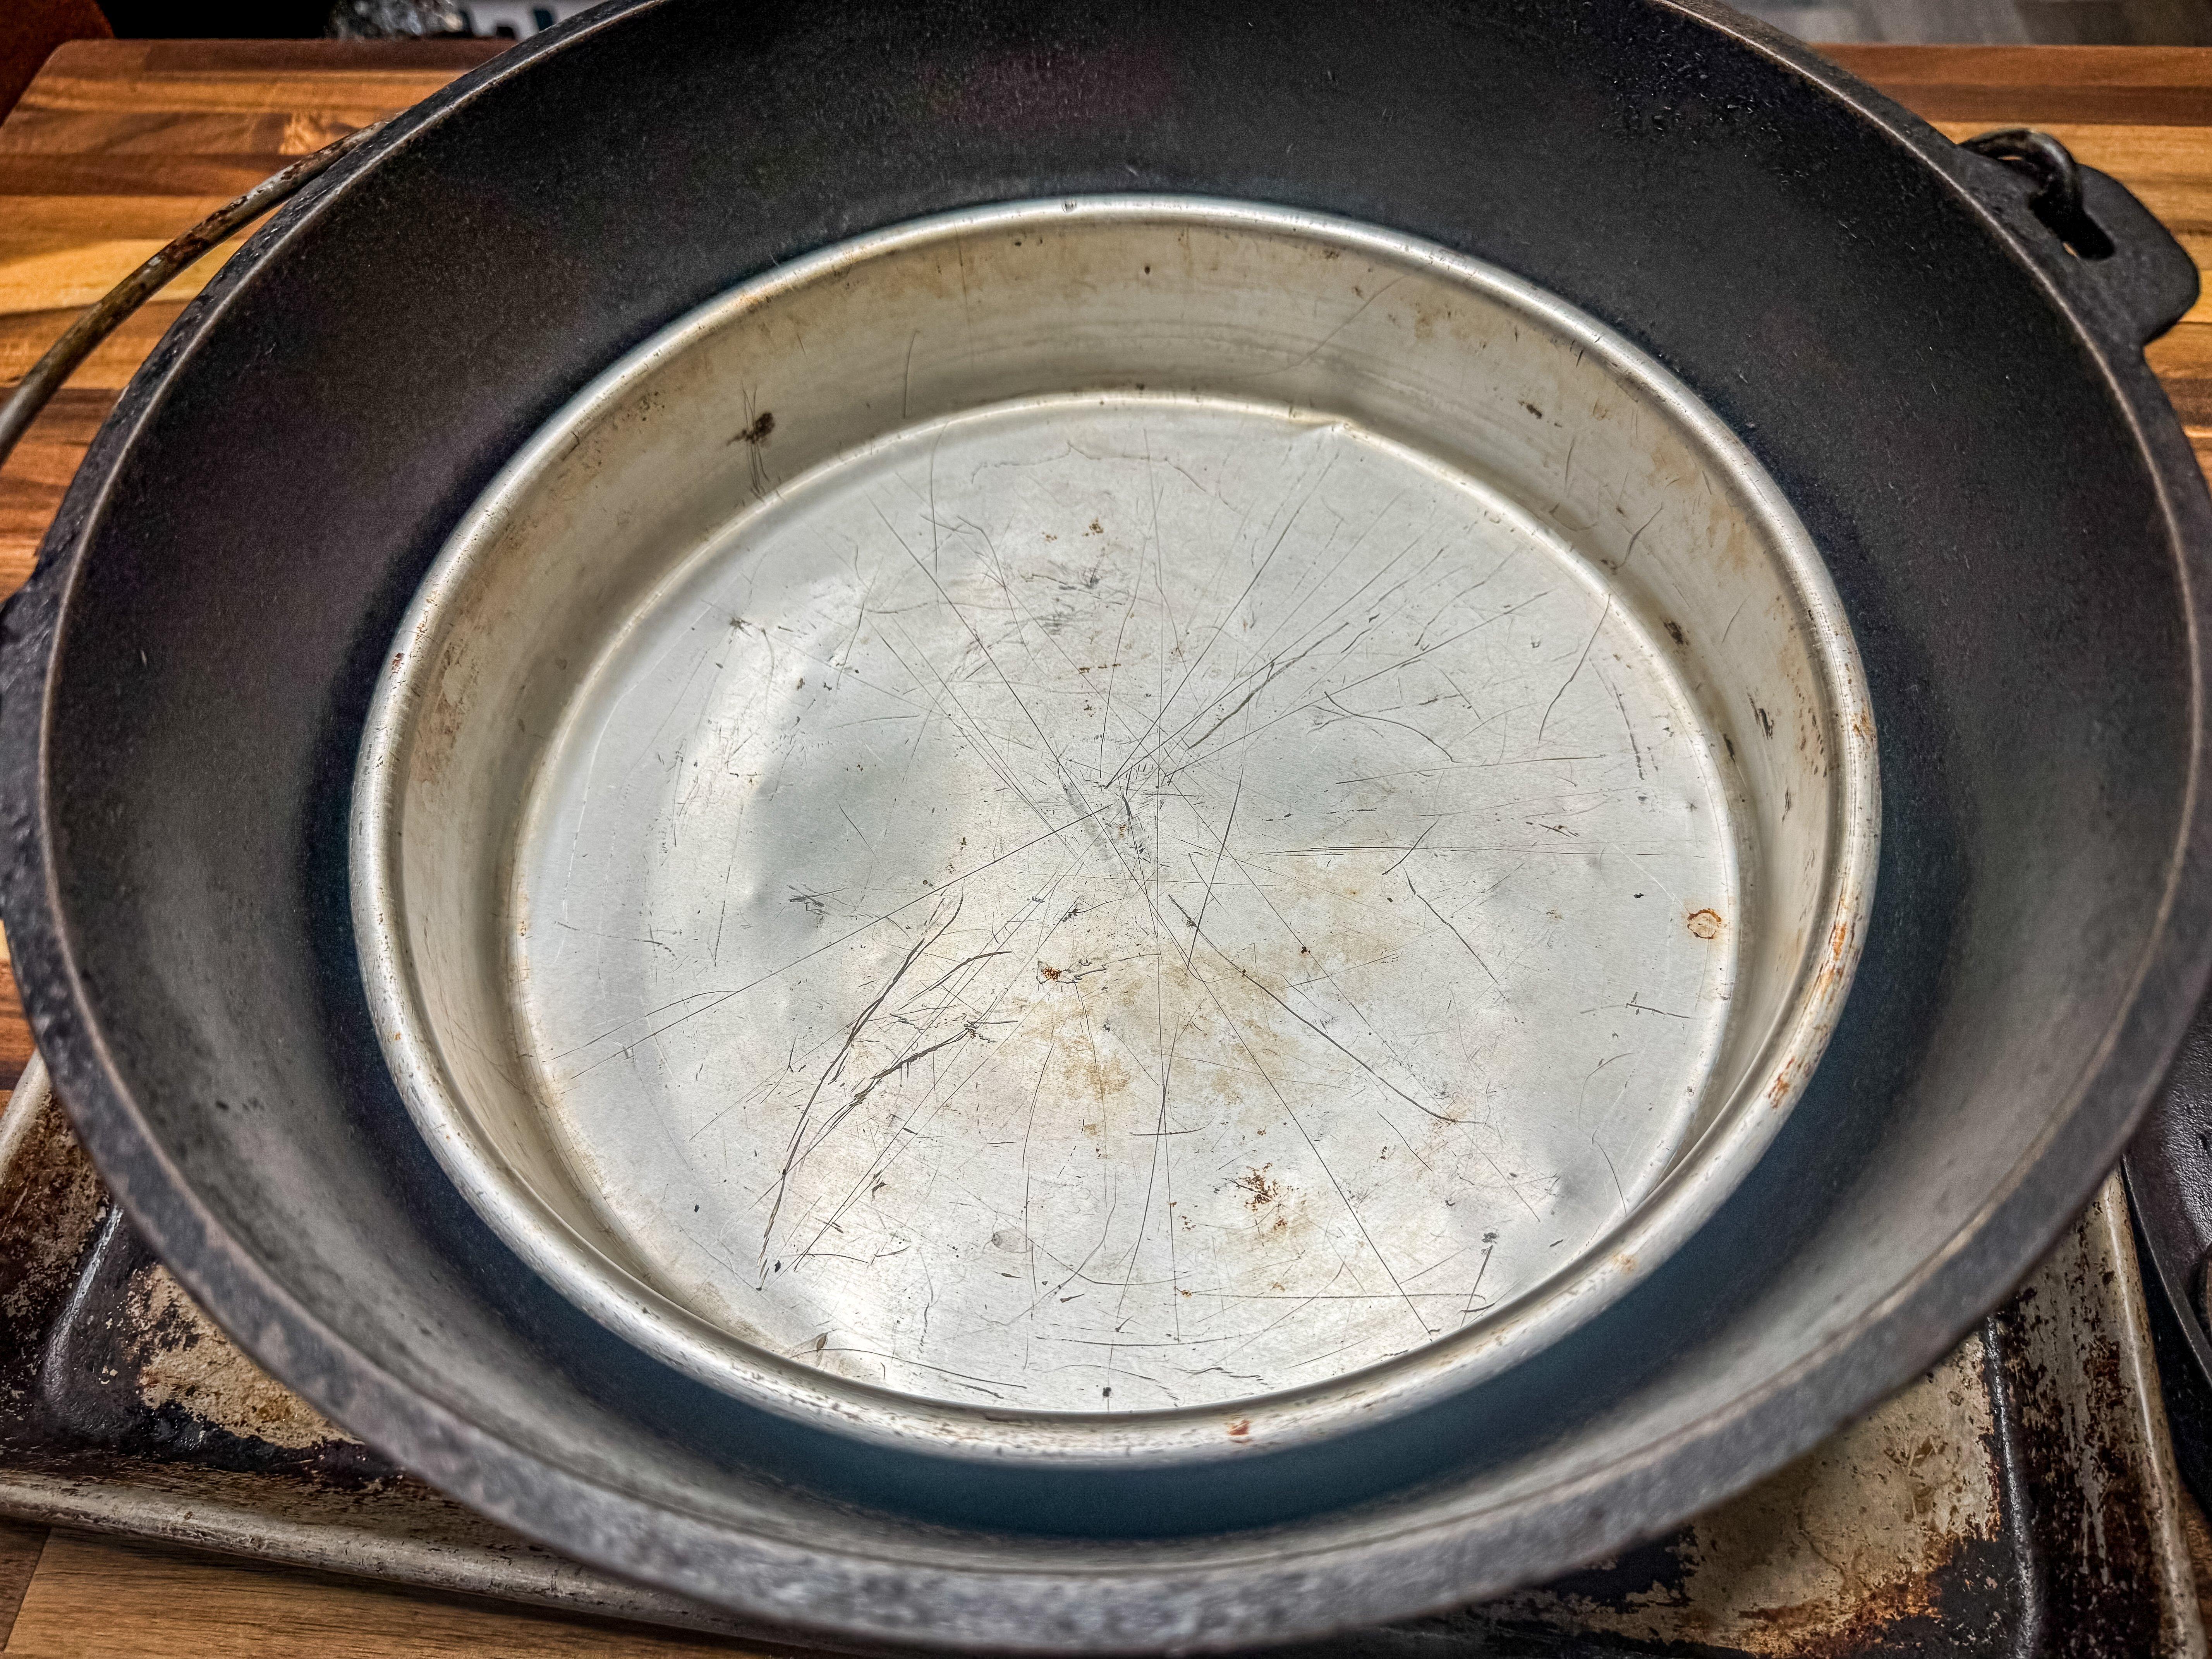
Cooking with a baking dish inside the Dutch oven lets you bake multiple batches quickly and makes cleanup easy.
Pre-heat your Dutch oven while you mix the dough. Place the oven over a thin bed of coals. Use tongs to place more hot coals directly and evenly around the lid.
For the dough, you will need two cups self-rising flour, a half-cup cold milk or buttermilk, a cup of active sourdough starter or discard, and the fat of your choice. I switch back and forth between butter and lard, but rendered bear fat will make some of the tastiest biscuits that ever touched your taste buds. Whatever fat you use, get it cold before cutting it into the flour so it holds together in small pieces as you blend rather than melting into the dough. You can also add a teaspoon of sugar if you like, but the recipe works well with or without it.
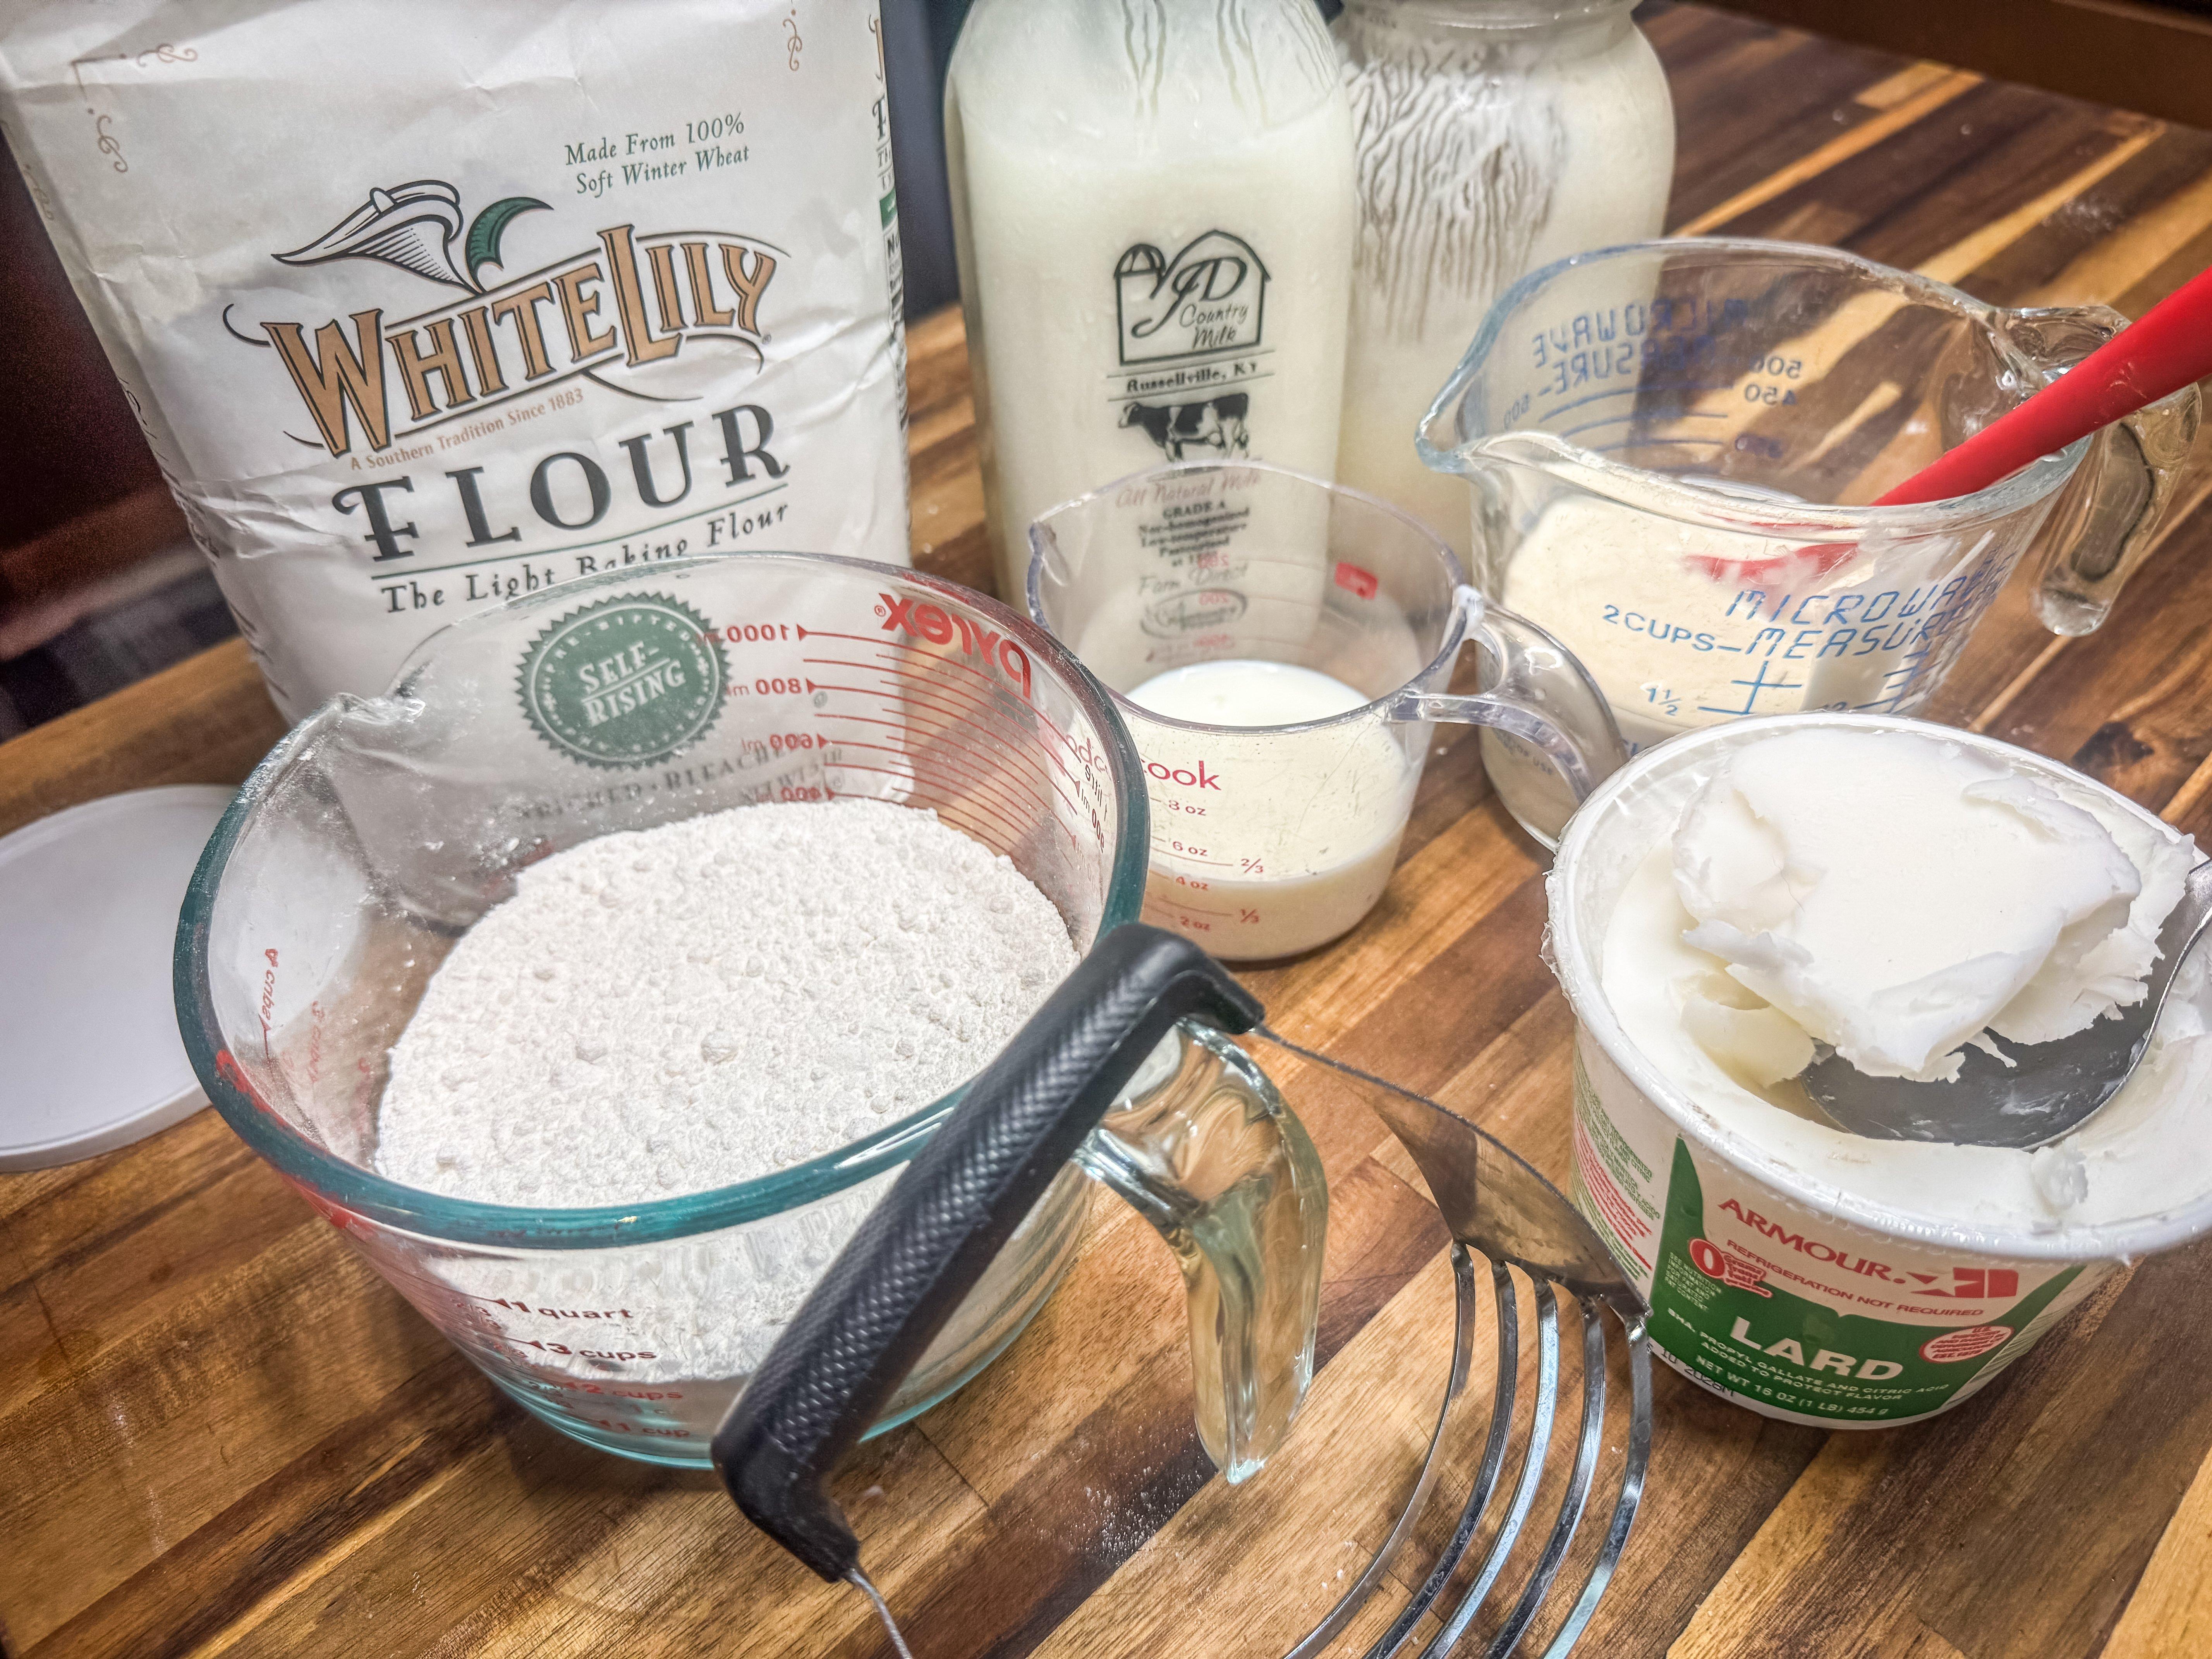
Buttermilk and sourdough starter give the biscuits a nice tangy zip.
Add the flour to a mixing bowl. Add an egg-sized clump of your fat of choice, and cut it in with a fork, knife or, best option, a biscuit cutter. Blend until the fat is in uniform pea-sized pieces throughout the flour.
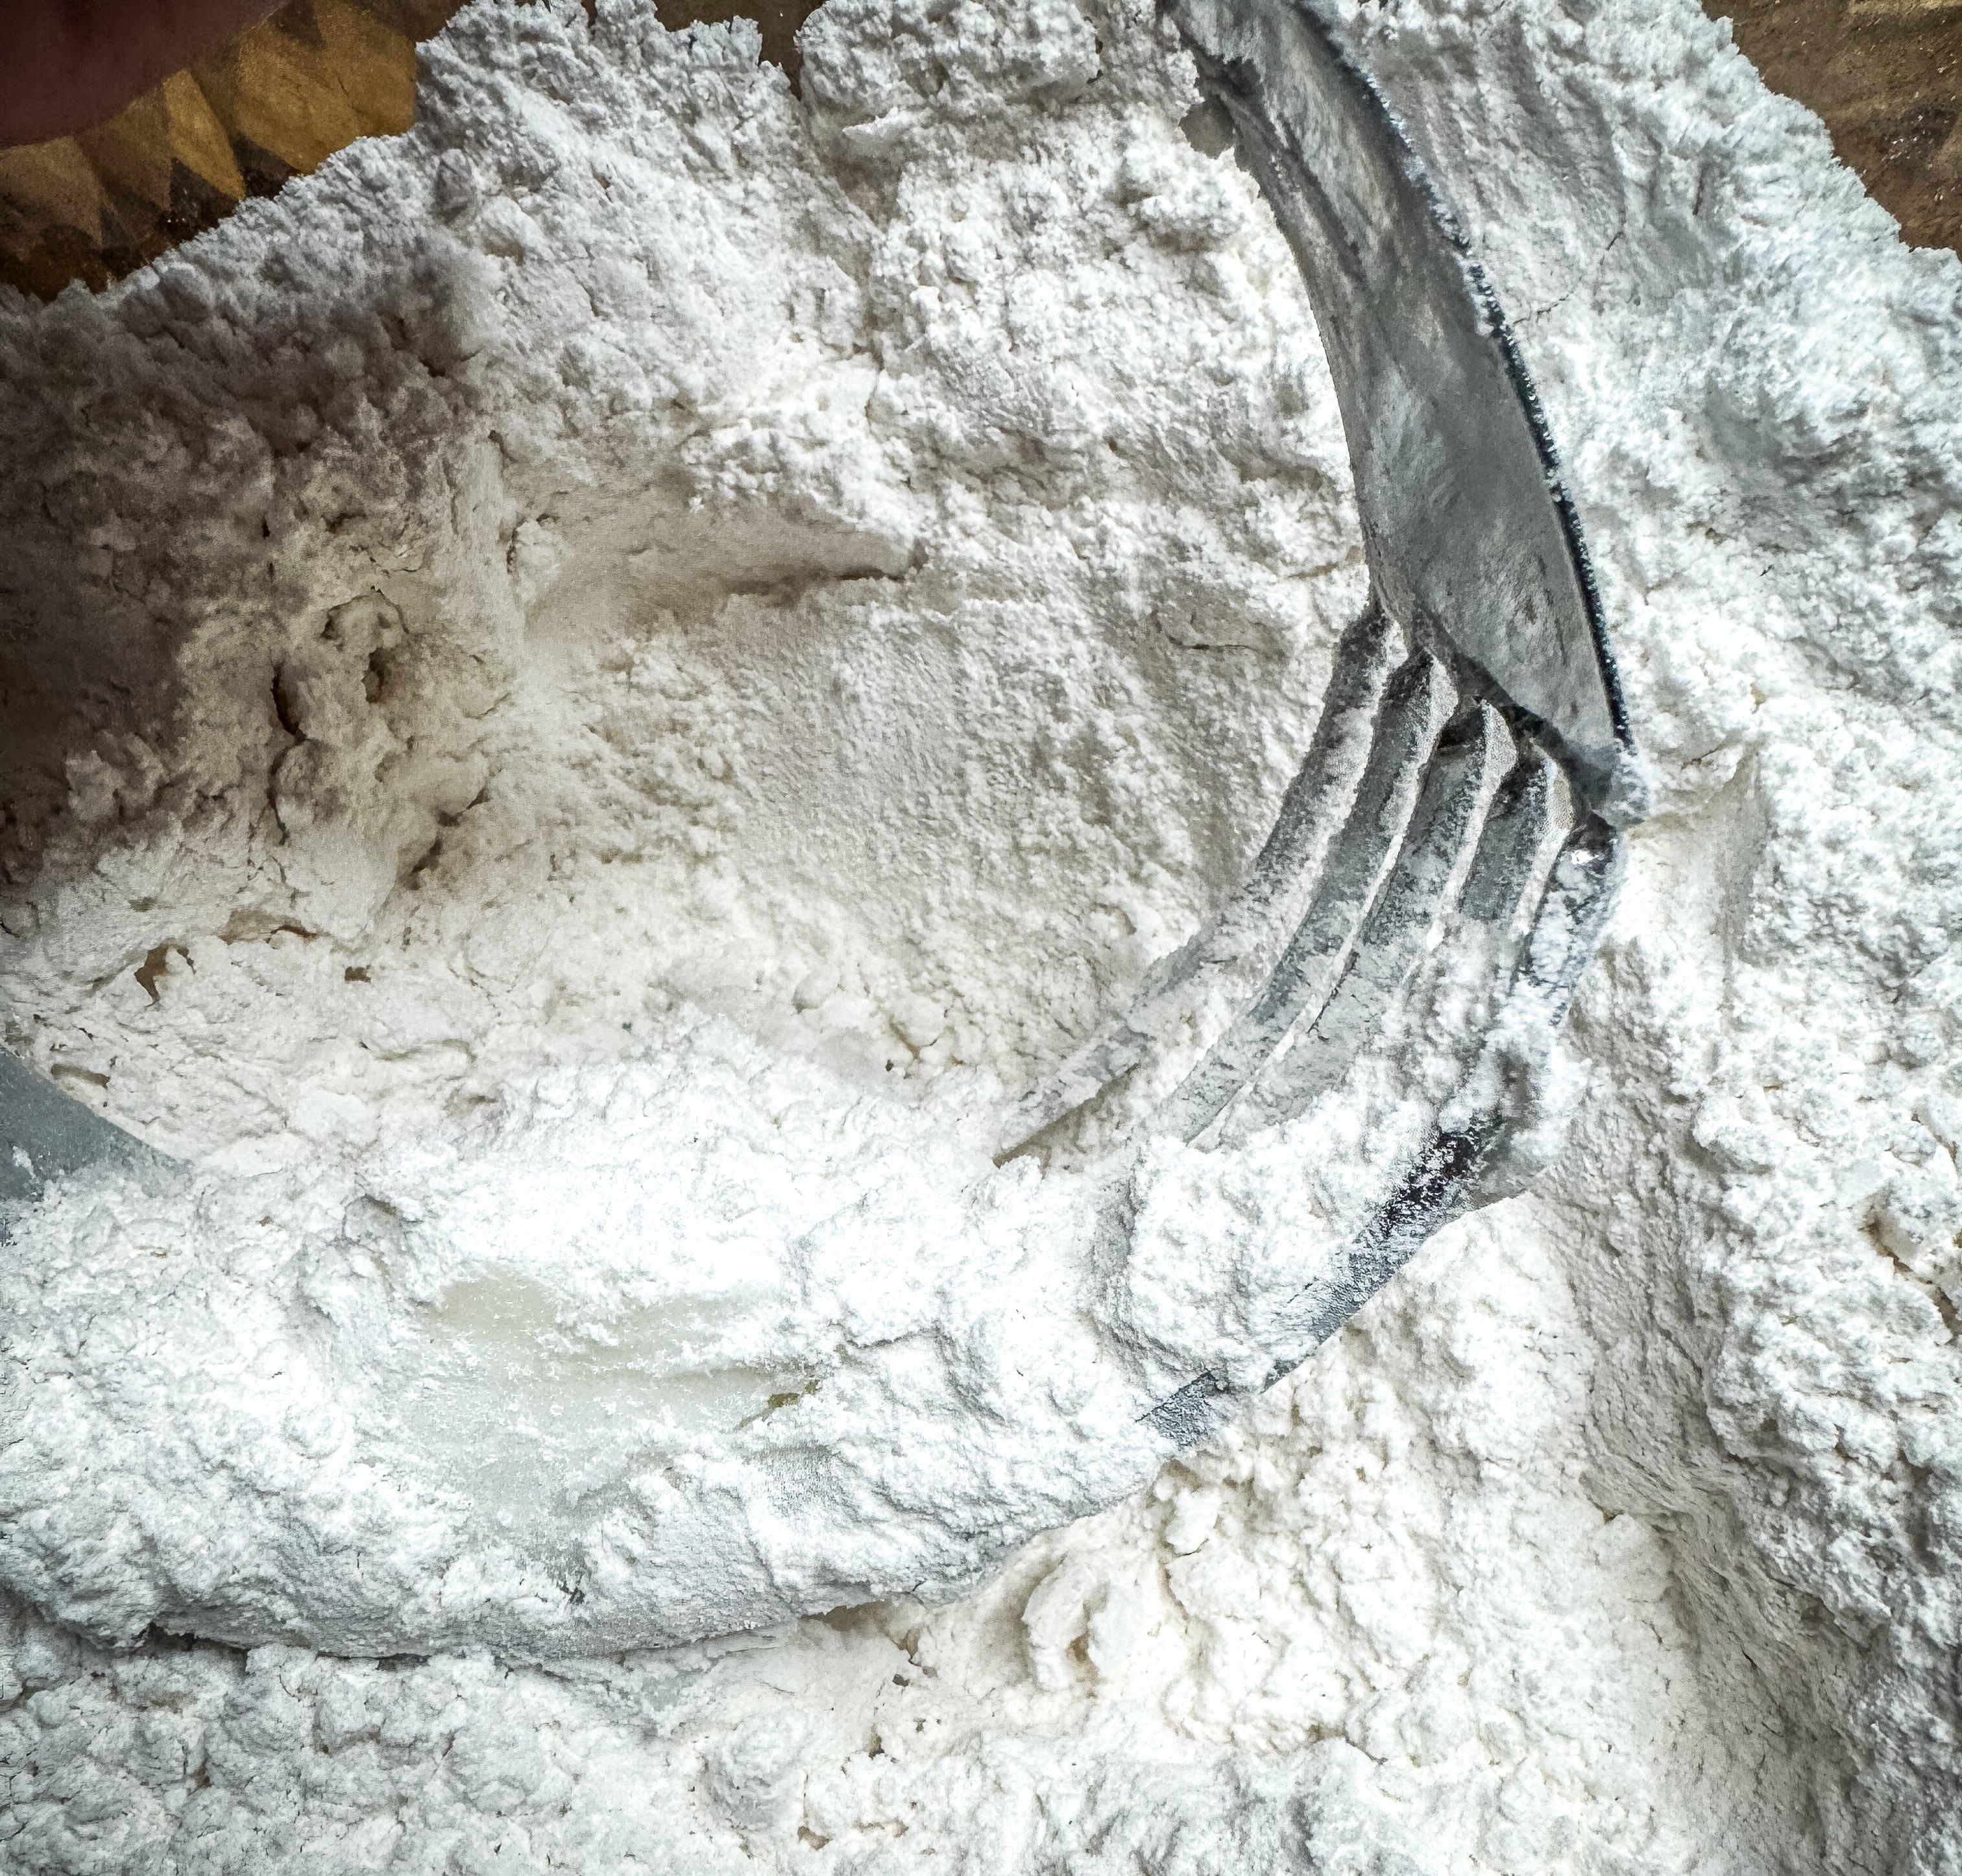
Cut the fat into the flour into pea-sized bits.
Pour in the milk or buttermilk, and then add the sourdough starter and sugar.
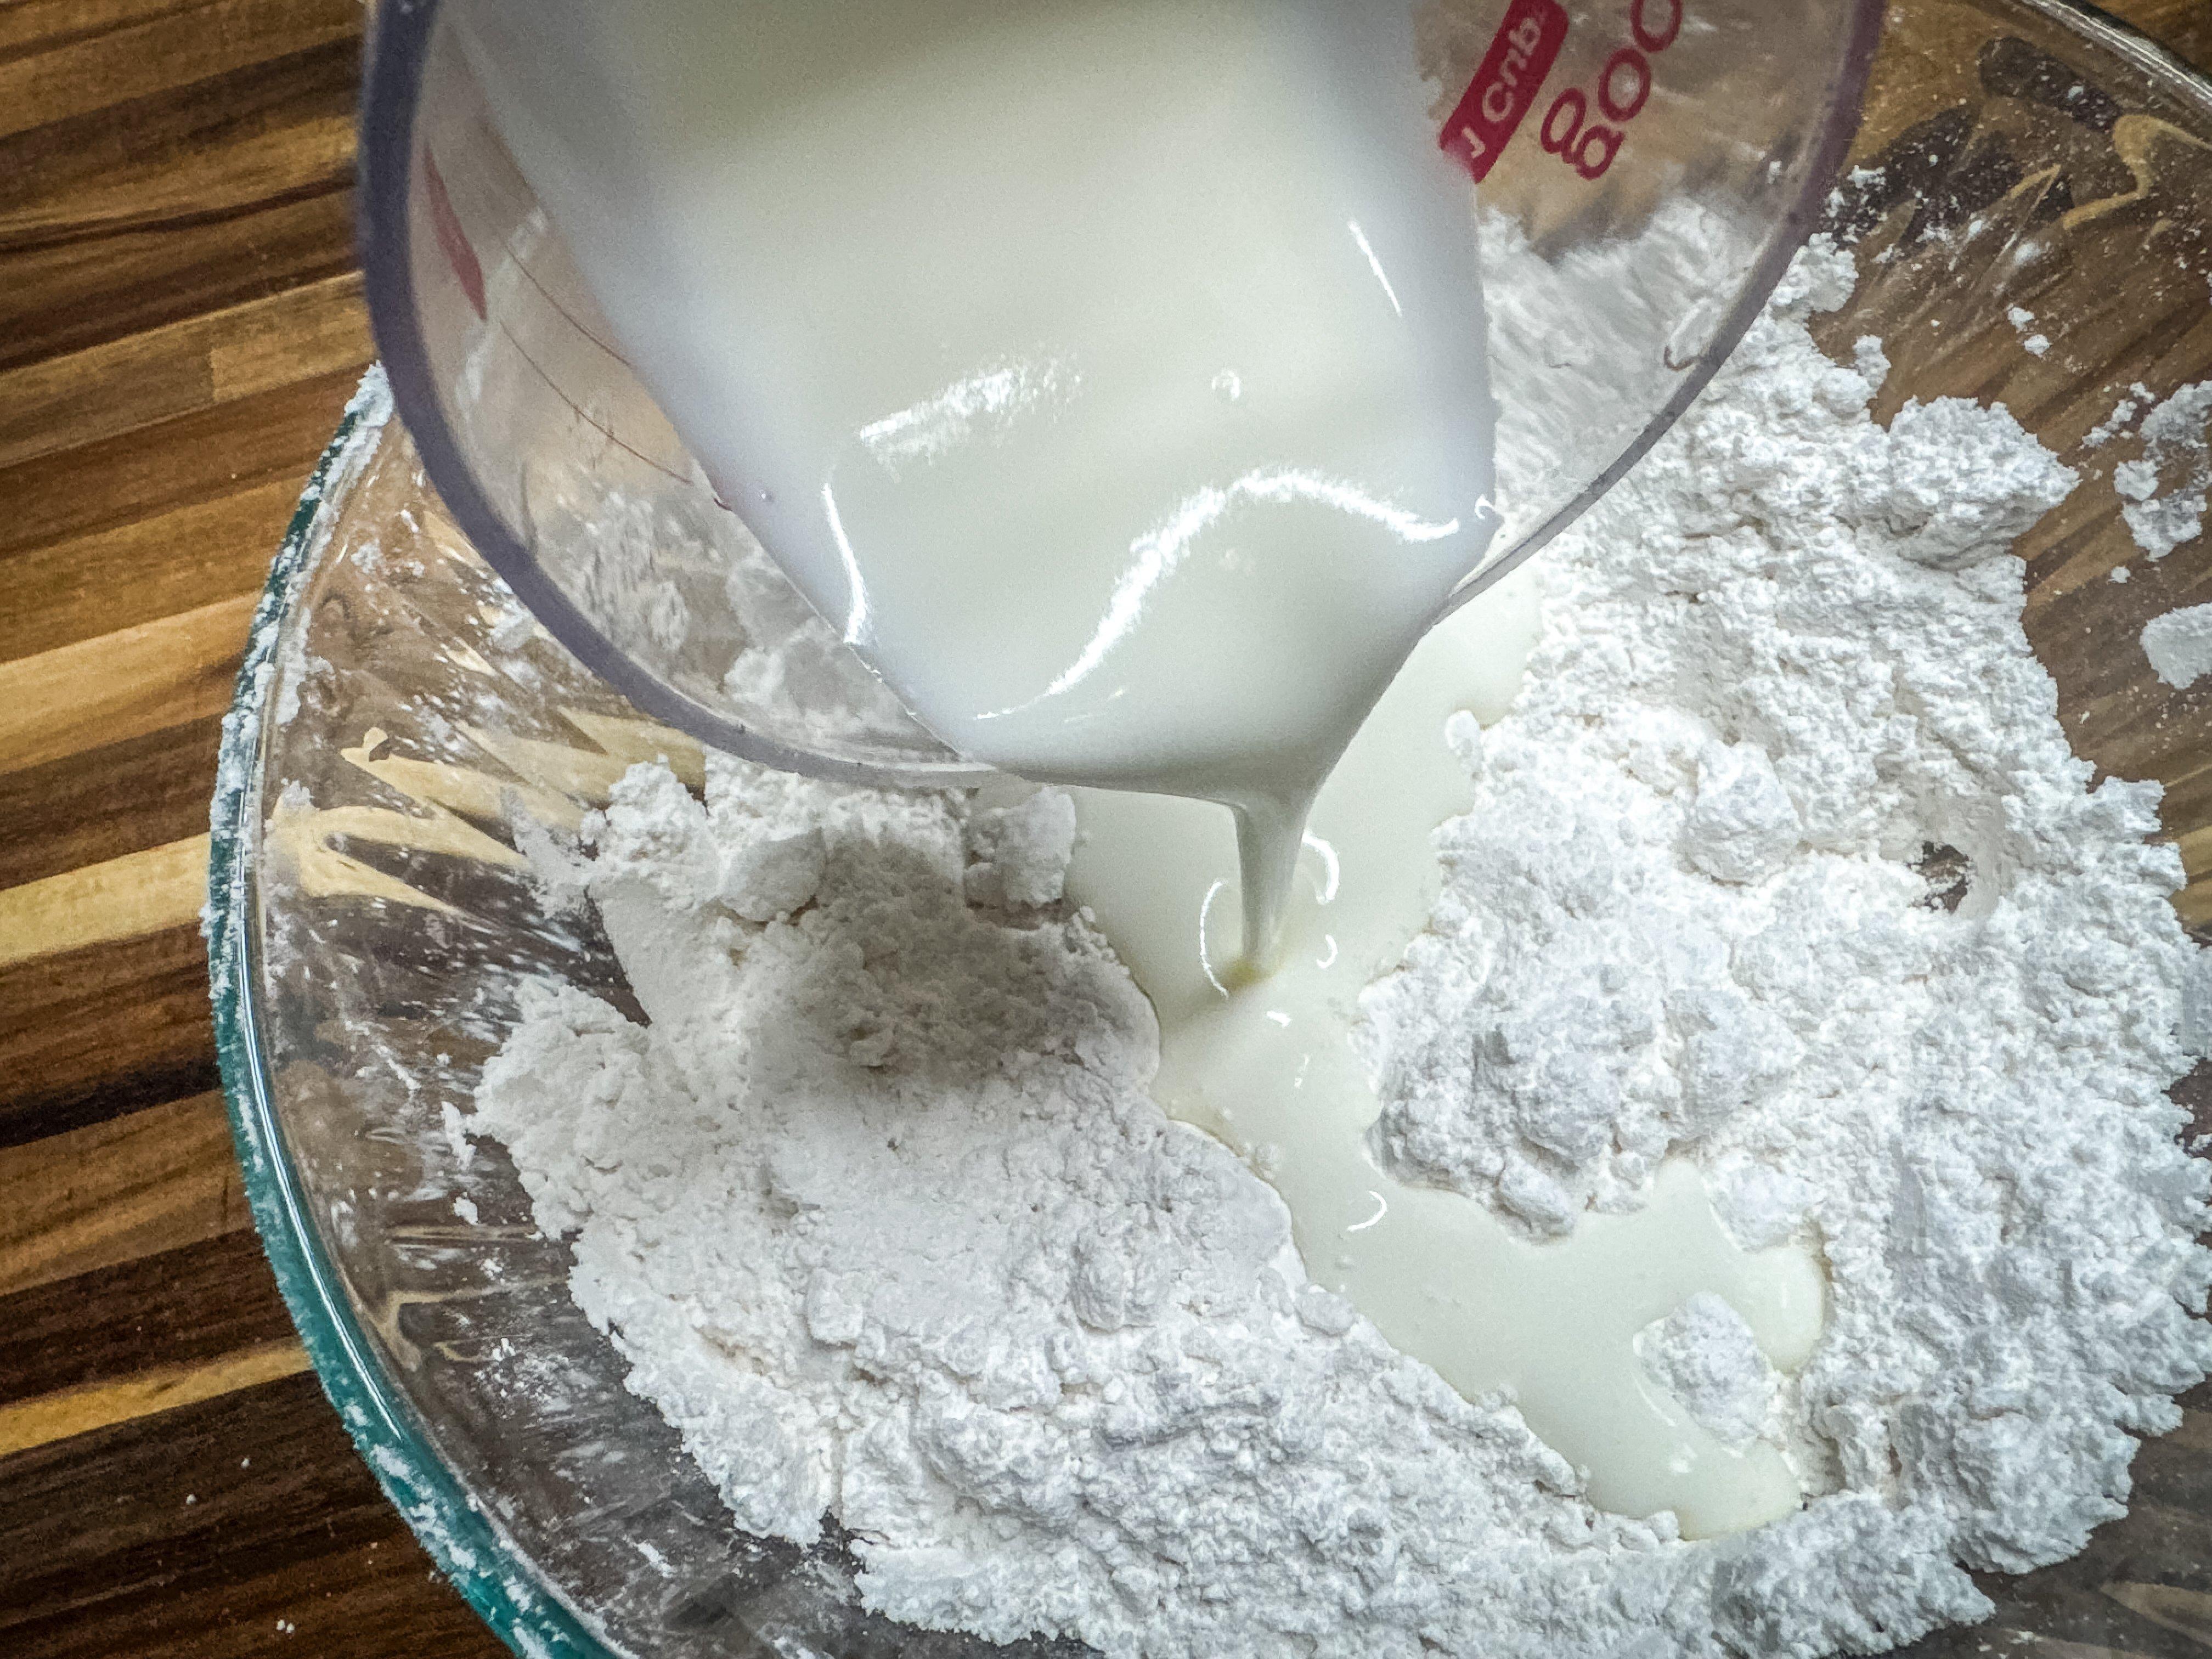
Add the buttermilk and sourdough starter.
Blend until it just forms a shaggy dough. Don’t overwork the dough, or the biscuits will be tough and chewy.
Turn the dough onto a floured work surface.
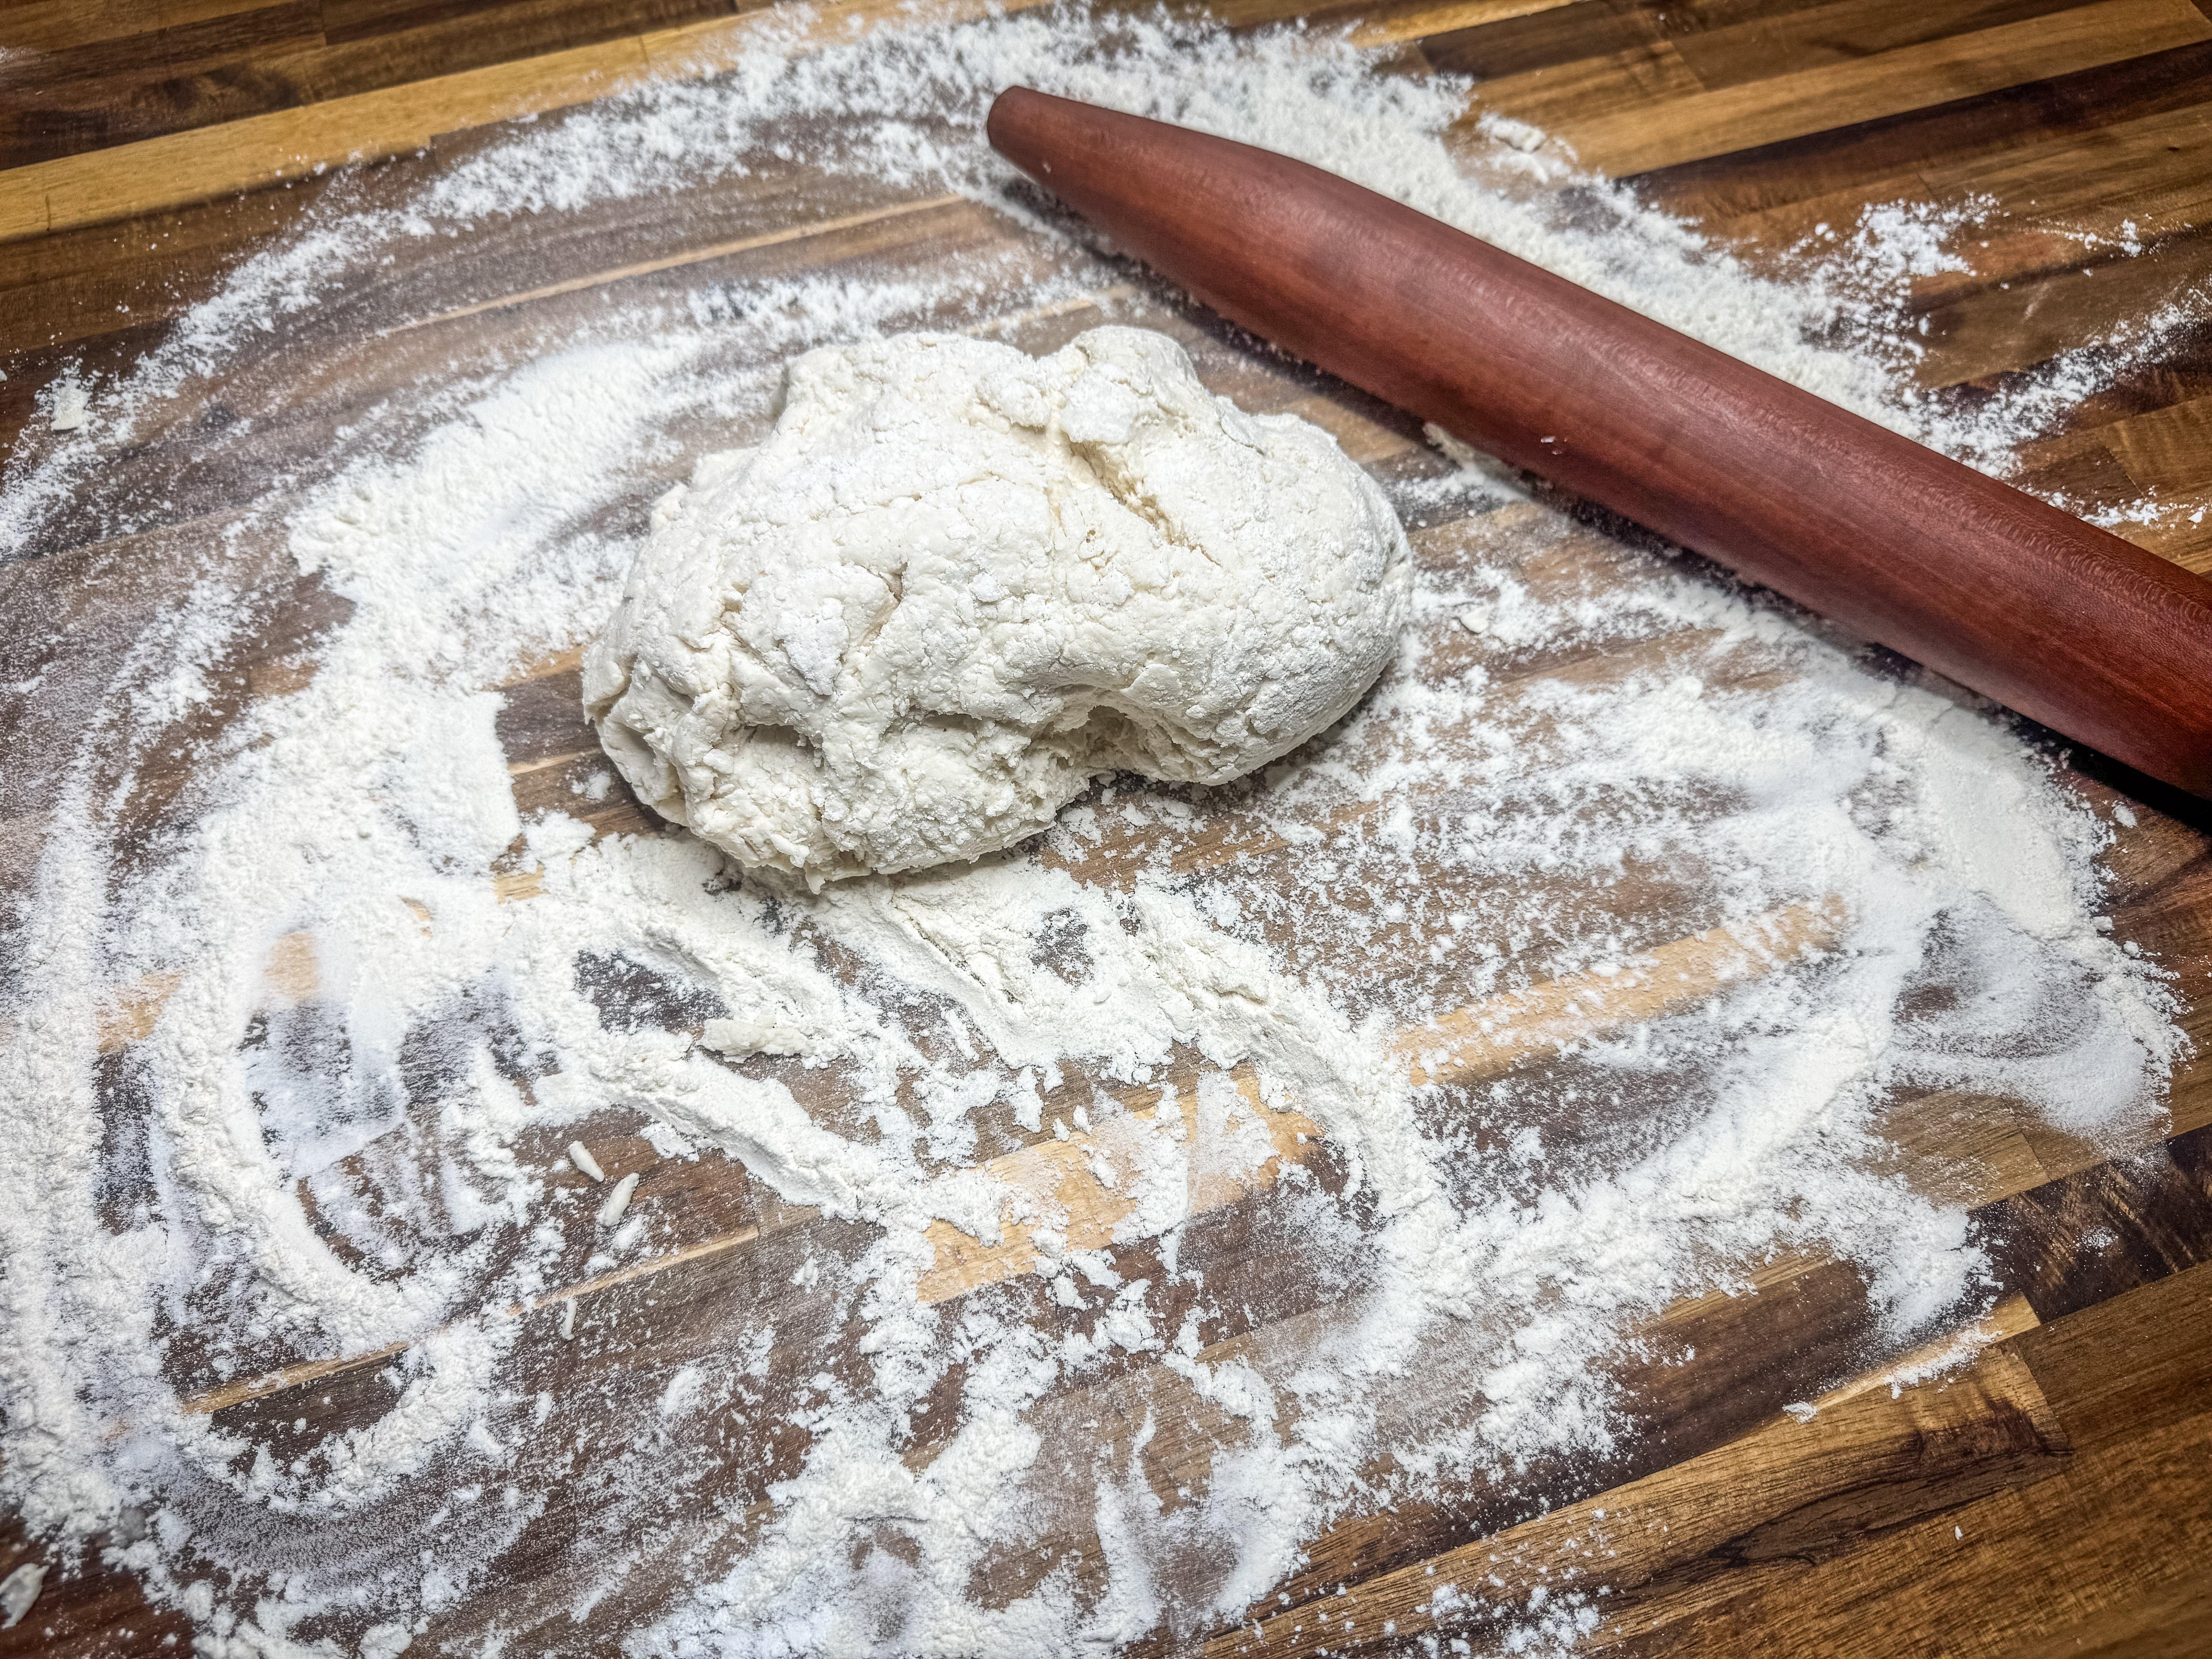
Roll the dough on a floured work surface.
Roll out to about an inch thick, fold, and then roll again. Use a biscuit cutter, jar or glass to cut the biscuits.
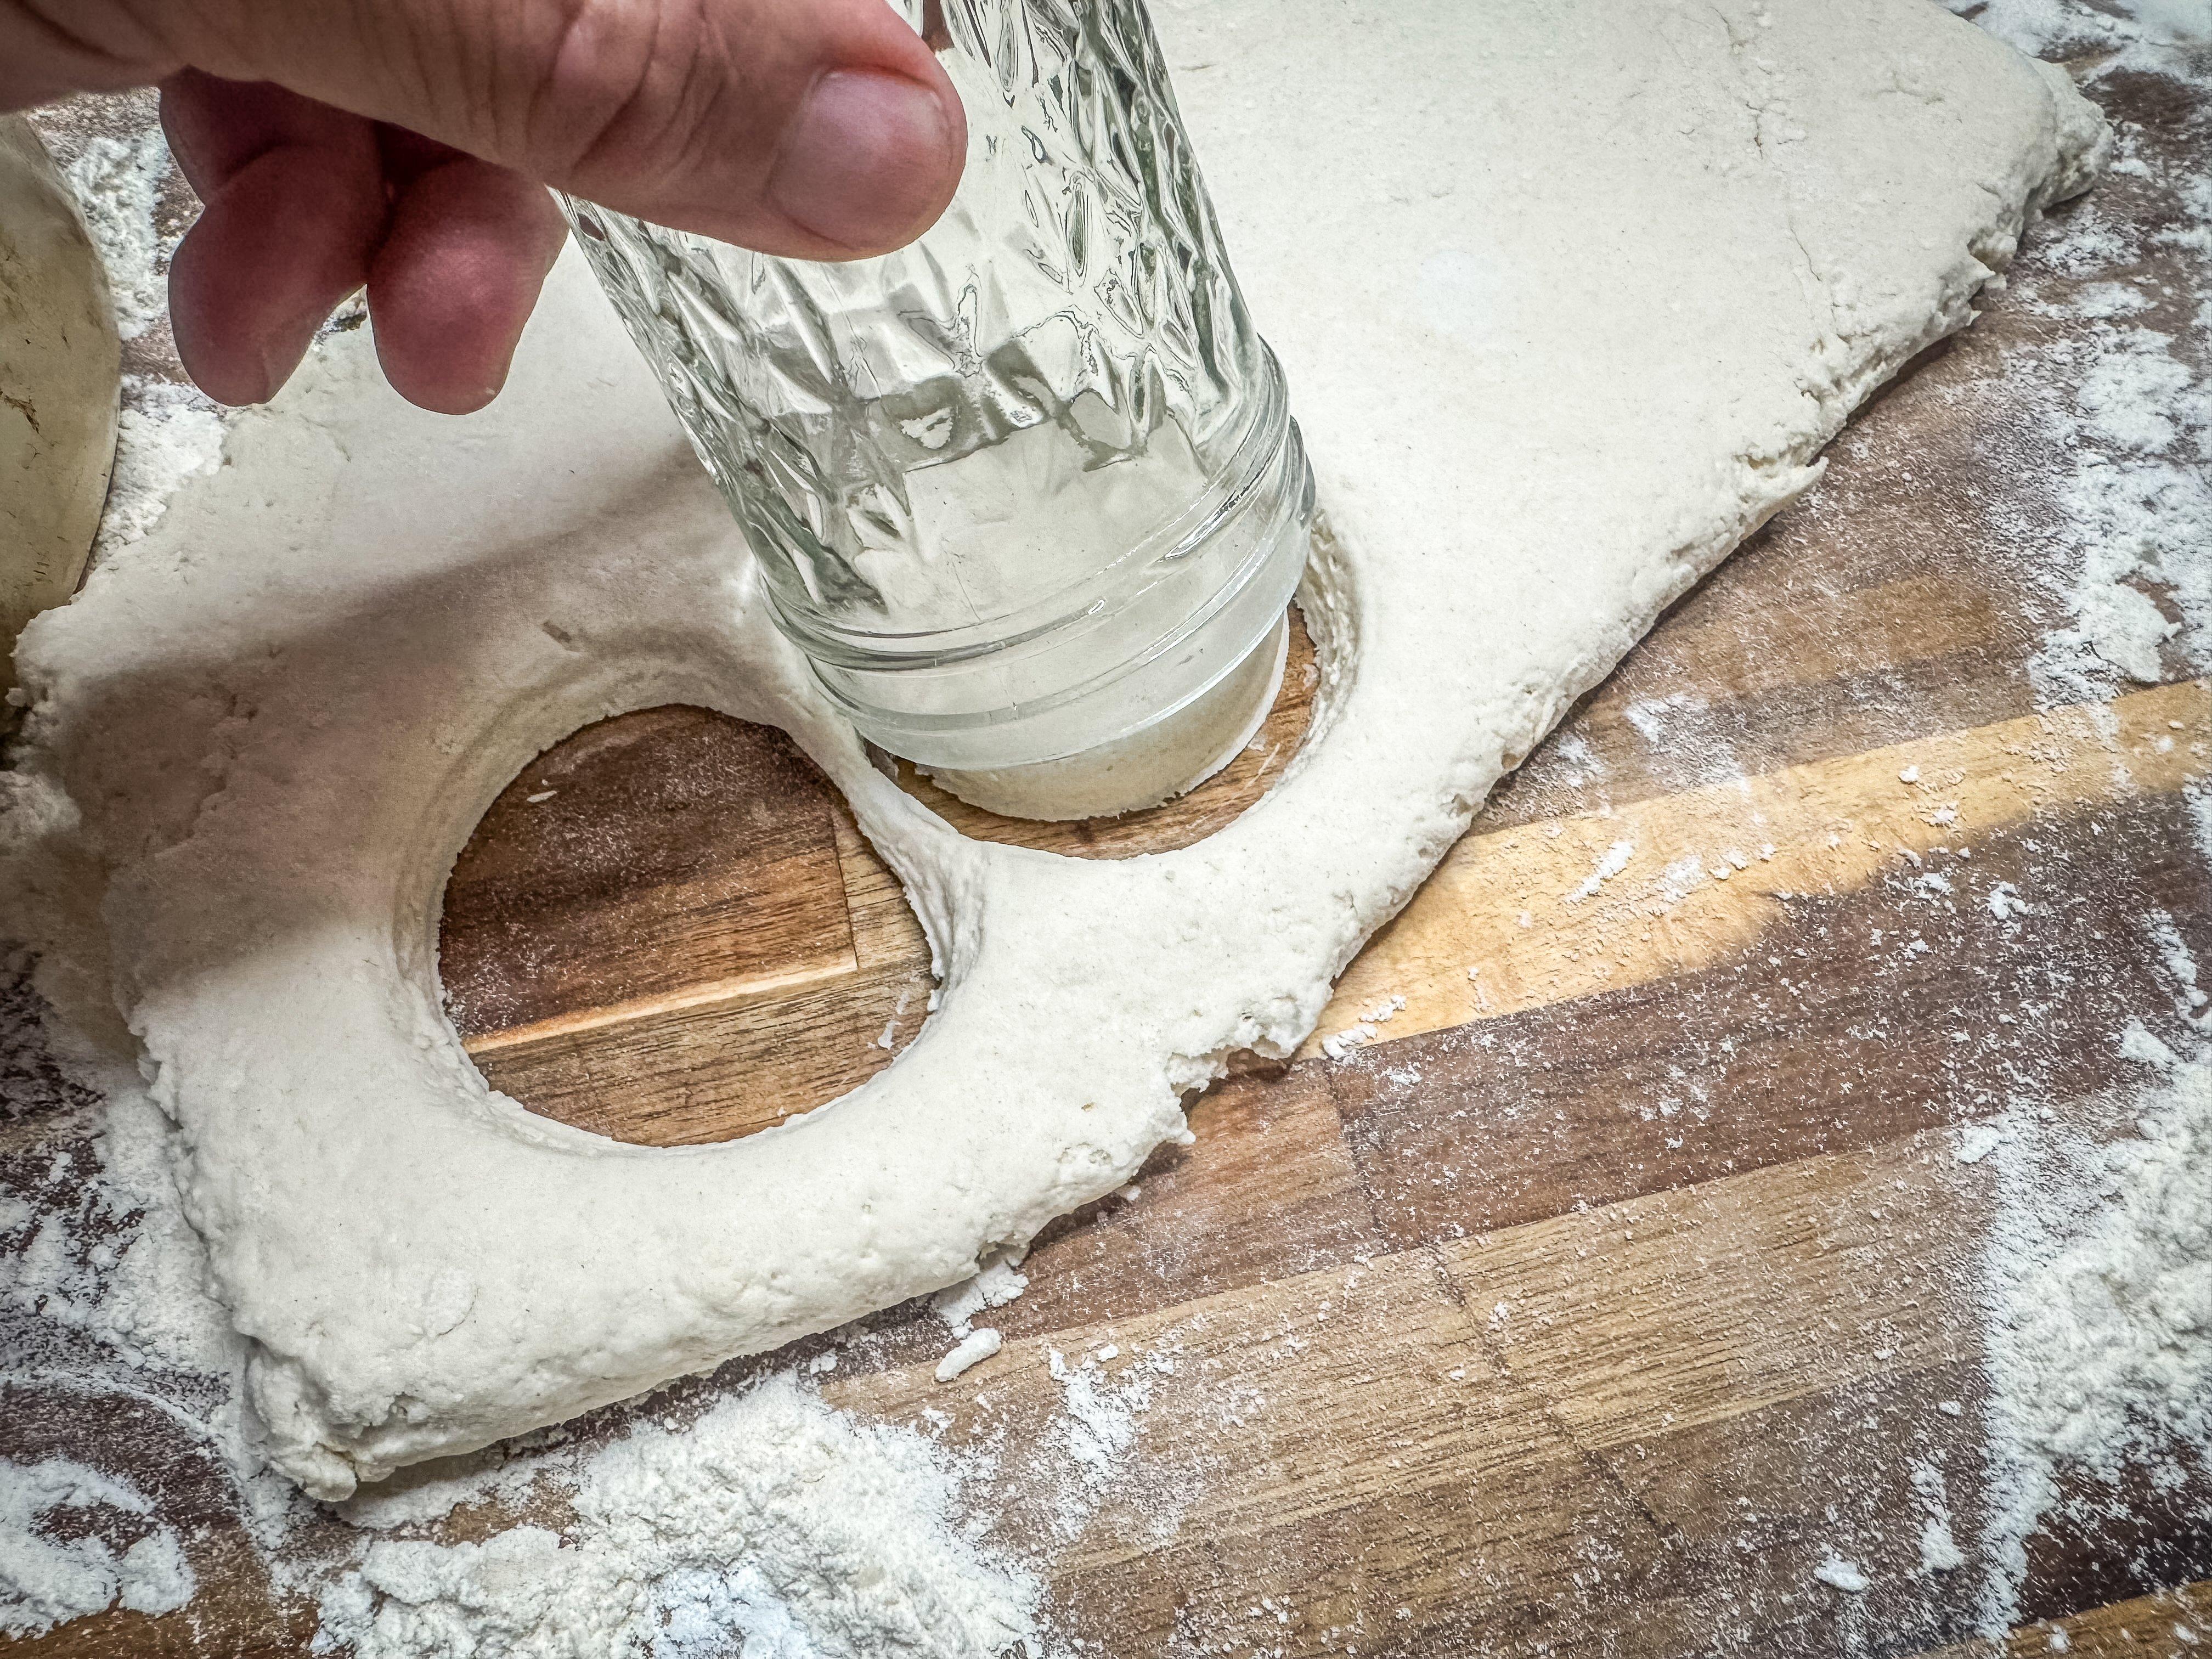
Use a biscuit cutter, glass or jar to cut out the biscuits.
Place the cut biscuits in the lightly oiled baking pan. Roll the remaining dough and cut a few more until you have used up all the dough or filled the pan. The biscuits should just touch each other in the pan.
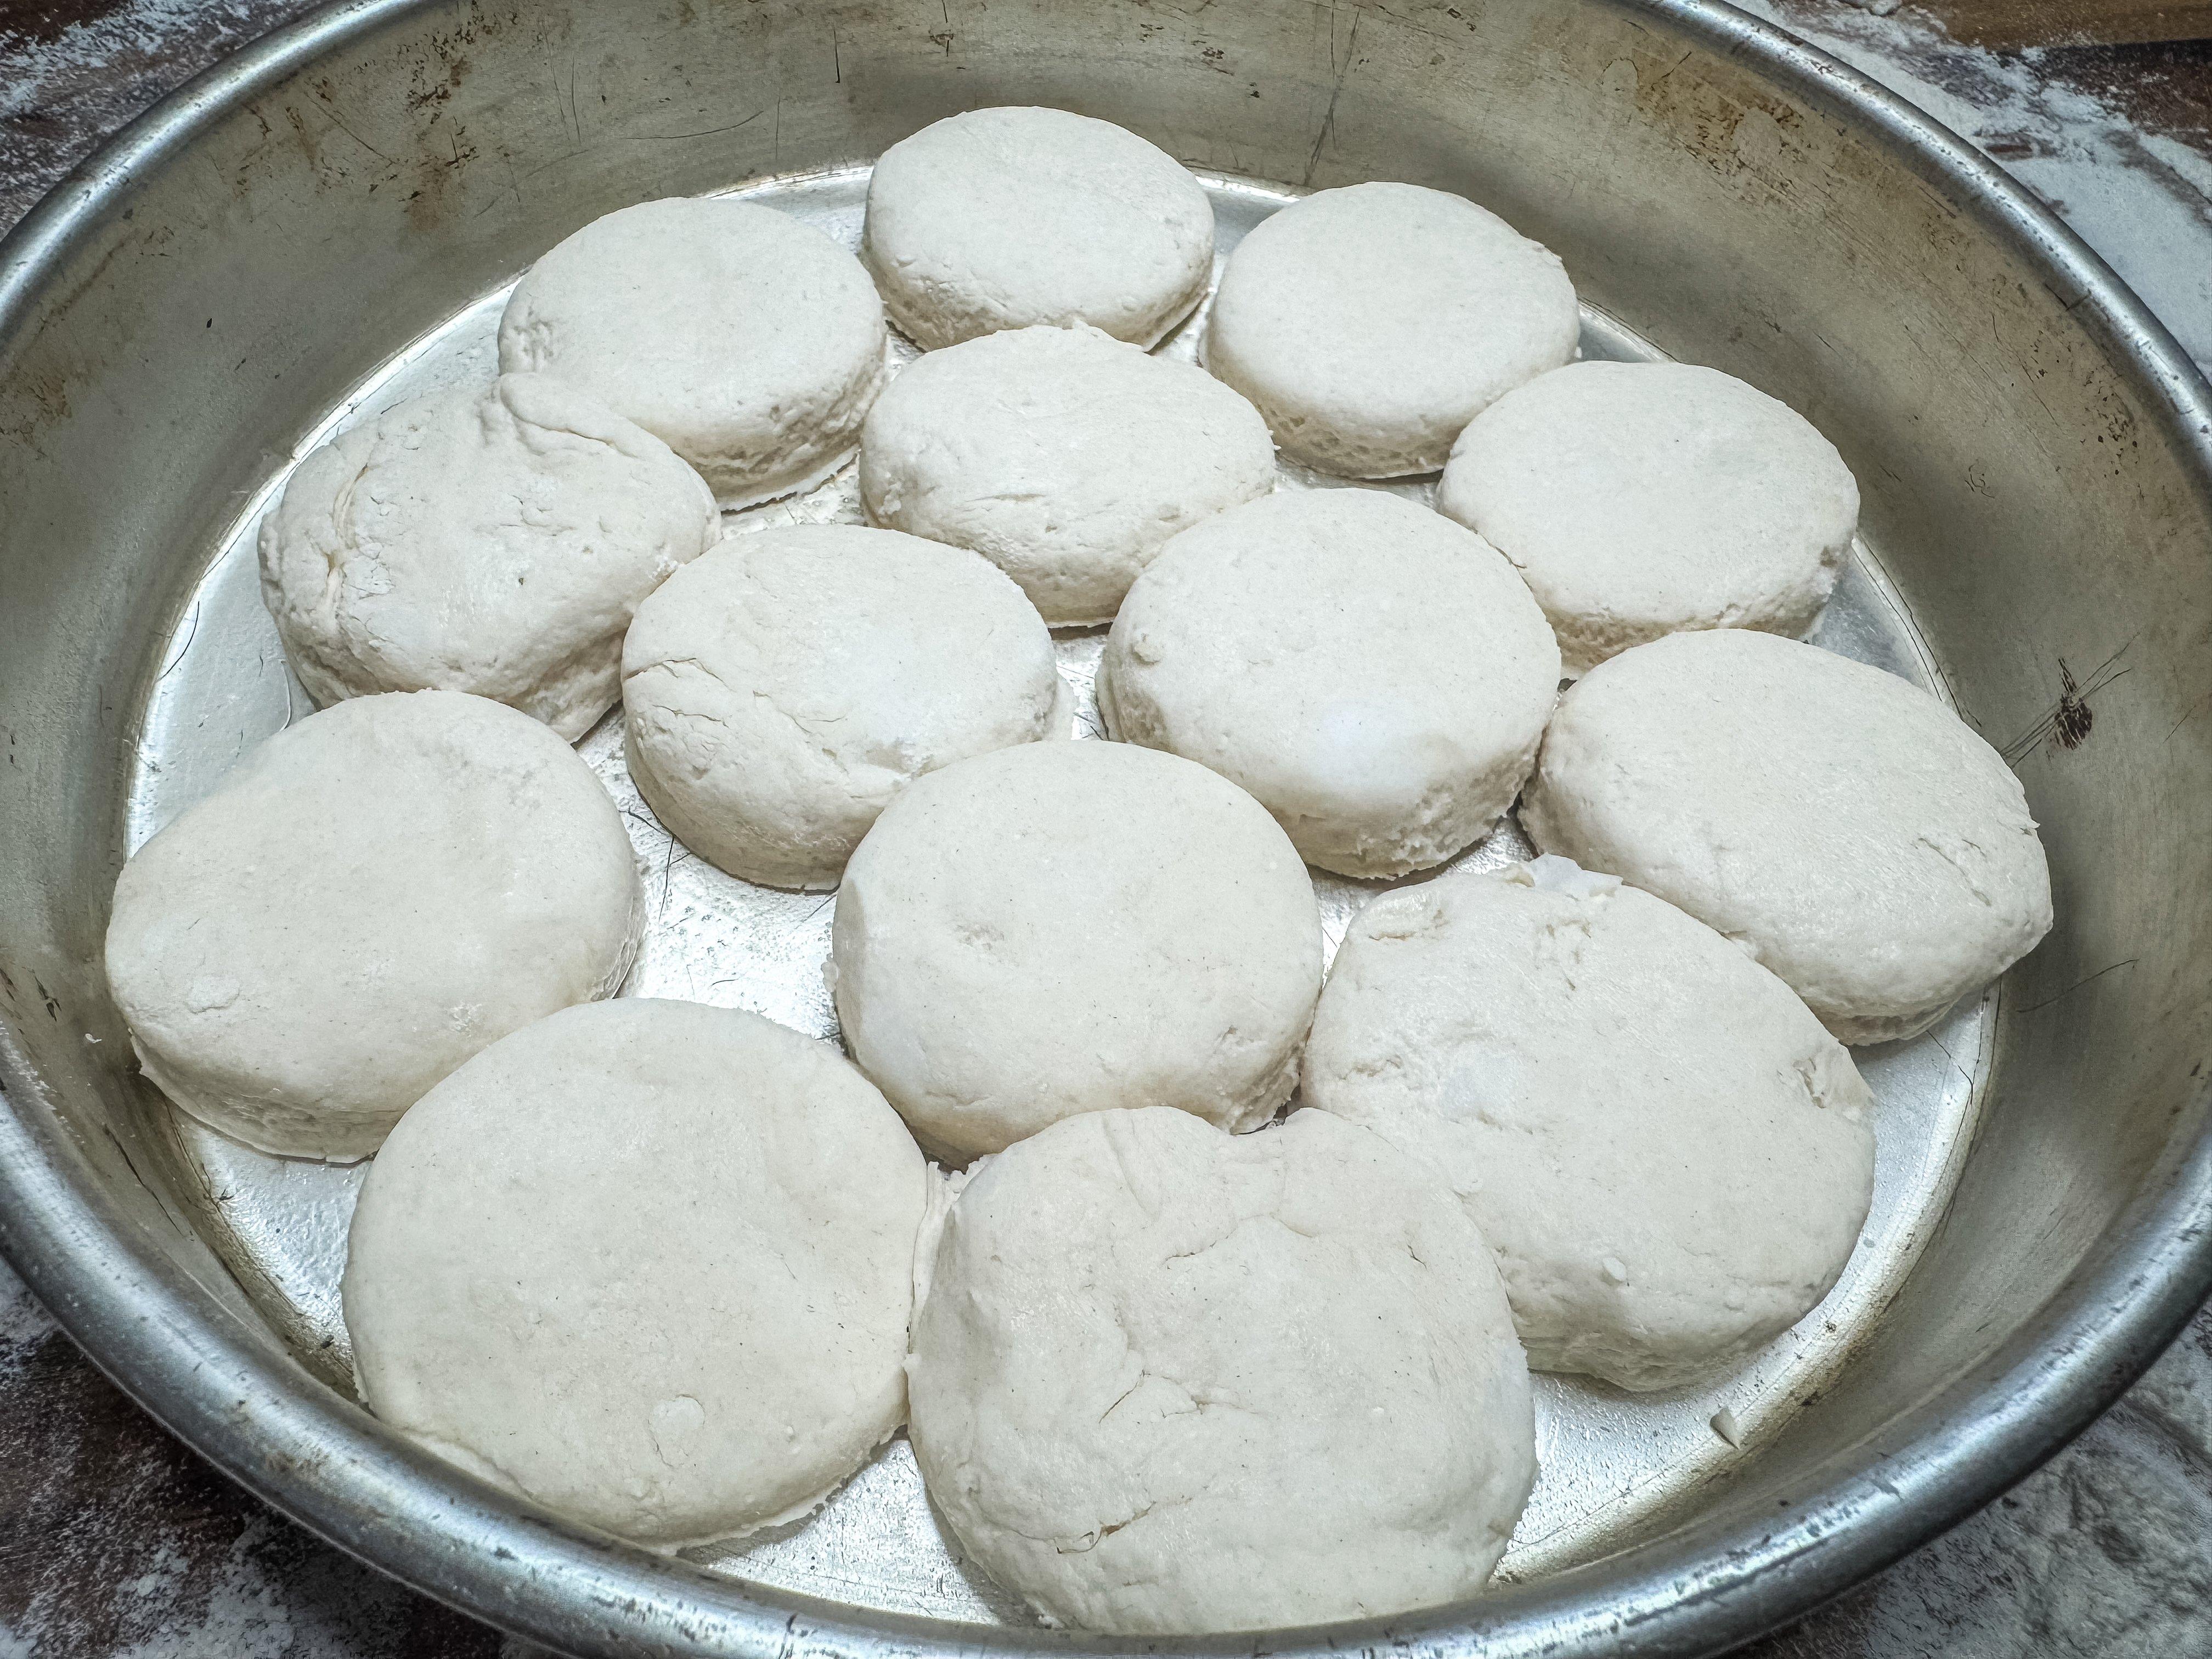
Place the biscuits into the baking pan.
Carefully lift the hot lid, and use a pair of pliers or channel locks to lower the pan into the Dutch oven to rest directly on the trivet inside. Replace the lid.
While the biscuits bake, in a small saucepan, mix the butter, garlic and chives.
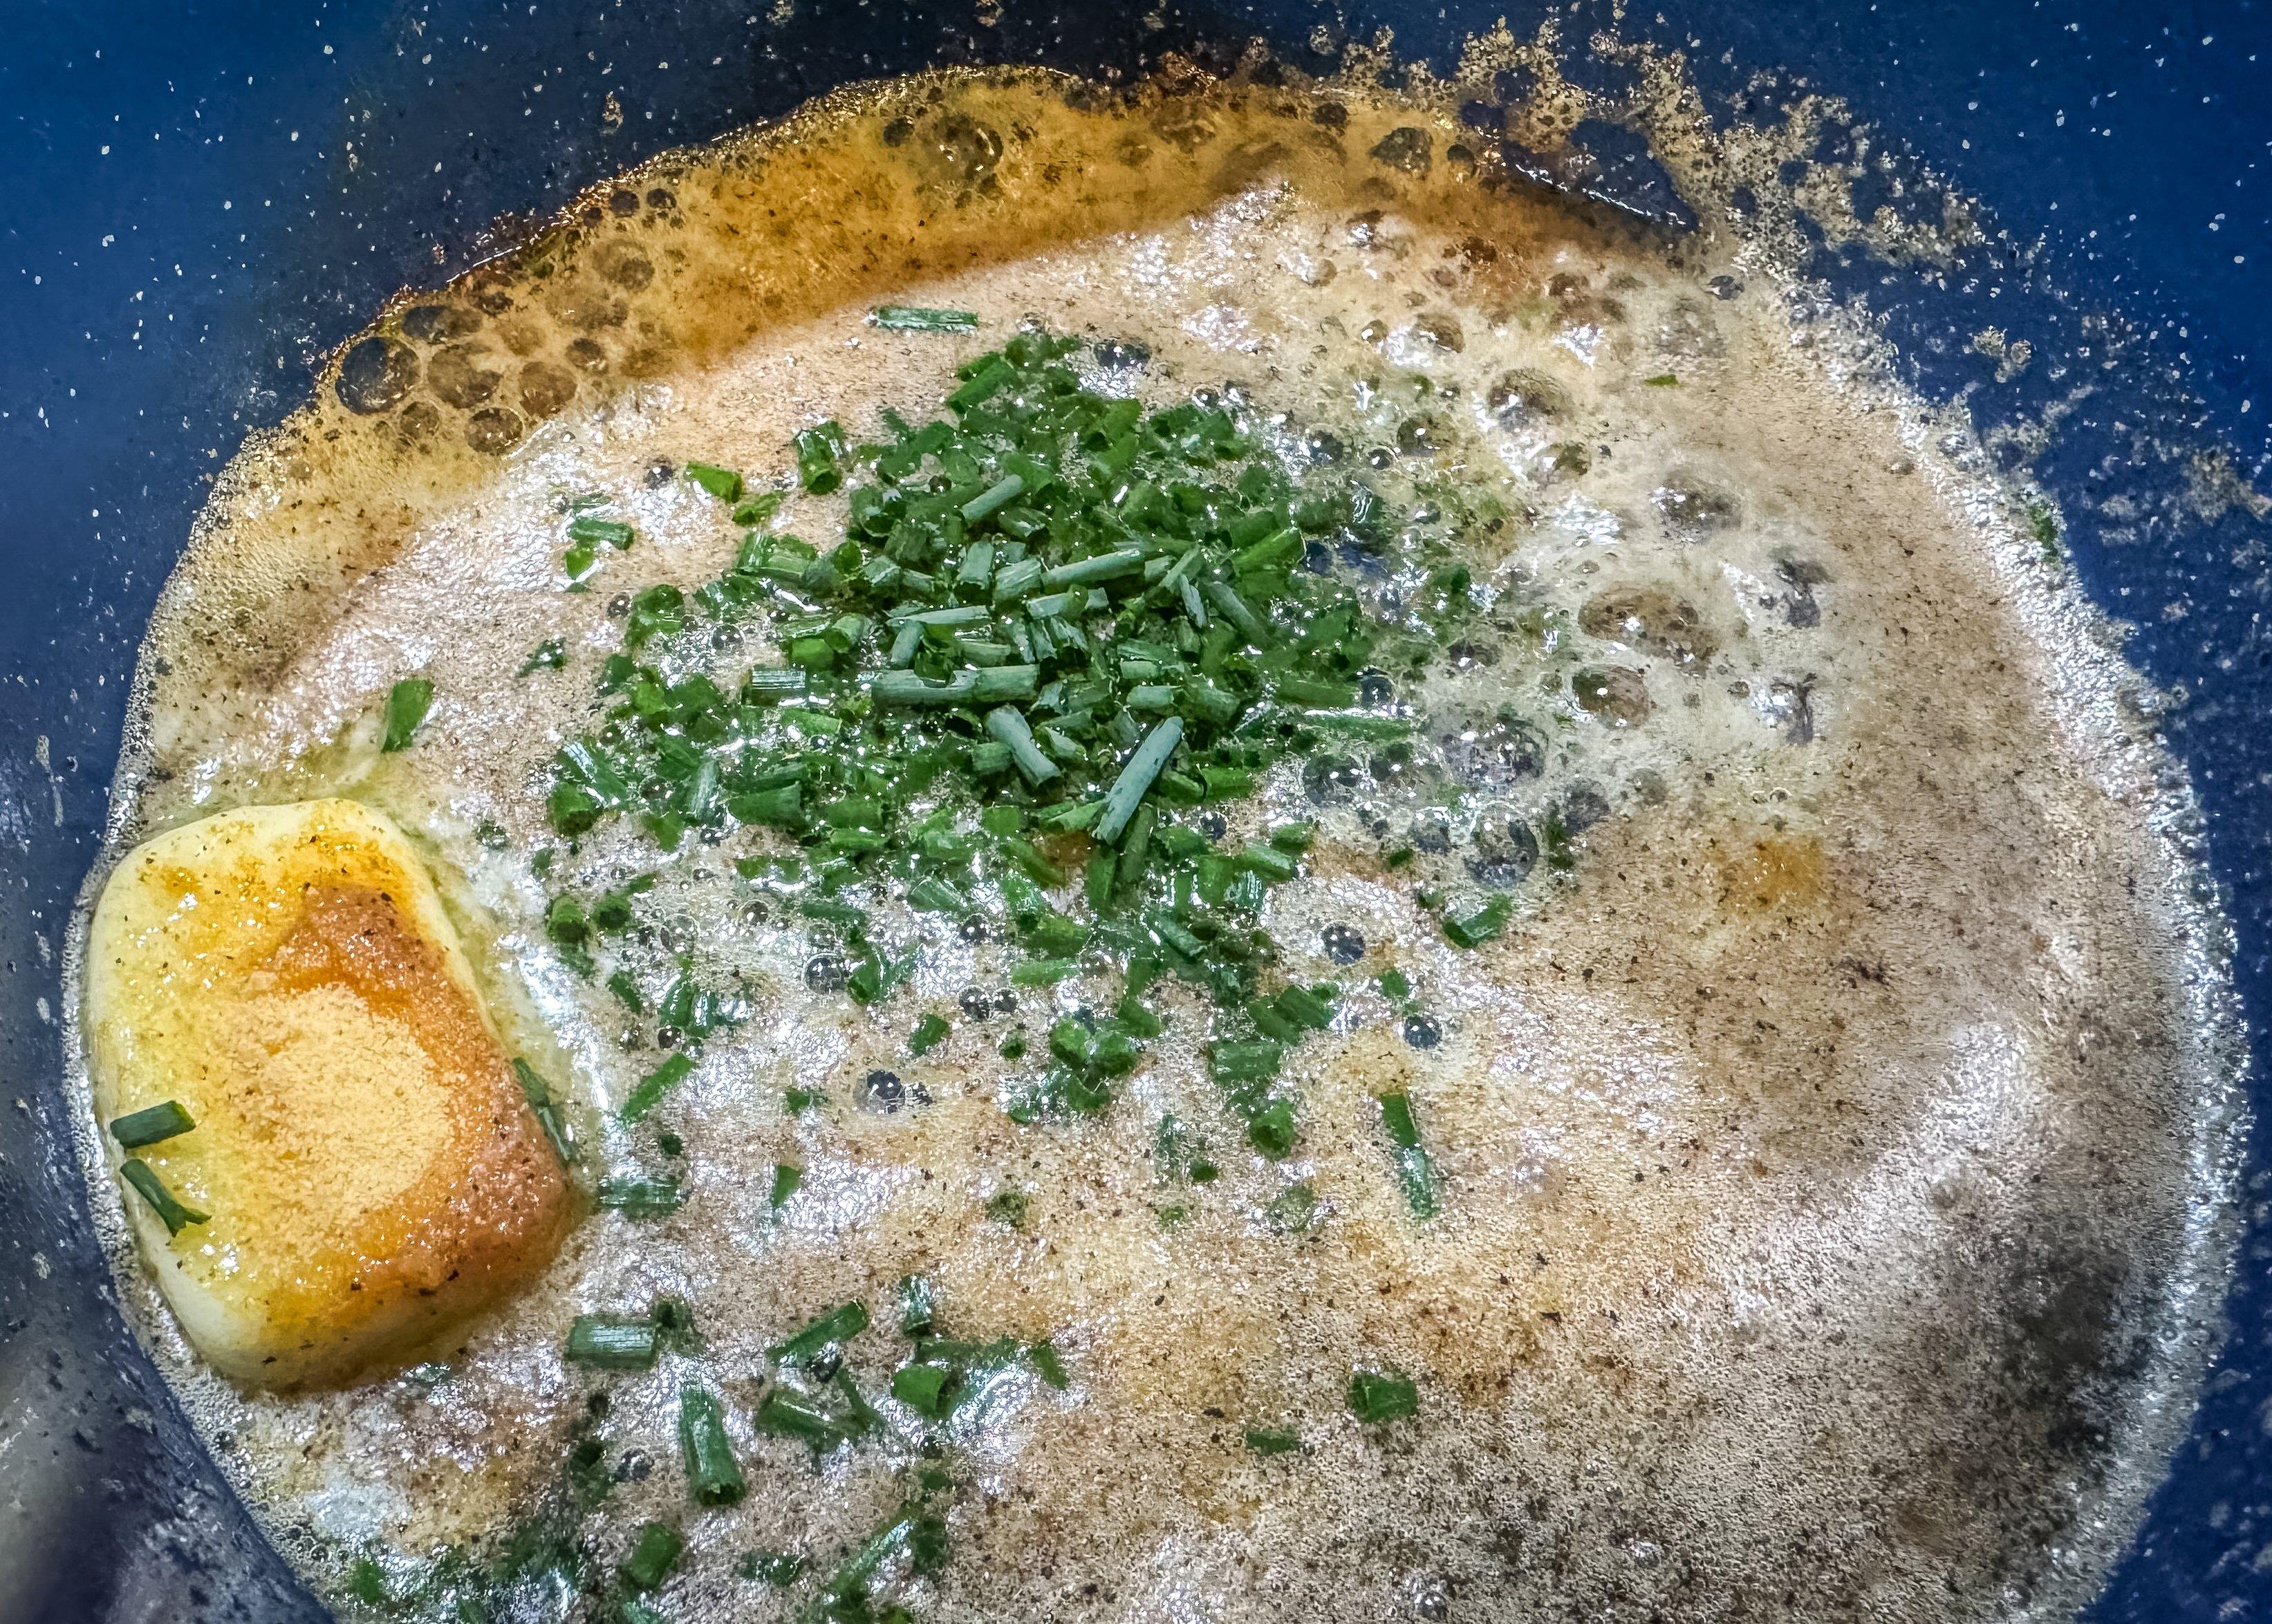
Mix the butter topping.
When the biscuits have baked for about 15 to 20 minutes, carefully remove the lid and brush the butter topping over the biscuits.
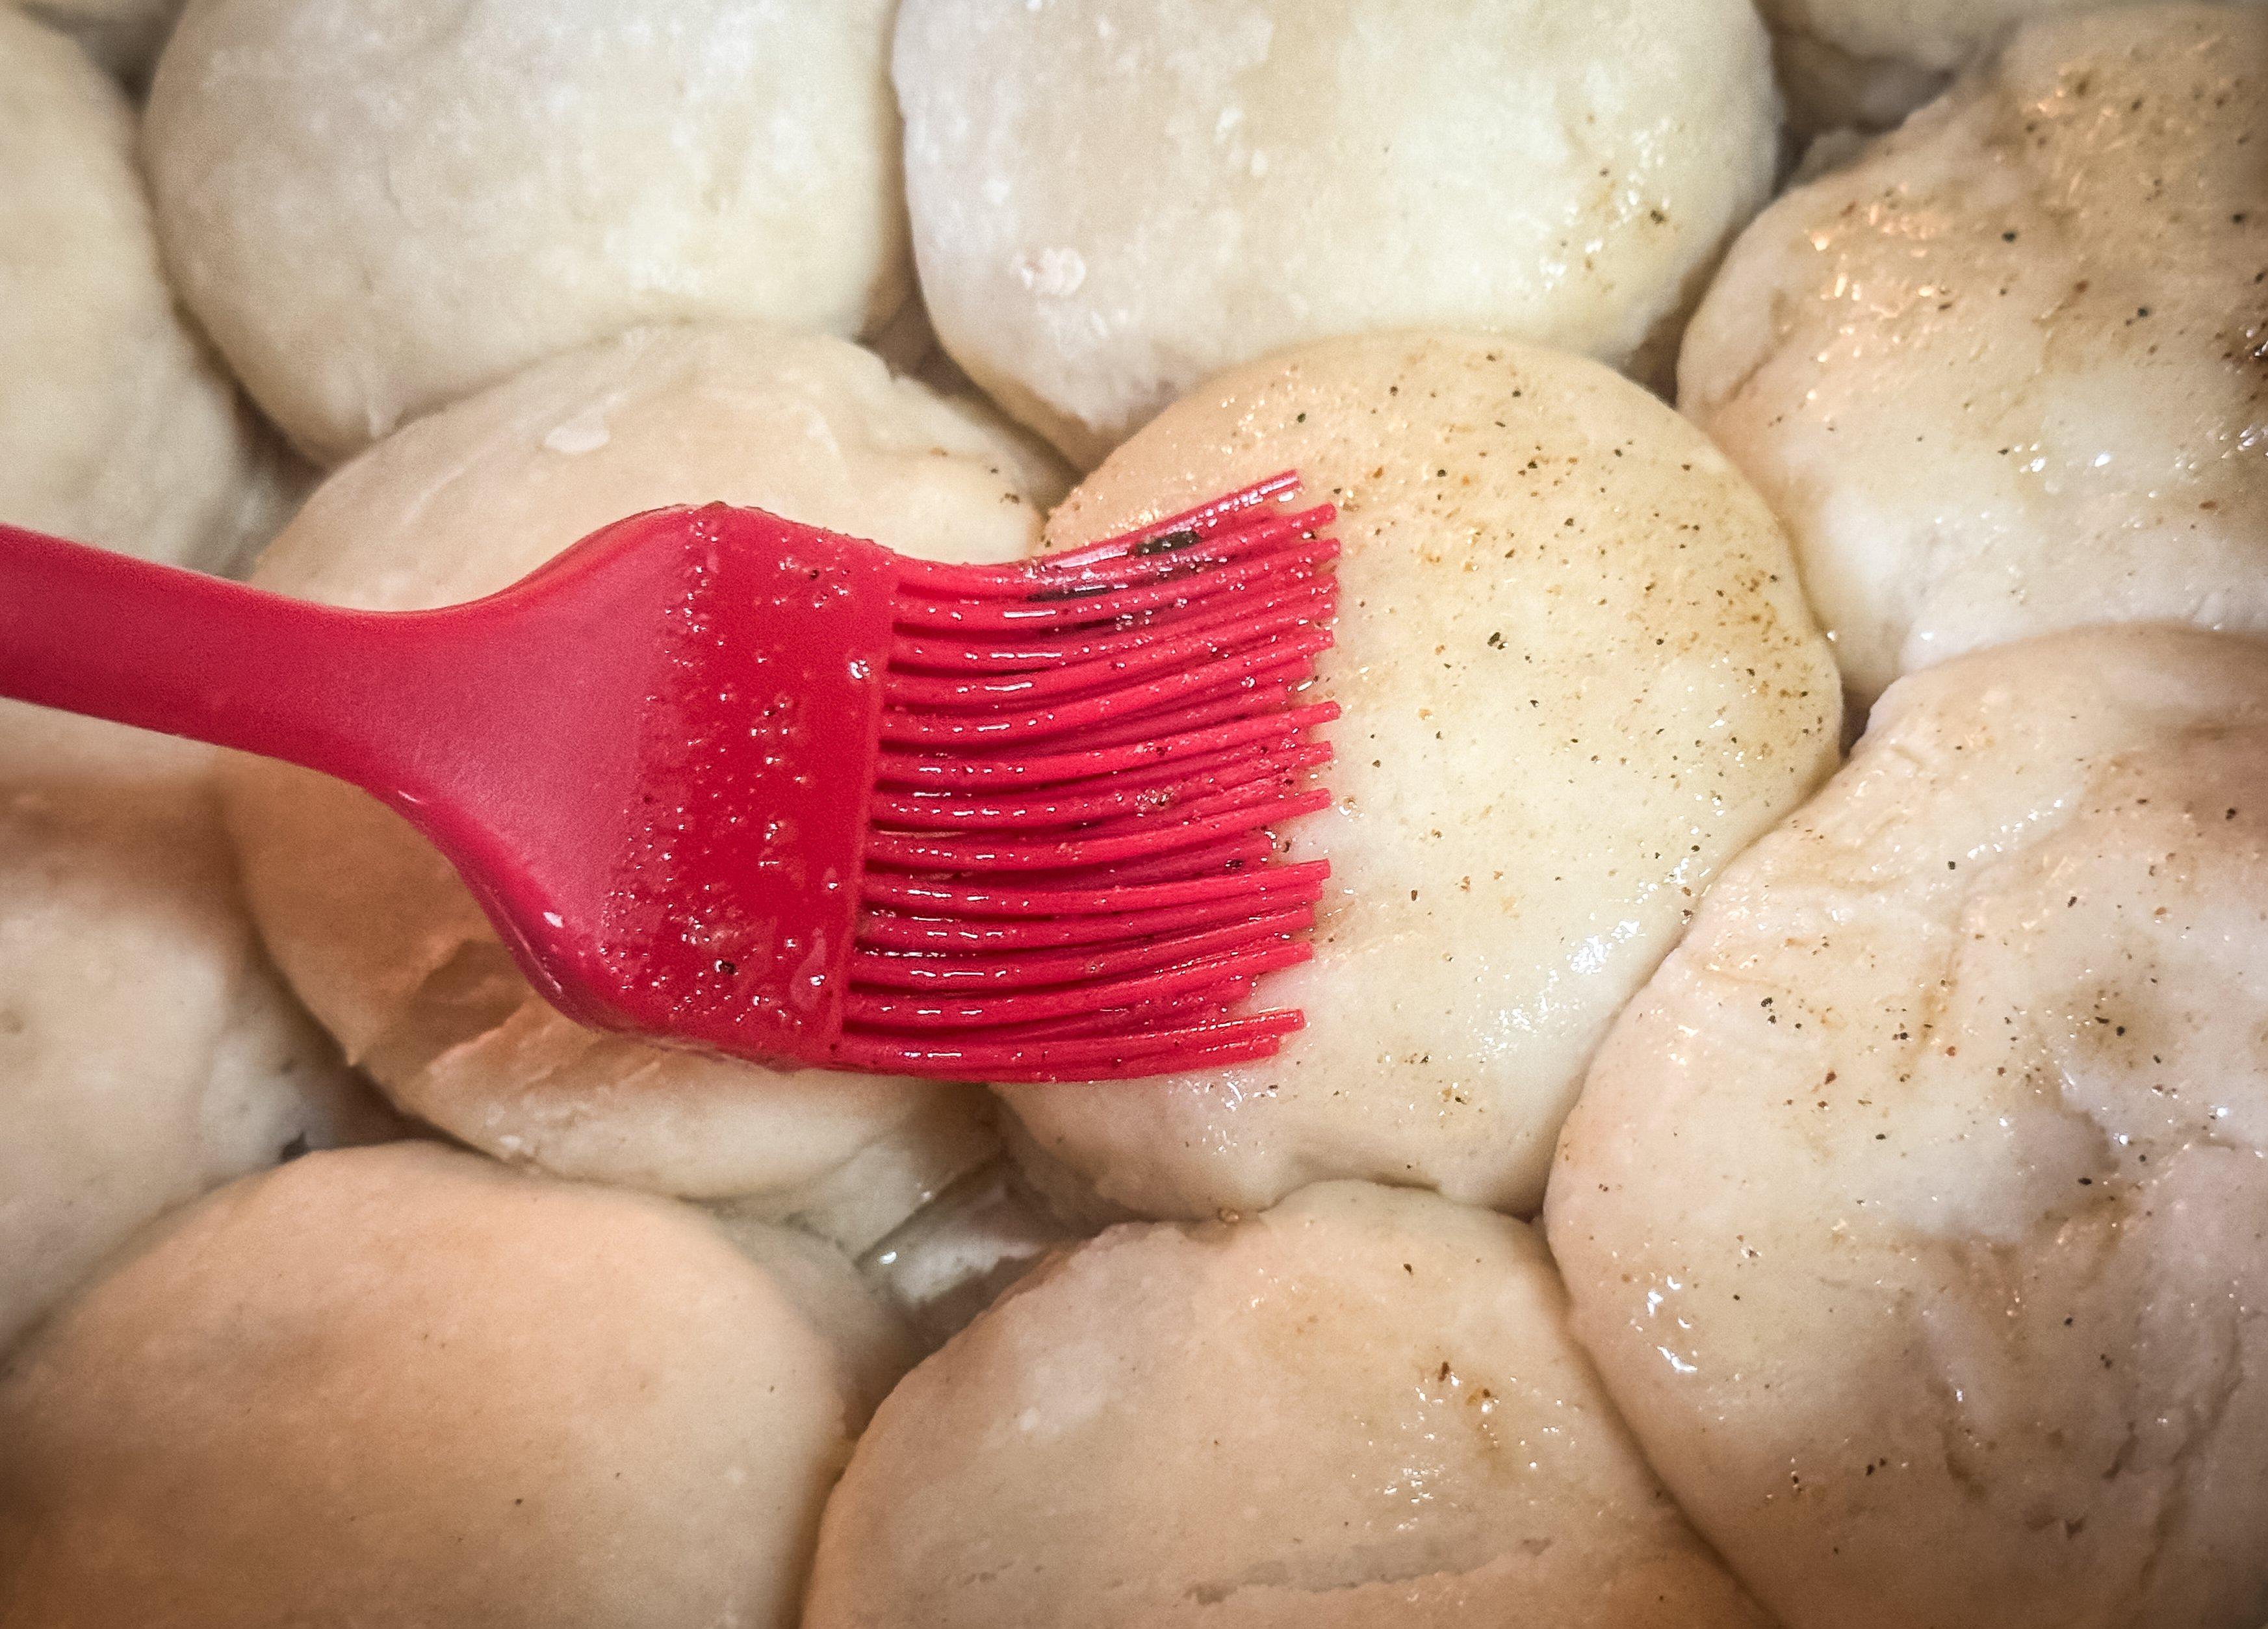
After the biscuits bake for a while, remove the lid and brush on the garlic butter topping.
Return the lid and finish baking, usually five to 10 more minutes depending on temperature. You want the biscuits golden on top and just cooked through.
Remove the inner baking pan with the same pliers you used to lower it down into the Dutch oven. If you have a second pan, go ahead and drop it in while the lid is off. You can add additional coals to the top for a second bake, if necessary.
Don’t Miss: PAWPAW CREME BRÛLÉE
Ingredients
2 cups self-rising flour (plus extra for dusting)
1/2 cup cold buttermilk
1 cup sourdough starter (or fed or unfed discard)
1 large egg size ball of lard, very cold or frozen (or 1 stick butter, also cold or frozen)
1 teaspoon sugar (optional)
Garlic Butter Topping:
½ stick melted butter
1 teaspoon garlic powder
1 teaspoon chopped fresh chives (optional)
author at Timber 2 Table recipes