Cast iron from the late 19th and early 20th centuries has a glass-smooth surface, but cast iron made from that point on has a rough texture. Here's how to make modern cast iron as smooth as Grandma's old skillet
If you are lucky enough to own a cast-iron skillet made before about 1940, you've probably noticed that the cooking surface is much smoother than today's cast-iron cookware. Many cast-iron enthusiasts crave that smooth surface, claiming it outcooks and outperforms today's iron, with its bumpy, pebbly texture.
So what changed? It isn't just time and use that has made that skillet so smooth. Around the early mid-1900s, the manufacturing process for cast iron changed. Well, the basic process didn't change, but manufacturers discovered they could omit a time-consuming step and still get a serviceable pan. Before the turn of the century, newly poured cast iron would sit in the molds for two days or more before being tumbled and polished for a full 24 hours. This resulted in a glass-smooth cooking surface. The skillets would be sold unseasoned, and users would season their new cookware at home to make them nonstick.
Sometime in the late 1940s, manufacturers began getting requests for preseasoned cookware. They experimented with different techniques and discovered they could omit the resting and tumbling steps and still be able to season the pan to a reasonably nonstick cooking surface. This cut the manufacturing time for a single piece from over 72 hours down to about 90 minutes, a huge cost saver.
Does it make a difference for cooking? Yes and no. A well-seasoned modern pan can still turn out incredible fried chicken, cornbread, or even fried eggs and still easily wipe clean, but those early, smooth pans and skillets are prized by professional chefs and serious home cooks for a reason — so much so that old skillets can regularly sell for hundreds, and sometimes thousands, of dollars.
The demand for old-style cast iron is so great that a slew of new manufacturers like Butter Pat Industries, Smithey Ironware, Lancaster Cast Iron, and The Field Company have sprung up to make skillets the old way, with that glass-smooth surface. As you might expect, cookware that requires a lot more time and labor to build costs quite a bit more than a standard off-the-shelf skillet.
Don't Miss: How to Find, Identify, and Prepare Chanterelle Mushrooms
So what's the home cook with a limited budget and a hankering for a truly slick cast-iron skillet to do? Fret not, with a few tools and a bit of elbow grease, you can turn even the cheapest modern cast-iron pan into a supersmooth cooking machine. You just need to replicate that tumbling and polishing step of old.
Before we get into the nuts and bolts, let me start with this. NEVER (I mean it, NEVER) use a power tool on a collectable or antique cast-iron pan, pot, or skillet. Doing so will ruin its value. If you don't know if your skillet is old, rare, or collectable, leave it alone until you find an expert who can take a look. This method is designed for modern, often imported, cast iron sold at rock bottom prices. It will turn a barely serviceable piece into one you reach for on a daily basis. With skillets like these, that's all you need.
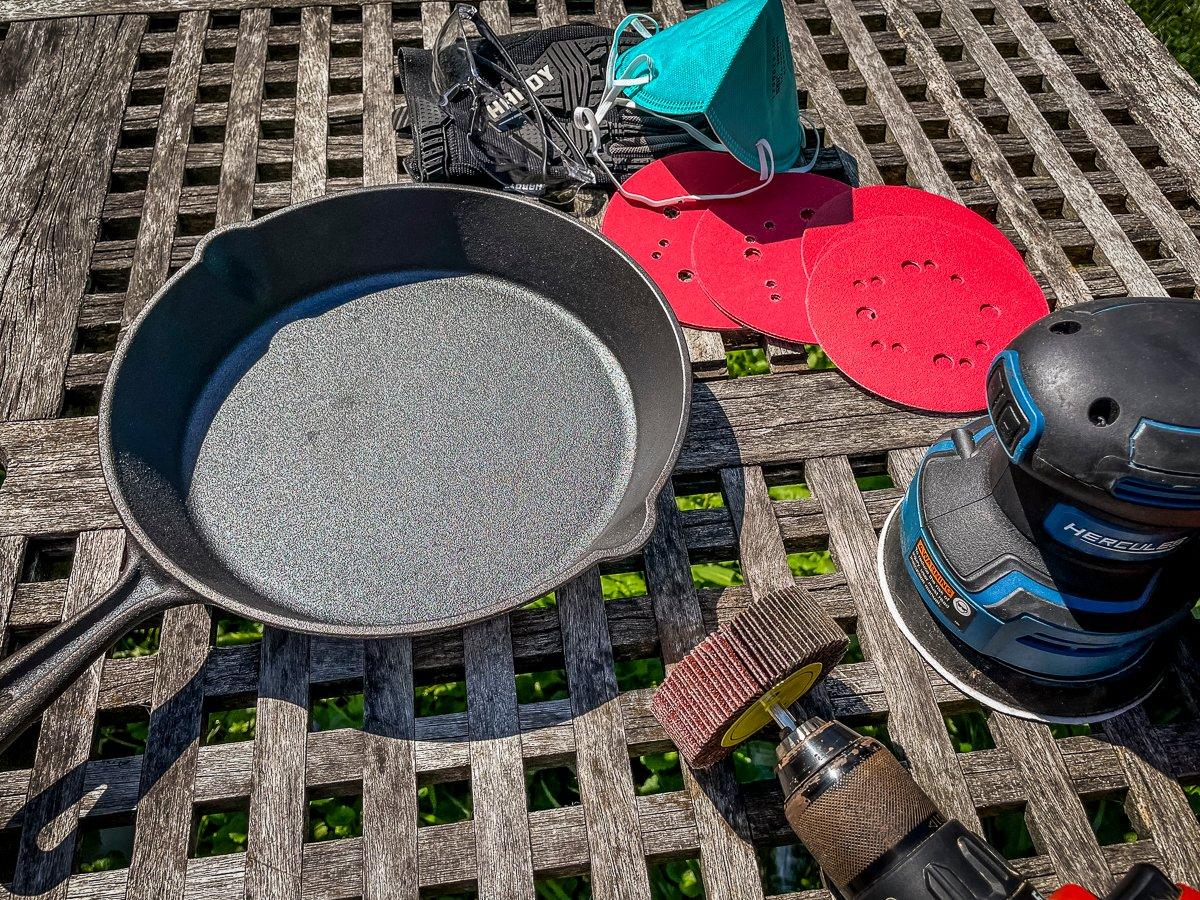
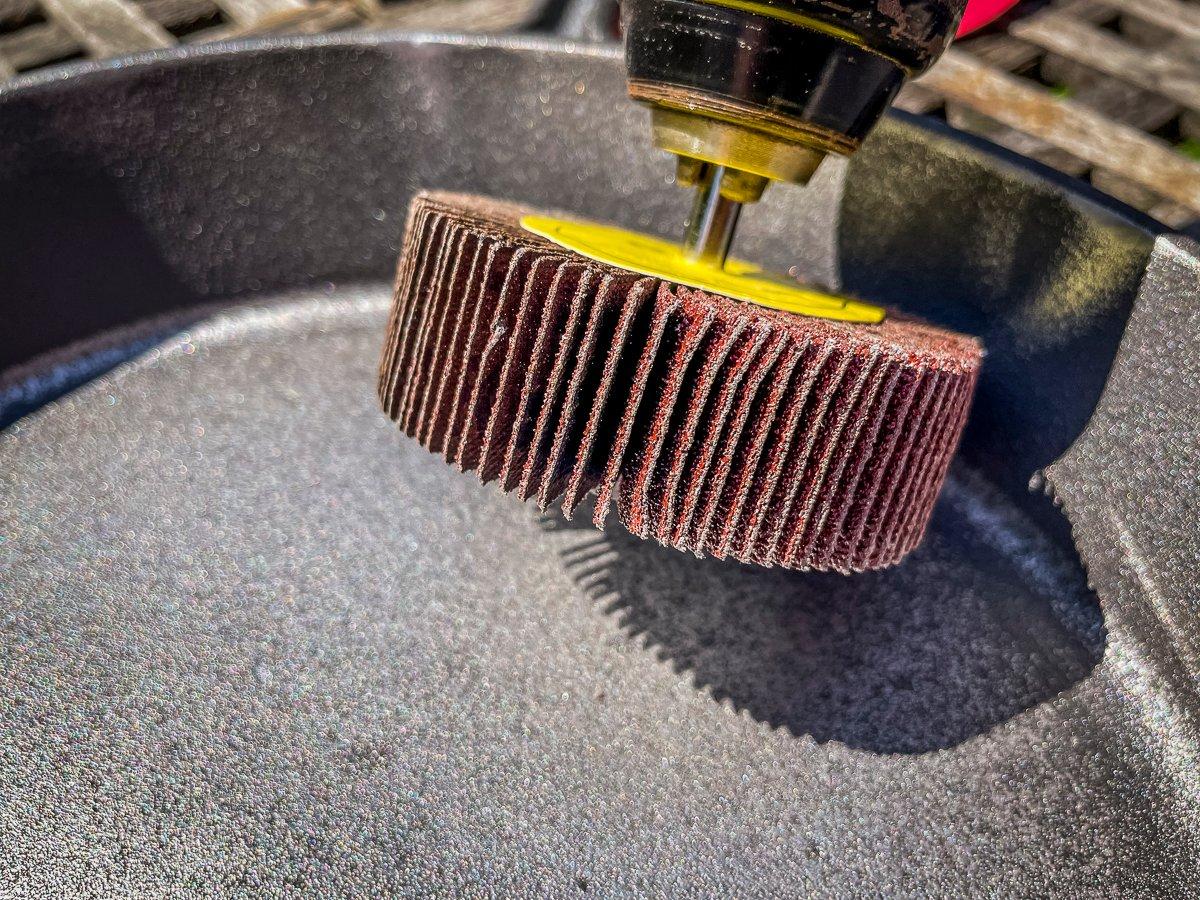
Many how-to articles suggest using a grinder for the process, but I've found that it's pretty easy to dig down into the pan with one, resulting in an uneven cooking surface and thin spots that don't heat evenly. Instead, I prefer to use a random orbital sander and various grits of sandpaper, starting with a coarse 60 grit and finishing up with a fine 120 or an even finer 180 grit for the final polished surface. To get down into the corner where the sides meet the flat bottom, I use a flexible sanding wheel mounted in a cordless drill. You can also sand the corner transition, or even the entire pan, by hand if you don't have access to power tools. It works, it just takes longer.
Tools:
5-inch or 6-inch random orbital sander
Sanding pads ranging from 60 up to 120 or 180 grit
Two or three 1-inch-by-2-inch flexible sanding wheels
Safety glasses
Gloves
Mask
First, a few safety and cleanup tips. The process results in a cloud of fine metal dust. Do it outside. You don't want that dust in your eyes or lungs, either, so wear safety glasses and a mask. It's pretty easy to get a finger up against the moving sanding pad, so a pair of gloves will keep your skin where it's supposed to be.
Don't Miss: 5 Easy Ways to Ruin Your Cast Iron
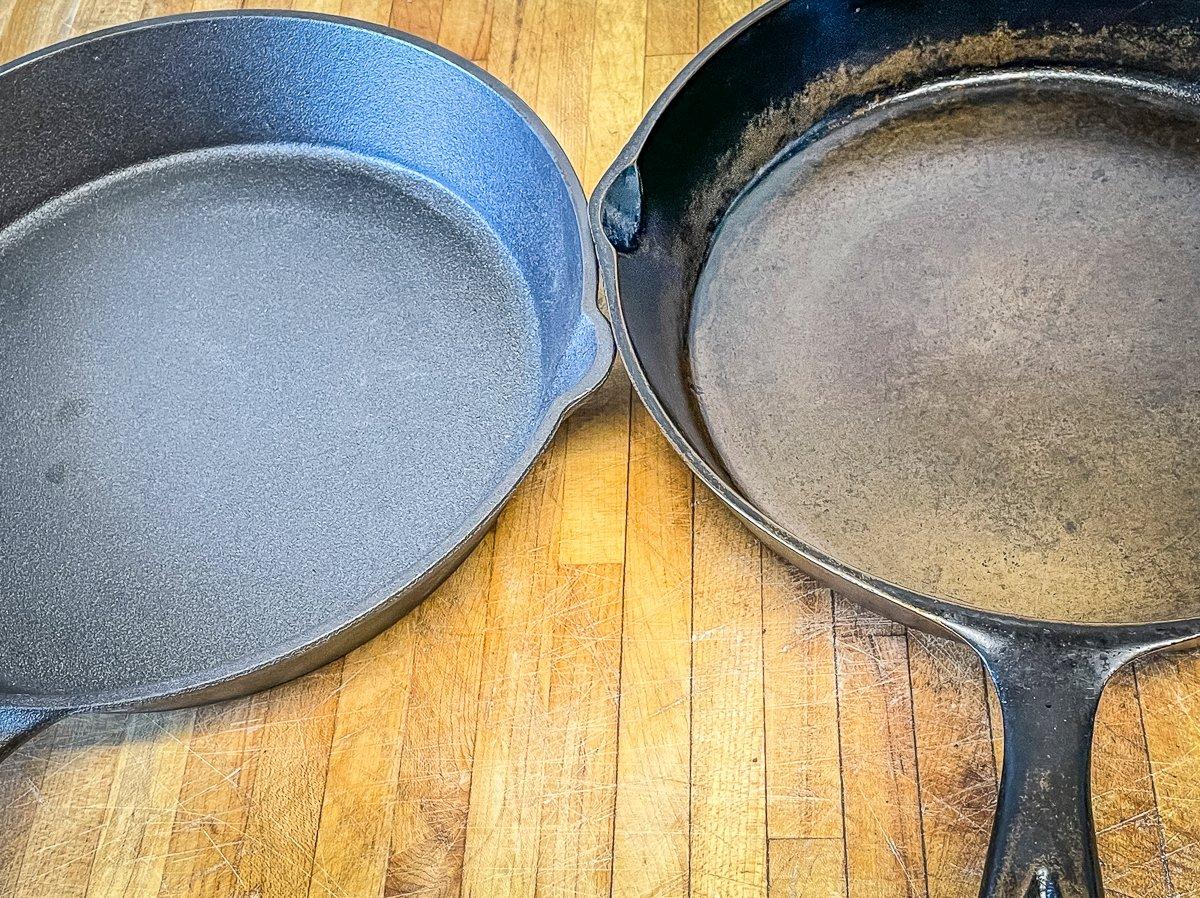
Feel the surface of your pan, and notice the gritty and pebbly feel. I started with a brand-new, store-brand imported 10.5-inch skillet. It cost around $12 at the local mega mart. When I placed it side by side with my grandmother's 1940s Lodge skillet, it was hard to believe they were made from the same material.
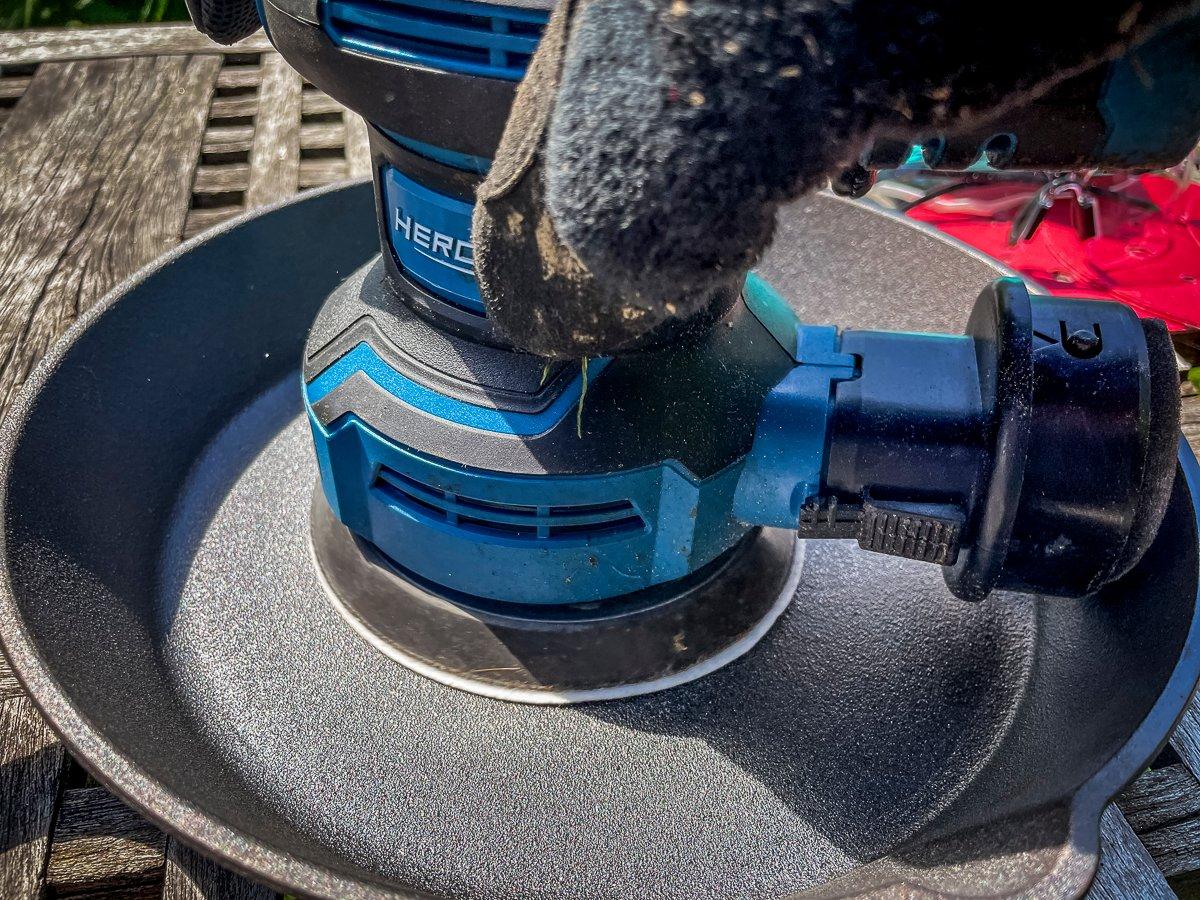
Start with the coarsest 60-grain paper. Sand the surface evenly to keep the bottom of the pan flat. Work around the sides of the pan, taking care to hold the sander at the same angle as the pan's side so that it smooths the entire surface and not just the top or bottom. When the grit on your sanding pad wears down, replace it with a new one. Eventually, you will notice the skillet feels much smoother and most of the tiny bumps will be gone. Switch to the flexible sanding wheel and work on the transition from top to side until the entire surface is equally smooth. Change to a finer sanding pad, say 120, and repeat the process. Stop there, or repeat the process with 180 grit for a supersmooth finish.
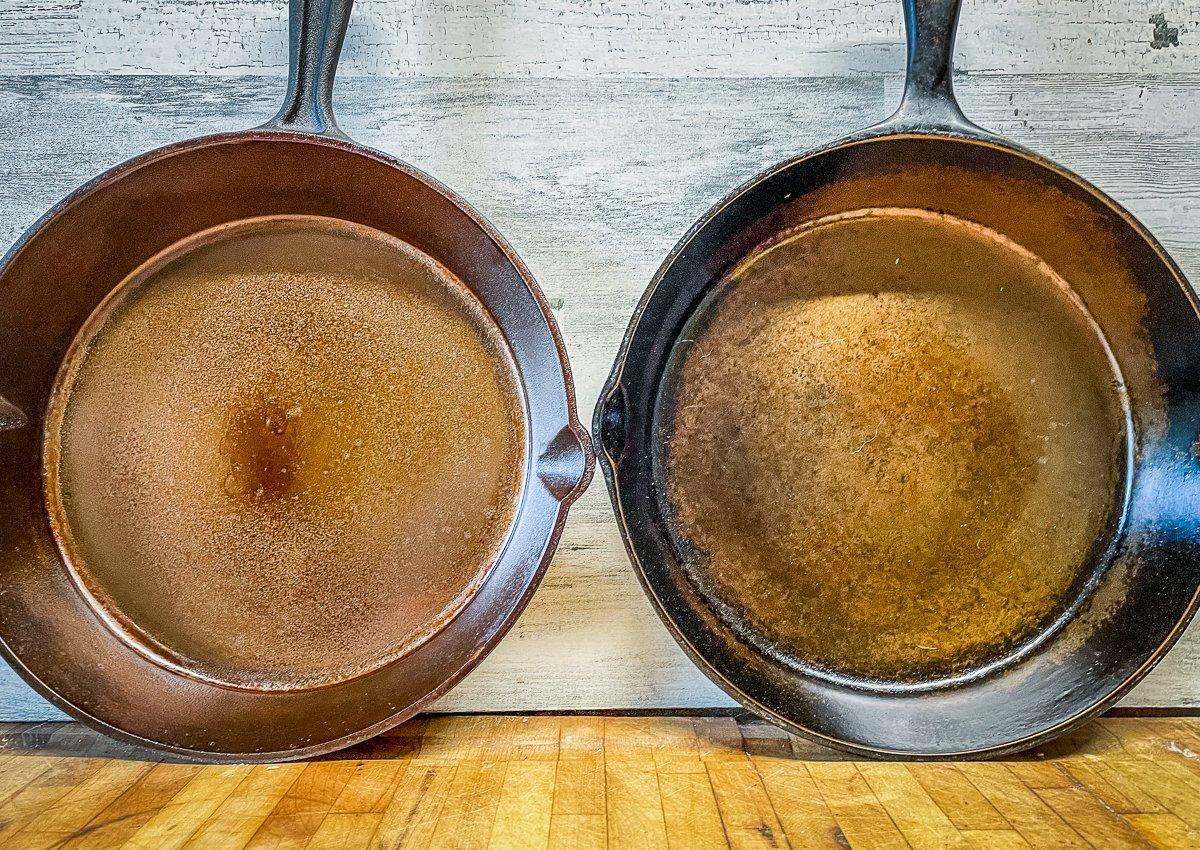
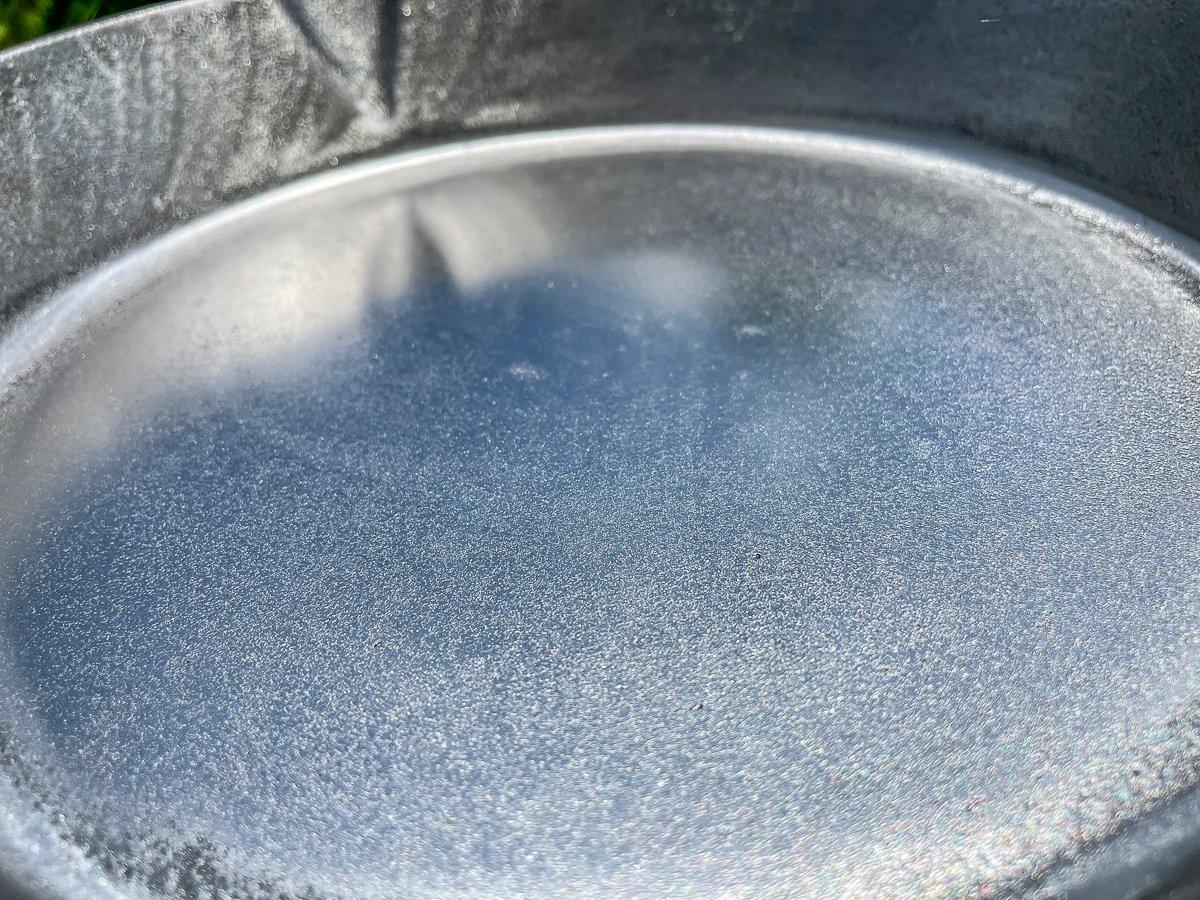
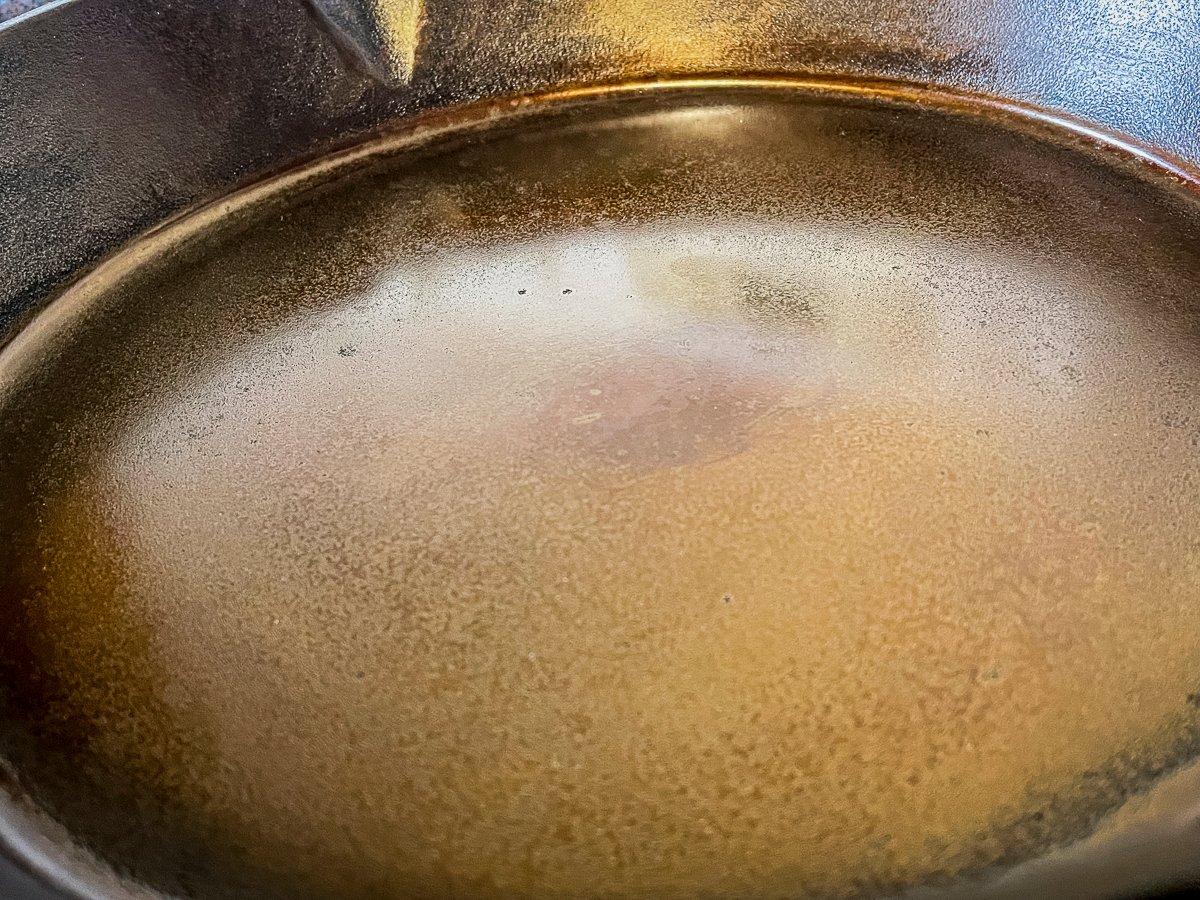
Eventually, the surface of your pan or skillet will feel like glass. The cooking surface should be shiny and reflect like a mirror. At that point, you are done with the hard work.
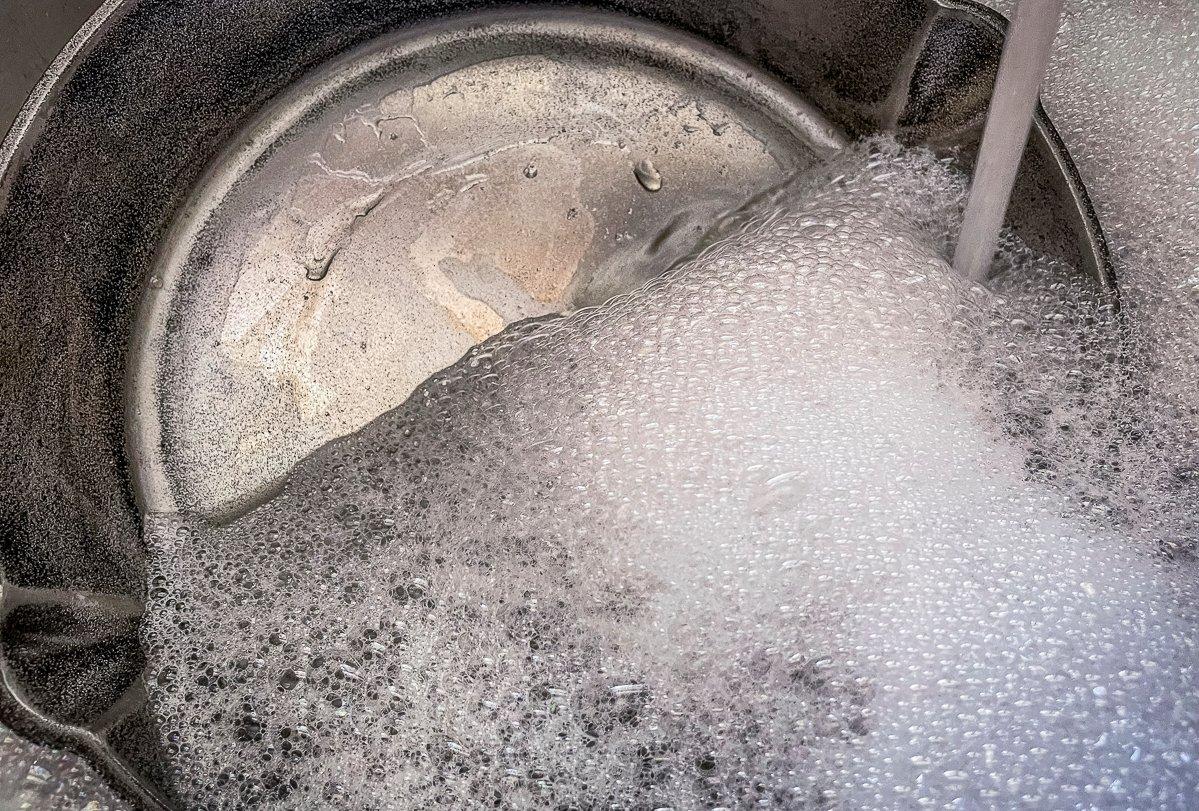
Now it's time to wash the skillet well with hot, soapy water (no, soap won't hurt it, just dry it out when you are done) and re-season it for a slick, nonstick finish.
For seasoning cast iron, I prefer an oil with a middle to high smoke point like grapeseed, canola, or peanut, or a product like the Lodge Seasoning Spray or BuzzyWax paste.
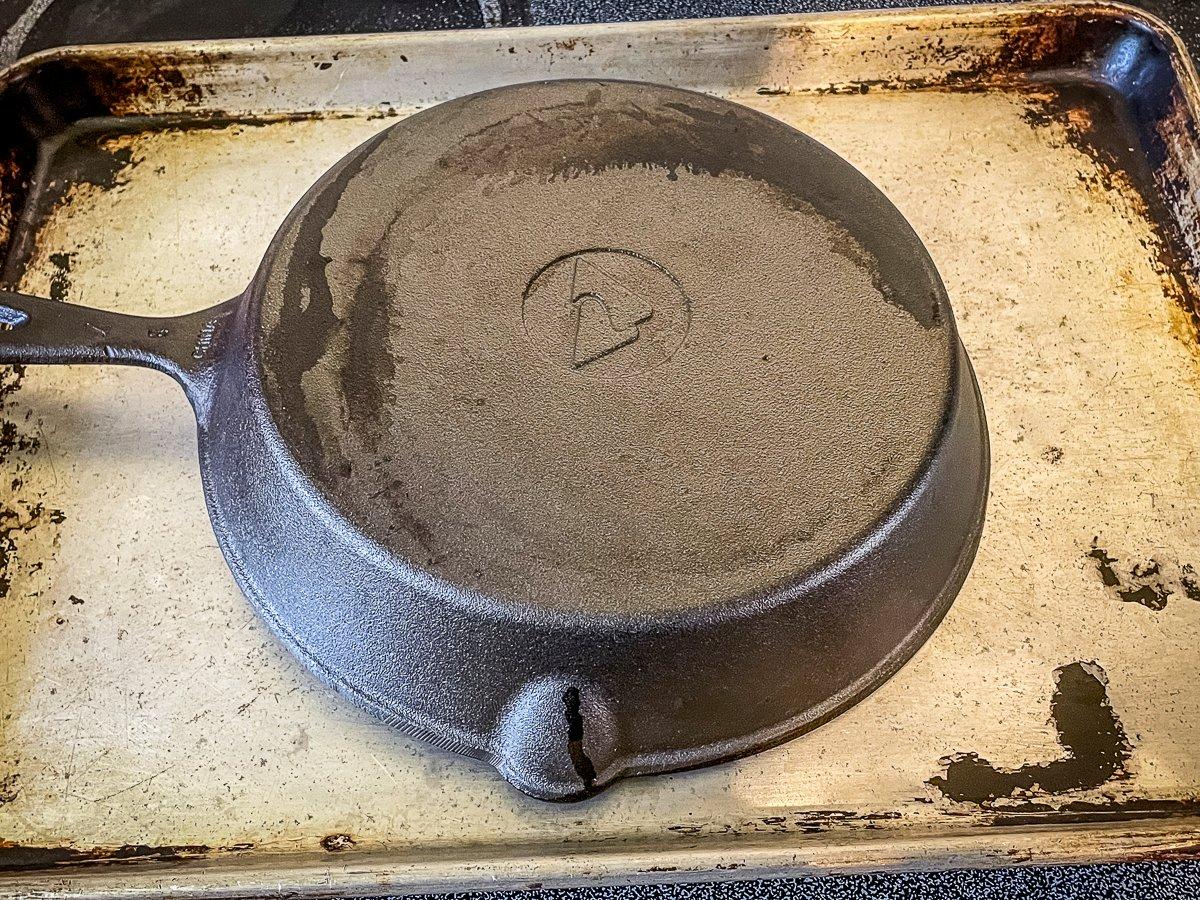
Start by heating the cast iron either on the stovetop or in the oven until it is warm to the touch. Use a lint-free cloth (I'm fond of blue shop towels for the process) to apply a thin layer of oil to the entire surface of the pan or skillet. Use a clean cloth to wipe it out, leaving only a thin film of oil on the metal.
Place the skillet or pan, upside down, directly onto the rack of a preheated oven at 450 to 475 degrees. Bake for 60 to 75 minutes. Turn the oven off and allow the pan to cool enough to touch. Apply a second thin coat of oil and repeat the process. You can do this as many times as you like. The more seasoning, the better the cooking surface, but two or three is usually enough to start cooking.
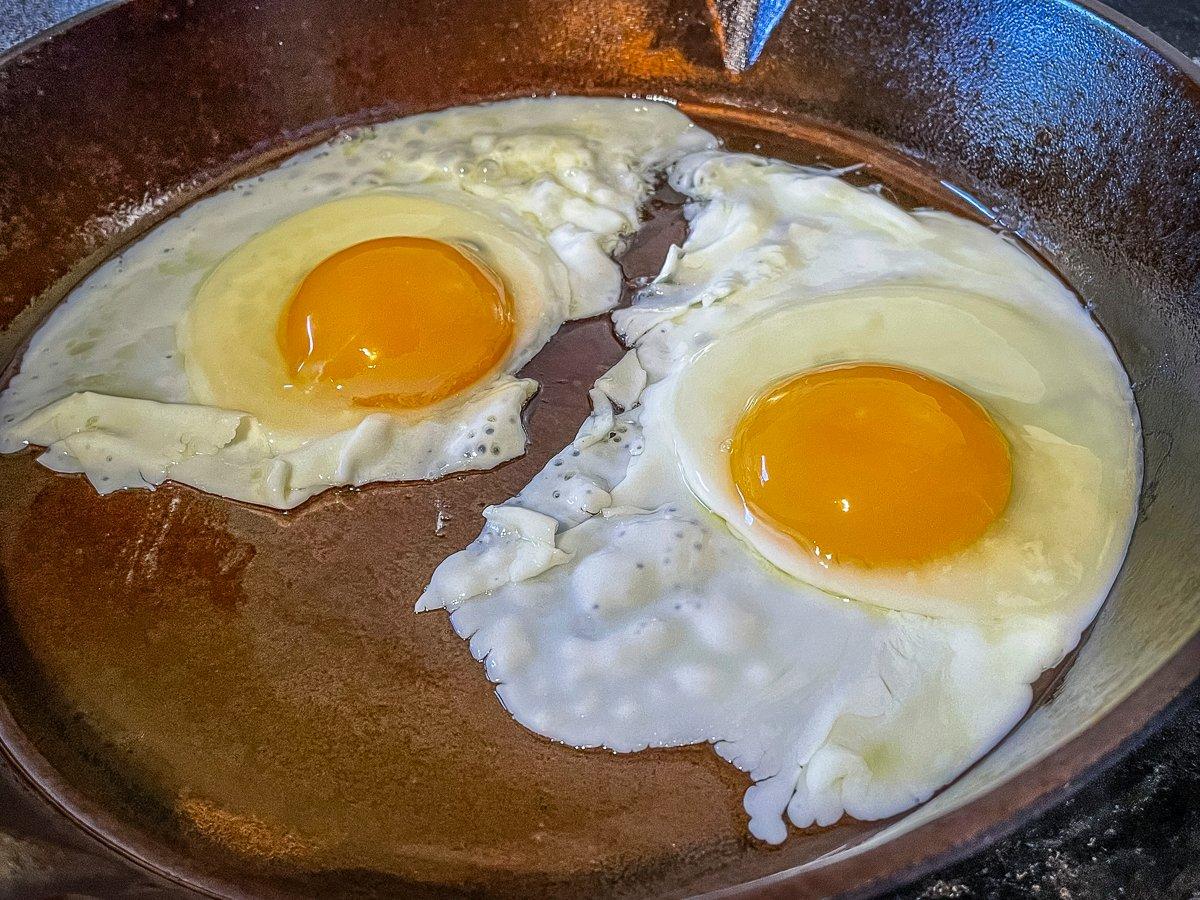
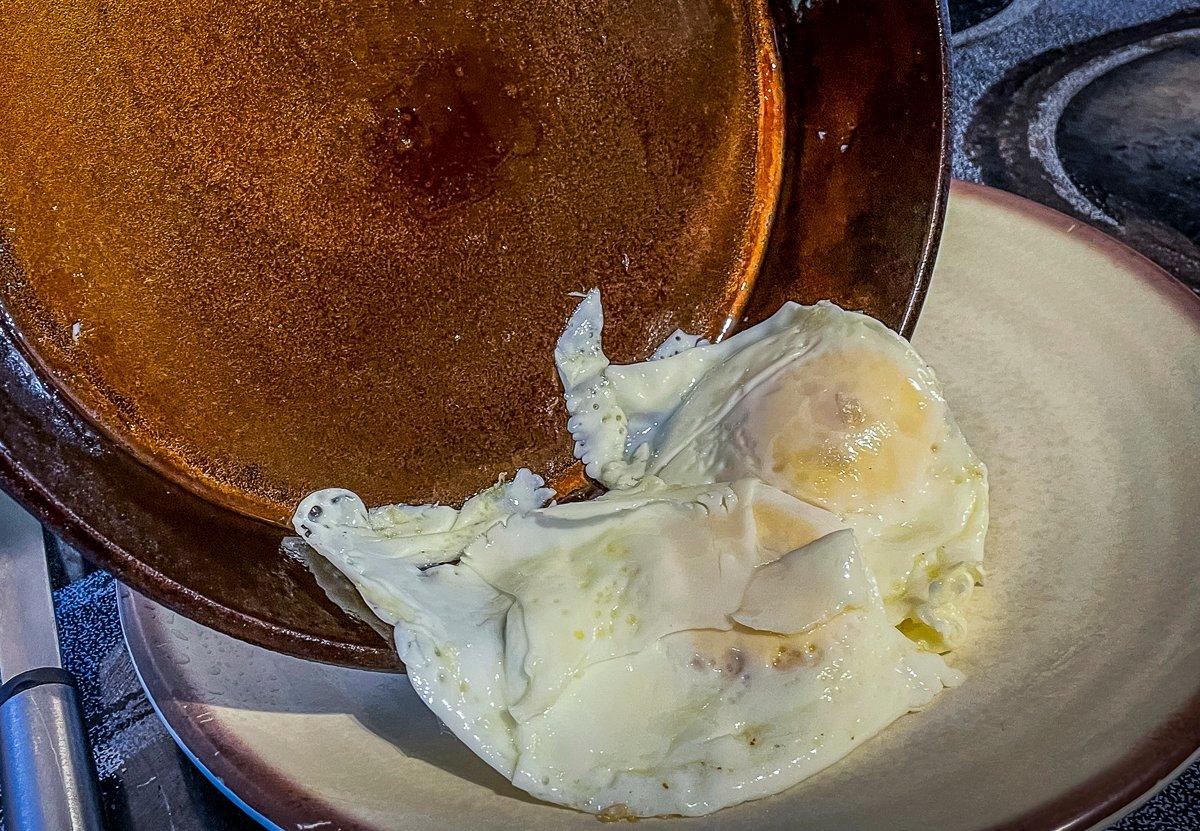
Now, enjoy your new, old-style, cast-iron skillet or pan! To show how nonstick the newly smooth skillet is, I cooked a couple of fried eggs. With just a bit of nonstick spray, the eggs slid and flipped easily in the skillet without sticking.
Once they were finished cooking, they slid right out onto the plate, leaving the pan ready to wipe clean with just a paper towel.

