It takes a bit of time and some equipment, but making sauerkraut is cheap, easy, and, most importantly, delicious
Sauerkraut is one of the better-known fermented foods in the world. It came about as a way to preserve fresh cabbage for long periods without refrigeration. To make it, thinly sliced and salted raw cabbage goes through the process of lacto-fermentation, which uses lactic-acid-producing bacteria to preserve foods in a low-oxygen environment. Examples of other lacto-fermented foods include fermented milks, yogurts, meats, sourdough bread, olives, and kimchi, as well as cucumber and other vegetable pickles.
Since the total fermenting time for the process takes 5 to 6 weeks, you might ask yourself, is it worth it? It is. Homemade kraut blows its store-bought competition out of the water. Sure, it's sour, but the flavor is also complex, with a slight sweetness and spice that comes from the cabbage. A good venison brat has no better friend than a heaping spoonful of homemade sauerkraut.
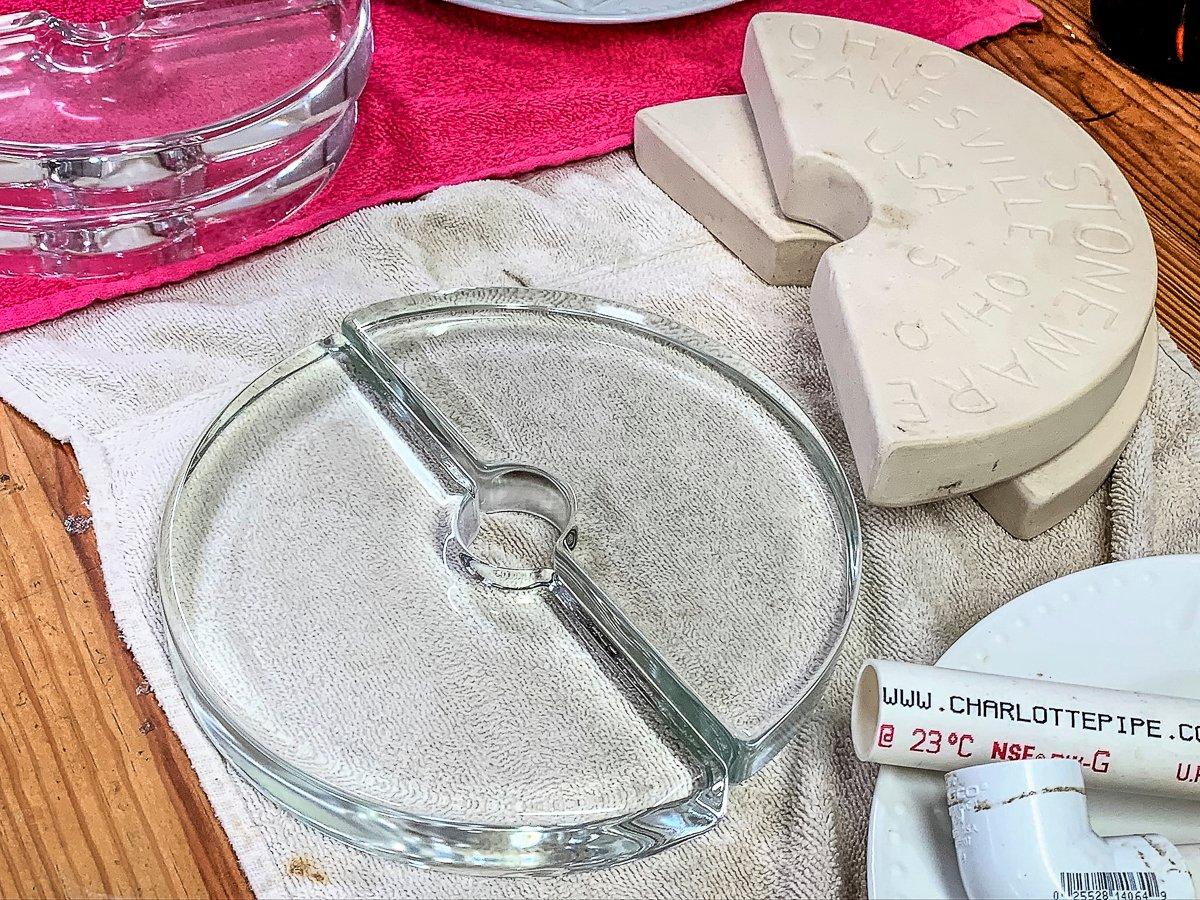
Traditionally, kraut was fermented in large stoneware crocks. Unfortunately, these crocks are getting rare, and if you do find one, it will be expensive. Luckily, a food-grade plastic 5-gallon bucket will substitute for the crock. Food-grade buckets can often be found used at bakeries, sandwich shops, and restaurants, or new from restaurant-supply stores or online. Along with the bucket, you will need a few pieces of 3/4-inch PVC pipe, some fittings, and a few jars. You will also need a weight to place on top of the shredded cabbage inside the bucket. Commercially made fermenting weights of stone or glass are readily available and dishwasher safe, but you can also use a heavy glass dish, stack of plates, stainless-steel chain, or even washed and heat-sterilized smooth stones.
Speaking of sterilized stones, this kraut will set in a bucket for five to six weeks. It is IMPERATIVE that every tool and container the kraut touches be clean and sterile, and your hands, too. Clean all work surfaces before you start the process. Clean jars, tools, and equipment well with hot, soapy water. Run them through the hot cycle of your dishwasher, if size permits.
Gear
Food-grade 5-gallon bucket with sealing (gasketed) lid
3/4-inch PVC pipe cut to 8-inch length
3/4-inch PVC pipe cut to 2 1/2-inch length
3/4-inch PVC pipe cut to 4- to 6-inch length
3/4-inch PVC fitting, 3/4-inch female on one side, threaded on the other
2 each 3/4-inch PVC 90-degree elbows
PVC nut to fit threaded portion of fitting
1 stoneware plate near the same diameter as bucket interior
Weight to press down kraut as it ferments
Wide-mouth quart jars with new (unused) lids
A sterilized baseball bat or other stomping device
Large plastic or stainless-steel bowl
Canning jar tongs
Kitchen scale
Ingredients
Raw cabbage
Kosher or canning salt
Distilled water
Instructions
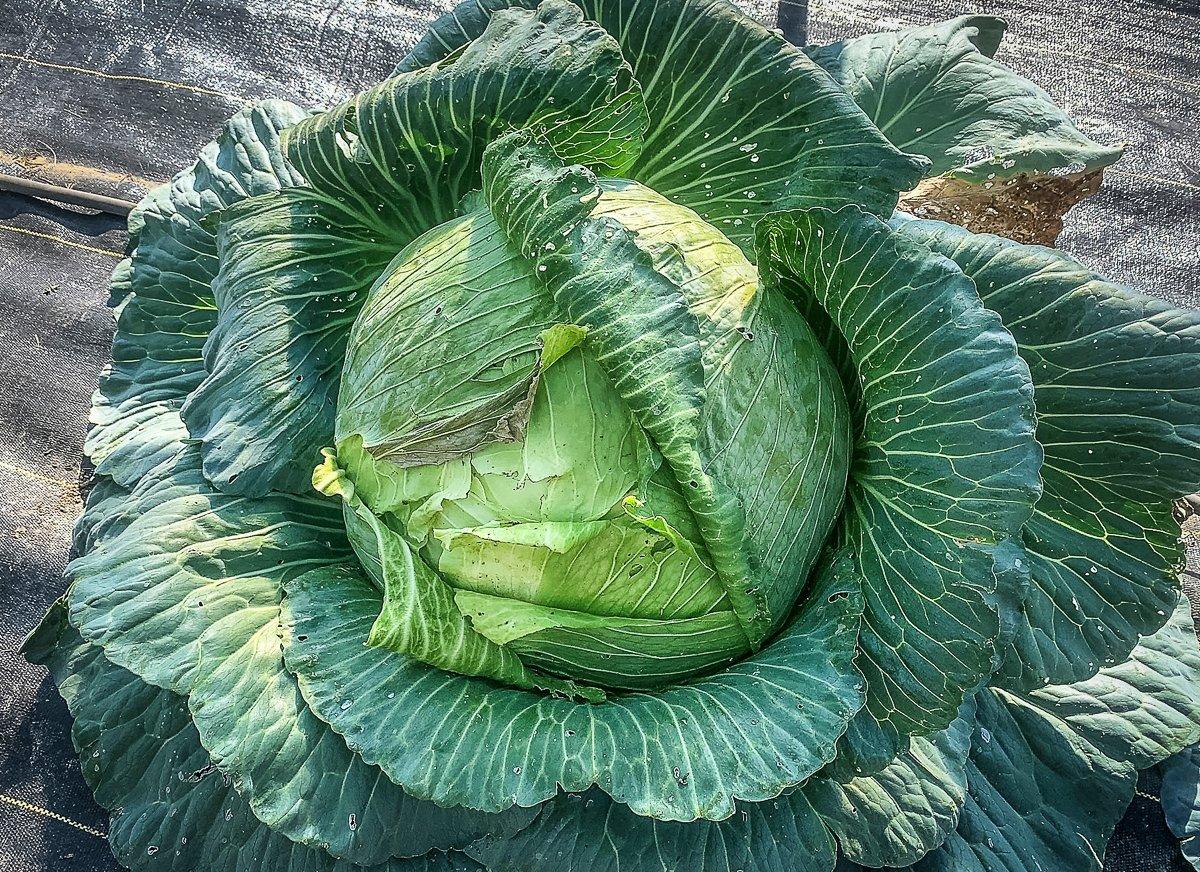
Start with fresh cabbage. Remove the outer leaves. Save 1 or 2 large, clean outer leaves to add to the bucket to serve as a barrier between kraut and weights. The cabbage will need to be shredded, either with a sharp knife, a food processor, or, my favorite, a Weston Realtree Meat Slicer set to about 1/4-inch thickness. You will process the cabbage in 2-pound 4-ounce batches; weigh your empty bowl or tub in advance so you can get an accurate weight for each batch.
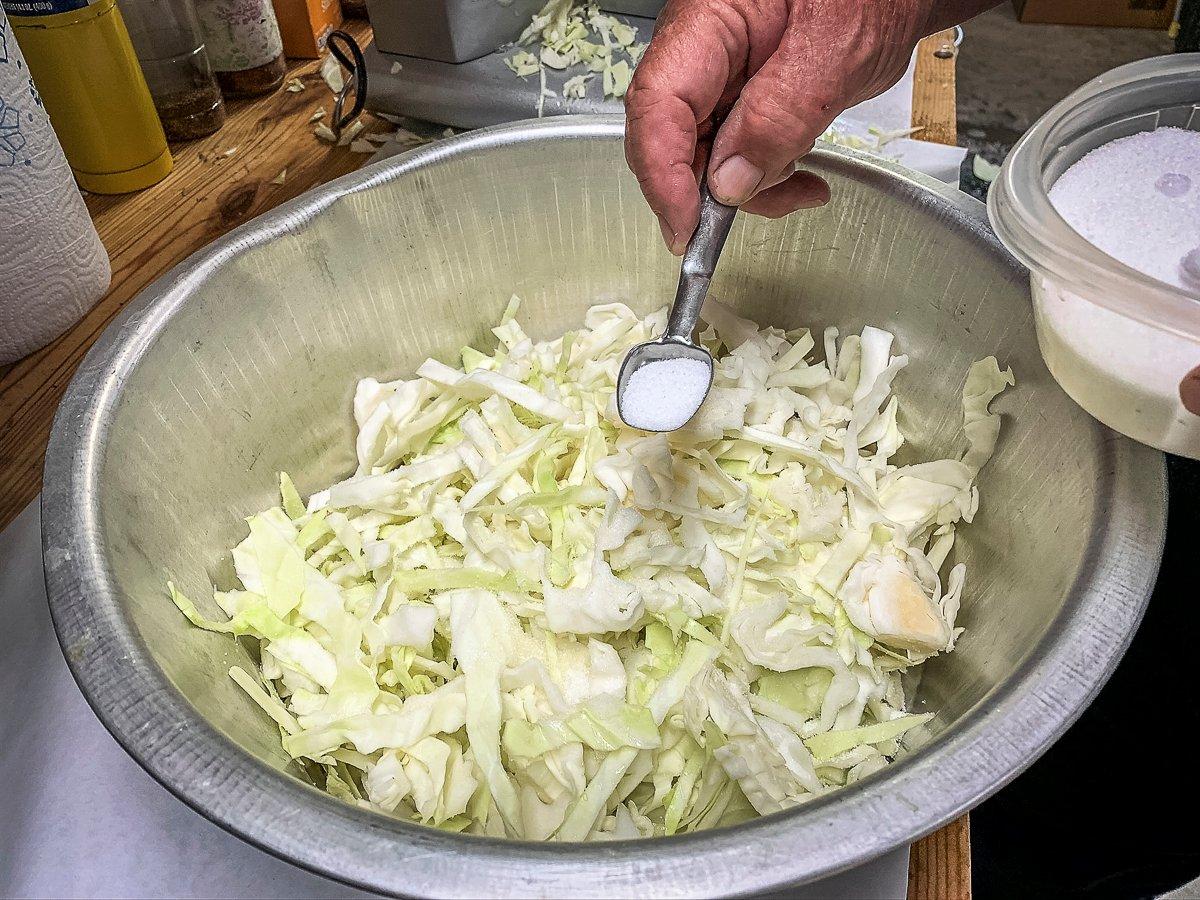
Step 1: Shred 2 pounds 4 ounces of cabbage into your bowl.
Step 2: Add 2 level teaspoons of either kosher or canning and pickling salt. Use your clean hands or a clean wooden spoon to thoroughly mix the salt into the cabbage.
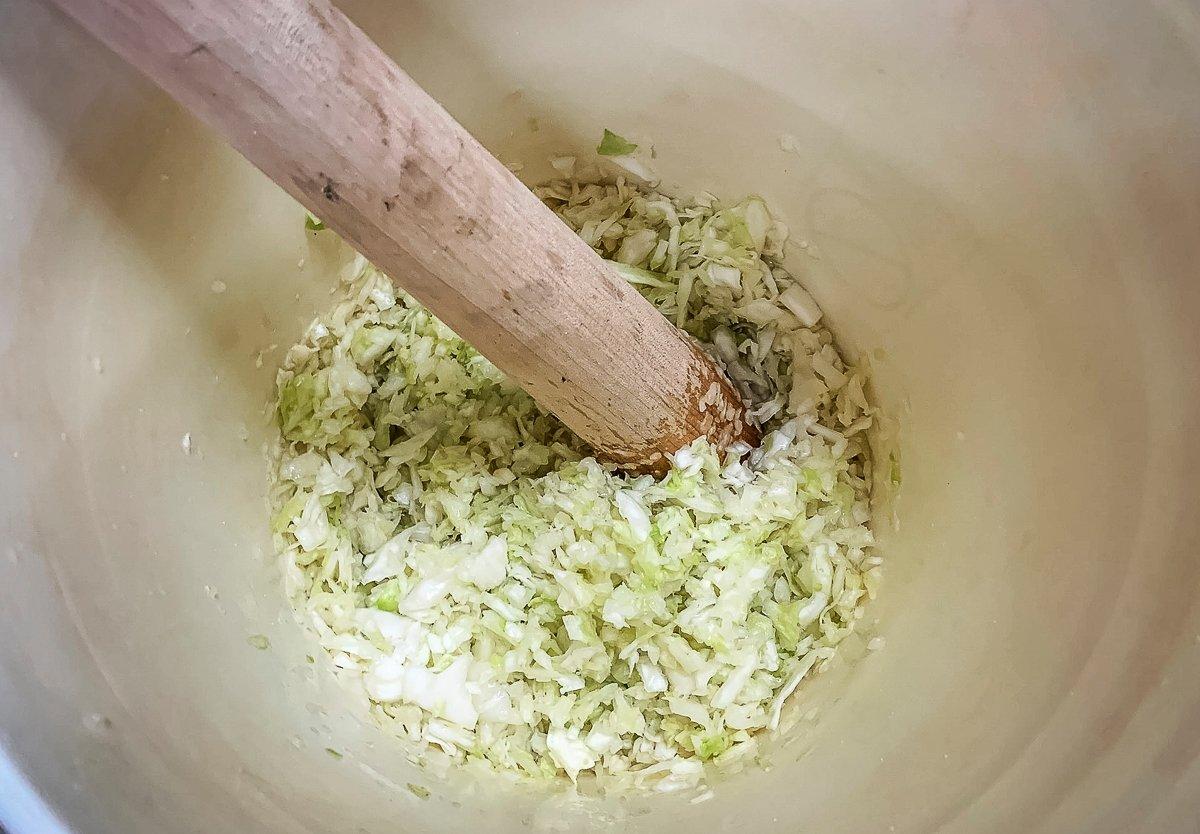
Step 3: Add the salted cabbage to your bucket. Use a clean bat, wooden dowel, or dedicated kraut stomper to smash the cabbage into a mix of shredded cabbage and cabbage pulp.
Step 4: Repeat the shred-weigh-salt-and-smash process until you have added 20 to 22 pounds of cabbage to the bucket.
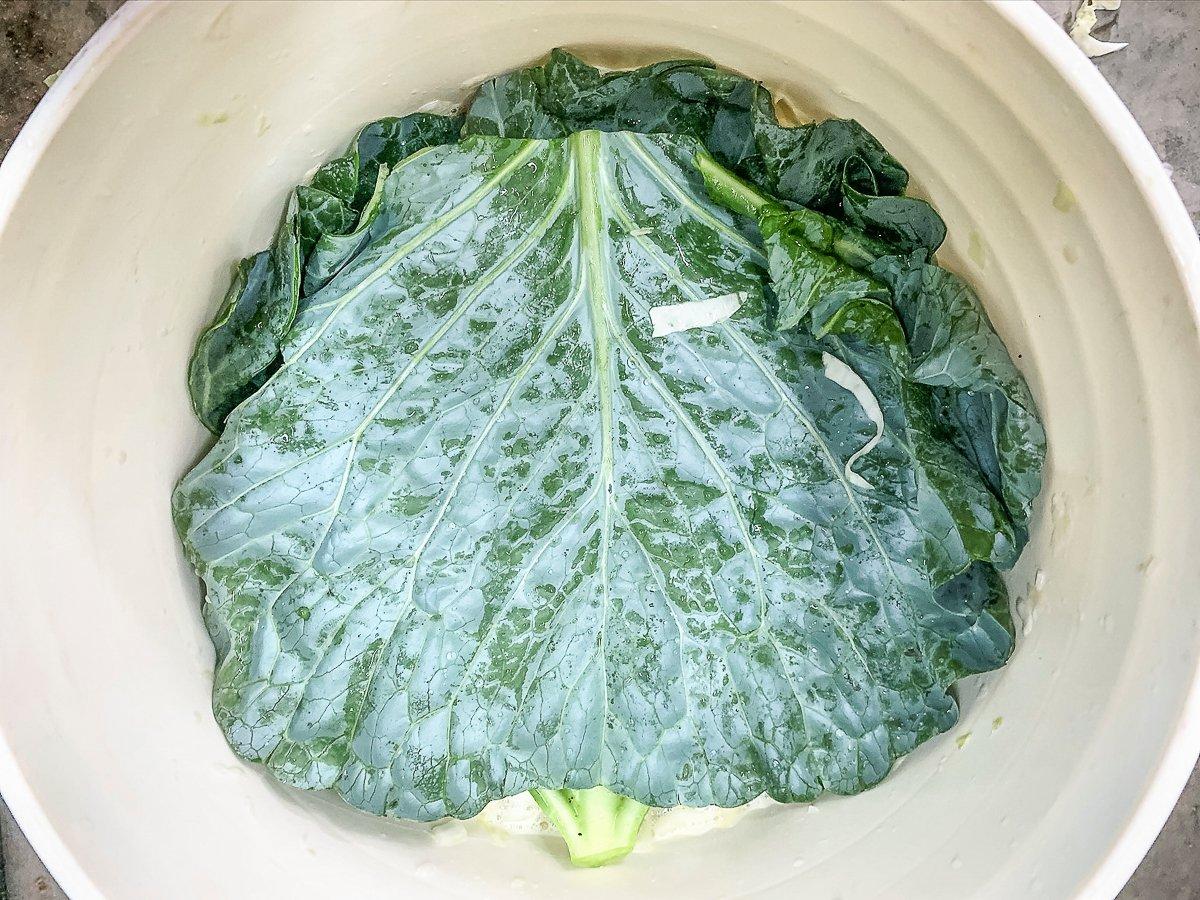
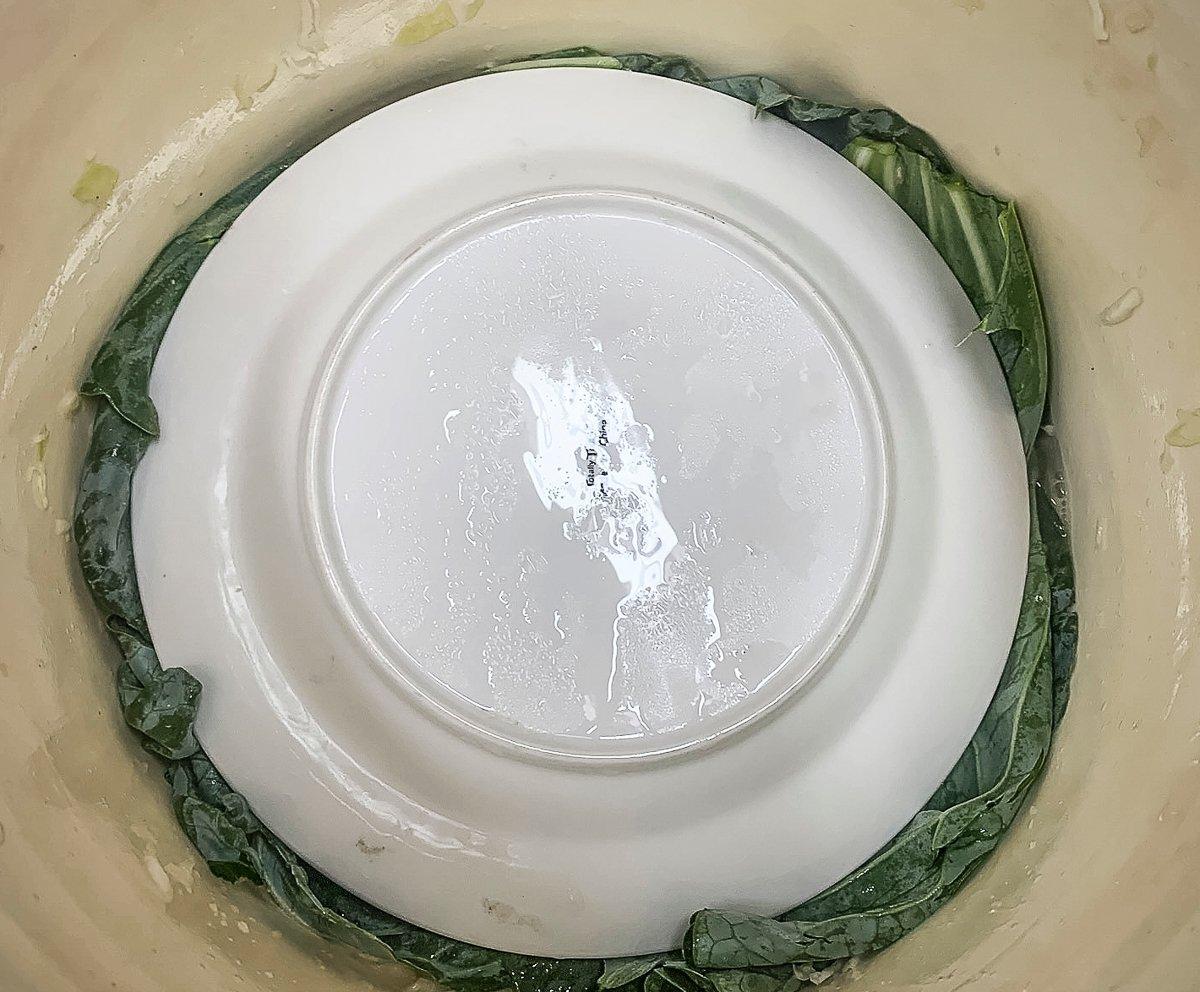
Step 5: Cover the raw kraut with 1 or 2 reserved and rinsed large cabbage leaves. Place a clean stoneware plate close to the same diameter of the bucket over the leaves.
Step 6: Add 5 to 10 pounds of cleaned and sterilized weight to the plate.
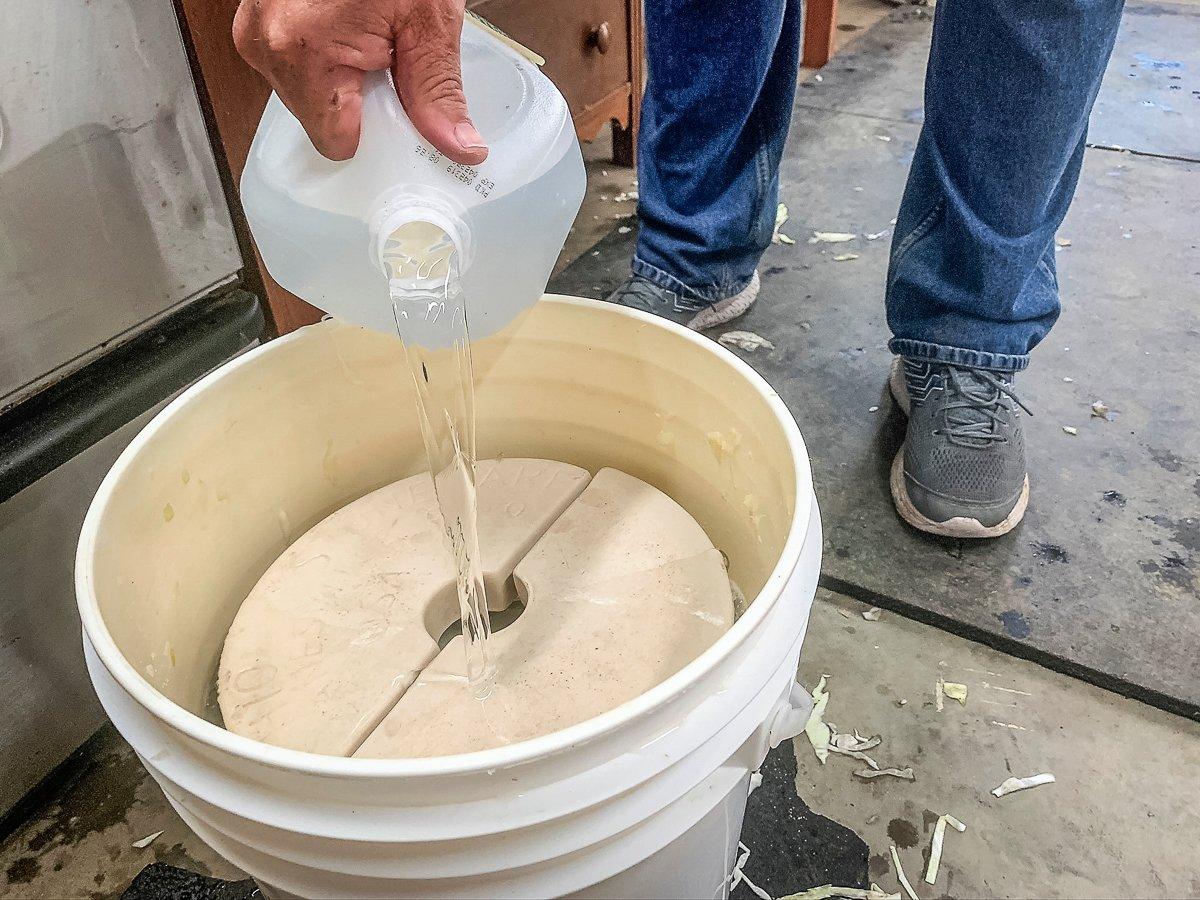
Step 7: Add 4 teaspoons of kosher or pickling salt to 1 gallon of distilled water. Shake well to dissolve salt. Pour the water into the bucket. You need a minimum of 2 inches of coverage over the top of the weights. If 1 gallon of water doesn't cover everything by at least 2 inches, mix another gallon and add water as needed to reach the 2-inch mark. This saltwater layer prevents unwanted bacteria from reaching the kraut.
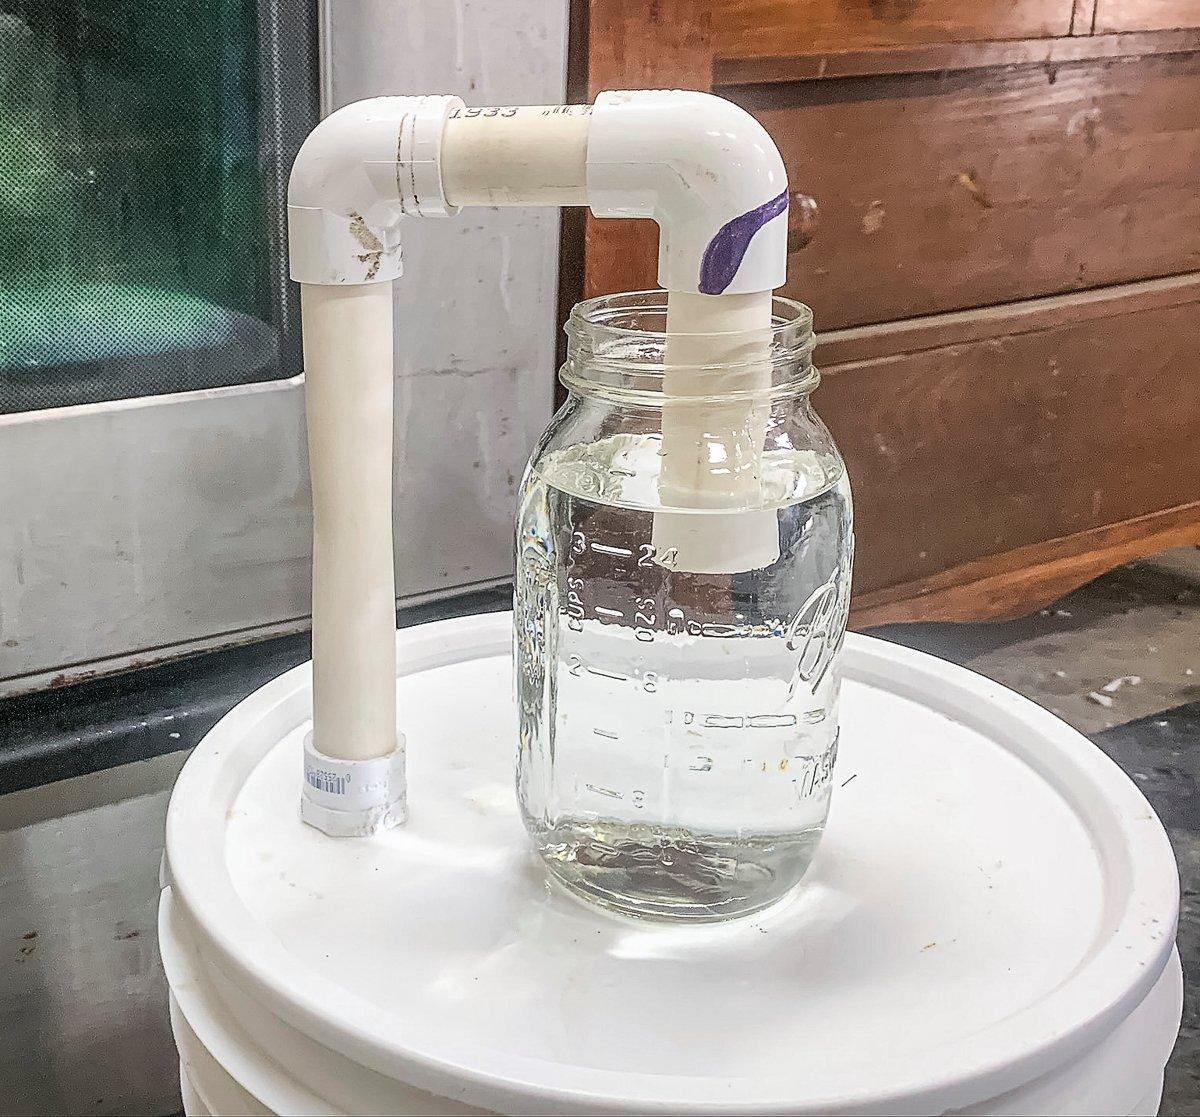
Step 8: Drill a hole in the bucket lid to tightly fit the threaded portion of the PVC nipple. Thread the nipple into the bucket and add the nut to the bottom side to hold the fitting securely in place. Add the 8-inch section of pipe, a 90-degree elbow, and then the 2 1/2-inch section of pipe. Next, add the second elbow so that it points back down toward the bucket lid. Stick the 4- to 6-inch piece of pipe into the second elbow so that it extends downward. Place an empty 1-quart jar on the bucket lid with the shorter section of pipe extending down into it (see photo below). Fill the jar with salted distilled water. This serves as a barrier that allows the gas from the fermenting kraut to escape, but doesn't allow unwanted bacteria to enter the bucket from the outside air. If your pipe joints don't fit tightly, wrap them with a layer of electrical tape to make them airtight.
Step 9: Place the bucket in an out-of-the-way area for 5 to 6 weeks to allow the kraut to ferment. Make sure the water level in the jar remains well above the lower opening of the pipe.
The finished kraut can be eaten right away, jarred and refrigerated for several weeks, or hot-water-bath canned for long-term, shelf-stable storage that will keep for years. When you unpack the bucket, the kraut should be only slightly darker than fresh cabbage. The aroma should be sharp, but not unpleasant. If your kraut smells rotten or like sulfur, or it has a black color or visible mold, then it was contaminated by bad bacteria at some point in the process. Trust your nose and eyes. If it looks and/or smells bad, don't eat it.
There will be several inches of liquid above the kraut after you have removed the weights, plate, and large cabbage leaves. Use a clean jar or pan to remove and reserve this liquid in a clean bowl or pot. You will need it for the canning process.
To can kraut, follow this method:
Step 1: Clean wide-mouth quart jars in a sink full of hot water or by running them through your dishwasher.
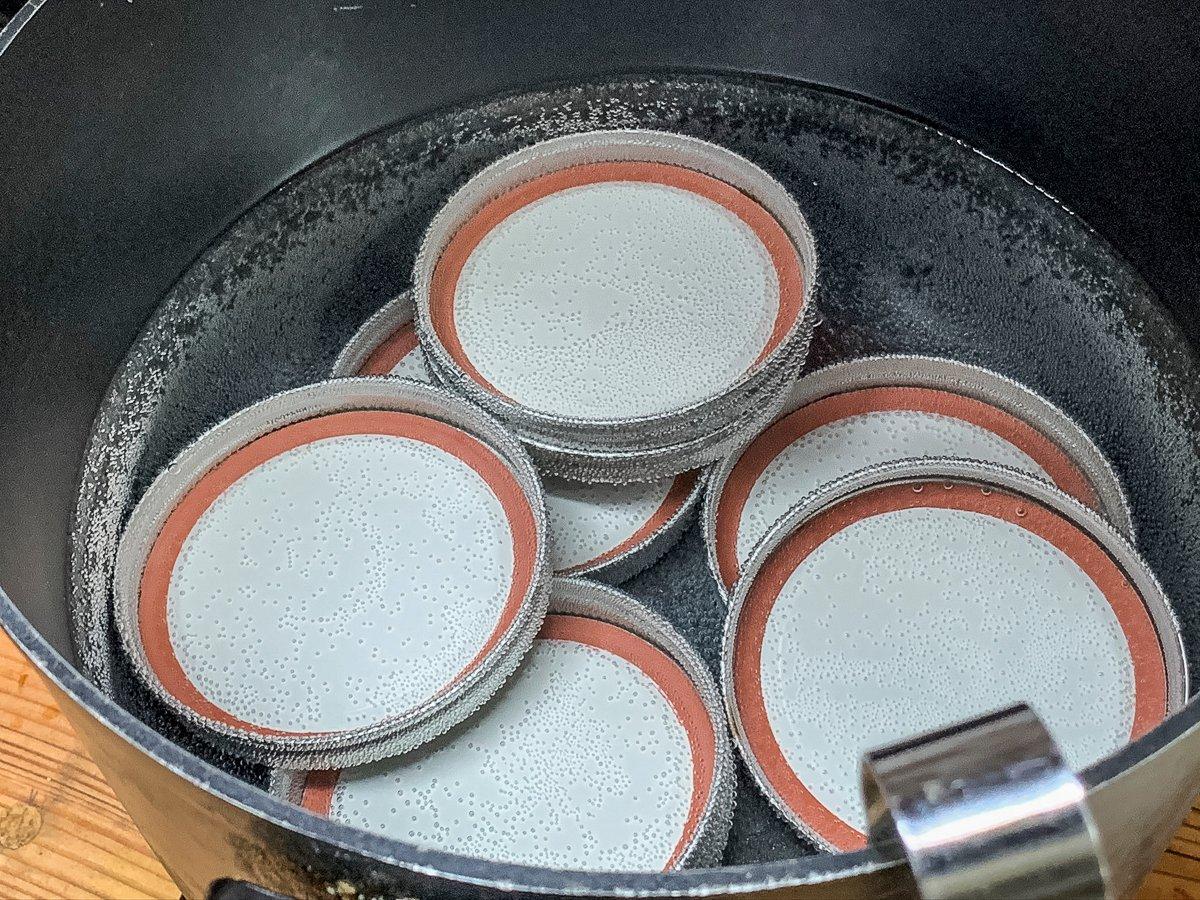
Step 2: Sterilize lids and rings (rings can be reused, but inner lids should be new and unused) in simmering (do not boil) water for 10 minutes.
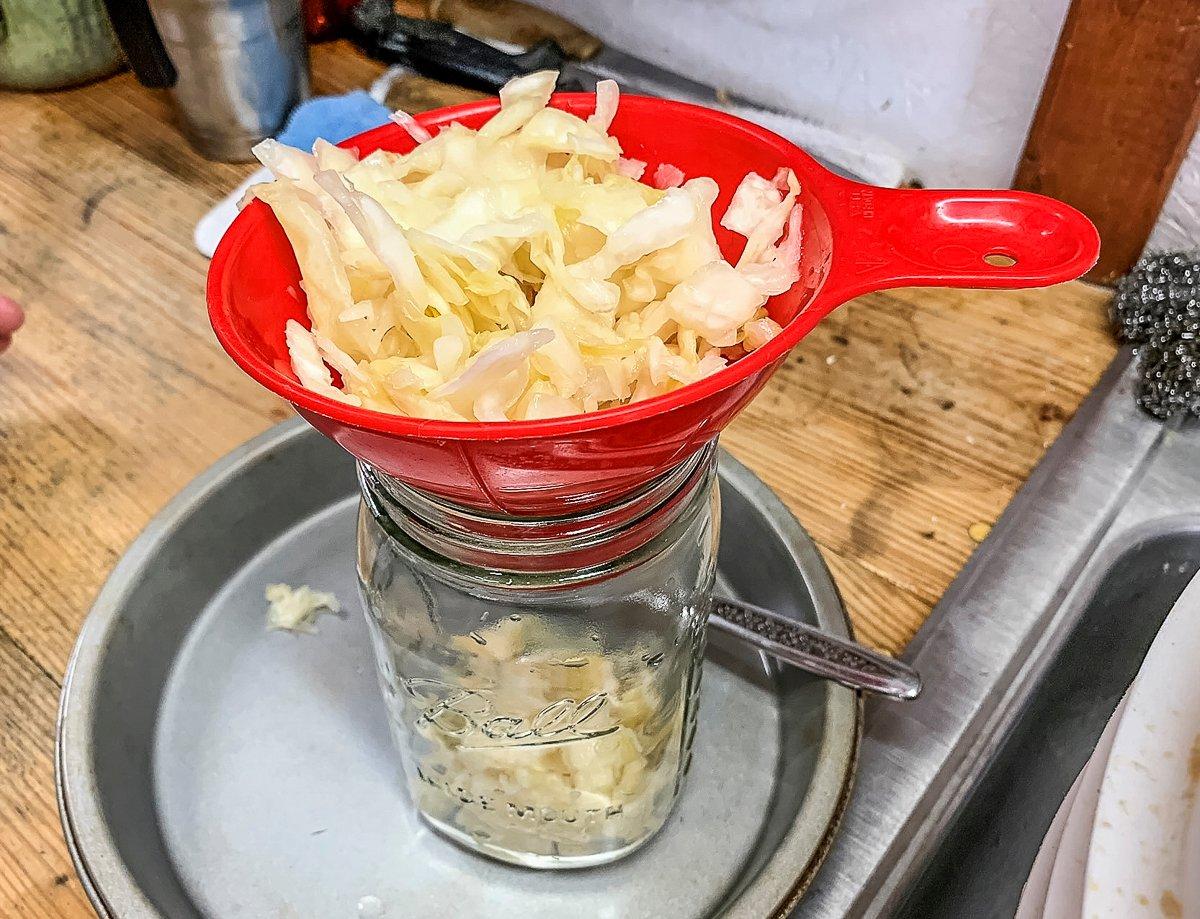
Step 3: Use your hands to pack the kraut into the clean jars. Use a table knife to work the kraut tightly into the jar, releasing any air pockets. Pack the jars to within 1 inch of the rim. Fill the jars with some of the reserved liquid from the bucket, stopping 1/2 inch below the rim.
Step 4: Use a clean cloth to wipe the rim of the jar clean. Place a sterilized lid onto the jar and screw on a ring to finger tight.
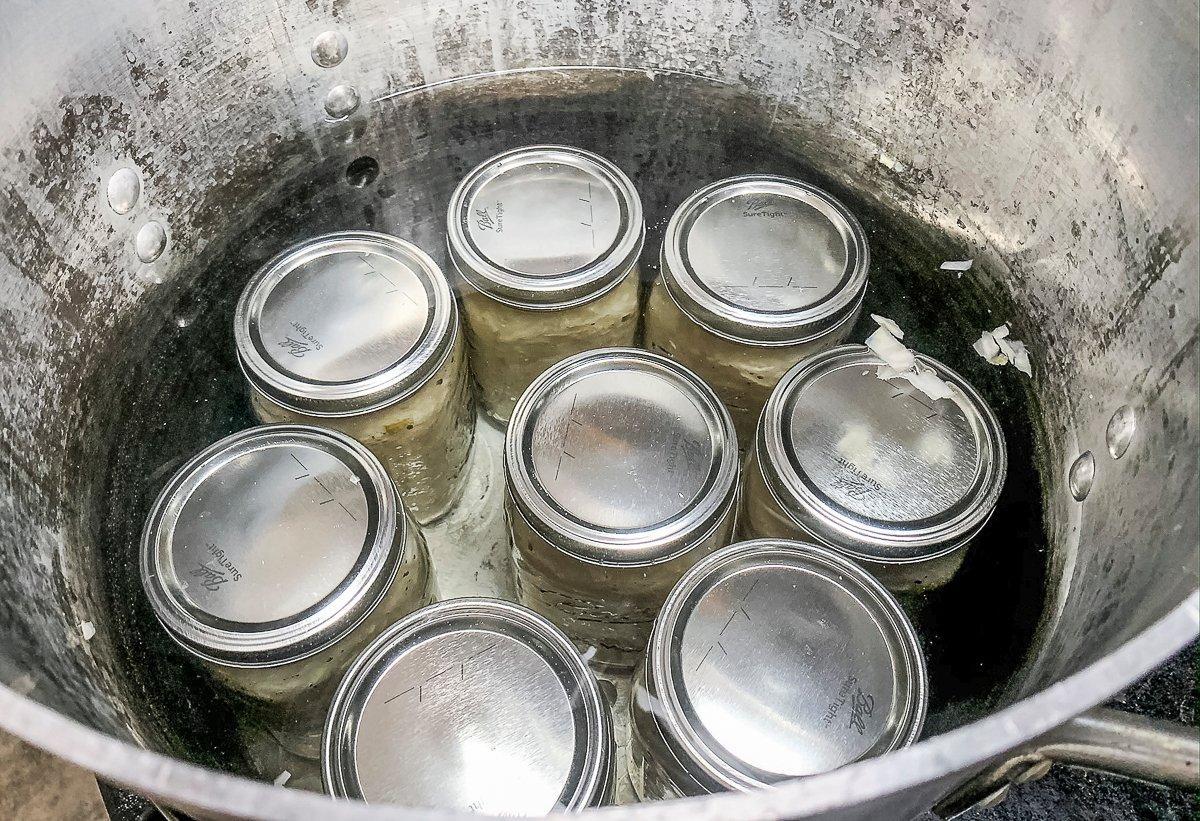
Step 5: Place the jars in a large canner or pot with a metal trivet on the bottom to hold the jar bases slightly above the pot's bottom. Fill the pot with water to fully submerge the jars.
Step 6: Bring the water to a boil. Once the water has come to a full boil, set a timer for 25 minutes. Once the jars have boiled for the full 25 minutes, use the jar tongs to carefully remove them from the boiling water and place them on a towel-lined table to cool. Repeat the process with any remaining jars.
Step 7: As they cool, the jars will make an audible popping noise as the lid seals to the jar rim. A small dimple will appear in the lid after it seals, and there should be no up and down movement if you lightly press the center of the lid.
Give the jars up to 24 hours to seal. Any jars that don't seal should be refrigerated and eaten over the next several weeks.

