How to Skin a Snapping Turtle the Timber2Table Way
Posted 2025-09-22 by
There are lots of ways to skin a turtle, but this is one of our favorites
Around here, early summer means the big common snapping turtles are on the move. We find them crossing the road, moving from pond to pond, or just walking around the farm. Whether you pick them up, or catch them while fishing, snapping turtles are good eating.
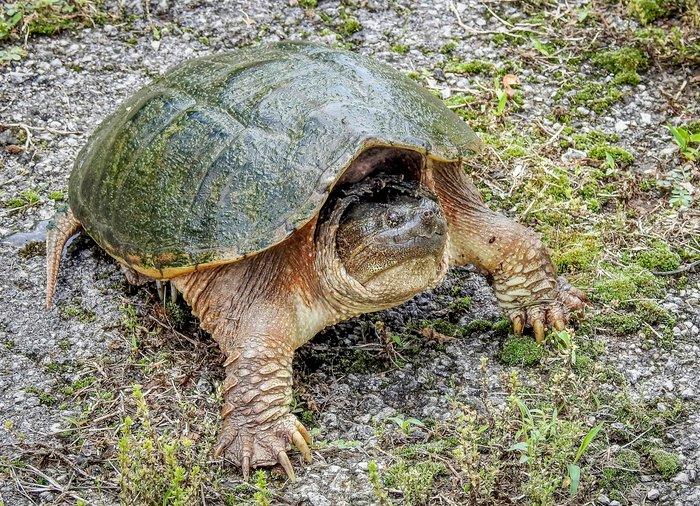
Snapping turtles can be delicious, but they can be tough to skin. This method makes it easy. Images by author
While tasty, they can be a bit of a chore to clean. This is the method we use, and it only takes a few minutes per turtle to get them ready for your favorite recipe. It goes without saying, be careful around the business end of a big snapper. They can reach out a surprising distance and strike nearly as fast as a snake. Just for the record, their nervous system is such that the head will still clamp down on anything that gets near it, even after it has been removed from the body.
Don’t Miss: HOW TO SKIN A SNAPPING TURTLE WITH AN AIR COMPRESSOR
The next time you find yourself in possession of an eating-sized turtle, try these steps to get it ready for the table. For gear, you will need a pair of heavy pliers, a sharp filet knife, a heavy-bladed hunting knife, and a garden hose. A board with a nail sticking up through the center helps to secure the turtle, making it easier to skin.
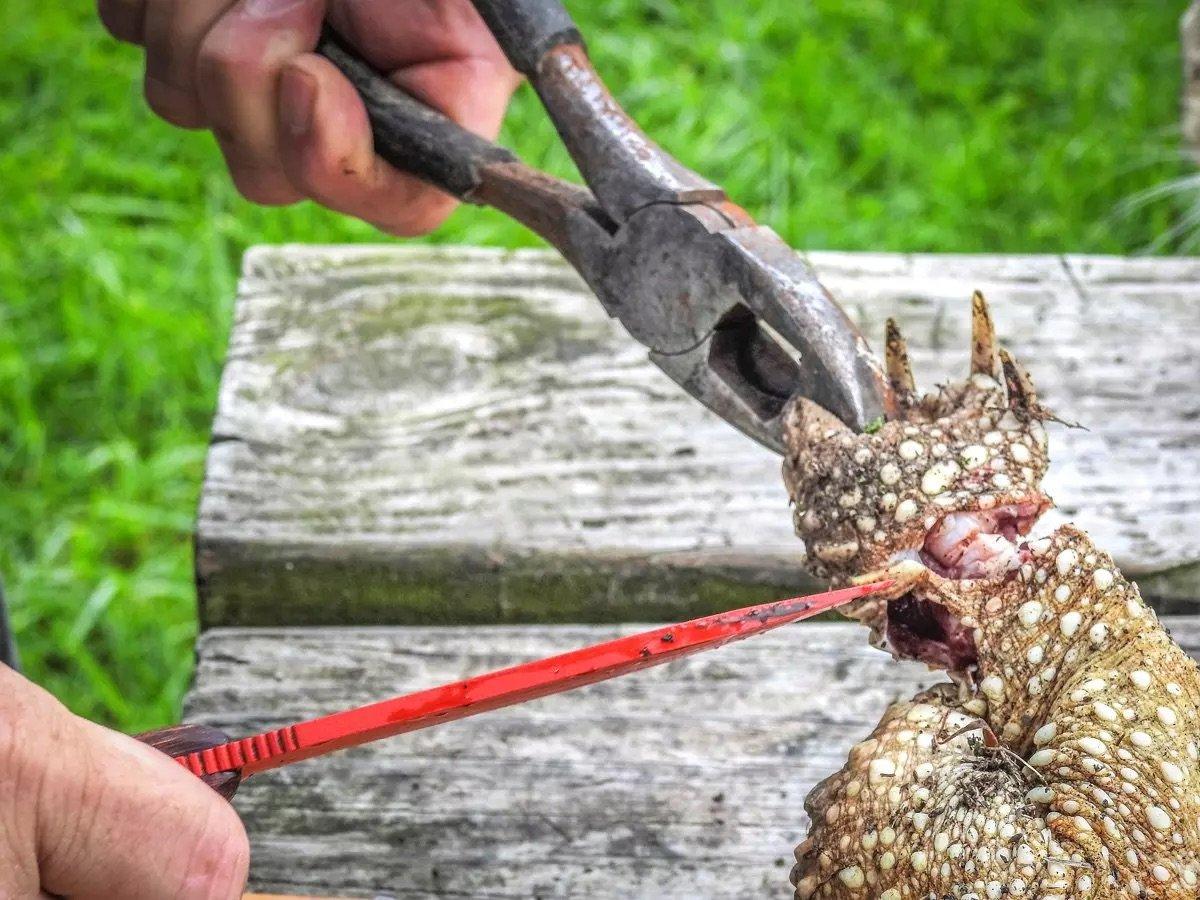
1. Grasp the lower jaw with a pair of long pliers. Stand on the tail and stretch the turtle's neck out. Using a very sharp knife, remove the head by cutting just below the jaw bone and twisting to release the head from the neck.
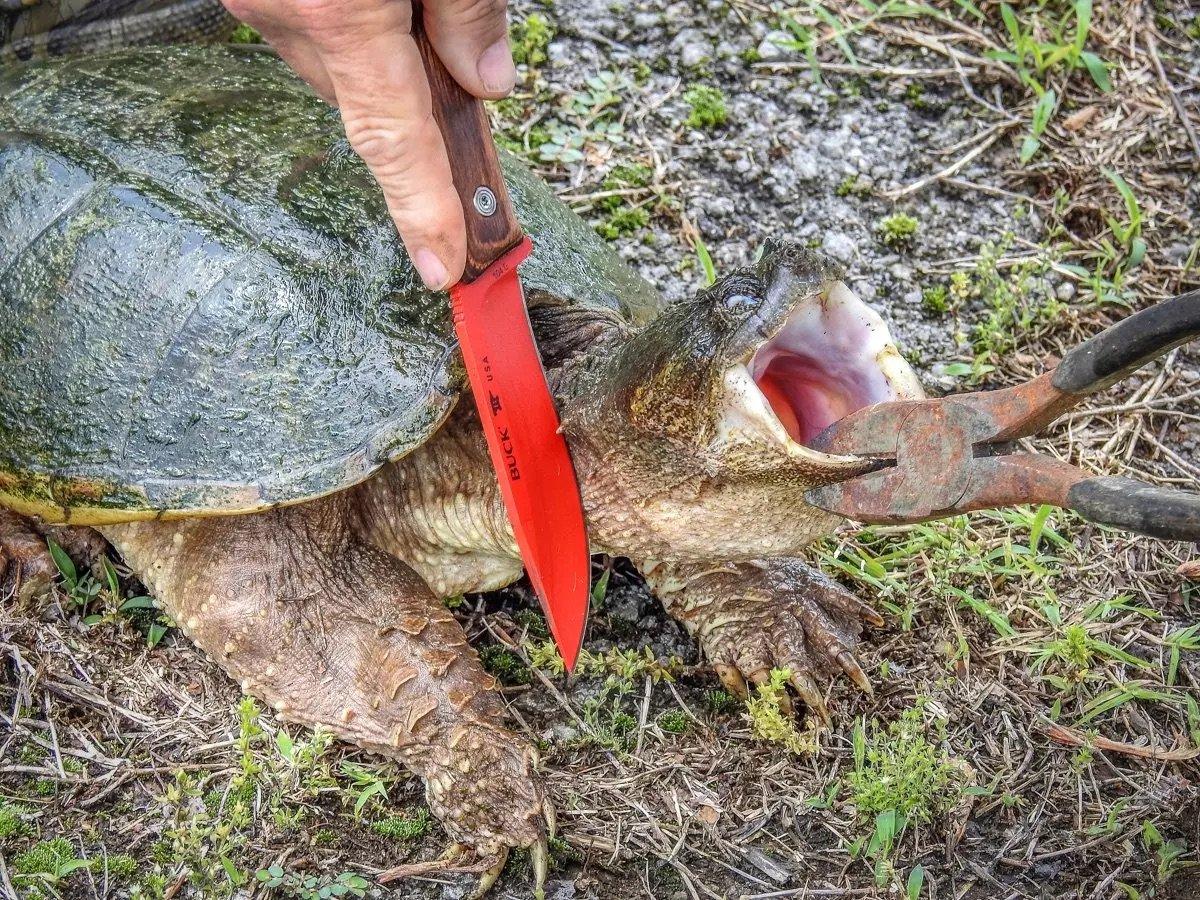
Use pliers to extend the neck, then use a sharp knife to remove the head.
2. The toughest part of skinning a turtle is the actual skinning itself. Using water pressure to loosen the skin from the meat of the turtle makes the process easy. After removing the head, insert a hose between the skin and the neck meat. Wrap your hand around the neck, squeezing the skin tightly around the neck to seal the skin over the hose. Turn on the water and allow the water to do the work of separating the skin from the meat. Watch the legs as they expand from the water pressure. When you see the skin on the tail start to expand, release the neck. Prick the skin in a few places and allow the water to drain from the turtle.
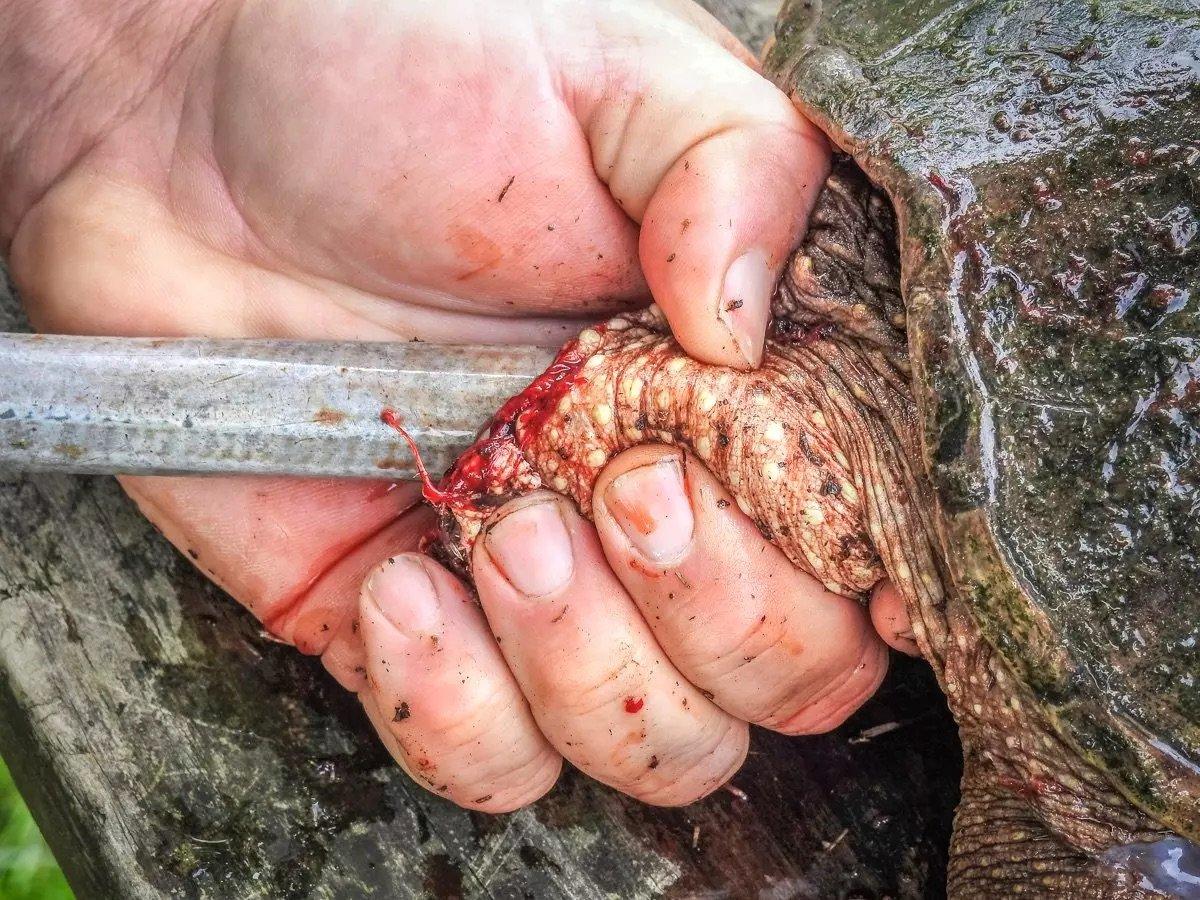
Place a water hose under the skin of the neck and clamp down the skin around it.
3. Place the turtle upside down on the board, pushing the shell down onto the nail to hold the turtle in place while you spin it around to make it easy to work on each quarter.
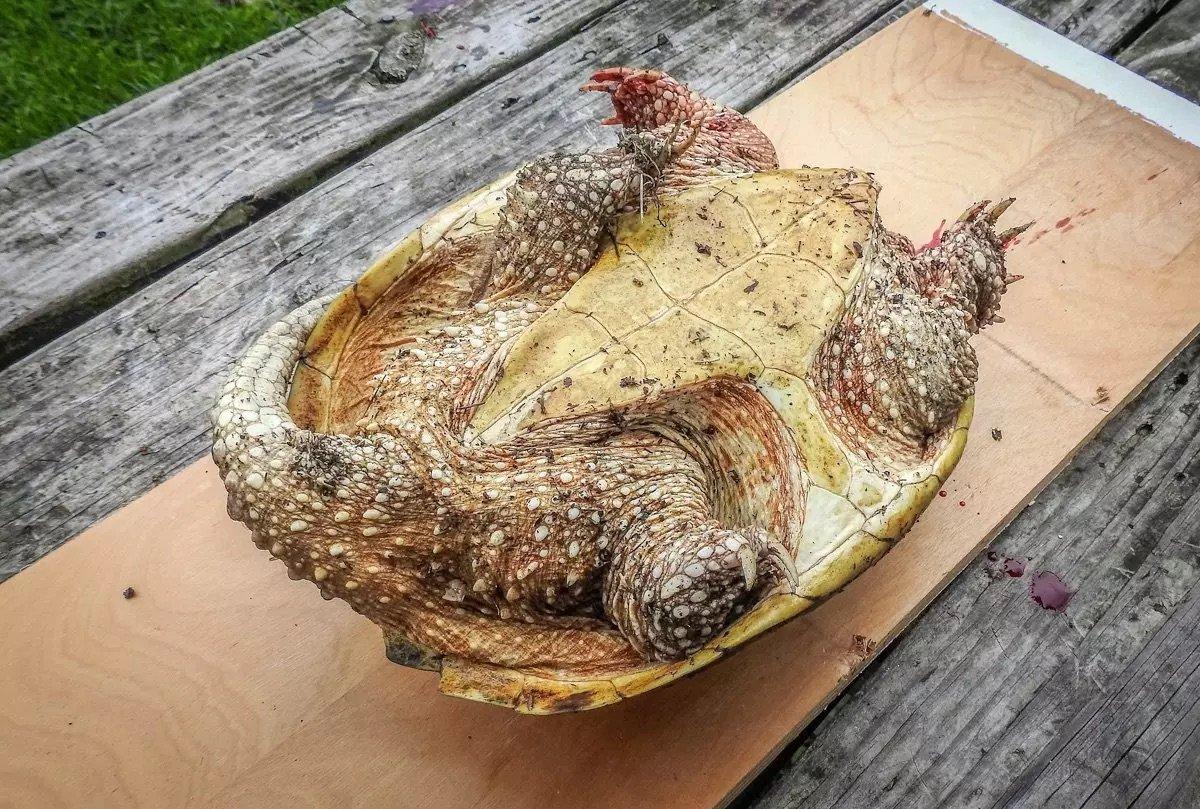
Invert the turtle onto a board with a nail sticking through it to hold it in place while you skin.
4. Remove the feet and claws by cutting through the joint. It might take a little practice, but you should be able to slice through the joint where the foot attaches to the leg.
Remove the feet.
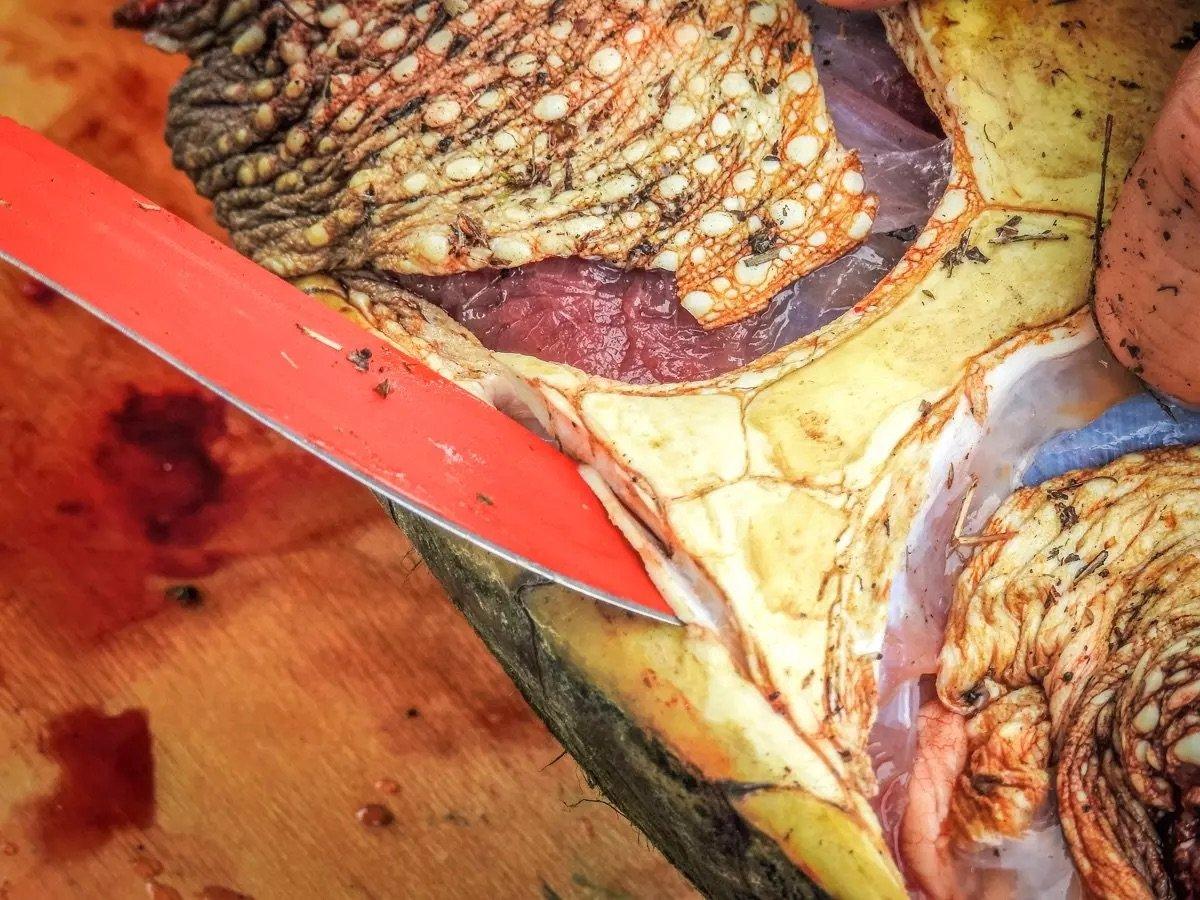
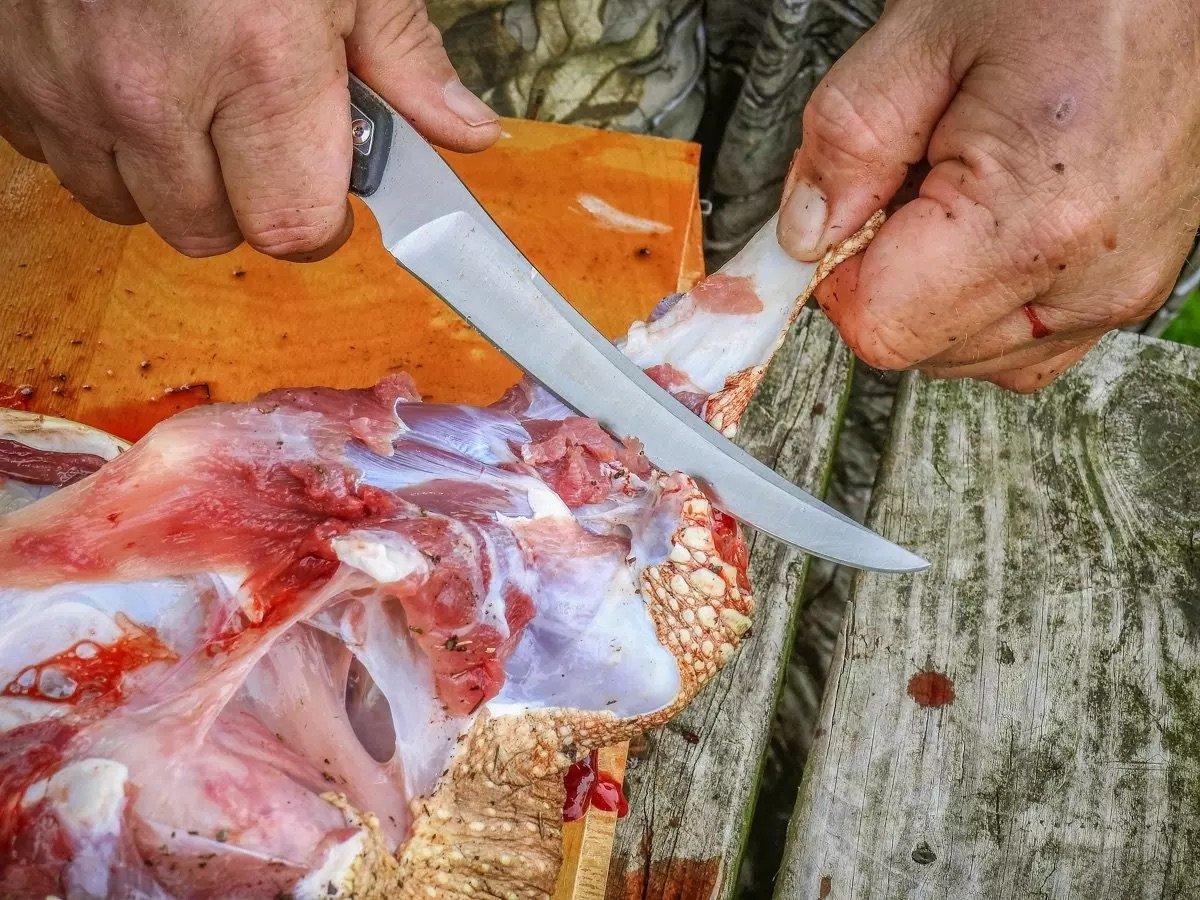
5. Using the tip of a sharp filet knife, cut the skin away from the plastron on the bottom of the shell. Be careful not to insert the knife deeply and rupture the intestines.
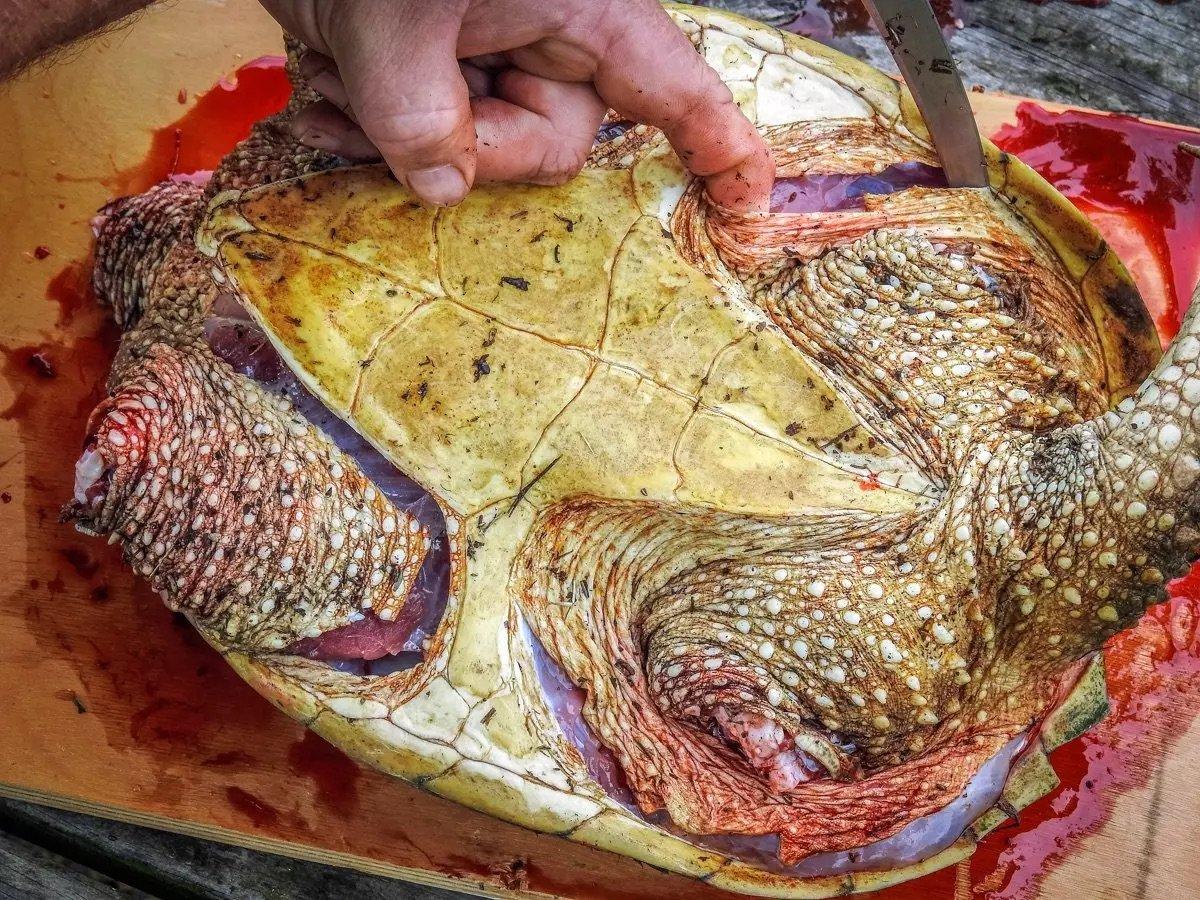
Cut the skin away from the meat. Forcing water under the skin helps this process.
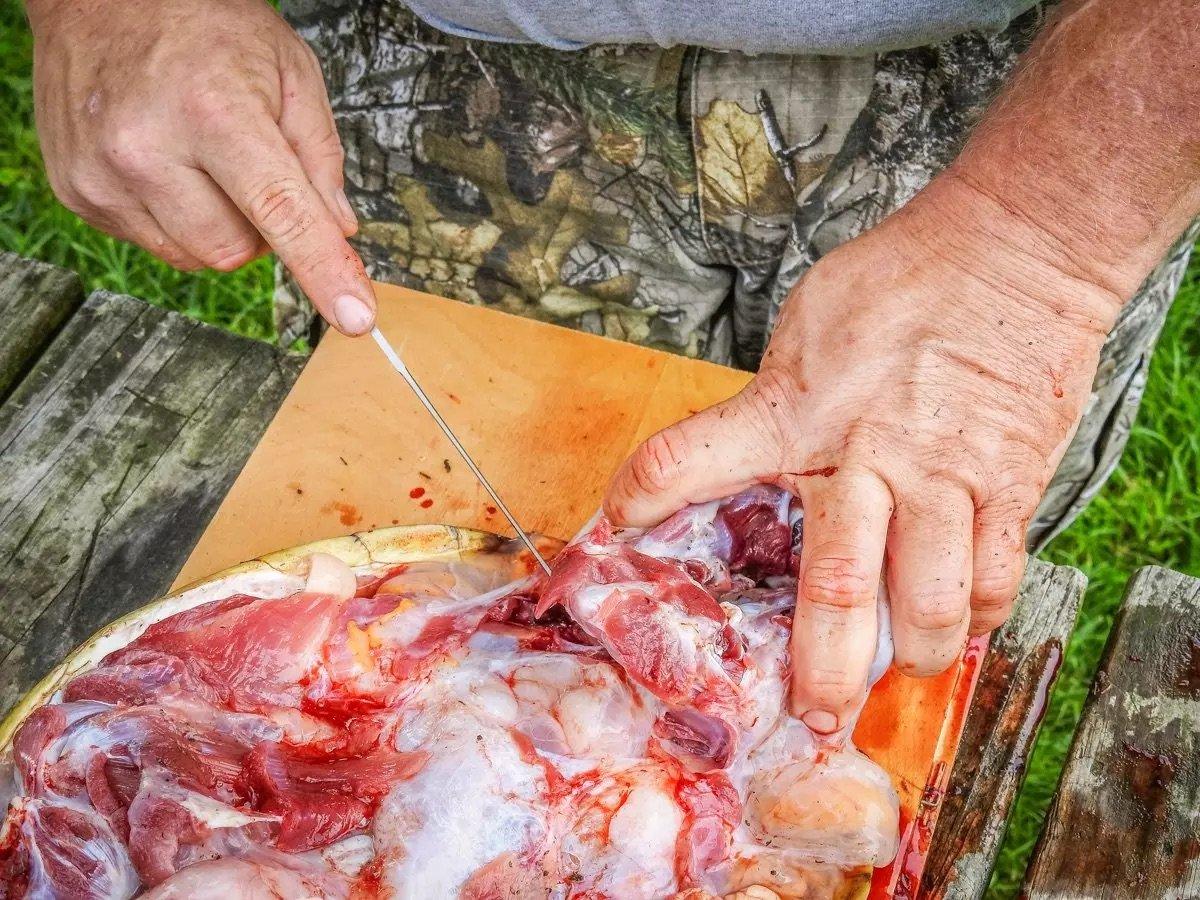
6. Using your heavy knife, find the soft spot that attaches the plastron (the belly part of the shell) to the shell along each side. Slice to separate the two, then filet away the plastron.
Remove the bottom of the shell.
7. Peel the skin away from the legs and neck. Loosening the skin with water pressure speeds this process greatly.
Continue skinning the quarters.
8. Remove both rear legs and the base of the tail by inserting your fingers under the rear quarters and twisting to release from the shell. Pull them away and cut away any connective tissue that holds the hind legs to the shell.
Remove the legs.
9. Split the rear leg quarters in half with a heavy knife.
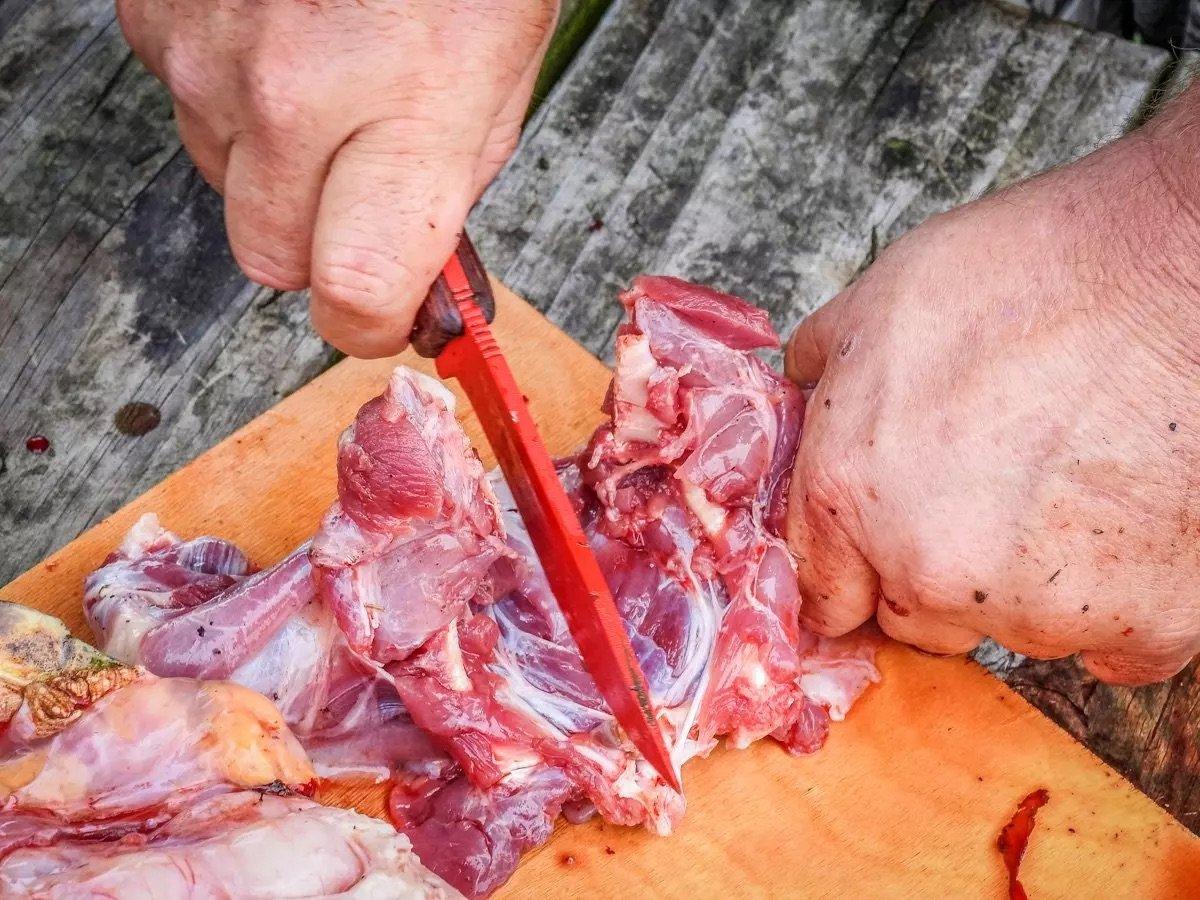
Split the rear legs into sections.
10. Remove the front quarters by cutting around the meat and twisting to release them from the shell.
Remove the front quarters.
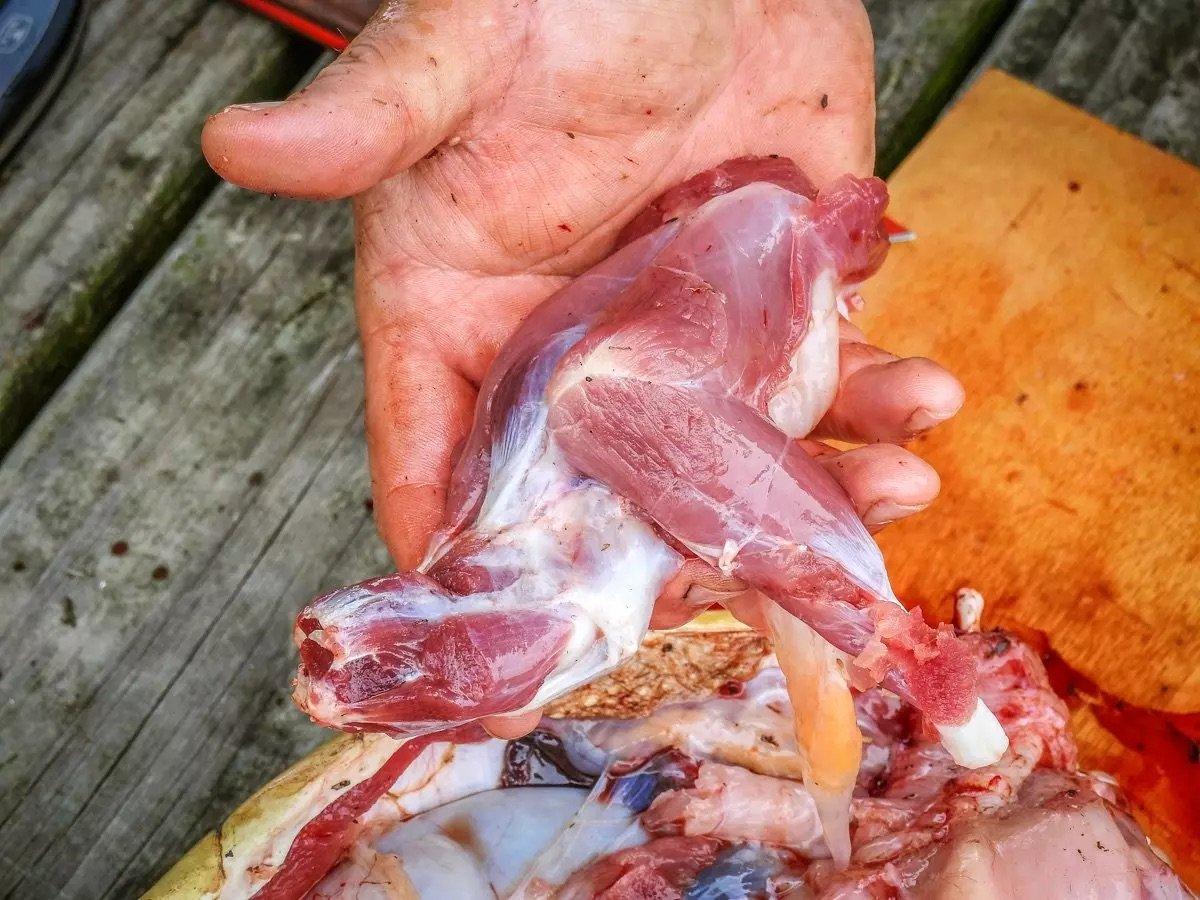
11. Remove the neck and trim away the esophagus and any fat. There is quite a bit of meat on the neck of a large turtle. Now that the inside of the shell is exposed, use your knife to remove the two scallops of meat that lie in the top of the shell.
Remove the rest of the meat, including the tenderloins that lie just inside the top of the shell.
12. Trim all fat from the meat. Turtle fat tastes funky and will impart a foul flavor to your turtle meat if left on.

Trim away any bits of fat that can give your turtle an off flavor if cooked.
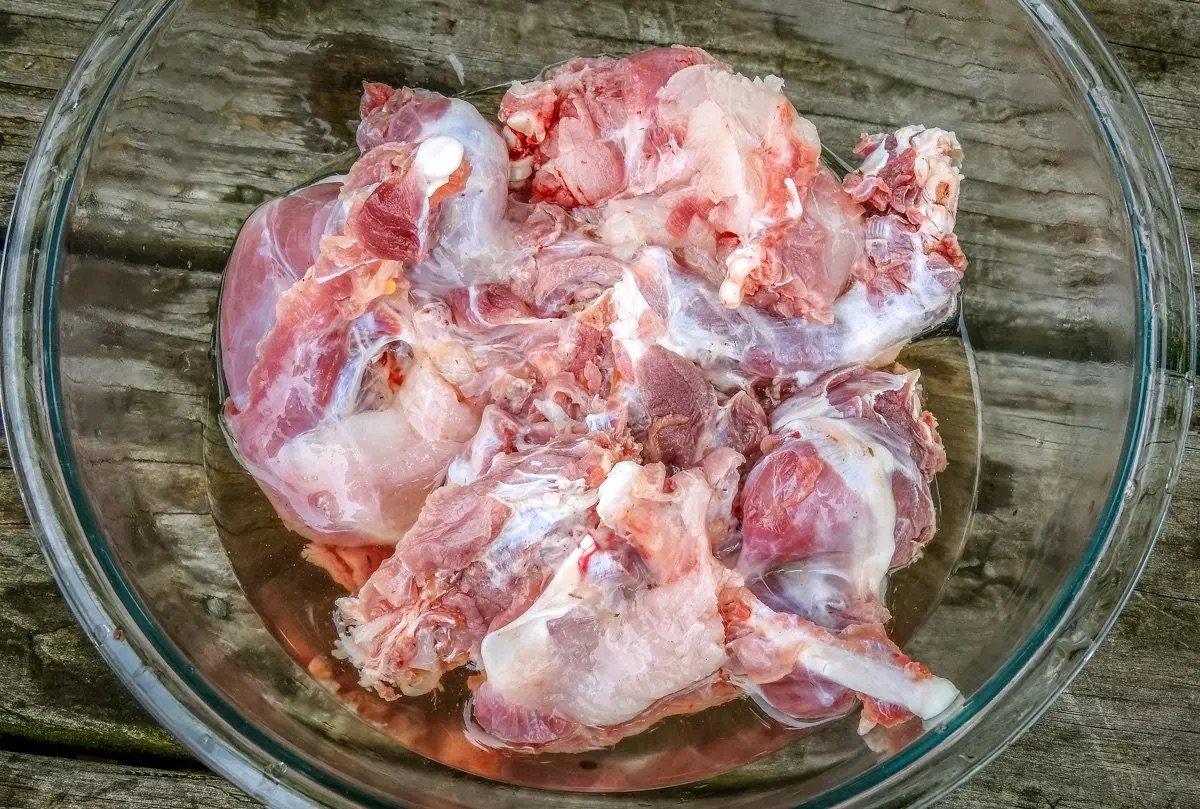
13 Rinse the meat well, cover it with salt water, then let it soak in the refrigerator for a few hours before cooking or packaging and freezing.
Don’t Miss: 5 EASY WAYS TO RUIN YOUR CAST IRON
?fmt=auto&qlt=default&fmt.webp.qlt=65&fmt.png.qlt=73&fmt.jp2.qlt=35&fmt.jpeg.qlt=60)