Rendering Bear Fat
We love rendered bear fat around here. Like the pioneers and early explorers, we use it for a little bit of everything. Making biscuits or pie crusts? Yep, bear fat is your friend. Need to fry some turkey tenders or rabbit? Try a half inch or so of hot bear grease for a flavor you can't get anywhere else. The next time you make popcorn, drop a spoonful of bear grease in the pan, you won't even need butter.
Midwestern bears gorge on acorns, blackberries, hickory nuts and other good things that pack on firm, white fat in preparation for the upcoming winter. Those flavors transfer over to the food you cook, lending everything just a hint of wild flavor. When our good friend Fred (who happens to own a really nice stainless-steel smoker in the shape of a giant pig) killed a fat KY bear last fall and asked if I wanted a bit of the fat, you can bet the answer was yes.
As great as it is for cooking needs, you can use bear fat for all sorts of other things as well. Leather boots leaking? Rubbing rendered bear fat into them makes them waterproof again. Knife rusting? Rub a bit of fat on it to lubricate the hinge and protect the metal. Need to fill an oil lamp? Yep, works for that too. Need to season a cast iron skillet? Bear grease will leave it black and shiny.
So, now that you're convinced that you need some bear fat, how do you go about turning the raw material into a usable product? The process is pretty simple. Start by trimming the hard back fat from between the meat and the skin of the bear. Try to trim large chunks, but leave no, or very little, meat attached. Transfer the trimmed chunks of fat to a clean bowl or cooler.
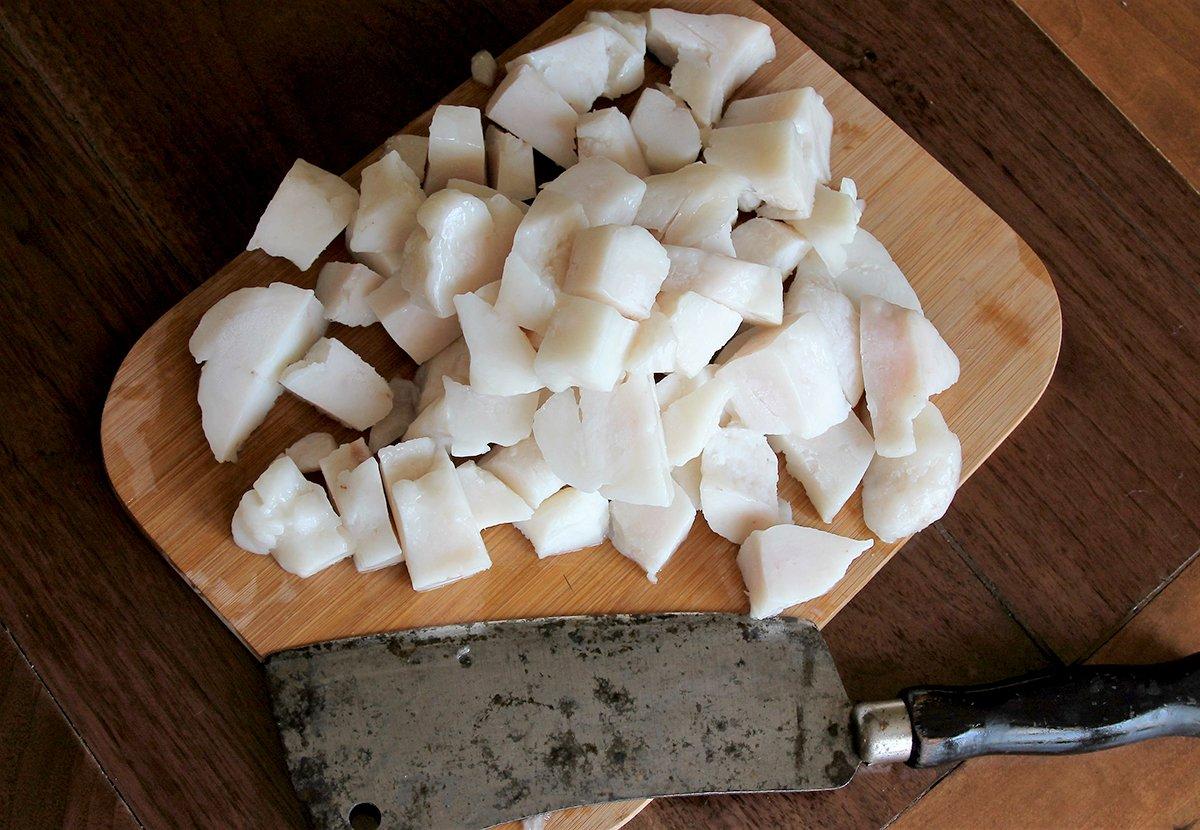
Next, trim the fat of any soft material, bits of skin, or leftover meat. Pick off any stray hairs that might be stuck on. Any meat, hair or skin left on the fat will alter the flavor of the rendered product. Cut the fat into 1- or 2-inch chunks.
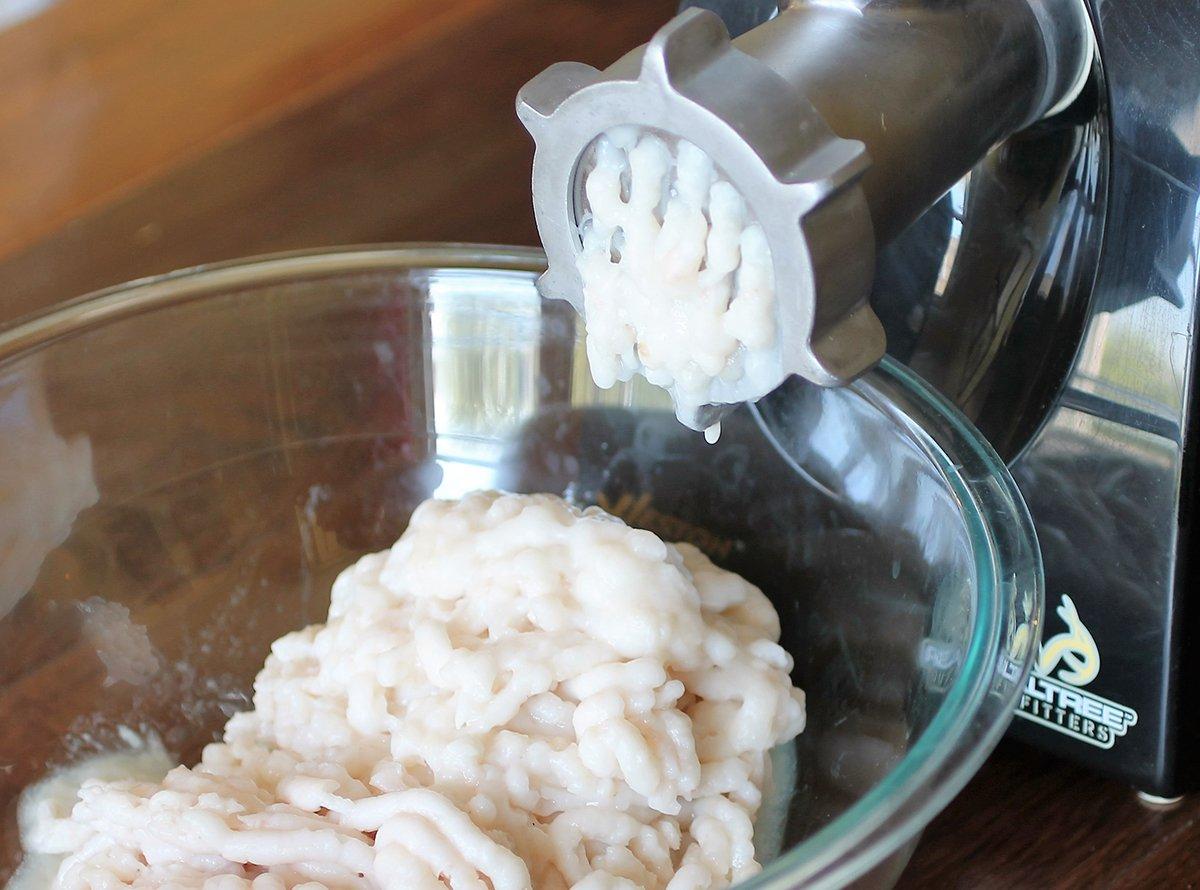
At this point, you could render the fat as it stands, but running it through the coarse plate on your Weston grinder greatly speeds the rendering process. cutting it from an all day event down to about four hours of cooking time. Partially freezing the fat before you run it through the grinder yields better results than trying to grind warm fat.
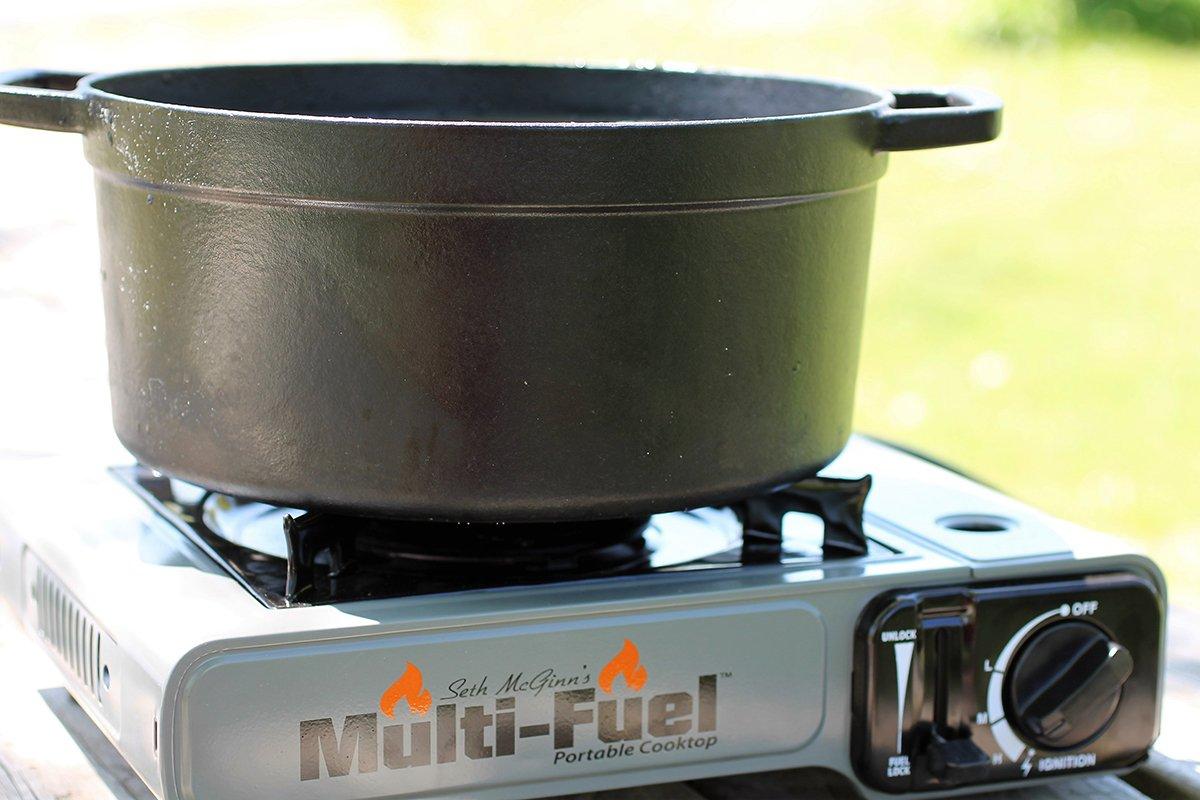
Be warned, bear fat does put off a bit of odor as it renders. If you are single, don't sweat it, render away in the kitchen. If you are married, best do it outside. Any controllable heat source will work, it doesn't need to get super-hot, just be adjustable and steady.
A cast iron Dutch oven is the best vessel for rendering fat. The tall sides help to control splatter and the heavy iron helps to buffer the temperature and prevent rapid heat and cools cycles. Start by pouring a bit of water in the bottom of the pot, just 1/8 to 1/4 inch, to help keep the fat from scorching before it starts to render.
Turn your heat source on and bring the water to a simmer. Add the ground fat and let it heat until the fat starts to pop and sizzle in the water. Reduce the heat and cover the pot, leaving the lid vented on one side to allow moisture to escape. Stir the fat every half hour or so, keeping the heat low and constant.
As the fat begins to melt, small chunks of crunchy cracklin fat will rise to the top. Once the fat has completely rendered, strain these chunks out of the fat with a wire spider or slotted spoon. Turn off the heat and let the rendered fat cool a bit.
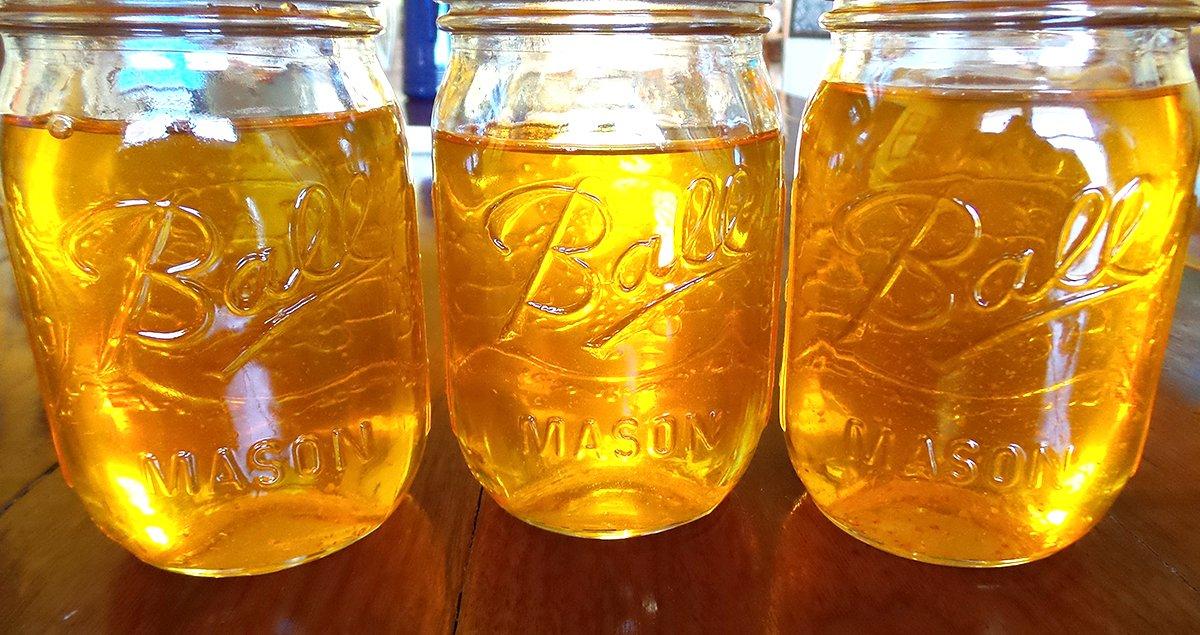
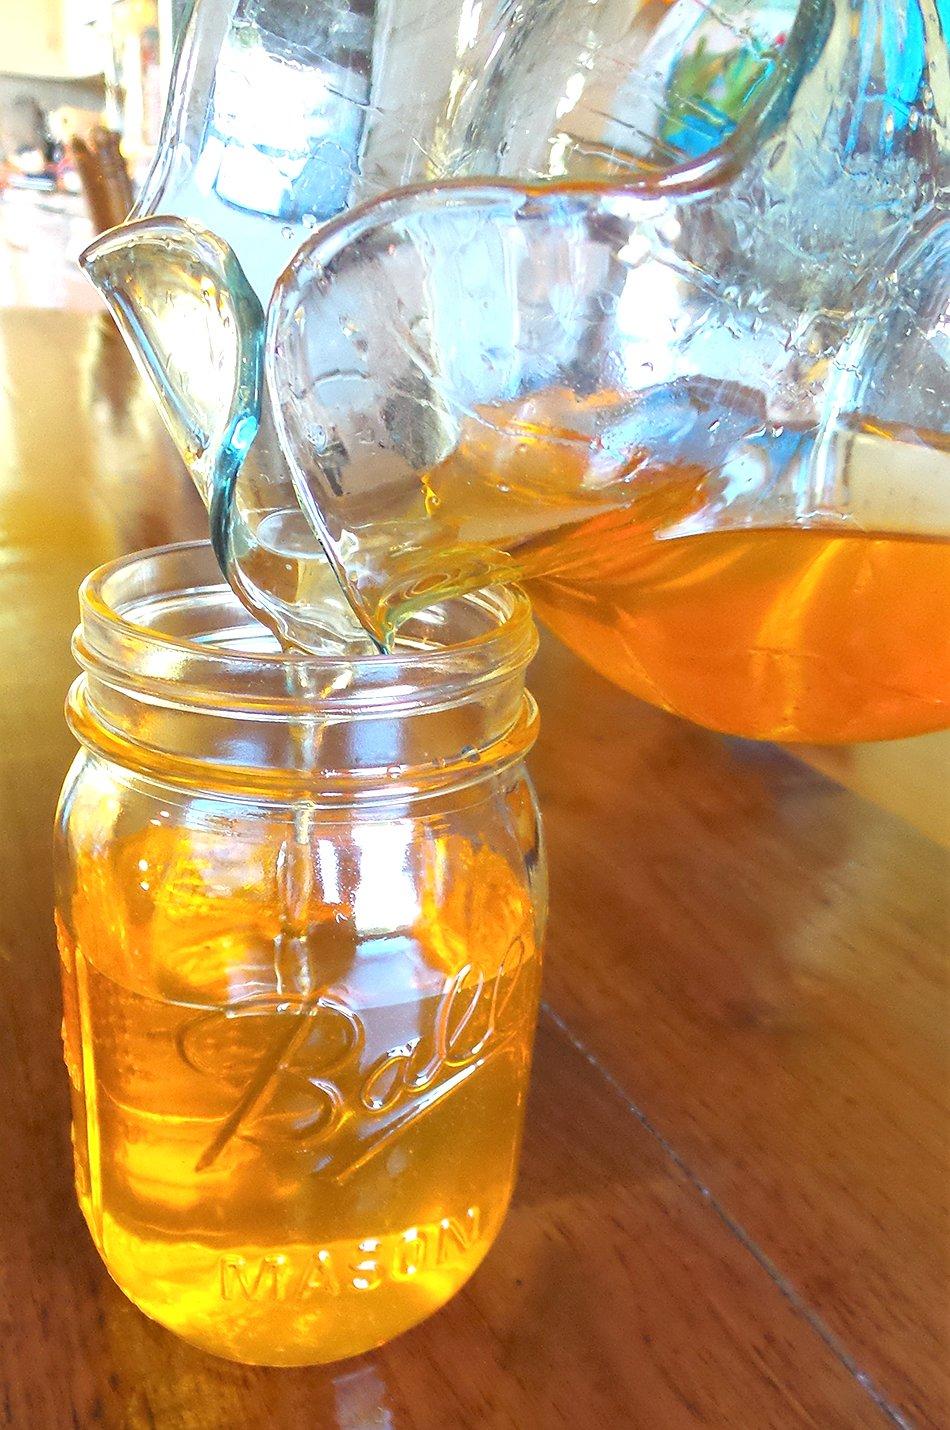
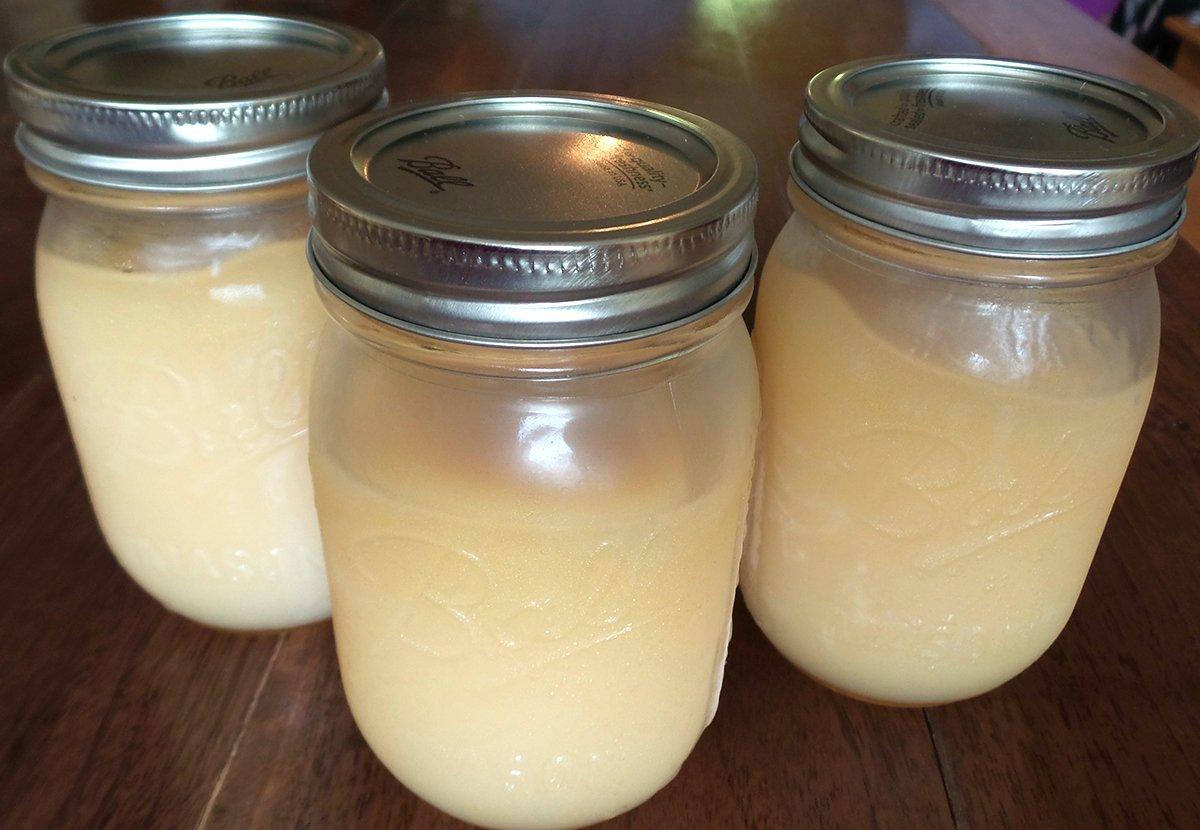
To store the bear fat, I like to filter the still liquid fat through cheesecloth to catch any leftover bits. Filtering directly into a pitcher makes filling small jars easier. The jars can be stored in a dark basement for months or in the refrigerator for up to a year.

