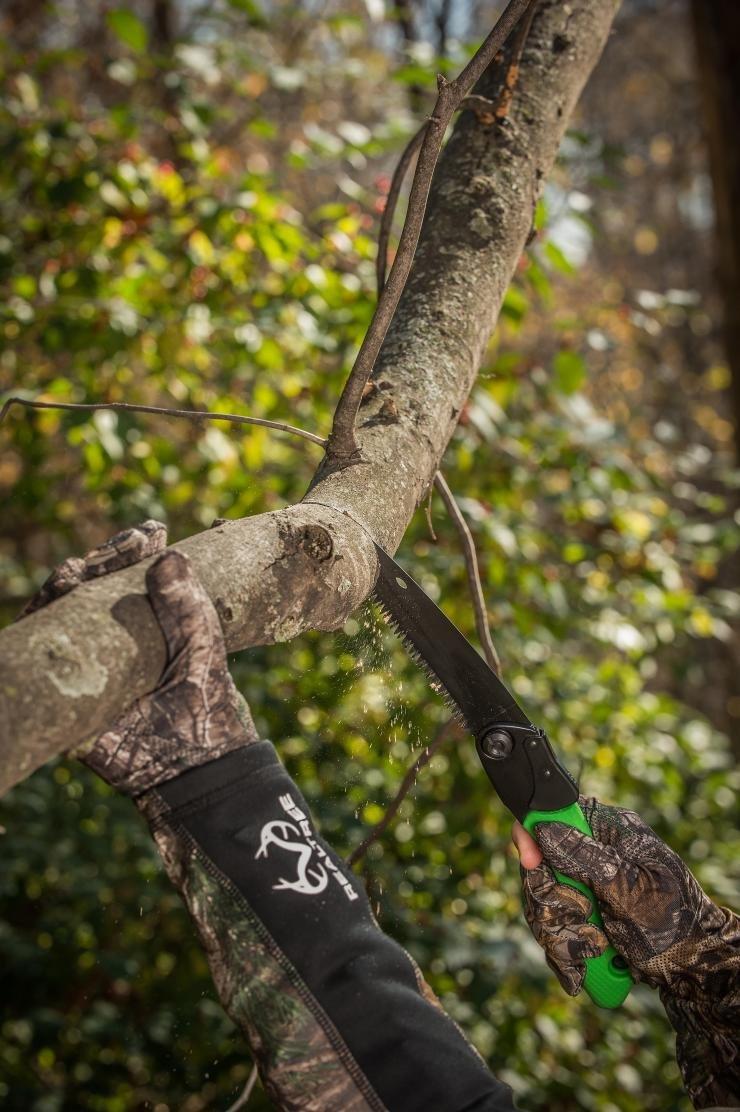
How to Shoot a Bow without a Release
Posted 2016-08-19T09:38:00Z by
Do You Shoot Compound Bows without a Release?
")
Twenty years ago, shooting a compound bow with a fingers tab was the norm and not the exception. Today, of course, the tables have turned. Visit any archery range or 3D competition and the limited fingers class is pretty small, sometimes only three or four guys making up the group. The reason for this is obvious: it is easier to master the mechanical release-aid versus the fingers shot. This, coupled with the fact that there's little in the way of fingers-type gear available, makes fingers shooting a dying art. Here's how to do it proficiently.
Step 1: Choose the Proper Equipment
The beginning step to accurate fingers shooting is choosing the right gear. This includes a longer-axle-length bow for reduced finger pinch, and the correct arrow rest, which dampens the arrow from the side.
Axle length alone won't tell you whether a particular bow will work, since the size of the cams/wheels and the brace height will affect the bow's string angle at full draw — the more gradual the angle, the more comfortable your fingers will be, and the more accurate the shot, especially when using fixed-blade broadheads.
Suitable bow-axle length and bowstring angle will vary depending on your draw length. The shorter your draw length, the shorter the bow you can shoot. Vice versa with longer draw lengths. Generally speaking, I recommend bows with at least a 40-inch axle to axle.
Beyond the length of the bow, other important variables include a relatively smooth draw cycle (in order to keep your fingers relaxed), a comfortable draw valley (not too narrow), and a mild let-off.
I don't favor bows with narrow draw valleys that seem to cause shooting anxiety, as you fear the bow will thrust you out of the valley and back into the draw cycle. Also, a somewhat wide 65-percent let-off valley is necessary for smooth arrow take-offs as your fingers glide off the string. Those who insist on shooting narrow valleys with fingers often get lefts and rights due to slight draw-length inconsistencies that almost always occur when shooting fingers.
Further, some fingers shooters like to hold against a wall at full draw whereas others don't. This comes down to personal preference. The upside of a mushy feeling bow is that it usually comes with a wide-draw valley, allowing more error in draw-length inconsistencies. However, you must adjust the bow's peak weight to ensure you're holding plenty of string pressure with this type of setup, which allows for better back-tension and a cleaner release as you relax your hand to fire the arrow.
I favor a wall to pull against when shooting since it relaxes me more on target as I apply back-tension to trigger my let-go process. What this means is that my shoulder/arm unit moves rearward until the string pressure becomes greater and eventually my body realizes it's time to relax the back of the hand. This then causes the bowstring to rifle clean through my limp, relaxed fingers.
Step 2: Grip the String Right
An accurate fingers shooter engages the bowstring the exact same way each time. This breeds consistency. One important component to watch for is the alignment of the back of your hand—keep it parallel to the bowstring. From there, grip the bowstring in the first crease of your two or three fingers, or somewhere in this vicinity, given your fingers stay in line with the backside of your hand. Also, always try to keep your fingers limp, relaxed and torque-free. By accomplishing this, you'll ensure that your hand will not torque the bowstring at full draw, increasing your chances of a smooth, consistent release.
Once at full draw, adjust your finger pressure accordingly. Some archers like to drop the string pressure off the top or bottom finger entirely, using only two fingers (with various degrees of pressure on the top or bottom finger) to release the string.
I'd suggest experimenting a great deal with finger pressure to see which type of hold yields the most consistency. I like to keep two fingers hooked to the string firmly, which allows added security at full draw, particularly when I'm waiting on an animal to clear brush, or when shooting in the wind.
Step 3: Master the Release
There are two ways to release the bowstring with fingers. The traditional way of shooting works on visual command. Basically, you swing your sight pin into the bull's-eye slowly and deliberately, hold steady for a second or two, then simply relax the back of your hand until the string slips away. This is how bowhunting legend Chuck Adams shoots.
I shoot the sight like a clicker—when my sight picture is right, I pause a split second and shoot, relaxing my hand to cut the arrow free, said Adams. Average time it takes me from drawing to shooting—three seconds. It's fast but it's deliberate and smooth. There's nothing jerky about it unless I'm doing something wrong.
Another effective way to shoot fingers is to use back-tension, just as expert release-aid shooters do. This method, I believe, reduces the chance of anticipating the release, which seems to cause target-panic problems. It does so because it relies more on your entire body to free the arrow rather than a simple mental command to shoot now! This is how it works.
Come to full draw, place your sight pin on target, and then allow the pin to roll freely, most likely crossing in and out of the spot or making a slow, gradual circle around it. From this point, you should have no mental command to shoot whatsoever.
Next, through extensive muscle memory training (blind bale), you'll begin to activate your draw-arm side rhomboid muscles, which will slowly induce tension and move your entire arm-unit rearward (the movement is not really physically detectable, only felt). This process will increase the tension in your fingers as well, and when the tension becomes too strong, the bowstring will break free, as your hand becomes completely relaxed.
As you shoot this way over and over, you'll find yourself just aiming and no longer thinking about the release. Give that away to your subconscious mind to master. You simply stay hooked up in the aim and let the arrow cut free when your body says it's time to do so, not your mind.
I like to shoot with my eyes closed at a blank bale, training myself to release only sometime after feeling a slight sting in my back muscles. Then and only then should the shot break. This keeps the shot delayed more so, and the back tension strong and consistent. This is one extra safeguard that helps me combat the now command to shoot.
Your follow-through is critical as well. Once the string rips from your fingers, train yourself to keep your hand against your face, or allow it to blast rearward to your ear or behind your head. It really doesn't matter where it ends up, just be sure it's brushing your face the whole time. My hand ends up right behind my head, said Huffman. Fingers should just barely run against the side of your face after the shot. When you don't do that, you pluck, which causes low left and right hits.
Step 4: Dealing with and Preventing Target Panic
Many longtime fingers shooters develop a freezing problem, which means the sight pin locks in like epoxy glue just before reaching the spot. No matter how hard they try, they just can't seem to bring the sight pin into the center and relax. Usually what happens is the shooter swings the sight pin on the spot, and then abruptly drops the string — creating a drive-by way of shooting, which eventually develops into a full-blown case of target panic. To avoid this, you must restructure the shot execution process entirely, as if you were learning how to shoot all over again. This is critical.
The first step is to shoot blind bale for at least 21 days (the amount of time psychologists say it takes to learn a new habit). During this phase, learn a consistent way to release the string and how it feels, imprinting this in your mind over and over again. Keep every step the same and in order—never switch anything. Also, never, ever rush the process. It could take 40 days instead of 21. Always shoot when you're fresh and relaxed — never when tired.
After this, shoot only at large targets from close range (10 or 15 yards). Slowly, over the course of several weeks, reduce target size until you feel very controlled at aiming and shooting. Anytime you feel anxiety beginning to creep in, go back to a larger target size. Again, never rush the process.
Within due time, move back to 20 yards and begin shooting regular-sized targets. Then move back further if you feel confident. After the course of two or three months of shooting, you'll find yourself shooting 40-yard targets comfortably and accurately. It is also crucial that you shoot five to eight arrows with your eyes closed at a close-range but before beginning any practice session for the day. This will help remind your subconscious of the proper release technique, so it can take care of that while you just aim at the target until the shot takes you by surprise.
If you don't have target panic, you should do all you can to prevent it. Anytime you feel a loss of control at aiming, you should stop shooting immediately. Also, never shoot when you're tired or stressed out. Target panic often strikes when you begin skipping or doing steps out of order when shooting. It also strikes when you over-shoot continuously. Stay fresh before practicing and maintain a disciplined shooting regimen, and you'll keep yourself safe from panic problems.
Editor's note: This was originally published in 2009.
Click here for more bowhunting articles and videos.
Check us out on Facebook.


