How to Use the Gut Daddy Field-Dressing Kit
Posted 2019-01-18T20:24:00Z
What Are Your Thoughts on This New Product?
Gutting deer has long been a part of our hunting culture. Sure, you can go the gutless approach. But, by in large, most deer hunters still gut their deer promptly after the kill. That's the tradition. That's just what we do.
This is a new product that's been designed to make it easier to gut deer on the ground. If you aren't hanging your deer, the Gut Daddy makes it simpler to get the guts out on the ground. Plain and simple. That's the straight answer. It does so by keeping the legs in an upright position and ultimately helps spread open the chest cavity. Here's a seven-step process on how to use it.
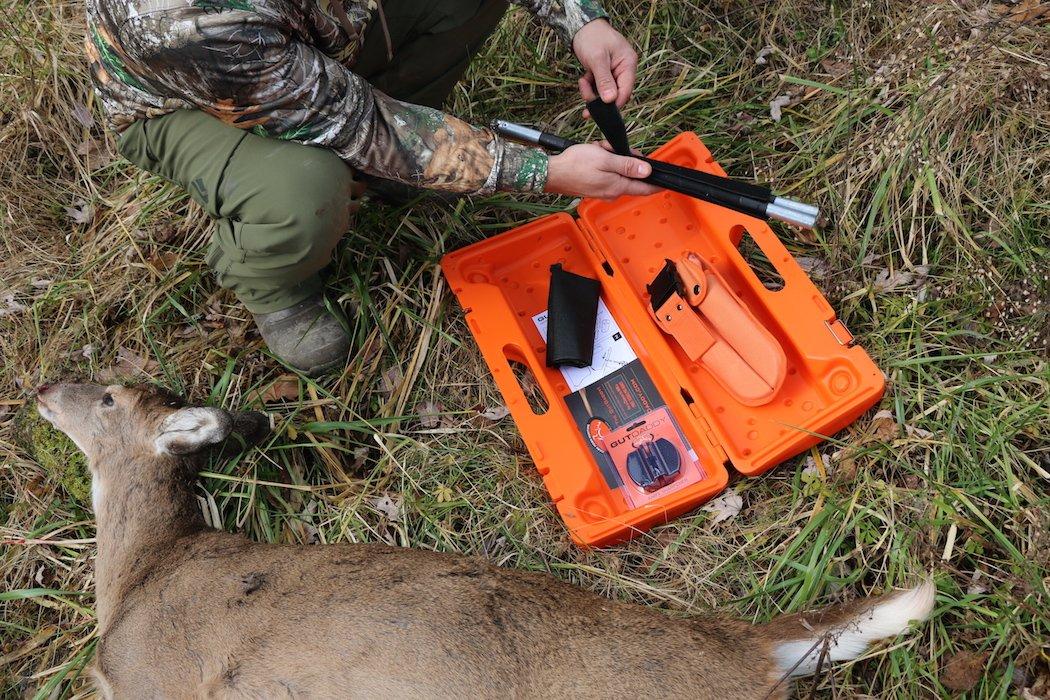
The first step is to open the case and spread out your Gut Daddy tool kit. You have nine total pieces:
- One Case
- Two leg posts
- Two rib hooks
- Two knives
- One saw
- One knife/saw pouch
Once you have the tool kit opened, spread out the contents, (carefully and safely) sharpen your knives as needed. Make sure the case, posts, knives, saw and rib hooks are clean and ready for use.
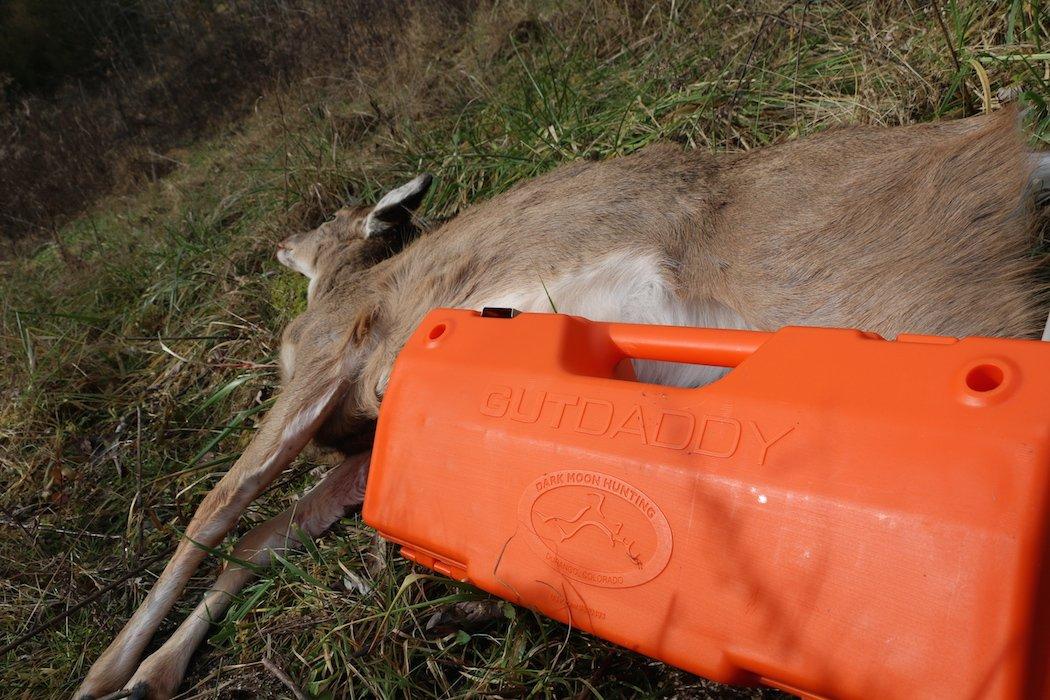
Next, place the case with the inside facing downward. The outside of the case should be facing upward. The deer will actually be laid on top of that case. But there's another step that I prefer to do first.
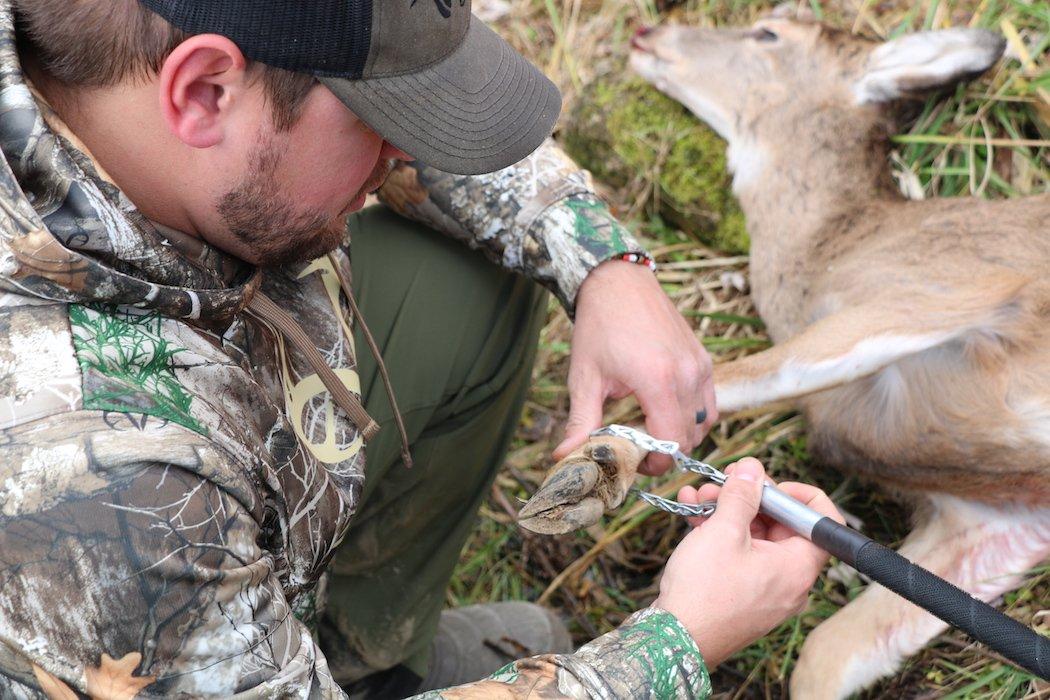
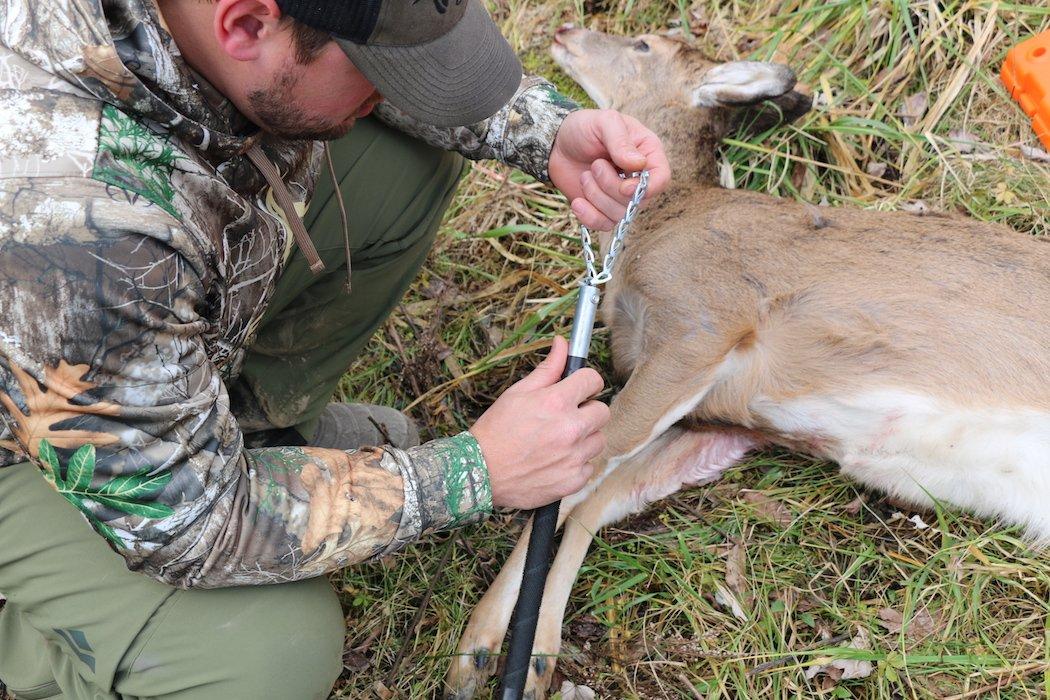
As mentioned, you can place the deer onto the Gut Daddy case before you place the leg posts on the front legs of the deer. I prefer to do it the opposite way. I've had better, easier results placing the leg posts on the front legs, placing the deer on top of the Gut Daddy case, and then sliding the leg posts into the base of the case. You do whichever works best for you.

Once the deer is on the case and the leg posts are inserted, reposition the deer so it is seated properly on top of the case. This will ensure the Gut Daddy base and rib hooks will work properly.
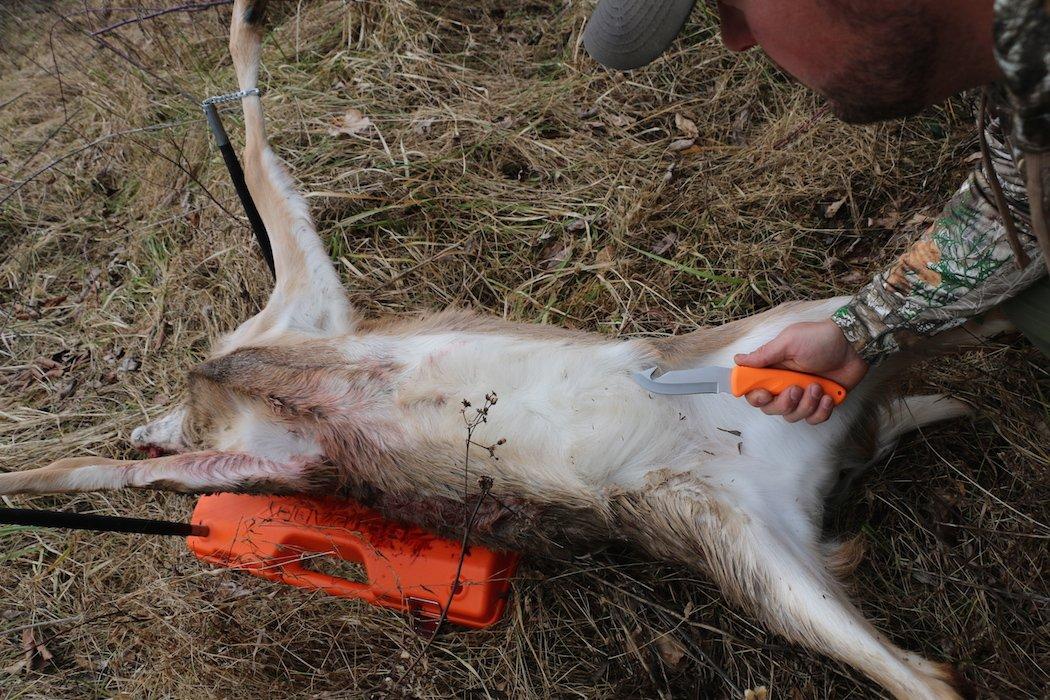
Begin (safely) gutting and field dressing your deer. Carefully use the knives to make an incision from the anus to the sternum. Then use the saw to take that cut up to the throat of the deer (if you don't want to get a shoulder mount).
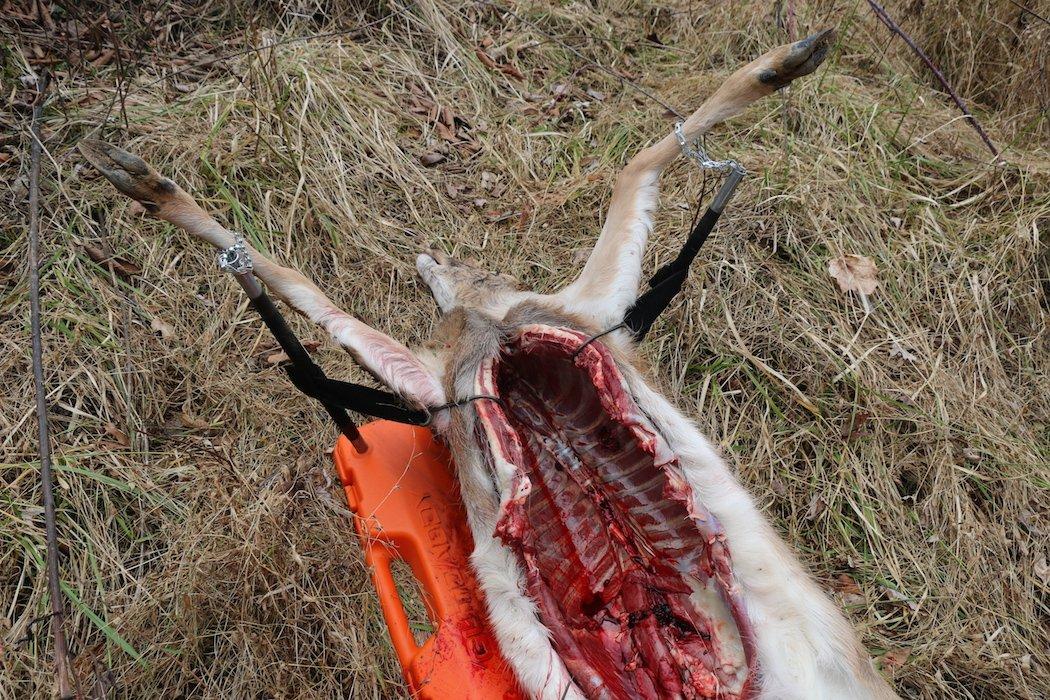
Next, attach the rib hooks inside of the upper end of the rib cage and use the velcro straps to attach them to the leg posts. This will help spread open the body cavity and make the final stages of field dressing much easier.
Once finished, remove the carcass from the Gut Daddy. It's either ready for transport (follow state and local laws on transporting deer carcasses) or for quartering. Then, clean your Gut Daddy case and kit, dry it and then pack it up so that it's ready to use the next time you fill a deer tag.
Don't Miss: 20 Deer Hunting Lies Your Granddaddy Told You
Are you a deer hunter wanting to learn how to accomplish your goals? Check out our stories, videos and hard-hitting how-to's on deer hunting.


