If you can make these five shots, you’re ready to hunt just about any critter in the woods
Before my first deer hunt, my grandfather took a 1-gallon plastic milk jug and set it out at about 100 yards. If I could hit it three times, he said, I was ready to hunt. I made my shots from the bench and sunk three right through the side of it in a baseball-sized group. That afternoon, I felt like Chris Kyle. But in the woods a few days later, I sent two shots over a 10-pointer’s back at around half that distance. I was sitting in a lawn chair, struggling to hold the weight of my rifle and shaking at the sight of those big white antlers walking through the woods.
Shooting at the range doesn’t have to be different than shooting in the woods. In fact, it shouldn’t be. I was 14 then, and in the time since, I’ve spent a bit more time practicing my shooting. Along with knowing my rifle and how it behaves, I’ve found it’s important to have a collection of shots I know I can make, giving me a few options should I find myself in different situations. If you’re a little foggy on what positions you can and can’t shoot from, read on and take what you’ve learned to the range. If you can shoot about a 2- to 4-inch three-shot group from each of these positions, you’ll be deadly in the woods. If you can’t, keep practicing.
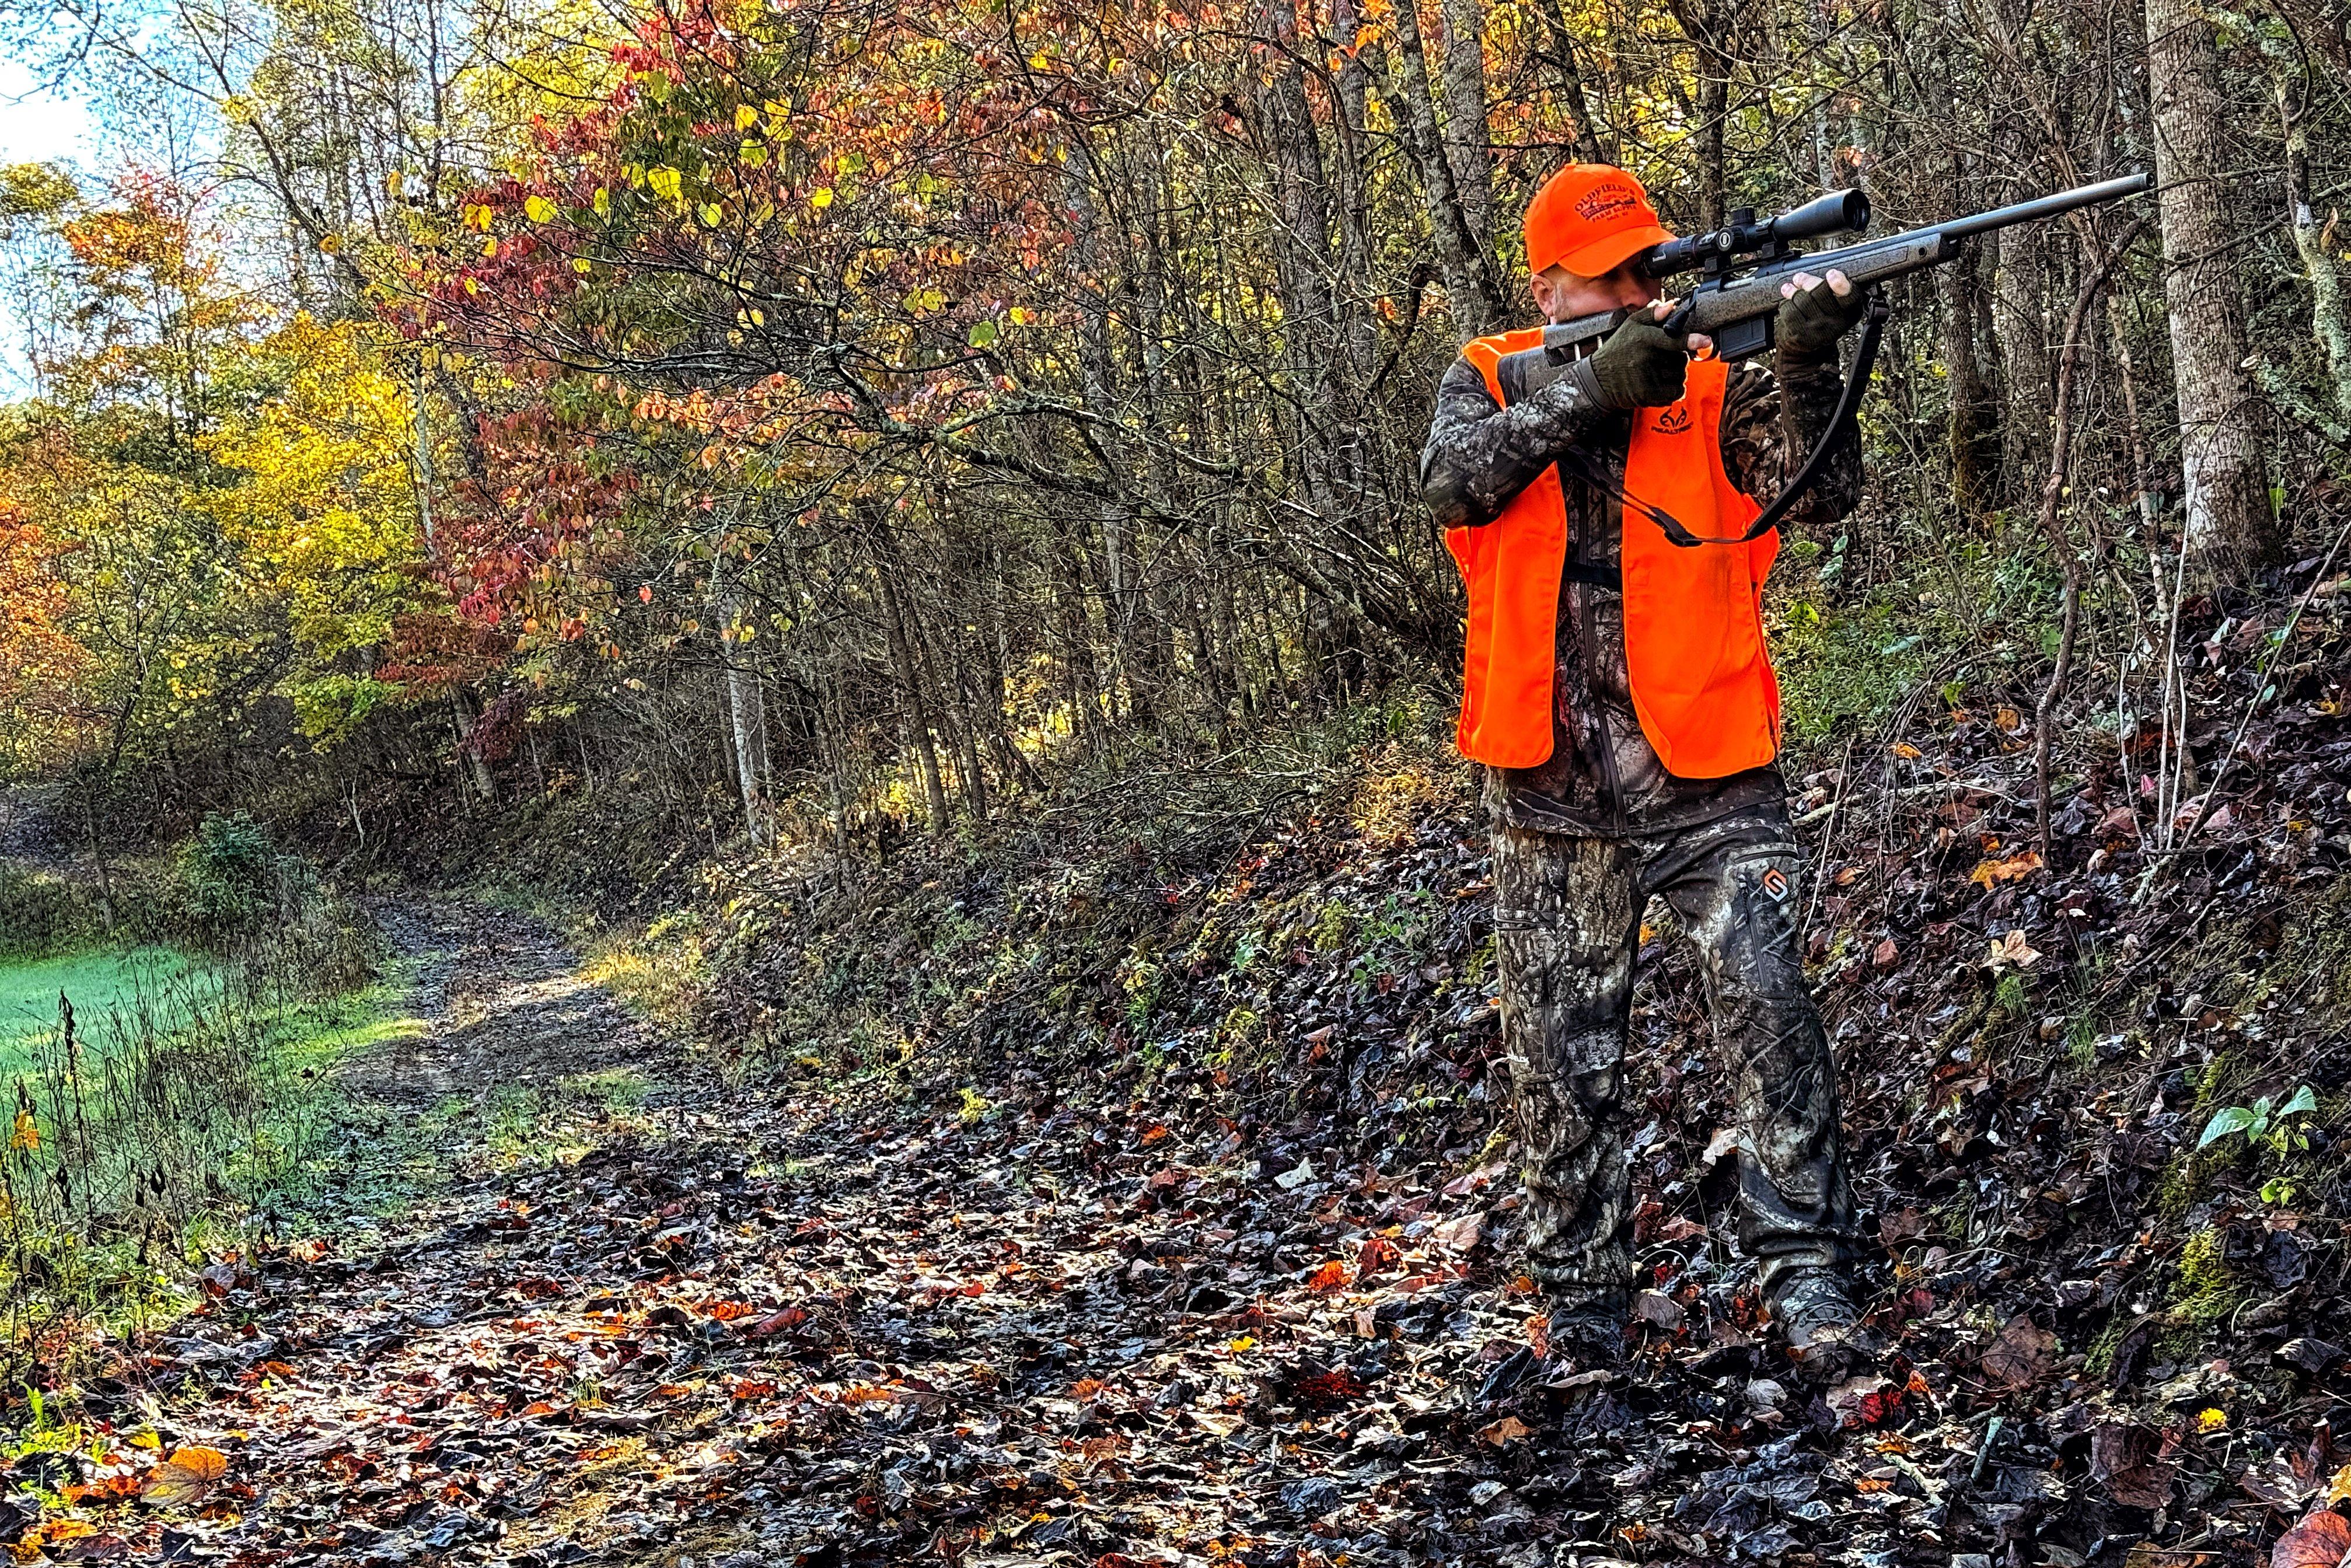
Practice various shooting scenarios at the range so you will be ready for whatever you face in the woods. Image by Bill Konway.
STANDING OFF-HAND
The quickest way to get your rifle into action is to simply bring it up to your face while you’re standing. This should be an easy shot, but you’d be surprised at how many hunters struggle with it. Every time I go to the range, I take a standing off-hand shot at a 100-yard steel plate that’s about the size of a whitetail’s kill zone. I’ve used the shot a couple of times in the woods, especially when following up on a wounded buck.
The trick with shooting off-hand is to not let fatigue get the better of you. The longer you hold your rifle up, the worse your shot is going to be. You also want to accept a small amount of wobble in your reticle as it moves around on the target. The best off-hand shooters are silhouette shooters. They let their crosshair move on target, but they never let it leave the edges of the target. You should be able to do the same on an 8- to 10-inch target out to around 100 yards. If you can’t, start close and work your way out. Focus on the reticle, not the target, and trust that as long as your crosshair is within the target, you can pull the trigger and hit it.
Don’t Miss: THE BEST SHOT PLACEMENT ON DEER
SEATED OR REVERSE-KNEELING
Often, a rock or a stump is a just a short crawl away while you’re in the woods. But when a deer is staring at you, you might not have the luxury to get to it. That’s why you should be able to shoot to around 100 yards from a seated position or reverse kneeling.
In the seated position, you can lock your knees and elbows together for support. It’s even more stable when using a sling. But not everybody can get into a seated position. That’s why reverse kneeling is so great. If you’re right-handed, kneel with your right leg at a 90 degree angle, with your knee up to support the elbow of your shooting hand. You’ll be surprised at how stable your rifle is with your shooting arm supported. Sling up for more support, or use shooting sticks if you plan on bringing them in the field. With sticks, many shooters can hit out to 250 yards like this, but you should practice at 100 until you figure it out.
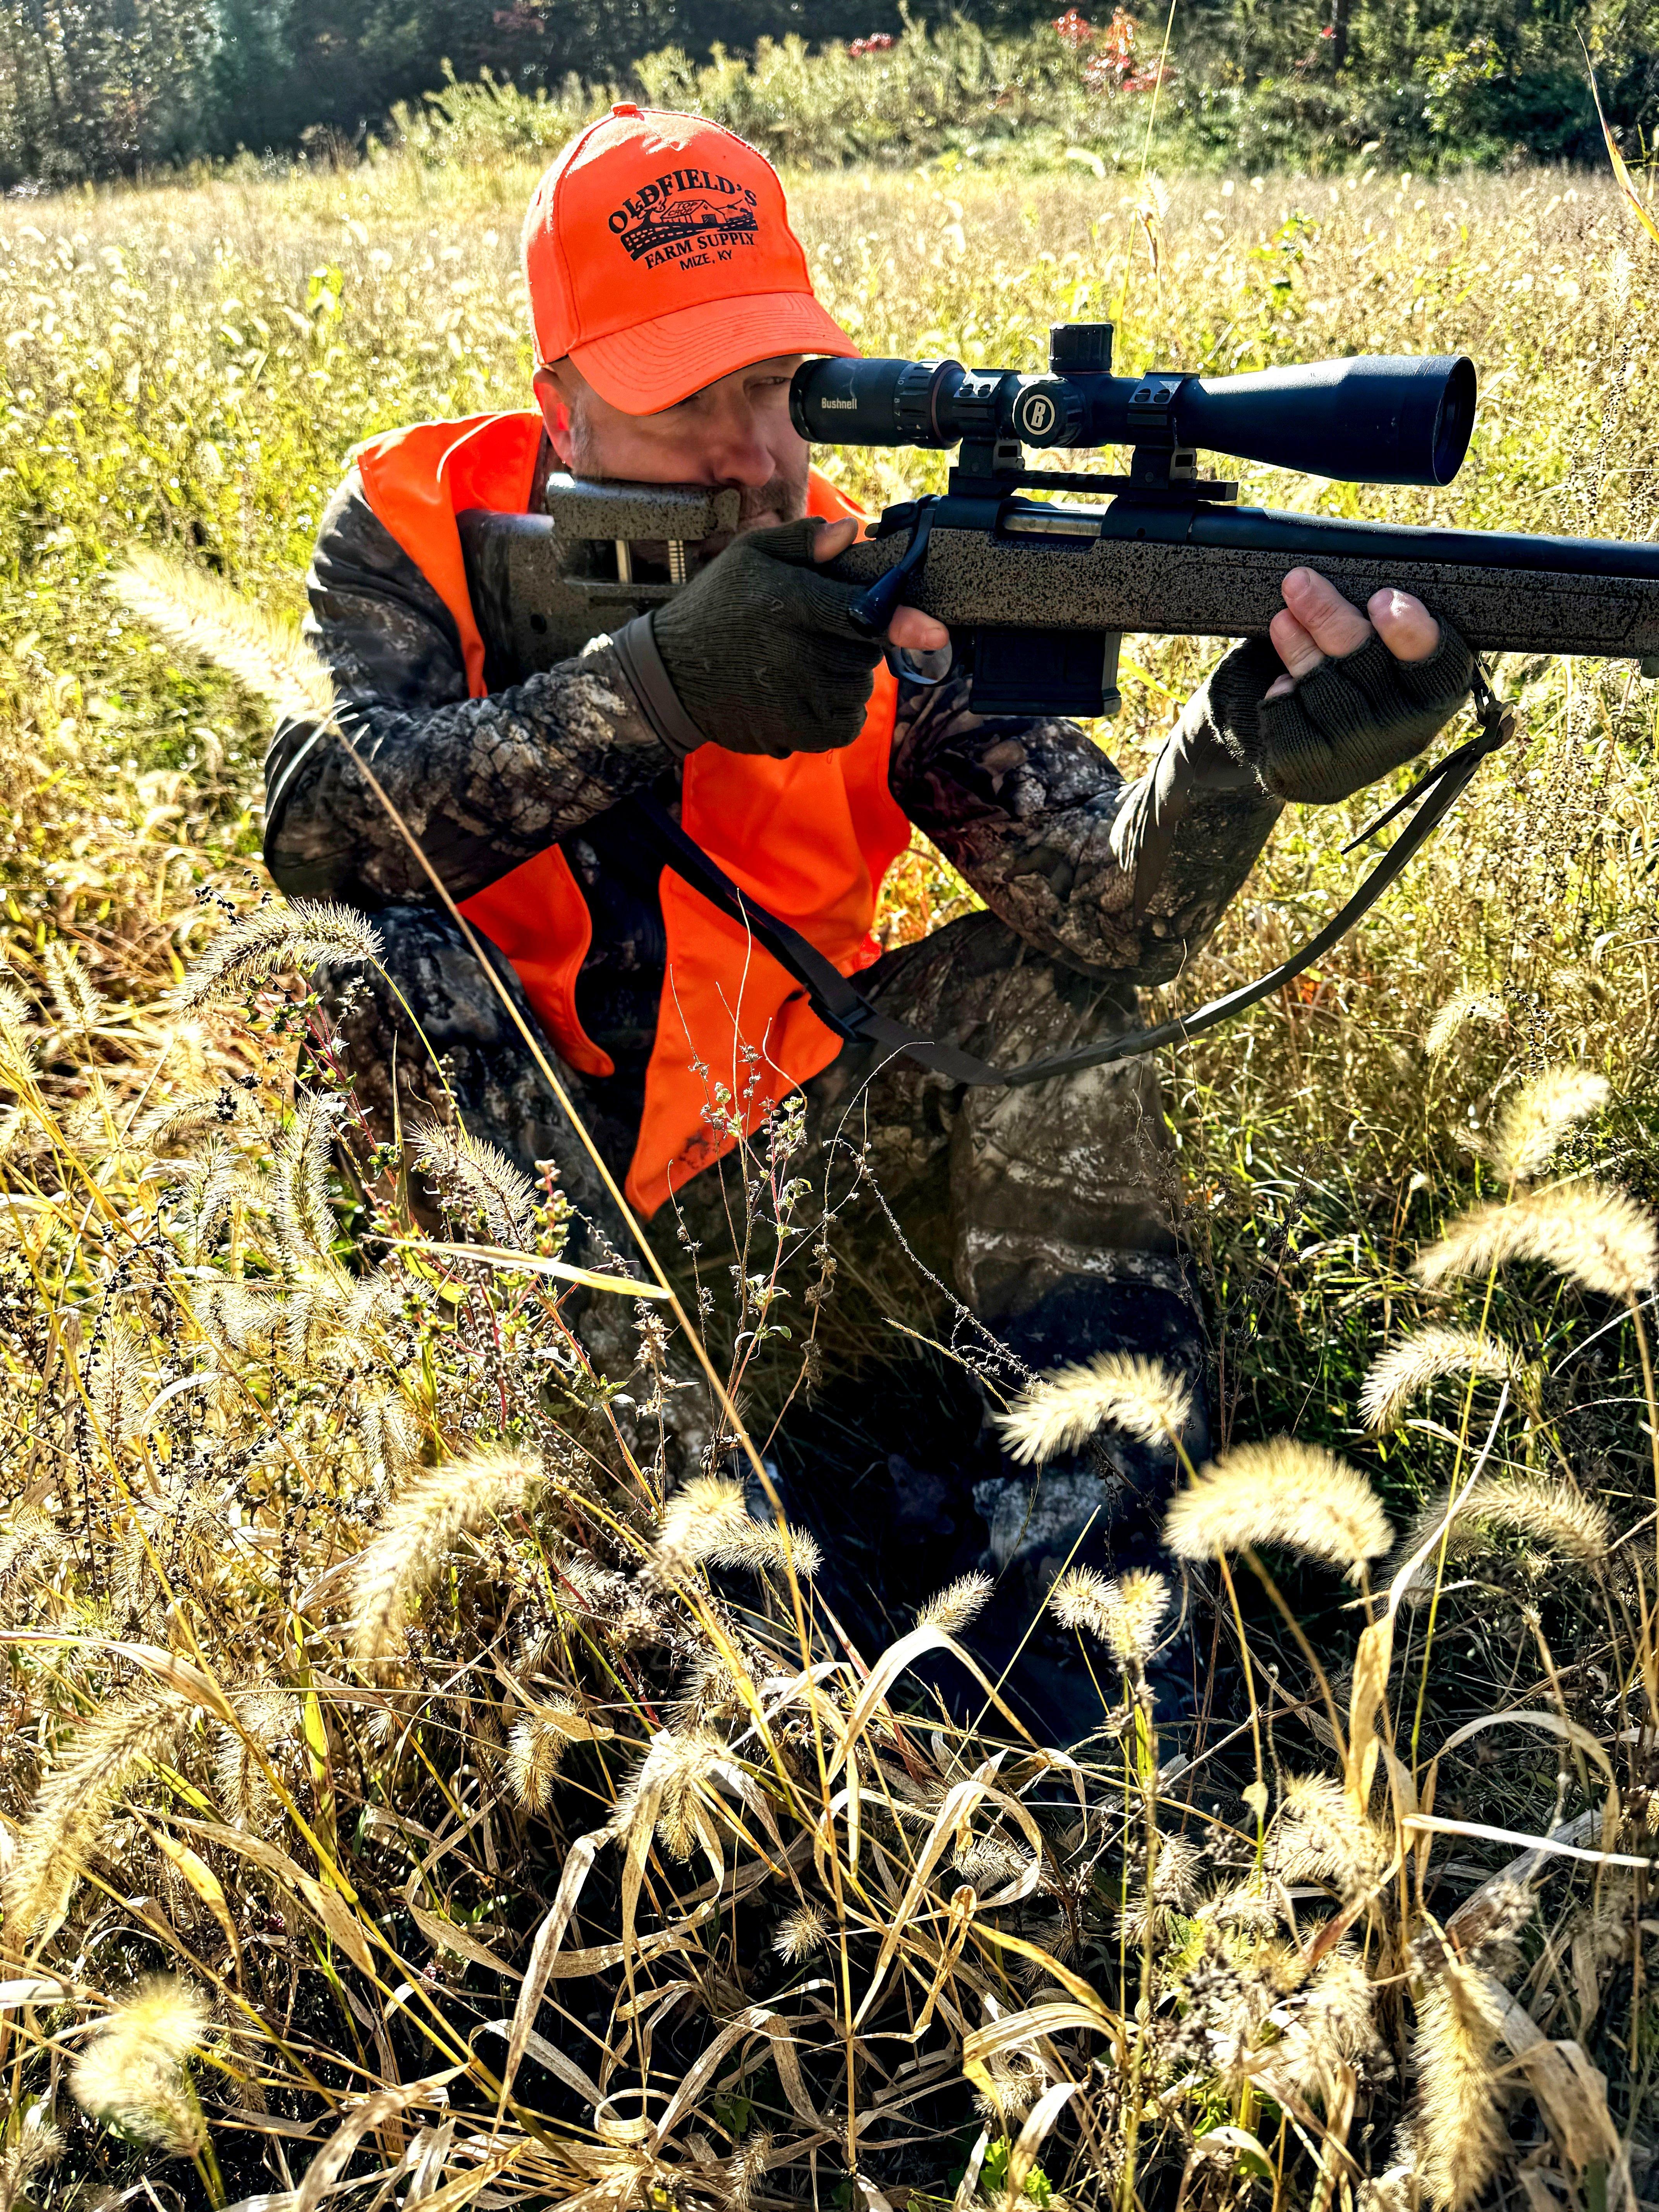
Shooting from a seated position allows you to lock your knees and elbows for added stability. Image by Bill Konway.
PRONE FROM A PACK
This one’s easy, right? It is if you know how to find your natural point of aim. If not, you’ll be surprised with how big your groups are when shooting from prone. Your natural point of aim will affect every position you shoot from. It’s where your body wants to point a rifle, whether you like it or not. To find it, get in position and aim at your target. Then relax, just enough to hold the rifle on target and close your eyes. Count to three, then open them.
Are you still on target? If you’re off, you need to adjust your whole body rather than bring the rifle to the target with your arms. This might take a couple of tries, and it’s easier to get it right the first time after you’ve practiced a bit. When you can close your eyes and open them on target, your prone shooting will be much better. This technique really shines at distances farther than 300 yards. Practice at 100 until you’re shooting 1-inch groups and you’ll be able to hit at any practical hunting distance.
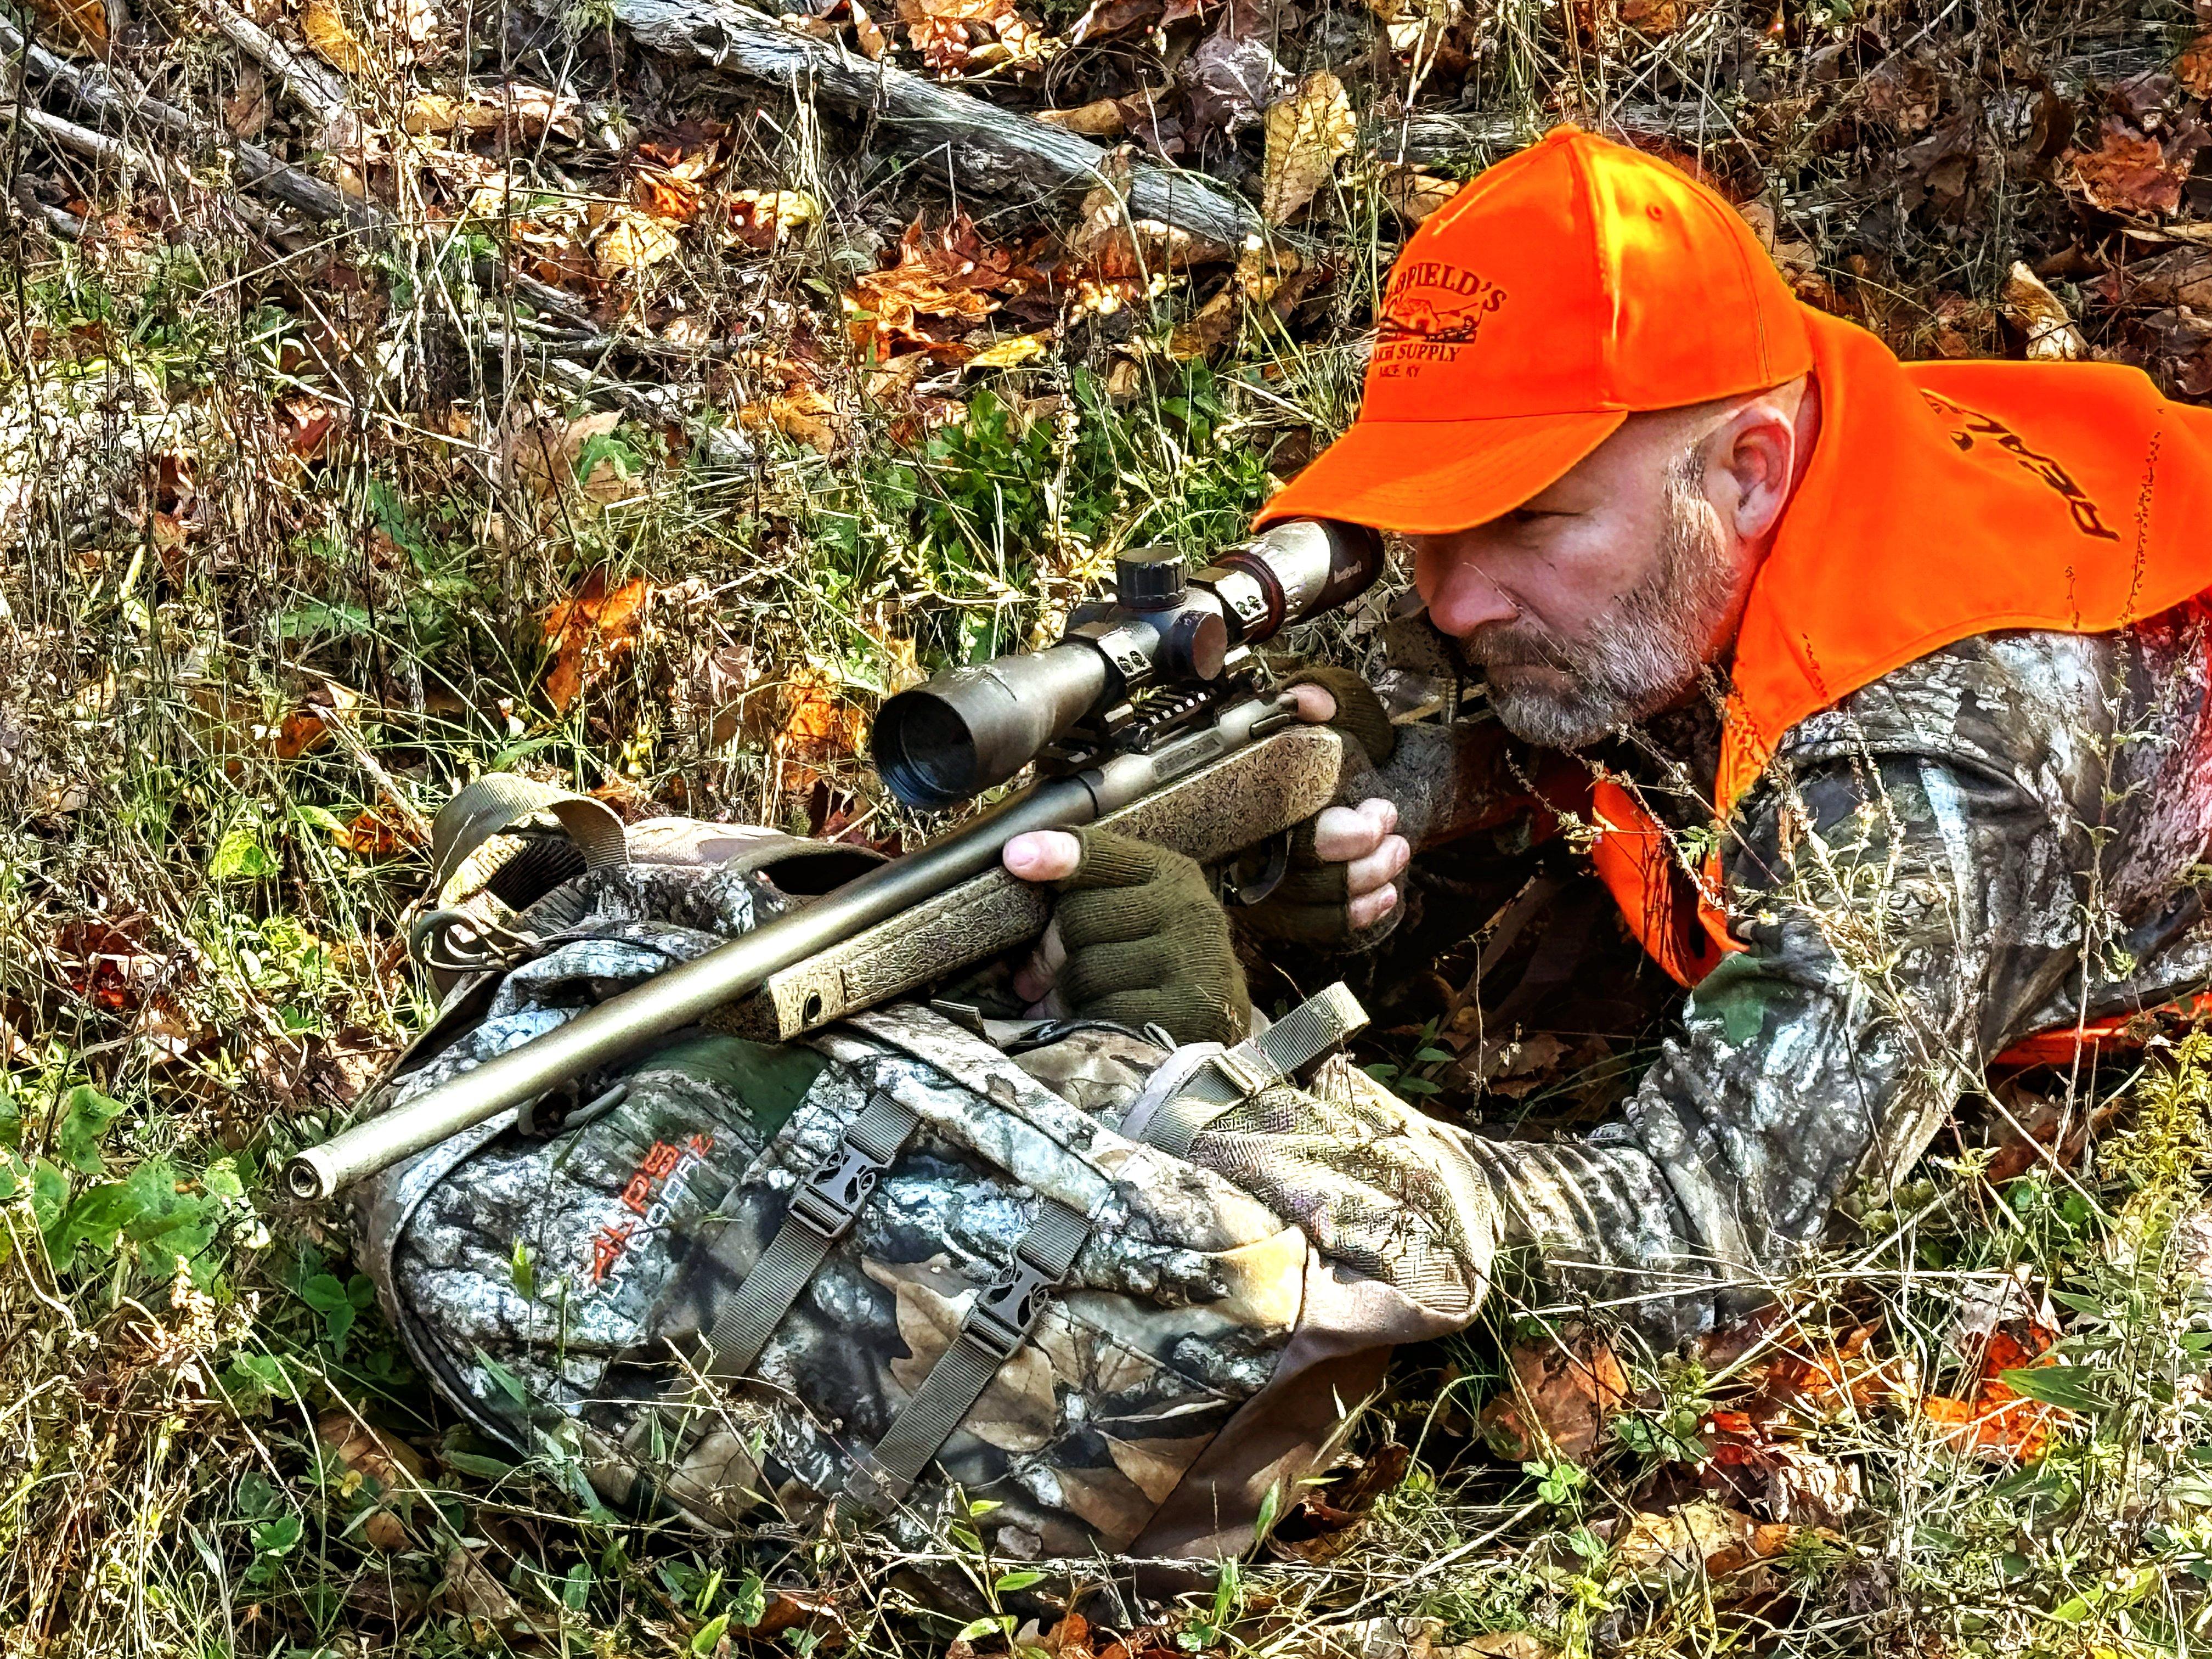
Try taking aim from a prone position and then closing your eyes. If you are still on target when you open them, your prone position is correct. Image by Bill Konway.
USING A TREE FOR SUPPORT
I started using trees for support while squirrel hunting, and shooting like this probably accounts for 80 percent of shots I make on big game. The reason is simple. I usually hunt in the woods, surrounded by trees. While still-hunting, I try to be near one when I stop so I can have a good support should I need it. The best trees to shoot from are about as thick as a softball, but just about any will do. I’d just avoid saplings, as they can shake and spook game.
To make this shot, put your support hand on the tree, and stick your thumb out. Then rest the forend of your rifle between your thumb and the tree. If you can’t grip the forend and the tree, you can also grab the sling, right at the front sling swivel. Lean your body slightly into your rifle and the tree to eliminate any wobble. If you can wrap your sling around the elbow of your shooting arm, you will be even more solid. This shot works well for a quick, accurate hits at less than 200 yards.
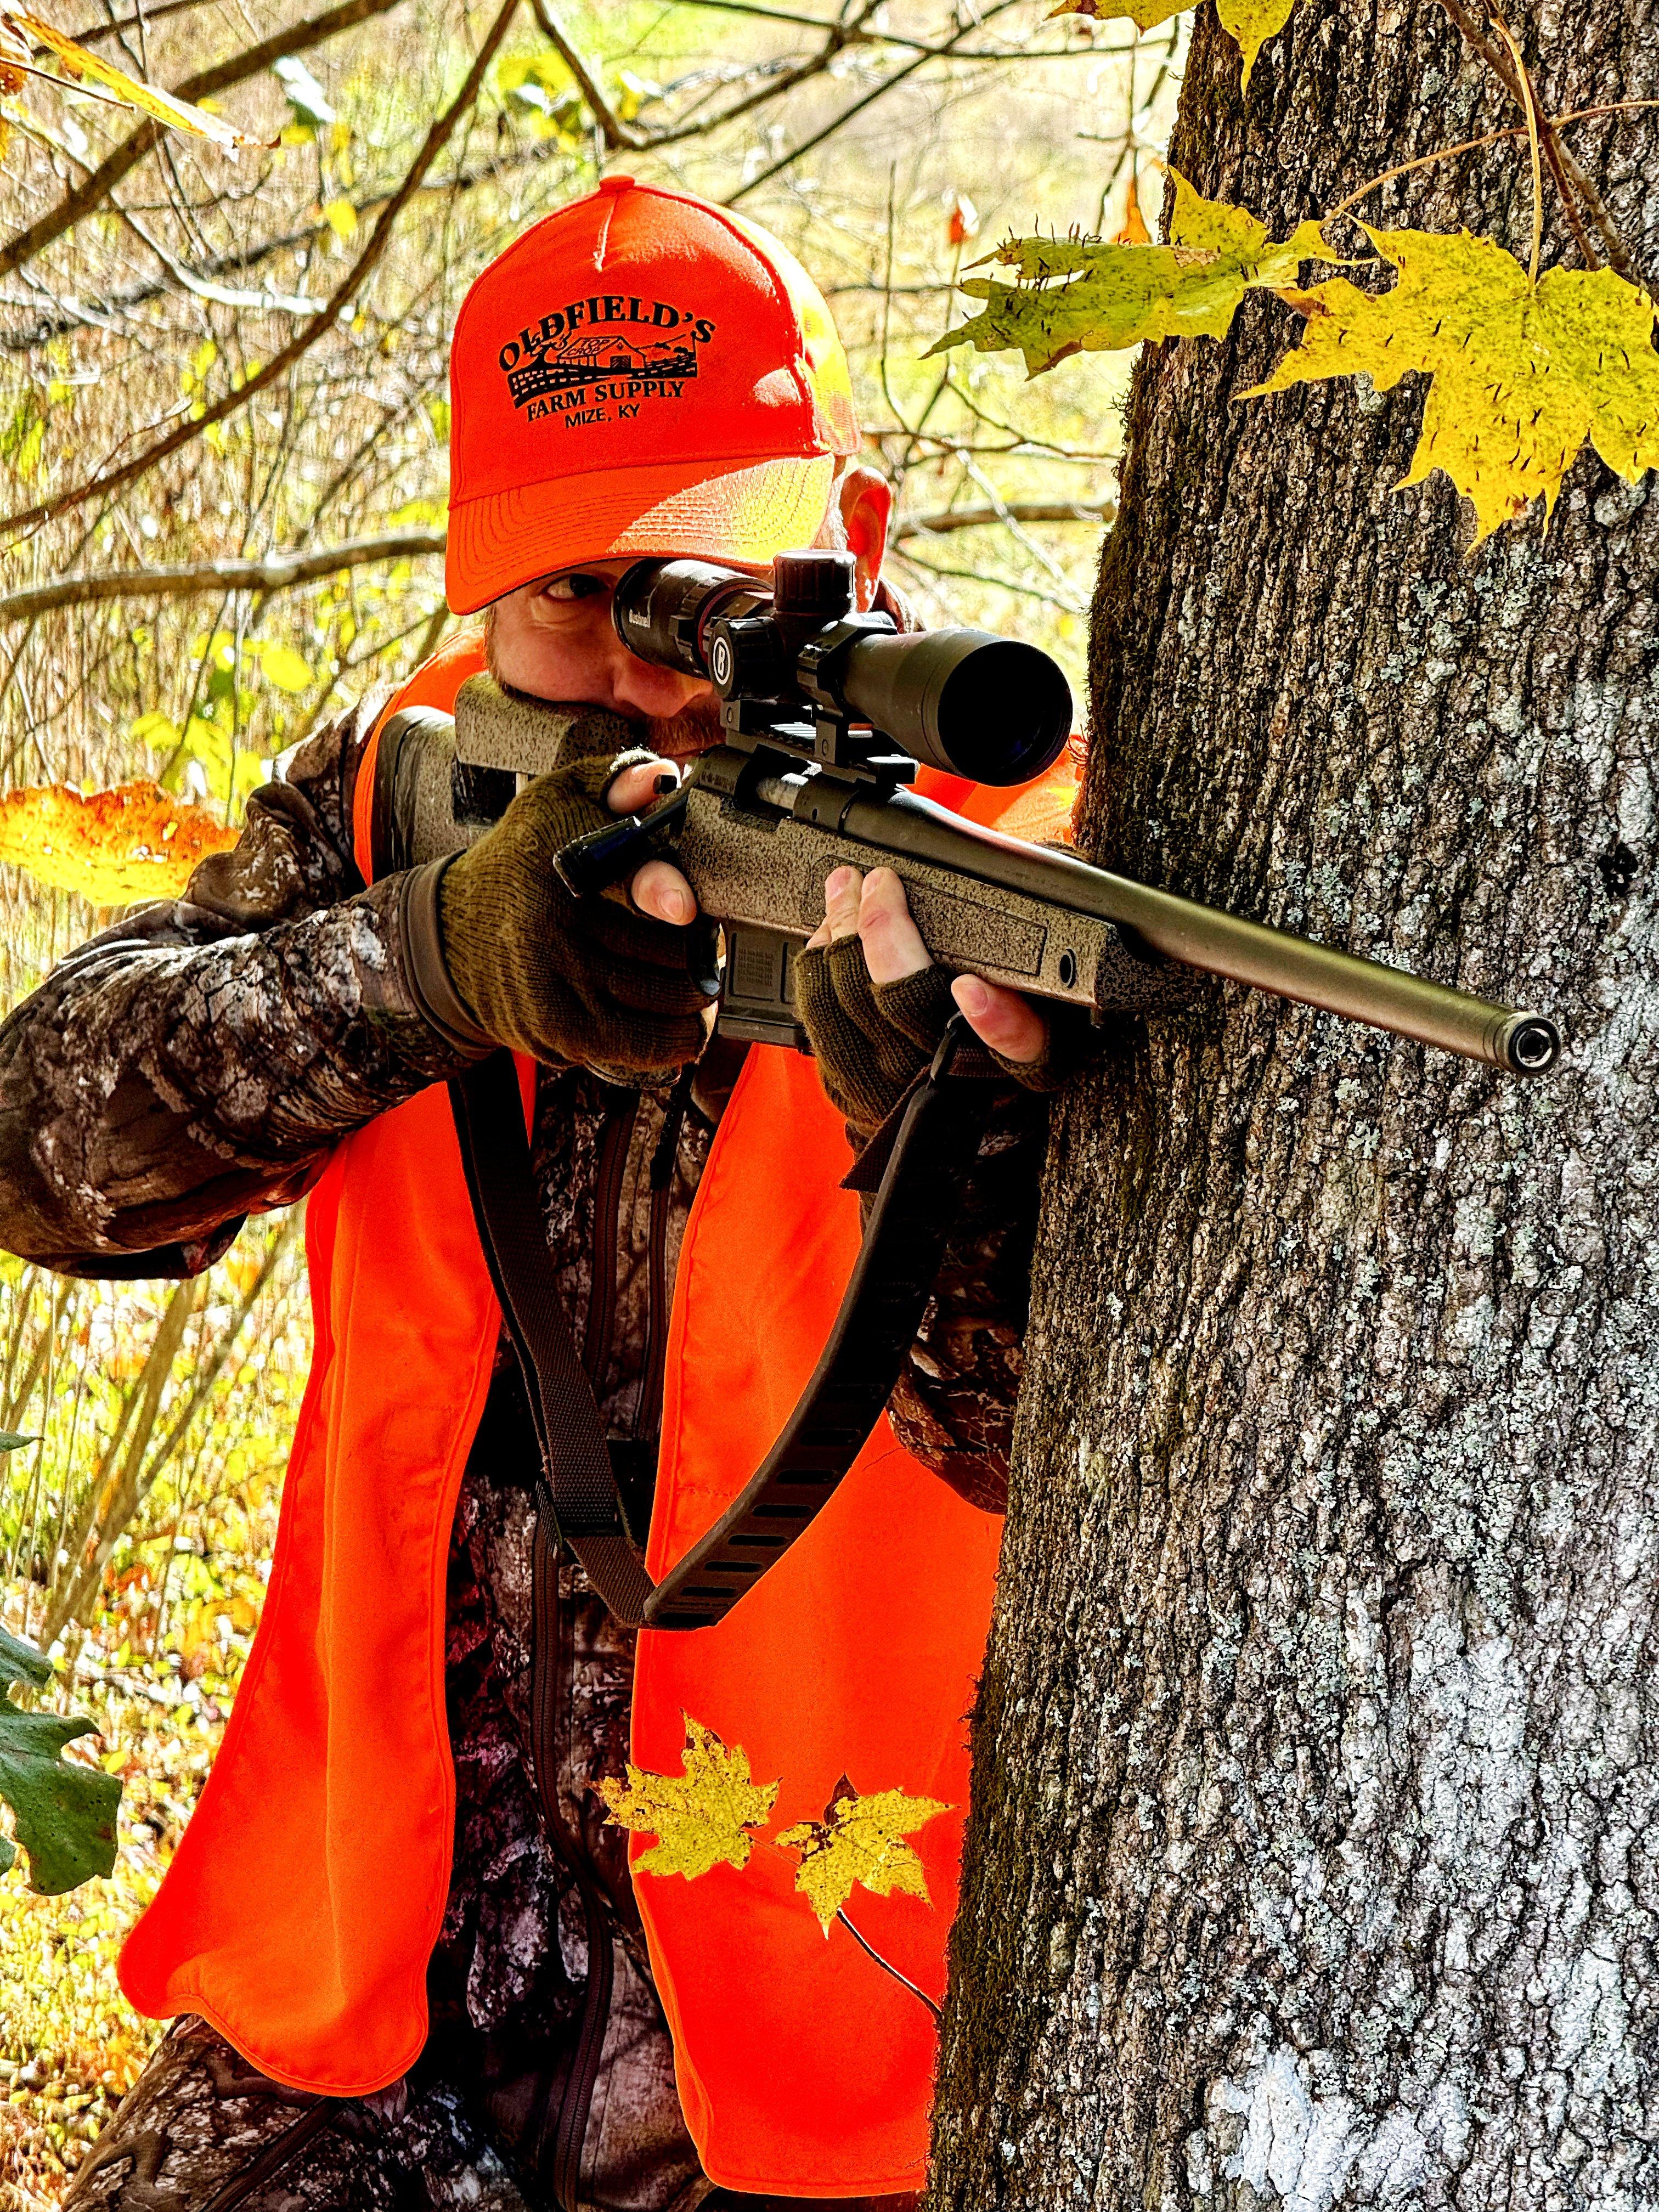
Holding your stock against a steady tree is a great way to make an accurate shot. Image by Bill Konway.
THE SNAP SHOT
Many don’t feel the need to make a quick snap-shot at deer, but I think it’s something that needs to be in every hunter’s toolkit. You may not ethically agree with taking your first shot like this, but if you wound an animal, you might need to shoot fast or even shoot a deer on the run.
CHECK OUT OUR LATEST CAMO PATTERN: REALTREE APX
Scopes with good low-end magnification are ideal for snap shooting. The maximum power I’d attempt this shot with is 6X, but I prefer to take it on 3X or even 1X if I have a scope capable of that. When practicing snap shots, start at the low ready position with a target at about 25 yards. If you have a shot timer, it’s really helpful, but a buddy yelling “go!” can work just as well. At the beep from the timer, raise your rifle to your cheek, and pull the stock into your shoulder. Then flick off the safety and take your shot. Start slow, and speed up the more you practice.
If you really want a challenge, try Richard Mann’s deer hunter drill. To do it, you’ll start from the slung position with the rifle over your shoulder. When the timer beeps, push the sling out with your rifle-side hand, and then grip the forend of your rifle with your weak hand and pull it into a shooting position. If you can master this technique, you can shoot a deer at close range in about 2 seconds.


