
These popular European pastries are easy to make and the perfect way to serve up fresh blackberries this time of year
Wild Blackberry Scones
20 Min
Prep Time
30 Min
Cook Time
4-6
Servings
Medium
Difficulty
Don’t worry if you aren’t familiar with a scone. Just think of it as the European version of a cathead biscuit, except triangle shaped for some reason. But that’s no problem because pie is triangle shaped. So is pizza. Both of those are top-notch eats, so a triangle-shaped biscuit shouldn’t be cause for concern.
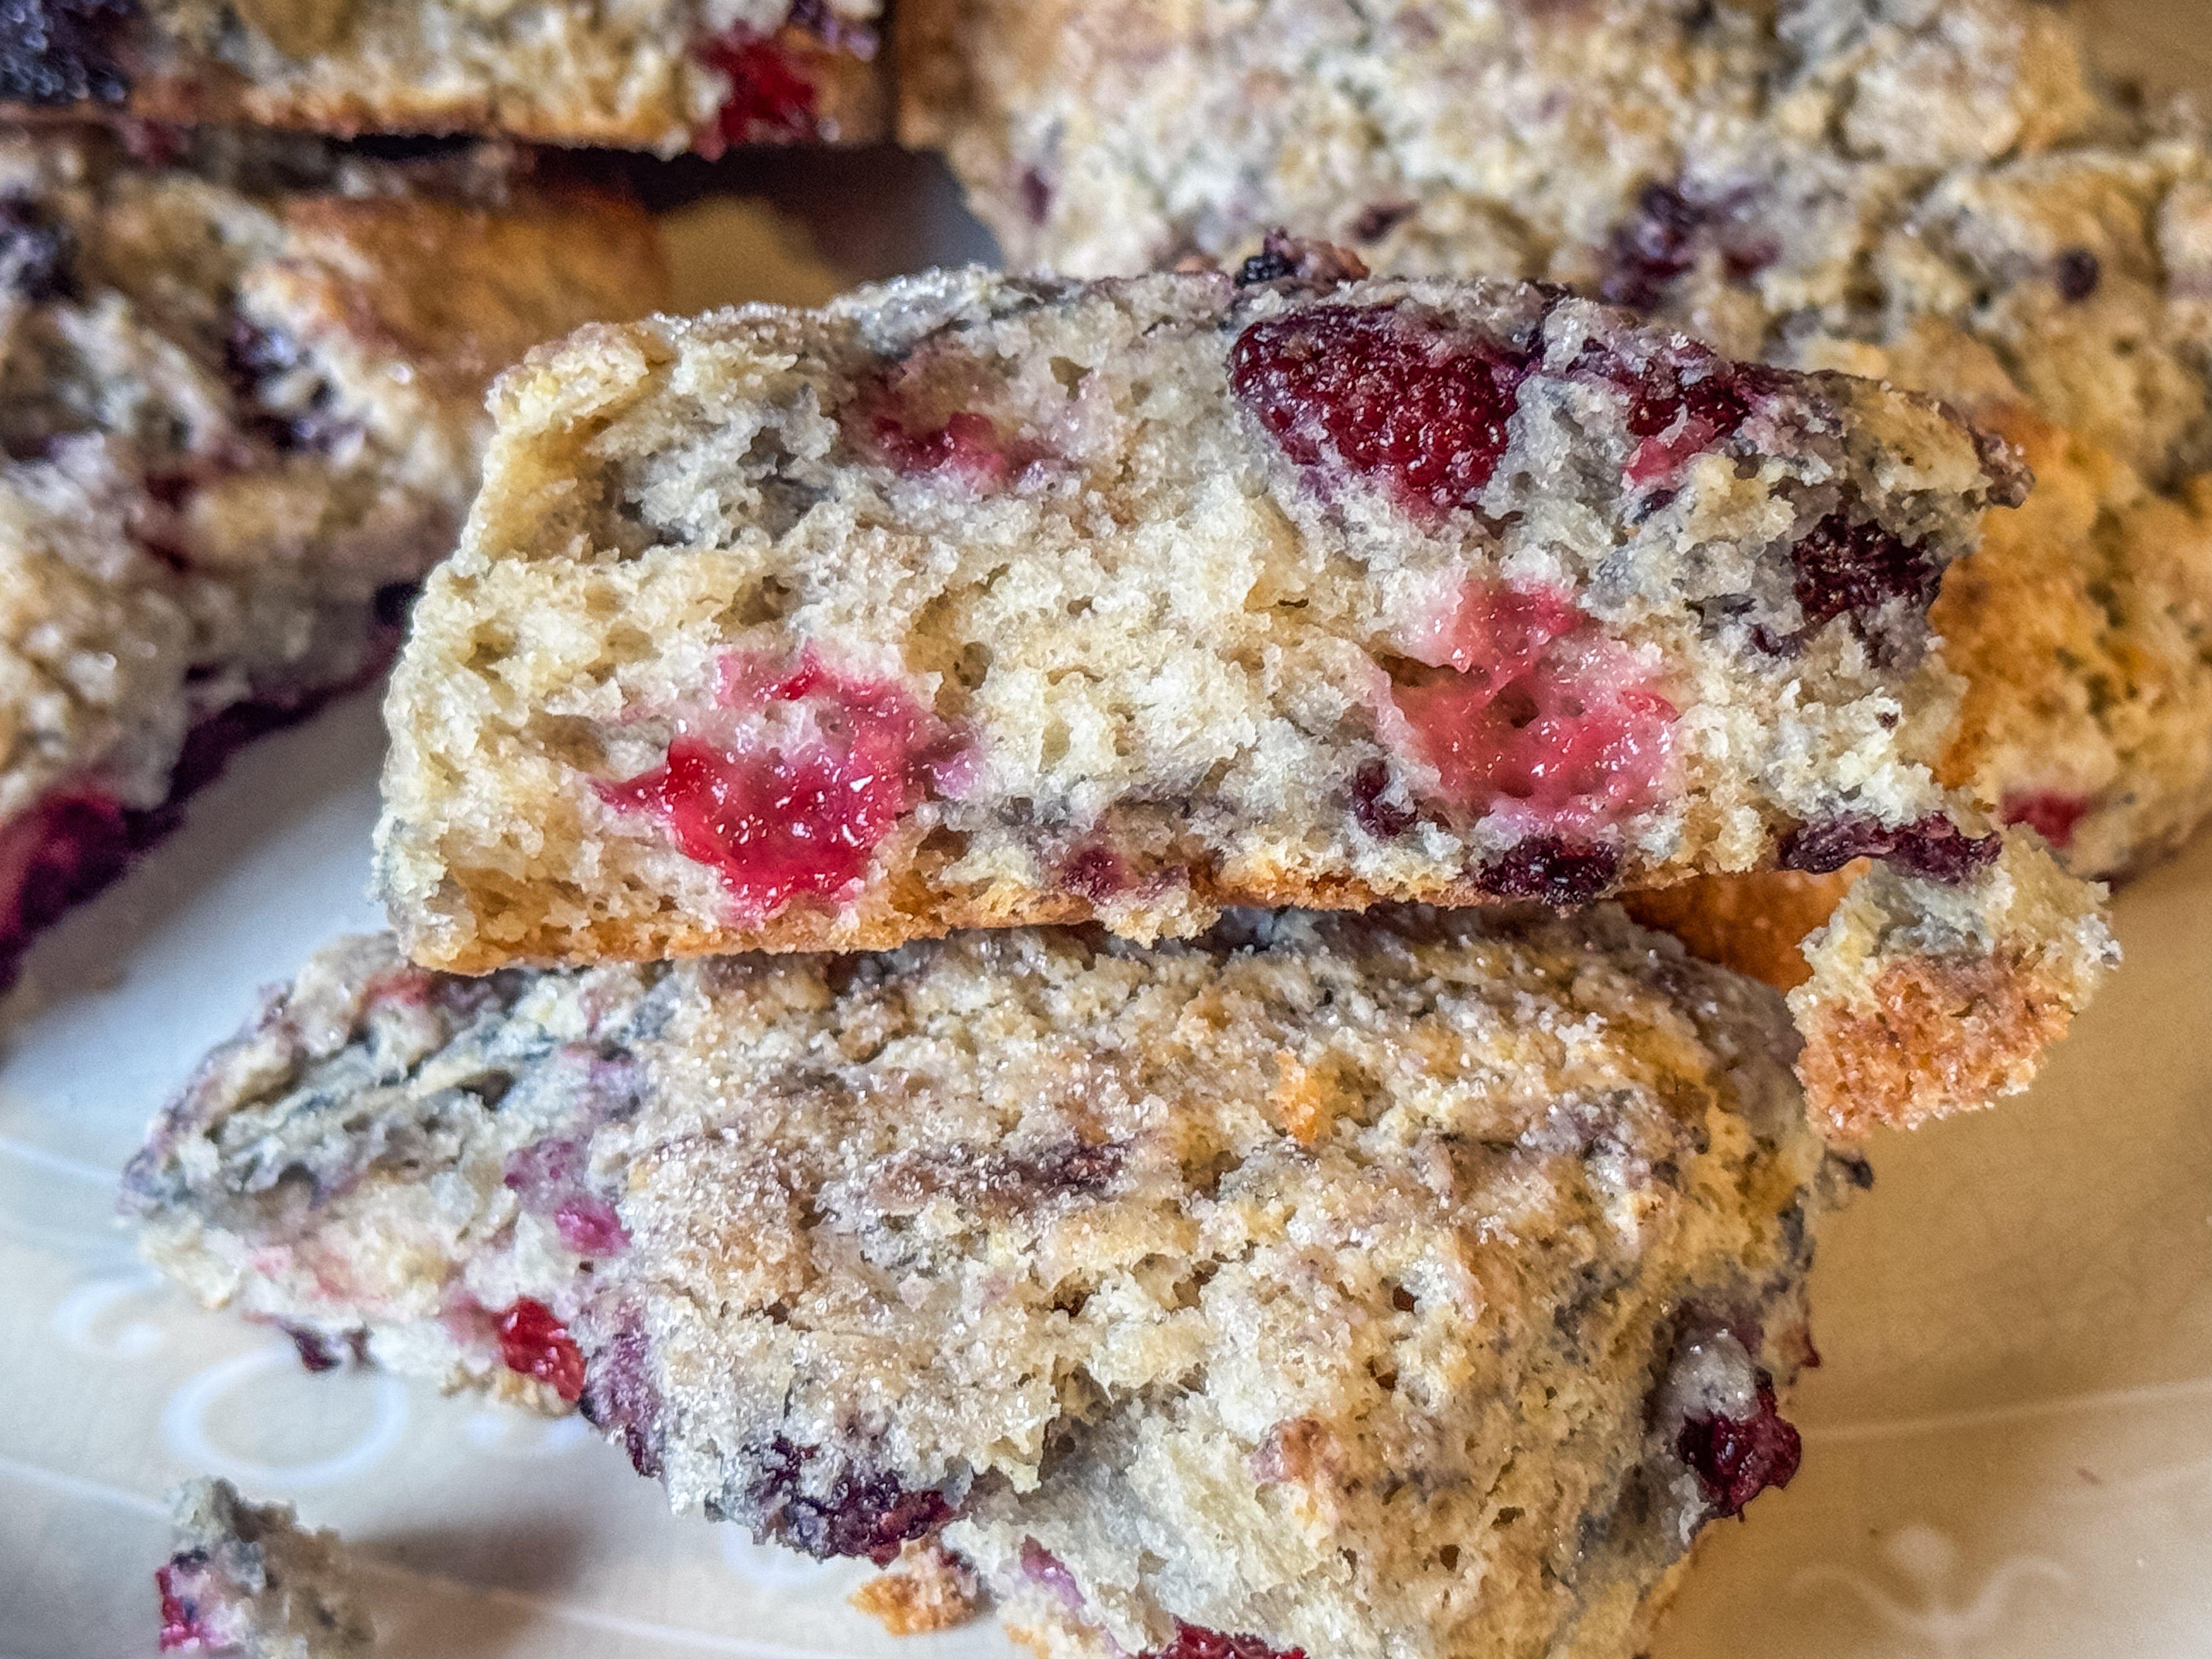
A tender, crumbly scone is the perfect vessel for your fresh blackberries. Images by author
Scones can be savory — think cheese and country ham or bacon — or sweet, like the blackberry filled version in this recipe. They are simple to make and taste great for breakfast, brunch, or just a snack.
Scones can be sweet or savory.
Don’t miss: BLACKBERRY CREAM CHEESE DANISH
Blackberry season is in full swing here in the upper South, and we’ve been using them for all sorts of things lately. Don’t have blackberries where you live? Use whatever wild fruit is in season. Blueberries, huckleberries, raspberries, mulberries, and Saskatoons all work well. You will need about 1 ½ cups of fruit total for this recipe.
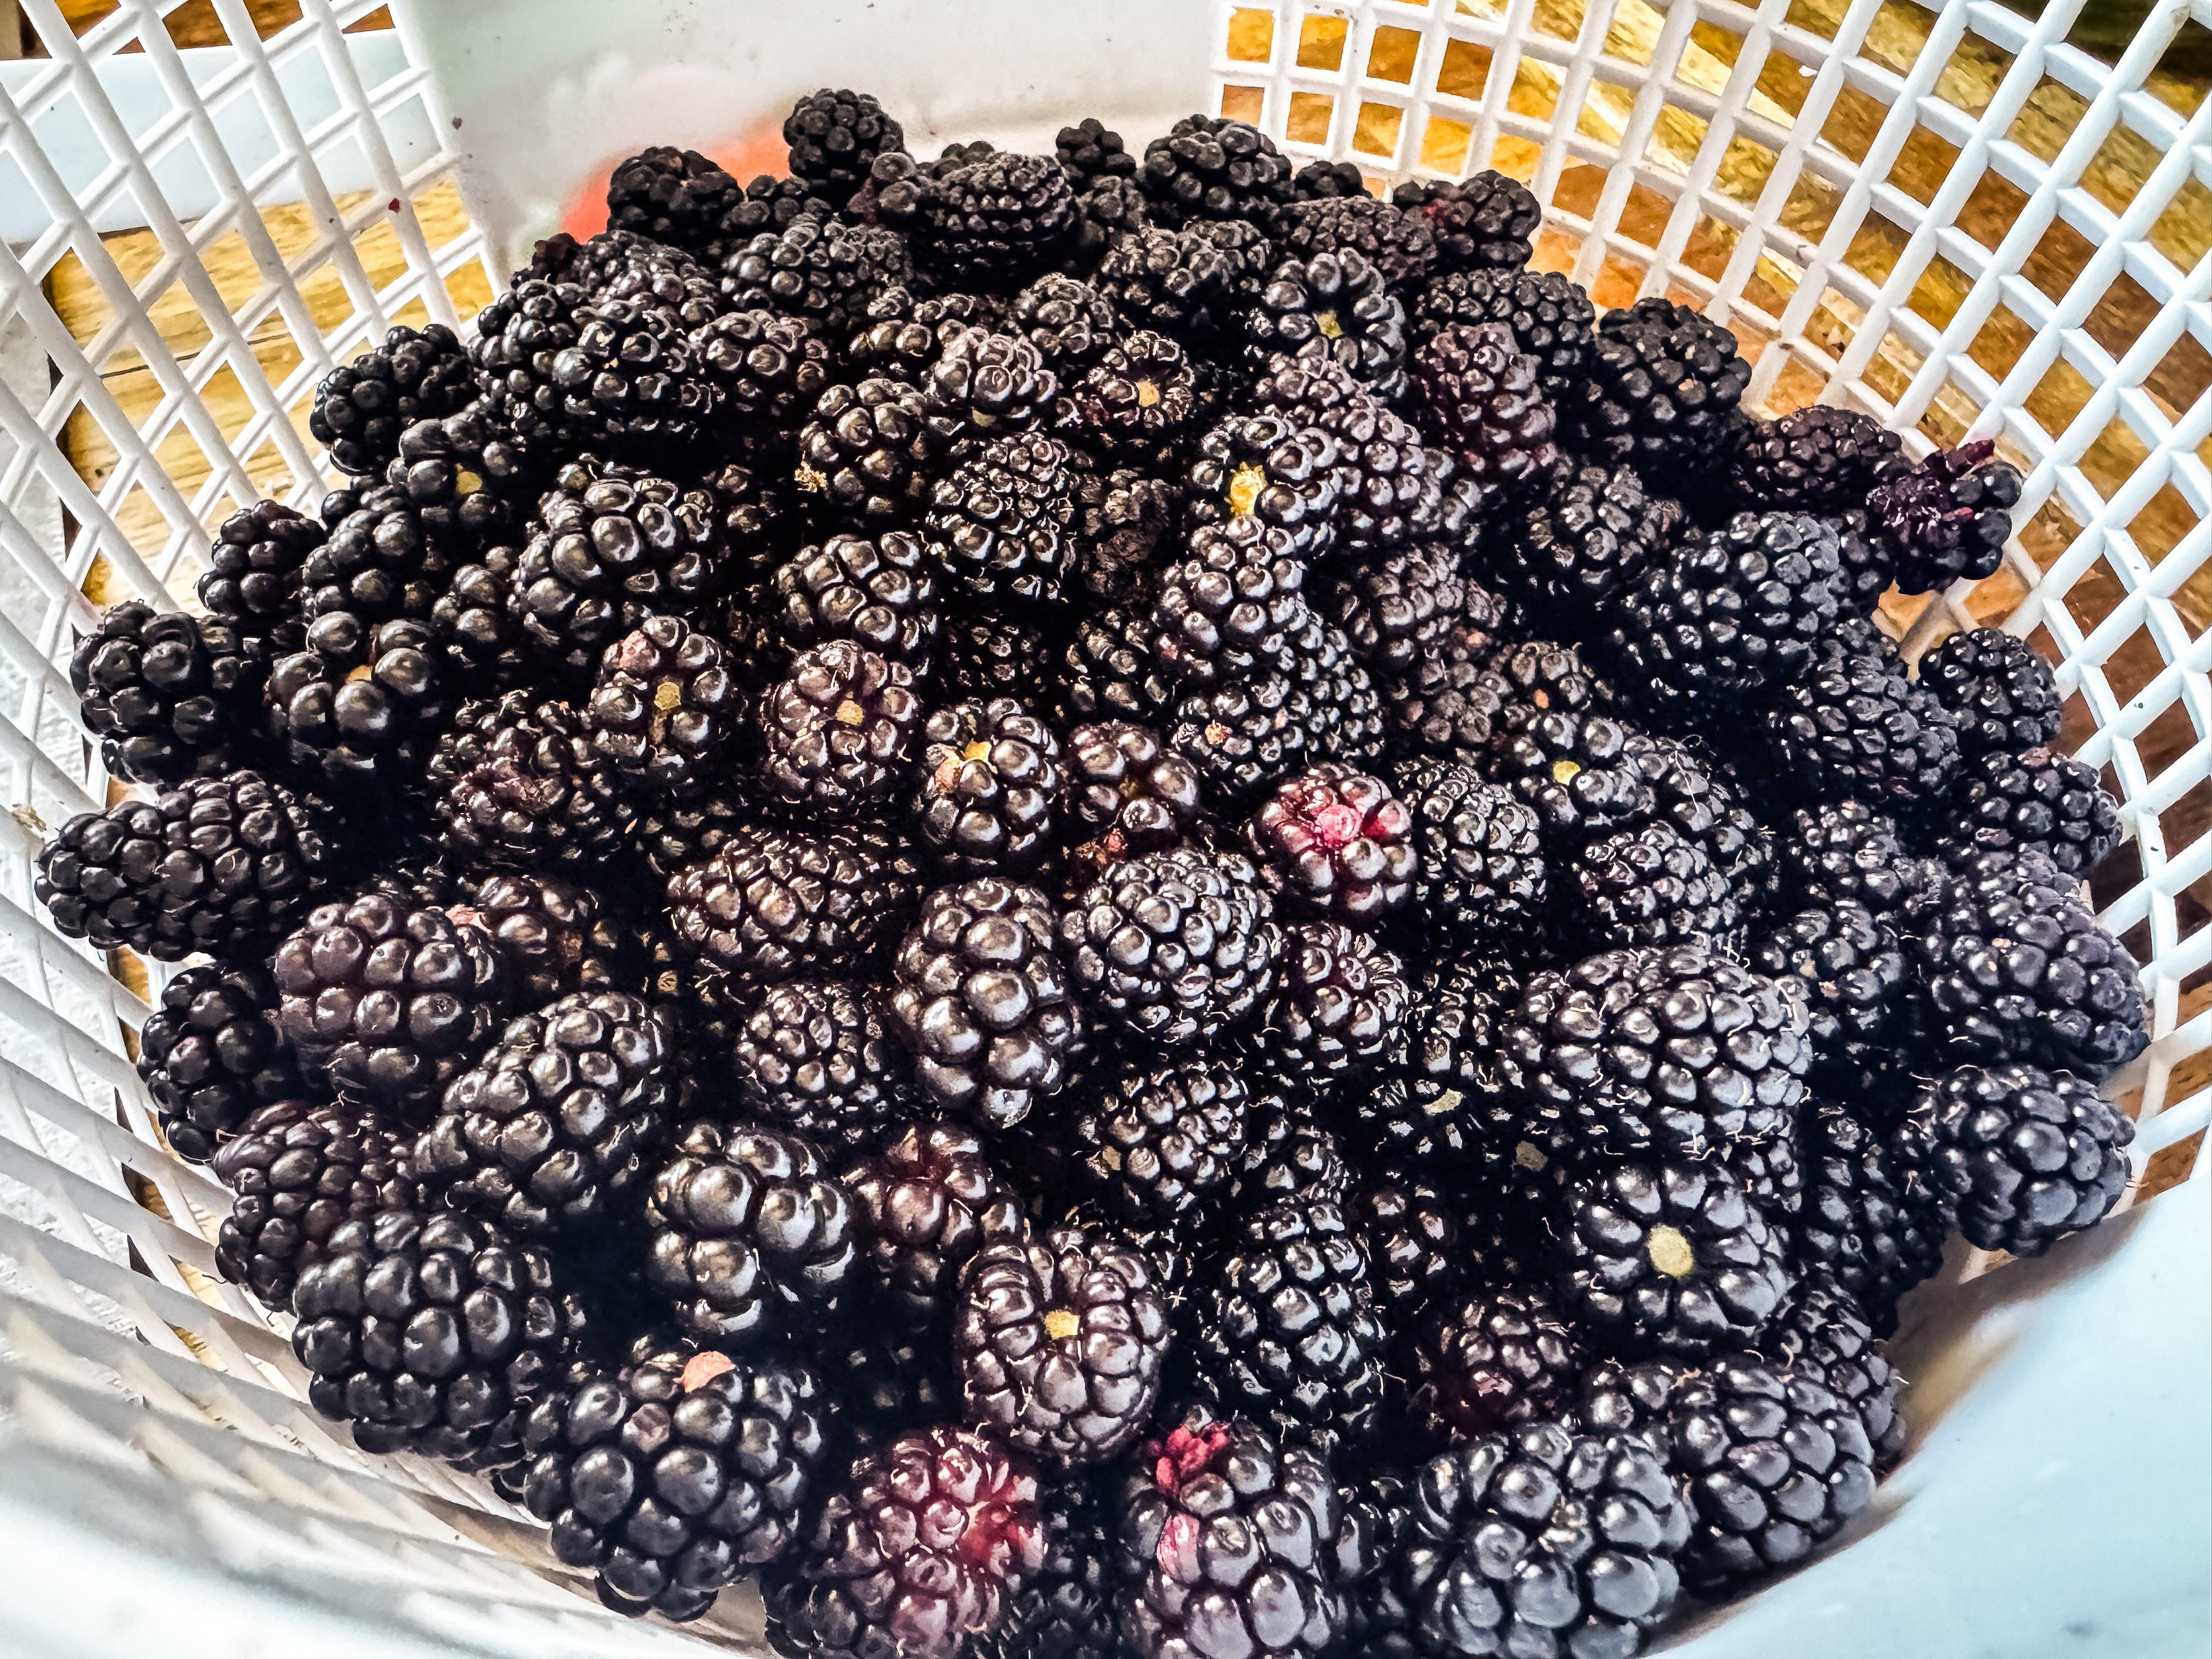
Don’t have blackberries? Use whatever fresh berry is in season at your house.
Just like when making biscuits, keeping the fat (in this case butter) cold and not overworking the dough are keys to a nice, tender pastry. This recipe calls for one stick of butter, which I like to freeze first and then grate just before mixing the dough. This keeps it cold while I work the dough and it gives plenty of small bits of butter blended evenly throughout the dough that melt while the scones cook. You can try this freeze and grate method with biscuits as well. It works.
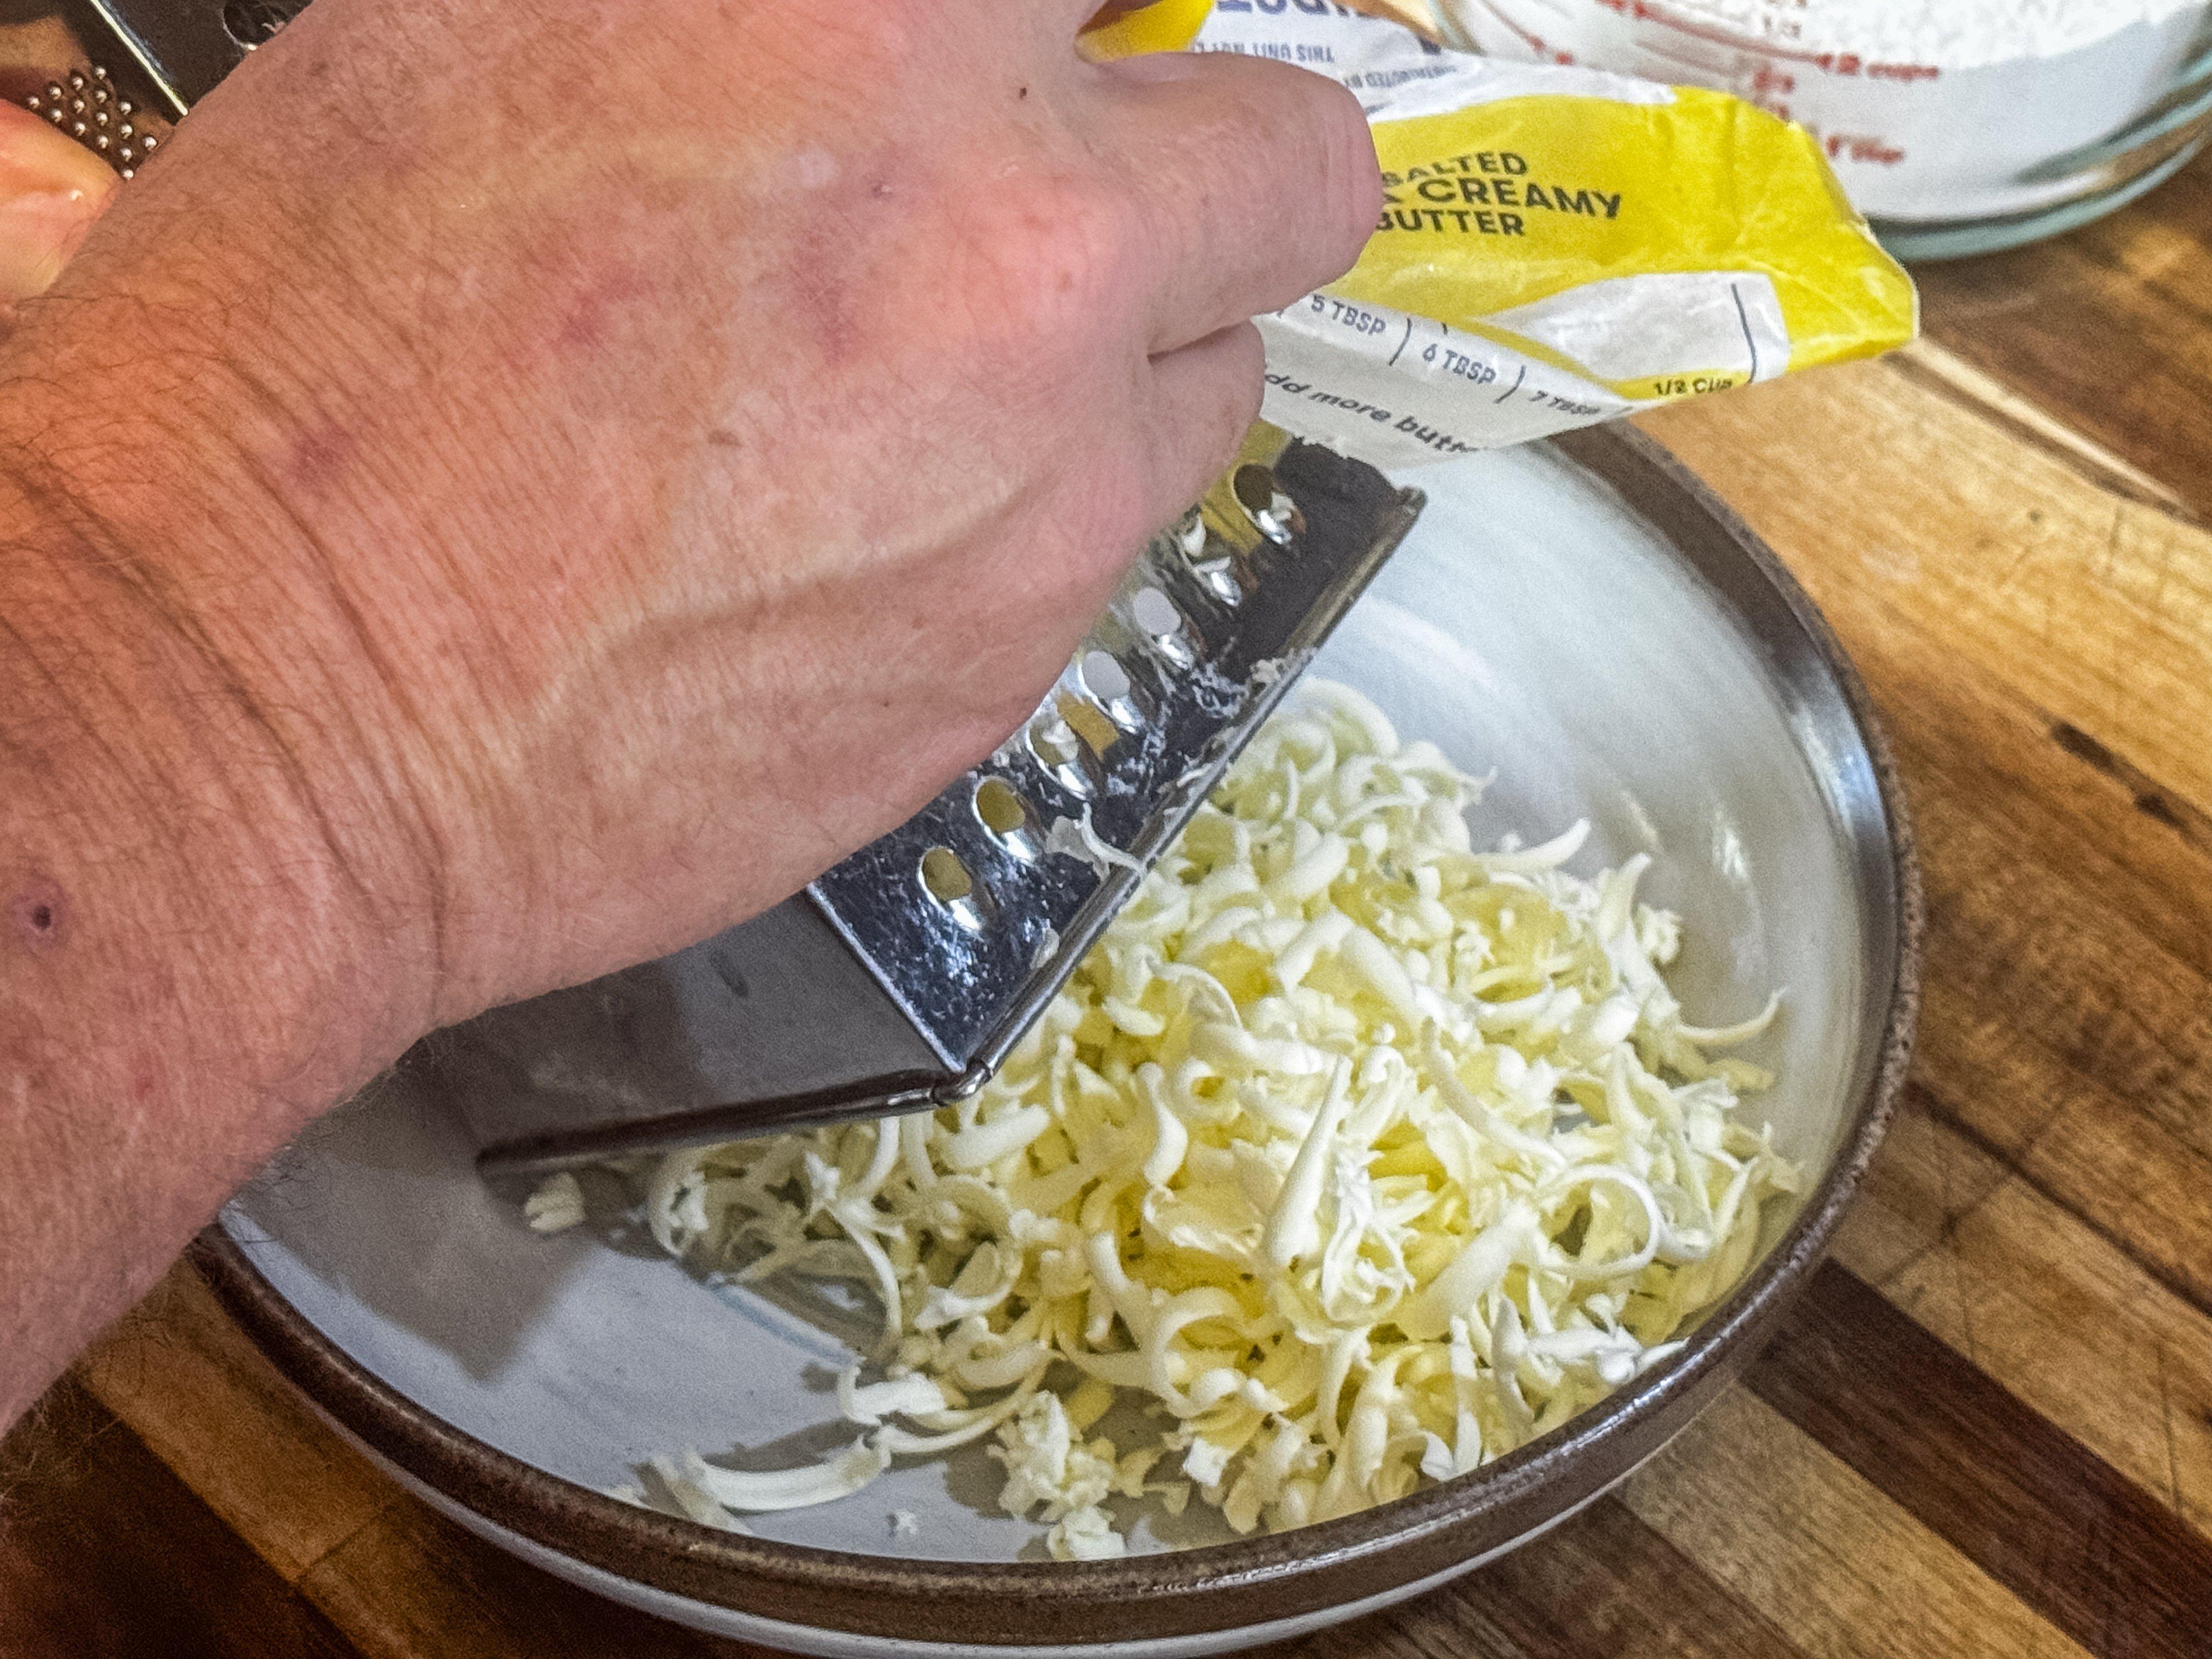
Freezing the butter and then running it through a grater is the best way to get it fully incorporated throughout the dough.
Mix the flour, sugar, baking powder, baking soda, and salt in a large bowl. Add in the frozen grated butter, using a fork to incorporate so that the heat from your hands doesn’t melt it.
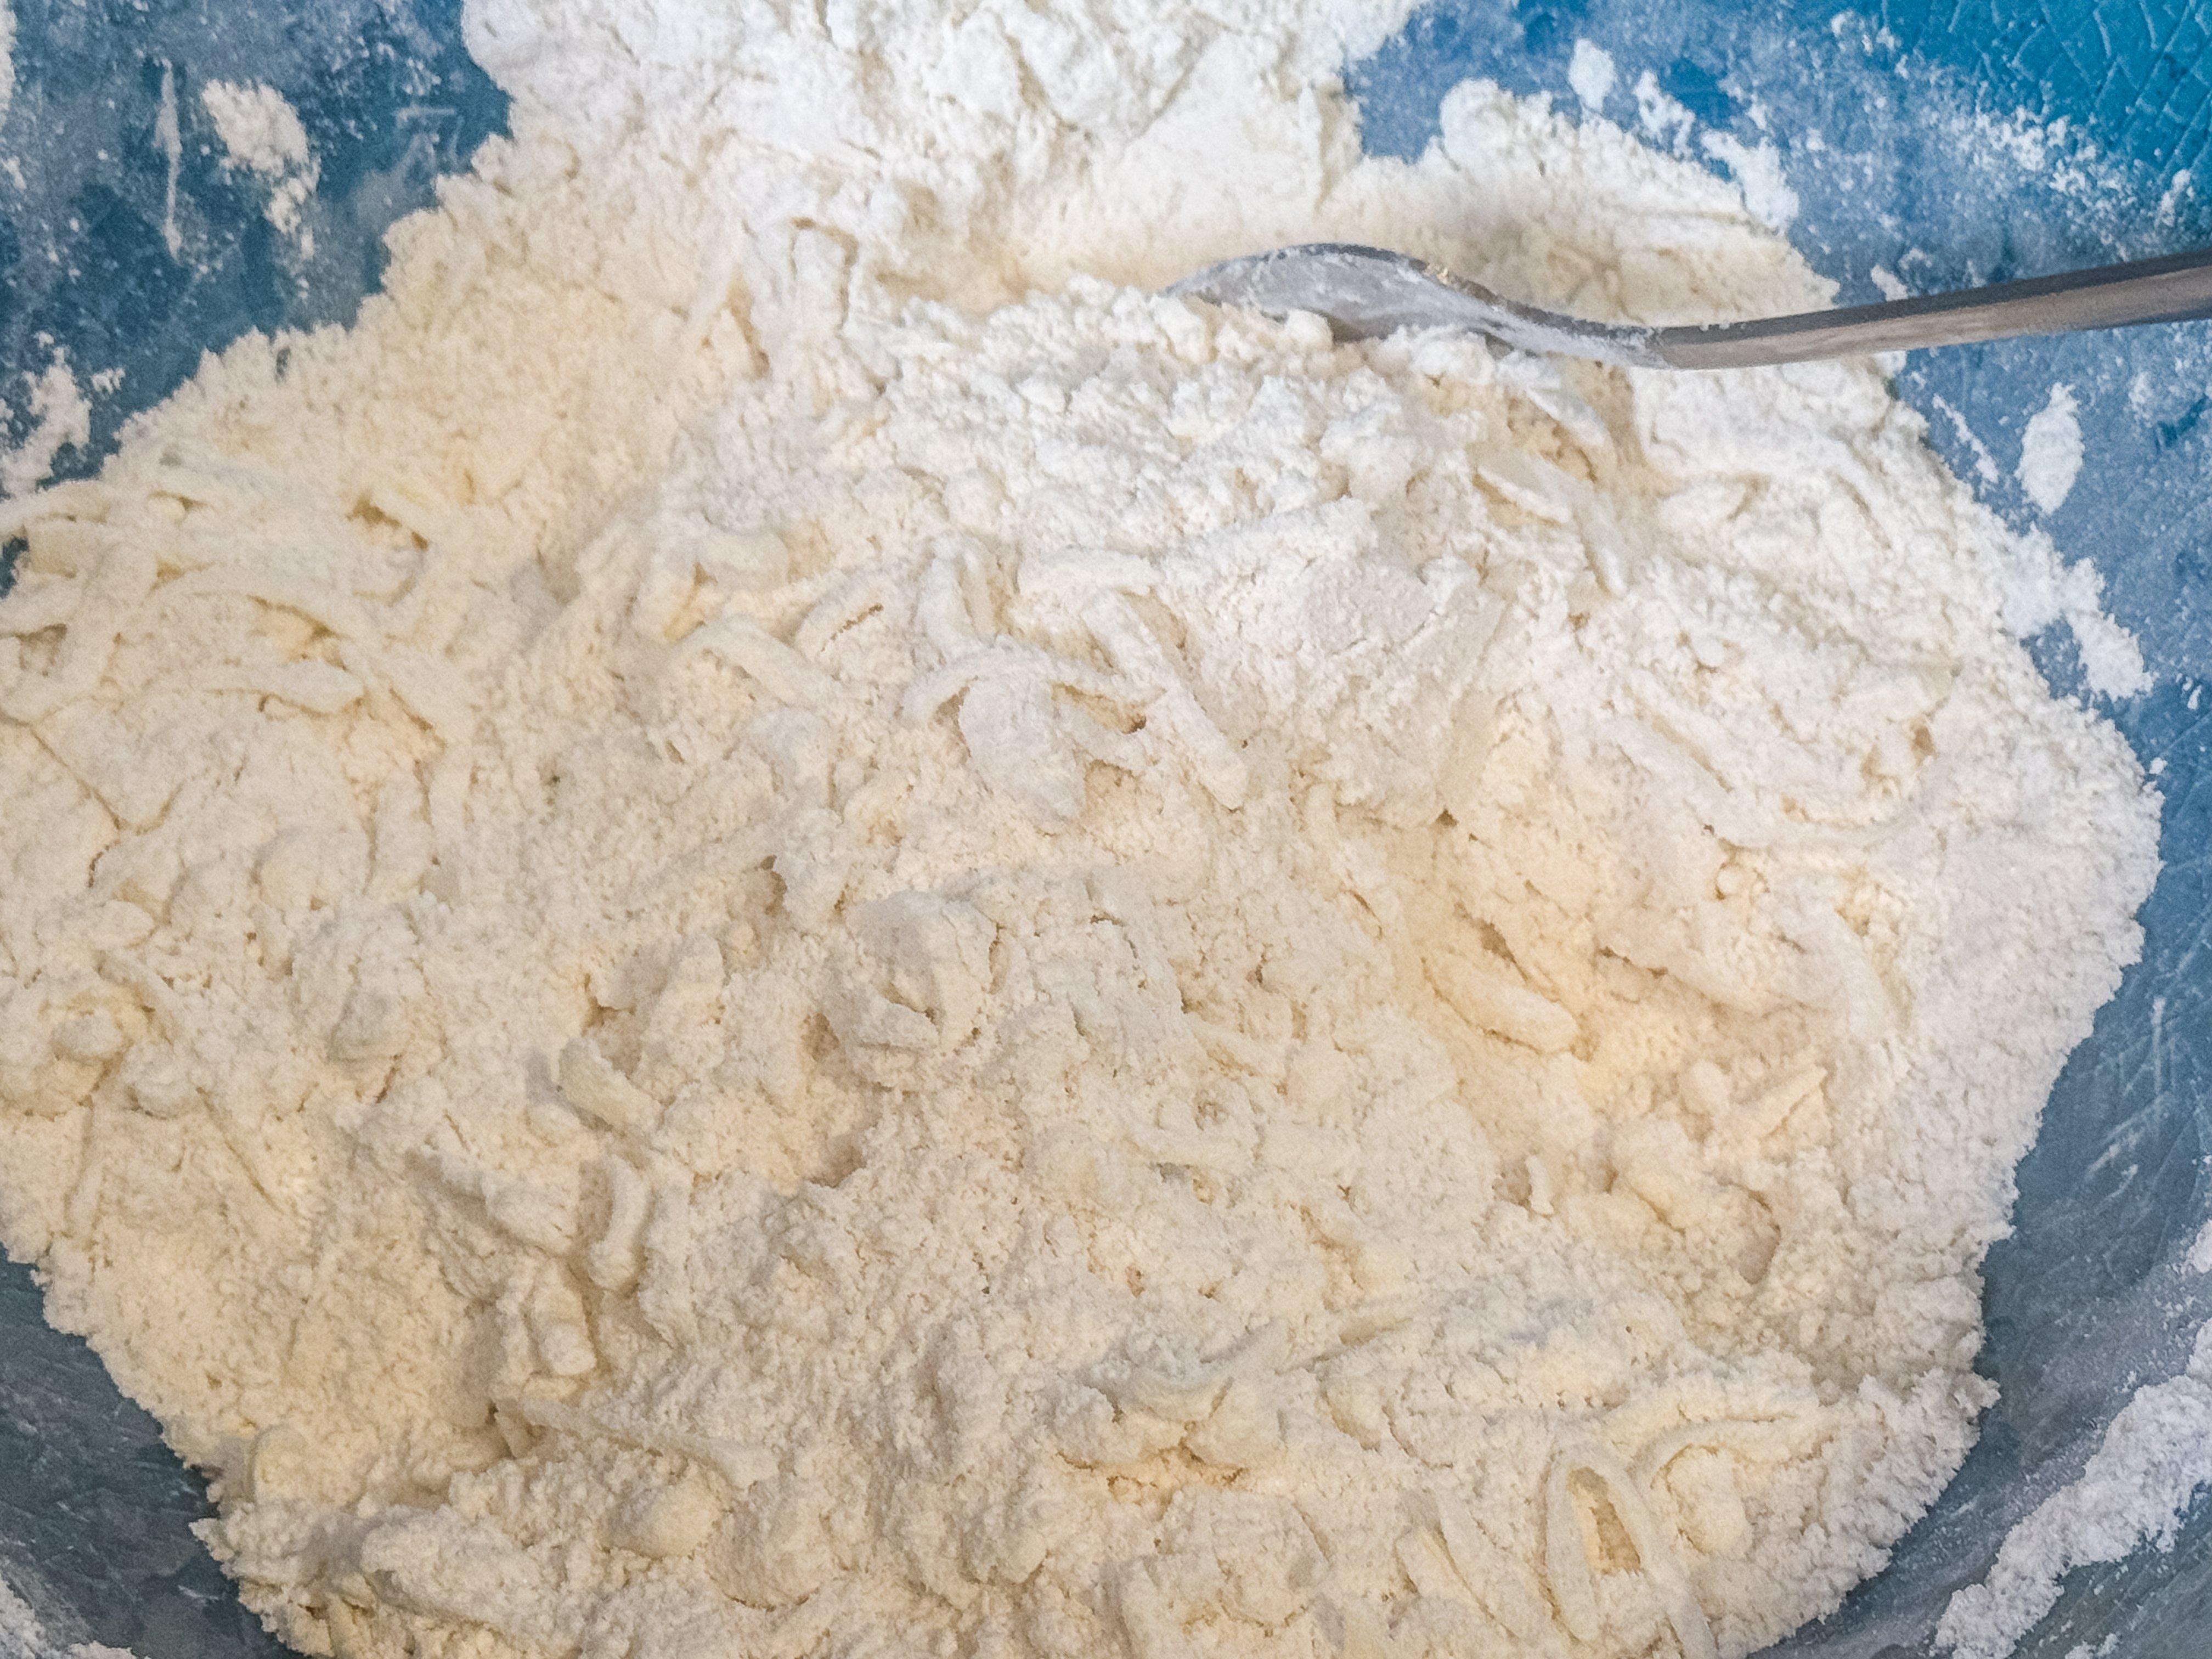
Use a fork to incorporate the butter throughout the flour mixture.
Once the butter is thoroughly mixed into the dry ingredients, add the blackberries. Add the vanilla to the buttermilk and add both to the bowl.

Add the buttermilk and blend until everything is well mixed.
I like to use a wooden spoon at this point to blend just until the mixture comes together into a shaggy clump. Drizzle in a bit more buttermilk if the dough is too dry. Overworking the dough at this point will turn out tough and chewy scones. We’re going for light and flaky here, so just mix until it comes together, then stop.
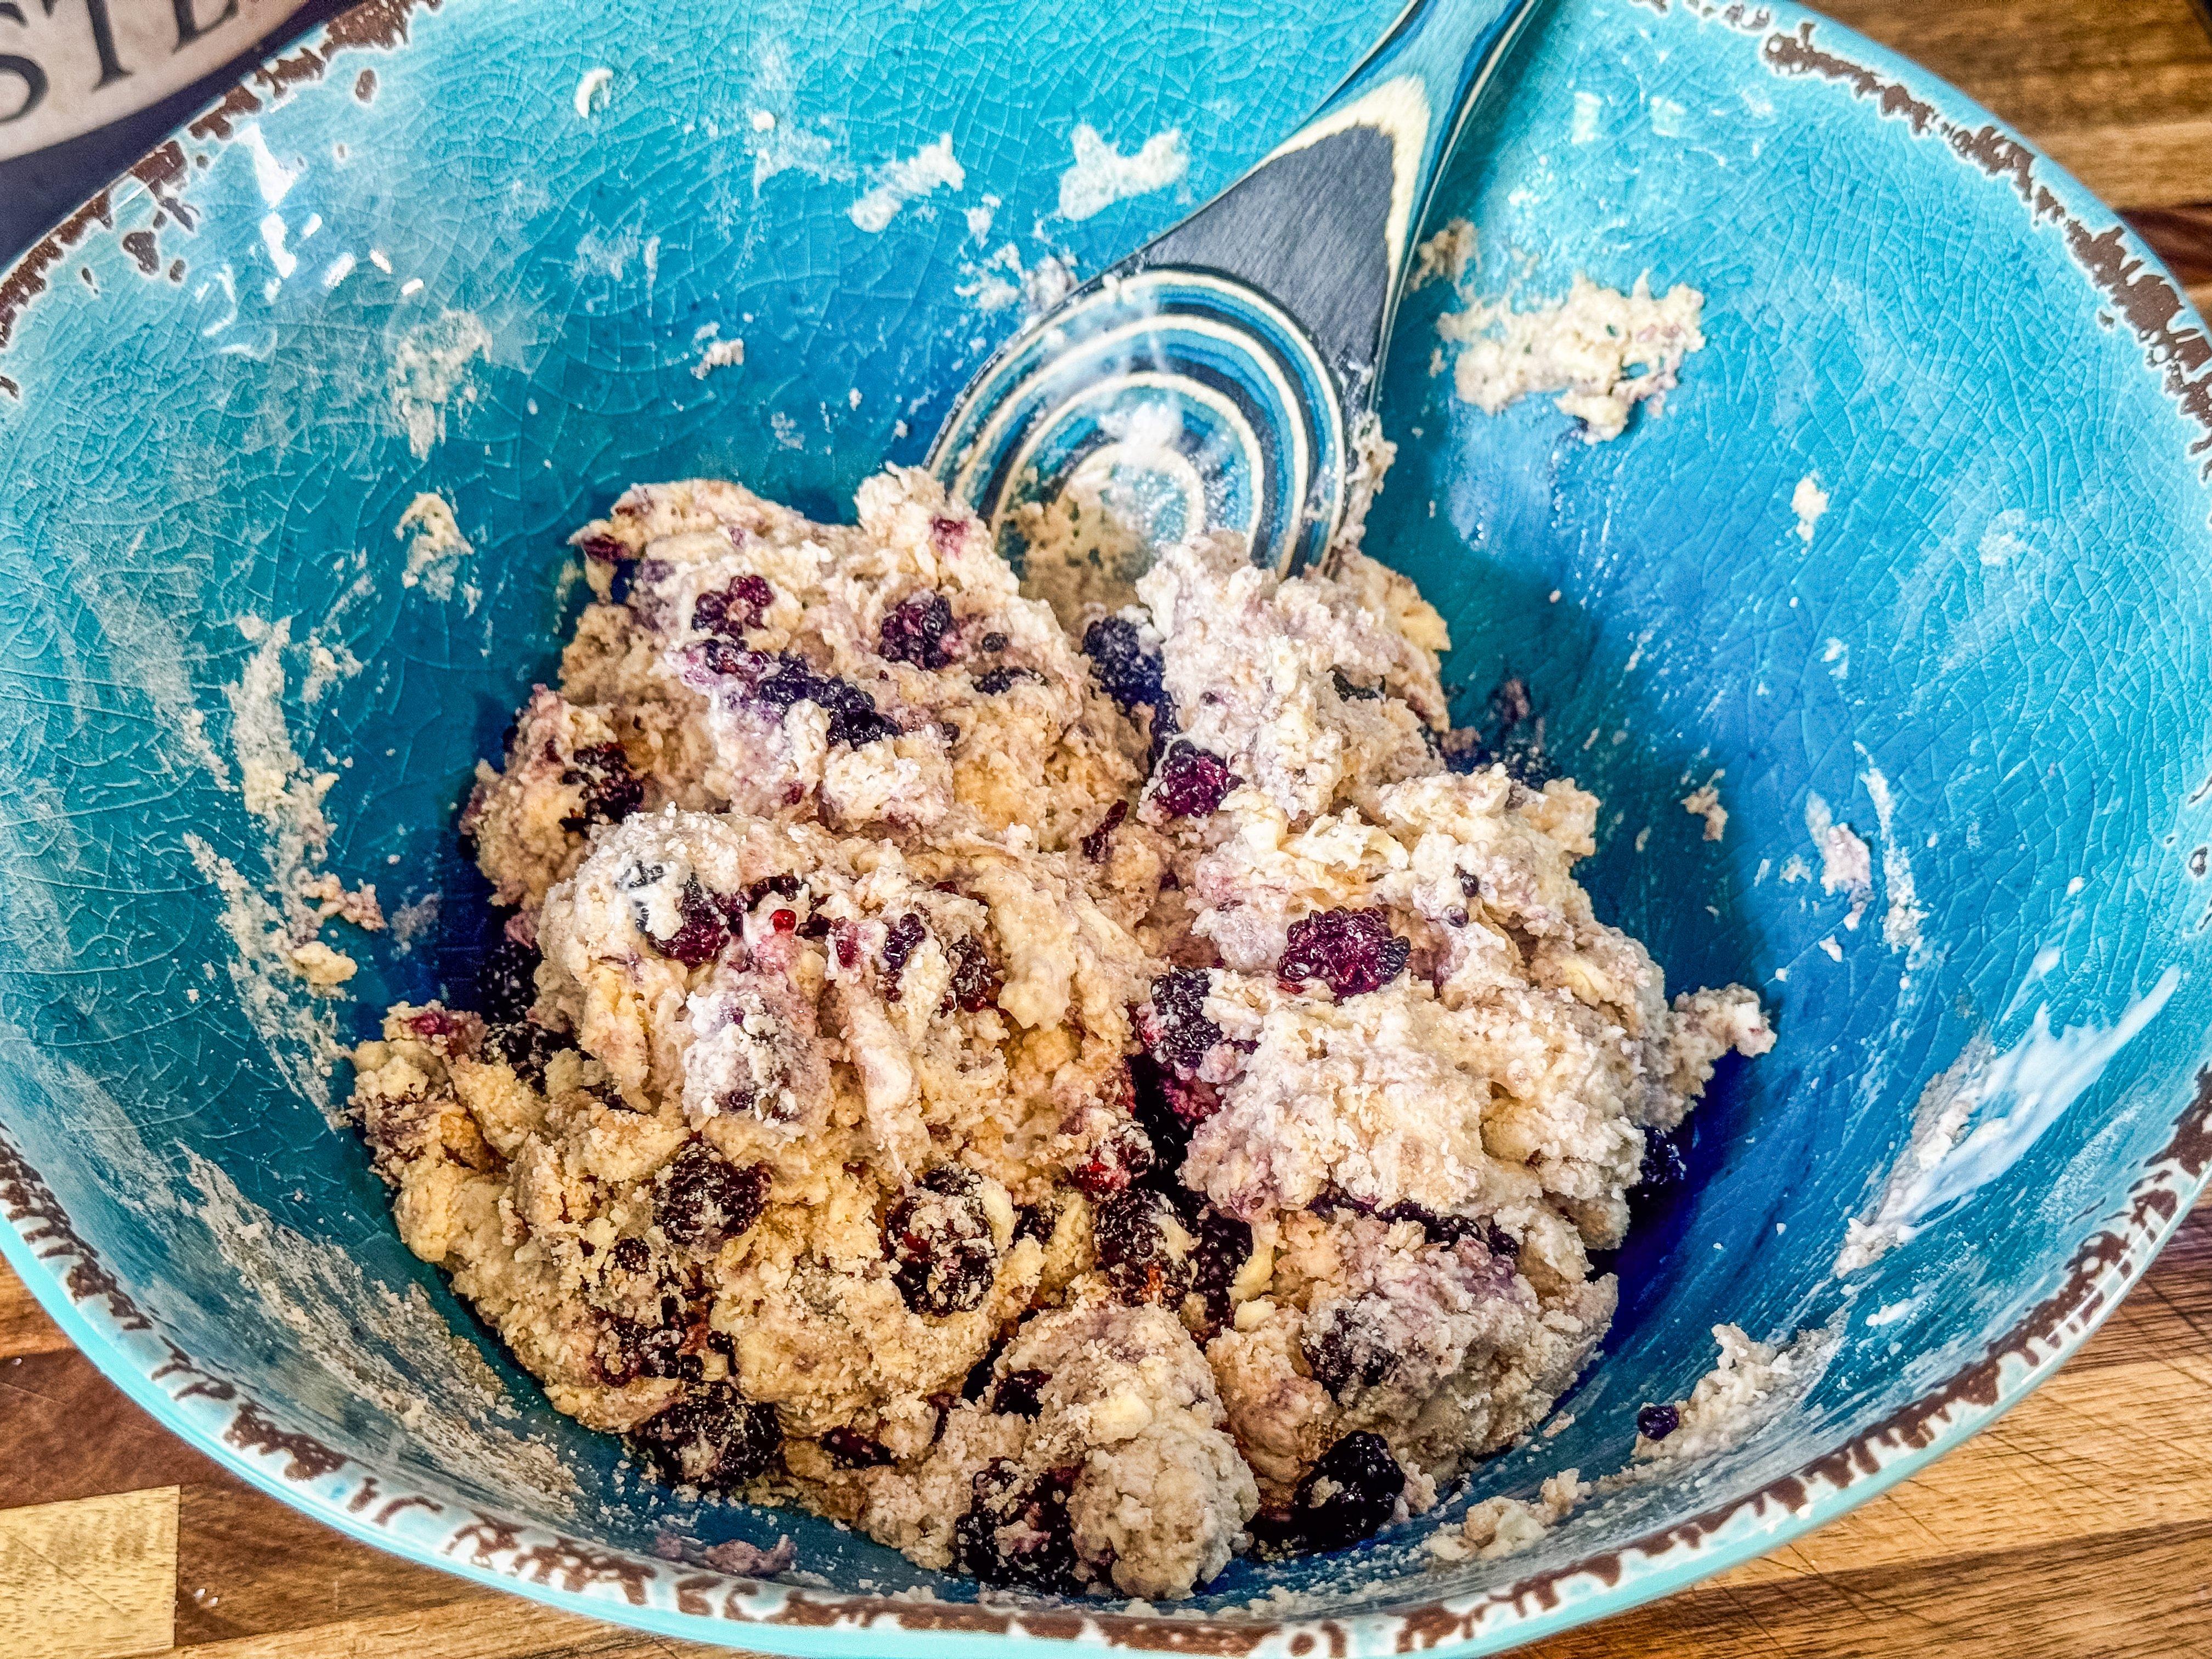
Don’t overwork the dough and make it tough.
Turn the dough out onto a lightly floured work surface and use your hands to form a round disc about an inch thick.
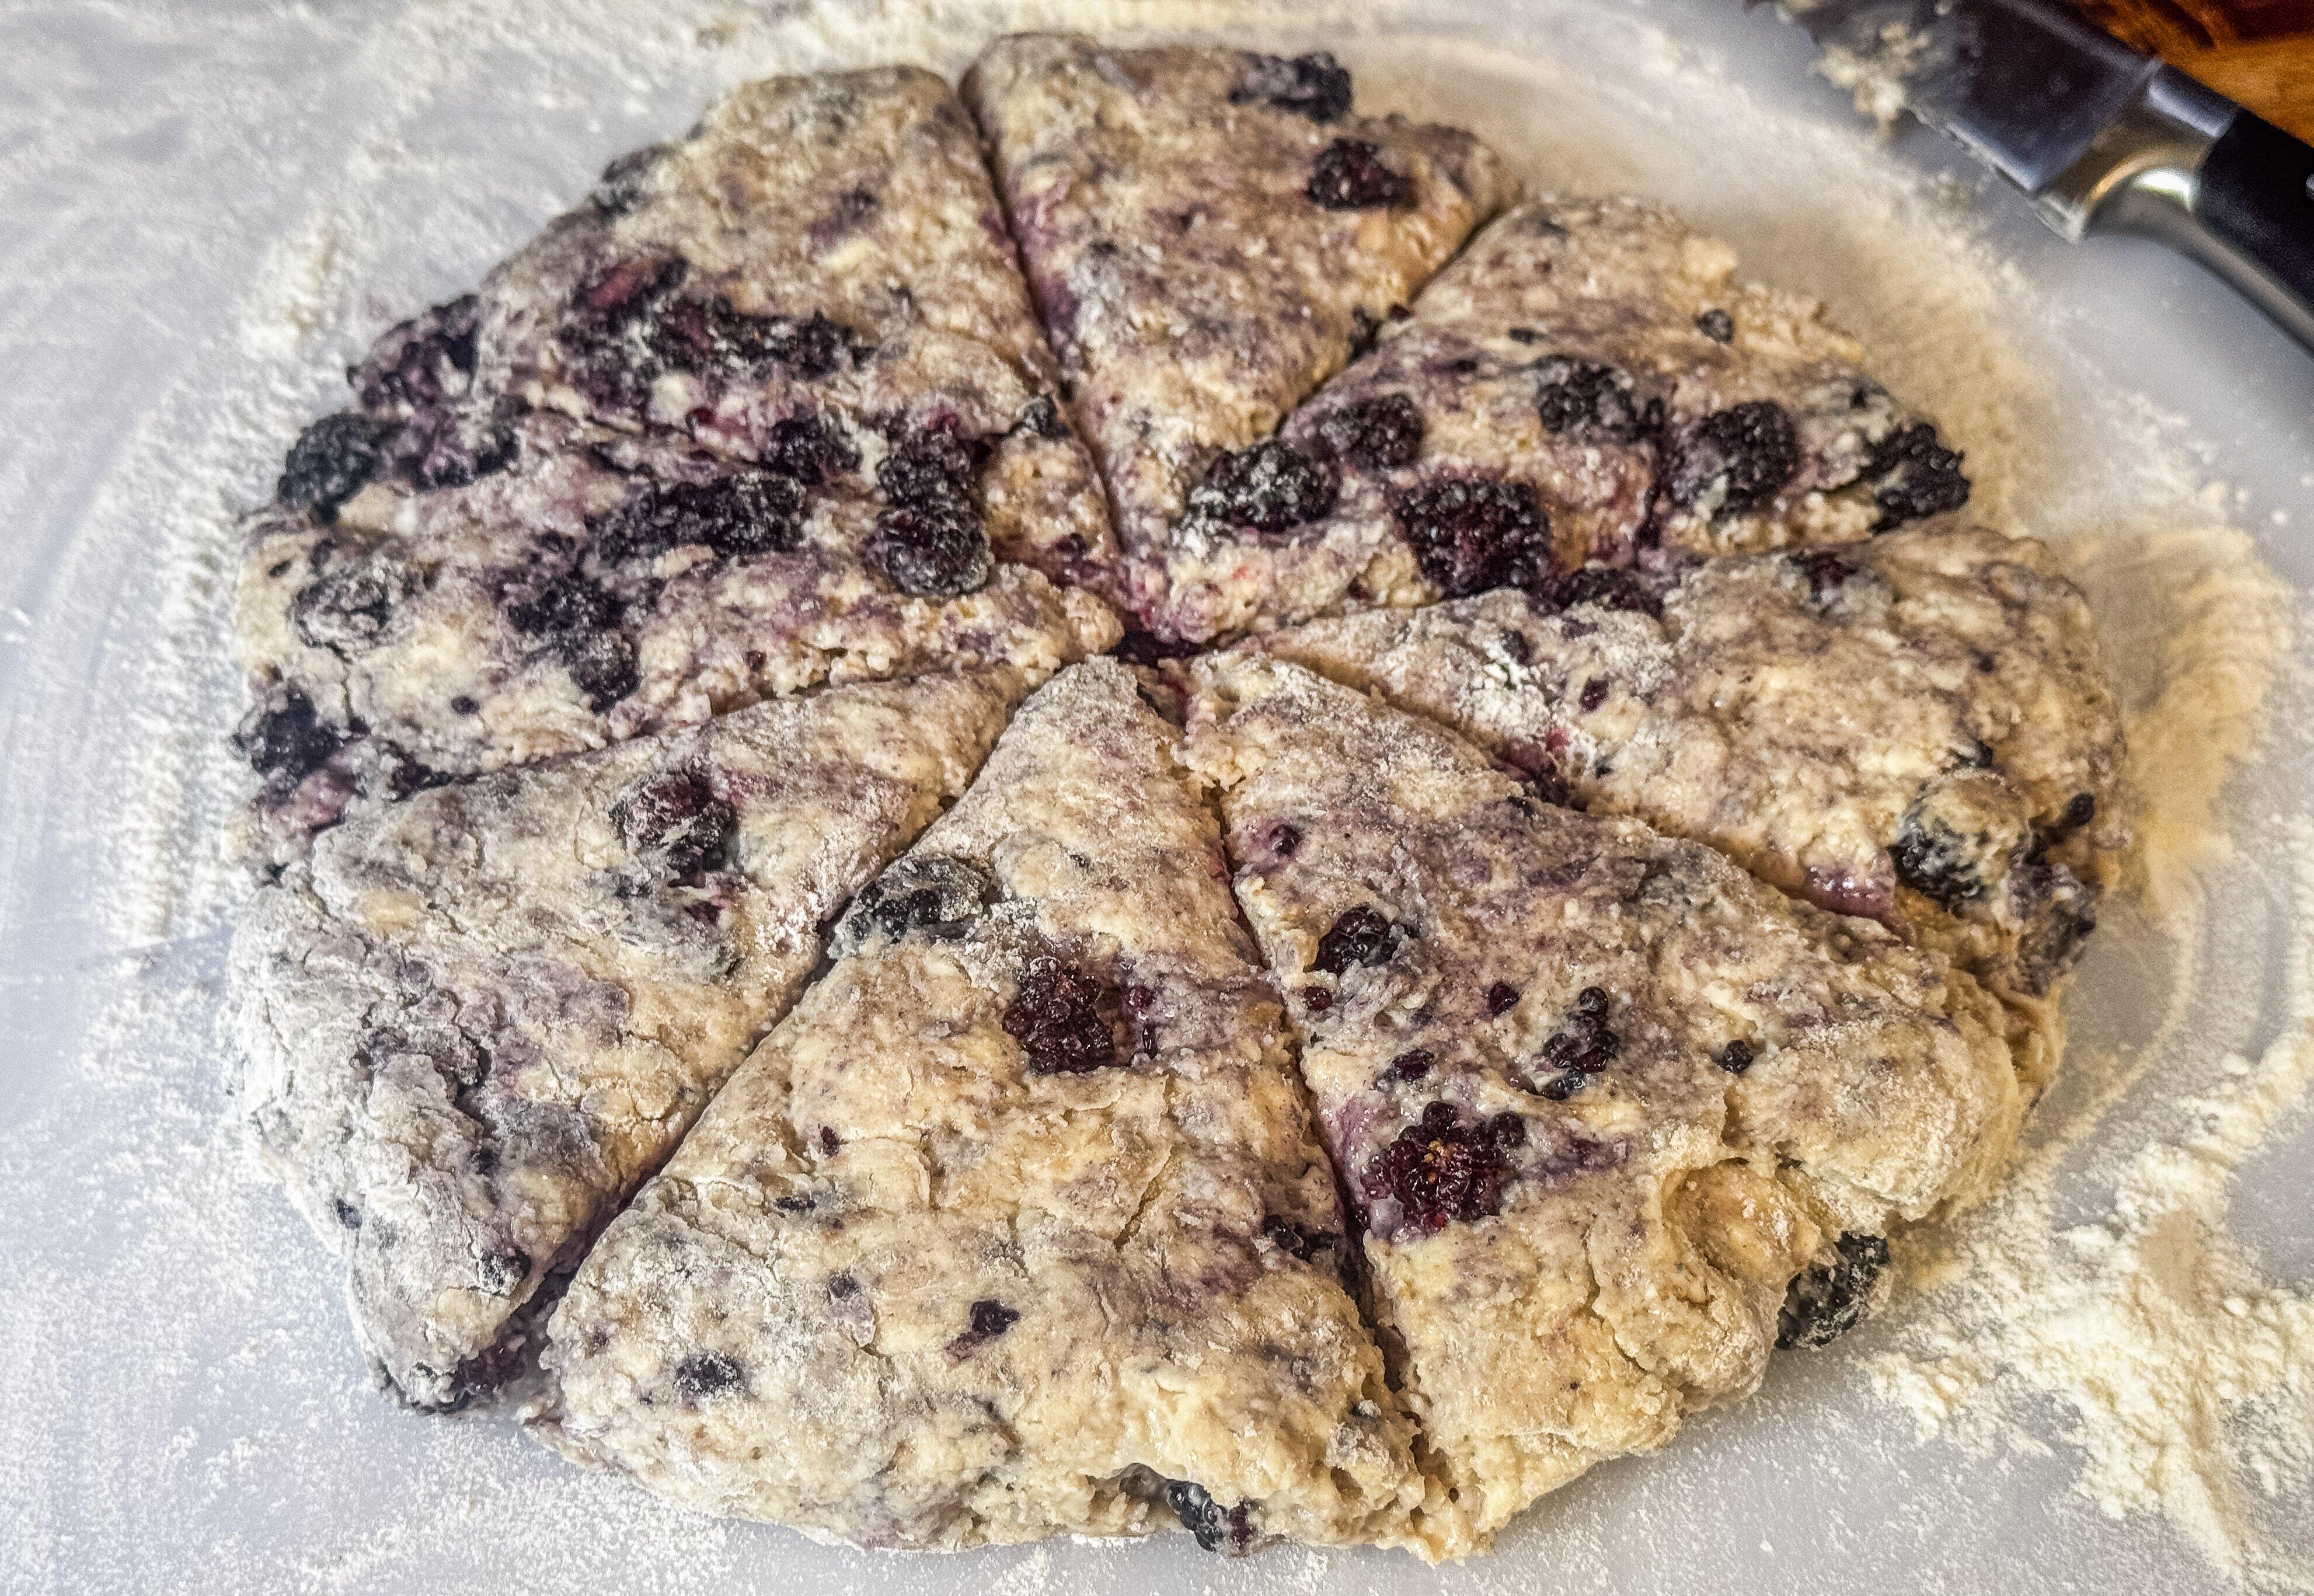
Form a round with the dough and cut it into 8 triangle shaped pieces.
Cut the dough into 8 equal triangles and transfer them to a parchment lined baking sheet, leaving a bit of space between each one.
Transfer the scones to a parchment lined baking sheet.
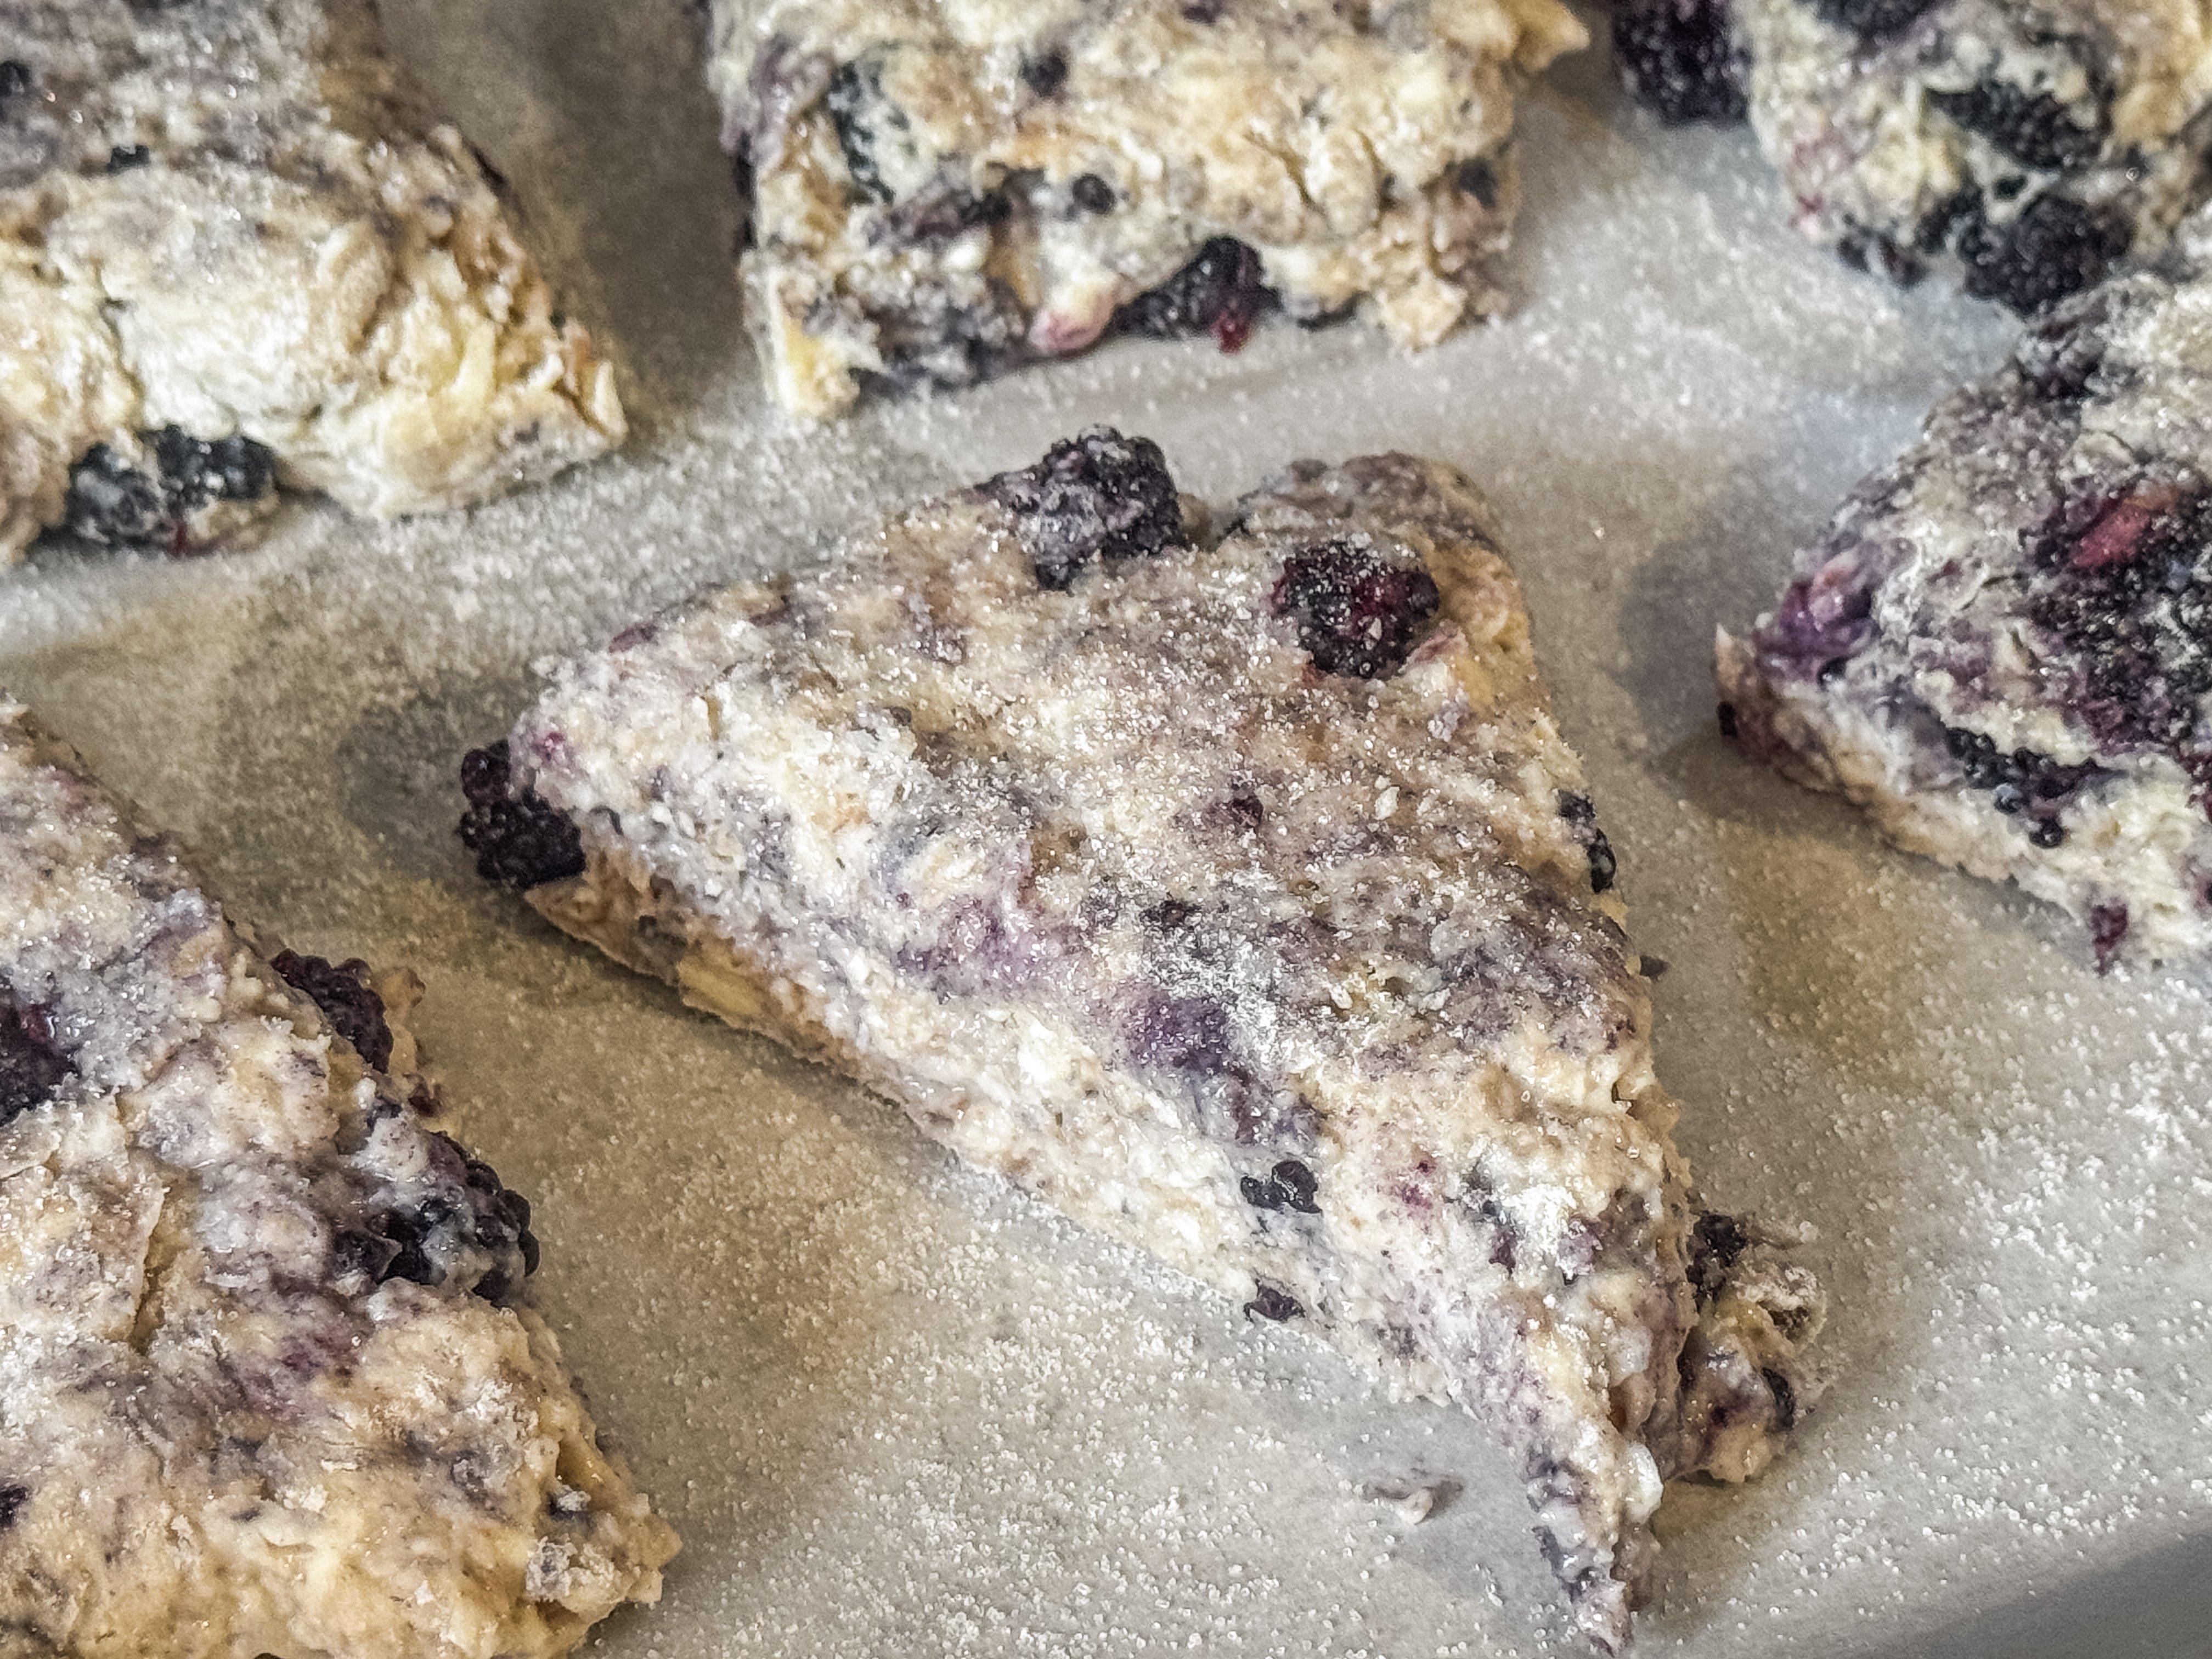
Brush the tops with melted butter, then sprinkle over raw, or turbinado, sugar for extra crunch and texture.
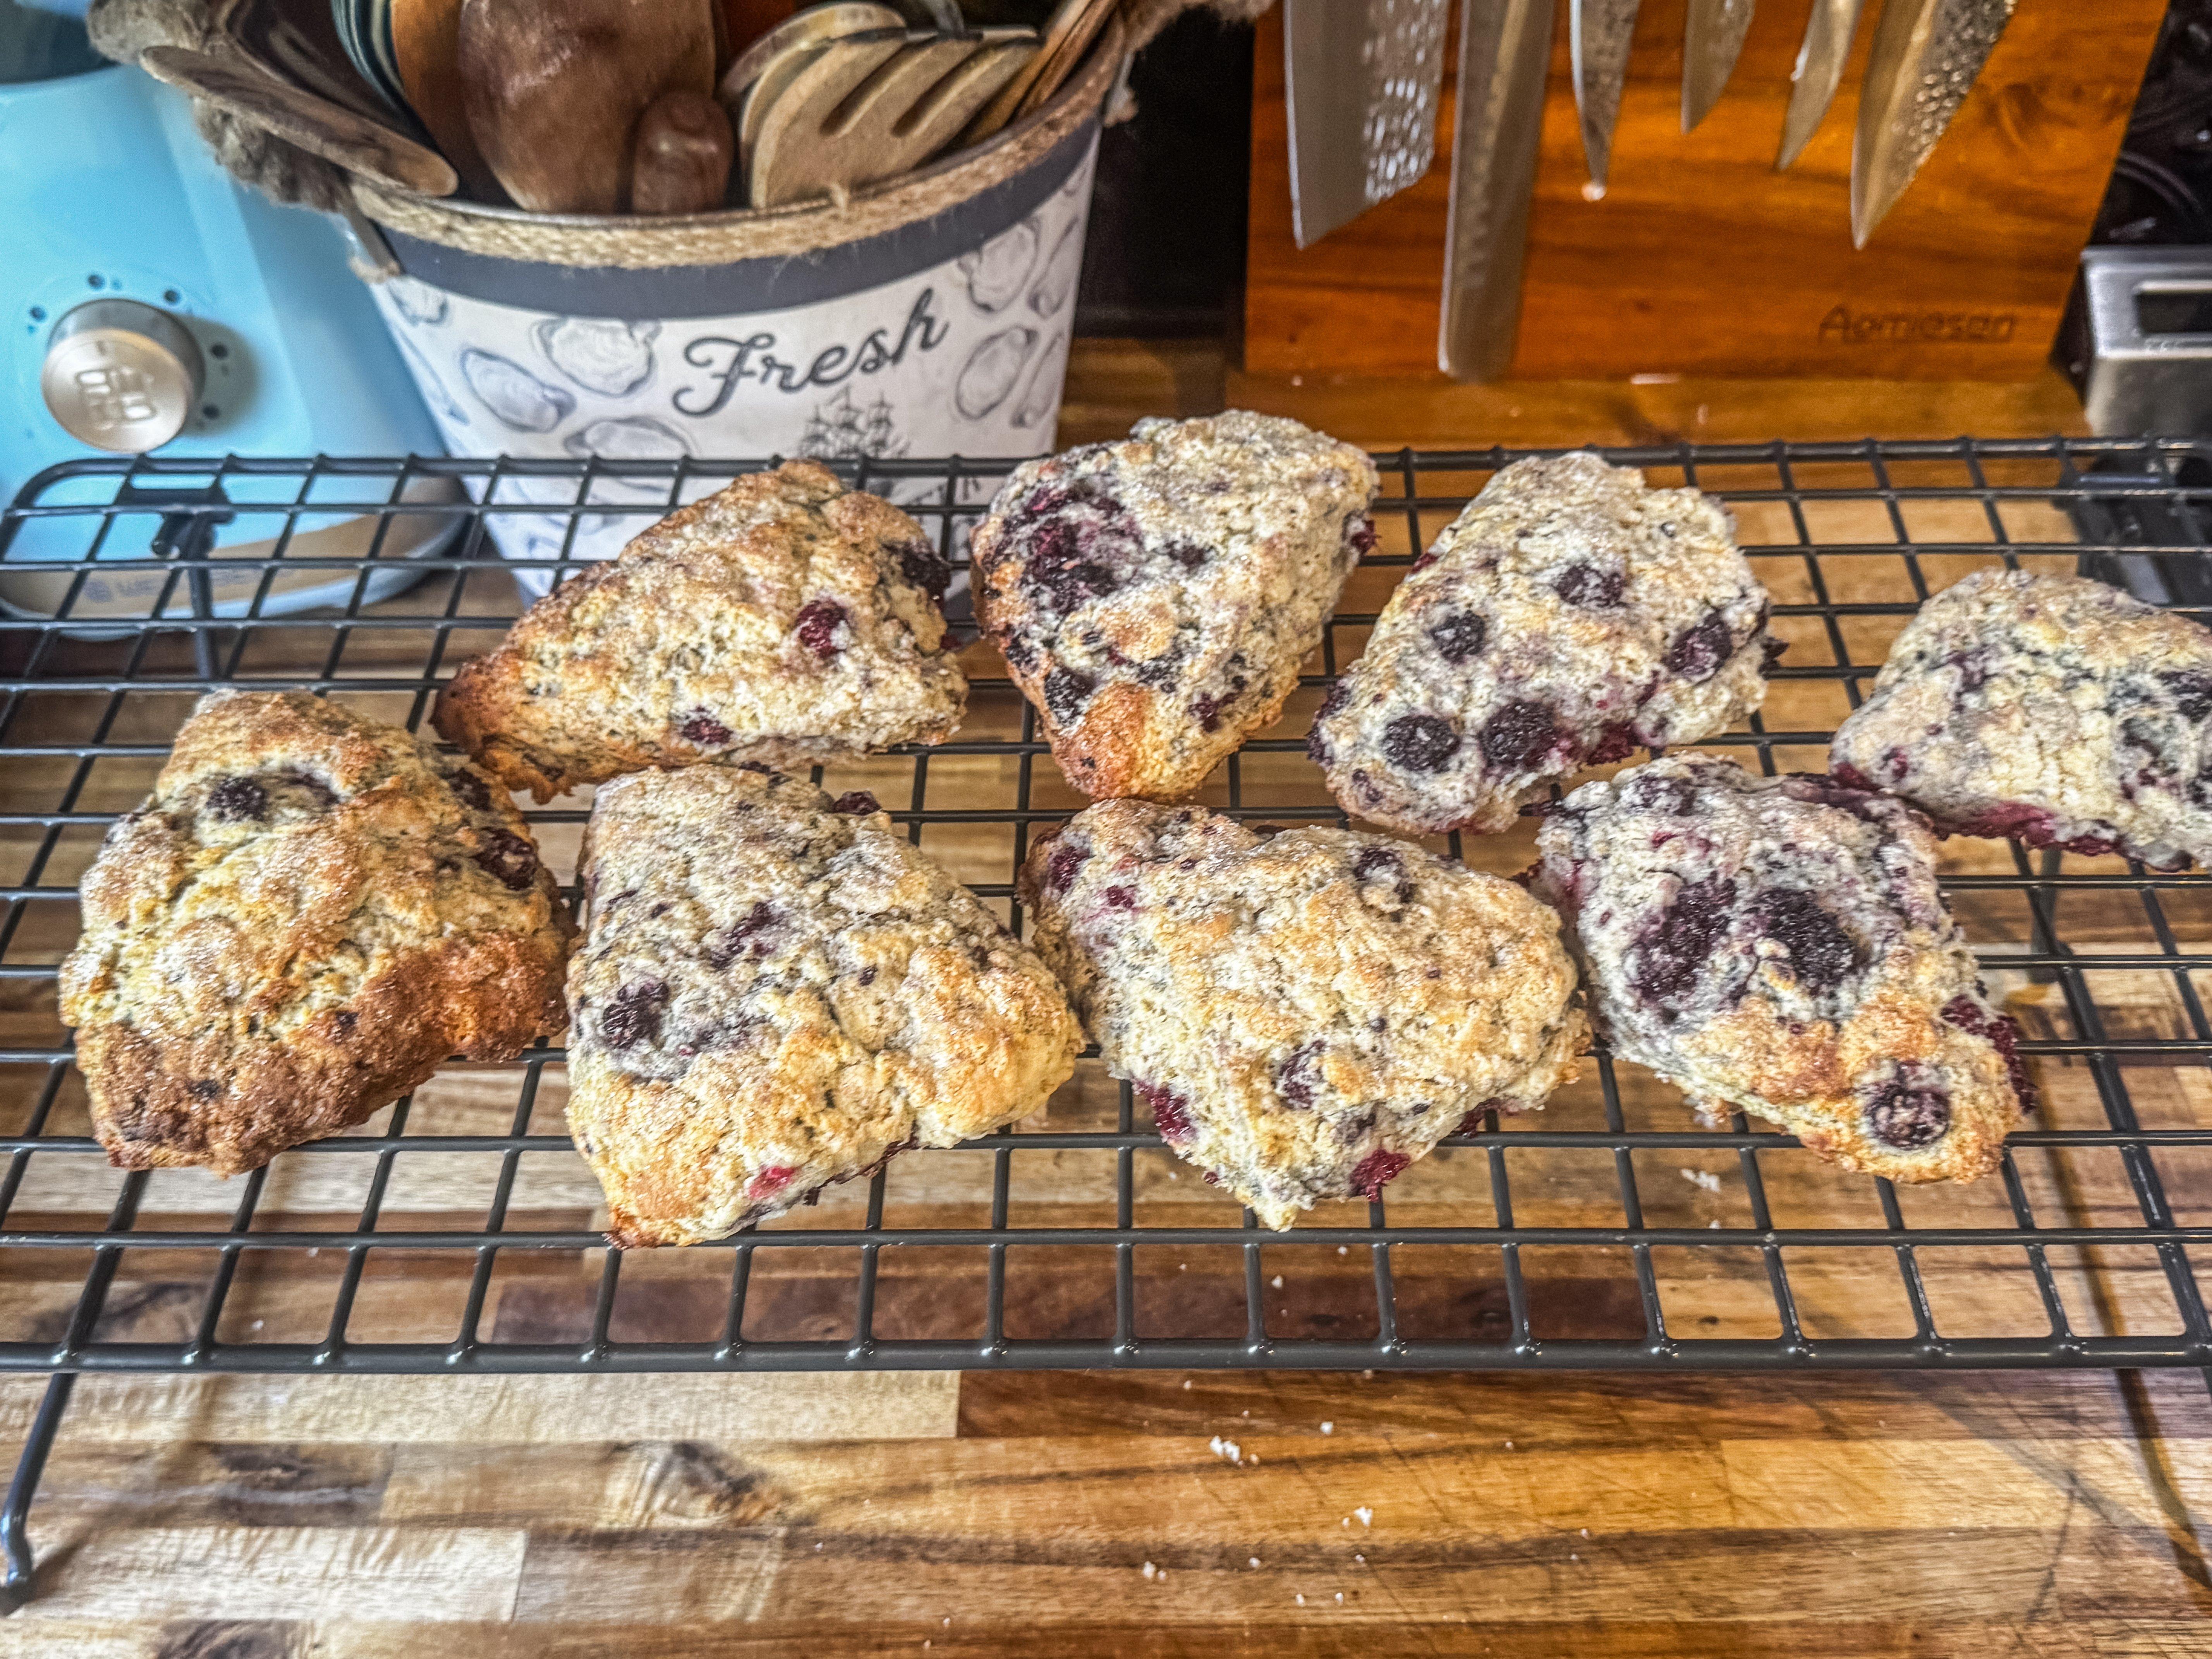
Bake the scones and cool on a rack.
Bake in a pre-heated 400-degree oven for 20 minutes or until the tops are golden and a toothpick inserted into the thickest part comes out clean. Cool on an elevated rack. Once cool, you can store the scones for up to 3 days unrefrigerated or about a week refrigerated. I like to reheat them in an air fryer for a minute or two to warm them through and crisp the surface after storage.
Don’t Miss: EASY BLACKBERRY AND CREAM CHEESE DANISH
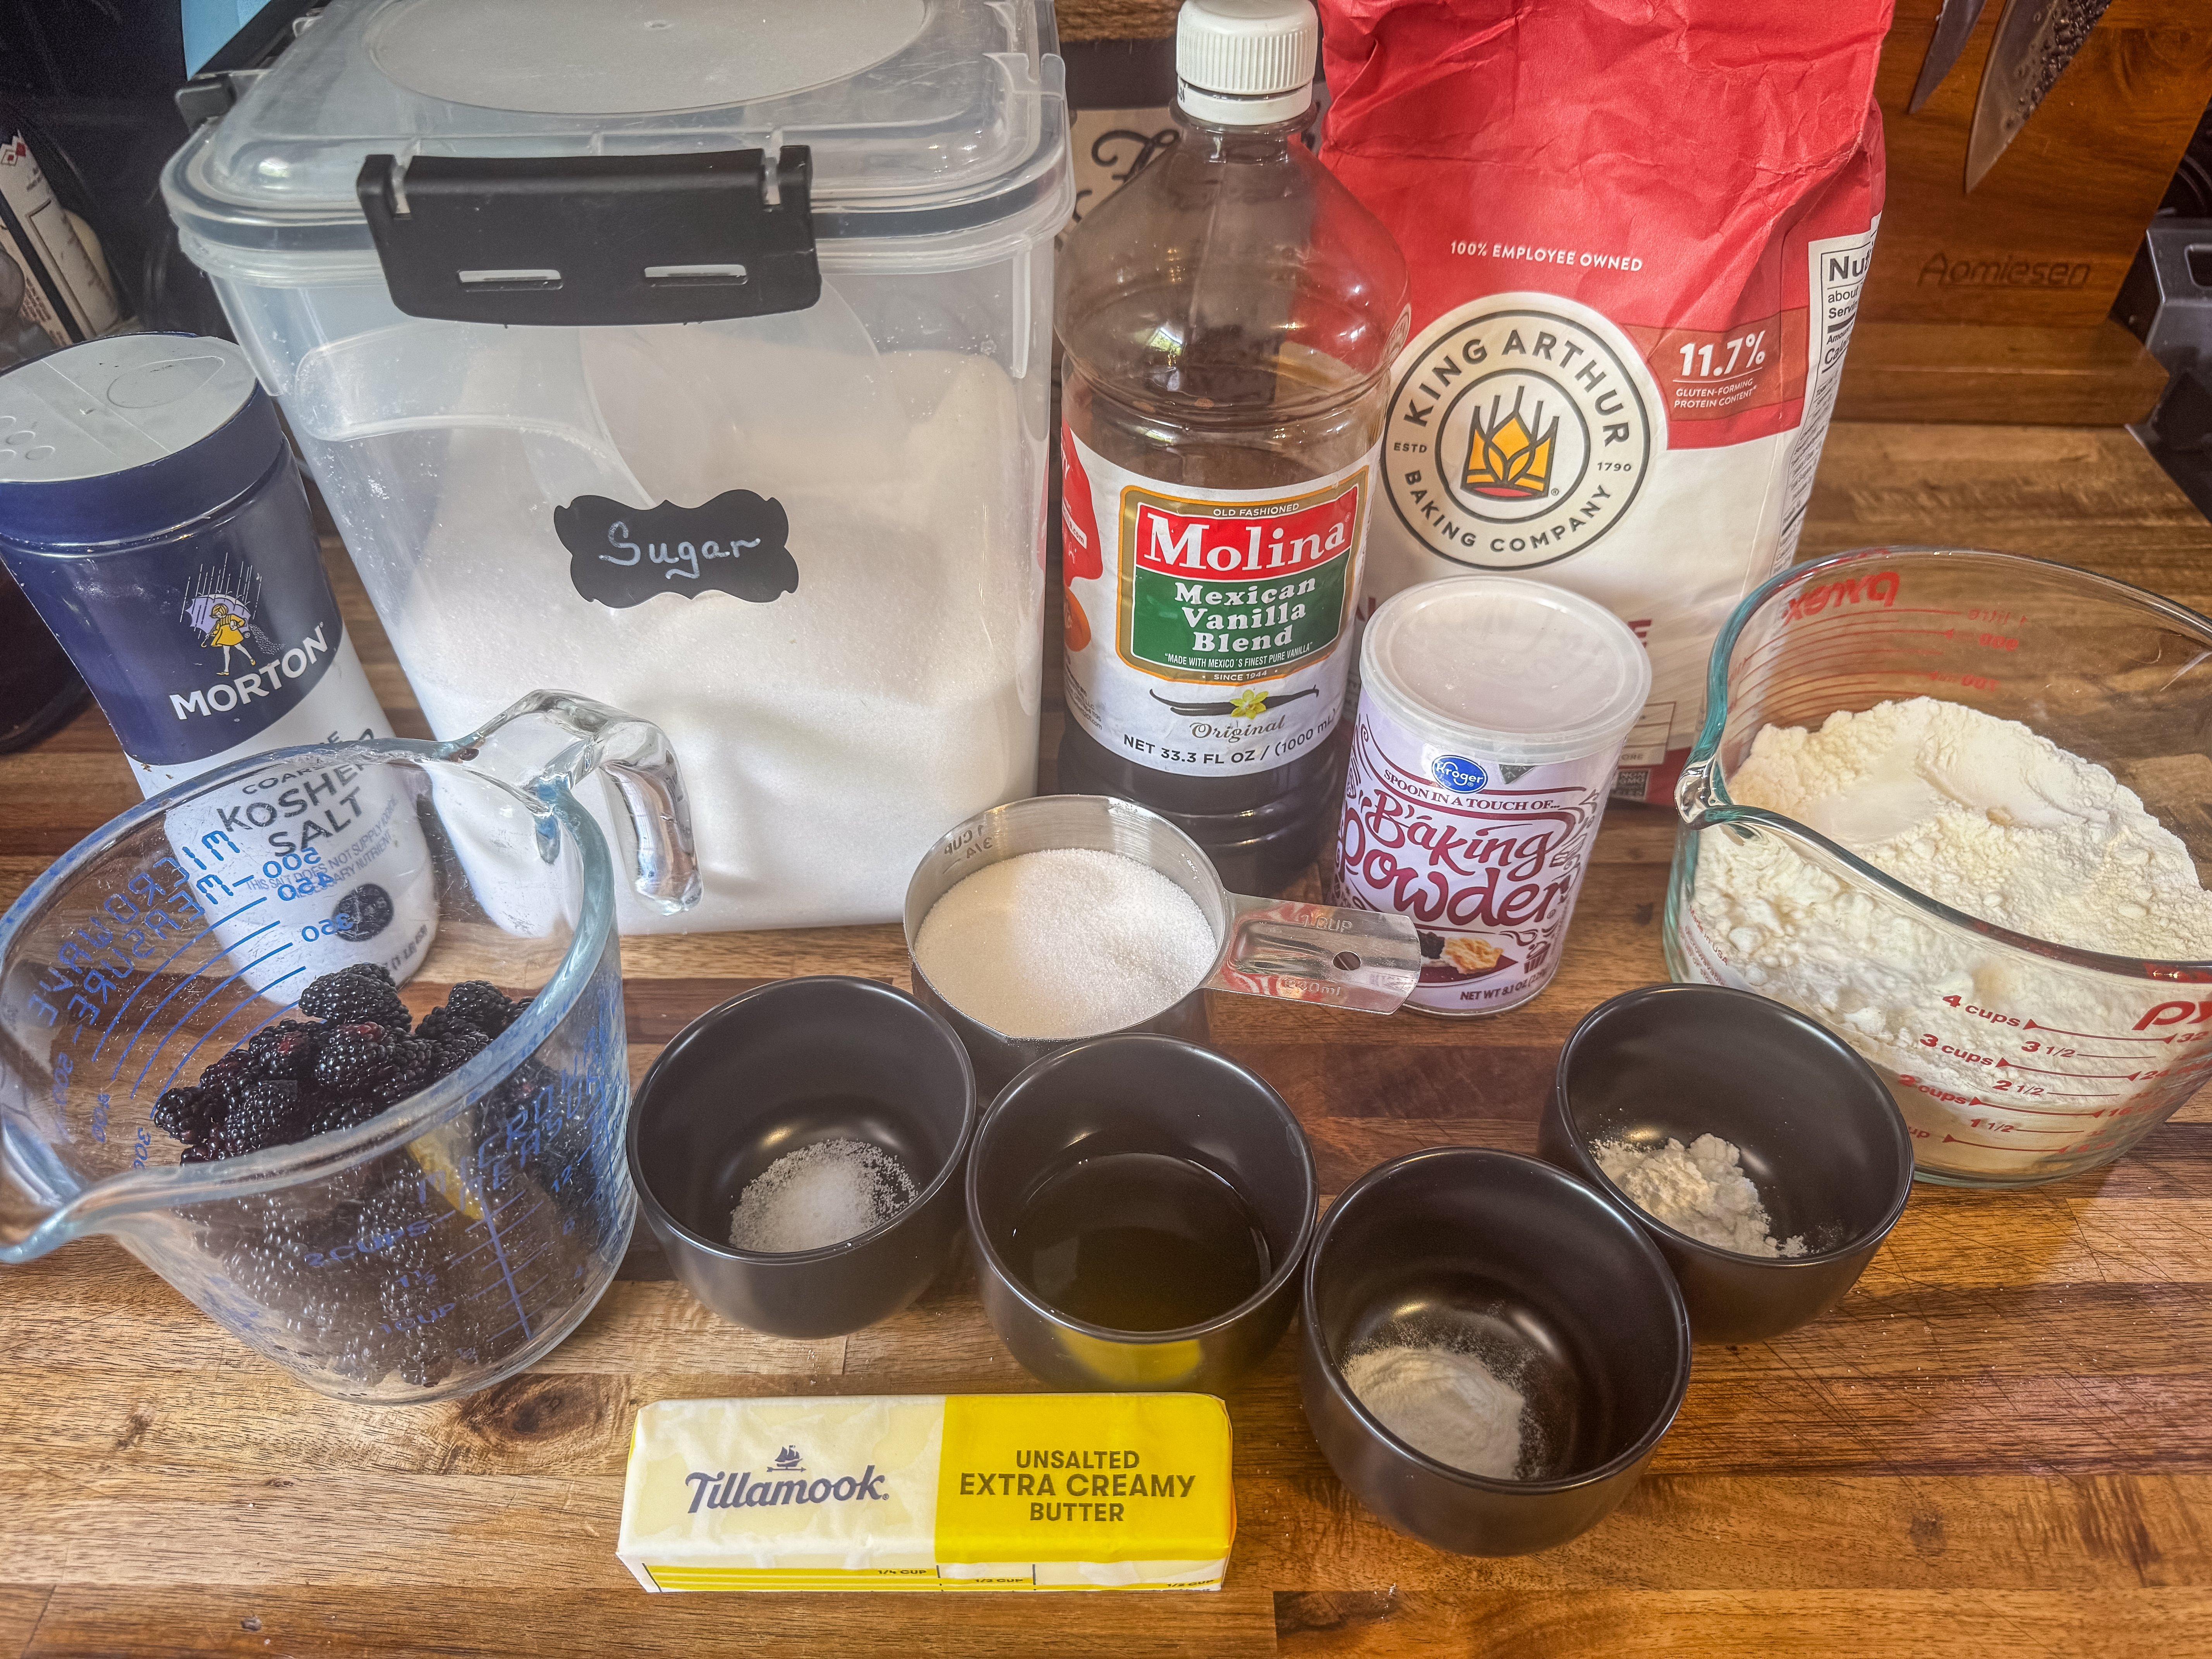
Ingredients
1 ½ cups wild blackberries
2 cups all-purpose flour
¼ cup granulated sugar
2 teaspoons baking powder
½ teaspoon baking soda
½ teaspoon salt
½ cup (one stick) unsalted butter, frozen and grated
2 tablespoons unsalted butter, melted
⅔ cup (plus a little if needed) buttermilk
1 tablespoon vanilla extract
Turbinado or raw sugar for the tops

author at Timber 2 Table recipes


