Every hunter should own a grinder. Here's how to choose the one that's right for you, how to take care of it, and how to get perfect deer burger, too
Backstraps get all the glory. Roasts and steaks get all the love. But when it comes to versatility, you can't beat ground meat. What can you do with ground wild game? Burgers, of course, but also all types of sausages, tacos, spaghetti, lasagna, soup, sloppy Joes … I could go on forever like Bubba with his shrimp.
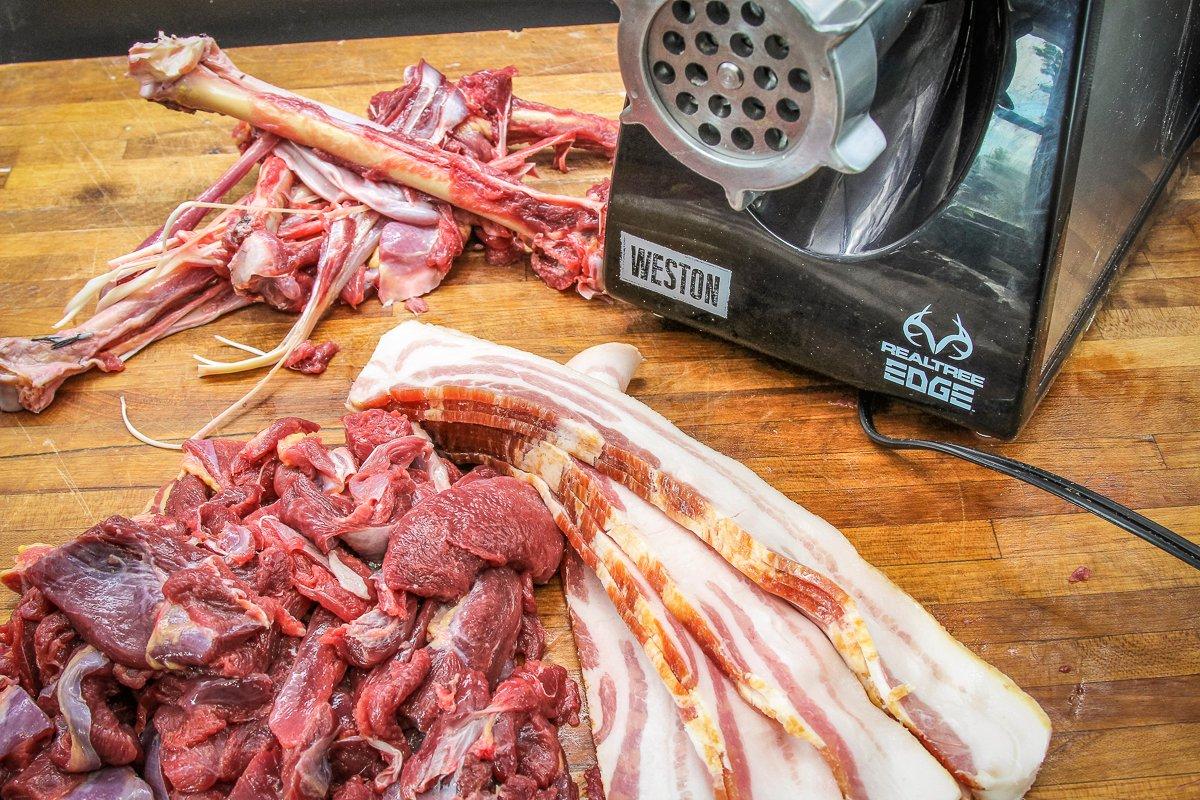
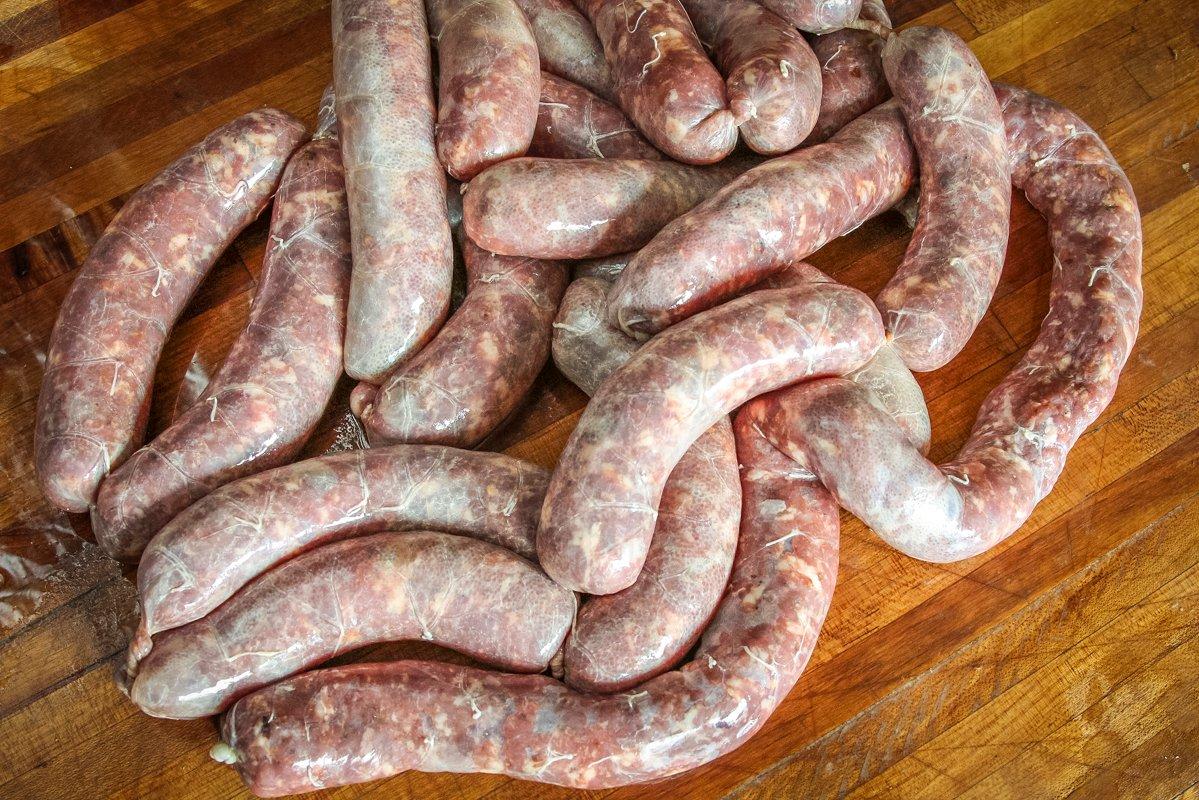
You can drop your deer, elk, or other game at your local processor and ask them to grind any leftover bits and pieces for you, but you can do a better job at home. Want some bacon ground with your venison for fantastic burgers on the grill? Add it in. Pork fat for summer sausage or brats? No problem. All you need is a grinder. But how do you choose the right grinder for your needs? Read on.
Know What You Need
The grinder size you select depends on how much meat you plan to grind in a season. Sure, you can grind some elk with a hand grinder if you have the time and energy, but matching the machine to the chore speeds up the process.
-
Manual Grinders: 1 Deer or Less
Only want to turn an occasional roast into burger? You might get by with a simple hand grinder like the Weston #10 Manual Meat Grinder. Hand-crank grinders are old school. They rely strictly on muscle power to do the work. A good hand grinder can churn out about 3 pounds of ground meat per minute, more than quick enough to do an occasional batch. They're slower, but they don't require electricity, meaning you can use them in remote camps. Manual grinders are affordable, too, with even the nicest models coming in at under $40.
-
Small Electric: 1-2 Deer Per Season
Grind enough venison through a hand-crank grinder, and you'll think your arm is about to fall off. And by enough, I mean over 10 to 15 pounds in a batch. If you go through a deer or two's worth of ground meat per season, you will probably want to purchase an electric grinder.
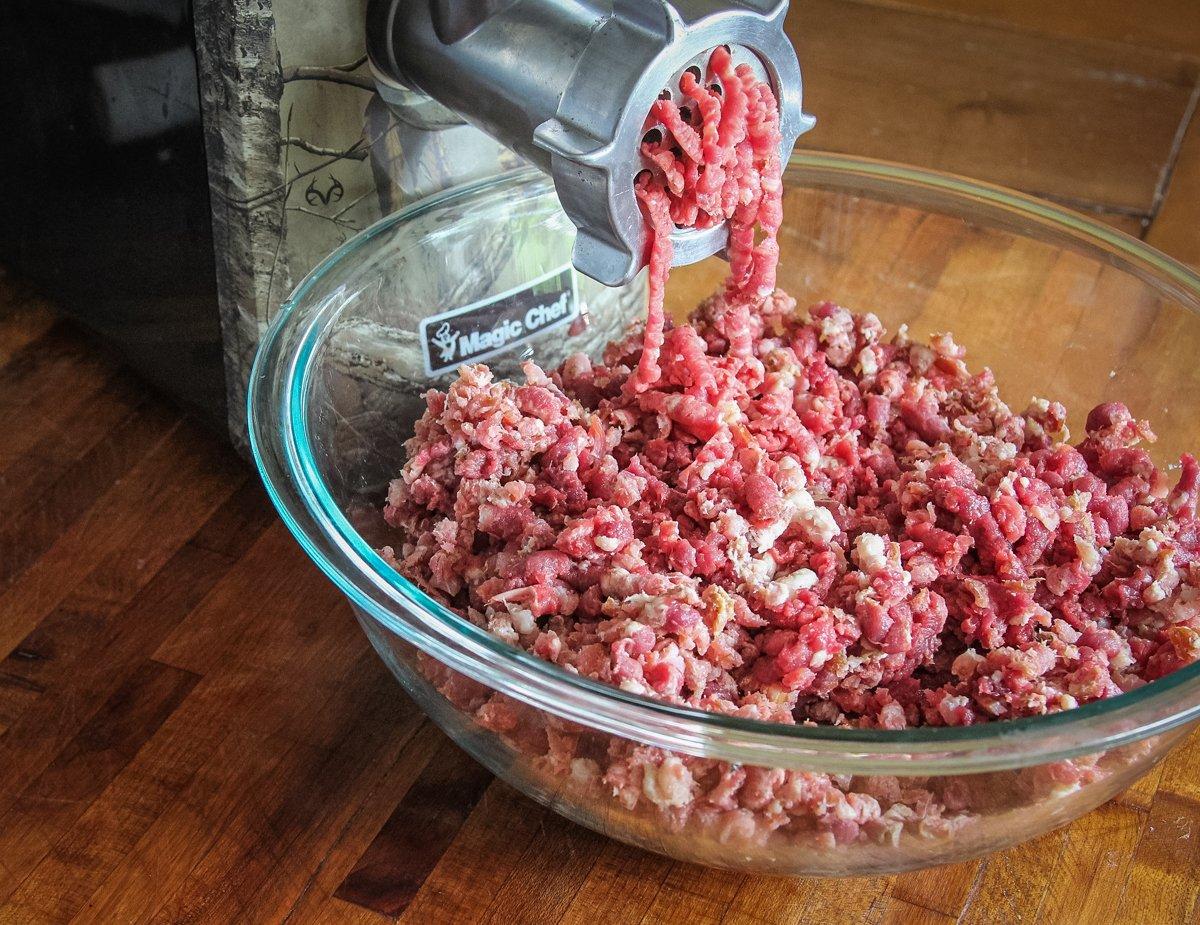
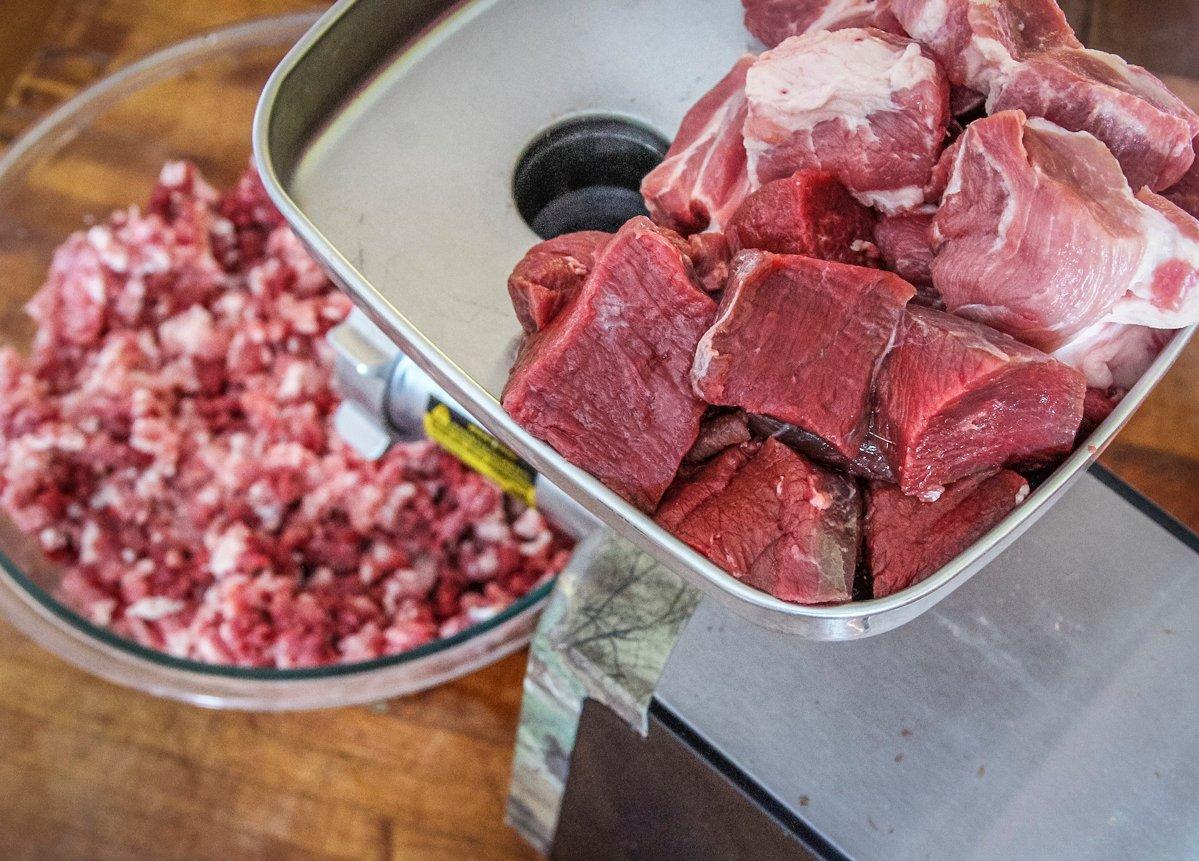
For affordability, it's hard to beat a small 600-watt model like the Magic Chef Realtree Meat Grinder. With the ability to grind about 4 pounds of meat per minute, and not requiring arm strength while doing it, these little grinders are perfect for the hunter who wants to run through the trimmings from a deer or two per season. The Magic Chef model has a reverse switch, making it easy to clear any jams that might occur.
-
Half-Horse Electric: 3-5 Deer Per Season
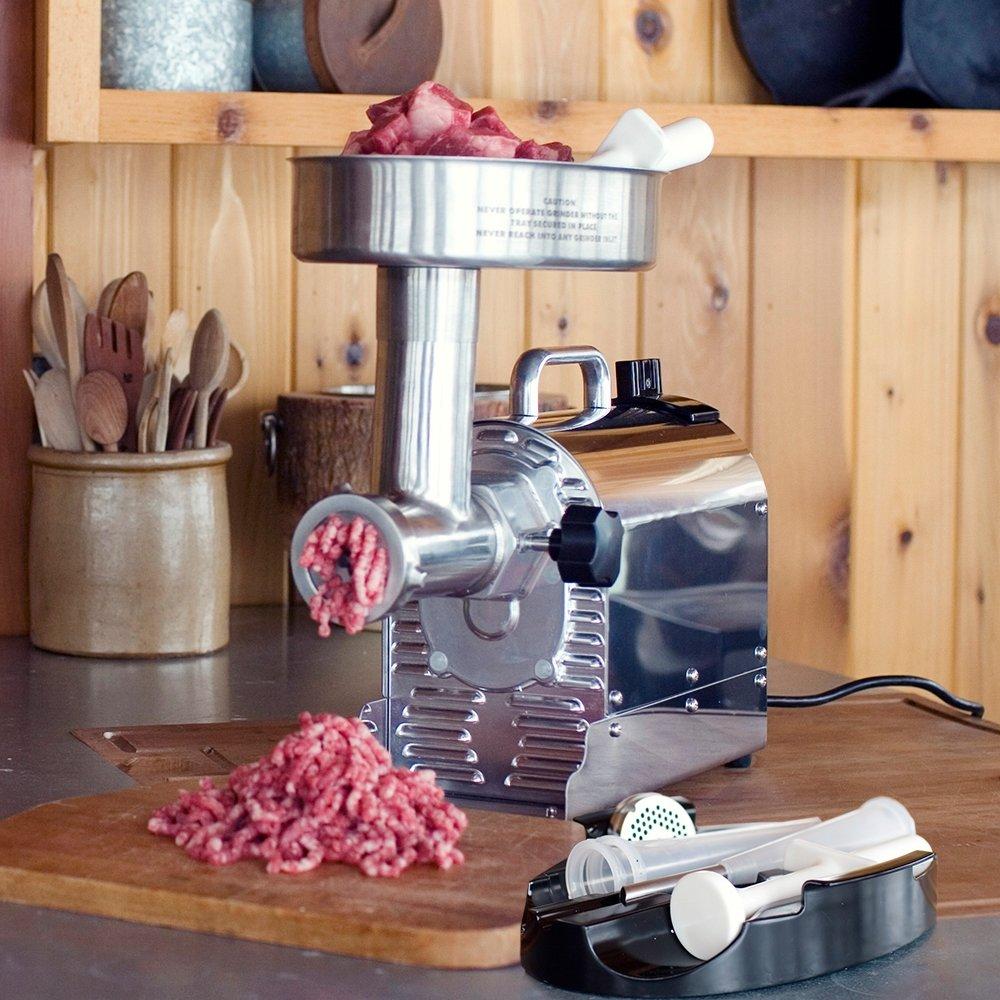
Put several deer per year into your freezer? Then you might want to step up to a more heavy-duty model. Take a look at the Weston Pro Series #8 Grinder. This .5 horsepower model features a permanently lubricated 350-watt air-cooled motor (120-volt, 60 Hz) that will give the average hunter a lifetime of use. The #8 will grind 4 to 6 pounds per minute. The air-cooled motor will run longer without overheating, allowing you to complete large batches without stopping to let the unit cool down. With the step up in size, you get steel gears for quiet performance and durability. The Weston Pro Series has a five-year limited warranty and disassembles for easy cleanup once the task is finished.
-
Go Big: 6 or More Deer, Elk, Moose
Serious chores require serious tools. If your family is like ours and regularly fills several deep freezers with wild game each fall and winter, then you are going to want a grinder that will can handle several pounds of meat at a time without overheating.
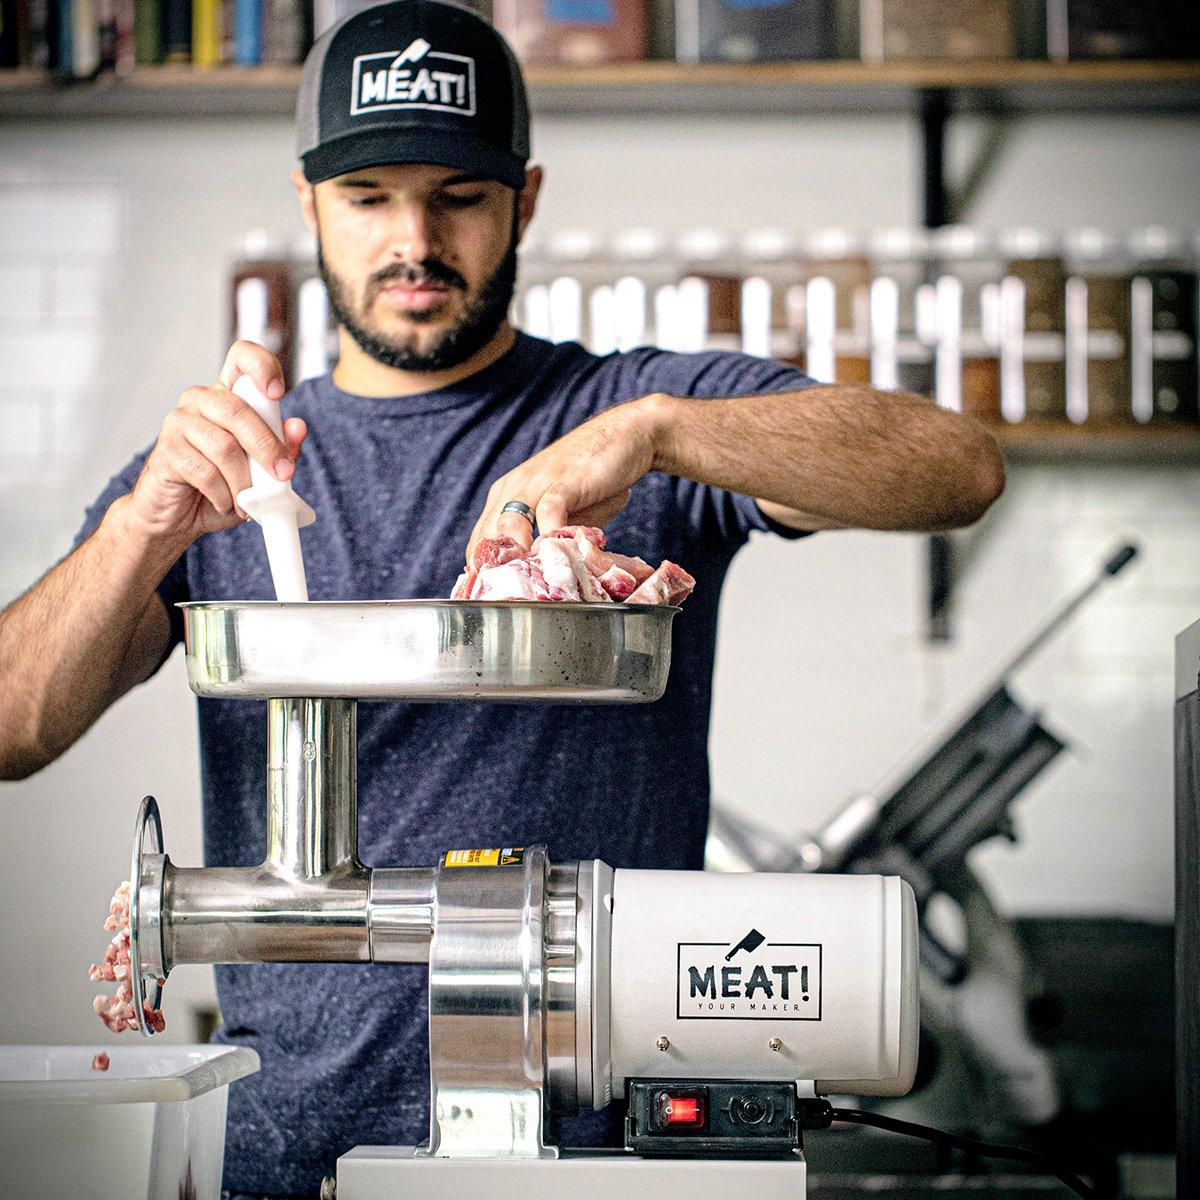
MEAT's massive 1.5 horsepower #32 grinder will churn out ground meat as fast as you can feed it (officially 18 pounds per minute, but I think it would do even more if you could feed it that fast). And it will do it for hours at a time without getting hot.
The MEAT #32 features all stainless-steel components and gears and easy disassembly for cleaning. The grinding components are dishwasher safe, something you don't always find with smaller grinders. It comes with a lifetime warranty, making it cost effective over the long haul.
Don't think you will grind enough game meat to justify a grinder this large? Consider going in with a few hunting buddies and trading the grinder back and forth when needed, or, even better, processing everyone's game meat together when timing allows.
(Don't Miss: Venison Burgers with Pimento Cheese and Fried Green Tomatoes)
Know the Attachments You Need
-
Stuffing Tubes
Sure, grinders grind meat. But that's not all they can do. With the right attachments you can make snack sticks, sausages of all types, and bologna. Look for a grinder with multiple sizes of stuffing tubes to fit various casings. Pick the tube that is just a bit smaller in diameter than the casing you plan to use. Smaller grinders often come with plastic tubes, but stainless-steel tubes will stand up to wear and tear longer and are easier to clean.
-
Grinding Plates
When it comes to grinding, different applications call for different finished textures of meat. The finished texture comes from the size of the hole in the grinding plate you use. Smaller holes make a finer grind, and larger holes give a coarser result. Try to find a grinder with at least two different plate sizes; three plates are even better.
-
Blades
To actually cut the meat, a grinder uses a four-sided blade. As with any knife, the sharper the blade, the better it cuts. You can sharpen dull grinder blades or send them off to have them professionally done. Check with local butchers to see where they send their blades or if they do them themselves. They will often sharpen blades for others for a small charge. Larger grinders often come with a spare blade, keeping you in business if your main blade gets dull during a grind. If your grinder didn't come with a spare, check with the manufacturer to see if you can order one.
-
Stomper
Fingers should never, and I mean it, never, enter the neck of a grinder. That rotating auger inside was designed to grab meat and push it through to the spinning blades. It can't tell the difference between fingers and meat. Make sure the grinder you buy comes with a plastic or wood stomper for pushing the meat down onto the spinning auger. Many stompers have a removable top that covers a storage compartment for extra blades and grinding plates.
Meat Grinding and Clean-up Tips
Trim before you grind. Make sure there are no small pieces of bone or bullet fragments that might damage or dull your blades. Remove as much connective tissue and silverskin as possible. These tend to gum up around the auger and slow the process because you have to stop grinding, turn off the power, and disassemble the grinder to remove the buildup after a bit.
After you've trimmed up the meat, get it cold before you start. I like to trim 5- to 10-pound batches at a time, then put the meat in a plastic tub that I place in the deep freeze for an hour or two. Cold meat yields a better grind texture and works through the grinder at a much faster rate than warm.
Once you finish grinding, it's time for the cleaning process to begin. Start by running a few slices of white bread through the grinder. This pushes any remaining meat out of the auger and soaks up a bit of the accumulated fat left from the process. Disconnect the power supply and disassemble the grinder. The neck, auger, blade, and plate should all detach from the motor. Use a paper towel or damp cloth to remove any stuck-on bits of meat from the power unit.
Check the owner's manual for your grinder to see if these parts are dishwasher safe. If not, or if it doesn't say one way or the other, head to a sink full of hot, soapy water. Use a long brush to scrub inside the grinder tube. Dry the components completely before storing.
A good grinder is an investment that will pay off in great meals for years to come. Choosing the right model to match your processing needs makes caring for your game meat fast and easy. Stop wondering whether the ground game meat you get back from the processor actually came from the animal you dropped off, and start knowing exactly what goes into your freezer by doing it yourself.

