That first morning cup of deer camp coffee can be magical. Make sure you do it right
There's something magical about that first steaming cup in the pre-dawn hours of your deer or waterfowl camp. Just like breakfast cooked over a fire, a cup of joe at camp just seems to taste richer, fuller, and more robust than what you make at home before trudging off to work.
I've been in camps where the coffee was an afterthought: microwave- or campfire-heated water and a spoonful of instant granules in a rush to get out the door and into the woods or on the water. I've also been to camps that would put a professional barista to shame with their coffee standards. Filtered water heated to the perfect temperature and painstakingly drizzled through glass pour over coffee makers that produce a single cup at a time, or even a full-blown espresso machine complete with steamed milk.
The perfect cup probably lies somewhere in between those two. No matter how remote or rustic your camp, following these tips can get you a great cup of coffee.
Start with Good Beans
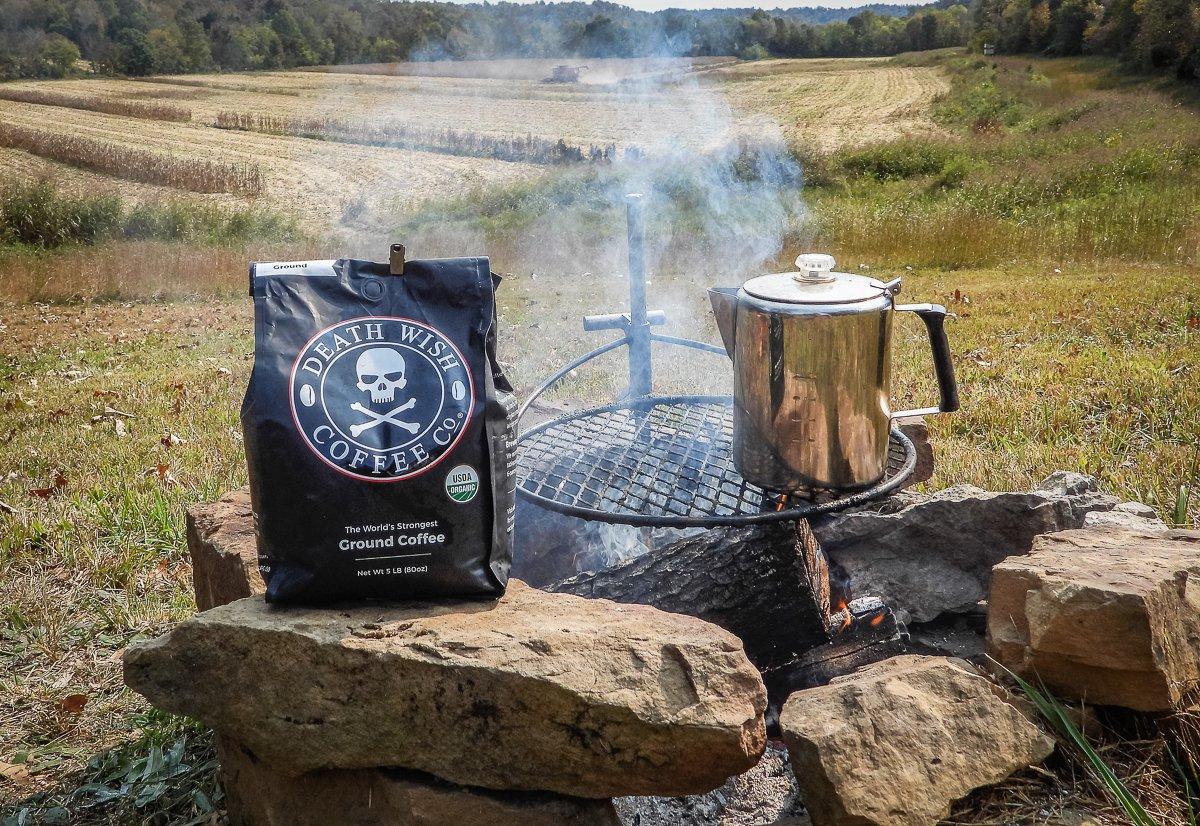
There are a lot of things I'll skimp on when it comes to saving a buck. Good coffee isn't one of them. Buy a high-quality coffee like Death Wish. Whole beans, freshly ground right before use, will give the best-tasting coffee, but grinding enough for the trip before you leave home or even using pre-ground beans will work if you have a quality brand.
Use Enough Coffee
It seems to go against reason, but many of the coffee drinkers out there who complain about a bitter brew are using way too little coffee. They think that adding more grounds will increase the bitterness of their coffee. The opposite is true.
Using too few grounds for the amount of water actually causes the bitter flavors to increase. Here's why. The best-tasting compounds in the coffee are also some of the first to be released when the ground bean comes into contact with hot water. If you don't use enough coffee, those good components get washed out quickly and the remaining hot water continues to leach out some of the more astringent chemicals from the coffee bean.
How much is enough? The golden rule for coffee has long been considered to be 2 heaping tablespoons per 6 ounces (standard coffee cup) of water. For drip makers, you can get by with a bit less, say 1 1/2 tablespoons. Methods like pour over and French press allow the water to cool a bit faster, and you can use slightly over the 2-tablespoon mark for best results. Using the correct amount of beans means that only the most flavorful coffee components end up in your mug.
Use Good Water
Water is the largest ingredient in a cup of coffee. It stands to reason that, if your water doesn't taste good, neither will your coffee. If weight and space aren't an issue, I like to take a gallon or two of filtered spring water with me to camps when I know the water sources might be questionable in flavor.
Can't carry enough water for an entire hunt's worth of coffee? A good water filter pitcher will make a vast improvement in off-tasting water.
Hotter Isn't Better
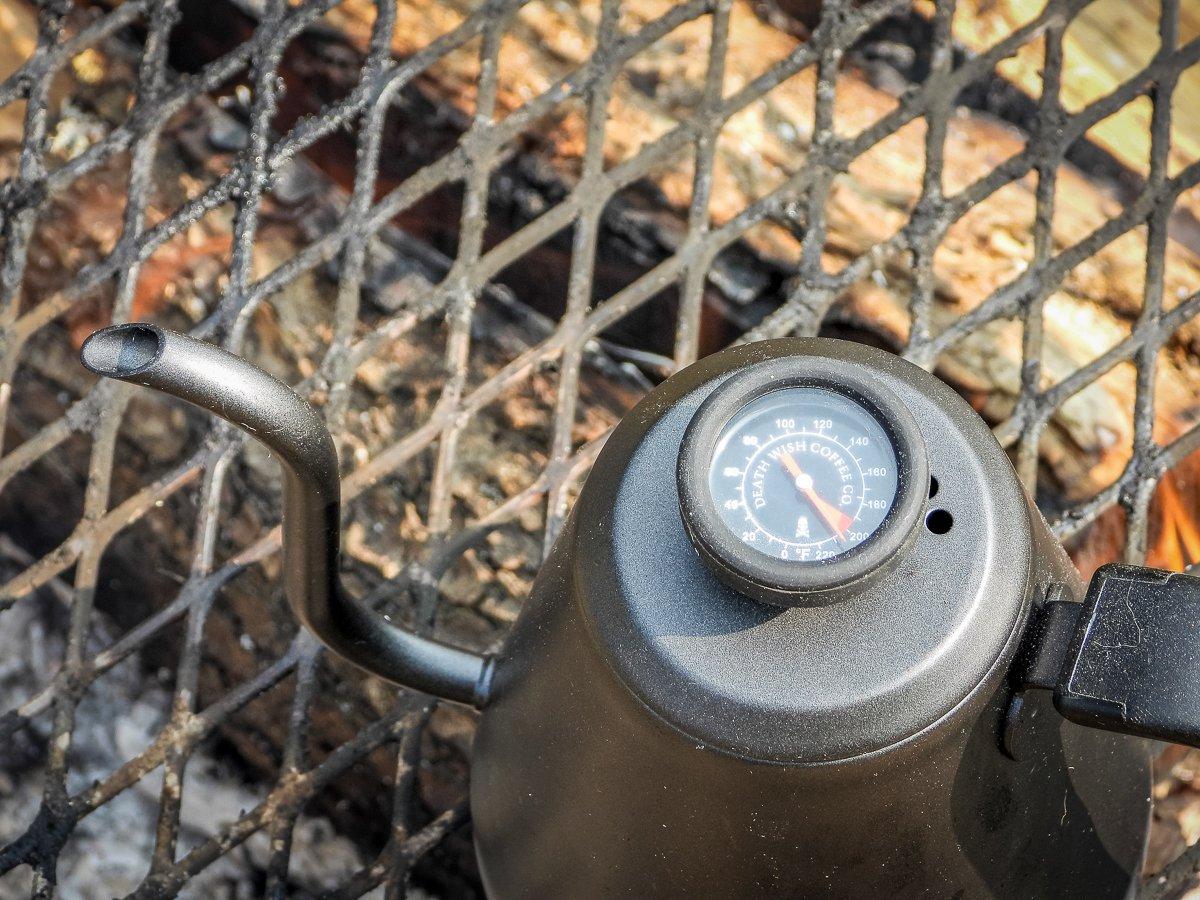
Water boils at 212 degrees Fahrenheit, give or take depending on elevation. That's too hot for coffee making. Remember those flavor compounds that make coffee taste great? They dissolve best at about 200 degrees, making that the perfect temperature for brewing. Keep your water at a bare simmer.
Grind Texture
Just about every coffee drinker is familiar with the texture of ground coffee in the mass-produced red or blue cans you find at the grocery. That's considered a medium grind, which is a great starting point for most brewing methods.
Grind size controls three things: how much surface area gets exposed to water, how long the water takes to extract the flavor molecules, and how quickly the water flows through. Coarse grinds have less overall surface area and take longer for the hot water to extract flavor. At the same time, coarse grinds allow water to pass through quickly for most brewing methods, meaning you get a thinner, weaker finished product. Coarse grinds can be used in brewing methods that steep the grounds for long periods of time, but that isn't really feasible at camp.
On the other end of the spectrum you find superfine grind levels. These extremely fine grinds give up their flavors in a very short period of water contact. Unfortunately, fine grind levels also take longer for the water to pass through, giving them time to also release some of the bitter components in the coffee bean. Fine grinds are best suited for quick brewing methods like espresso machines.
For most applications, starting with a medium grind is best. Try the coffee, then adjust your grind size slightly for coarser or finer grounds to adjust the flavor up or down to suit your taste.
Percolator
When it comes to deer camp coffee, a percolator heated over a campfire or on a camp stove is the quintessential way to brew. There's just something about the sound a percolator makes as the water bubbles and spurts over the hiss of a Coleman stove or the crackle of a campfire that is soothing to the ear.
Percolators can make a really great cup of coffee — one of the best you've ever tasted. They can also burn coffee to the point of undrinkability. And those two extremes are surprisingly close together. To make a really good pot of percolator coffee, follow these instructions.
1 Line the filter basket with a paper coffee filter. Percolators are notorious for churning grounds into the coffee. I'm not a big fan of coffee I can chew. To cut down on wayward grounds, line the filter basket with a standard paper filter for a drip coffee maker. Just poke a hole through the center and slide it down over the stem. The filter helps hold the grounds in place and makes cleanup as fast and easy as dumping the grounds in the woods (they decompose and make great compost) or in the trash.
2 Use high-quality coffee and use enough of it. As discussed above, using too little coffee leads to a weak, bitter brew. Stick close to the recommended 2 heaping tablespoons of fresh grounds per cup of water.
3 Fill the percolator with fresh, clean water to just under the bottom of the filter basket. Heat the percolator on medium-high heat until you see the first bubbles pop up through the viewing window at the top of the percolator.
Here's where you can scorch your coffee in a hurry. To prevent burning, turn the heat down to low at this point. All you want to do now is keep the coffee barely bubbling up through the tube. Brew the coffee for an additional 4 to 6 minutes, then remove from heat. Carefully lift out the filter basket and tube before pouring to prevent ground spillage into the coffee.
Drip Coffee Maker
This is the standby for the vast majority of homes in the country. Good reason. They are quick, easy, and just about foolproof when it comes to making a decent cup. Their only real drawback is the need to plug them in.
If you don't have electricity at your hunting camp, you can still use a drip system. Look for a model that uses a screw-in propane tank to provide the heat source. Most of them have push-button ignitions for the burner and function just like your electric drip maker at home.
French Press
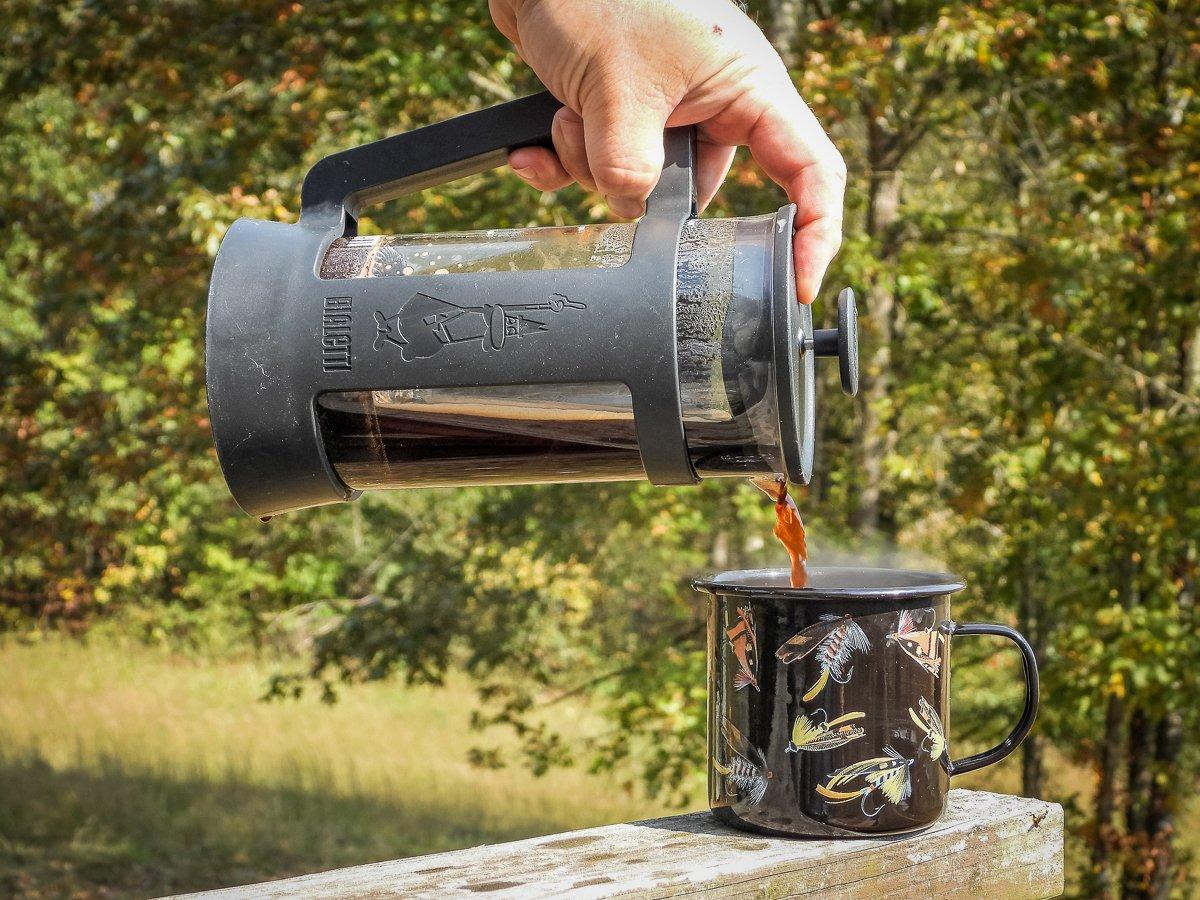
Just need one or two cups of full-bodied, flavorful coffee? A French press might be for you. As the name suggests, this method originated in France. It uses a cylindrical carafe with a plunger to force the steeped grounds to the bottom, leaving the brewed coffee above the plunger base to be poured.
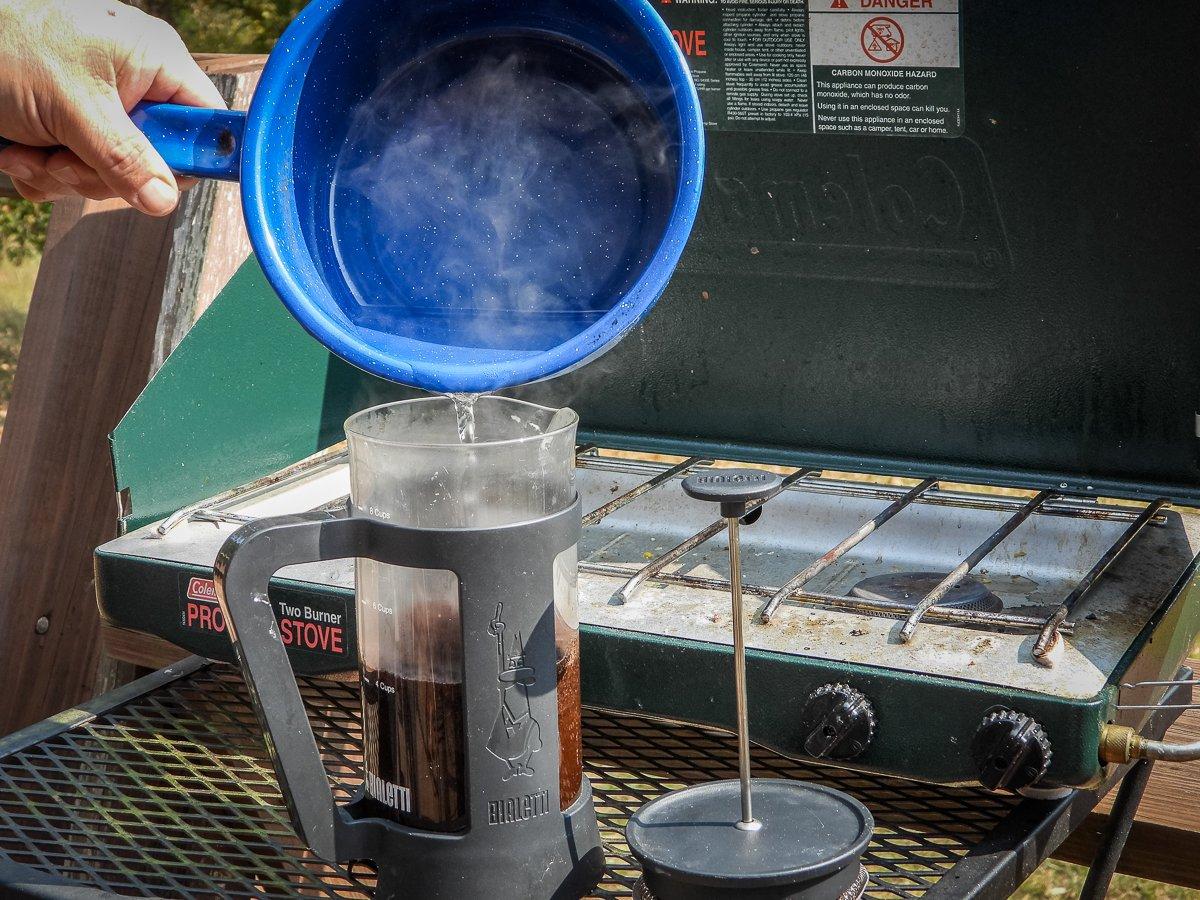
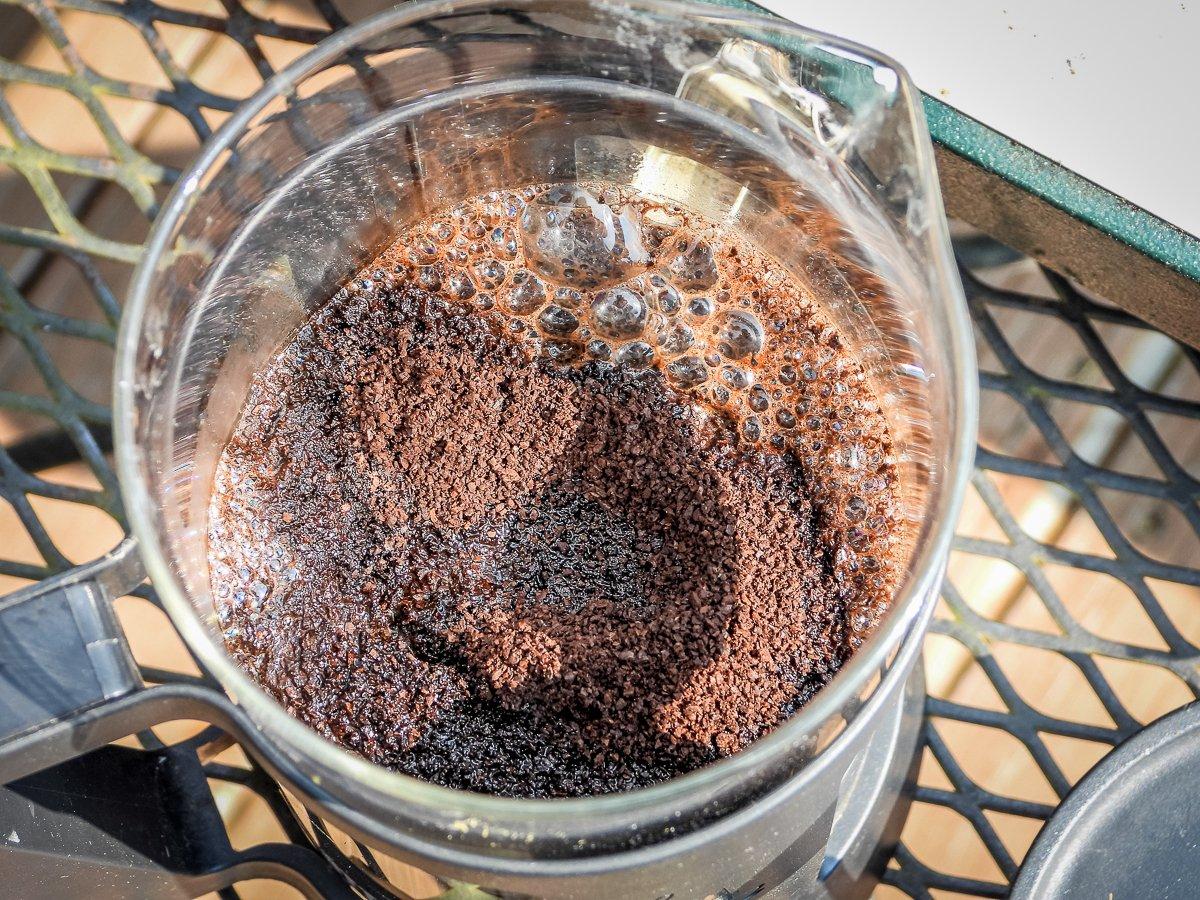
To make good coffee in a French press, heat your water on a separate source to 200 degrees. Add 2 heaping tablespoons of grounds per 6 ounces of water to be used. Pour the heated water into the carafe over the grounds. You should see the grounds immediately float to the surface to form a crust on top of the water. Use a wooden or plastic spoon to break up the floating crust and fully saturate the grounds until they sink to the bottom.
Place the lid on the carafe with the plunger pulled all the way to the top. Allow the coffee to steep for 4 minutes, then gently press the plunger all the way down to trap the grounds at the bottom. Serve immediately before the coffee cools.
The French press extracts more oils and sediment from the ground coffee than other brewing methods, which lends the finished product a robust flavor and creamy mouthfeel.
Pour Over
One of the simplest methods for brewing a cup of coffee is the pour over. Luckily, it also produces one of the most flavorful cups you will ever taste. Pour over setups consist of a paper filter to hold the grounds above a vessel to hold the finished coffee as it drips through. The water comes from a pot or kettle heated to between 195 and 200 degrees.
Just like it sounds, the hot water gets poured over the grounds to seep through down to the waiting cup or pot. You can't just dump the water on and expect a perfect cup, however. First, drizzle the grounds until they are saturated, known as blooming the coffee. The grounds will absorb the water and plump up, releasing their flavor compounds. This process should last about 30 seconds.
After you've bloomed your grounds, go ahead and slowly pour the hot water through to the waiting vessel below. Take your time, drizzling on water and letting it completely pass through before adding more until your cup or vessel reaches the desired capacity.
While pour overs take a bit more time and work than other brewing methods, it does produce a fine cup of coffee. The main drawback to the method is that most pour over systems are made of fragile glass, not the easiest thing to transport to a rugged backcountry camp.
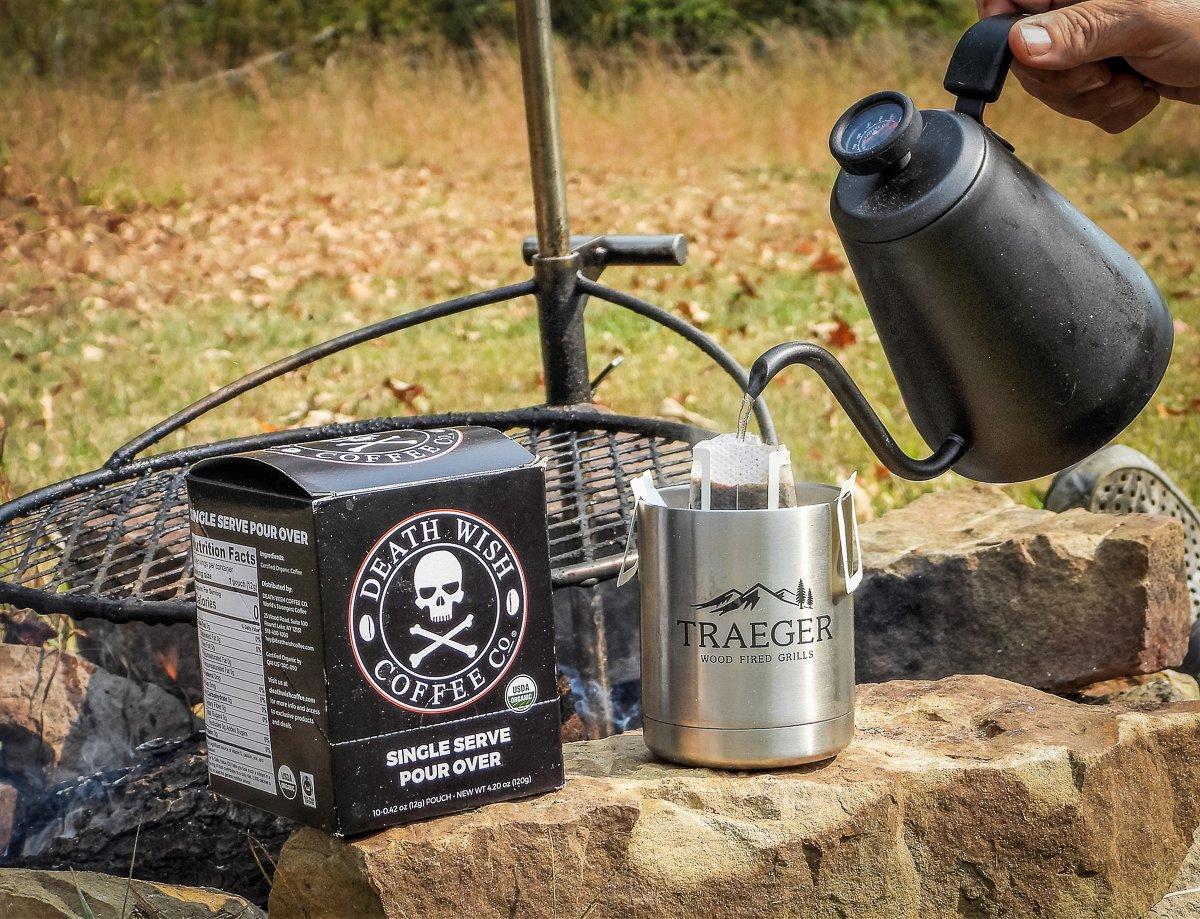
The folks at Death Wish have fixed that problem with a single-use paper pour over system. Simply open the pouch, hook the paper coffee pod over the rim of your cup, and follow the standard pour over method of slowly drizzling hot water through the coffee grounds. The pods are lightweight and compact, making them perfect for camp.
Cold Brew
Need that jolt of caffeine to get your day started or perk you up for an evening sit in the deer stand but don't have time to brew a pot of coffee? Grab a can of cold brew. You'll find a slightly different flavor profile than with standard hot brewed coffee, but it's still really good, especially on a warm afternoon in the deer blind. Good cold brew features all the flavor of hot coffee, but none of the bitterness.
Most cold brews come in handy 8-ounce cans, making them the perfect size to stick in your backpack or pocket as you head to the duck blind or deer stand.
Whatever your preferred method of coffee delivery, don't be afraid to experiment and make it your own. If you normally use pre-ground coffee, try grinding your own. Experiment with the grind time for coarser or finer grounds. Try different brewing methods. Raise or lower the amount of grounds you use for your brew. Since everyone tastes things differently, there's no right or wrong way to make your coffee. Find the method that makes your perfect cup.

