Try this recipe for better-tasting butter like your grandparents used to enjoy
Ever hear your grandparents or parents lament the fact that butter just doesn't taste like it used to? Or maybe you've tried European-style butters and realized that the standard American supermarket version doesn't hold a candle to them. Wonder why?
The answer lies in the fat. Because fat is flavor and European-style butters use a higher fat content than American butter manufacturers do these days. It hasn't always been that way. The butter made by small dairies or local creameries back in the day often had butterfat contents on par with the best European brands, which is why your grandmother will tell you that her butter was better.
Along with higher fat contents, the butters of a few generations ago were made fresh. And fresher butter just tastes better. As with most of the foods we get in supermarkets these days, longer shelf life takes precedence over flavor. That box of butter you buy today could have been made a month or more ago, and that's a long time for a dairy product.
So what's the butter lover to do to get that old-fashioned flavor? Well, you can shell out some serious cash for the best European-style butters at your local mega mart, or you can get your hands on some fresh milk and make it yourself.
Where do you get fresh milk? Well, that depends a lot on what state you live in. I won't delve too deeply into the high weeds of milk politics in the U.S., but buying fresh milk is harder in some places than others. It might be as simple as heading to a local dairy or farmer's market to buy straight from the source, or you might have to buy what is called a cow share where you technically own a very small percentage of a dairy cow, giving you access to an allotted amount of fresh milk, or you might have to go buy a cow. I'm partial to the Jersey breed. They've got peaceful big, brown eyes and they make really good milk.
Not sure your HOA will let you keep Bessie in the backyard? Head on down to your local health food or farmer's market and pick up some low-temperature pasteurized, non-homogenized milk or heavy cream. It will work fine for butter and taste nearly as good as fresh milk. You can also make butter from goat and sheep milk.
The process is simple. All you will need is some fresh or low-temperature pasteurized milk, a stand mixer, some cheesecloth and some plastic wrap or wax paper.
As with all things dairy, I turn to Laurie and Rita at Flying Blue Dog Homestead and Nursery out in California. Homesteaders and cheesemakers extraordinaire, they shared their butter-making process with us here at Timber2Table and it's the method we have used ever since.
Here is Laurie's method for making butter:
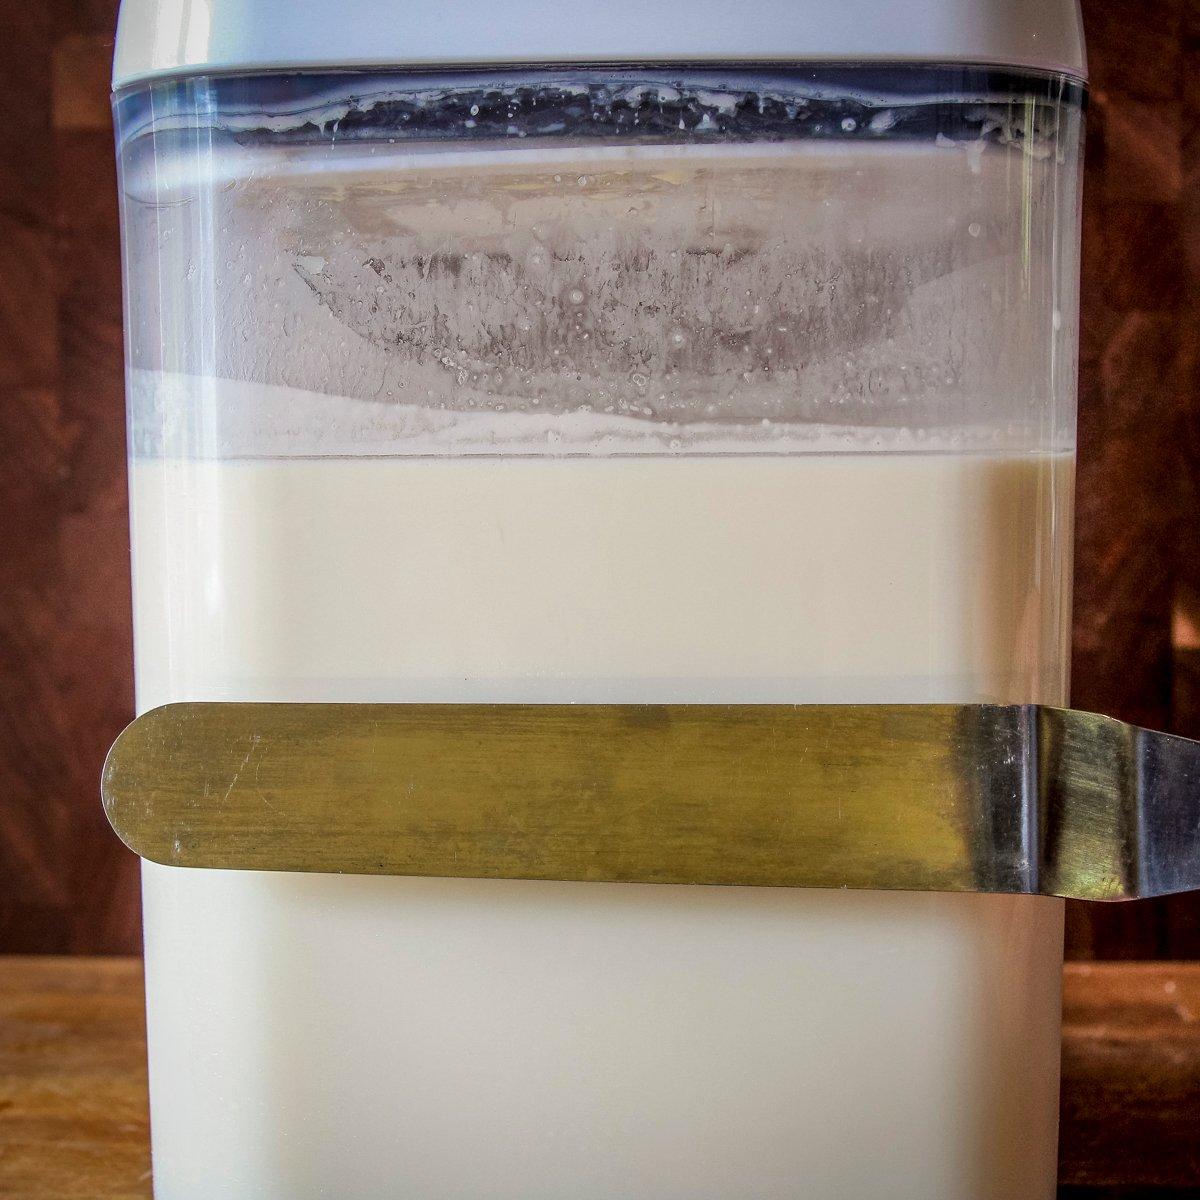
1. Start by letting 1 gallon of fresh milk set out in a wide-mouthed container in the refrigerator for a few days.
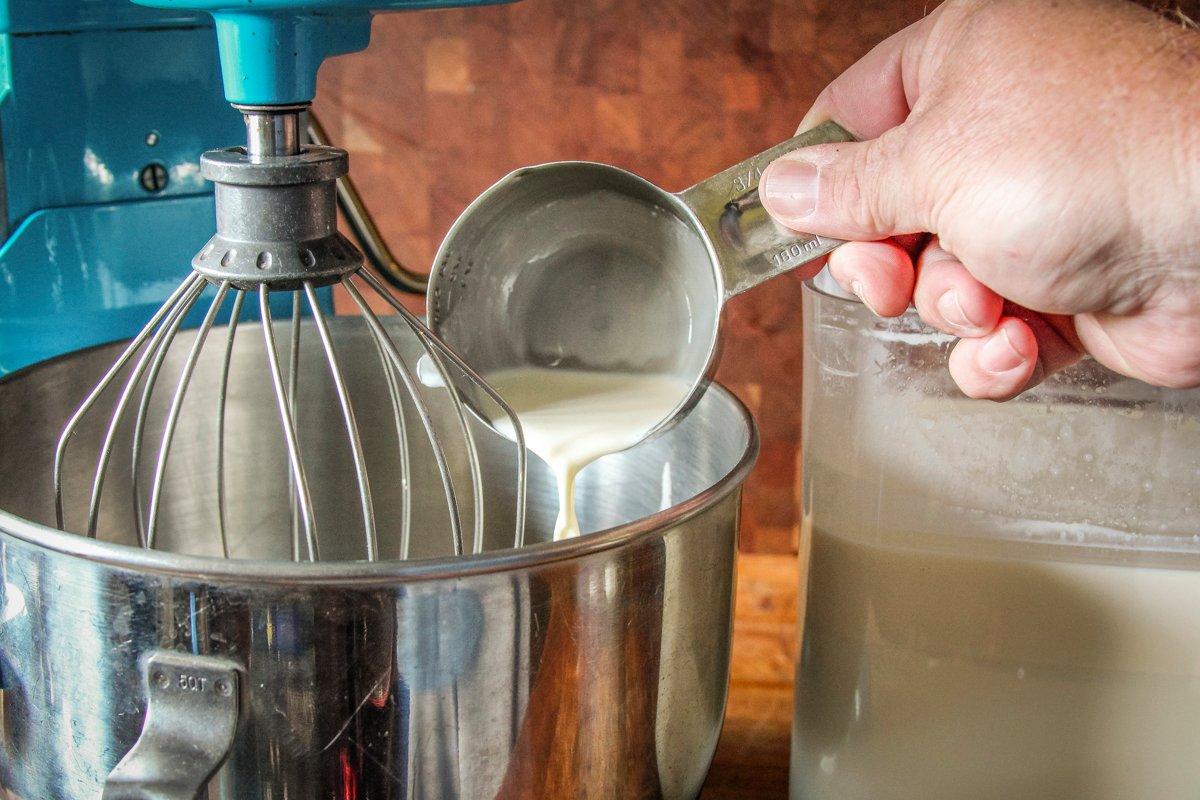
Now's the time to separate the cream from the milk. You can see a definite line where the cream floats above the milk. Use a small cup (I use a metal measuring cup) to dip just the cream from the surface.
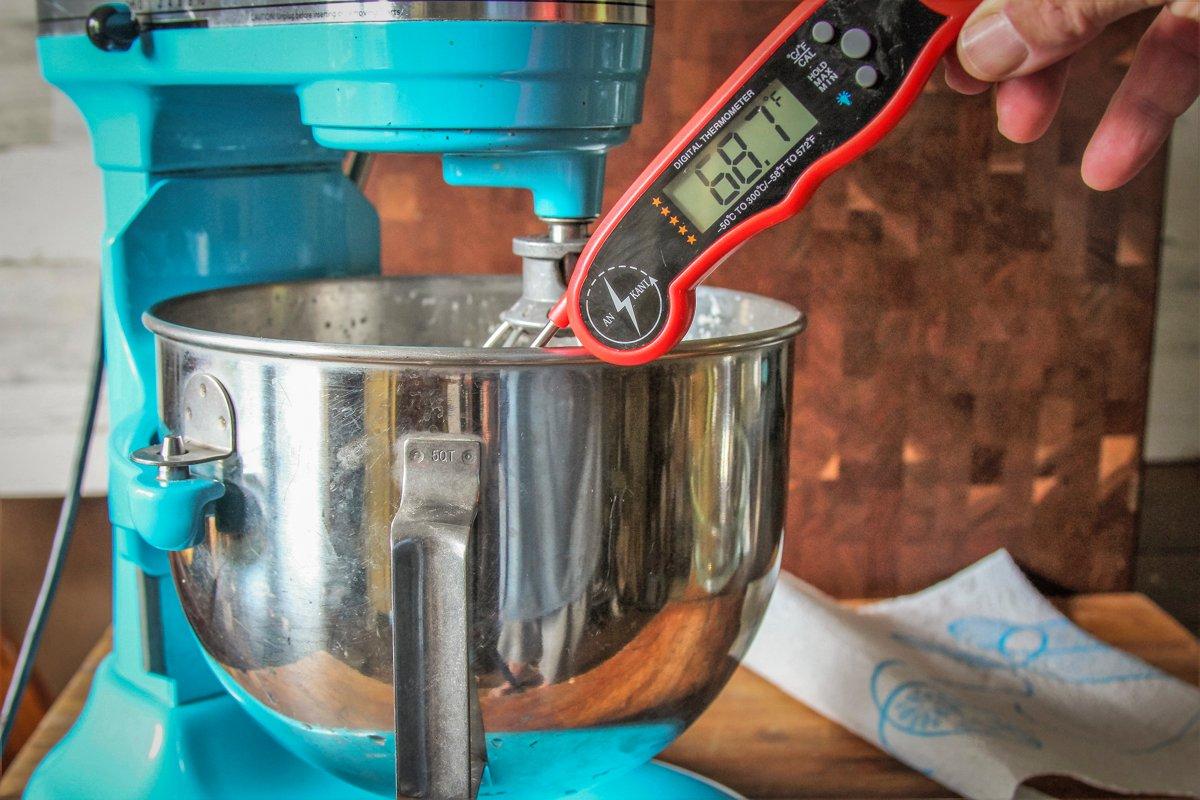
Let the cream set out until it reaches room temperature. Laurie says the ideal temperature for churning is 68 degrees Fahrenheit +/-. If the cream is too cold, the milk fat will be too cold to form butter. If the cream is too warm, the butter that forms will be soft, greasy and hard to handle.
If you prefer the tangier flavor of cultured European-style butter, culture your cream now by adding 1 tablespoon of buttermilk per pint of cream and let it rest at room temperature for 12 hours. If you don't want to culture your butter, just add it straight to the bowl of your stand mixer.
2. Using a stand mixer with a whisk attachment, whip the cream (cultured or not) on high speed until bits of butter start to form. Continue to whip until the bits start clumping together to form larger clumps that float in the buttermilk that has separated out. For this batch, that meant about 23 minutes in the mixer.
3. Work the butter by hand or in the stand mixer using the paddle accessory. Strain out and reserve the buttermilk through a fine sieve or cheesecloth. The buttermilk will be thin, but tasty. If it's cultured, save for use in baking etc. If it's not cultured, drink as is, it's delicious.
4. Submerge the butter in a cold-water bath (a bit of ice in a bowl of water works well) and work it by kneading it with your hands, which will release any buttermilk that's still in the butter into the water. Change the water as needed and repeat the process until the water remains clear after the butter has been kneaded. Any buttermilk left in the butter will greatly shorten its shelf life.
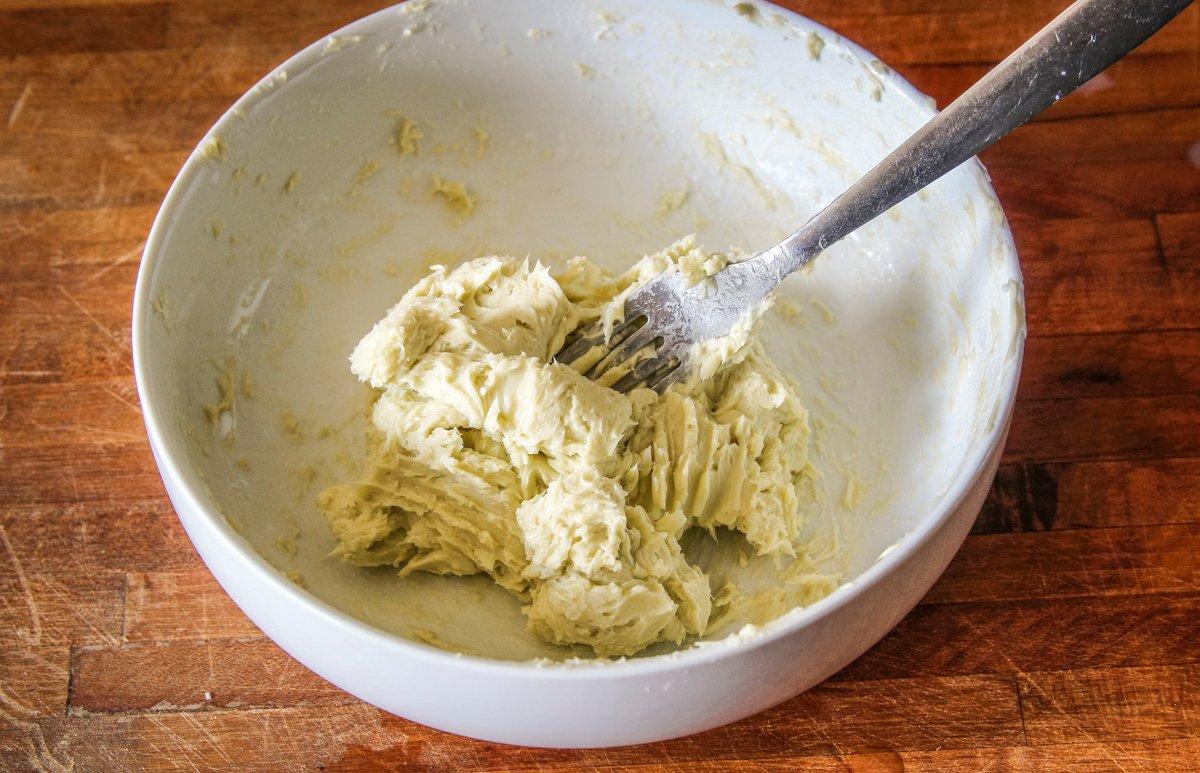
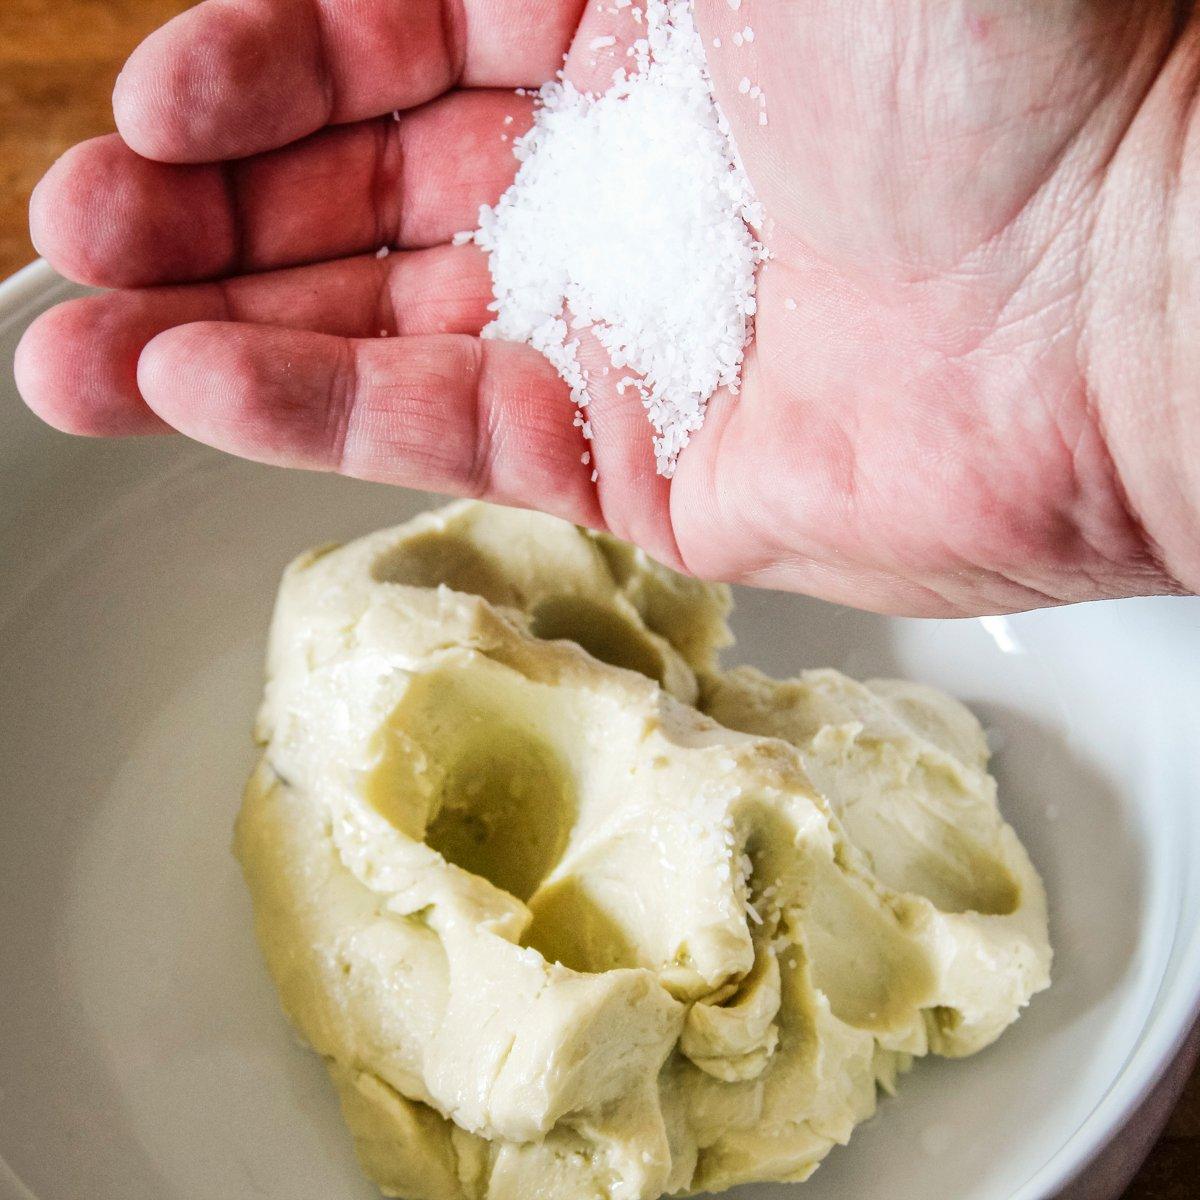
5. When all the buttermilk has been removed, salt the butter to taste. Start with ¼ to ½ teaspoon of salt, mix well, then taste and add a pinch more salt if needed. After salting, leave the butter undisturbed for 15 minutes to allow the salt to pull the moisture out. Work the butter with your hands again to expel excess moisture. You can also flavor the butter if you like. Try fresh herbs or honey.
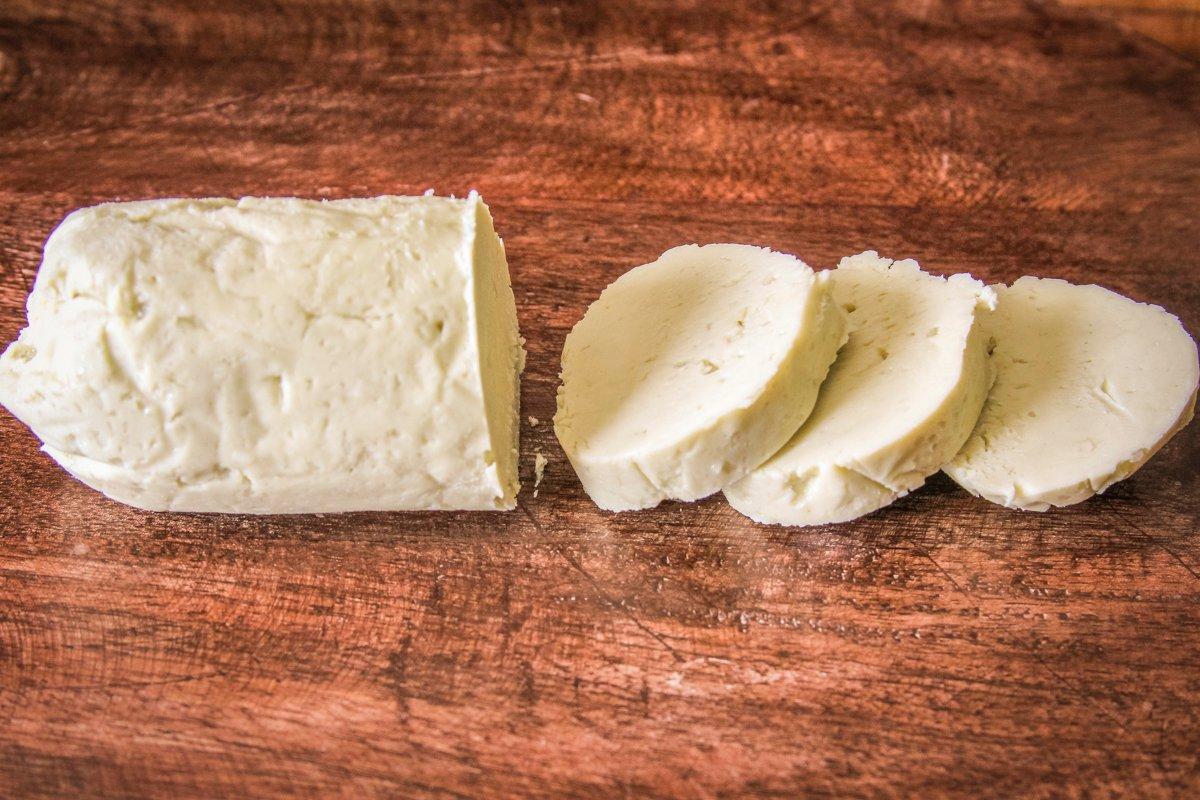
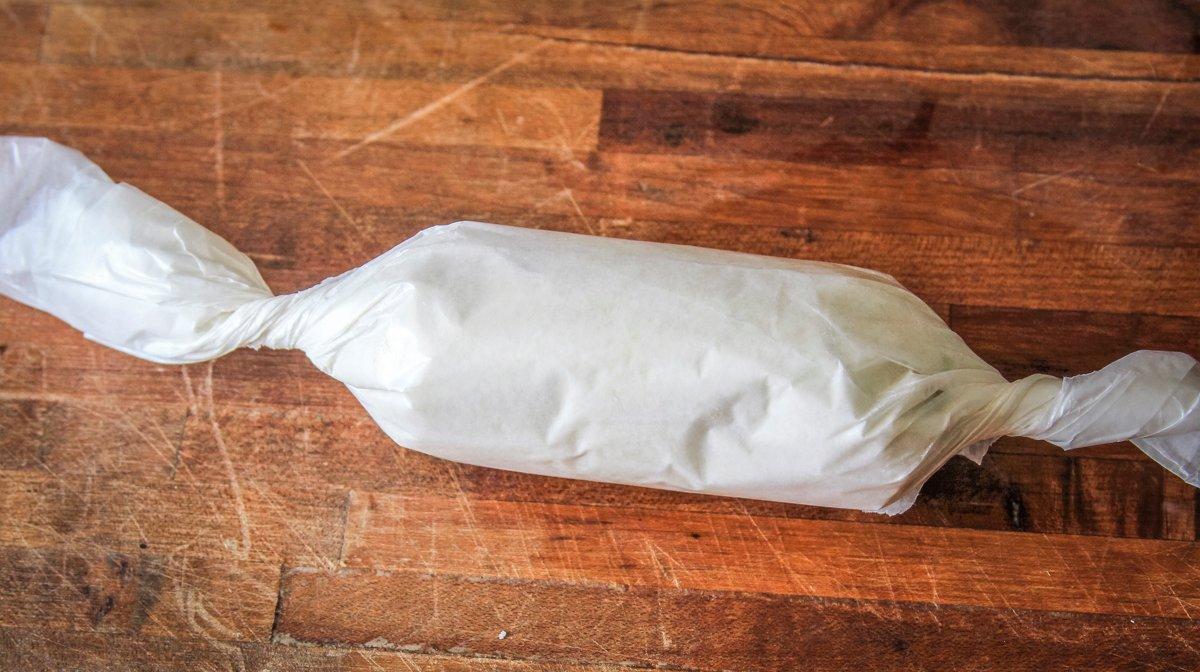
6. Shape the butter, wrap tightly in plastic wrap or wax paper, then freeze or refrigerate.

