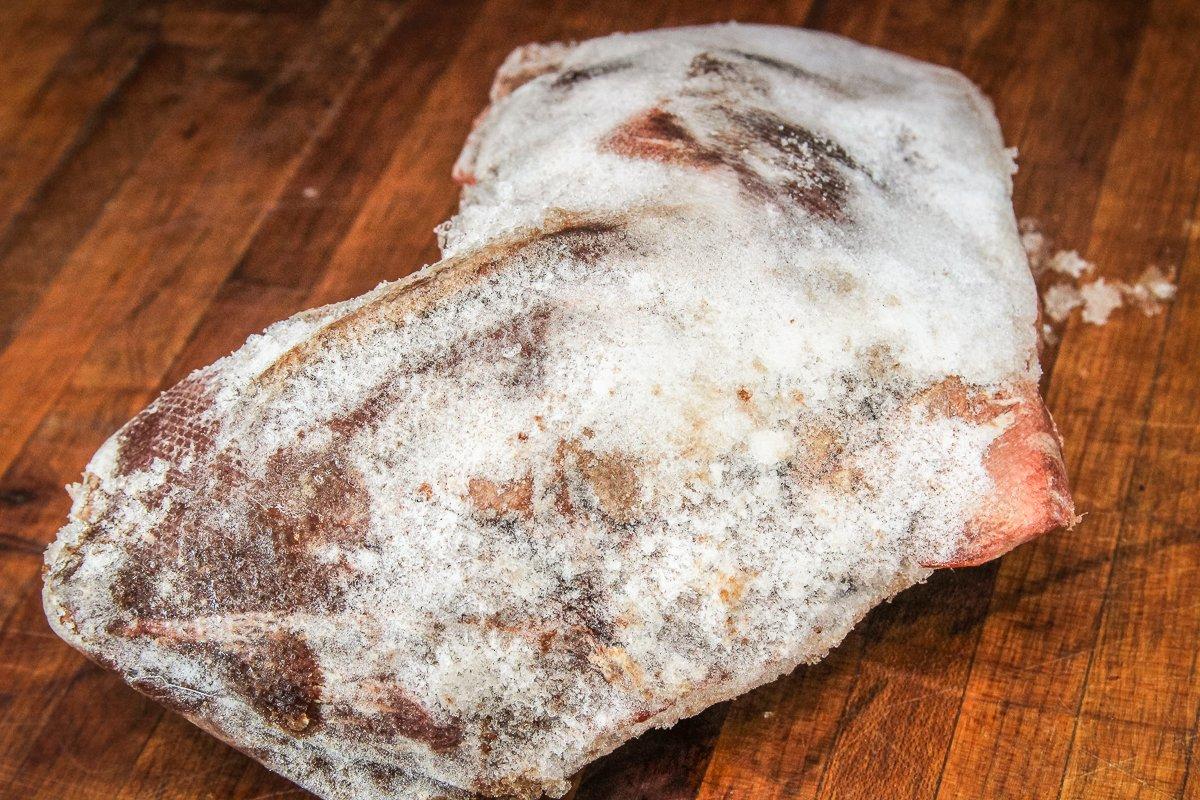
What is that gray chunk at the bottom of your freezer? And the bigger question, is it safe to eat it? Here's what hunters should know about long-term storage of their game meat.
It's summertime. For us hunters, that means a few things. It's time to check gear, hang a few game cameras, put in some range time with your bow or gun, and finish off last season's wild game to make room for the upcoming bounty of fresh meat that the fall seasons hopefully will bring.
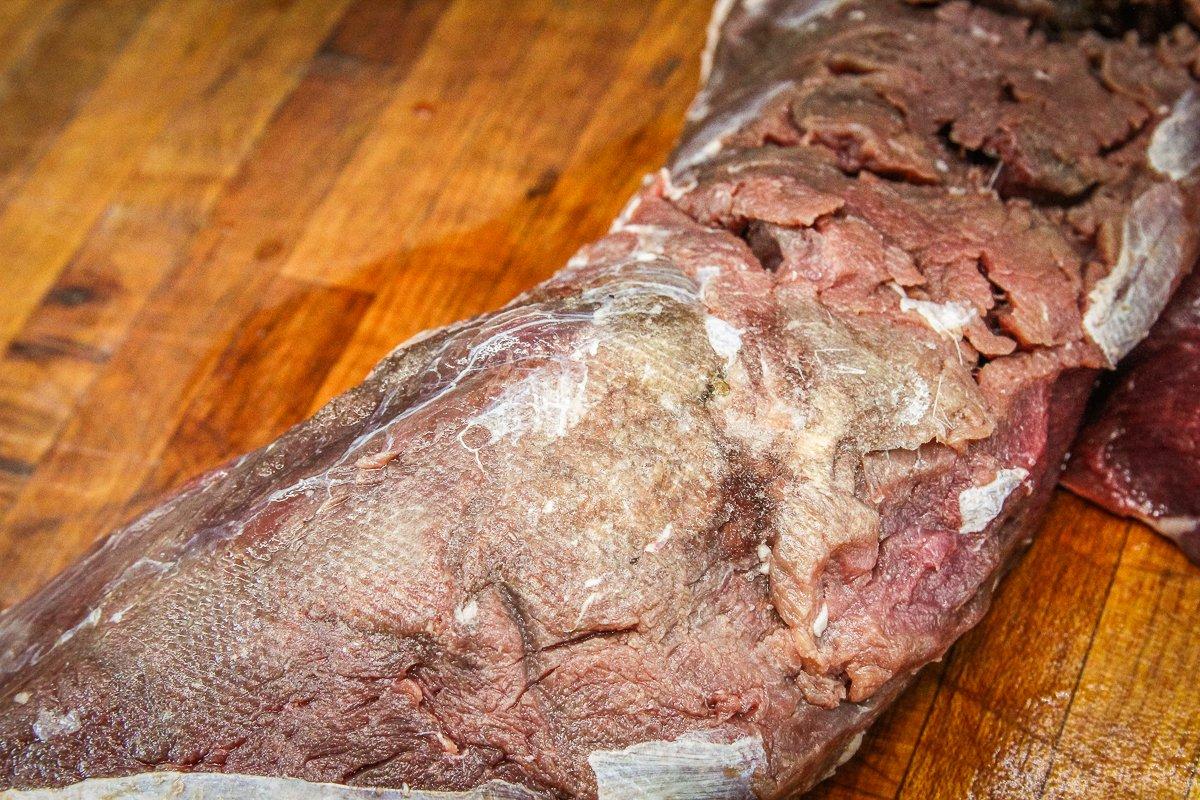
By this time of the year, most (all?) of the choice cuts like backstraps, inside loins, and top rounds are long gone, memories of fantastic meals gone by. What's left in the bottom are gray, frosty chunks of meat that have been exposed to the ravages of freezer air. They might be barely recognizable. Should you just throw them out, or is there a way to salvage them?
The Cause
Freezer burn occurs when the cold, dry air of the freezer contacts the surface of the meat. Think of it like a subzero dehydrator. Moisture from the meat gets sucked into the freezer's dry air, leaving the outside of it gray and parched like jerky.
Besides the surface desiccation, meat that gets exposed to freezer air also loses moisture as the internal liquid, a mixture of water and a protein called myoglobin, freezes into jagged ice crystals that slice and burst the cell walls holding it inside the meat. As the meat thaws, the myoglobin leaks out from the fractured cells, leaving that roast, steak or ground meat much less juicy than when fresh.
Is Freezer Burned Meat Safe to Eat?
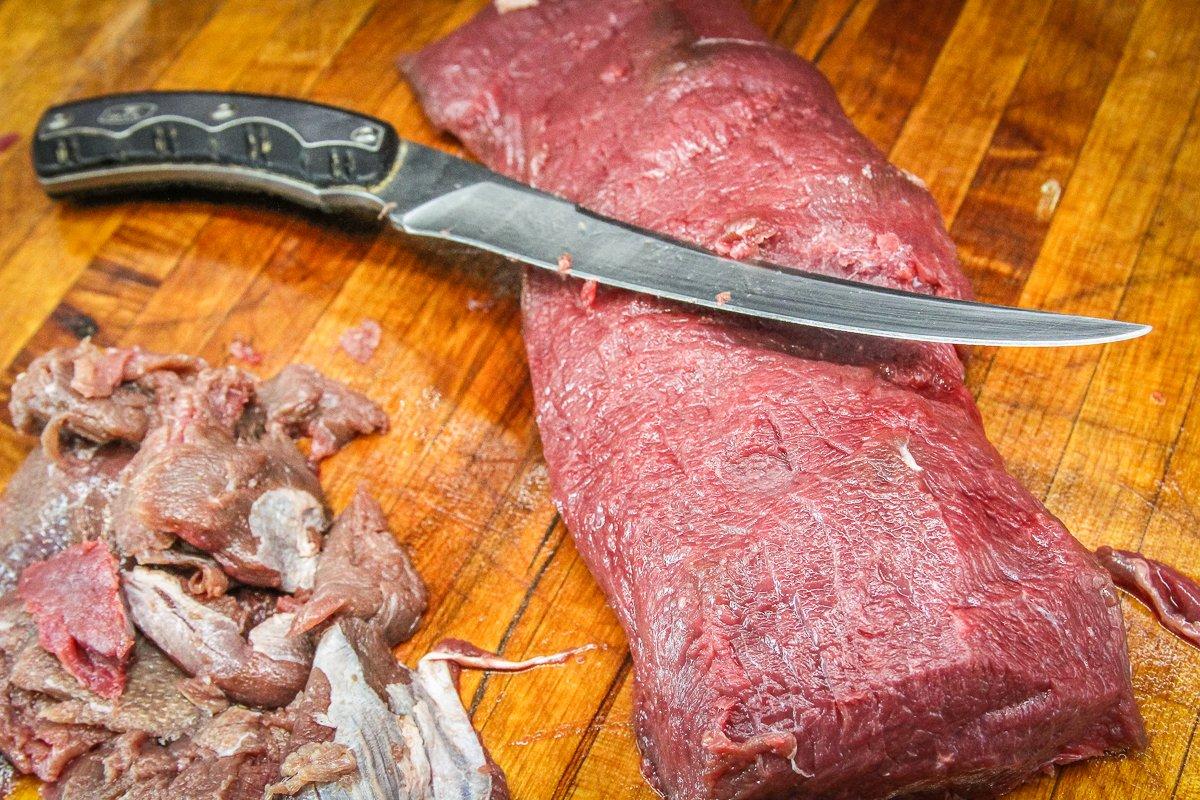
Luckily, freezer burn isn't dangerous. It just lowers the quality and flavor of the meat. For mild cases, simply trim away the off-colored portion from the exterior of the cut, then cook as normal. The longer a piece of meat stays exposed to freezer air, the deeper the damage goes. After several months, the damage can reach so deep that there isn't enough usable meat remaining to be salvaged.
How to Prevent Freezer Burn
You can't. Over time, all frozen meat will eventually show signs of freezer burn. What we can do is slow the process down by limiting the amount of air that contacts the meat. The better the barrier, the longer the meat will remain in top condition.
The old standby of double-wrapping with freezer paper will get you two to four months. Since the paper doesn't conform to the shape of the meat's surface, small pockets of air exist inside the packaging and will pull moisture from the meat.
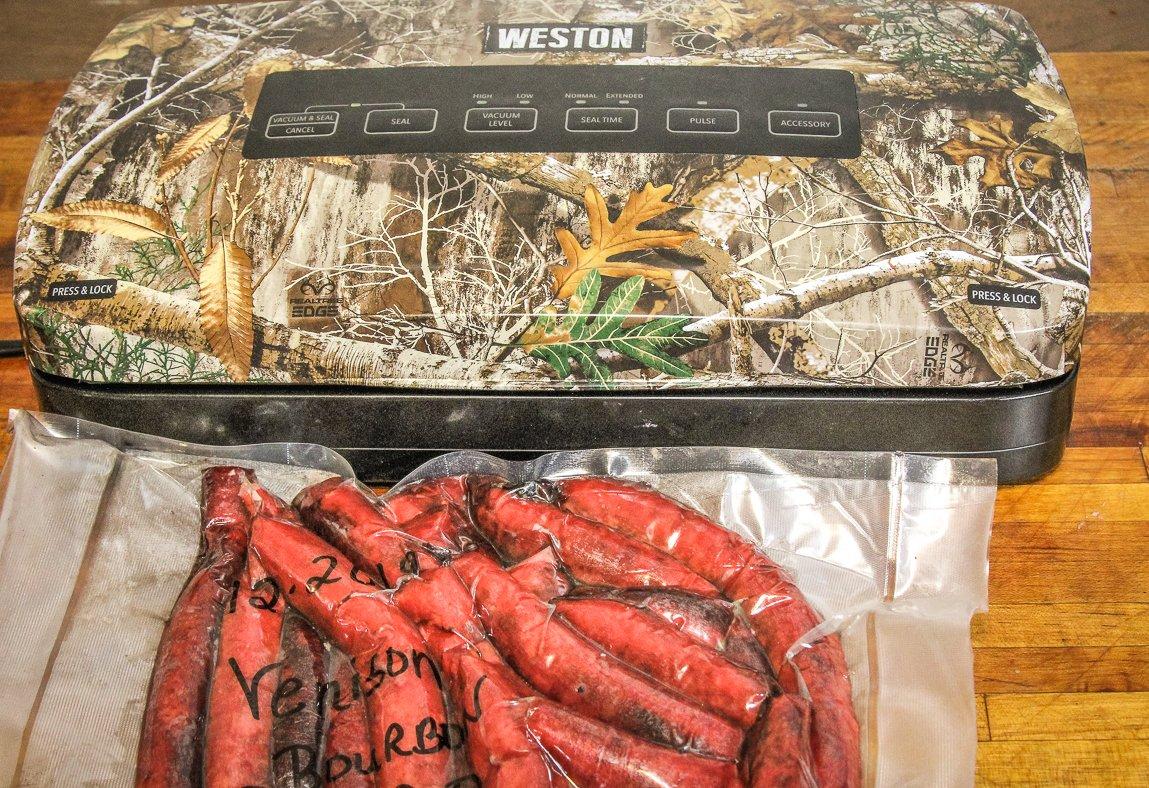
A step up from paper is a suction-style vacuum sealer. This type of sealer uses a pump to suck the air from around the meat, then seals the package with a heat strip. The system works well, leaving very few air pockets inside the sealed package.
But vacuum bags degrade slightly over time. And the constant shuffling of packages — as you search for that pack of mallard breasts you are certain should be somewhere near the bottom of the freezer — can tear the bags or break open the seals, exposing the meat.
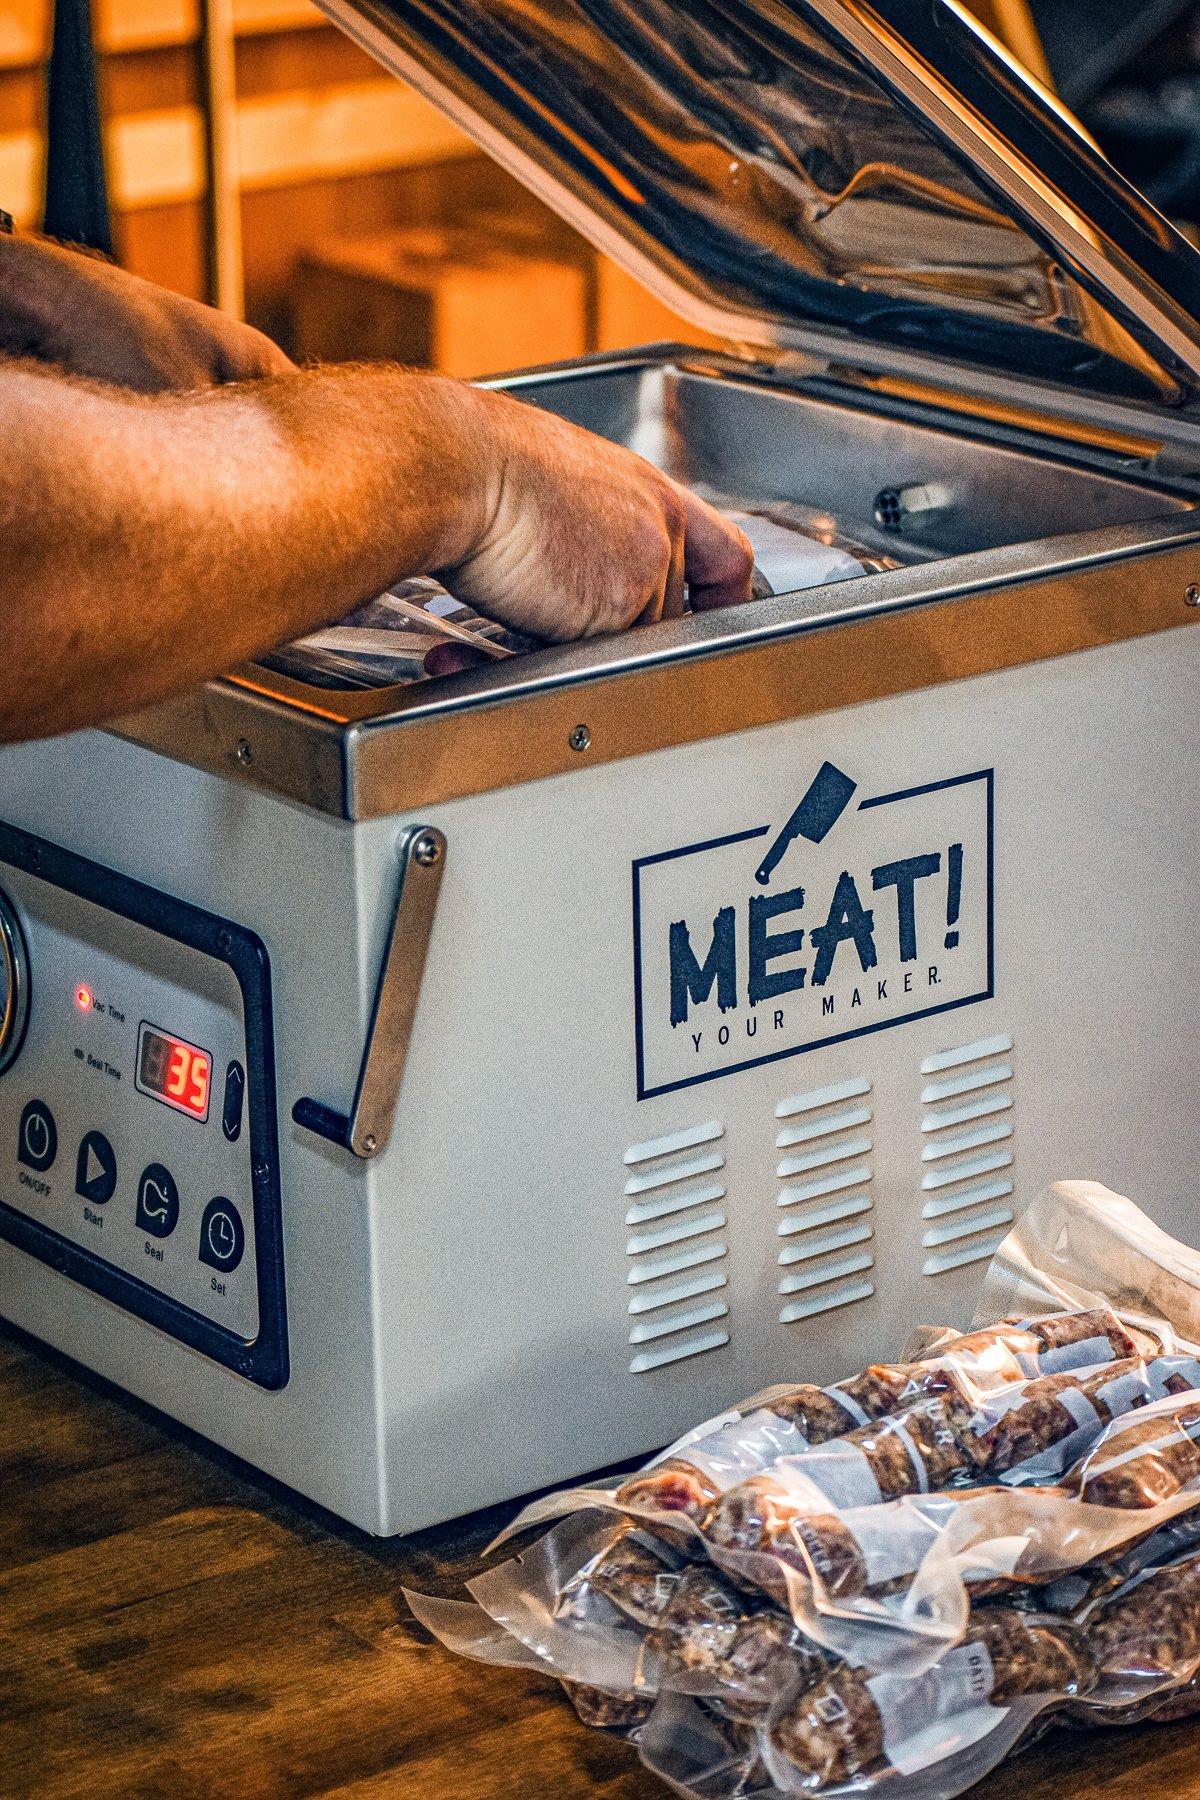
The best way to package your valuable game meat is to use a chamber-style vacuum sealer. Unlike the suction style, chamber sealers produce a nearly complete vacuum inside the machine, removing all of the air from both inside and around the package. Matt Kinamore, director of brand management and marketing for American Outdoor Brands, the parent company of MEAT, explains it this way: Unlike a regular vacuum sealer, a chamber vacuum sealer pumps all of the air — including air inside the bag — out of the chamber at once, giving your item a truly airtight seal. The sealing process ends with the machine heating the edges to fuse the bag and prevent air from coming inside.
While chamber-style sealers are the best for long-term storage, there are some downsides. One, they're big. You aren't going to stick one in an empty cabinet or drawer when you're not using it. Next is the cost. You can get a high-quality suction-style sealer for less than $150, but many chamber styles run $1,000 or more. They're also slower. For most, the full cycle (from pumping out the air to sealing to releasing the vacuum) takes a minute or two. I can finish two or three packages with my suction-style sealers in the time it takes to run one full cycle of the chamber style. Still, the chamber sealer does have the ability to seal multiple packages at once, which can help balance out the extended processing time. You'll save some money on bags, as well. Chamber-style bags often go for less than half the cost of comparably sized suction bags. If you regularly process your wild game with the same group of family or friends, chipping in on one together is worth considering.
Besides packaging, there are a few other things you can do to cut down on freezer burn. Start with organizing your freezer. Every time you shuffle through it, you risk tearing up a package or busting the seal on your vacuum packaging. Stack your meat by cut or by species in plastic tubs or milk crates so that you can move them around in bulk and go directly to what you want to cook for dinner.
The faster the meat freezes, the smaller the ice crystals, and the less damage done to the internal cells, which means a juicier finished product. Commercial producers use blast chilling to freeze meat in minutes, cutting down on the size of the crystals that form. Since most of us don't have a blast chiller in the basement, try these tips to get your meat frozen in a hurry:
Break down cuts you expect to keep the longest into meal-sized portions. Thoroughly chill the meat in the refrigerator or a walk-in cooler before freezing to cut down on the time it takes to freeze all the way through. If possible, add a few pieces of meat to the freezer at a time. Overloading the space raises the temperature and insulates the meat at the center of the pile, extending freeze time.
Then there is the freezer itself. Deep freeze units, chest freezers in particular, can maintain a much colder temperature than the standard freezer on your kitchen refrigerator. Keep yours set at the lowest temperature possible when adding unfrozen meat.
When it comes to freezer paper, wrap the meat in plastic wrap before wrapping in paper for longer storage times. With a suction-style vacuum sealer, double seal both ends of the bag for an added barrier against premature opening. For bone-in cuts like shanks, wrap the bone ends with an extra layer of freezer bag or clean plastic before sealing to prevent sharp bone edges from poking through.
If you're like us, you have more than one freezer going. Hang a dry-erase board on the outside of each to track what the contents are and what date they were placed there. Knowing that the venison top round you need for your Timber2Table recipe is in Freezer A cuts down on the rummaging that can ding your packages. Simply adjust the content and cut numbers whenever you add or remove something. Noting the packaging dates lets you always use the oldest package first.
Nothing will make your game meat last forever, but following these tips will maintain it in top shape for several months and even up to a year, plenty long enough to turn it all into tasty wild game recipes — and just in time to start filling those freezers back up for the next season.

