Easy Canned Venison
Easy Canned Venison
90 Min
Cook Time
1-20
Servings
Medium
Difficulty
There are several good reasons to can venison. Canned venison is shelf stable for up to two years and doesn't require refrigeration for long term storage. Keeping jars in the pantry frees up space in the freezer. Canning tenderizes tough cuts, making it a great way to use up shoulder, shank and neck meat. Jars of fully cooked venison come in handy for quick meals when time is at a premium. But mainly, canned venison just flat out tastes good.
To can your own venison, you will need a pressure cooker. Don't sweat the initial investment; you will be amazed at what all they can do and wonder how you ever got along without one. About the only other tools required are some canning jars, complete with lids and screw on rings. The jars and rings are reusable, but it is important to use new lids each time you can to ensure a tight seal.
What can you do with canned venison? Just about everything. Serve it over mashed potatoes or egg noodles for a quick, hearty meal. Pile it up on a hoagie bun and top with cheese and peppers for a fantastic sub sandwich. Make soup or stroganoff in minutes since the meat is already cooked tender. Truth be told, one of my favorites is to grab a fork and eat it straight out of the jar. Keep an eye out for additional recipes featuring canned venison on future Timber2Table posts.
Ingredients
Pressure cooker
Clean canning jars, I prefer wide mouth pint jars for canned venison.
Rings and new lids
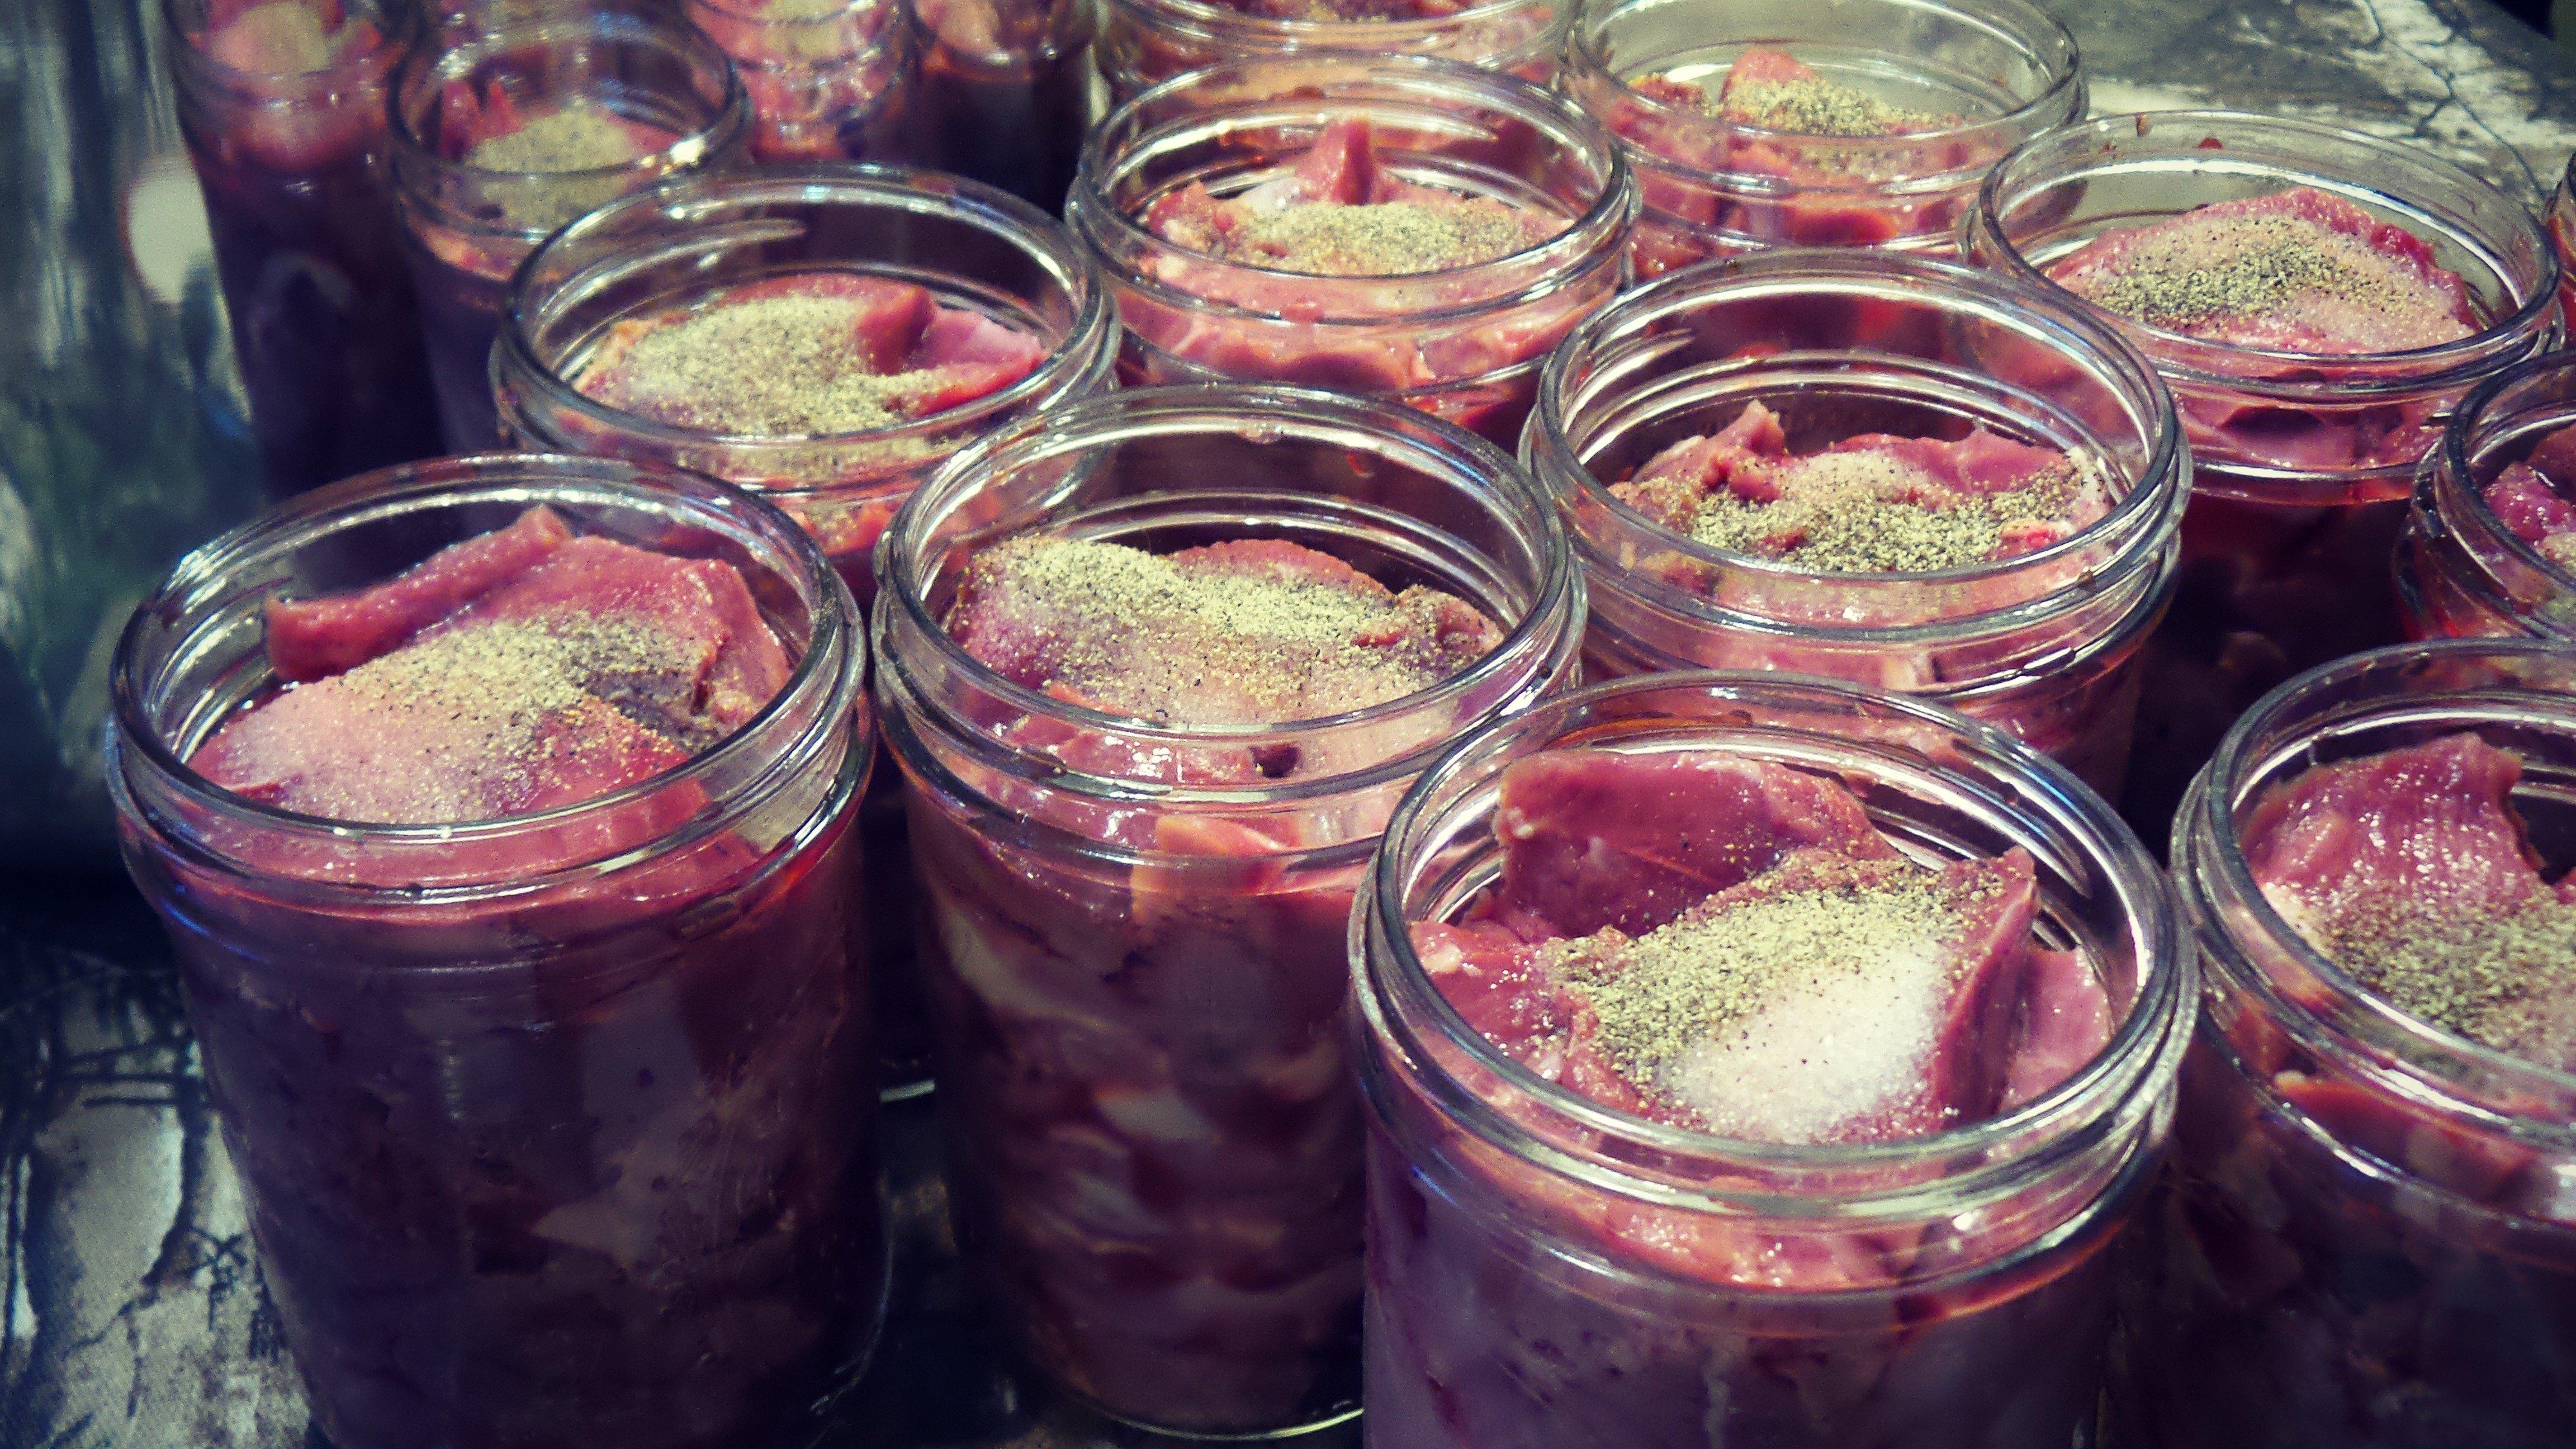
½ teaspoon of non-iodized salt per pint jar
Black pepper
Cooking Instructions
The most important step in canning anything is to get to know your particular canner. I use a 22 quart Mirro brand pressure cooker, and have based these instructions on that model. Read the instruction booklet for your canner and tailor the amount of water and weight placement to it.
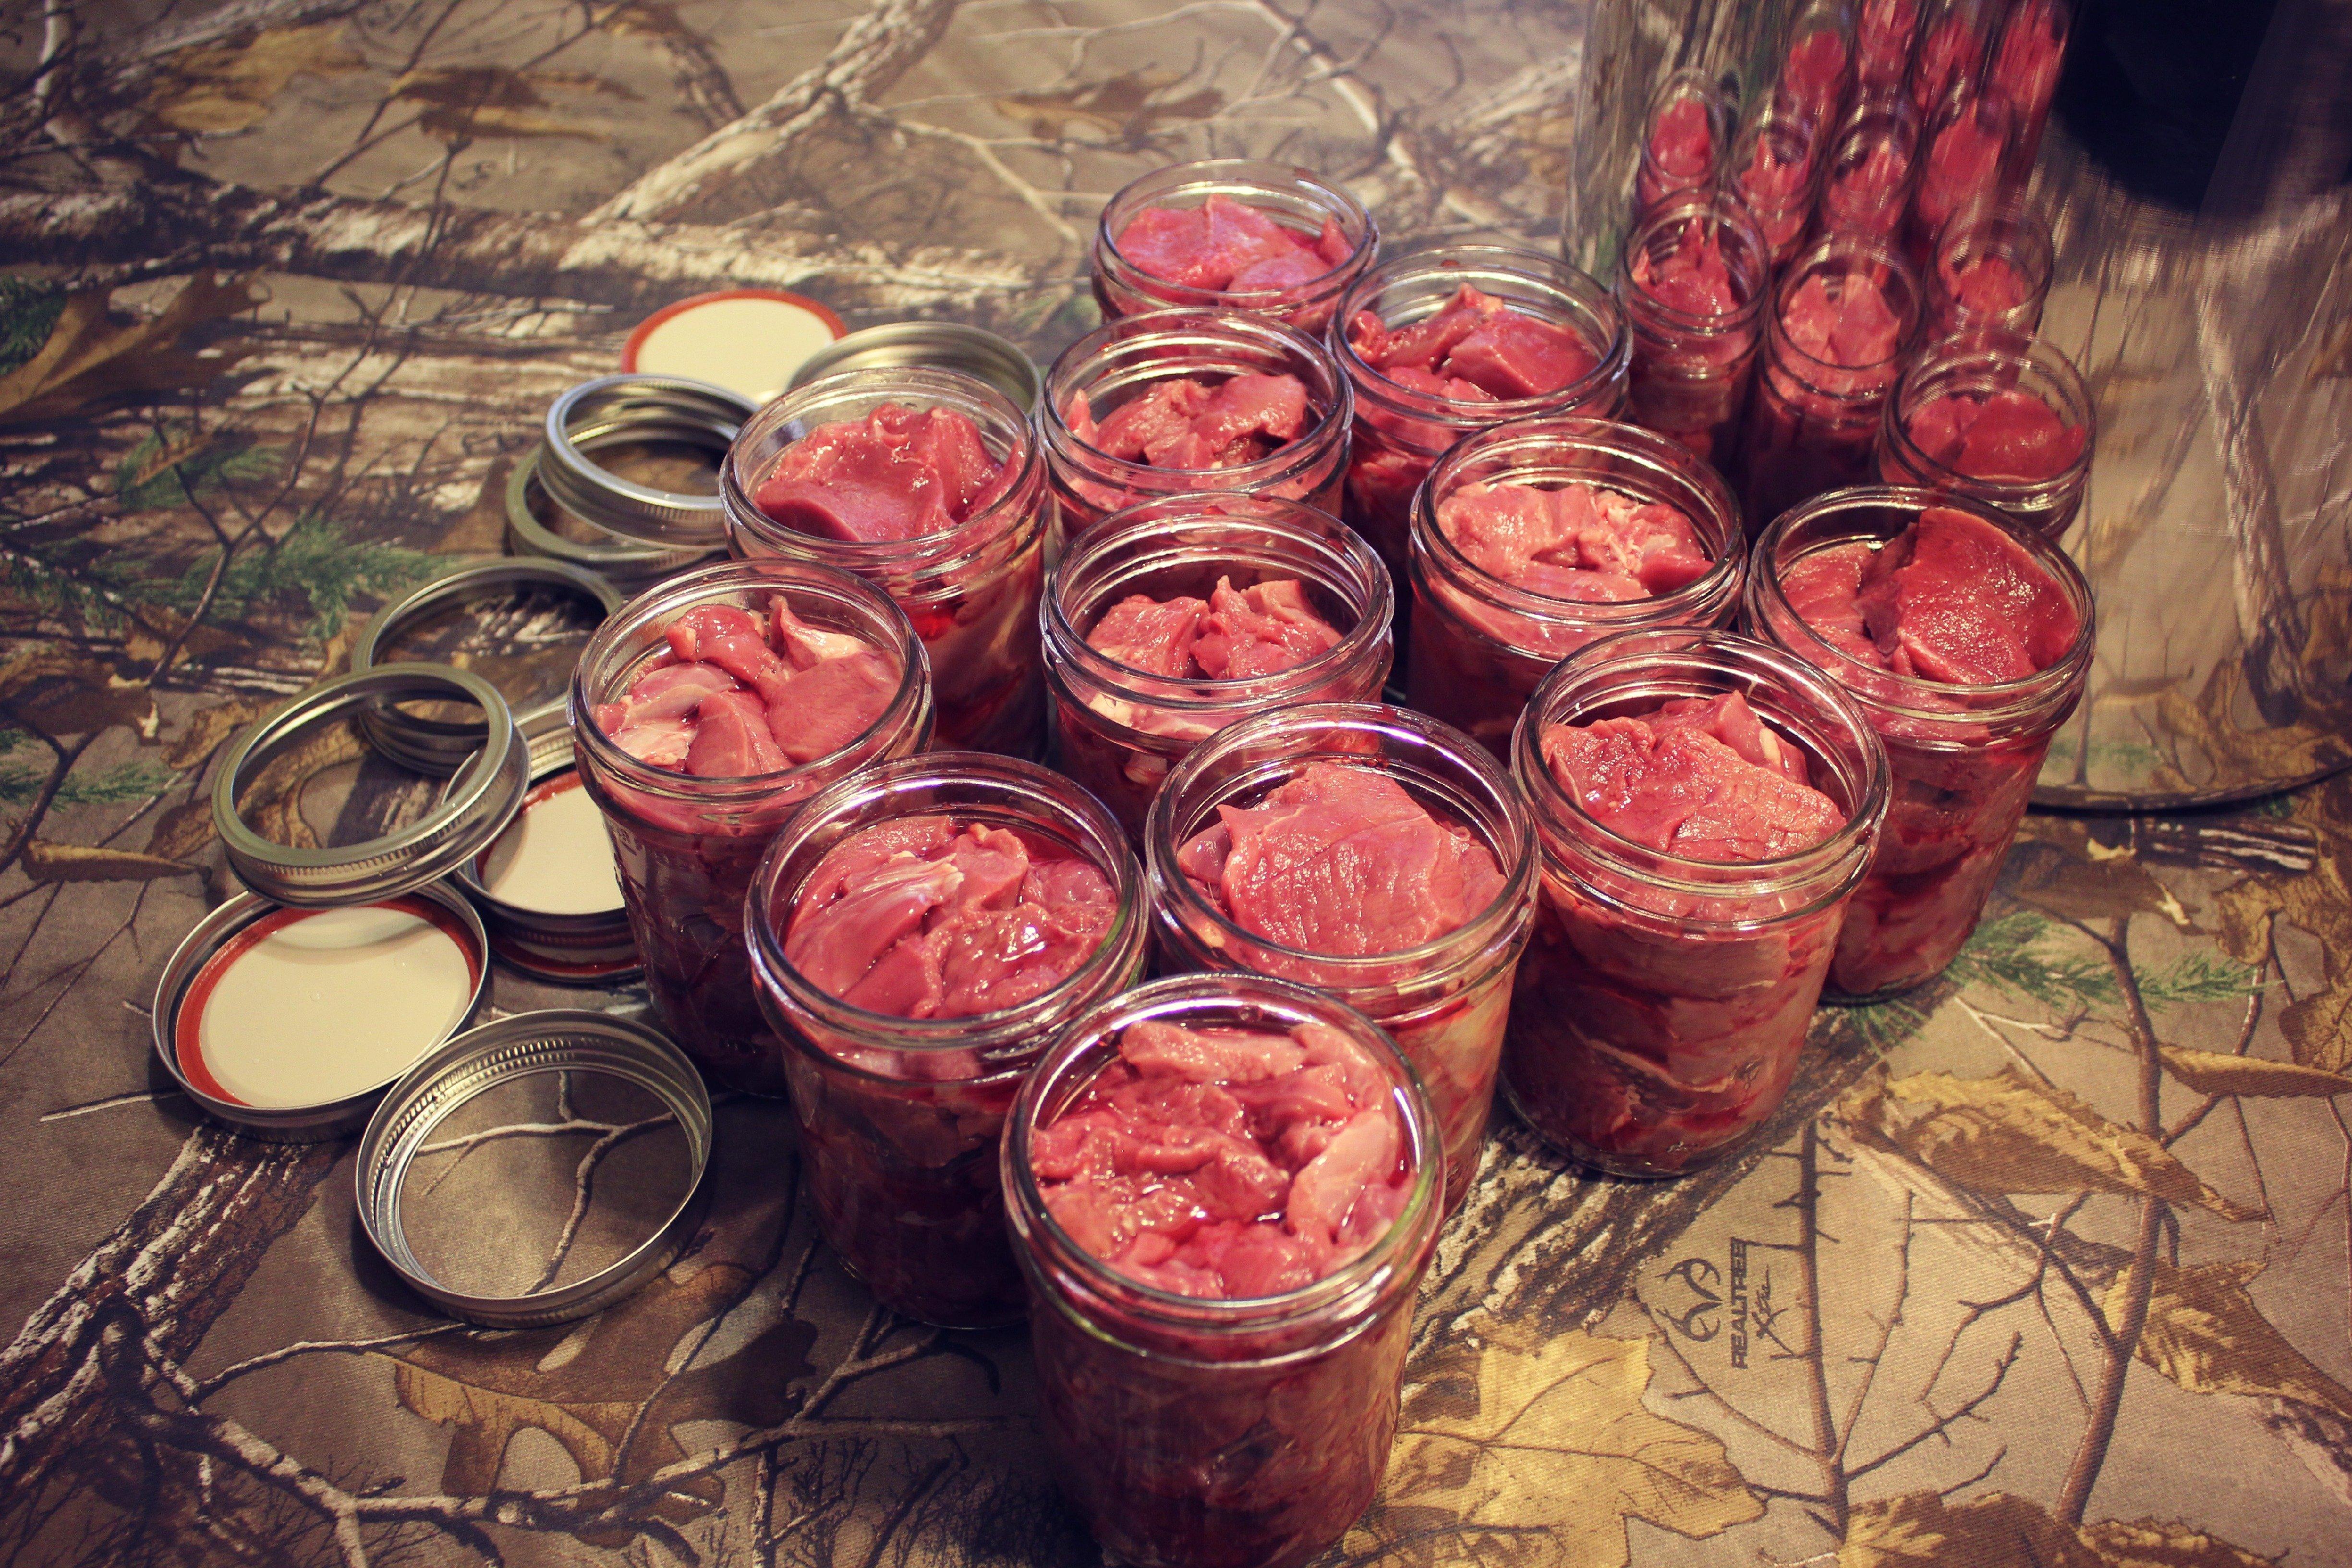
Begin by washing your jars, rings and lids in hot soapy water, then rinse well to make sure all soap residue is removed.
Trim your venison into approximately one inch square chunks. Try to get as much fat and fascia (silverskin) off of the meat as possible.
Pack the jars tightly with meat, leaving ½ to 1 inch of headspace above the meat. If you notice any large air pockets along the side of a jar, work a butter knife down the pocket to release the trapped air and then push the meat down to fill the space.
. Add a shake of black pepper and that's it. Done. Finished. Nothing else is necessary for basic canned venison; the meat will make its own juice as it cooks.
Start with your burner on high until you see steam escaping from the lid vent of your pressure cooker. Once the steam starts, wait ten minutes in order for all of the air inside the cooker to reach an equal temperature. Venison cans at ten pounds of pressure close to sea level, fifteen pounds for high altitudes. For my canner, that means I place a ten pound weight over the vent. Follow the instructions for your canner, as methods may vary from brand to brand.
Once your weight starts to jiggle and release a little steam, reduce the heat to between low and medium. You want just enough heat to maintain a boil inside the cooker. When you are at the correct temperature, you should see a bit of steam or a wiggle from your weight every ten to fifteen seconds.
If using pint jars, set a timer for 1 hour and 15 minutes. For quarts, go 1 hour and 30 minutes. Once time is up, turn off the heat and walk away. Let the temperature inside the canner slowly reduce until steam no longer escapes from the vent and the lid of the canner is loose enough to remove.
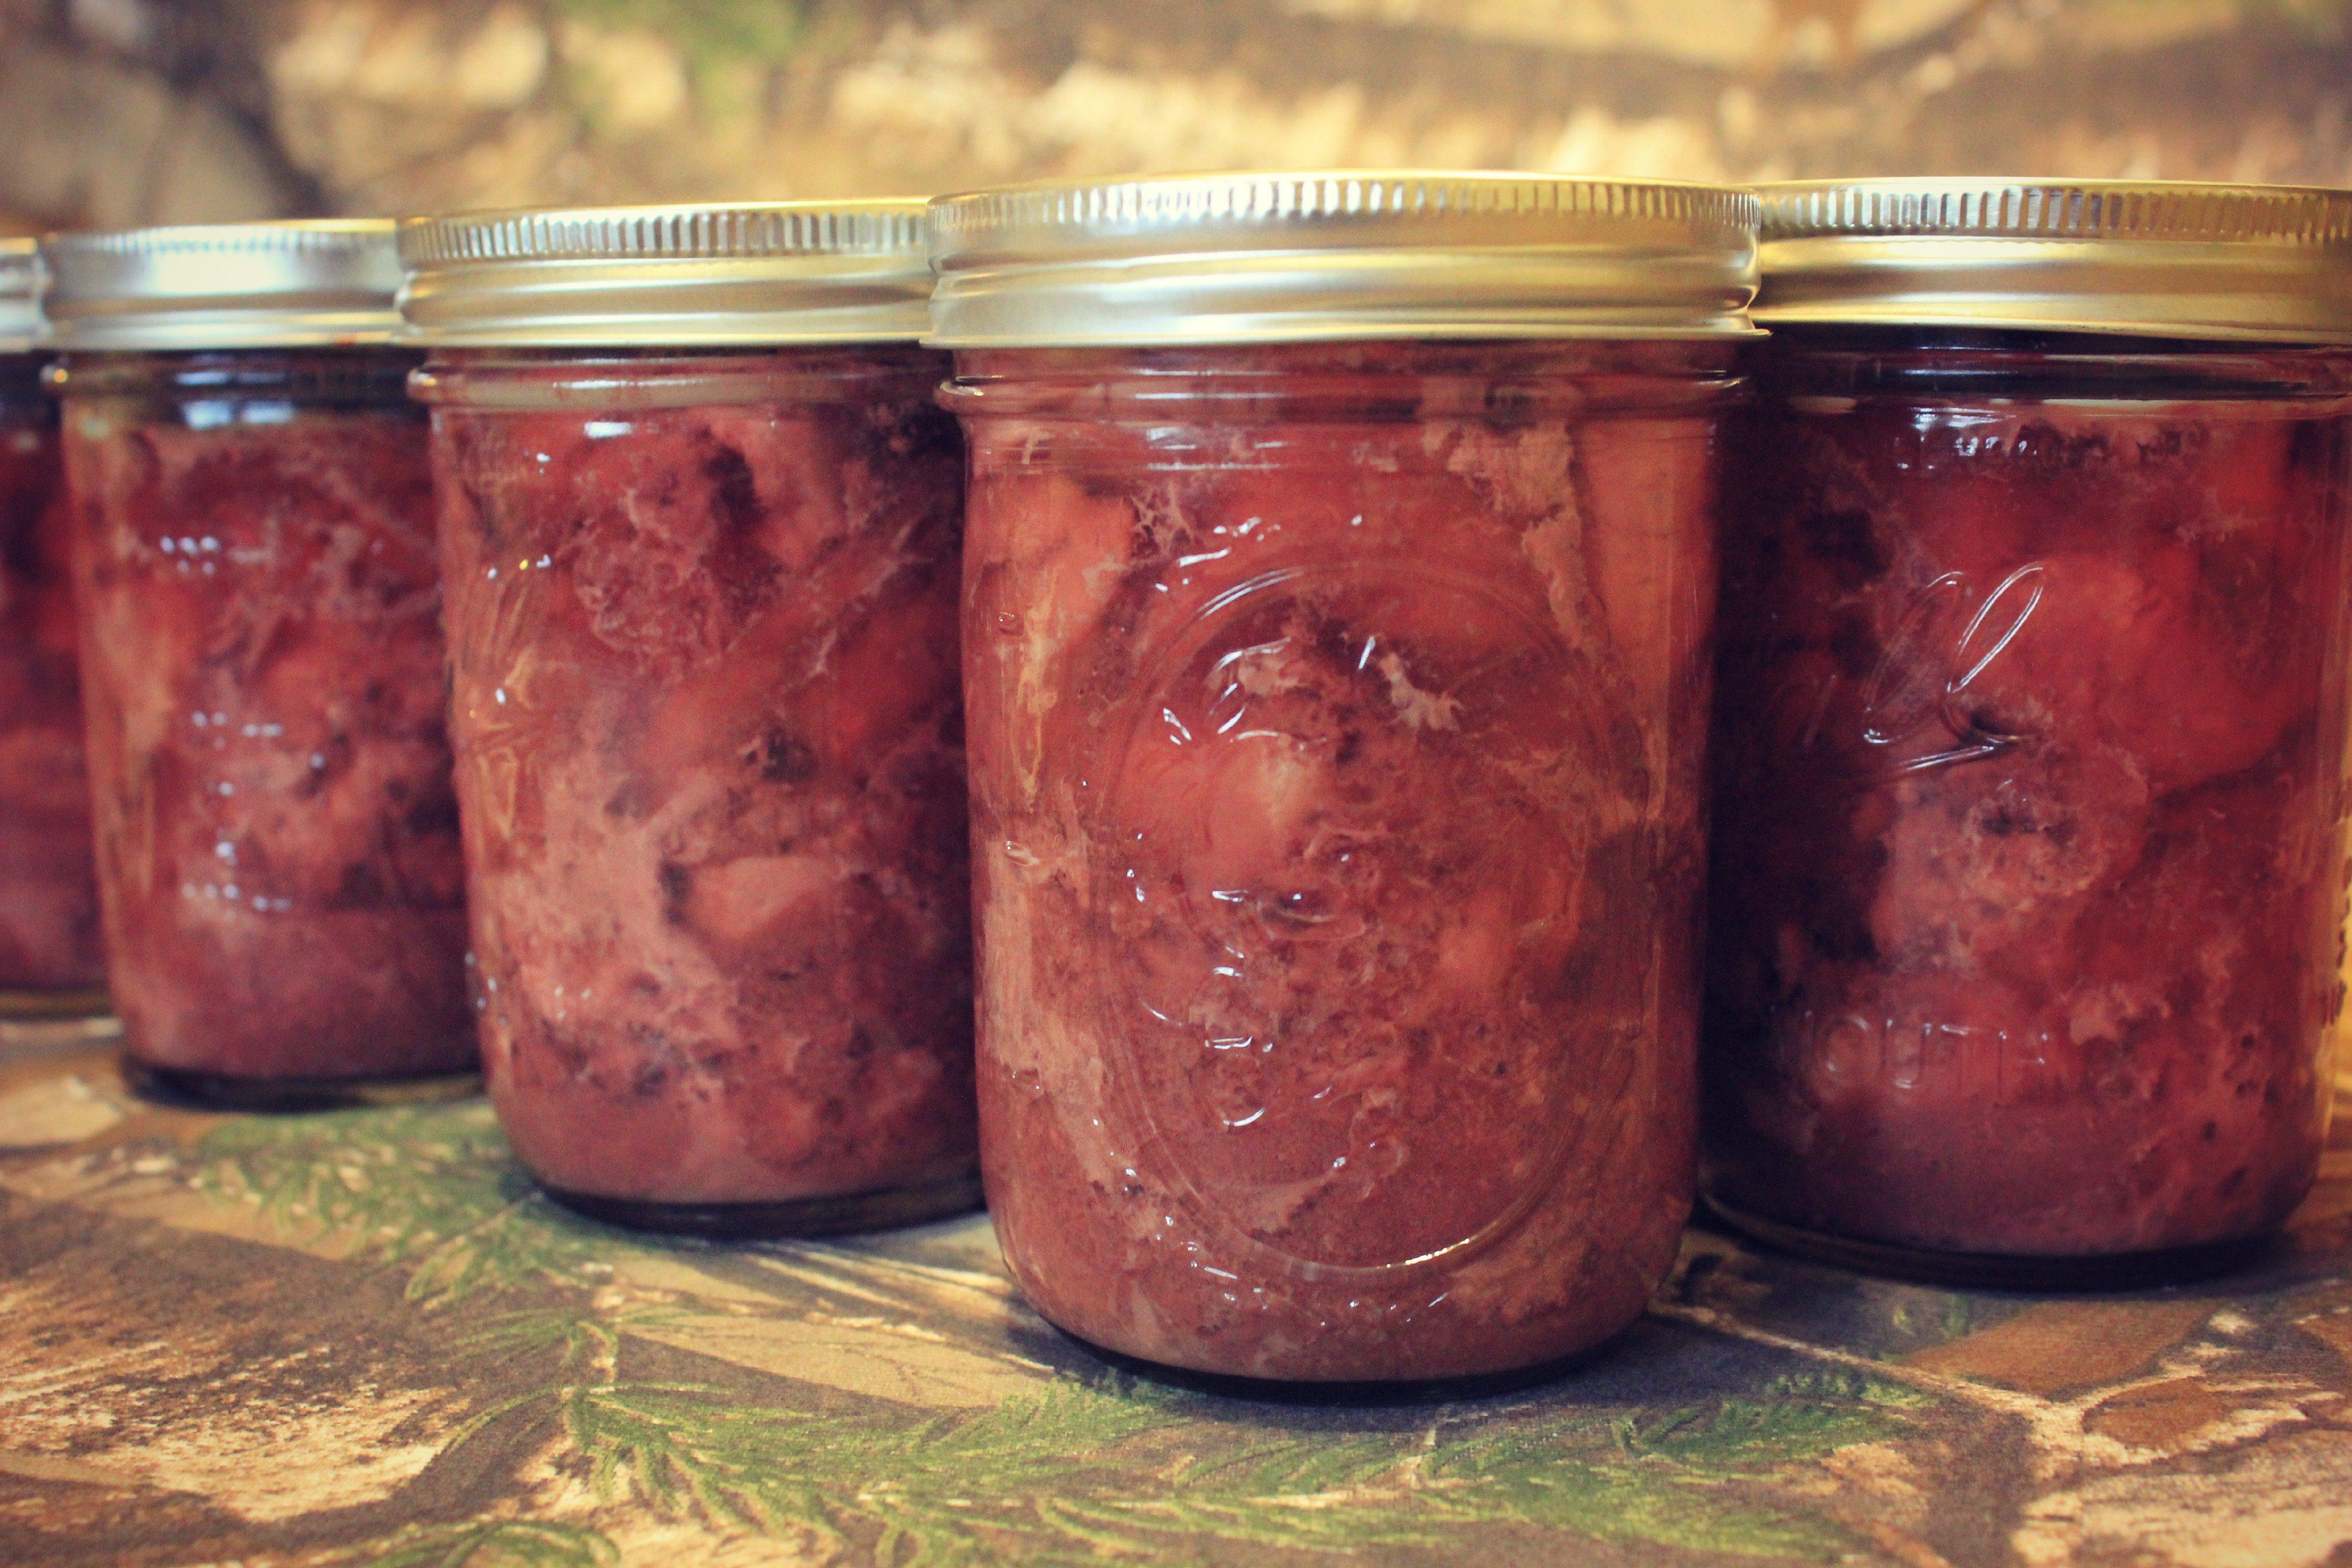
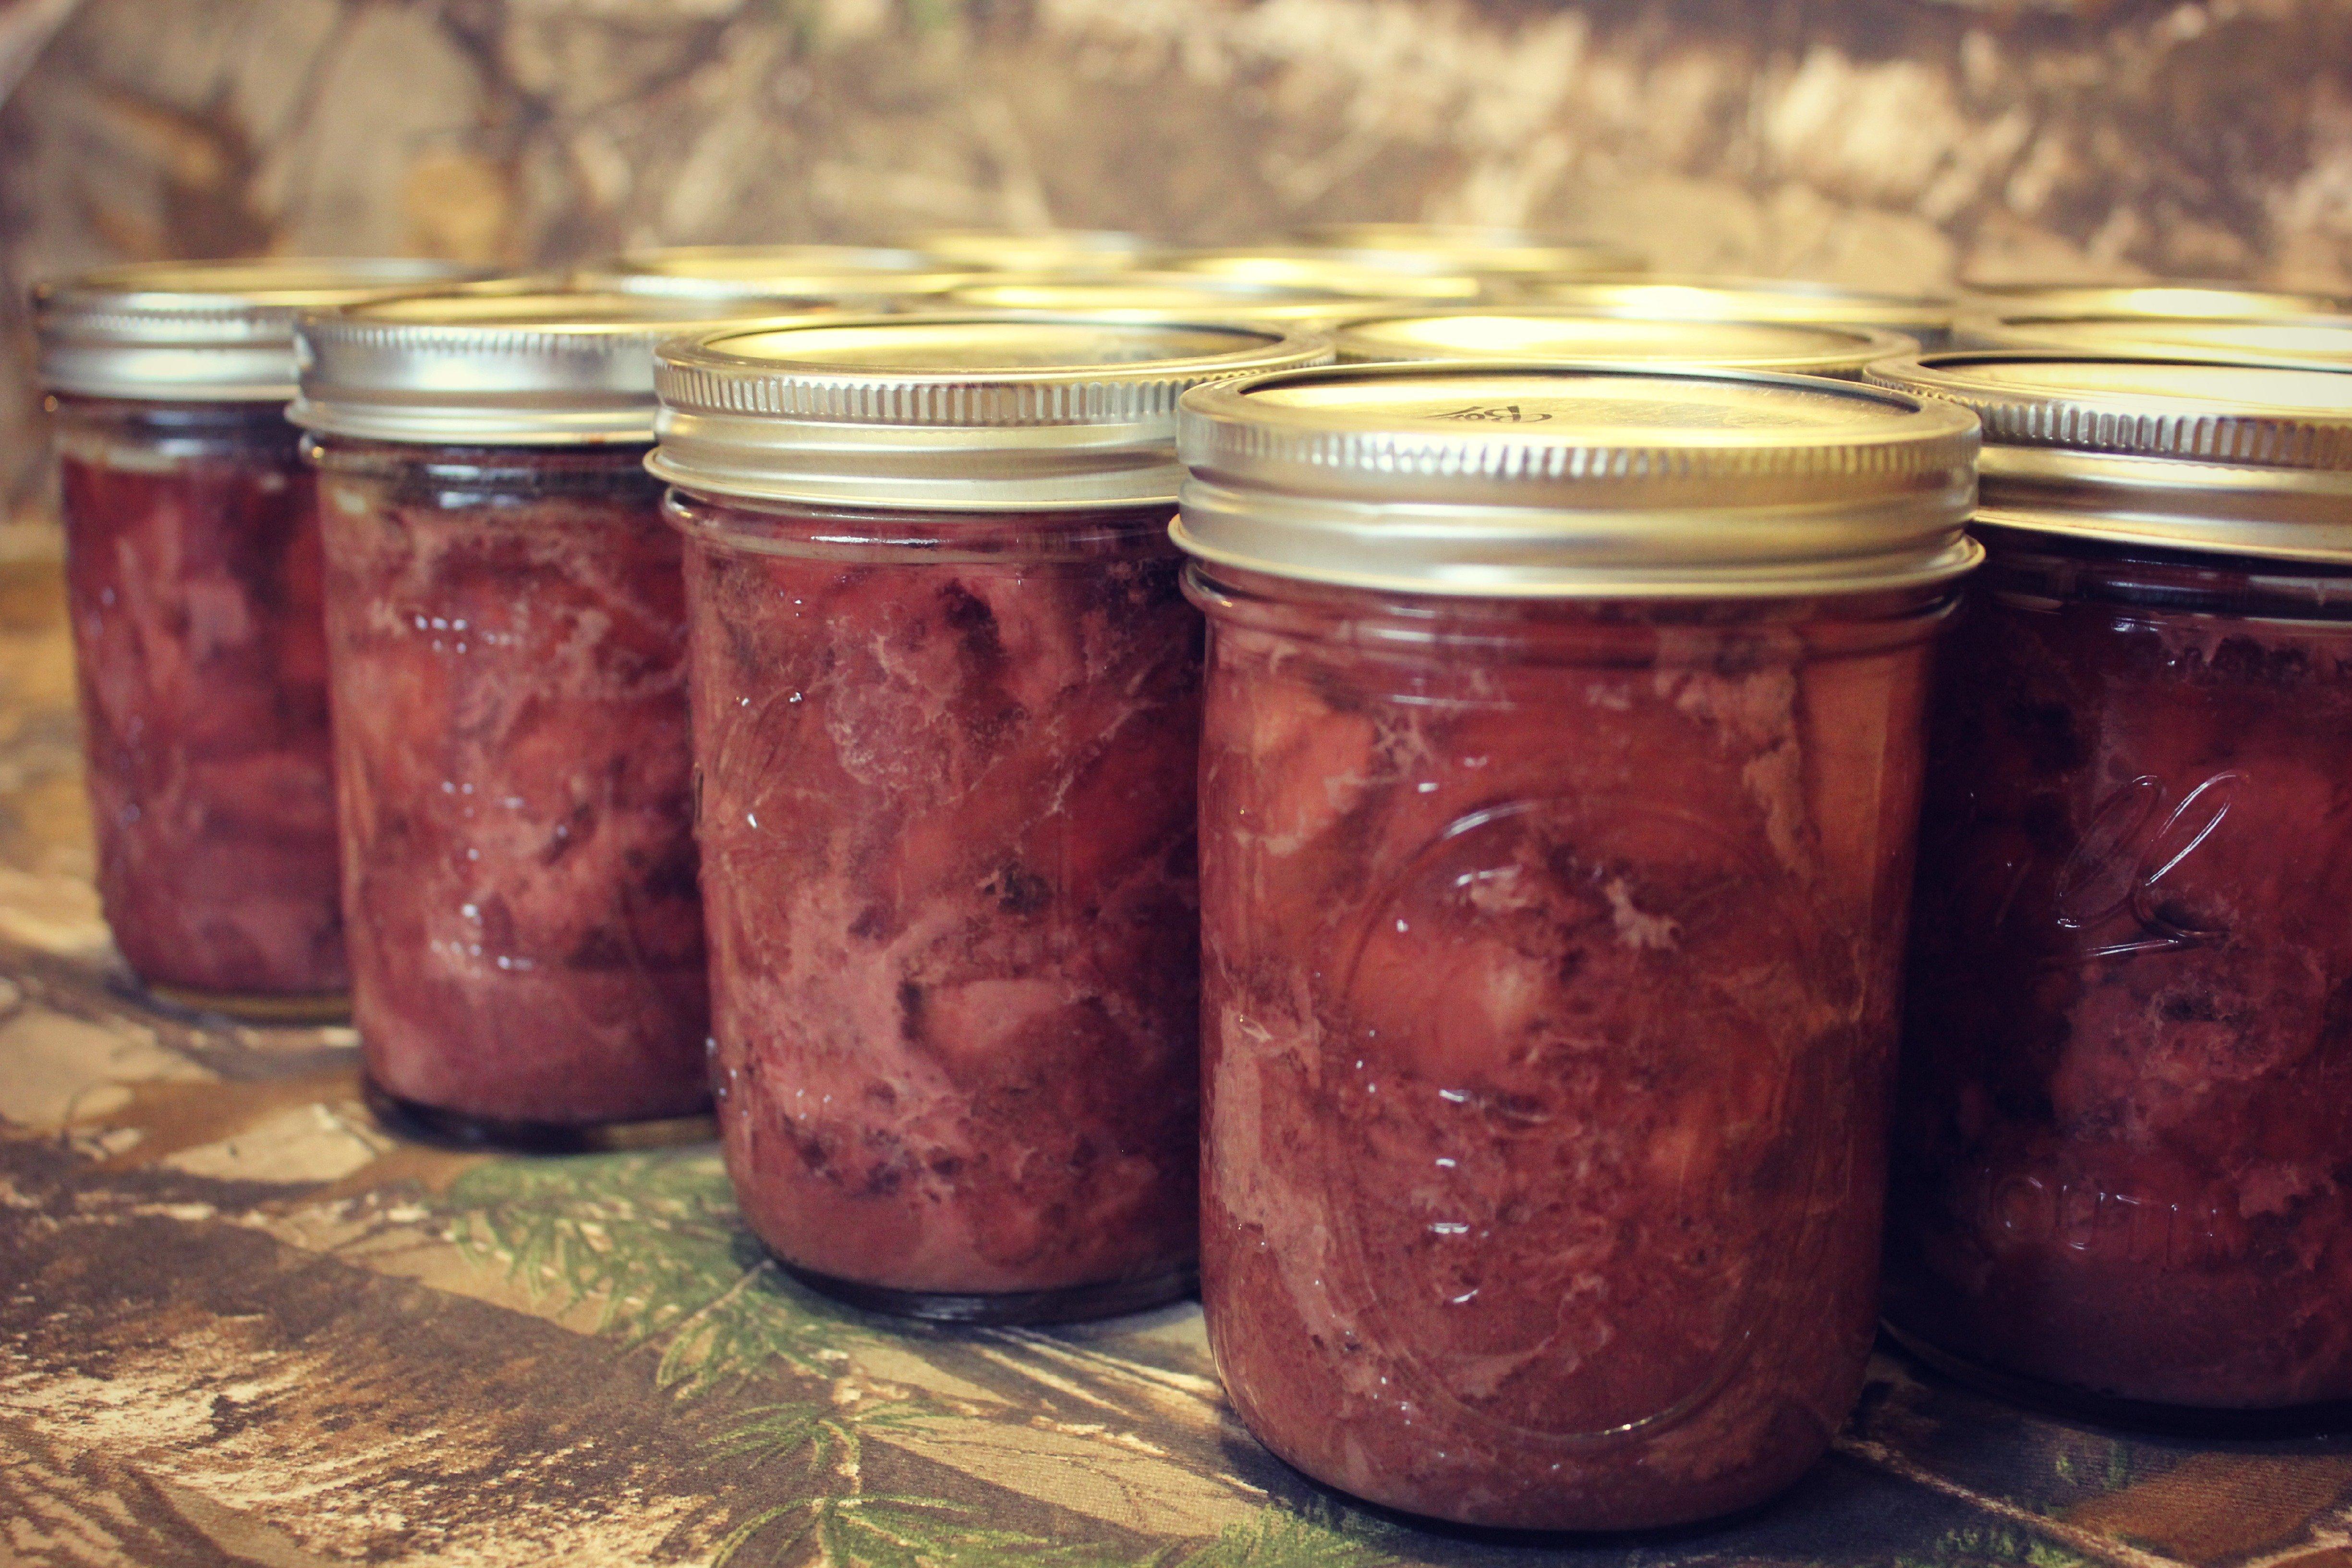
Using a jar lifter, carefully move the jars from the canner to a folded towel on the countertop. Continue to let the jars cool for several hours to overnight. As they cool, the lids will sound off with a pop as they seal themselves to the jar. Once the jars have cooled, you can test the seal by pushing down on the center of the lid. If the lid sinks then springs back up, the jar did not seal. Simply place that jar into the fridge and eat it over the next few days. Sealed jars will have a concave appearance to the lid and will not move if you press gently on their lids. At this point, the ring is no longer necessary to hold the lid on. If you have a jar with a questionable seal, just remove the ring and see if the lid remains tightly sealed to the jar rim. If it does, then that jar good to go.
Store canned venison out of direct sunlight. A cabinet or pantry is perfect. Don't allow the contents to freeze, as the resulting expansion might break the jar. I like to mark the lids with the canning date in black permanent marker. Keep your jars rotated with the freshest ones at the back of the cabinet.


