Make Your Own Charcuterie: Venison Backstrap Bresaola
Posted 2024-03-27 by
Turn your venison backstrap into this classic Italian cured meat you can serve at a party or pack along on a hunt
As soon as the folks at Pro Smokers sent me the Reserve 50 Dry Ager, I knew right away that I would put it to work making my own charcuterie at home. The ability to precisely control both temperature and humidity levels make it the perfect home curing chamber.
Venison backstrap bresaola is the perfect entry into making your own charcuterie at home. Image by Michael Pendley
One of my favorite types of cured meats has always been bresaola. Originating from northern Italy, bresaola is traditionally made from the lean eye of round of beef. Venison backstrap is a perfect substitute and turns out a delicate, lightly fruity and floral cured meat. Thinly sliced, it’s at home on a charcuterie board or tucked in your turkey vest pocket for a late-morning snack.
While the complete process takes around 6-8 weeks, depending on the size of the meat, most of that is curing and drying. The actual hands-on time for the recipe is short, and the wait is well worth it. As with any cured and dried meat, take extreme care to keep everything that touches the meat clean and sanitary to prevent contamination. Use a curing chamber with easily controlled temperature and humidity levels for precise control. With any cured meat, there is a danger of bad bacteria invading, a possibly dangerous situation. Let your eyes and nose be your guide. If it looks or smells bad after curing and drying, don’t eat it.
Proudly serve up a charcuterie board with bresaola you made at home. Image by Michael Pendley
For the bresaola recipe, I turned to master charcuterie maker and good friend Steven Jagoda. He routinely turns out award-winning cured meats of all types and has always been my go-to source when I need advice or a recipe.
A good charcuterie maker has to be able to do a little math. Don’t get all excited—I was an English major who maintains to this day that math is the devil. Even I can handle this. You have to be able to weigh your starting meat, cure, and seasoning ingredients. A good digital scale is a must. The first thing to do with that scale once you remove it from the package is set it to grams. Trust me, metric is the way to go. Weights and percentages are just easier that way.
A good digital scale is mandatory equipment for making charcuterie. Image by Michael Pendley
Bresaola uses Instacure #1. It’s the same cure we use in jerky making. Also known as Prague Powder and pink curing salt, #1 is a blend of salt and sodium nitrite. You can find it at butcher shops and many larger sporting-goods stores or order it online. Part of the flavor of bresaola comes from ground juniper berries. You have probably seen them before while out in the woods. They are the pale blue berries on cedars and other evergreens. You can make your own with this method or find them in the spice section of larger grocery stores.
The method for making venison bresaola is pretty simple. Start by mixing the cure, salt, and seasonings together, rub it into the meat, then vacuum-seal and stash it in the refrigerator for 30 days to allow the meat to cure. After it has cured, give it a quick rinse with red wine to remove any remaining cure and to add flavor. Then case it in a beef bung, truss it well with butcher’s twine, and hang it in the curing chamber to dry until it loses 45% of its cured weight. That’s it. Once it has dried, peel away the beef bung, slice it thinly, and enjoy.
Jagoda’s recipe for basic bresaola goes as follows:
• Weight of meat, in grams
• 2.5% sea or kosher salt
• 0.25% Instacure #1
• 1% granulated garlic
• 0.5% ground black pepper
• 0.2% ground juniper berry
• 0.3% powdered sugar
• 1.8% red wine
You will also need butcher’s twine, beef bungs, which can be ordered online or found in larger butcher shops, and additional red wine for rinsing.
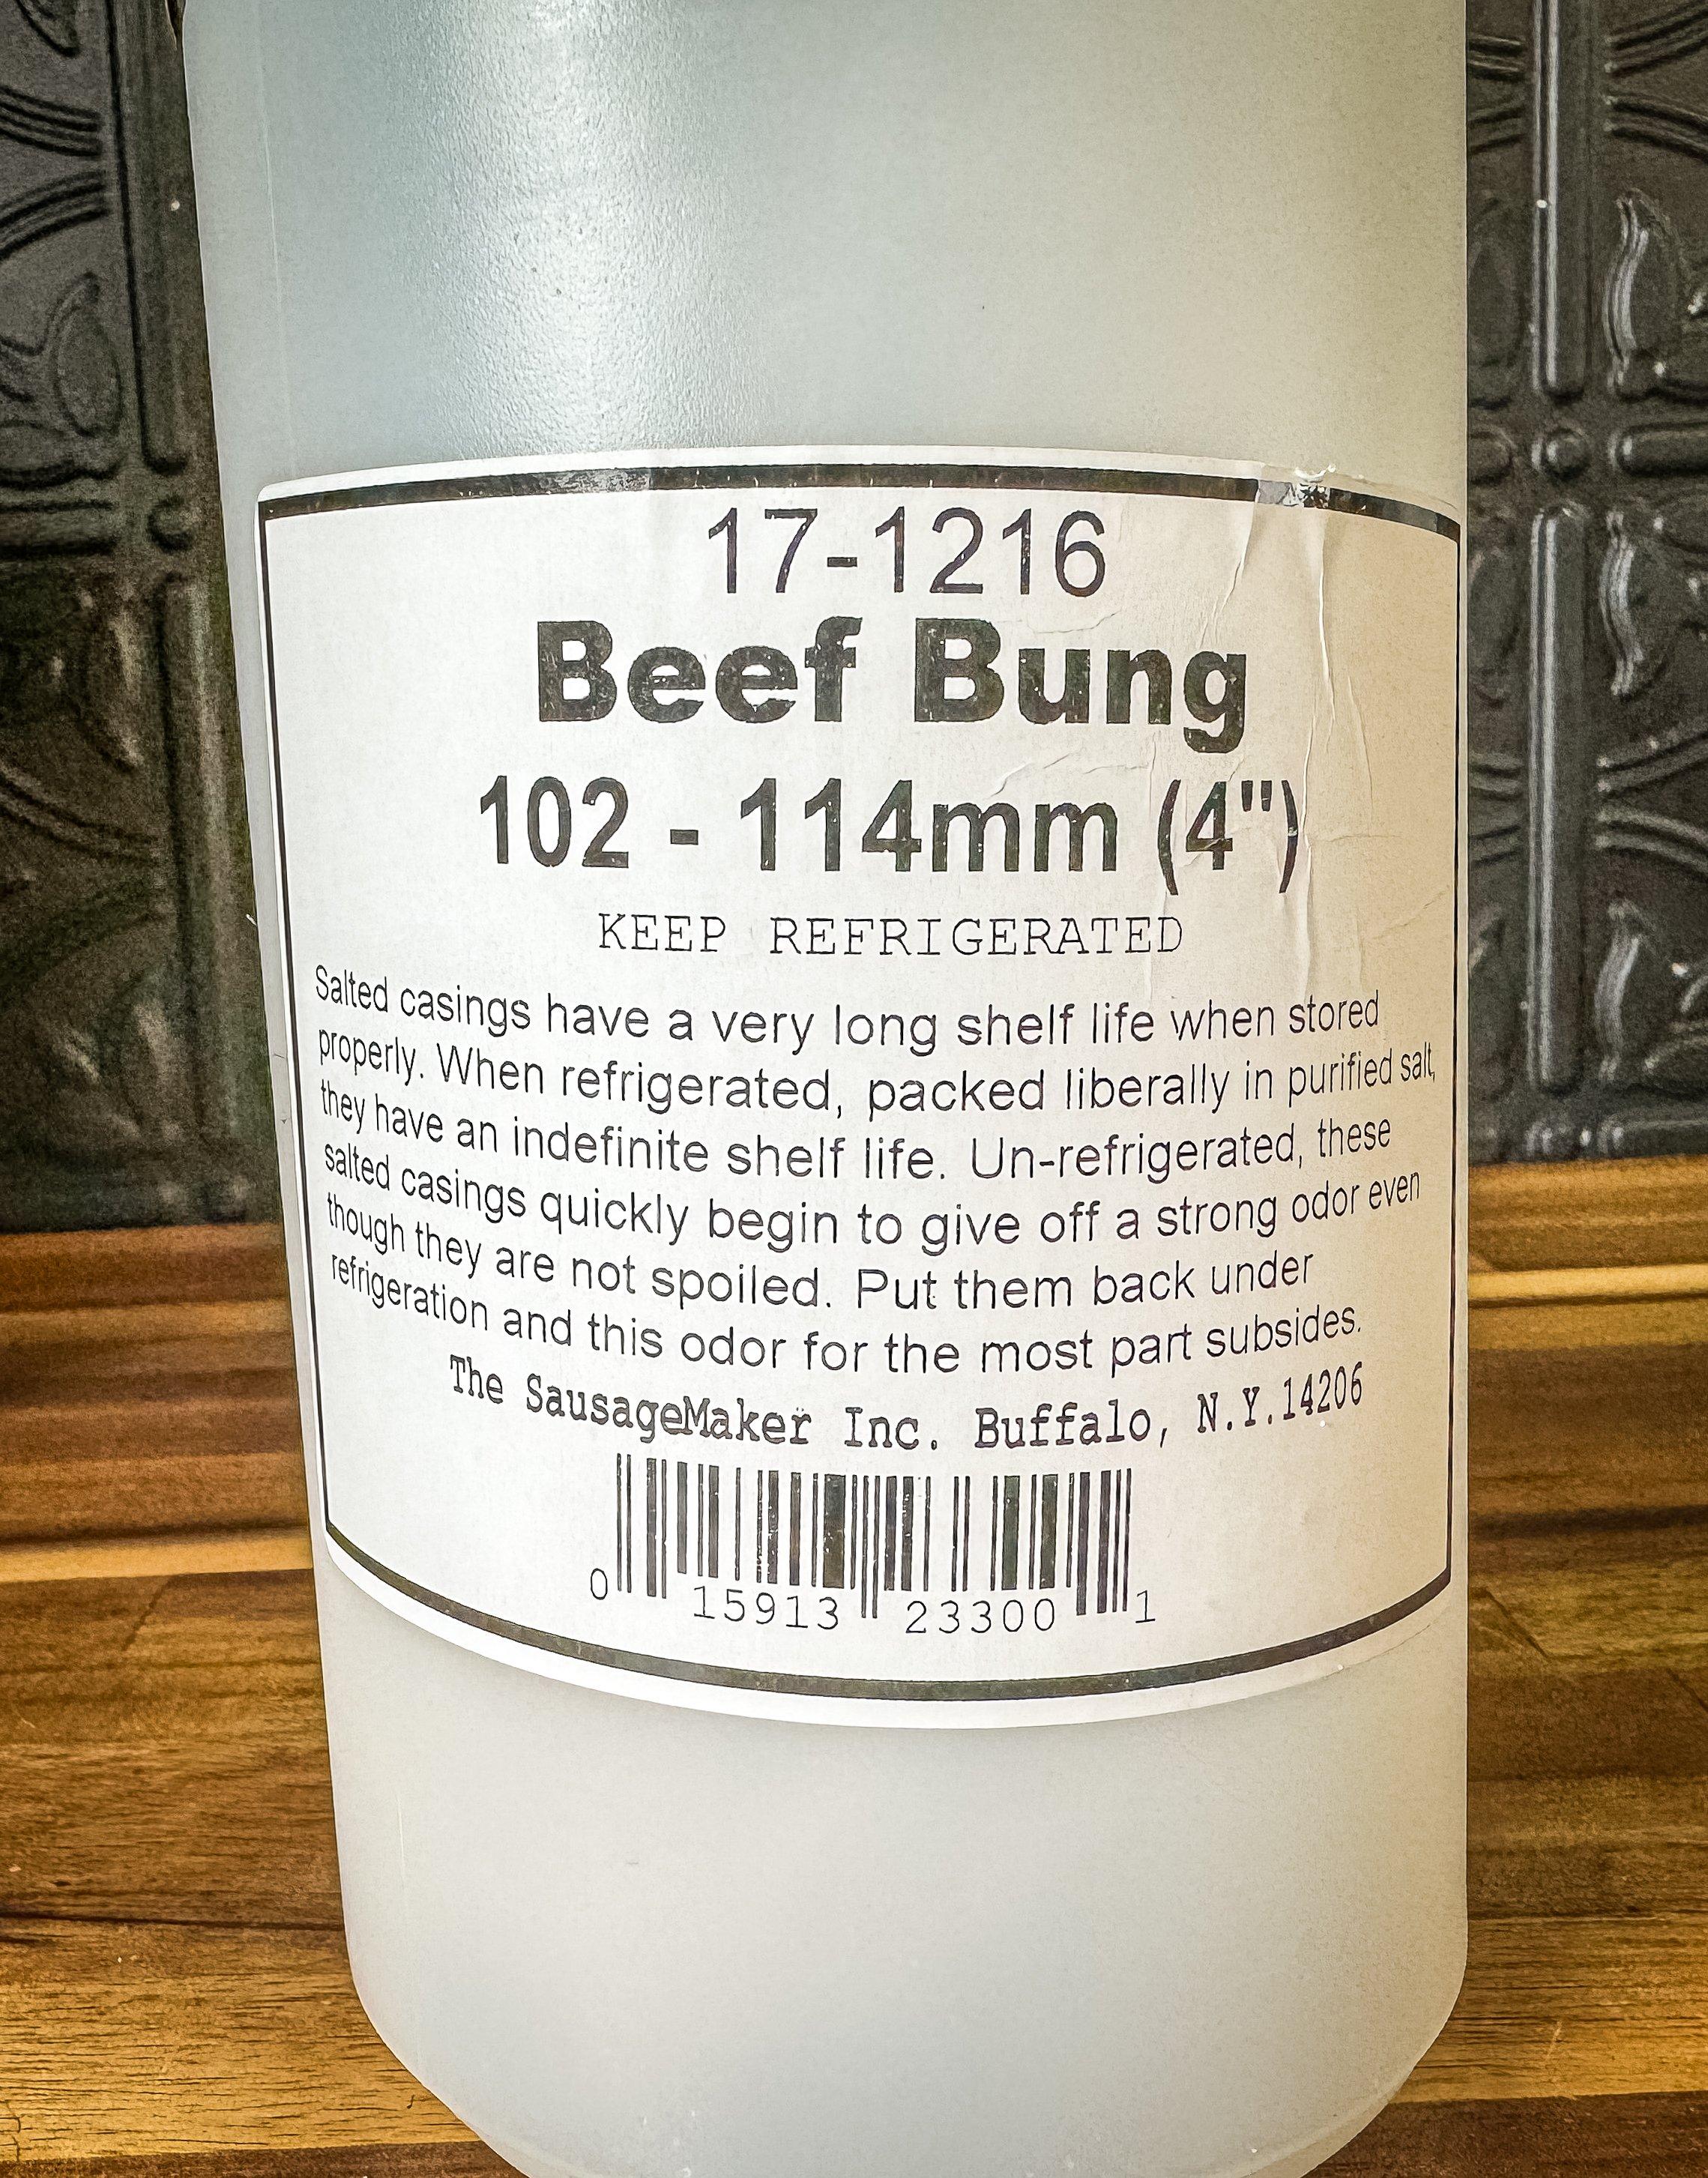
Case the cured backstrap in beef bung before hanging and drying. Image by Michael Pendley
You will also need a place to cure the meat that can be temperature- and climate-controlled. There are several online tutorials on turning an old but working refrigerator into a curing chamber, or you can pick up a finished unit like the Reserve 50.
Trim the backstrap well to remove any fat or silver skin. Weigh the meat. I started with two sections of backstrap, but the recipe works for a single section as well. If using more than one piece of meat, you can cure them together, but should dry them separately. My starting weight was 694 grams of backstrap. Using the formula above, that works out to:
• 17.35 grams sea salt
• 1.74 grams Instacure #1
• 6.94 grams granulated garlic
• 3.47 grams black pepper
• 1.39 grams ground juniper berry
• 2.08 grams powdered sugar
• 12.49 grams red wine
Mix the dry ingredients of the cure and seasonings by weight.
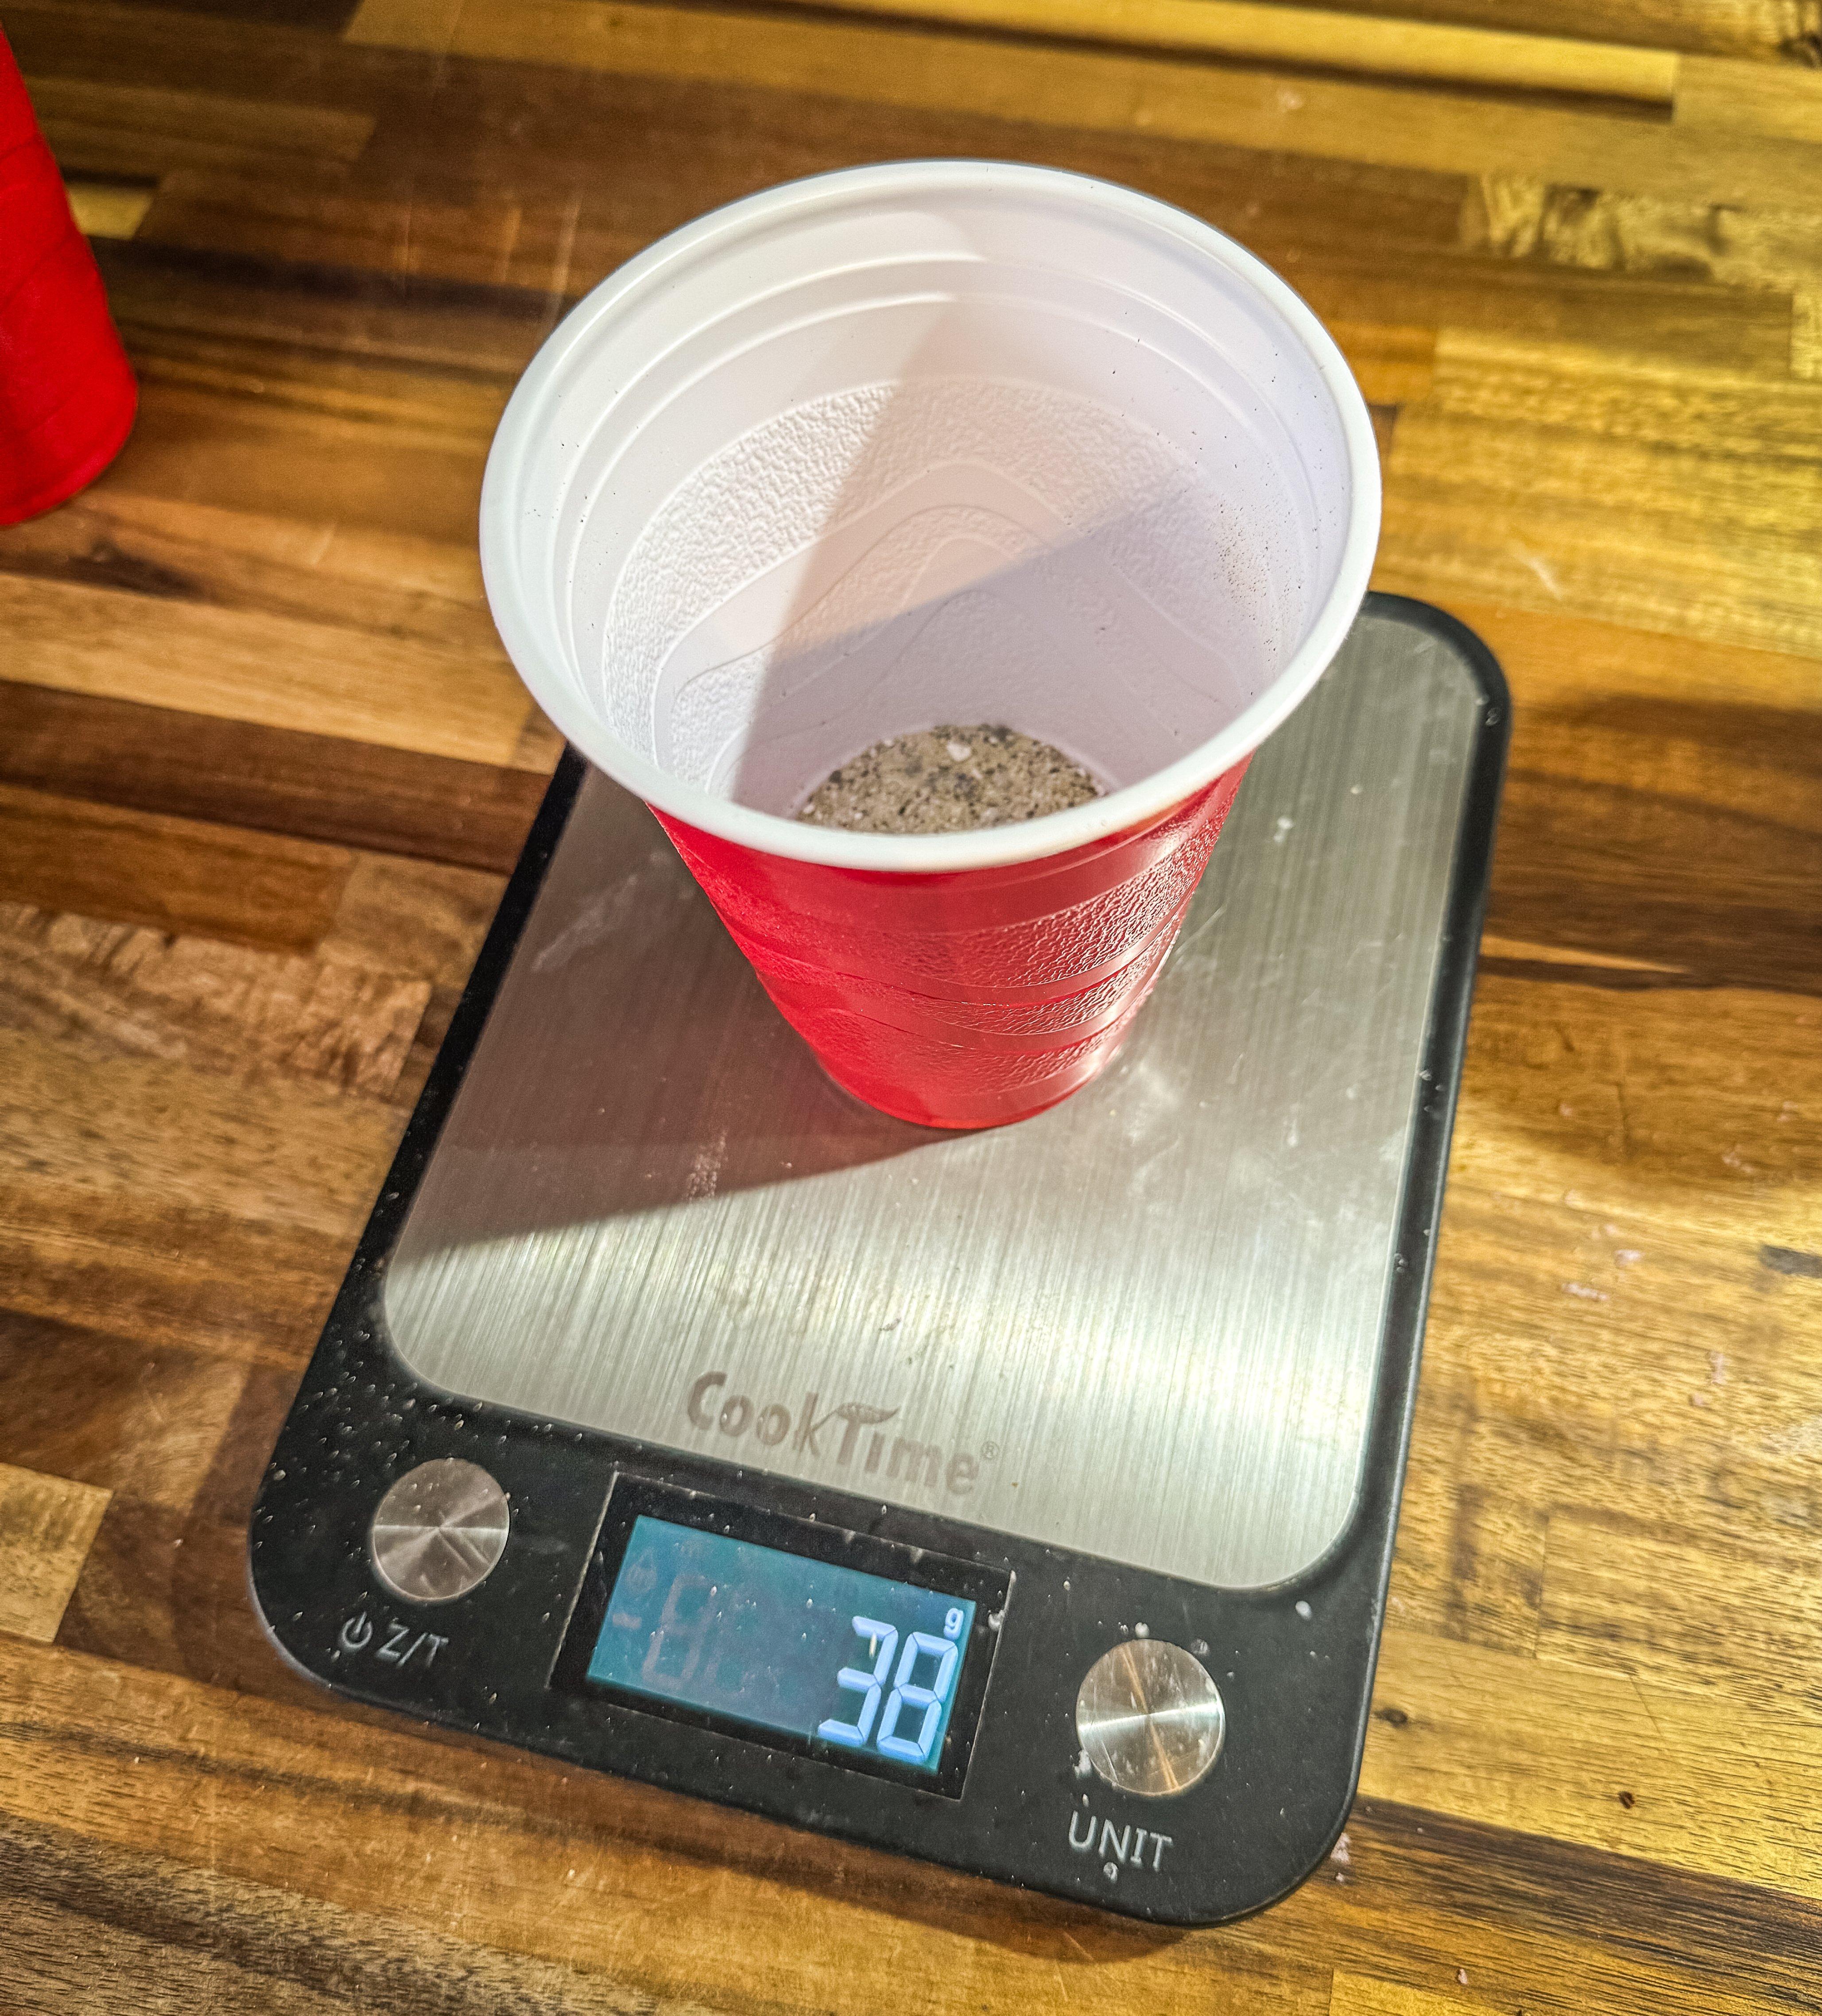
Mix the dry ingredients by weight. Image by Michael Pendley
Rub the backstrap all over with the cure and spice mix.
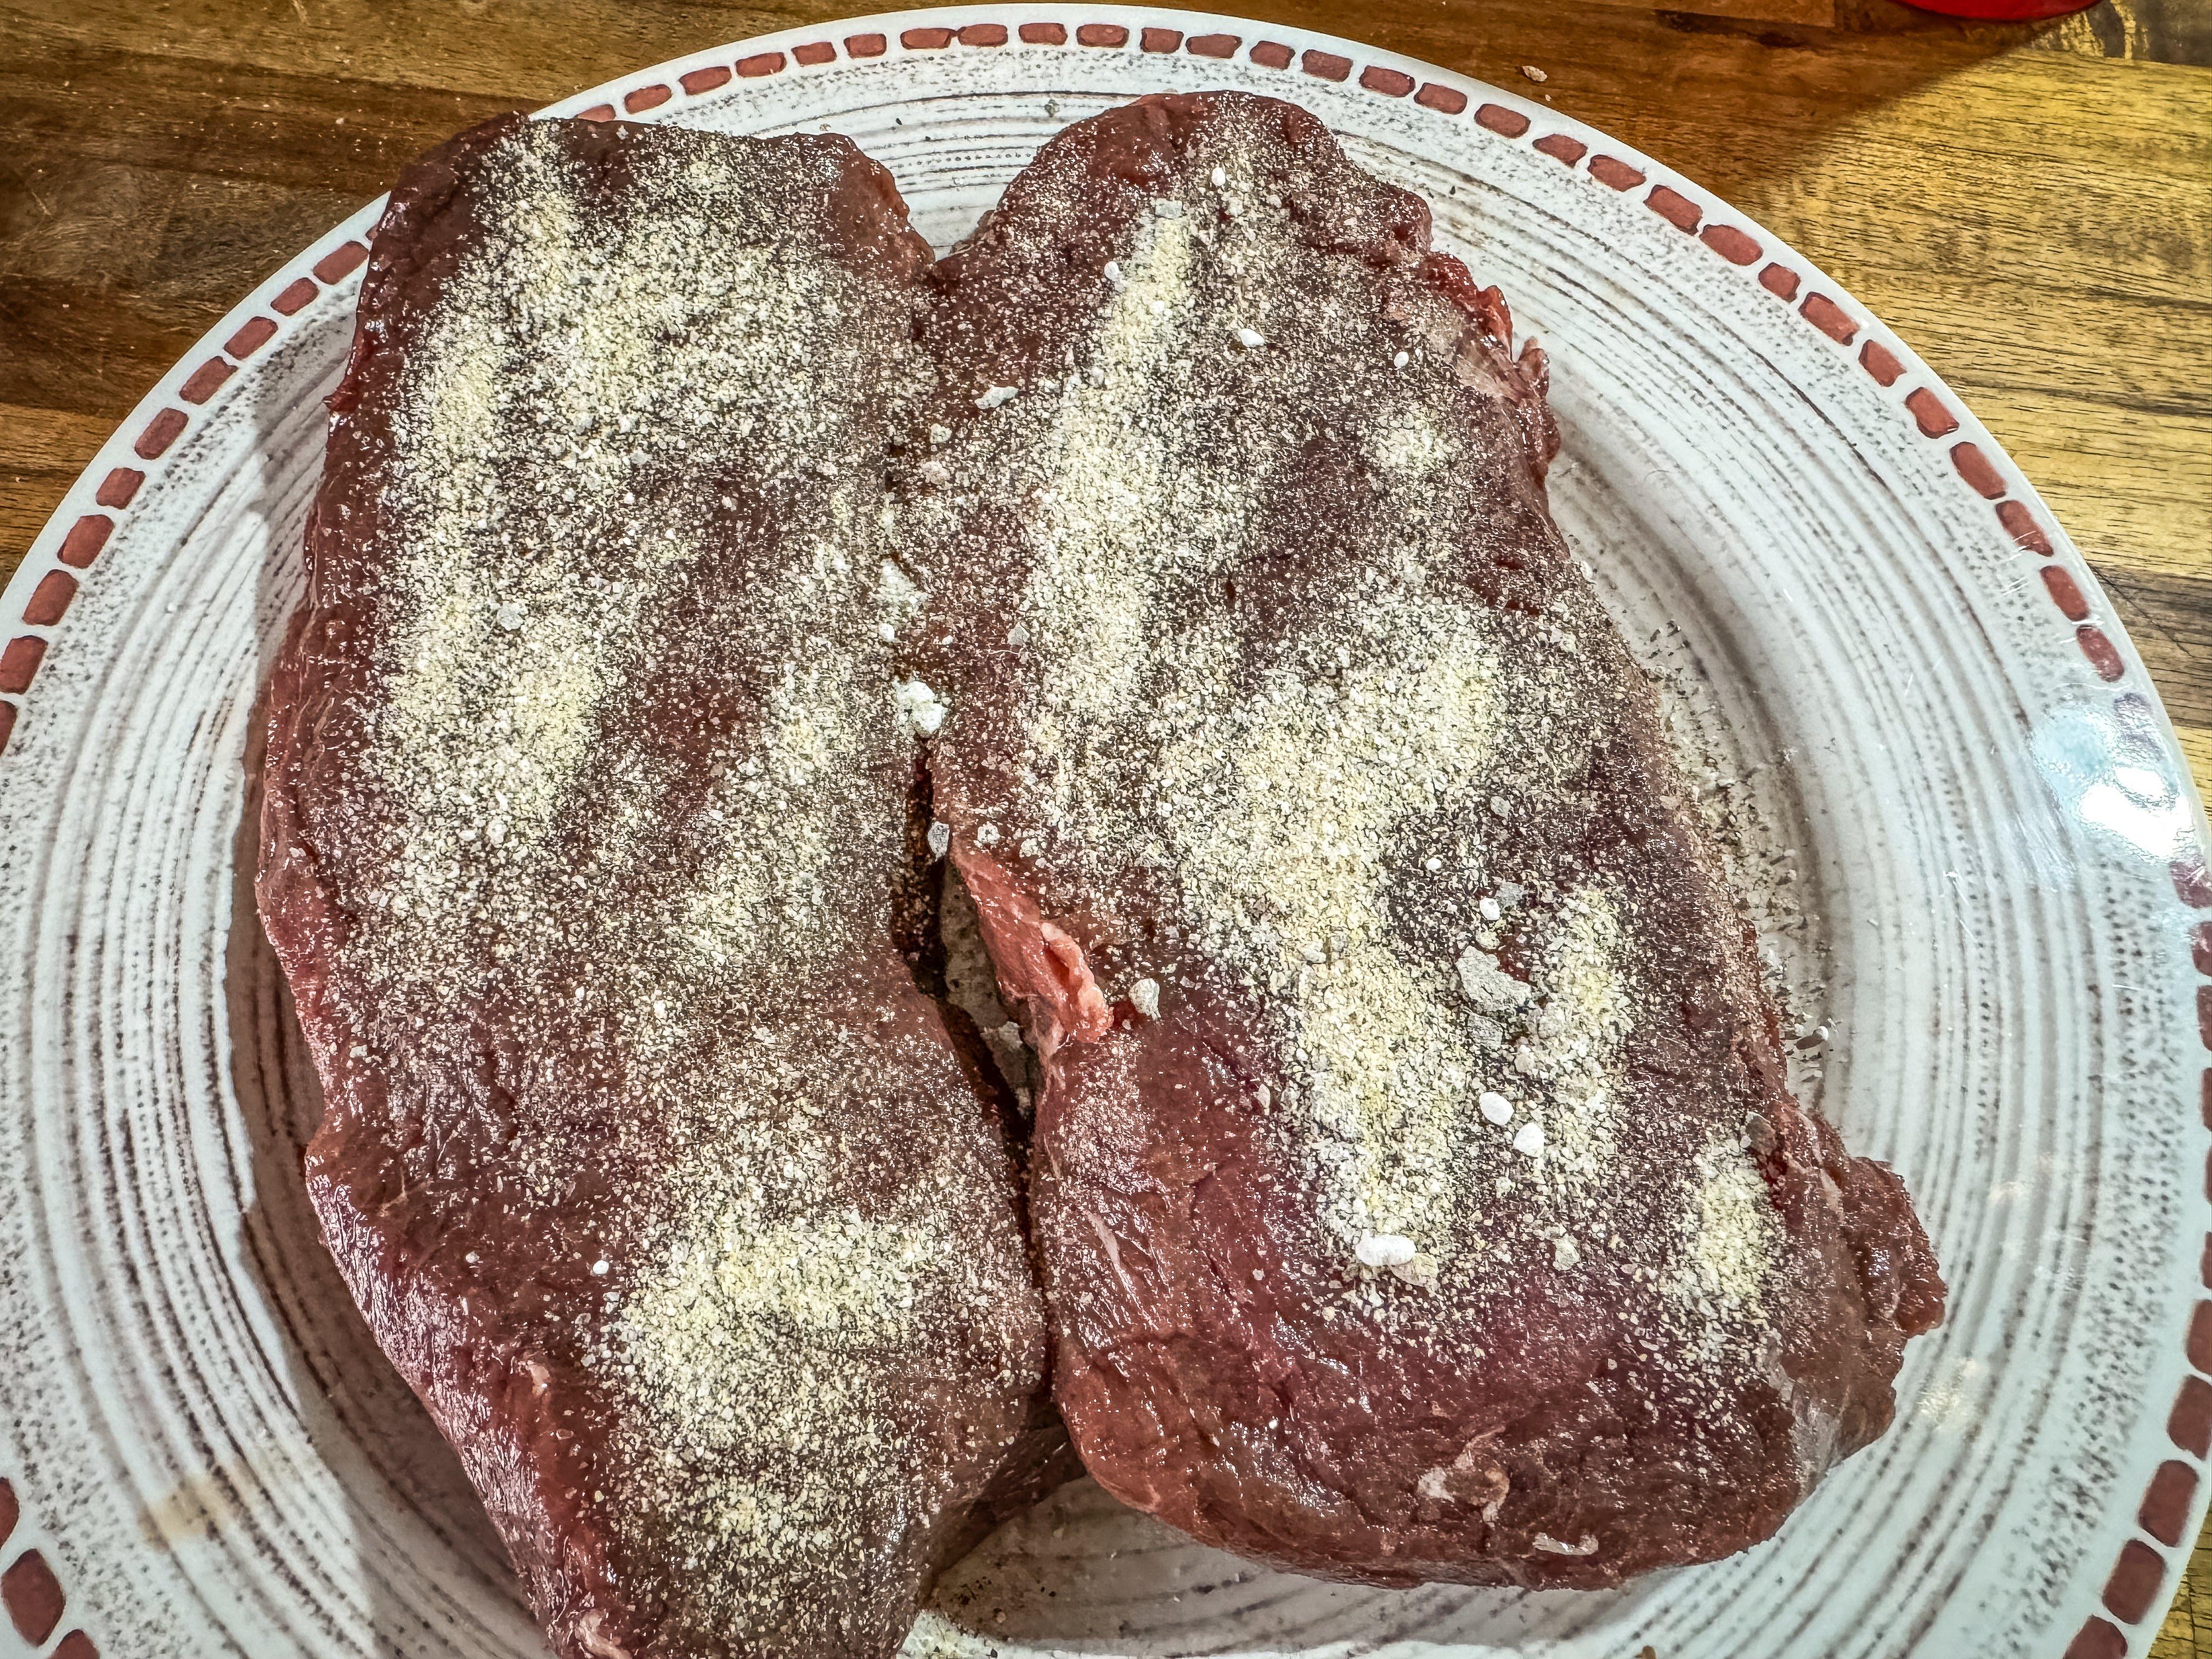
Cover the backstrap with the cure and seasoning blend. Image by Michael Pendley
Place the backstrap in an open vacuum-sealing bag. Evenly spread the dried cure over all surfaces of the meat. Add any remaining cure directly to the bag. Pour in the red wine and vacuum-seal.
Add the backstrap, any remaining cure, and the red wine to a bag and vacuum-seal. Image by Michael Pendley
Refrigerate the sealed meat for 30 days to cure.
Once the meat has cured, remove it from the vacuum bag and rinse it with red wine. Remove the salted beef bung from the packaging and rinse it well in lukewarm water.
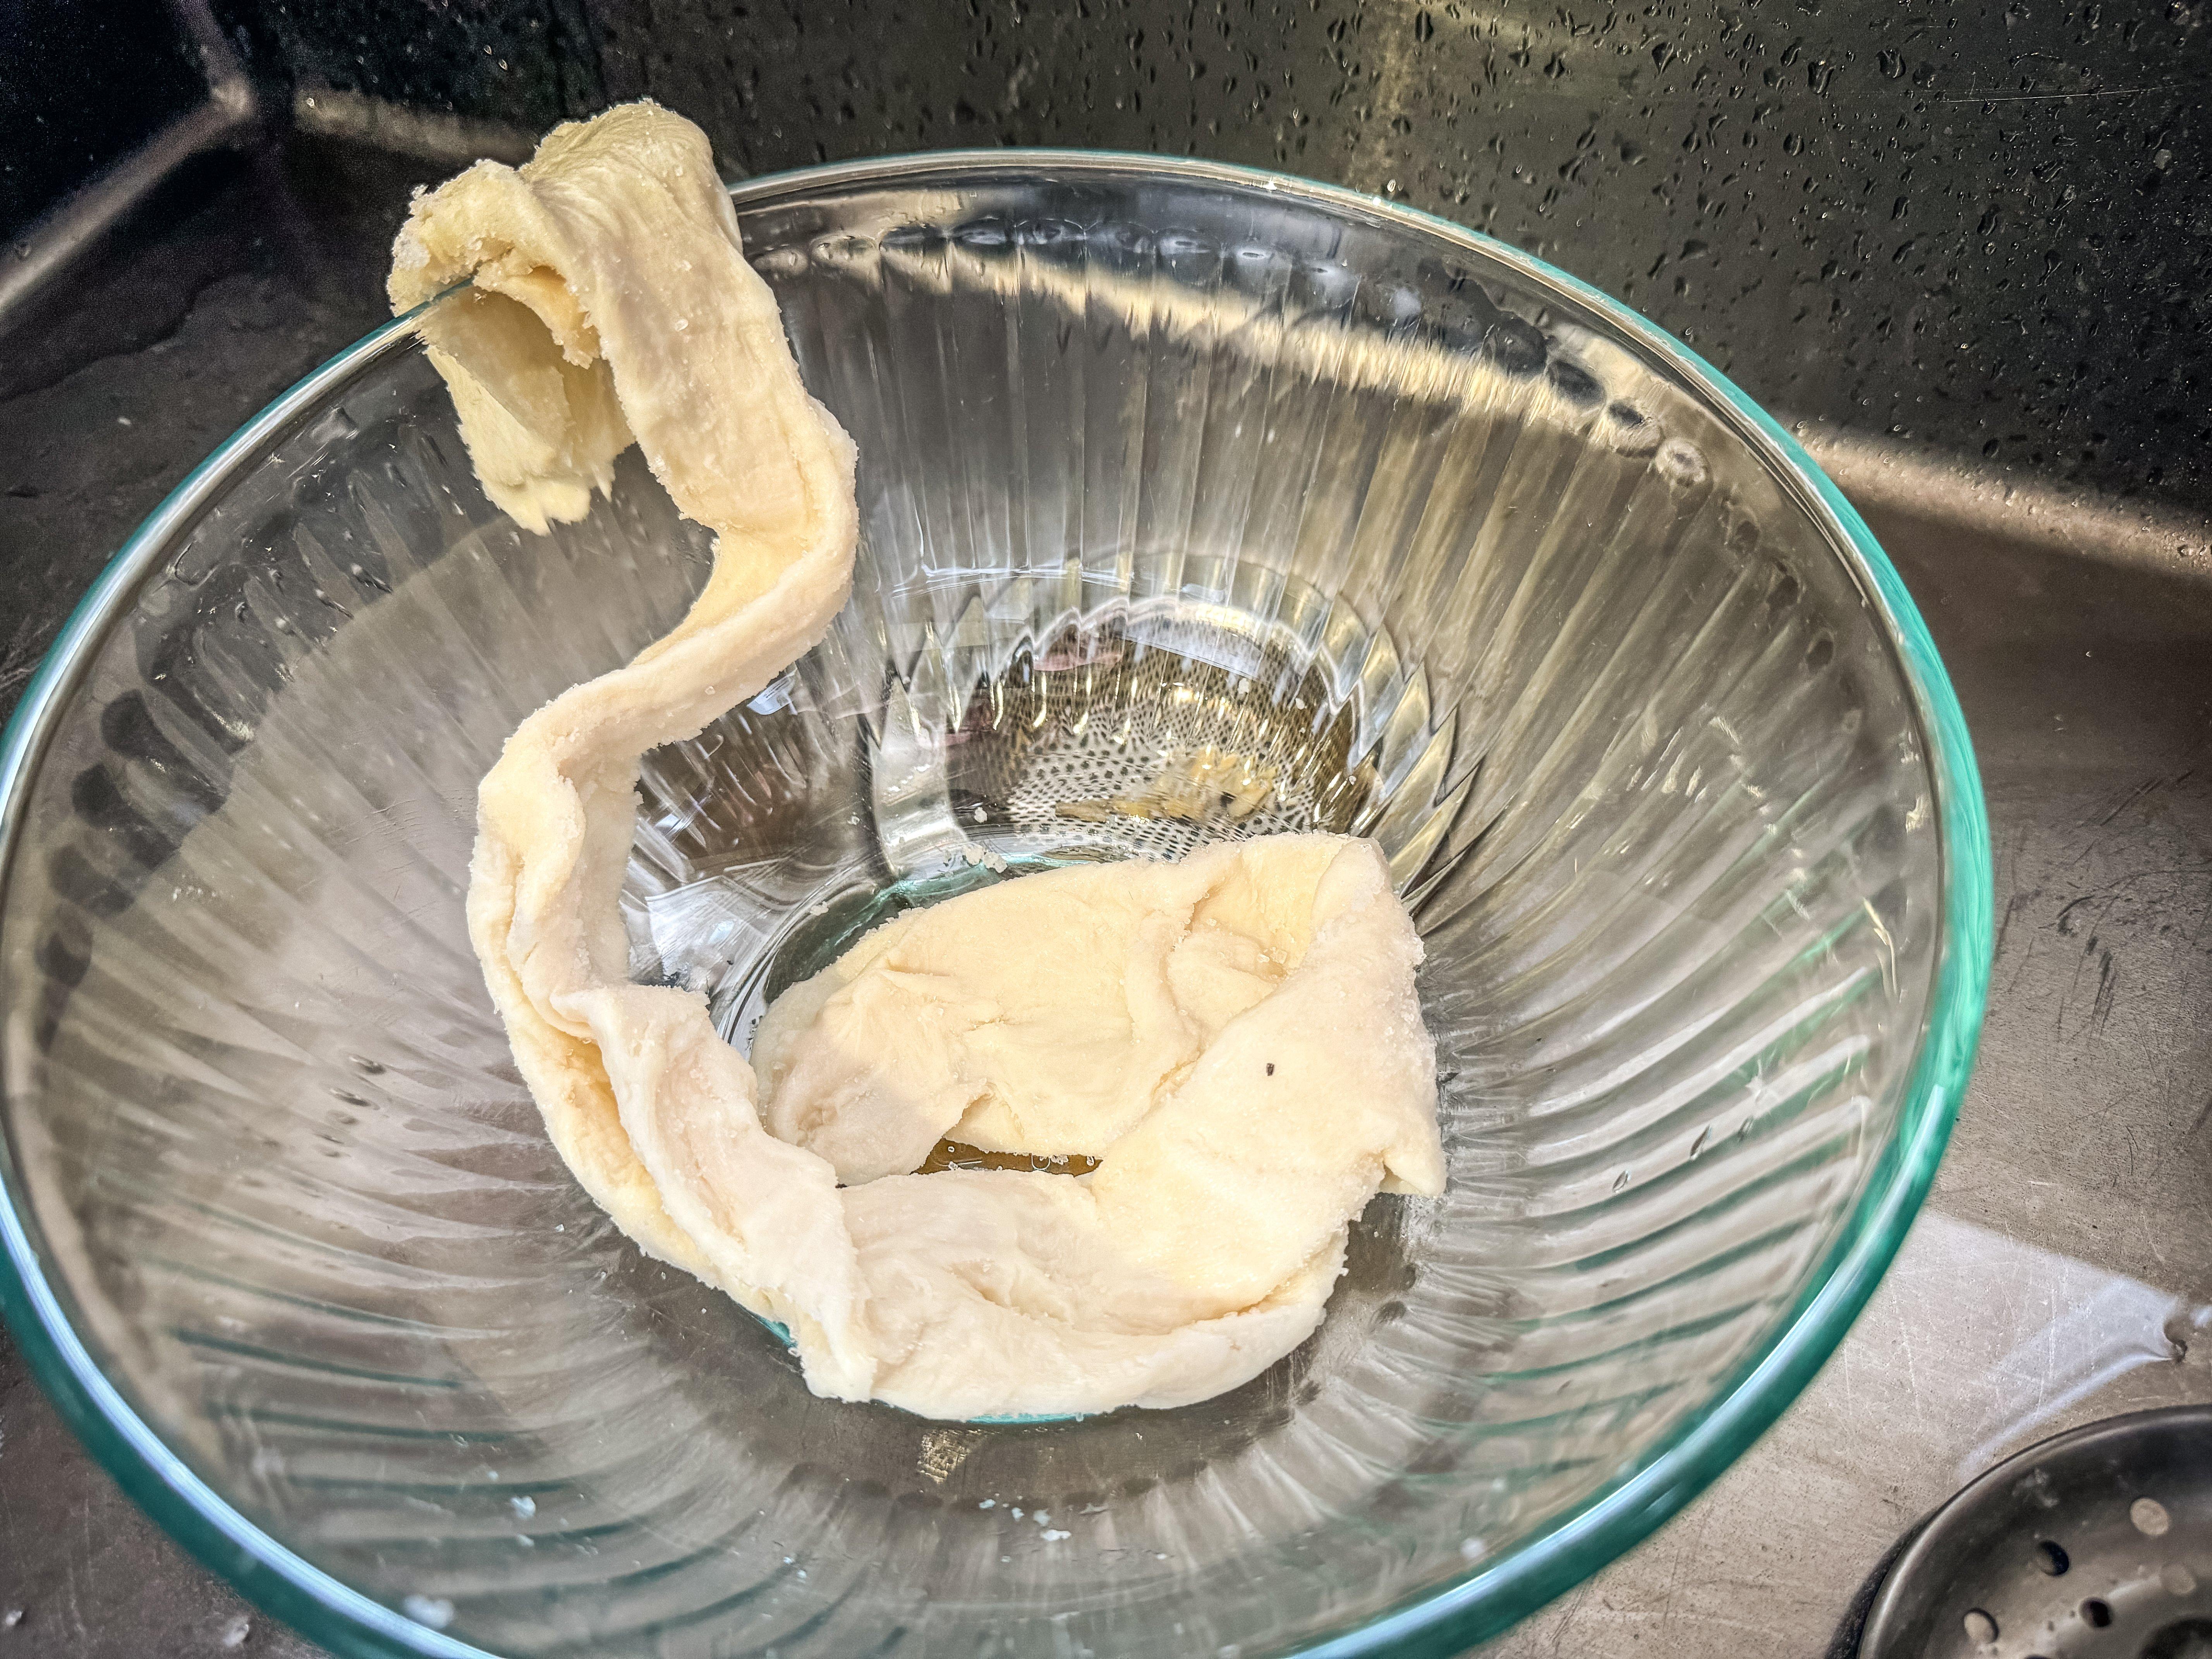
Rinse the salted beef bung in lukewarm water to soften. Image by Michael Pendley
If it is particularly stiff and dry, you can soak it for 30 minutes in clean water. Slide the cured backstrap into the beef bung and use butcher’s twine to tie it securely on each end. Use additional twine to tightly bind the bung around the cured backstrap, removing as many air pockets as possible.
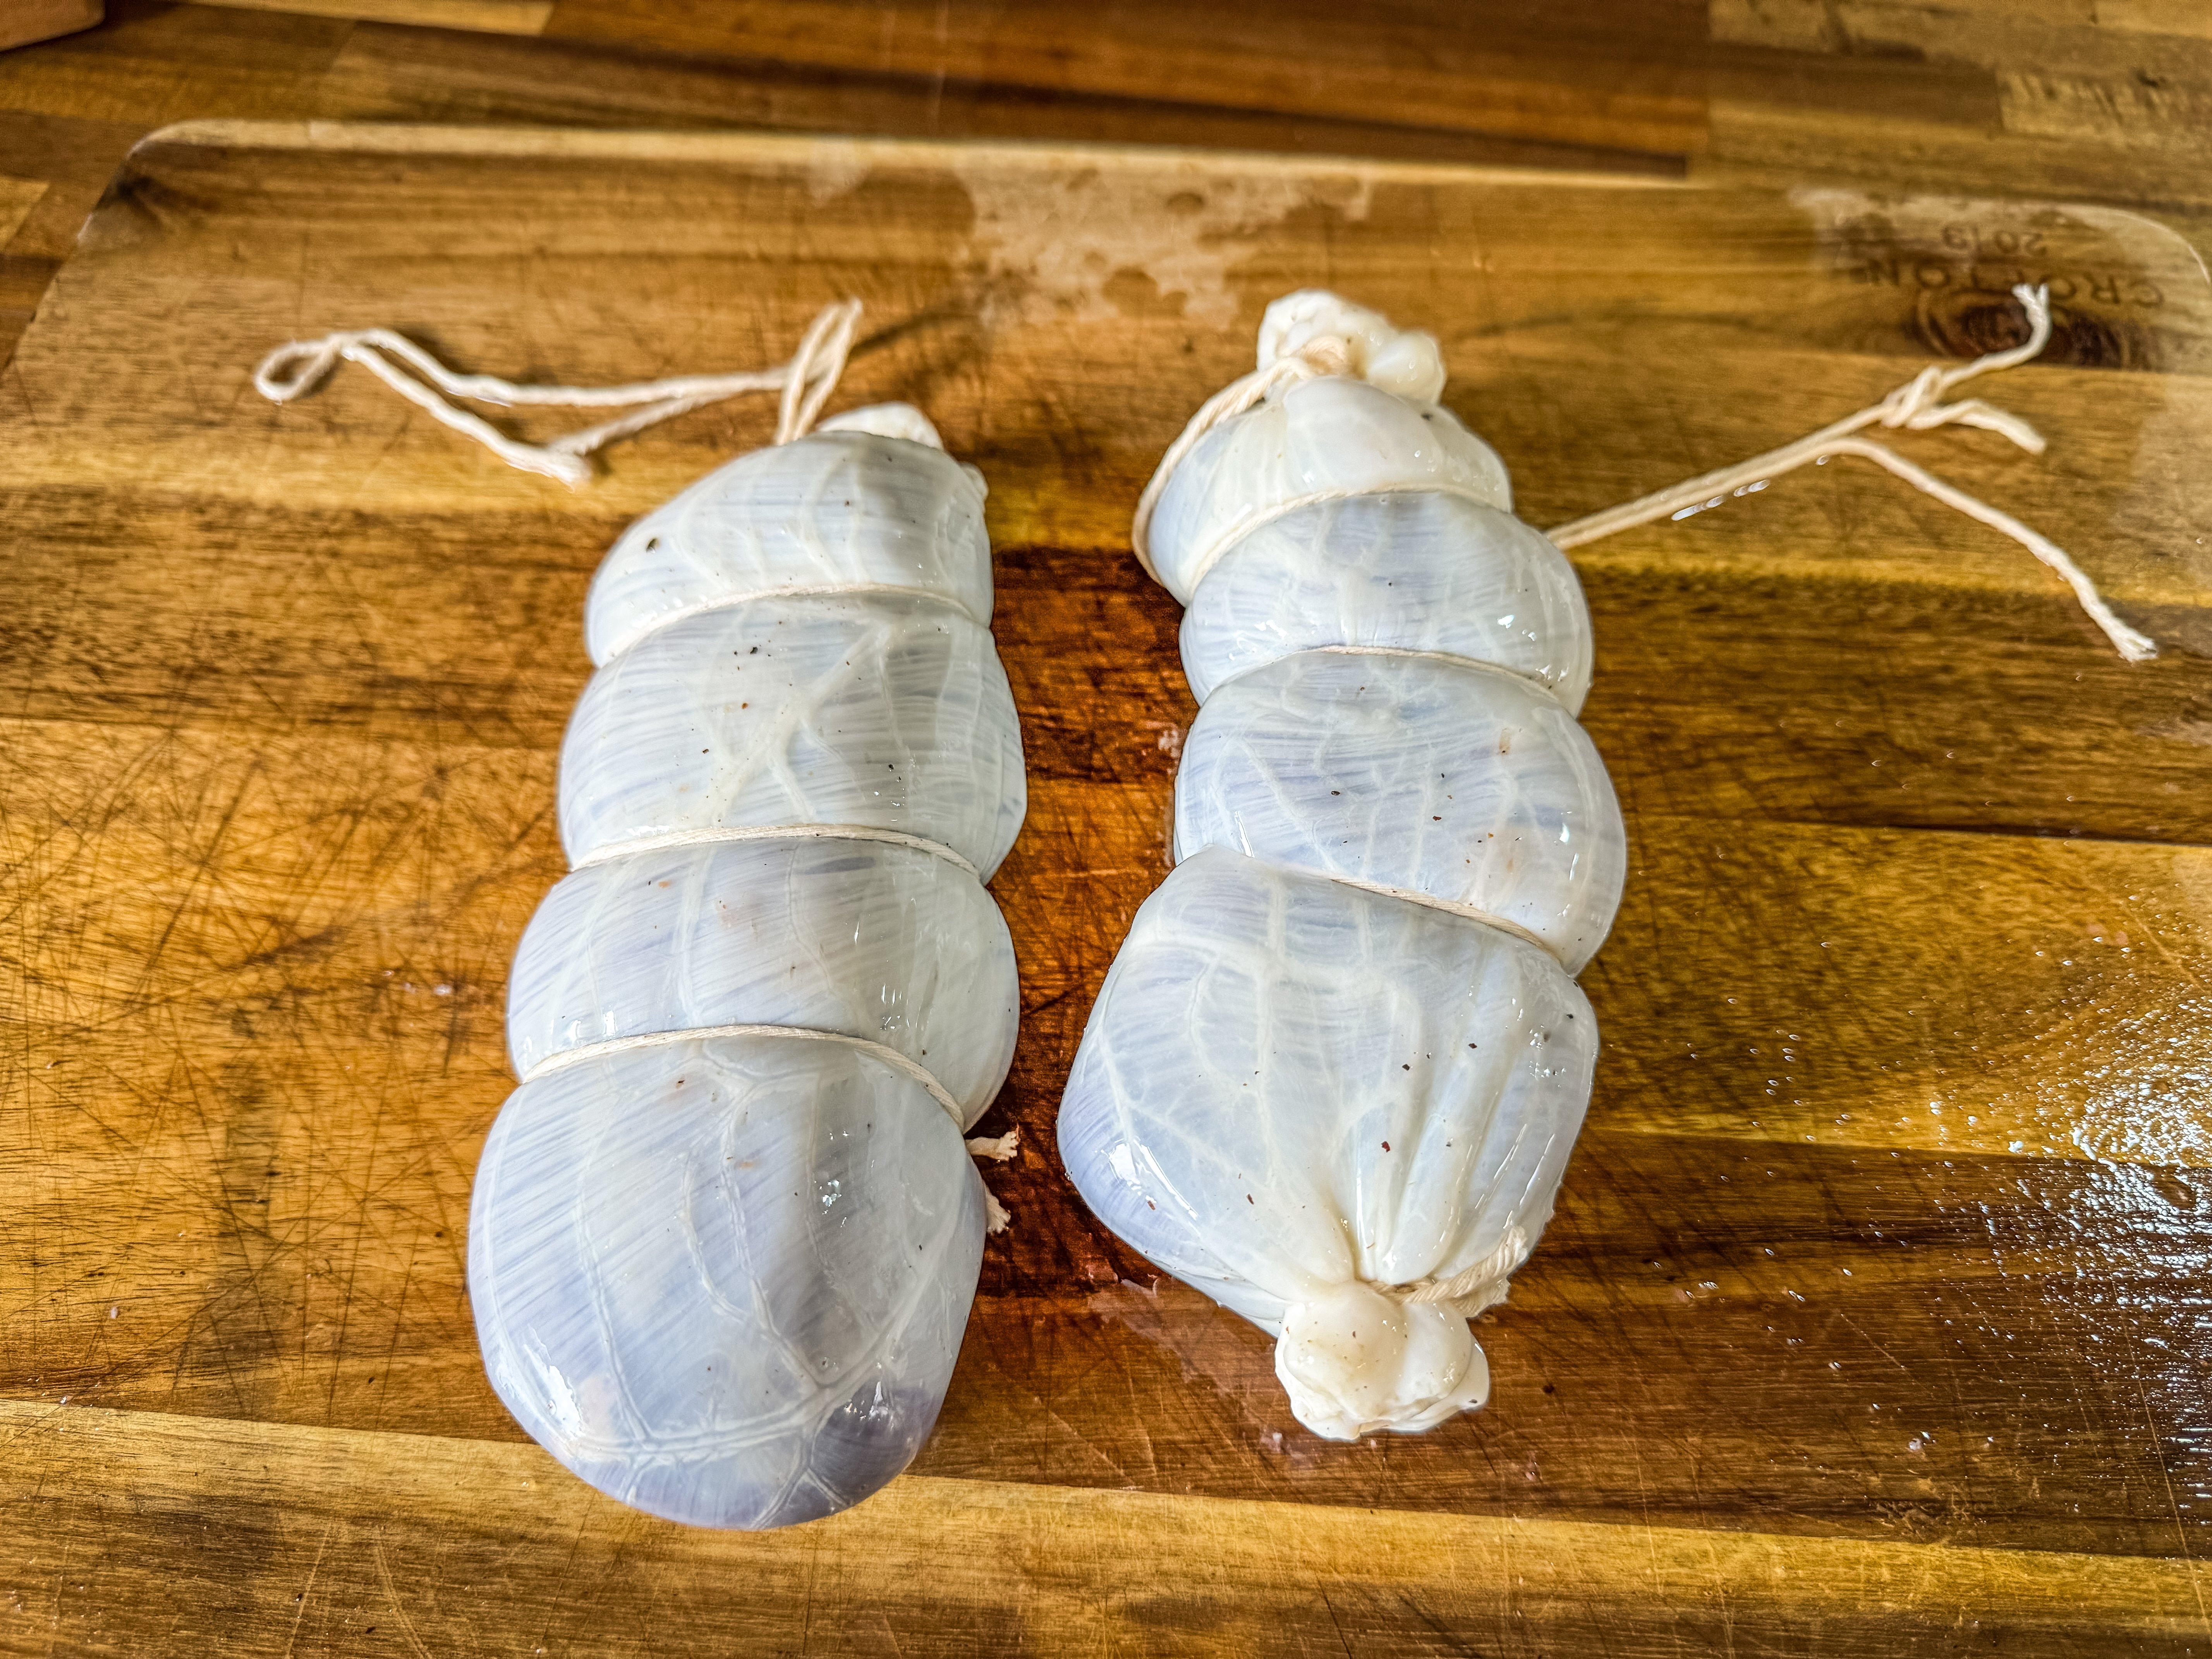
Stuff the cured backstrap into the bung, then bind tightly with butcher’s twine. Image by Michael Pendley
Use a toothpick or a tool made for the purpose (check sausage-making suppliers) to prick the bung all over, allowing the moisture from the backstrap to escape. Not taking this step would trap the moisture inside the bung, preventing drying and likely ruining your charcuterie. You can make bresaola without casing the meat, but the finished product won’t be as evenly cured; the outer surface will likely be overly dry, and the finished product won’t be even all the way through.
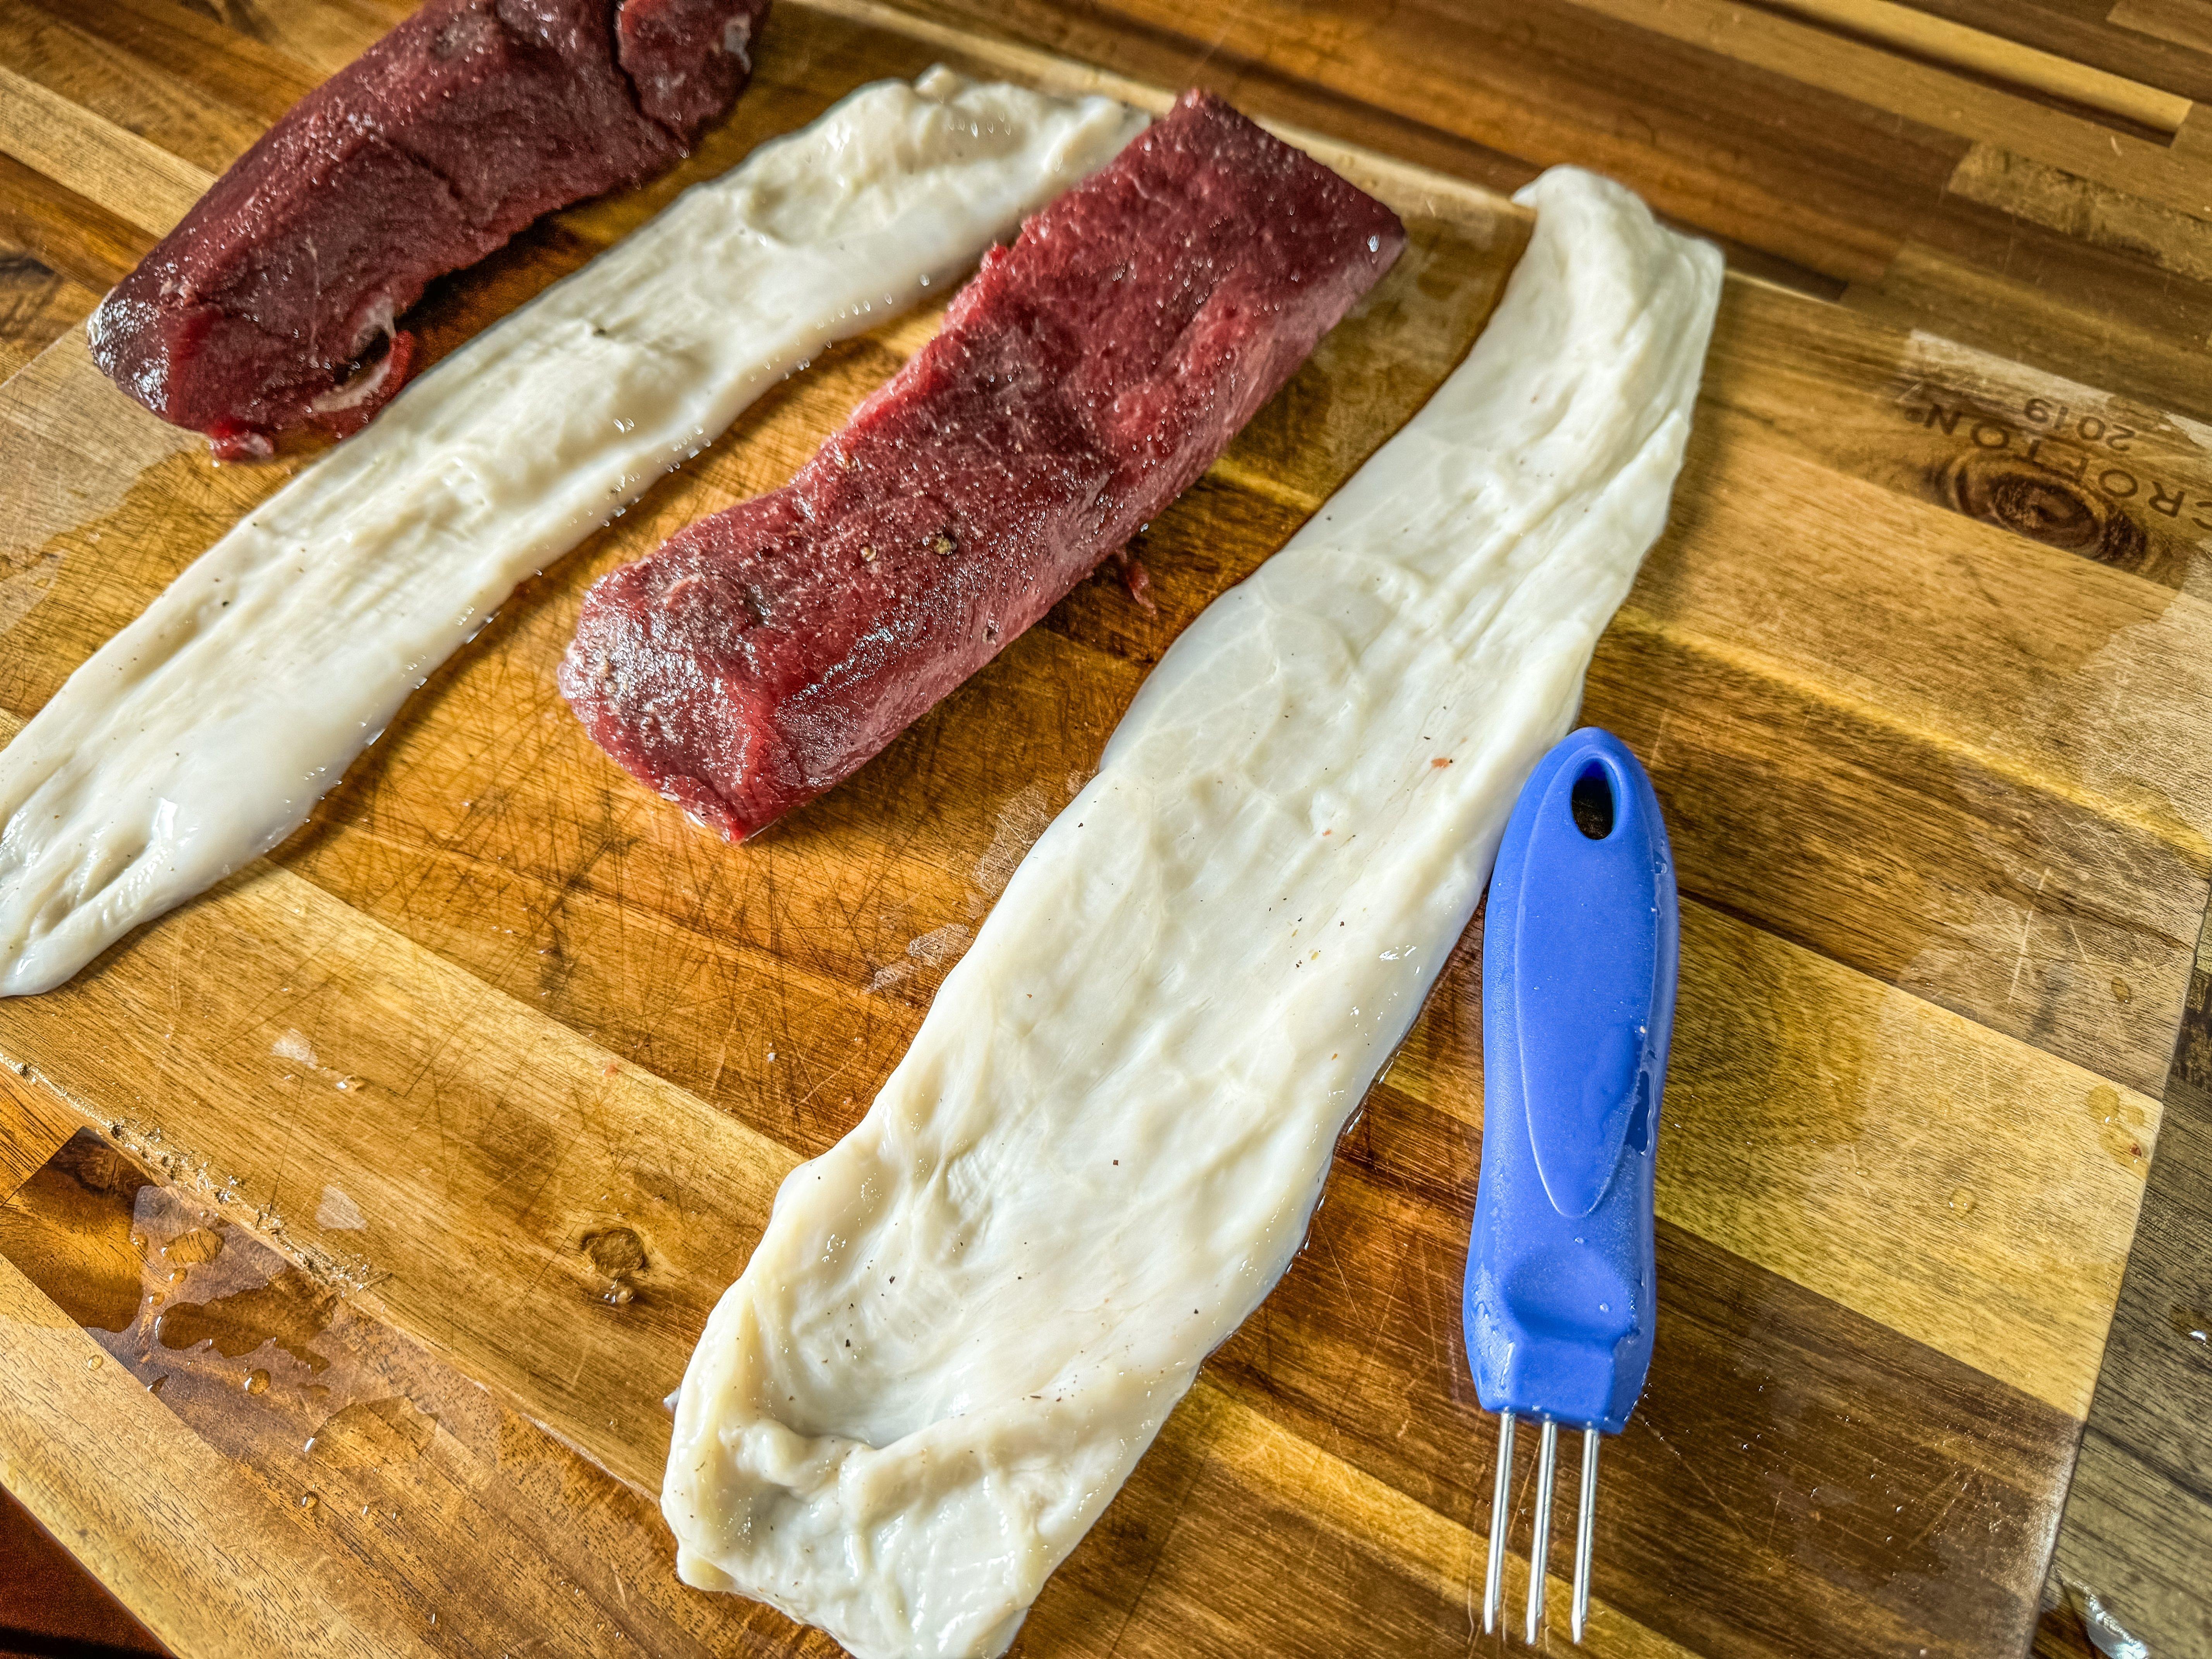
Use a toothpick or a tool made for perforating sausage casings to add several holes to the bung so that the meat inside dries evenly. Image by Michael Pendley
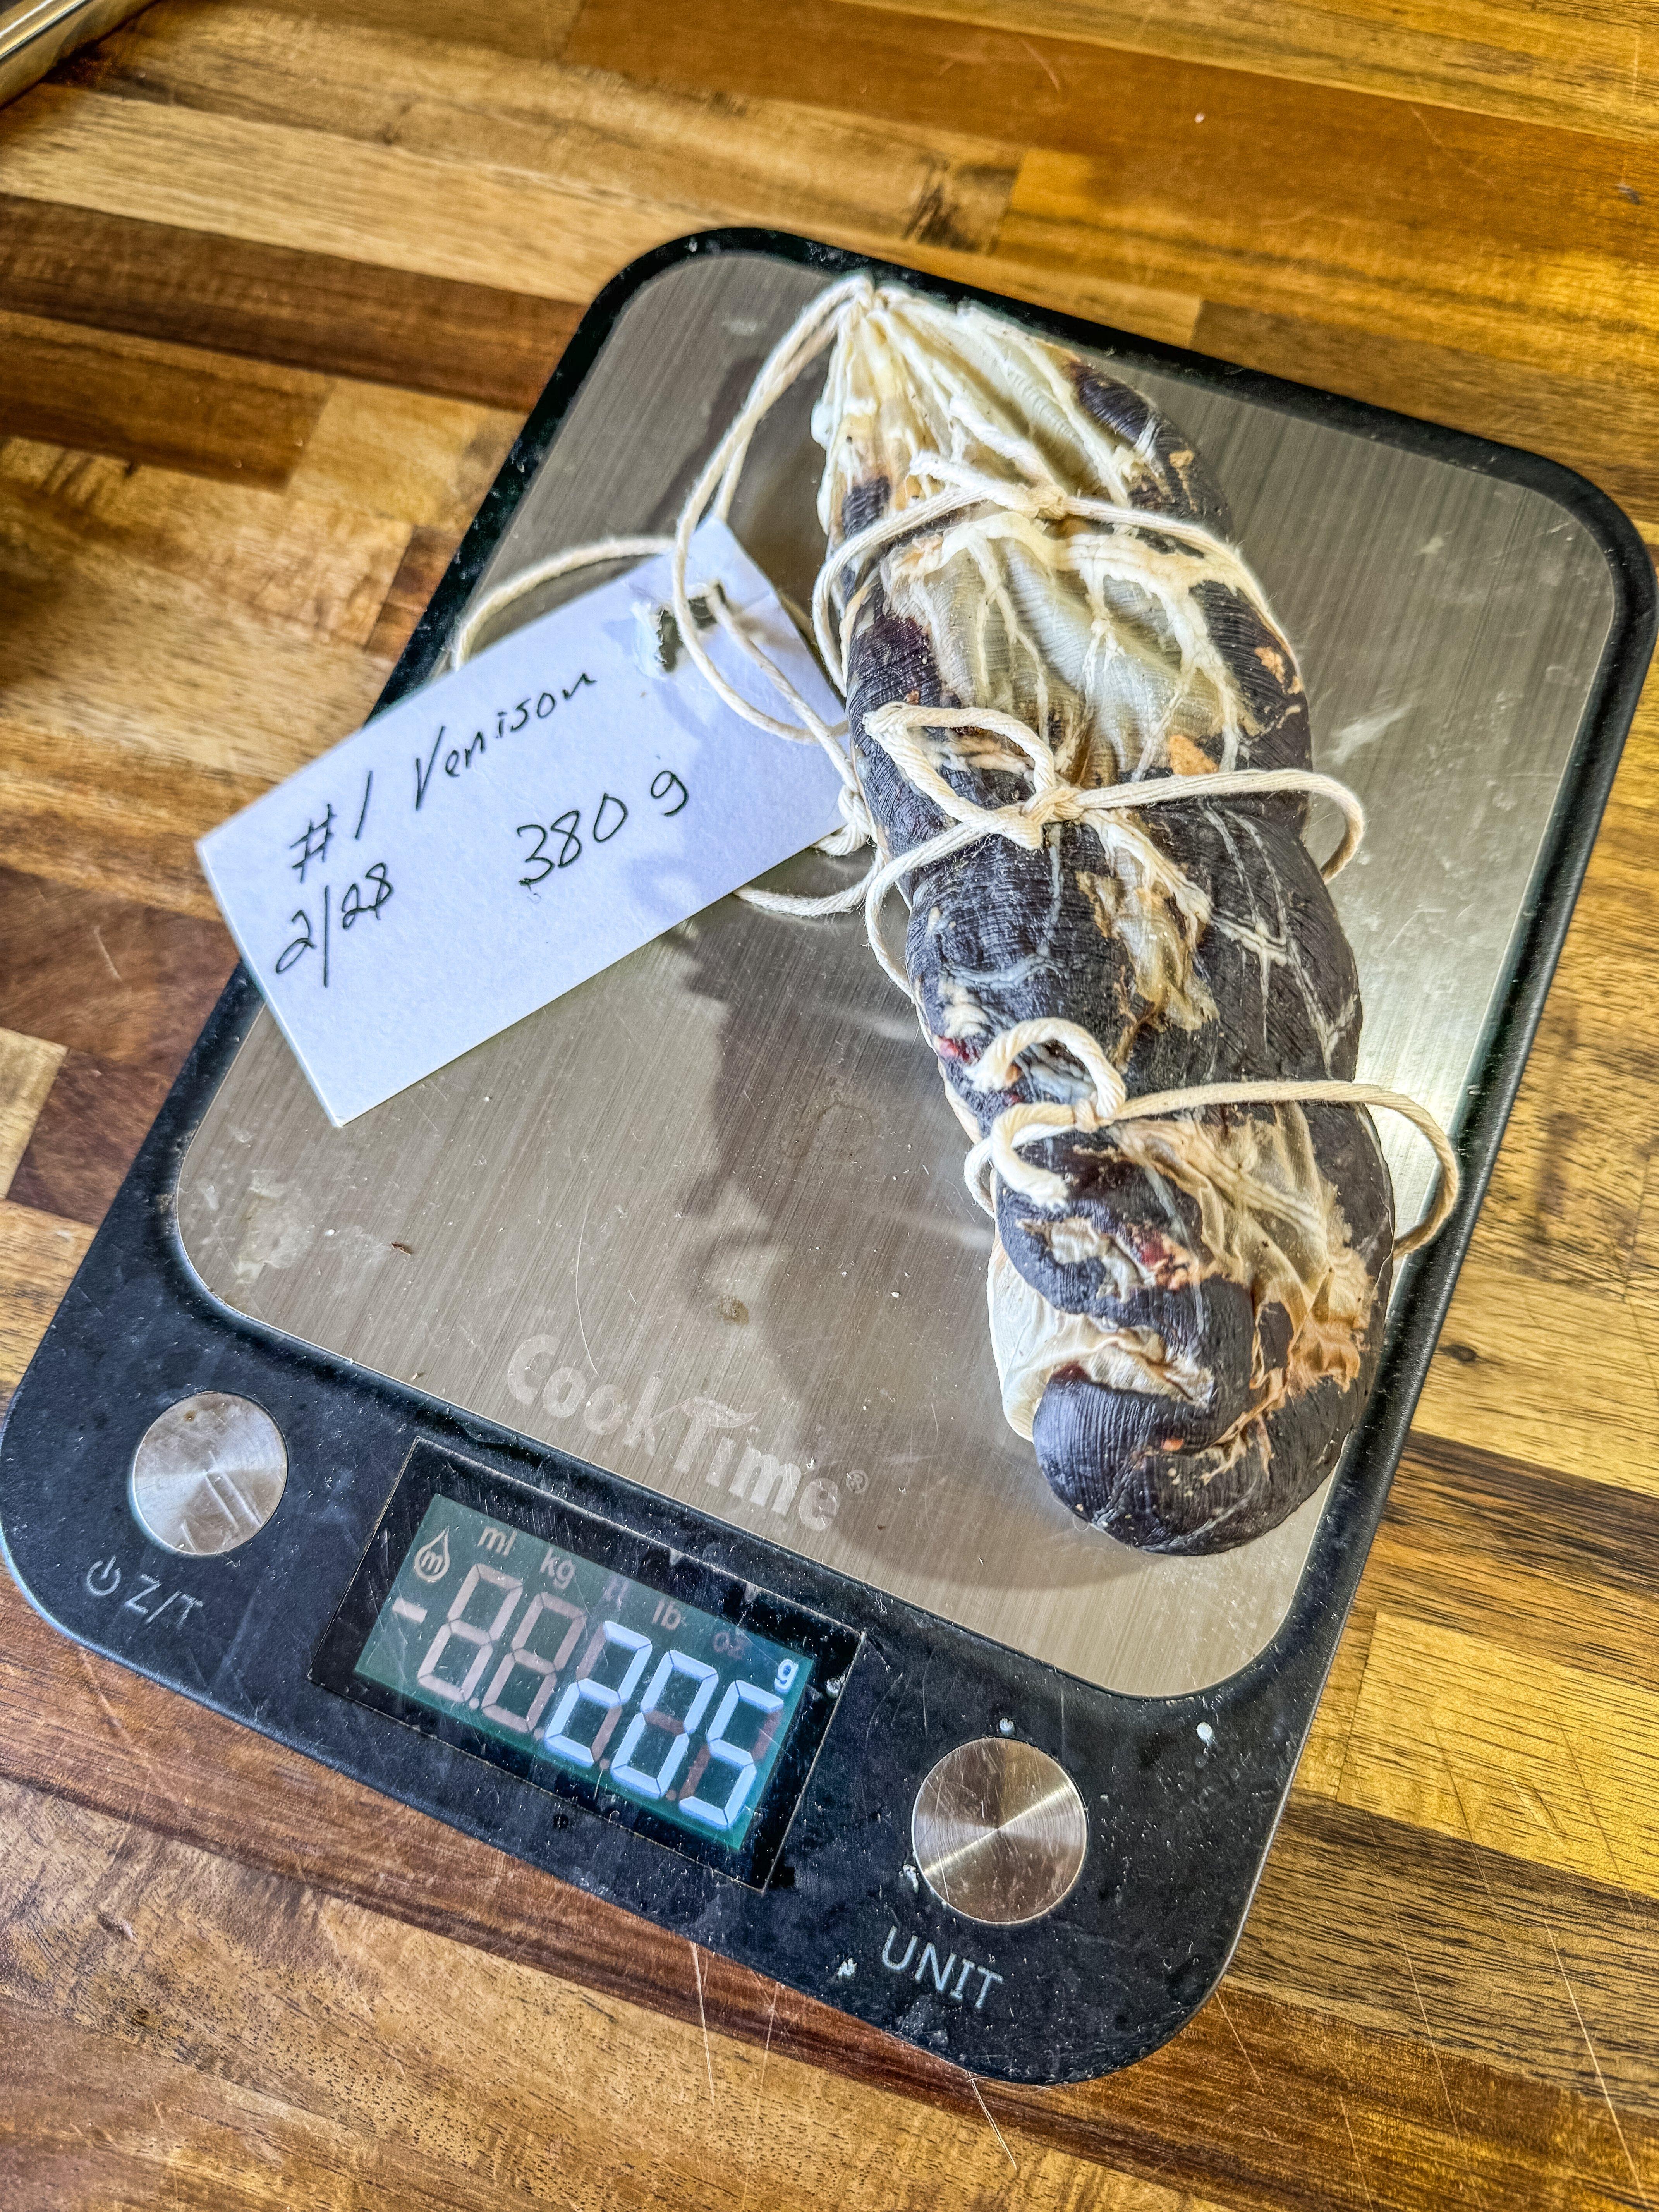
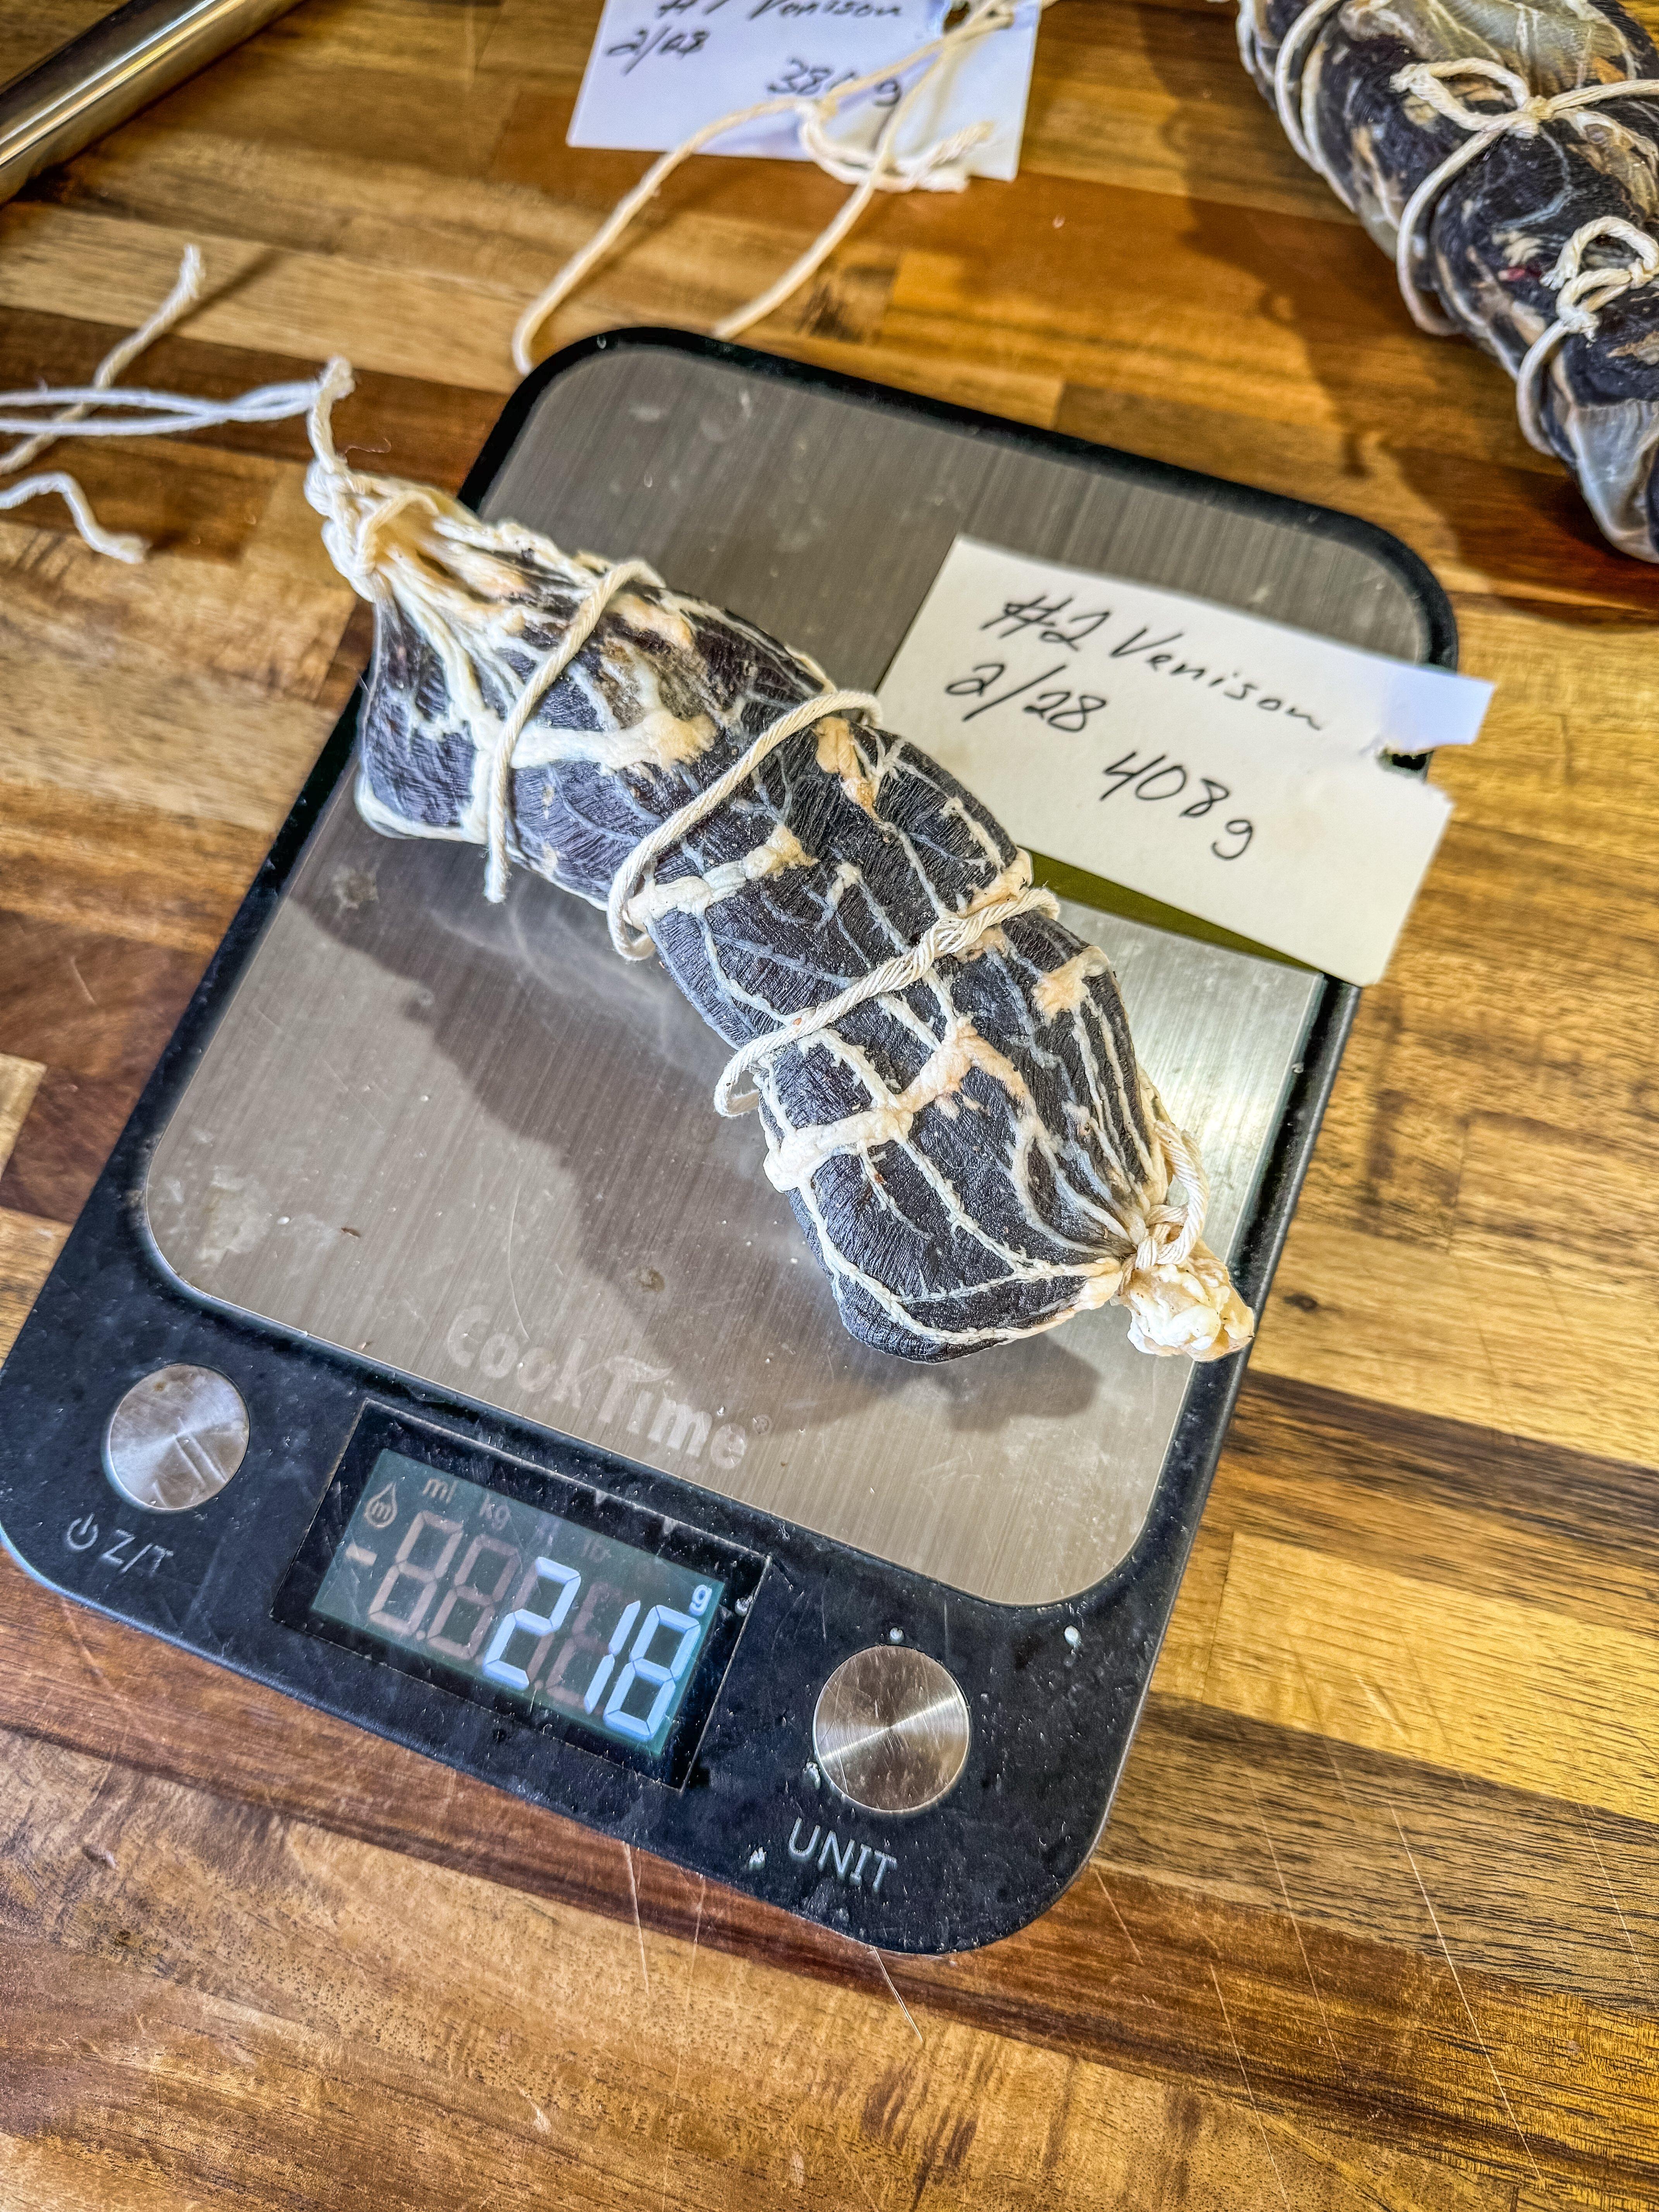
Weigh the cased meat. Take precise notes with every step, so that you can go back to check your dates and weights. I like to tag the products in the curing chamber with dates and weights so that there is no danger of mixing up the products when they are done.
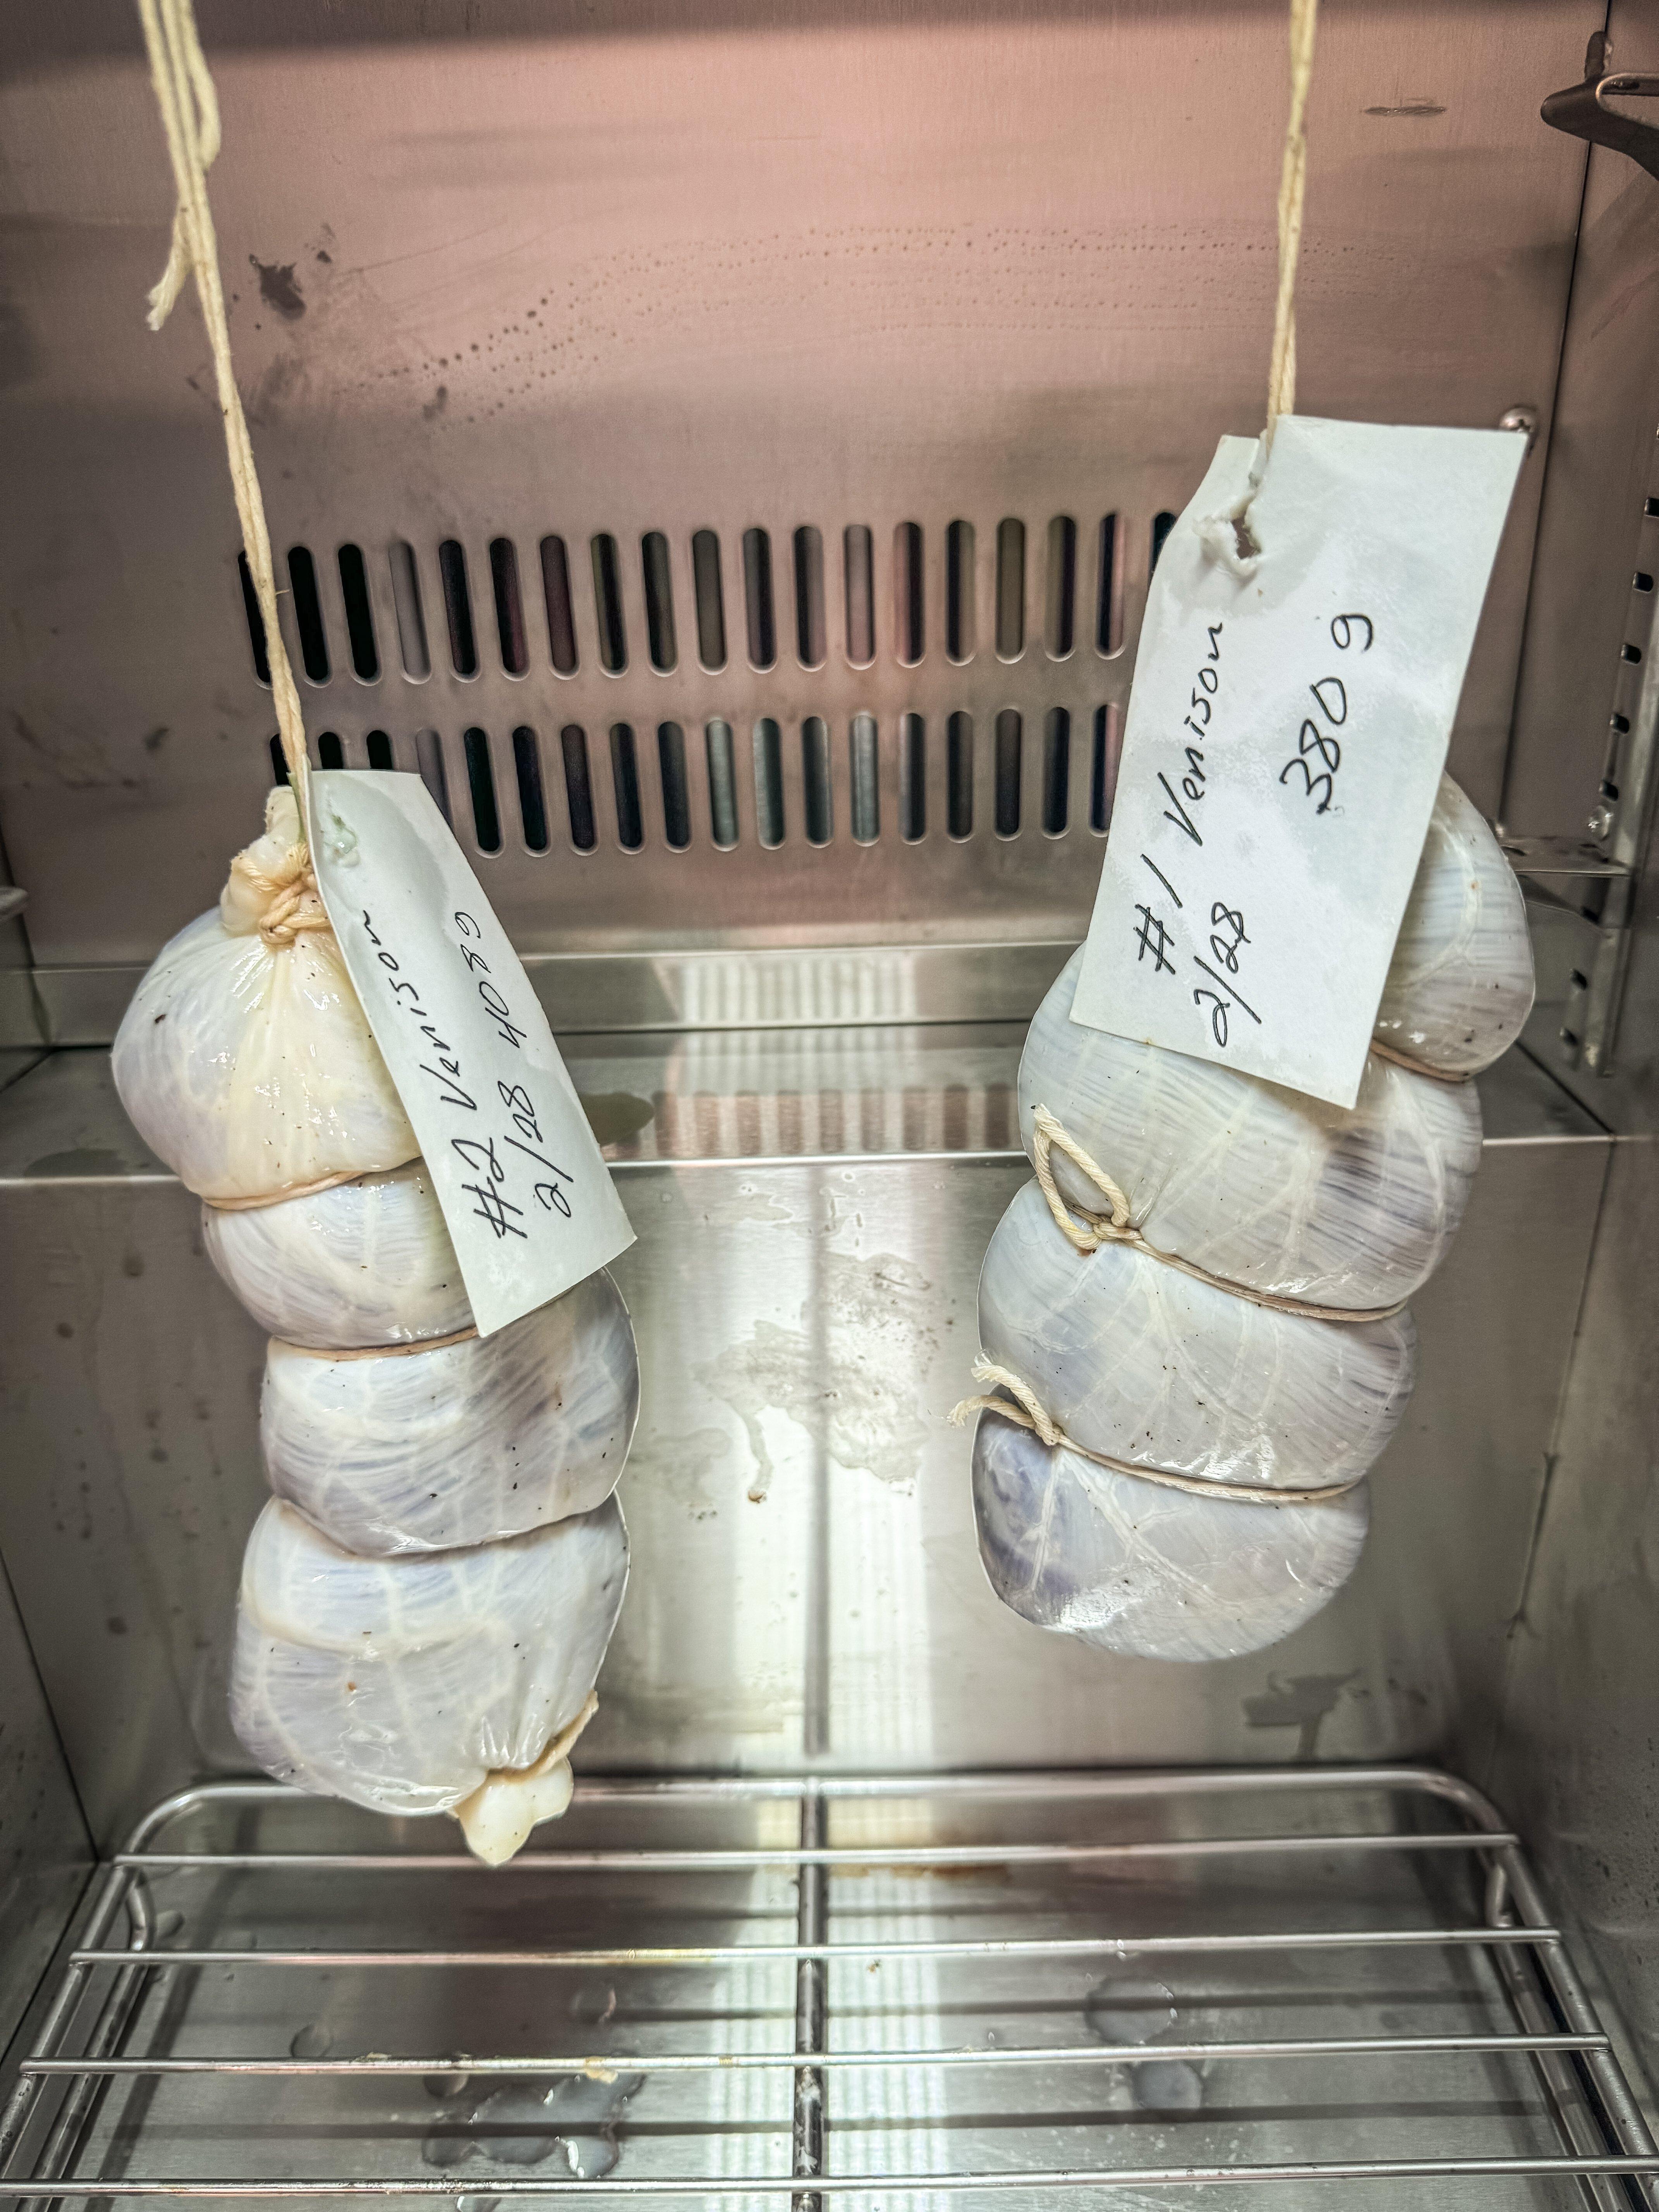
Weigh and tag everything at each step. Image by Michael Pendley
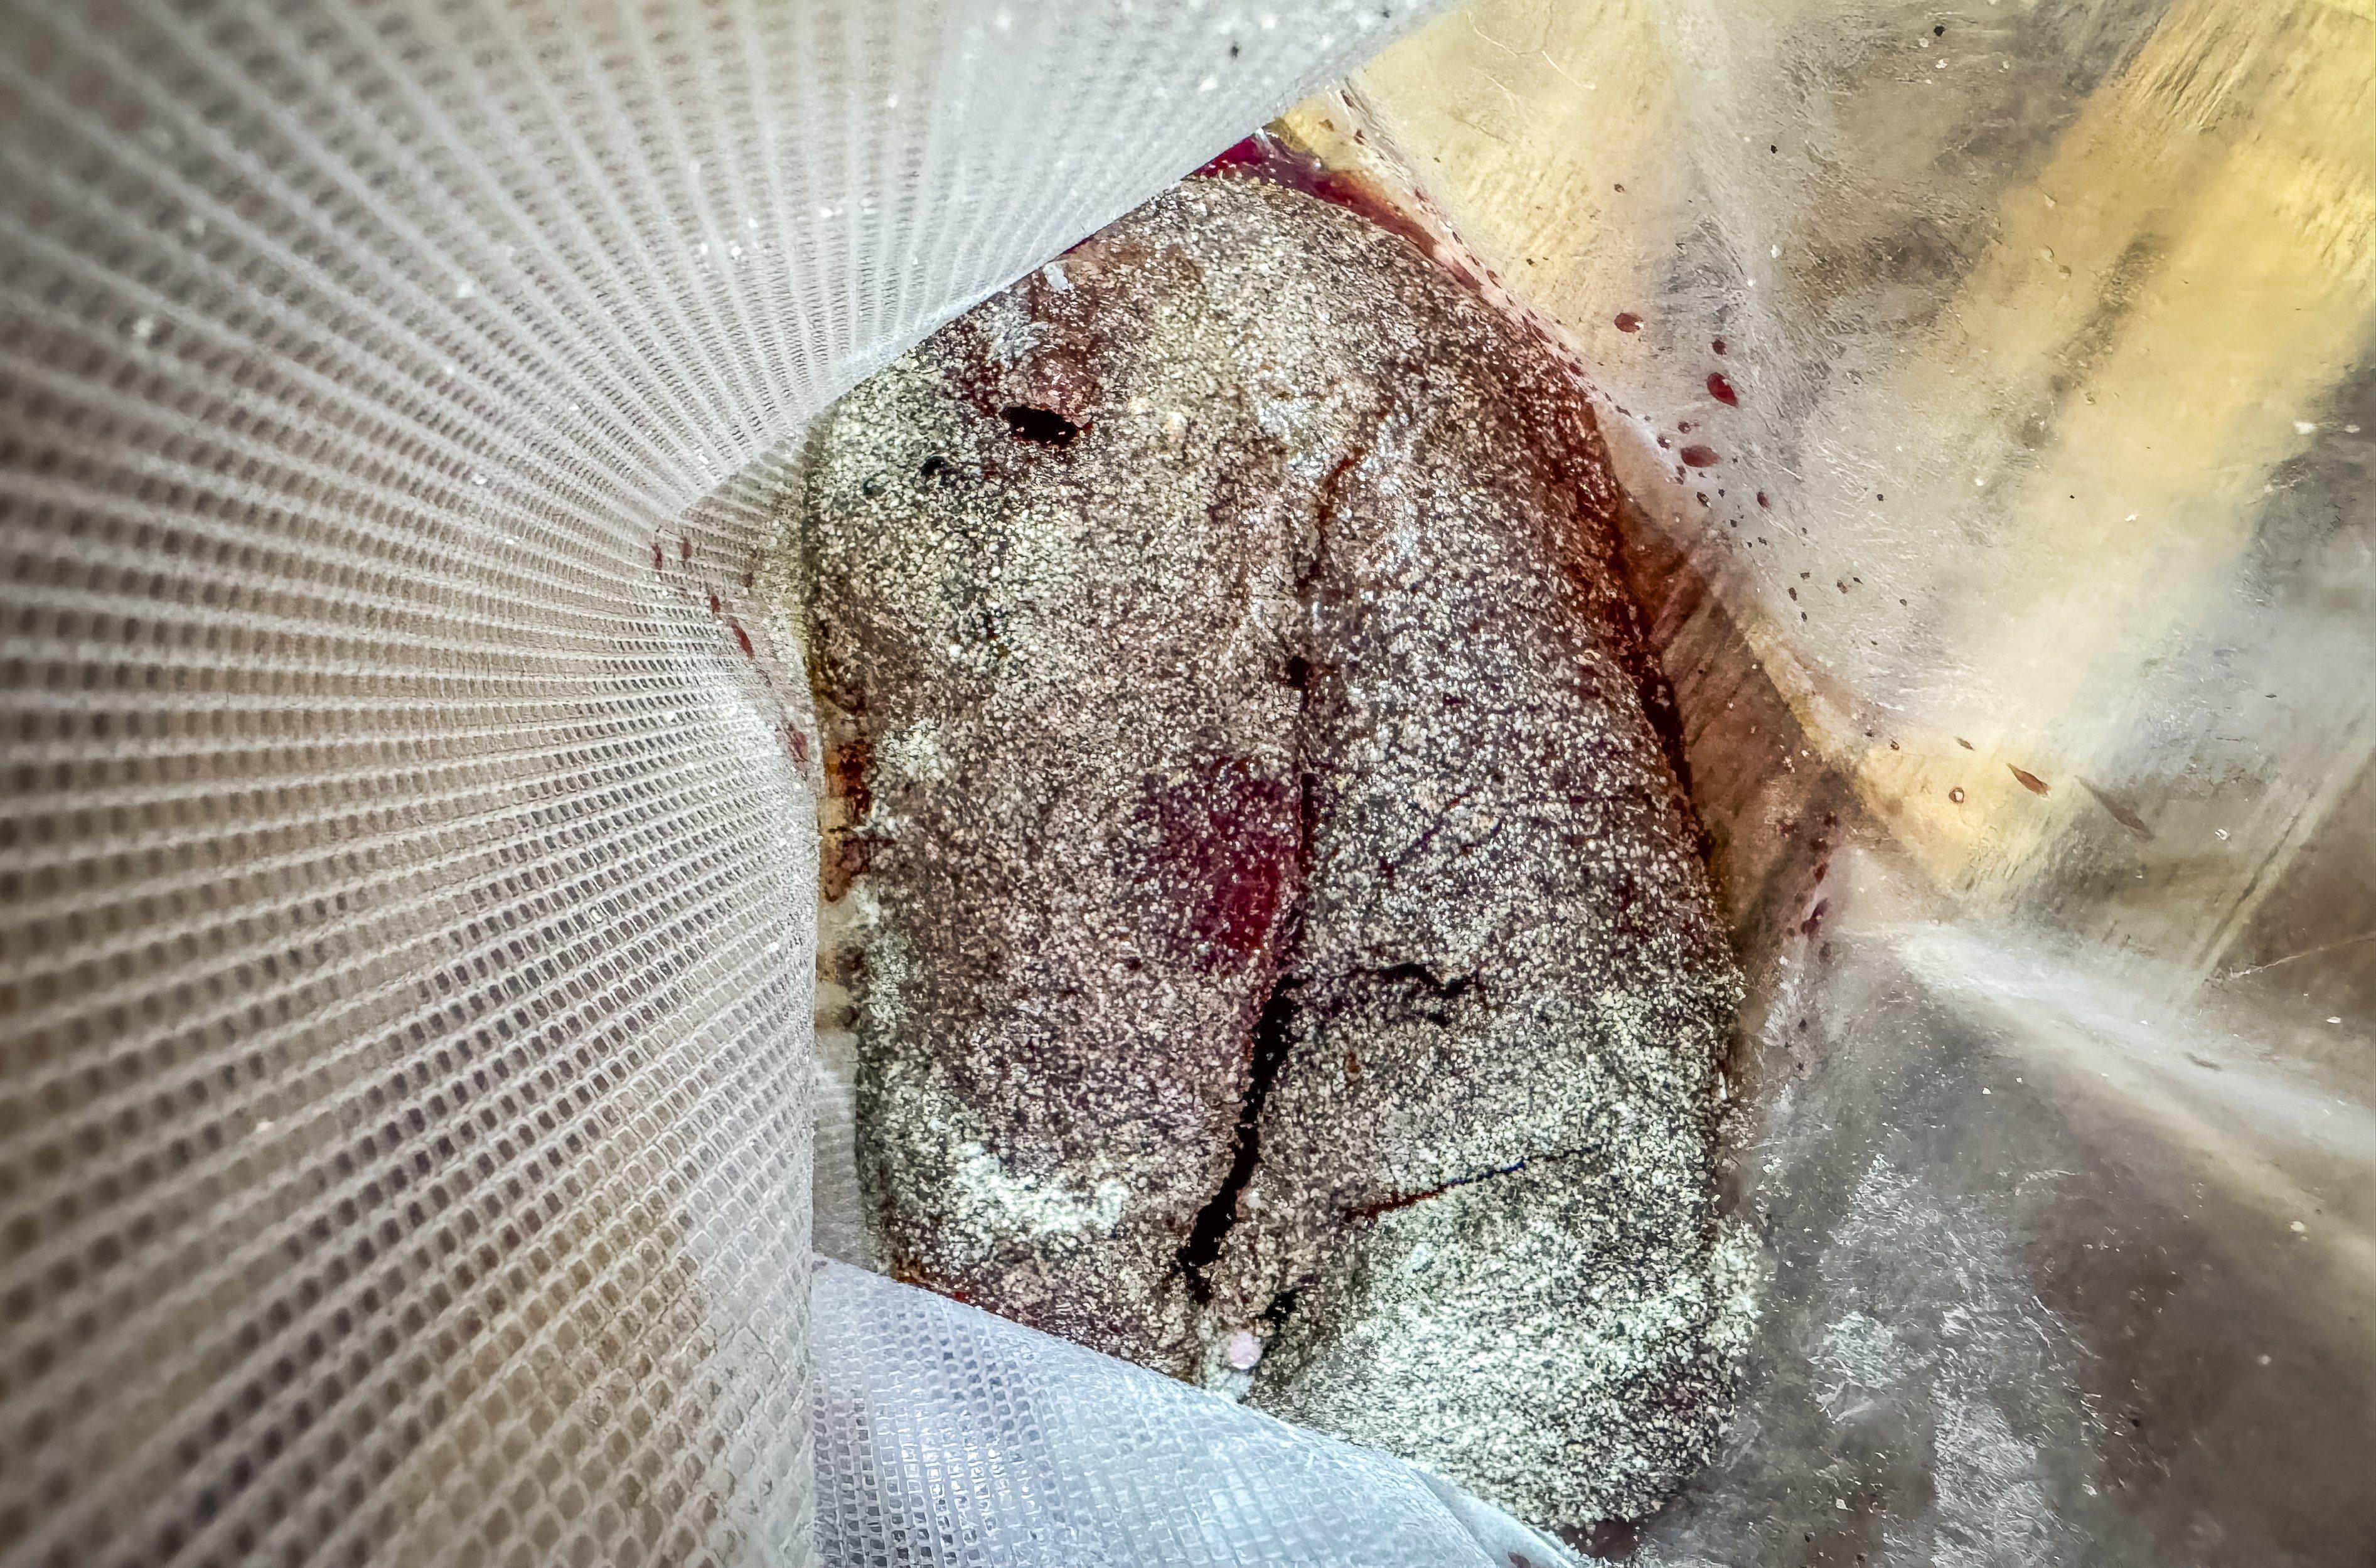
Once you have the meat tagged, hang it in the curing chamber and set the temperature to 50 degrees and 75% humidity. Start checking weights after 2 weeks. Venison bresaola is better when it is slightly drier than its beef counterpart. Once it has lost 45% of the starting weight, it is ready to eat.
Once the meat has cured and dried to the point that it has lost around 45% of its starting weight, it is ready. Image by Michael Pendley
Use a sharp knife to remove the twine and make a shallow slit down one side of the casing. Peel it away from the bresaola. If the dried casing doesn’t want to peel away, Jagoda recommends wrapping it in a damp paper towel for a few minutes to soften.
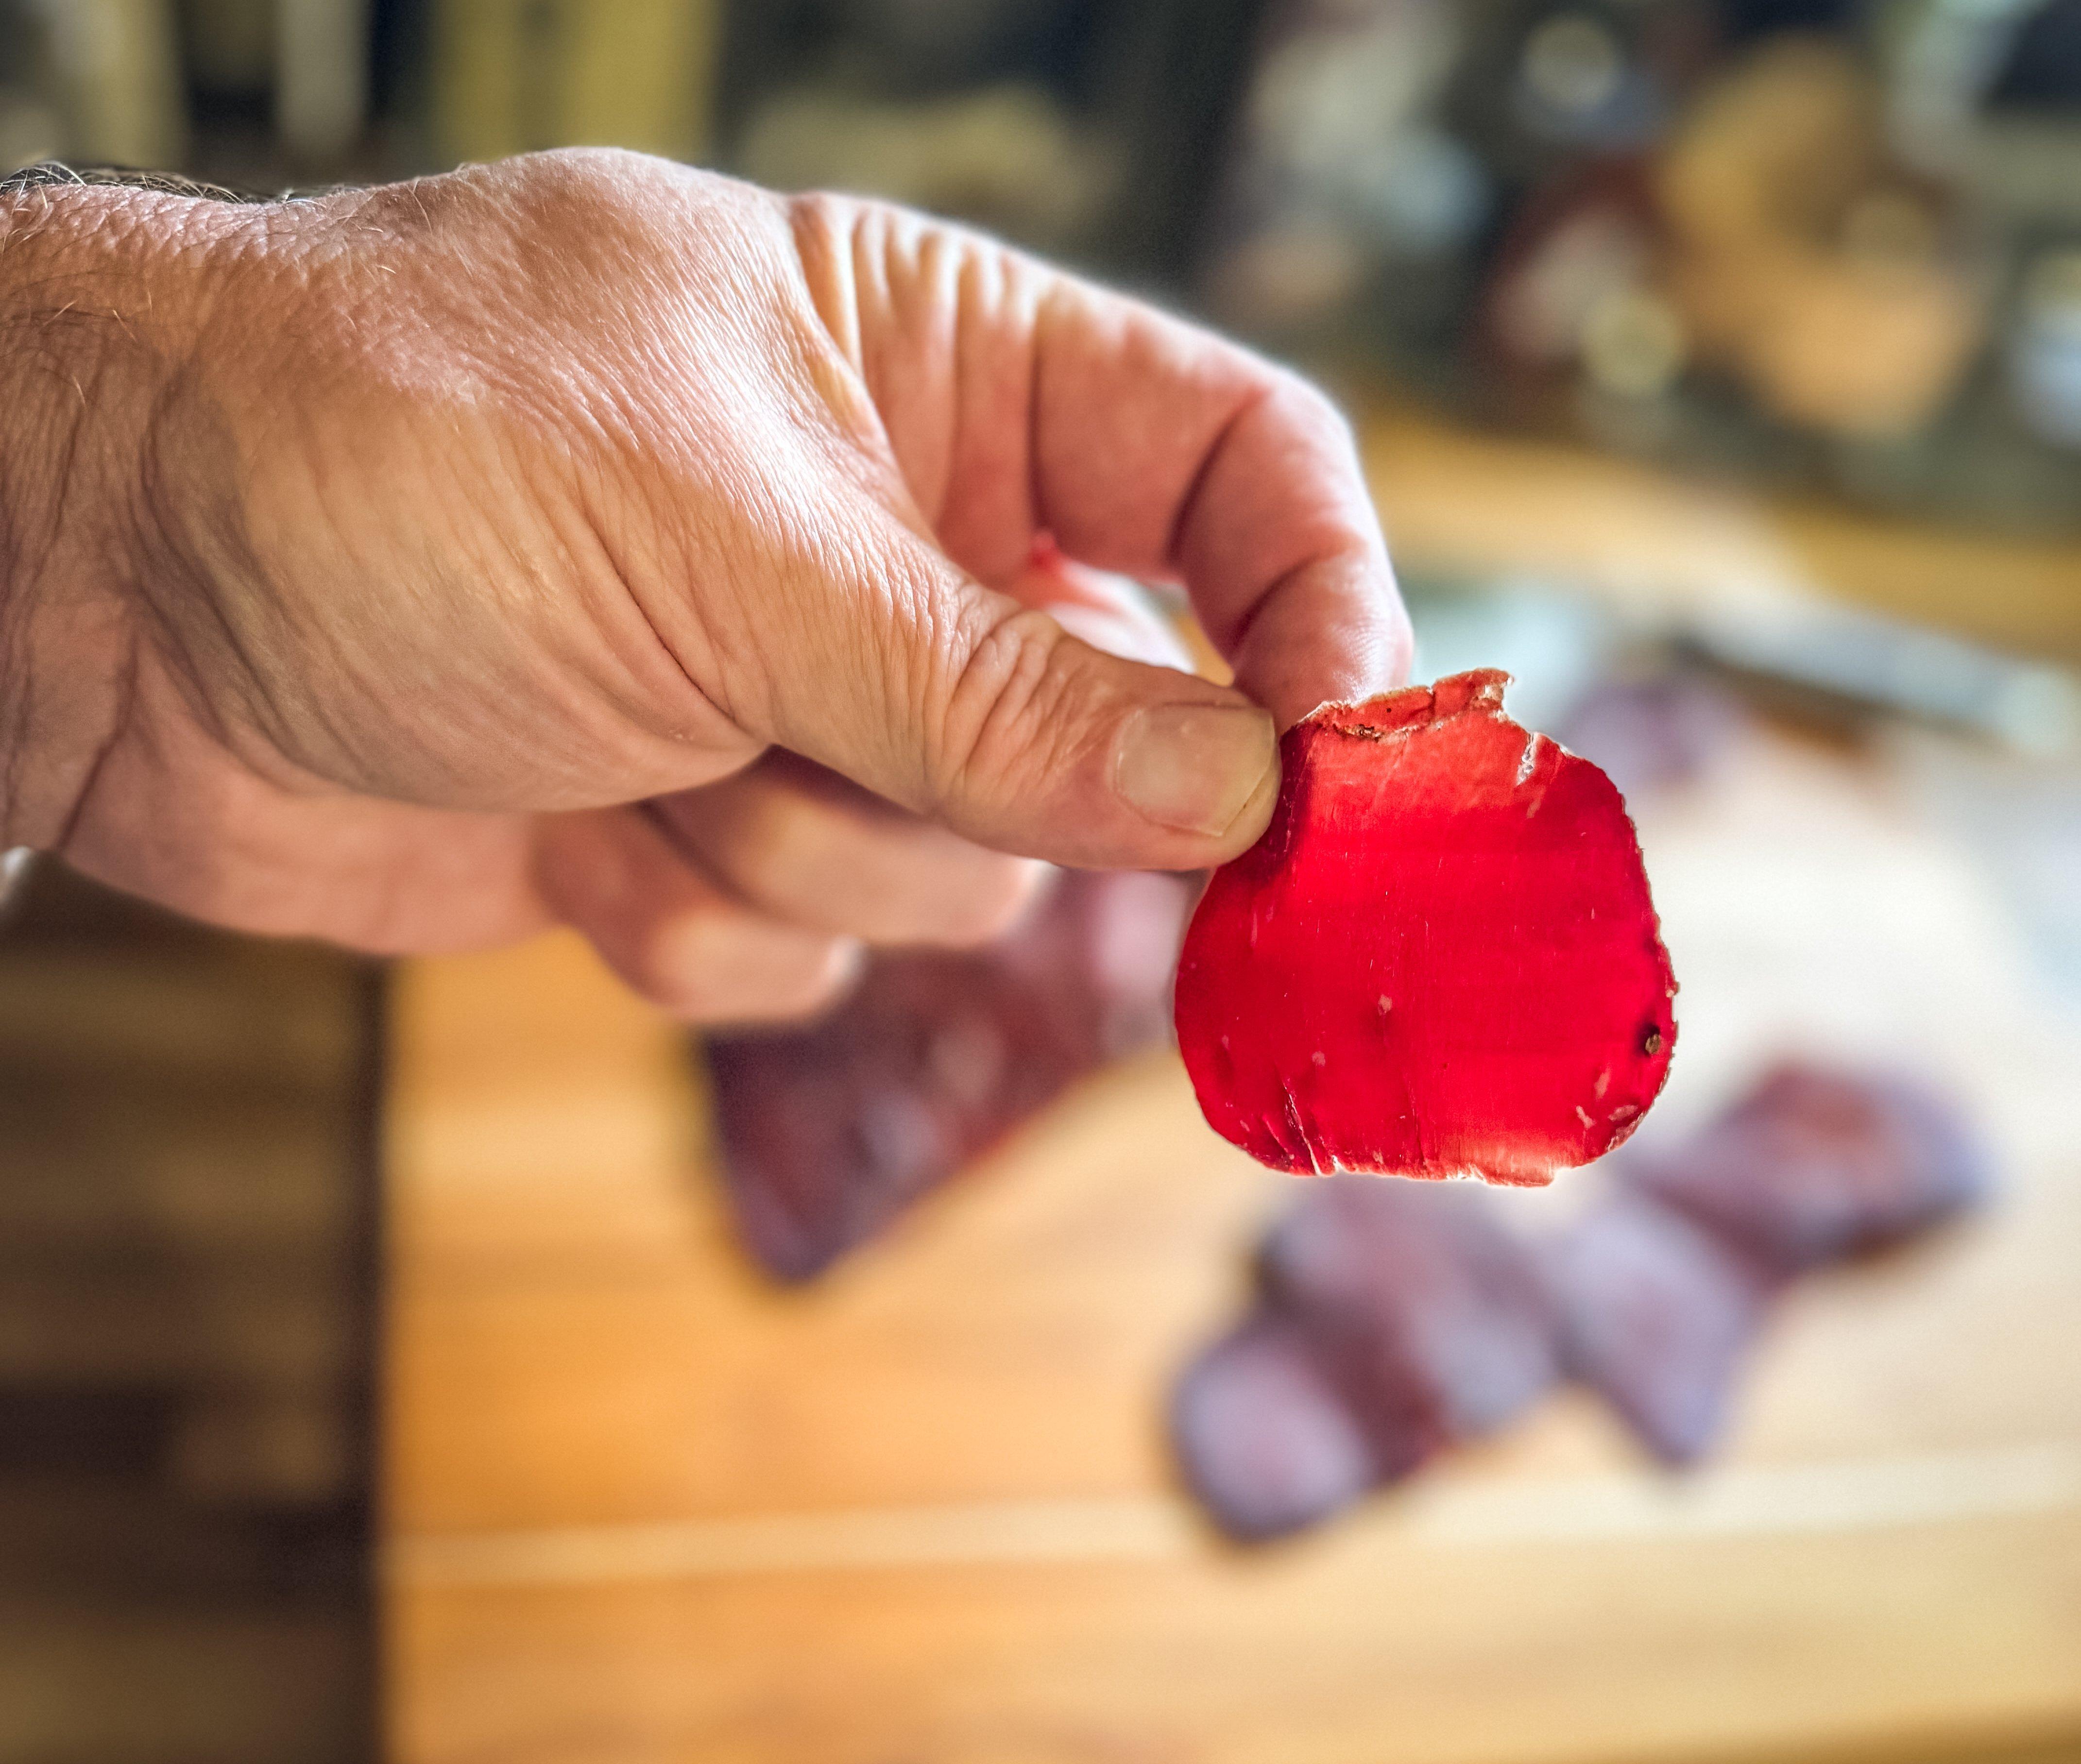
Once the casing is off, use a razor-sharp knife to thinly slice the meat.
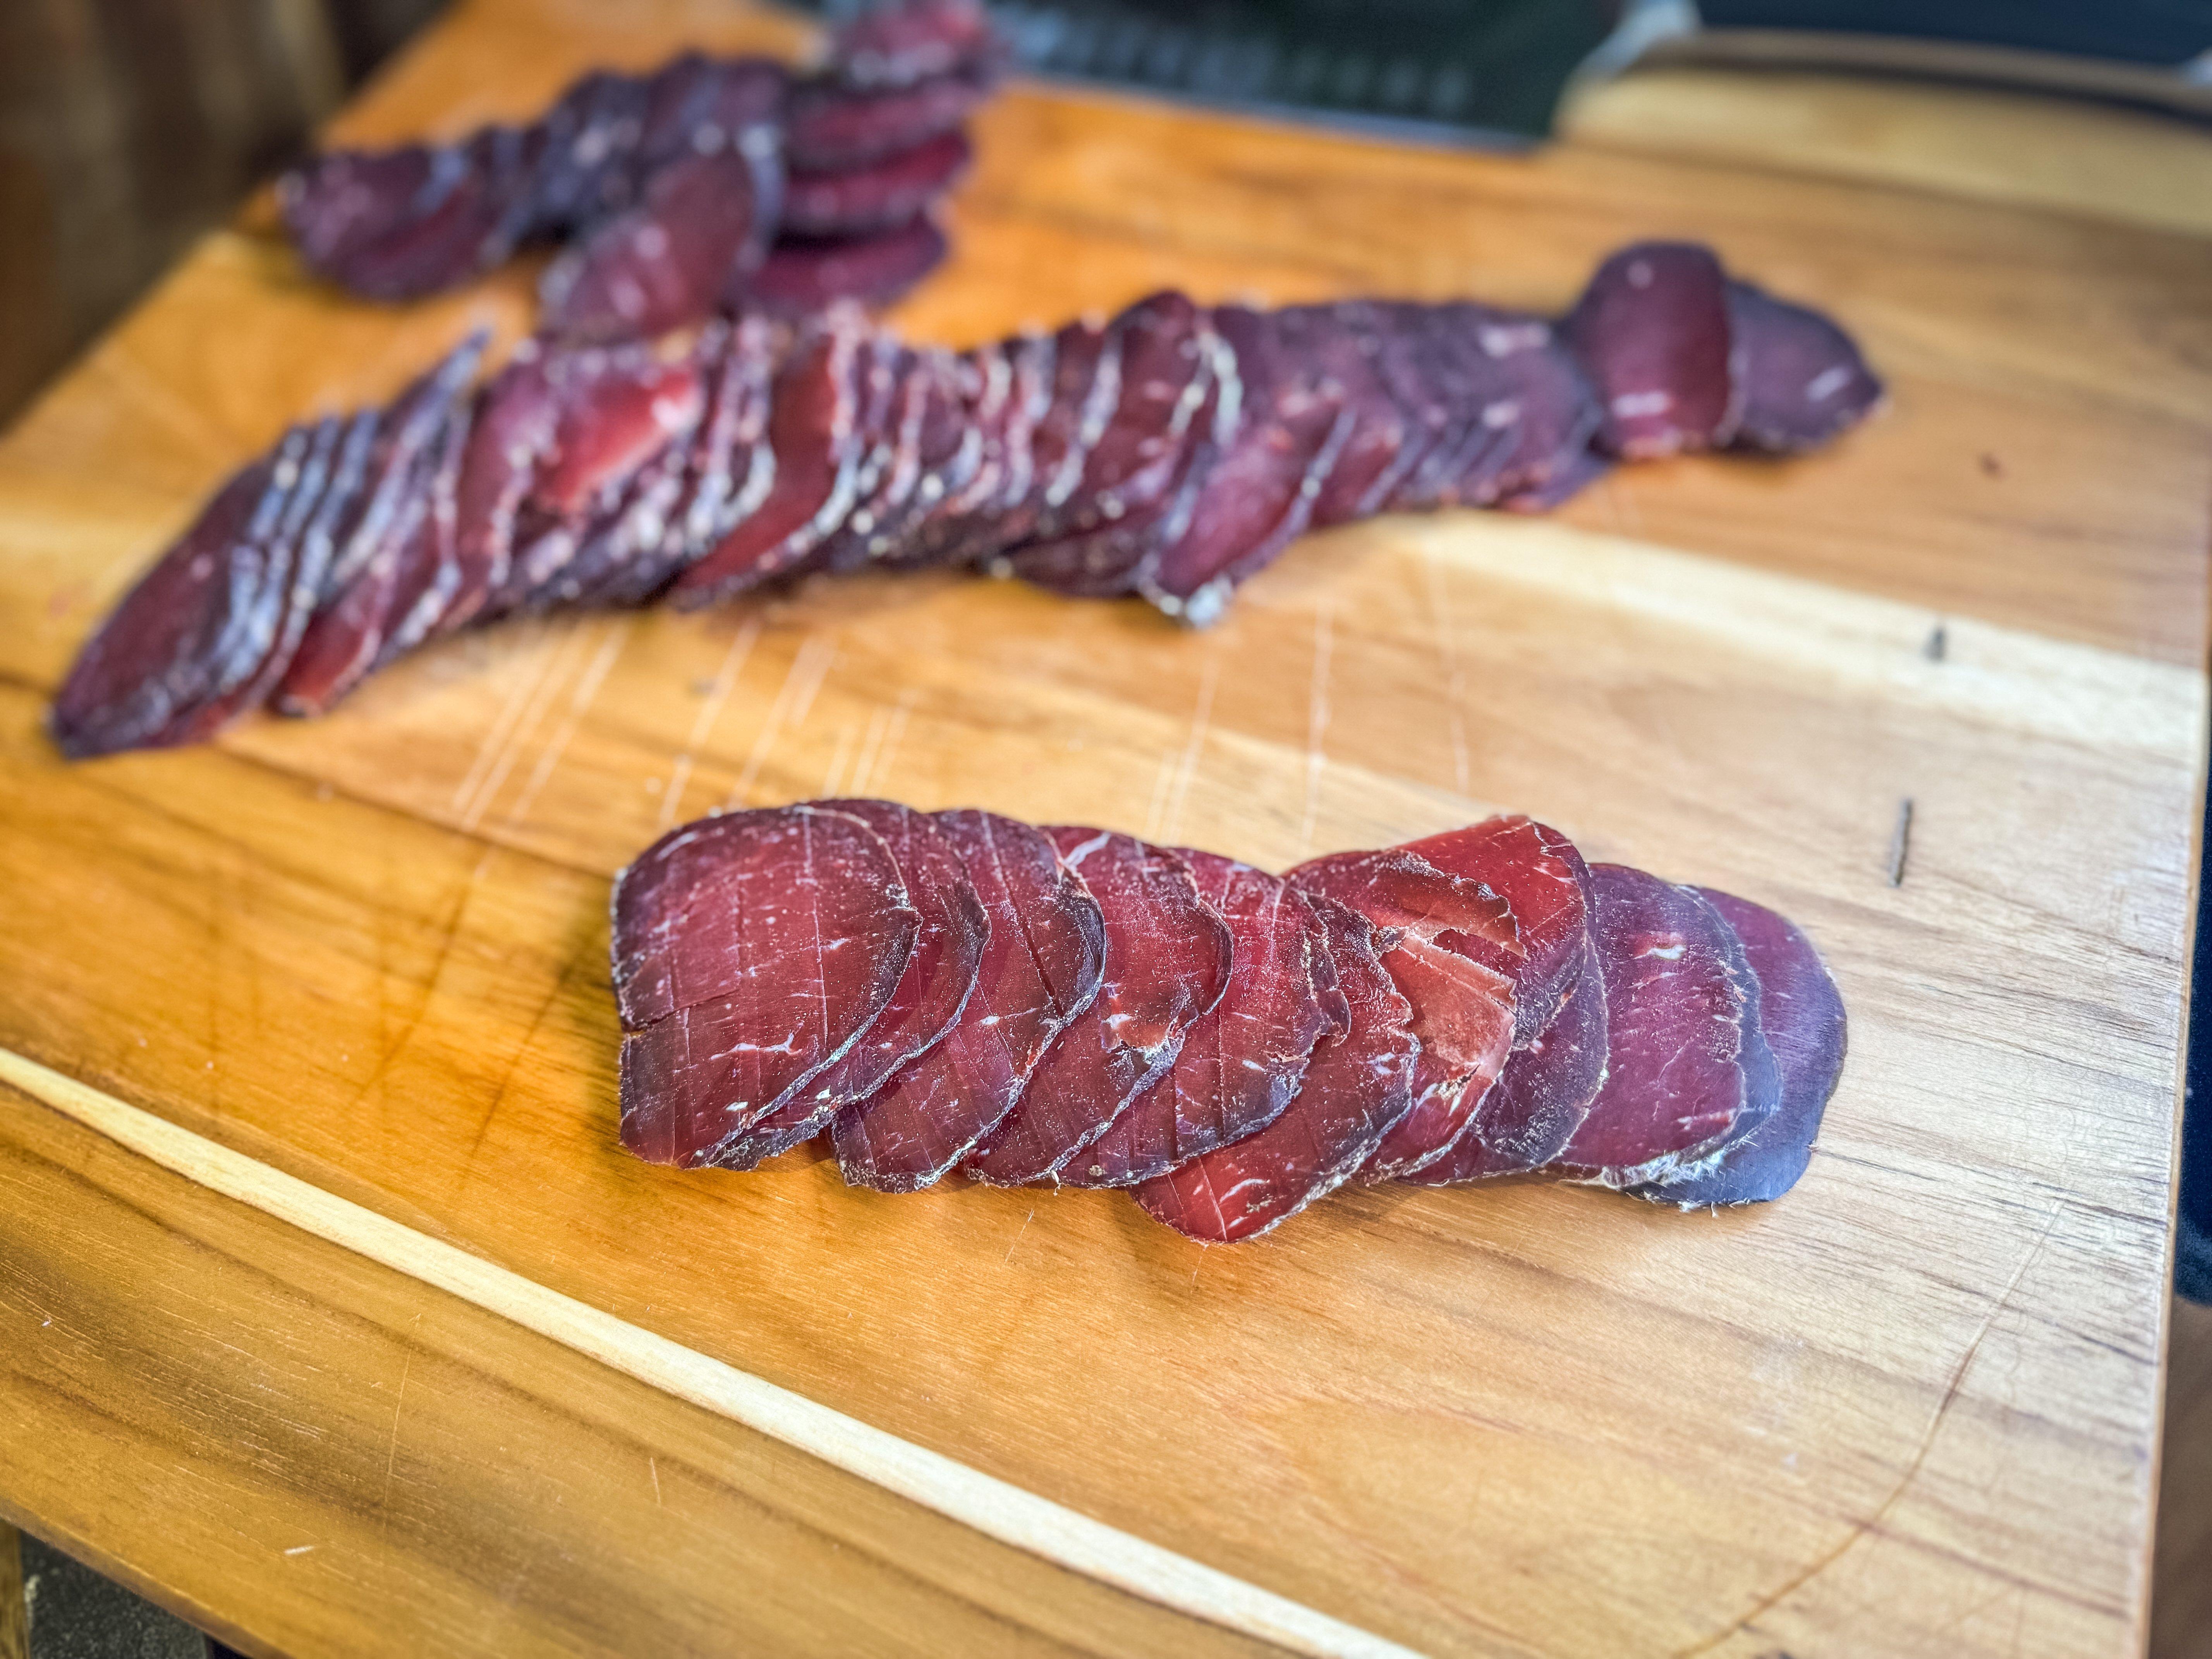
Use a sharp knife to slice the bresaola thinly against the grain. Image by Michael Pendley
The thinner, the better. I like to be able to see through the slices when I hold them up to the light.
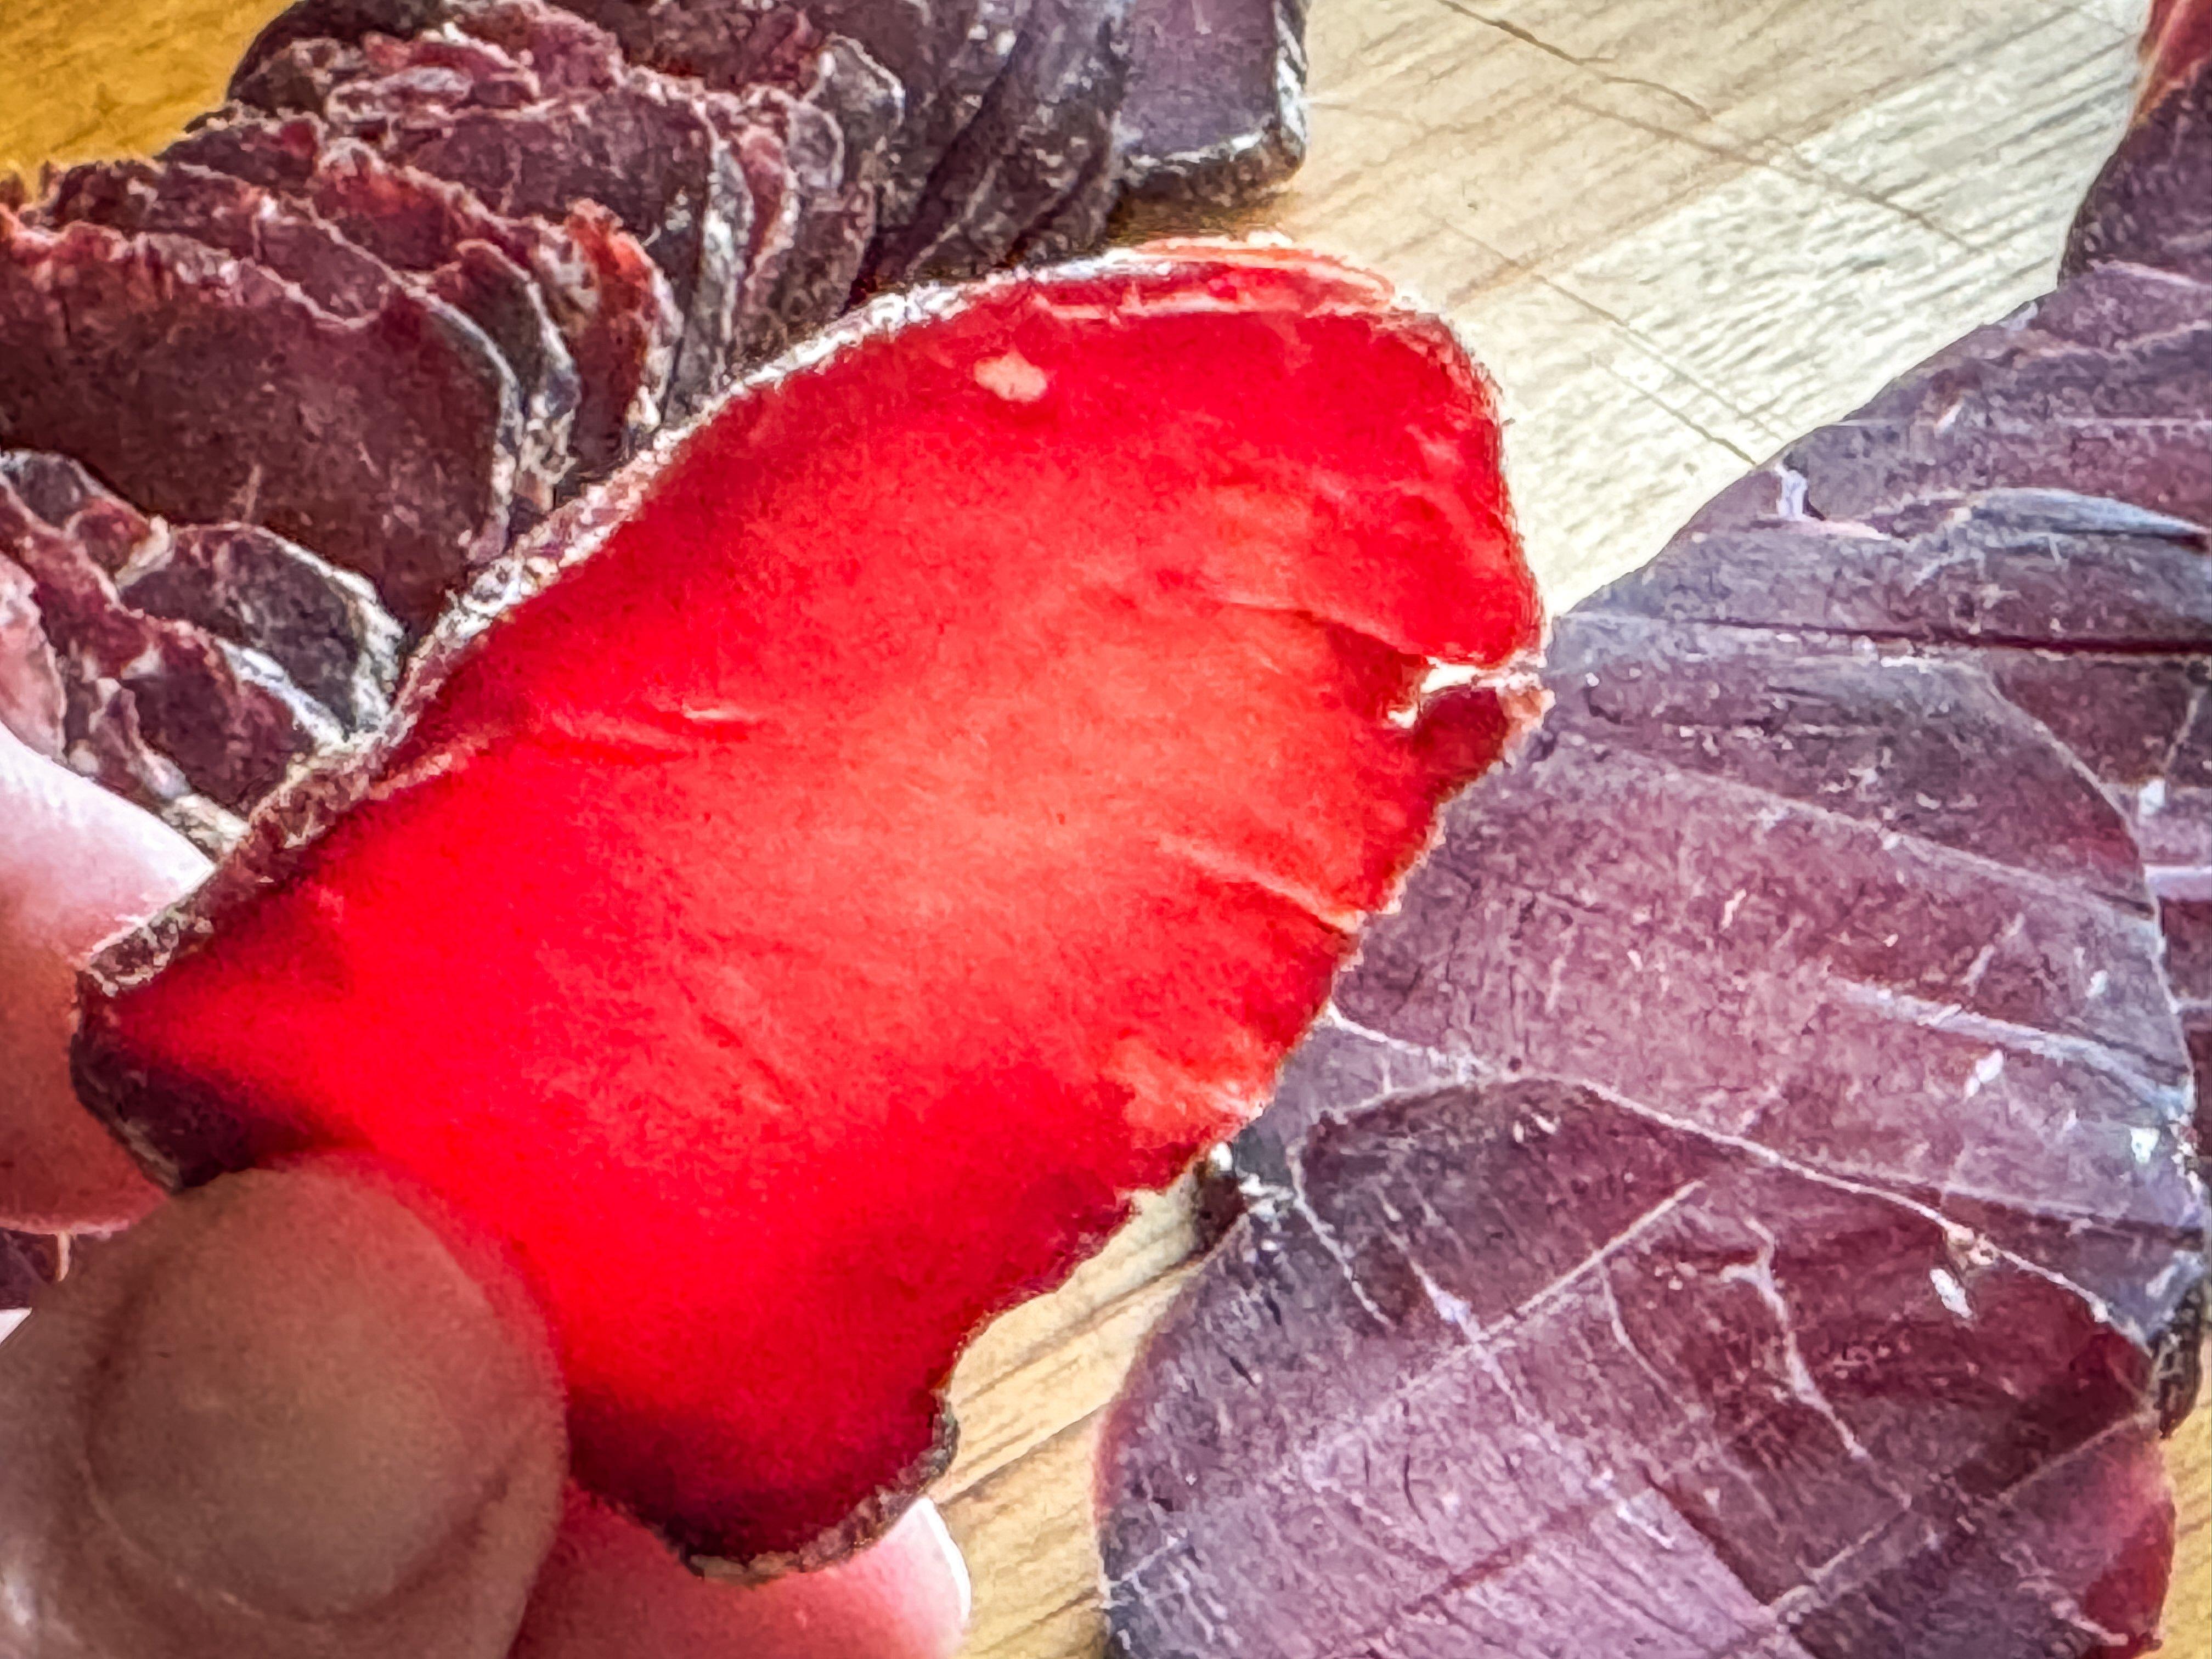
For best texture and maximum flavor, slice the meat thin enough that light shows through it. Image by Michael Pendley
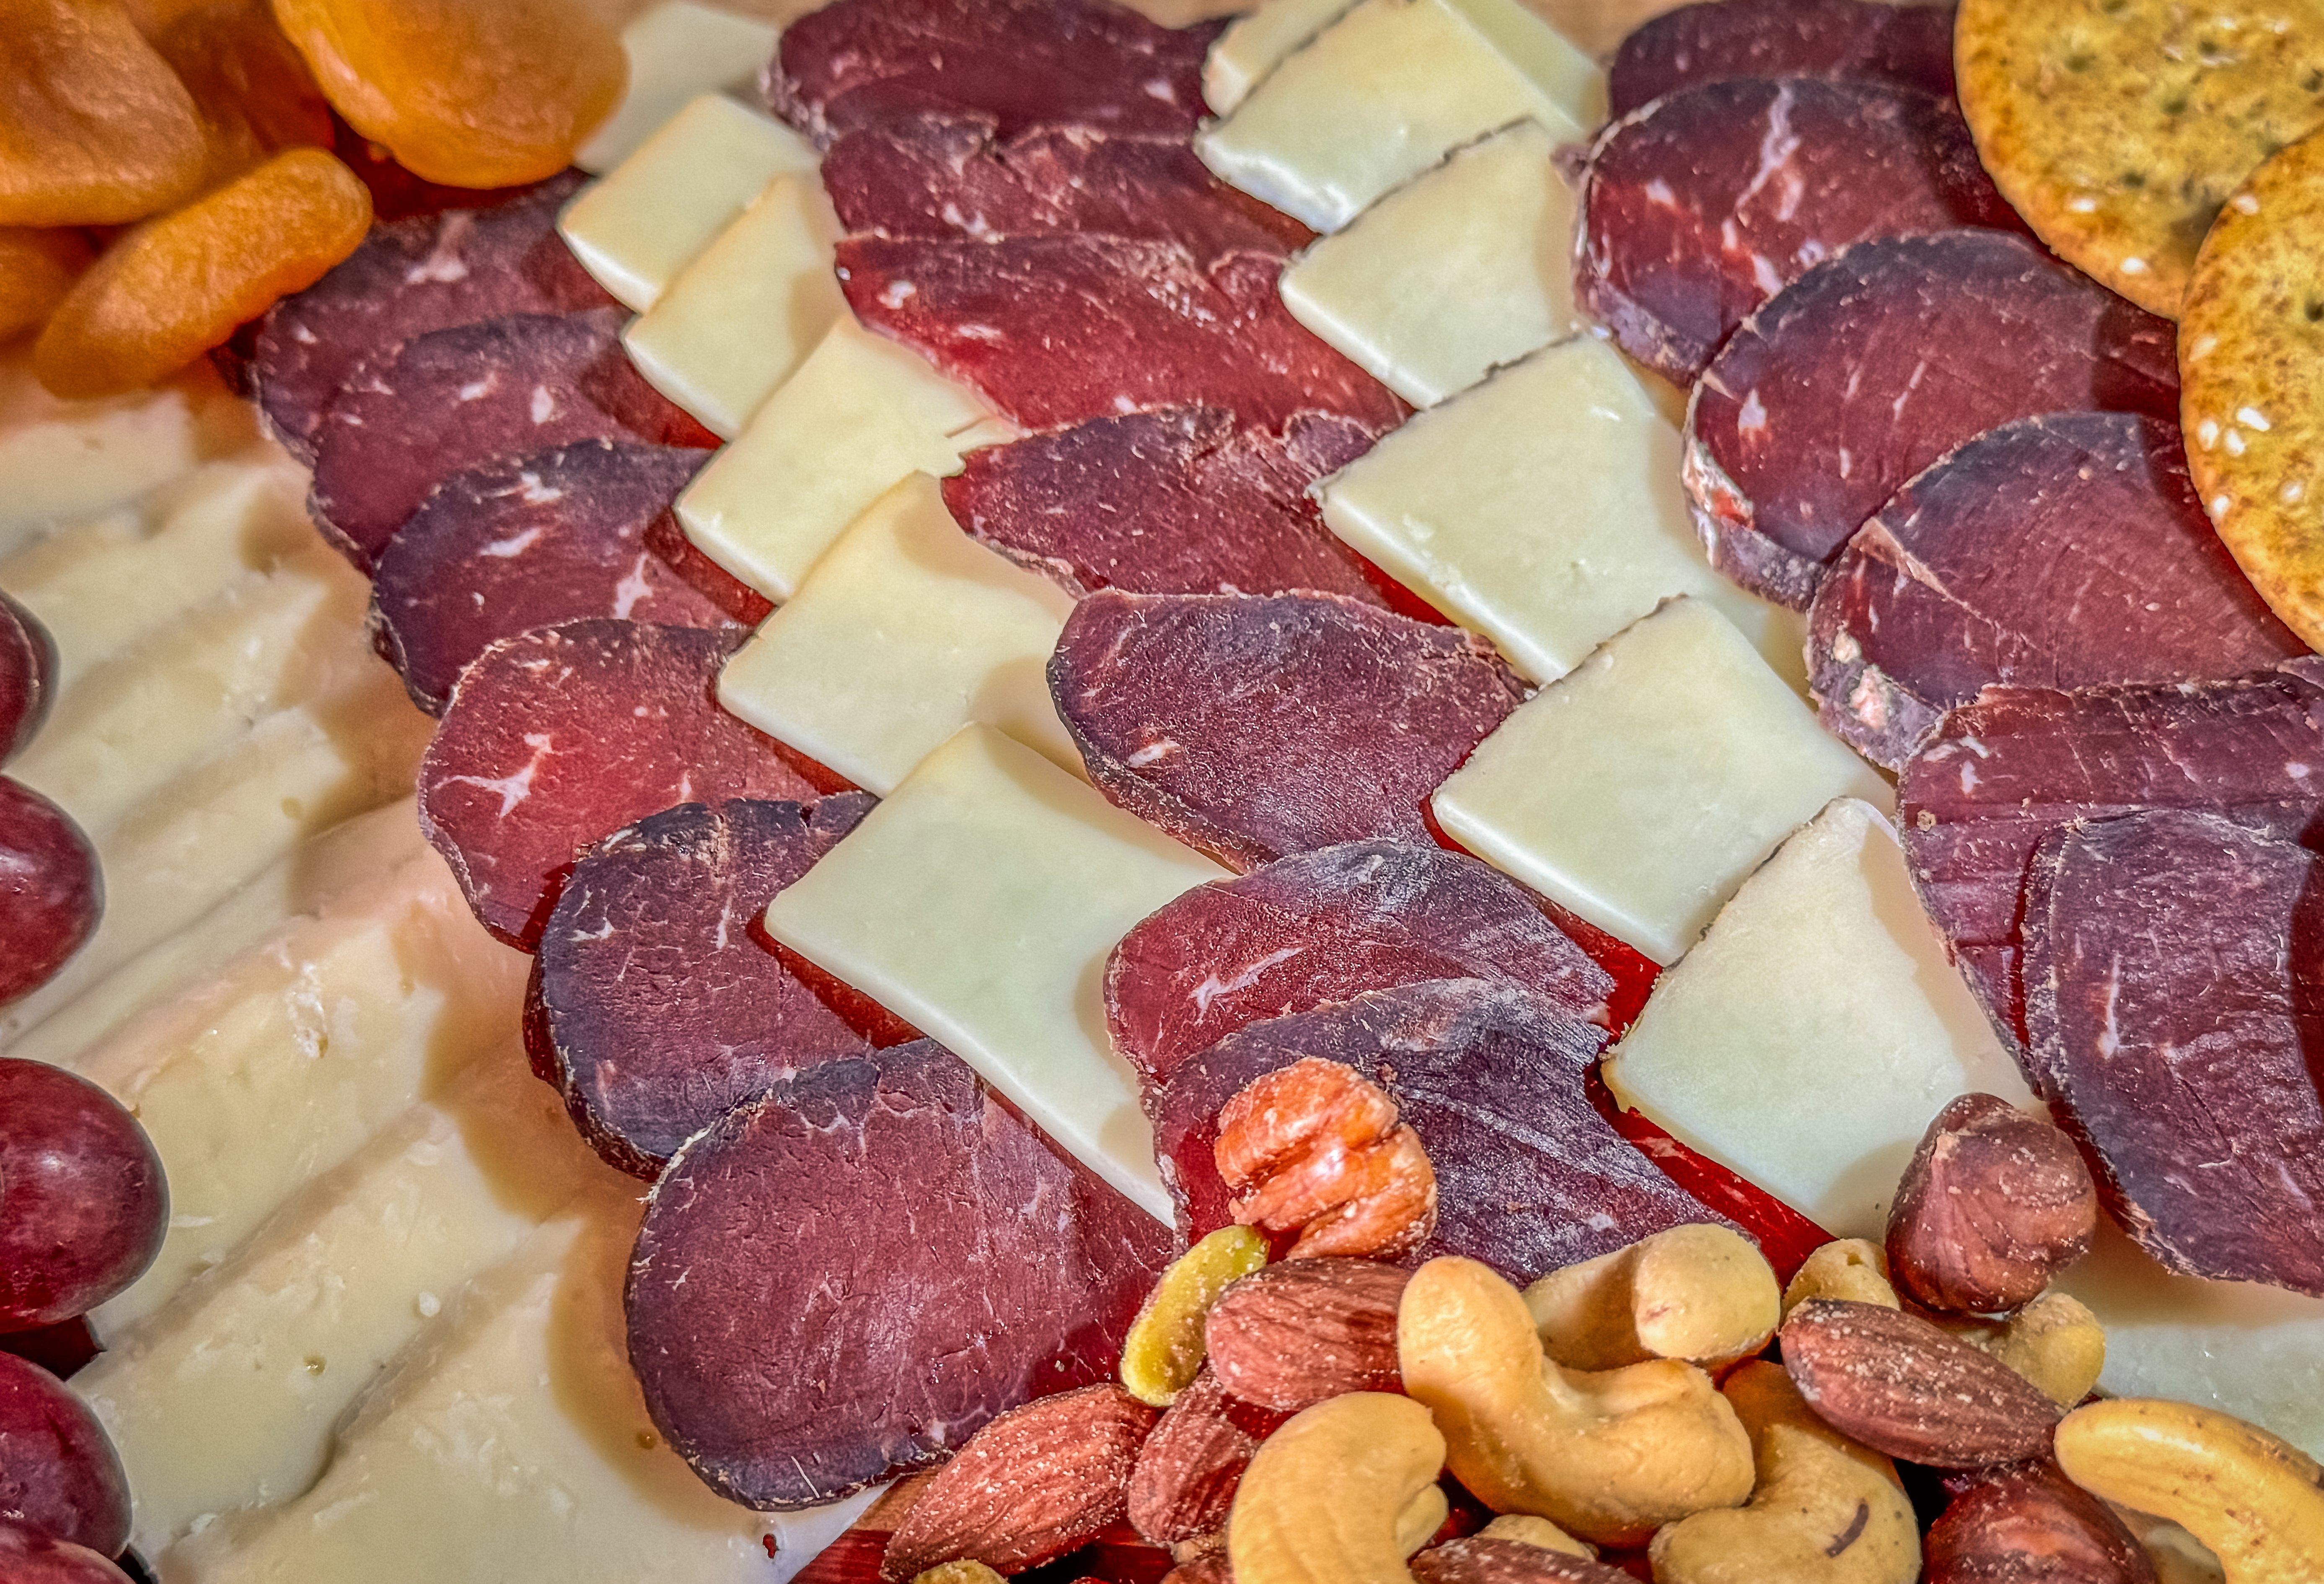
Serve the bresaola on a charcuterie board with various cheeses, nuts, fresh and dried fruit, crackers, etc. Y’all know the drill on a charcuterie board by now.
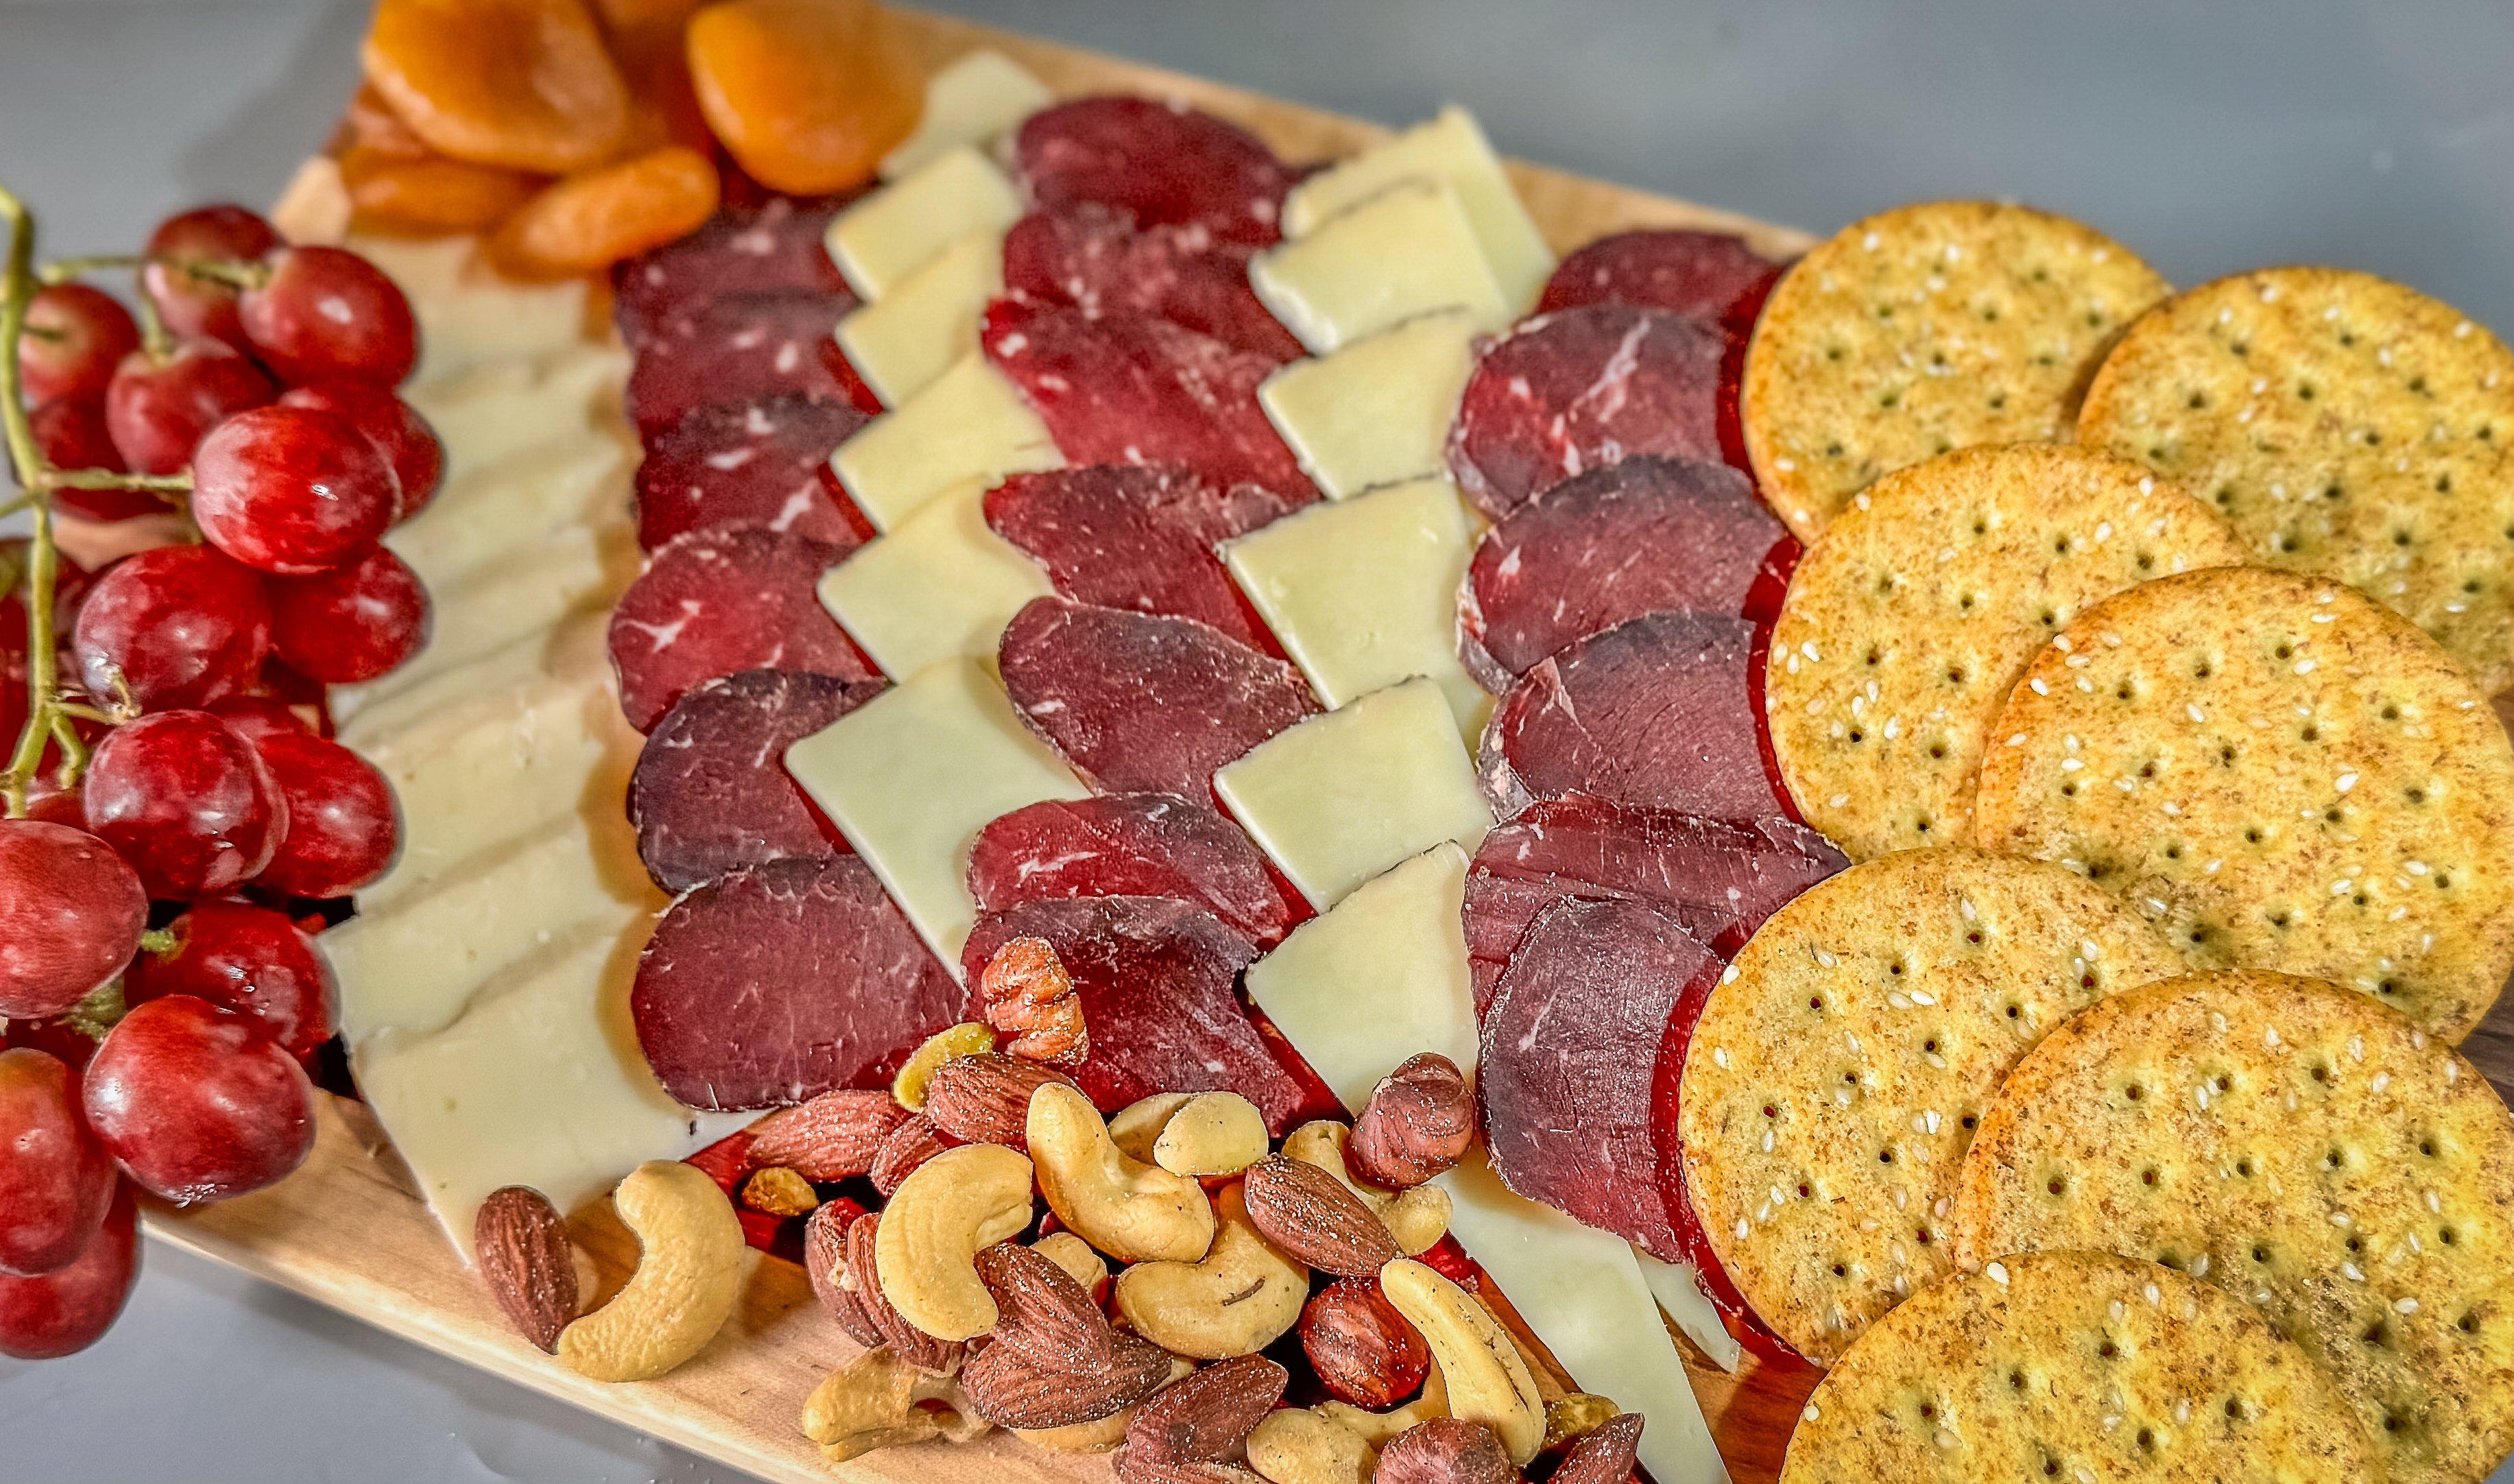
Venison bresaola can star on a charcuterie board at your next get-together. Image by Michael Pendley
Or pack a few slices, a handful of nuts, some crackers, and some dried fruit and head to the woods or out on the water knowing you have a delicious lunch that you don’t have to worry about refrigerating.