This unusual keepsake makes a fun reminder of your turkey hunt and is a constant conversation starter with other hunters
Tail fans, beards, and spurs are the typical trophies hunters love to preserve and keep as memories of a successful turkey hunt. But have you ever thought of saving the gizzard stones? They look cool, are easy to preserve and display, and the stones from every turkey are unique.
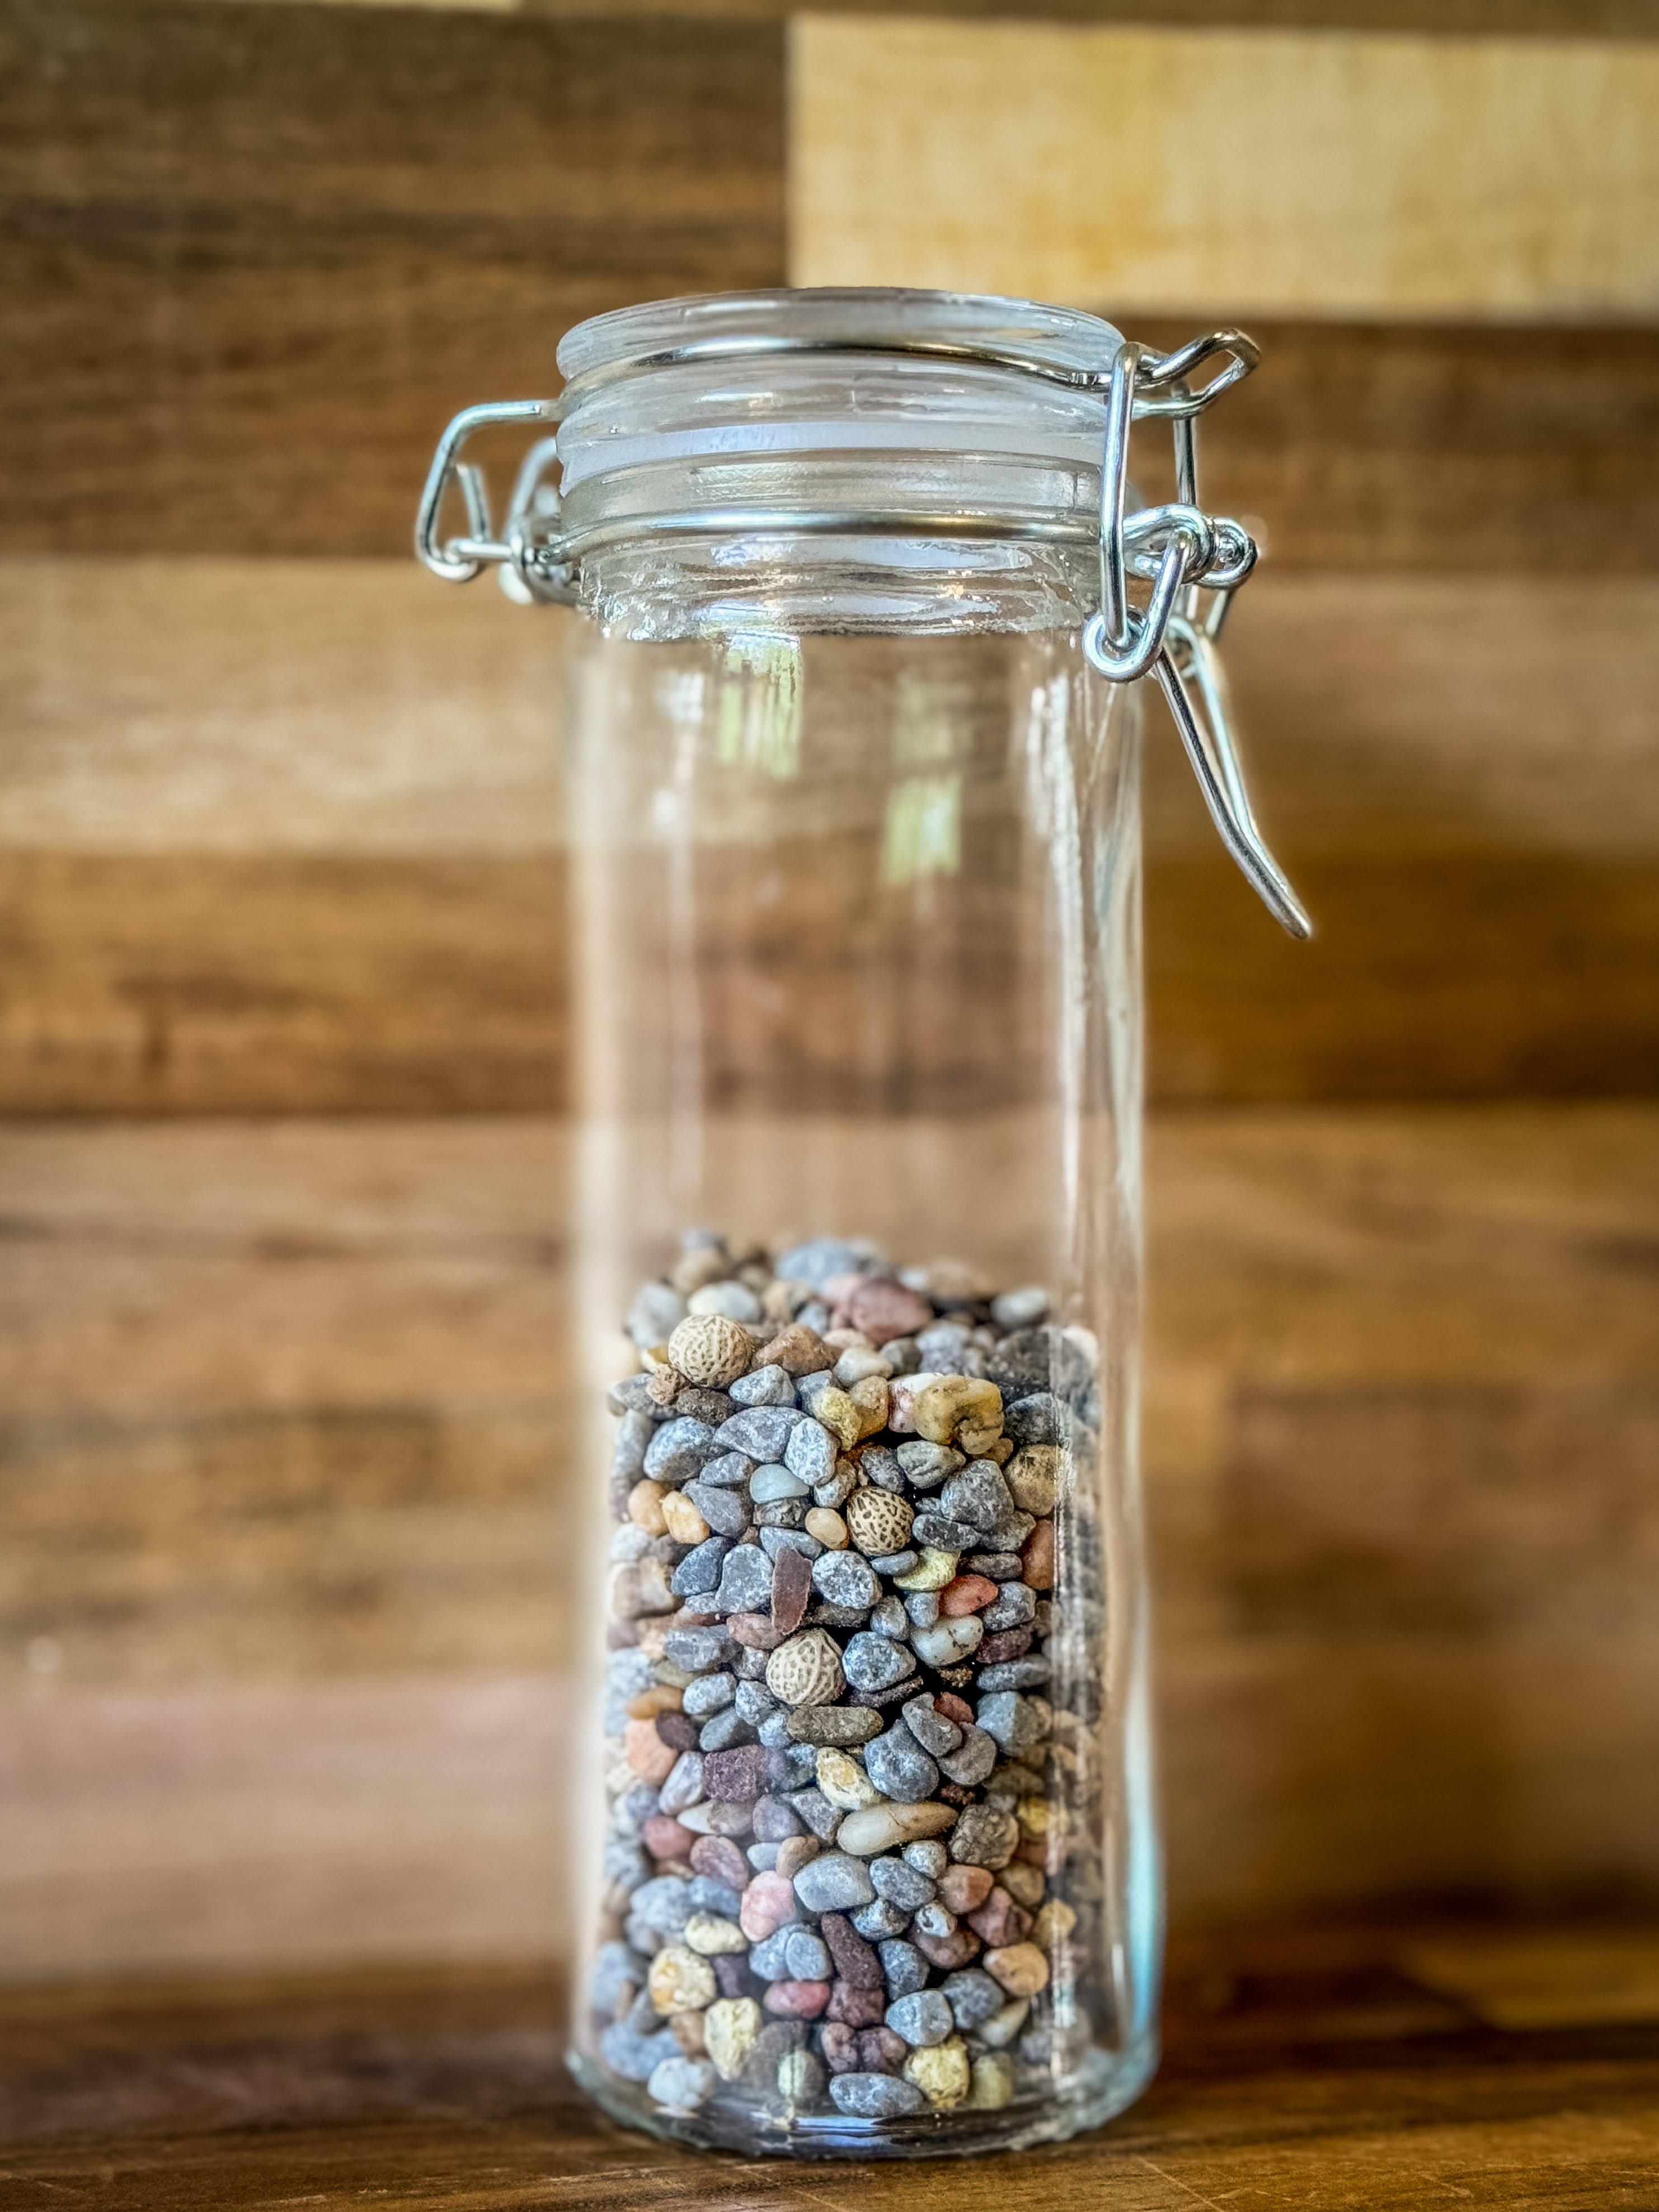
The gizzard stones from each turkey are unique and vary in color and appearance as location changes. Image by Michael Pendley
Of course to get the stones, you have to open up the turkey’s gizzard — an organ that many hunters don’t realize is both edible and delicious. Turkey gizzards are mild, even milder than the more popular chicken gizzards, with an interesting, chewy texture. If you do enjoy eating turkey gizzards, then you already know about the stones they contain. If you don’t, this might be new and interesting information.
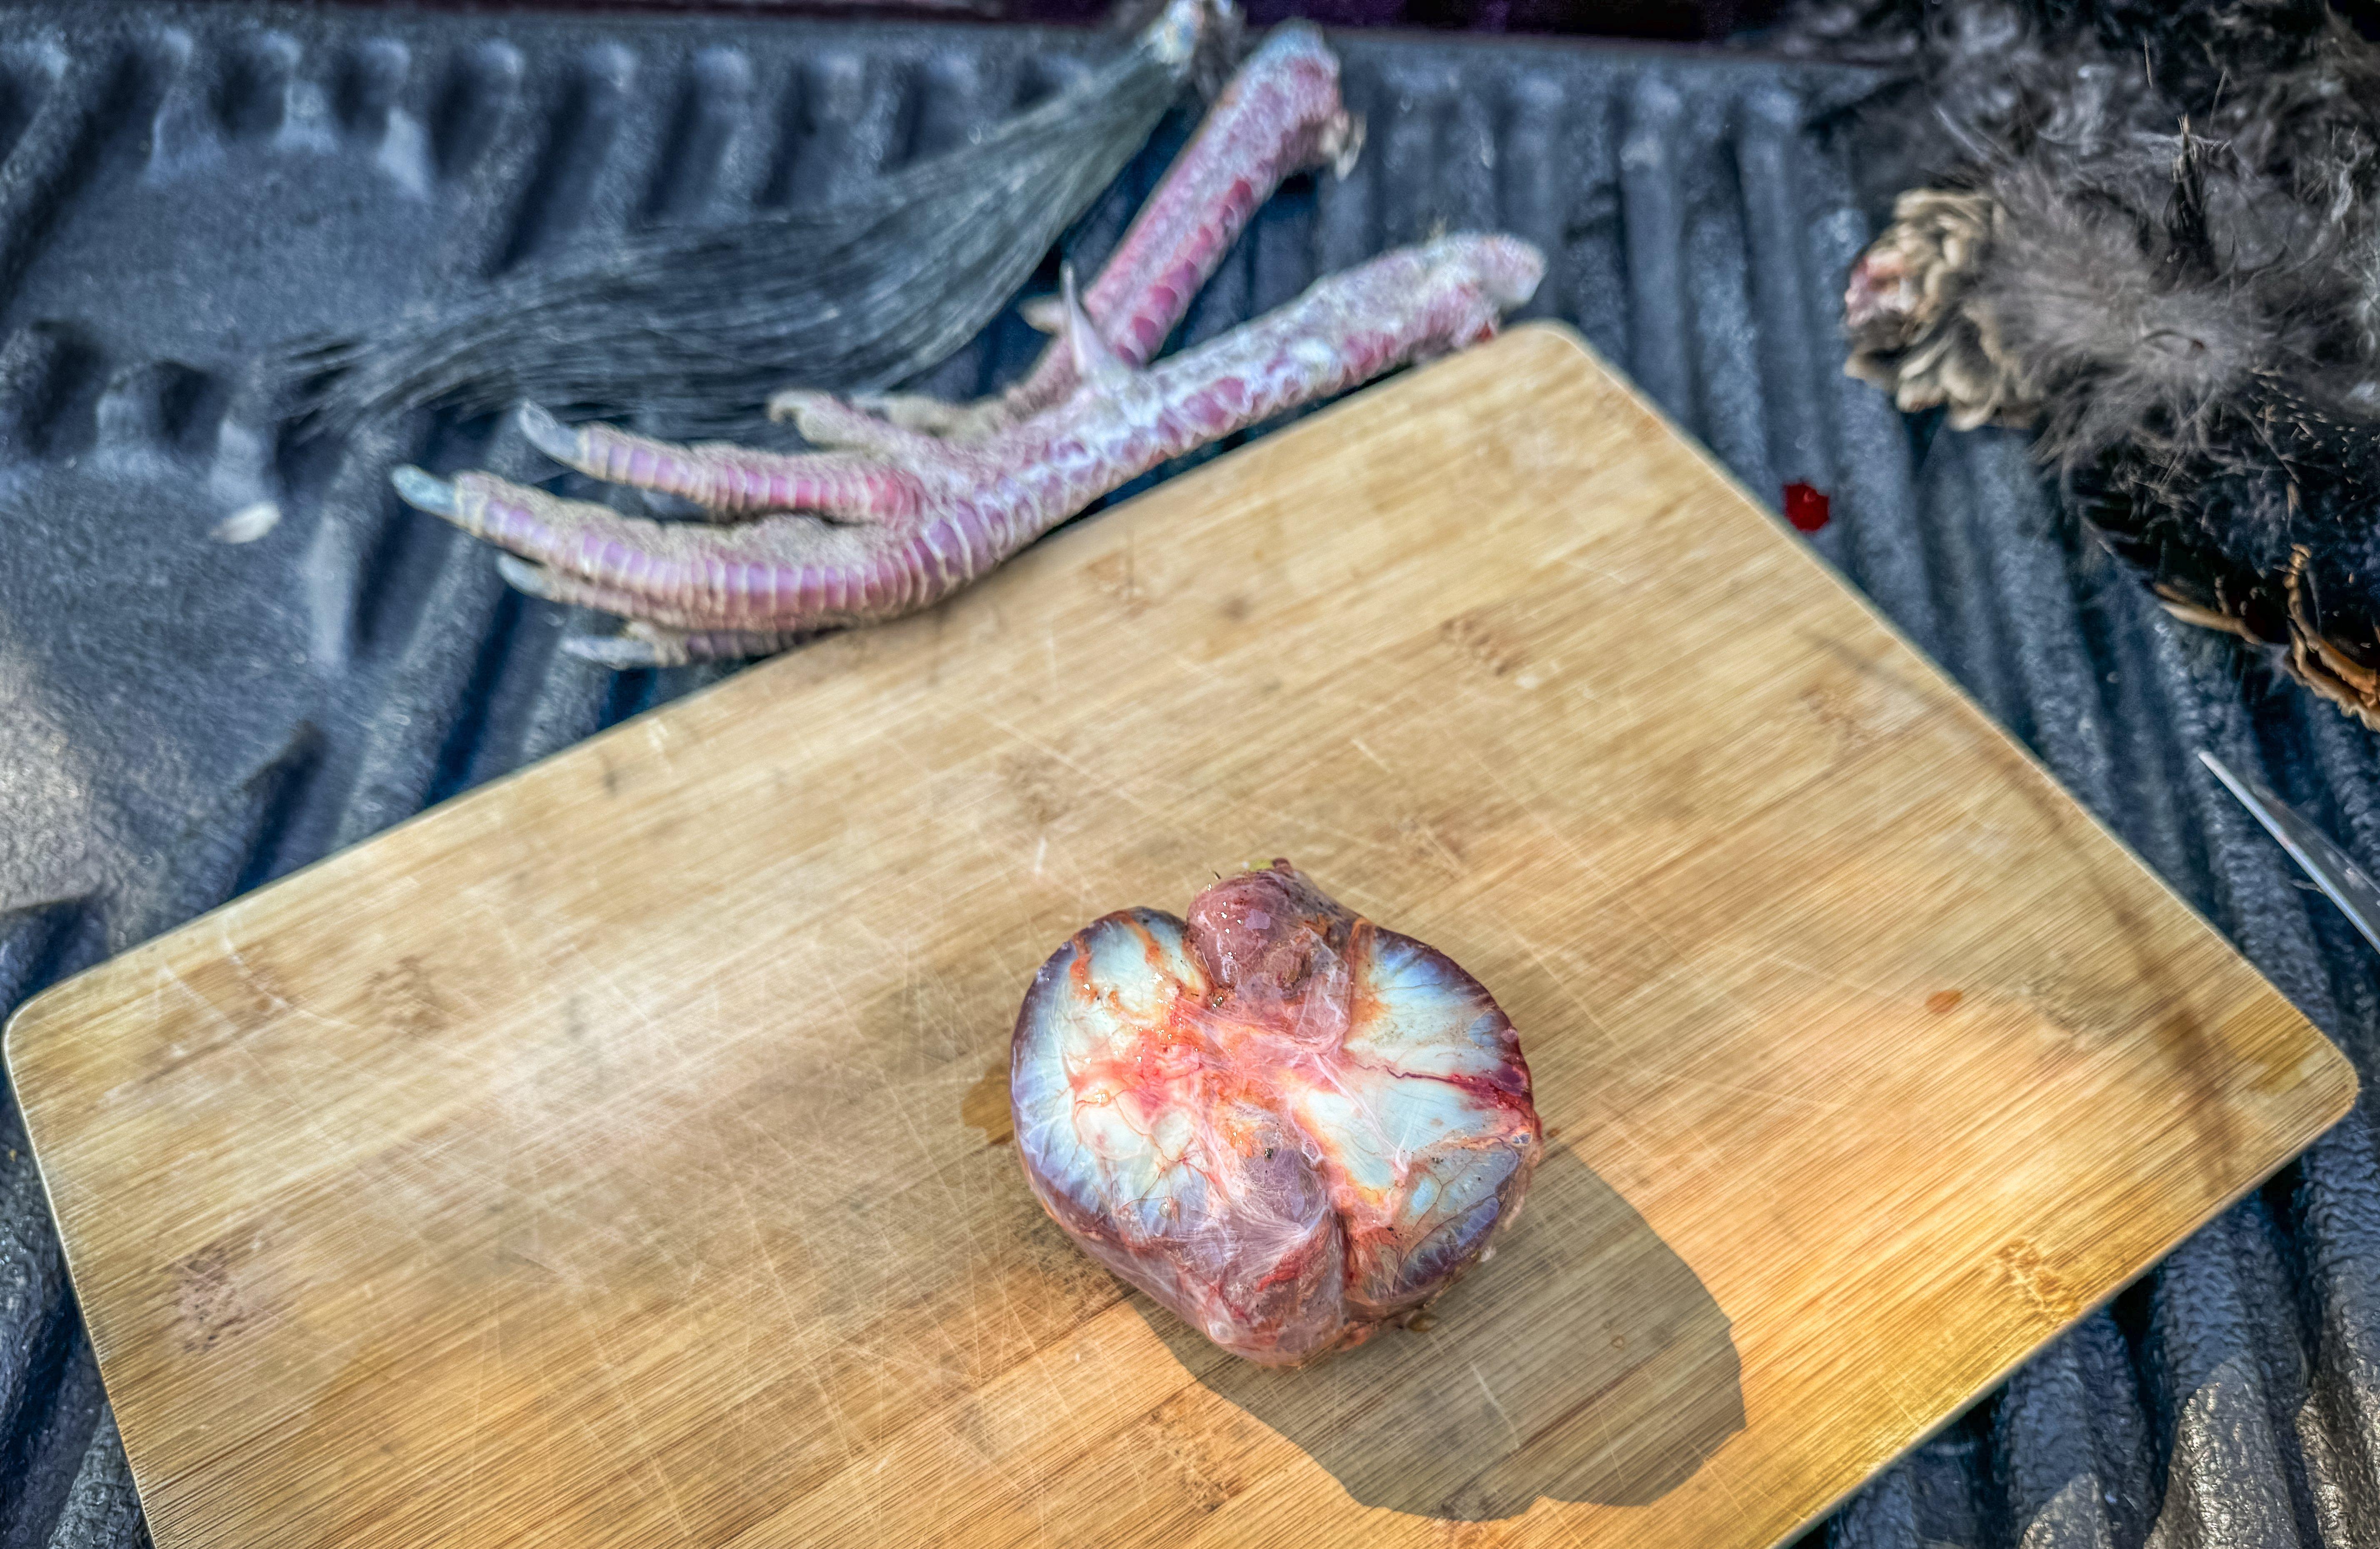
Not only do they contain a unique trophy inside, but turkey gizzards are also delicious. Image by Michael Pendley
Turkeys don’t have teeth, which means they don’t have a way to chew up the plants and insects they consume. Enter the gizzard. It is a muscular organ in the digestive tract of birds and some fish. Its purpose is to grind the food as it passes down the digestive tract to the stomach. In order to do this, the turkey consumes small gravel and grit that resides in the inner chamber of the gizzard. The muscular walls roll the stones back and forth, acting as a type of coarse sandpaper to break down the food.
Those stones can be cleaned and displayed, and they’re one of my favorite trophies from a harvested gobbler. Sometimes we combine the stones from several birds into a larger jar, while other times we pack stones from individual birds into small glass vials that we label with the hunter’s initials and the date the bird was taken.
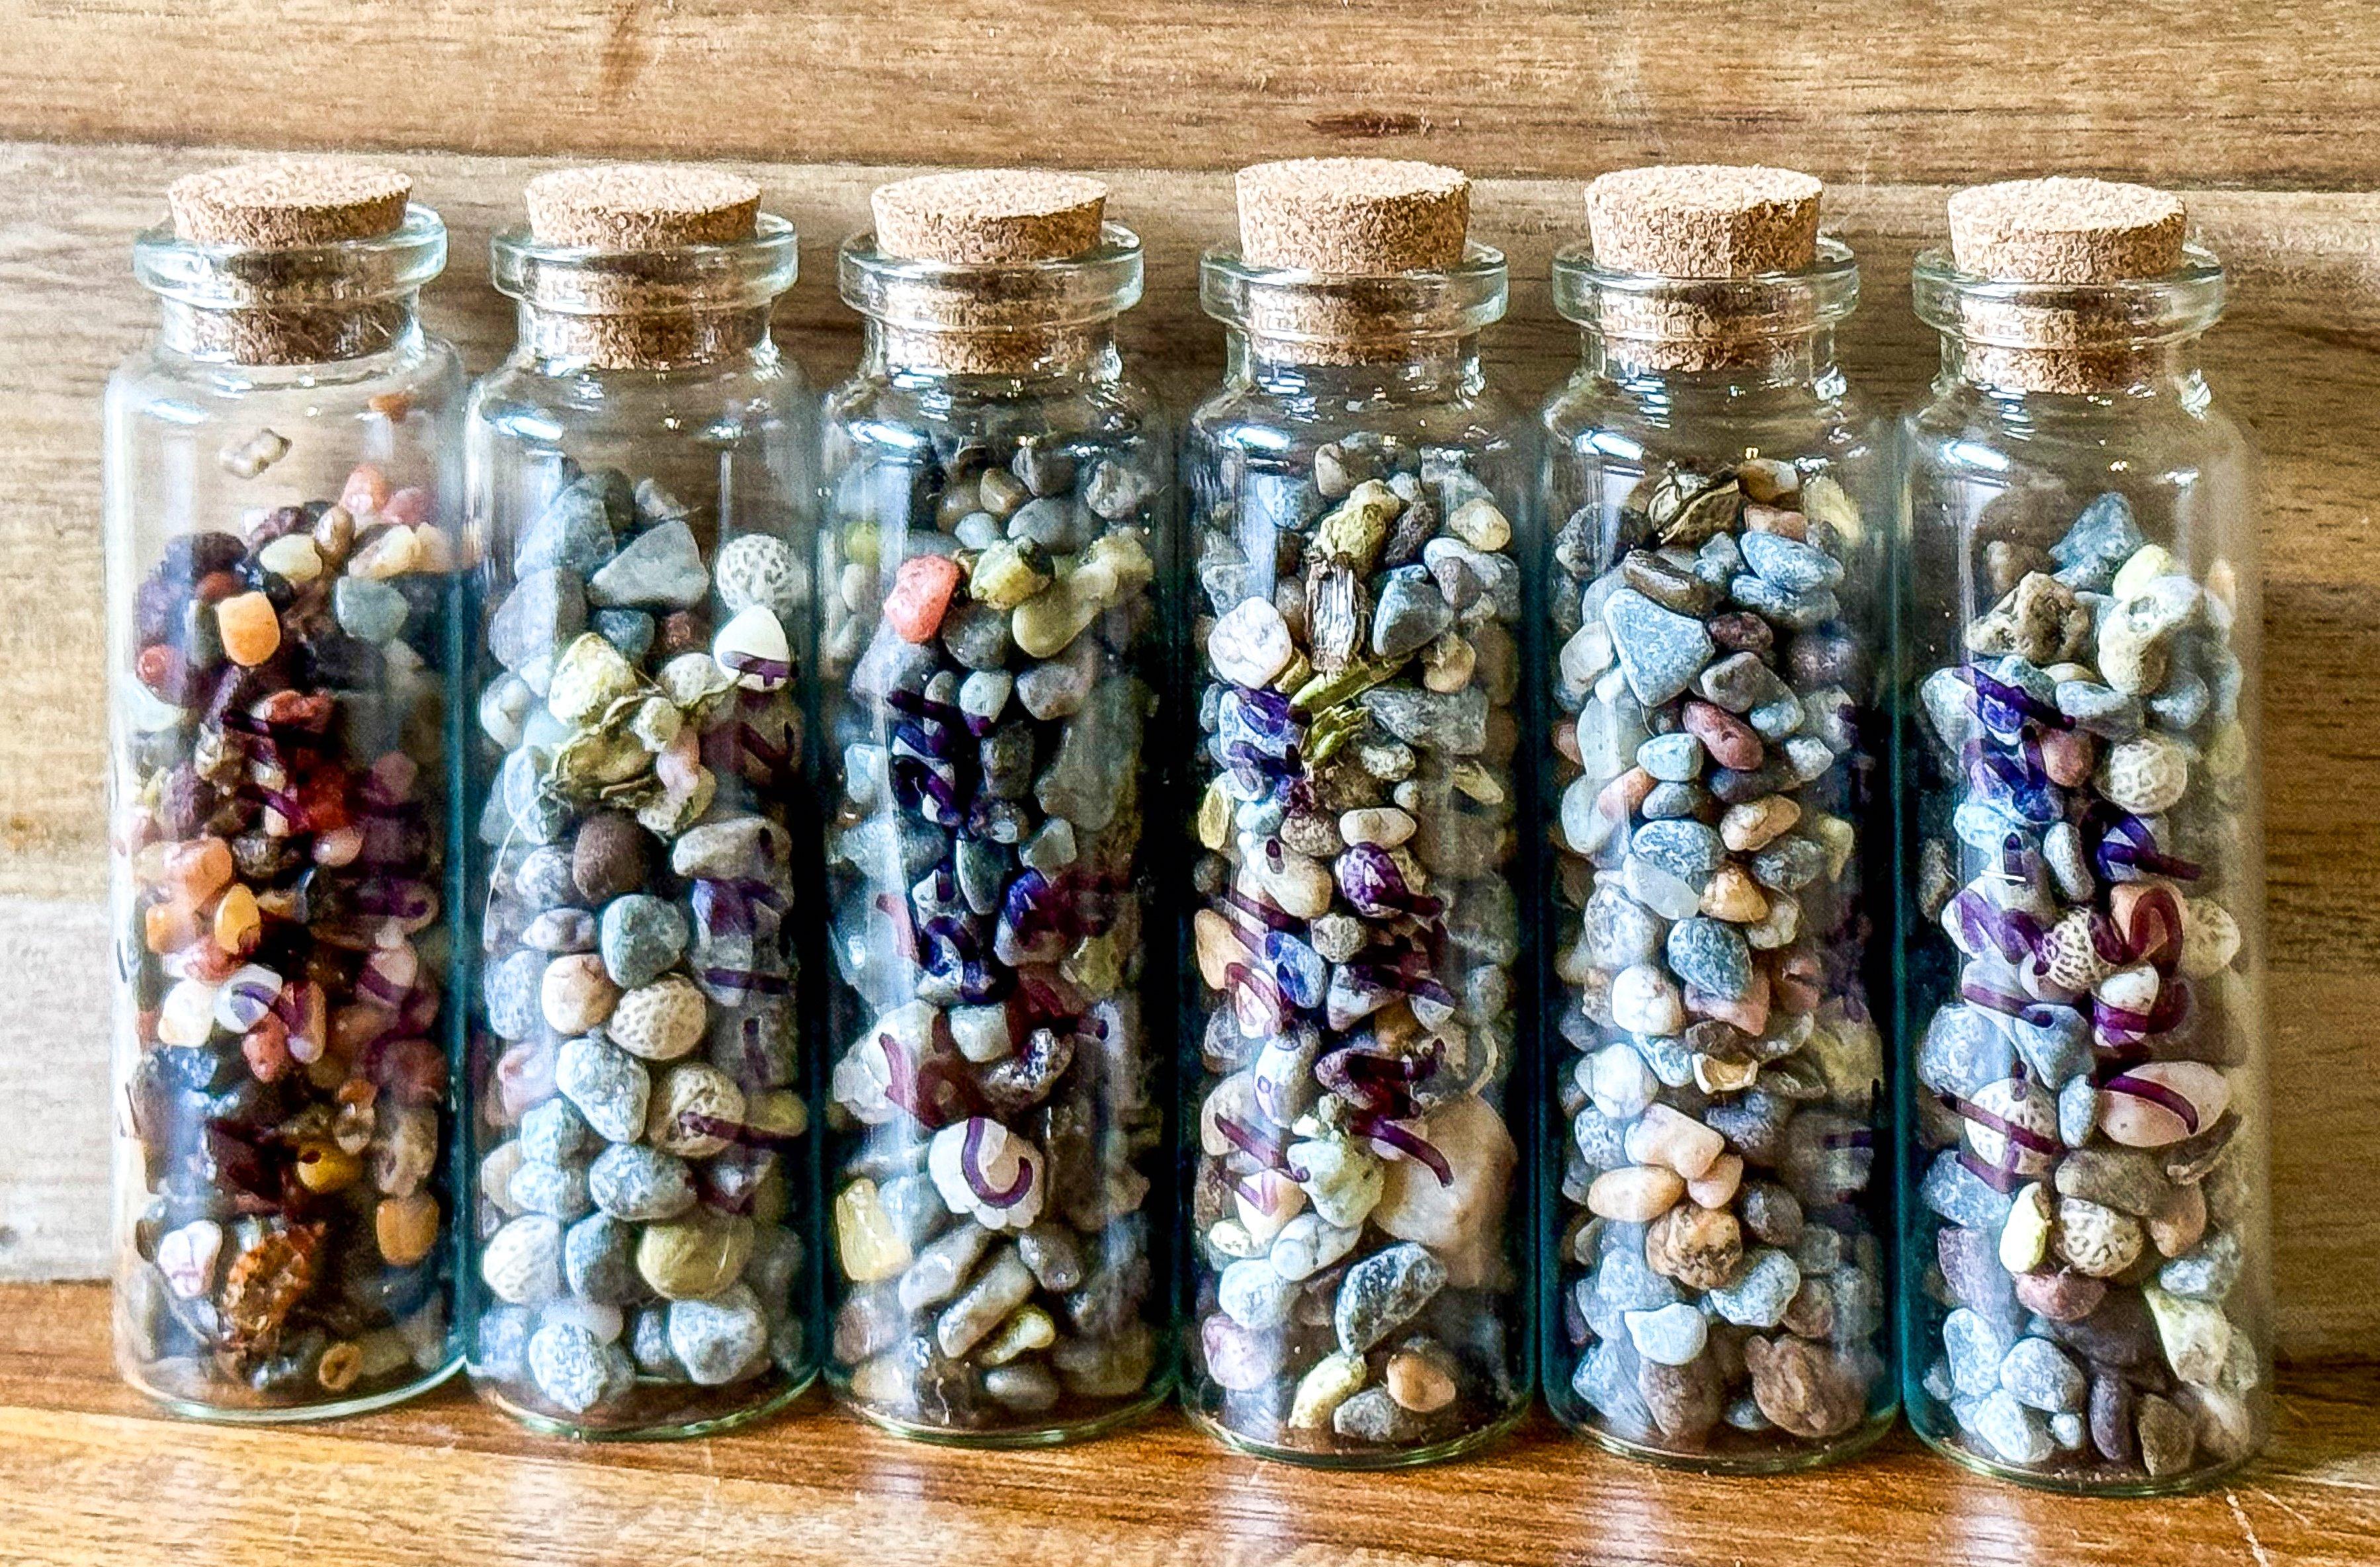
I like to label each container of stones with the hunter’s initials and the date taken. Image by Michael Pendley
Each stone sample is different. Depending on where the turkey lived, the stones may have different colors, textures, and shapes. Even a few miles’ distance can dramatically change the appearance of the stones.
Before you can display your stones, you have to harvest and clean them. The process is simple and, if you plan to eat the gizzard, you are more than halfway done once you have it prepared. This is the process I use. It only takes a few minutes, start to finish.
Don’t Miss: A STEP-BY-STEP GUIDE TO CLEANING A WILD TURKEY GIZZARD
Step 1: After you have removed the legs, thighs, and breast meat from your bird (and the wings if you want to use every available bit of meat), then you need to get into the chest cavity to remove the gizzard, heart, and liver. Make a horizontal split at the back of the keel bone. With one hand, lift the keel bone while pressing down on the spine with the other at the same time. This will open the bird, exposing the gizzard, heart and liver (click on each for tasty recipes).
The gizzard is the largest organ in the cavity, about the size of a tennis ball, and it will be firm to the touch. Reach in and pull it out. Trim away the digestive tract where it goes into the gizzard.
Step 2: You’ll notice the gizzard is lobe shaped with a small indentation down the center. Run the tip of your knife down the indentation to open the gizzard up.
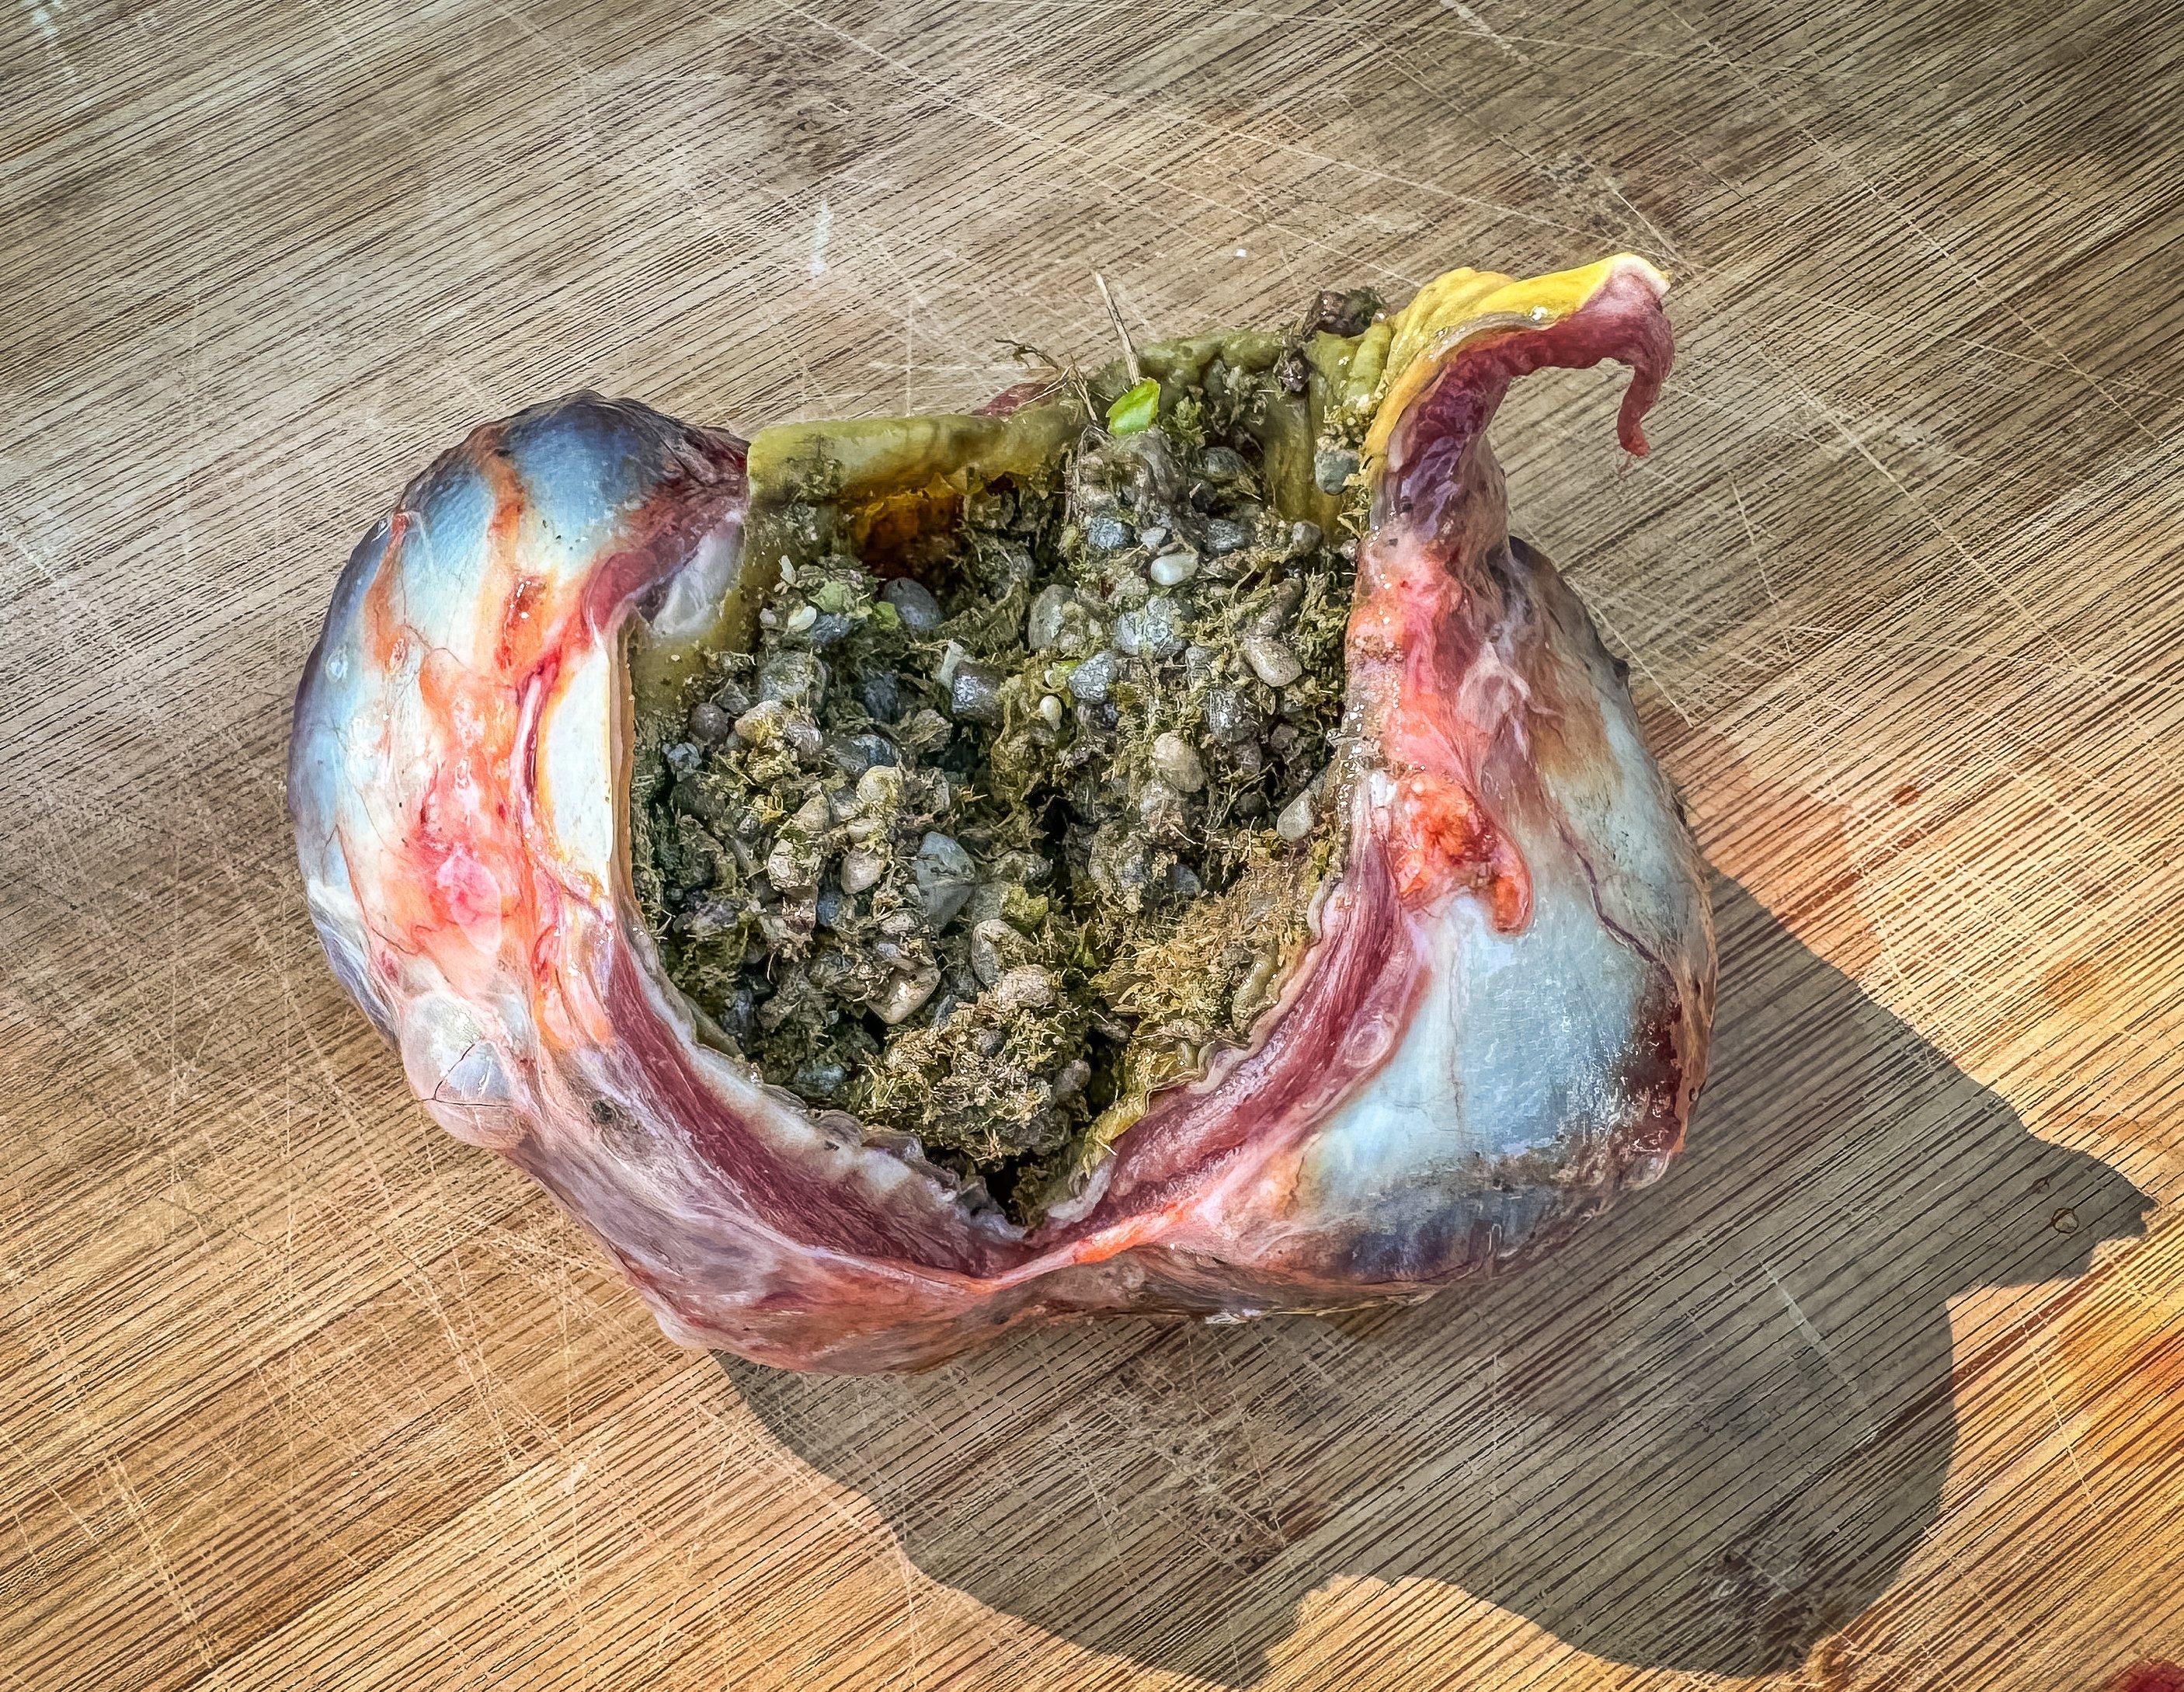
Run the tip of your knife down the small indentation on the side of the gizzard to fold it open and expose the contents.Image by Michael Pendley
Inside, you’ll notice a heavy skin pouch filled with stones and likely the last few things your gobbler ate. It will be green and mushy, but it’s mostly just plants with a few bugs and seeds mixed in. Open the gizzard and dump the contents into a wire or plastic strainer.
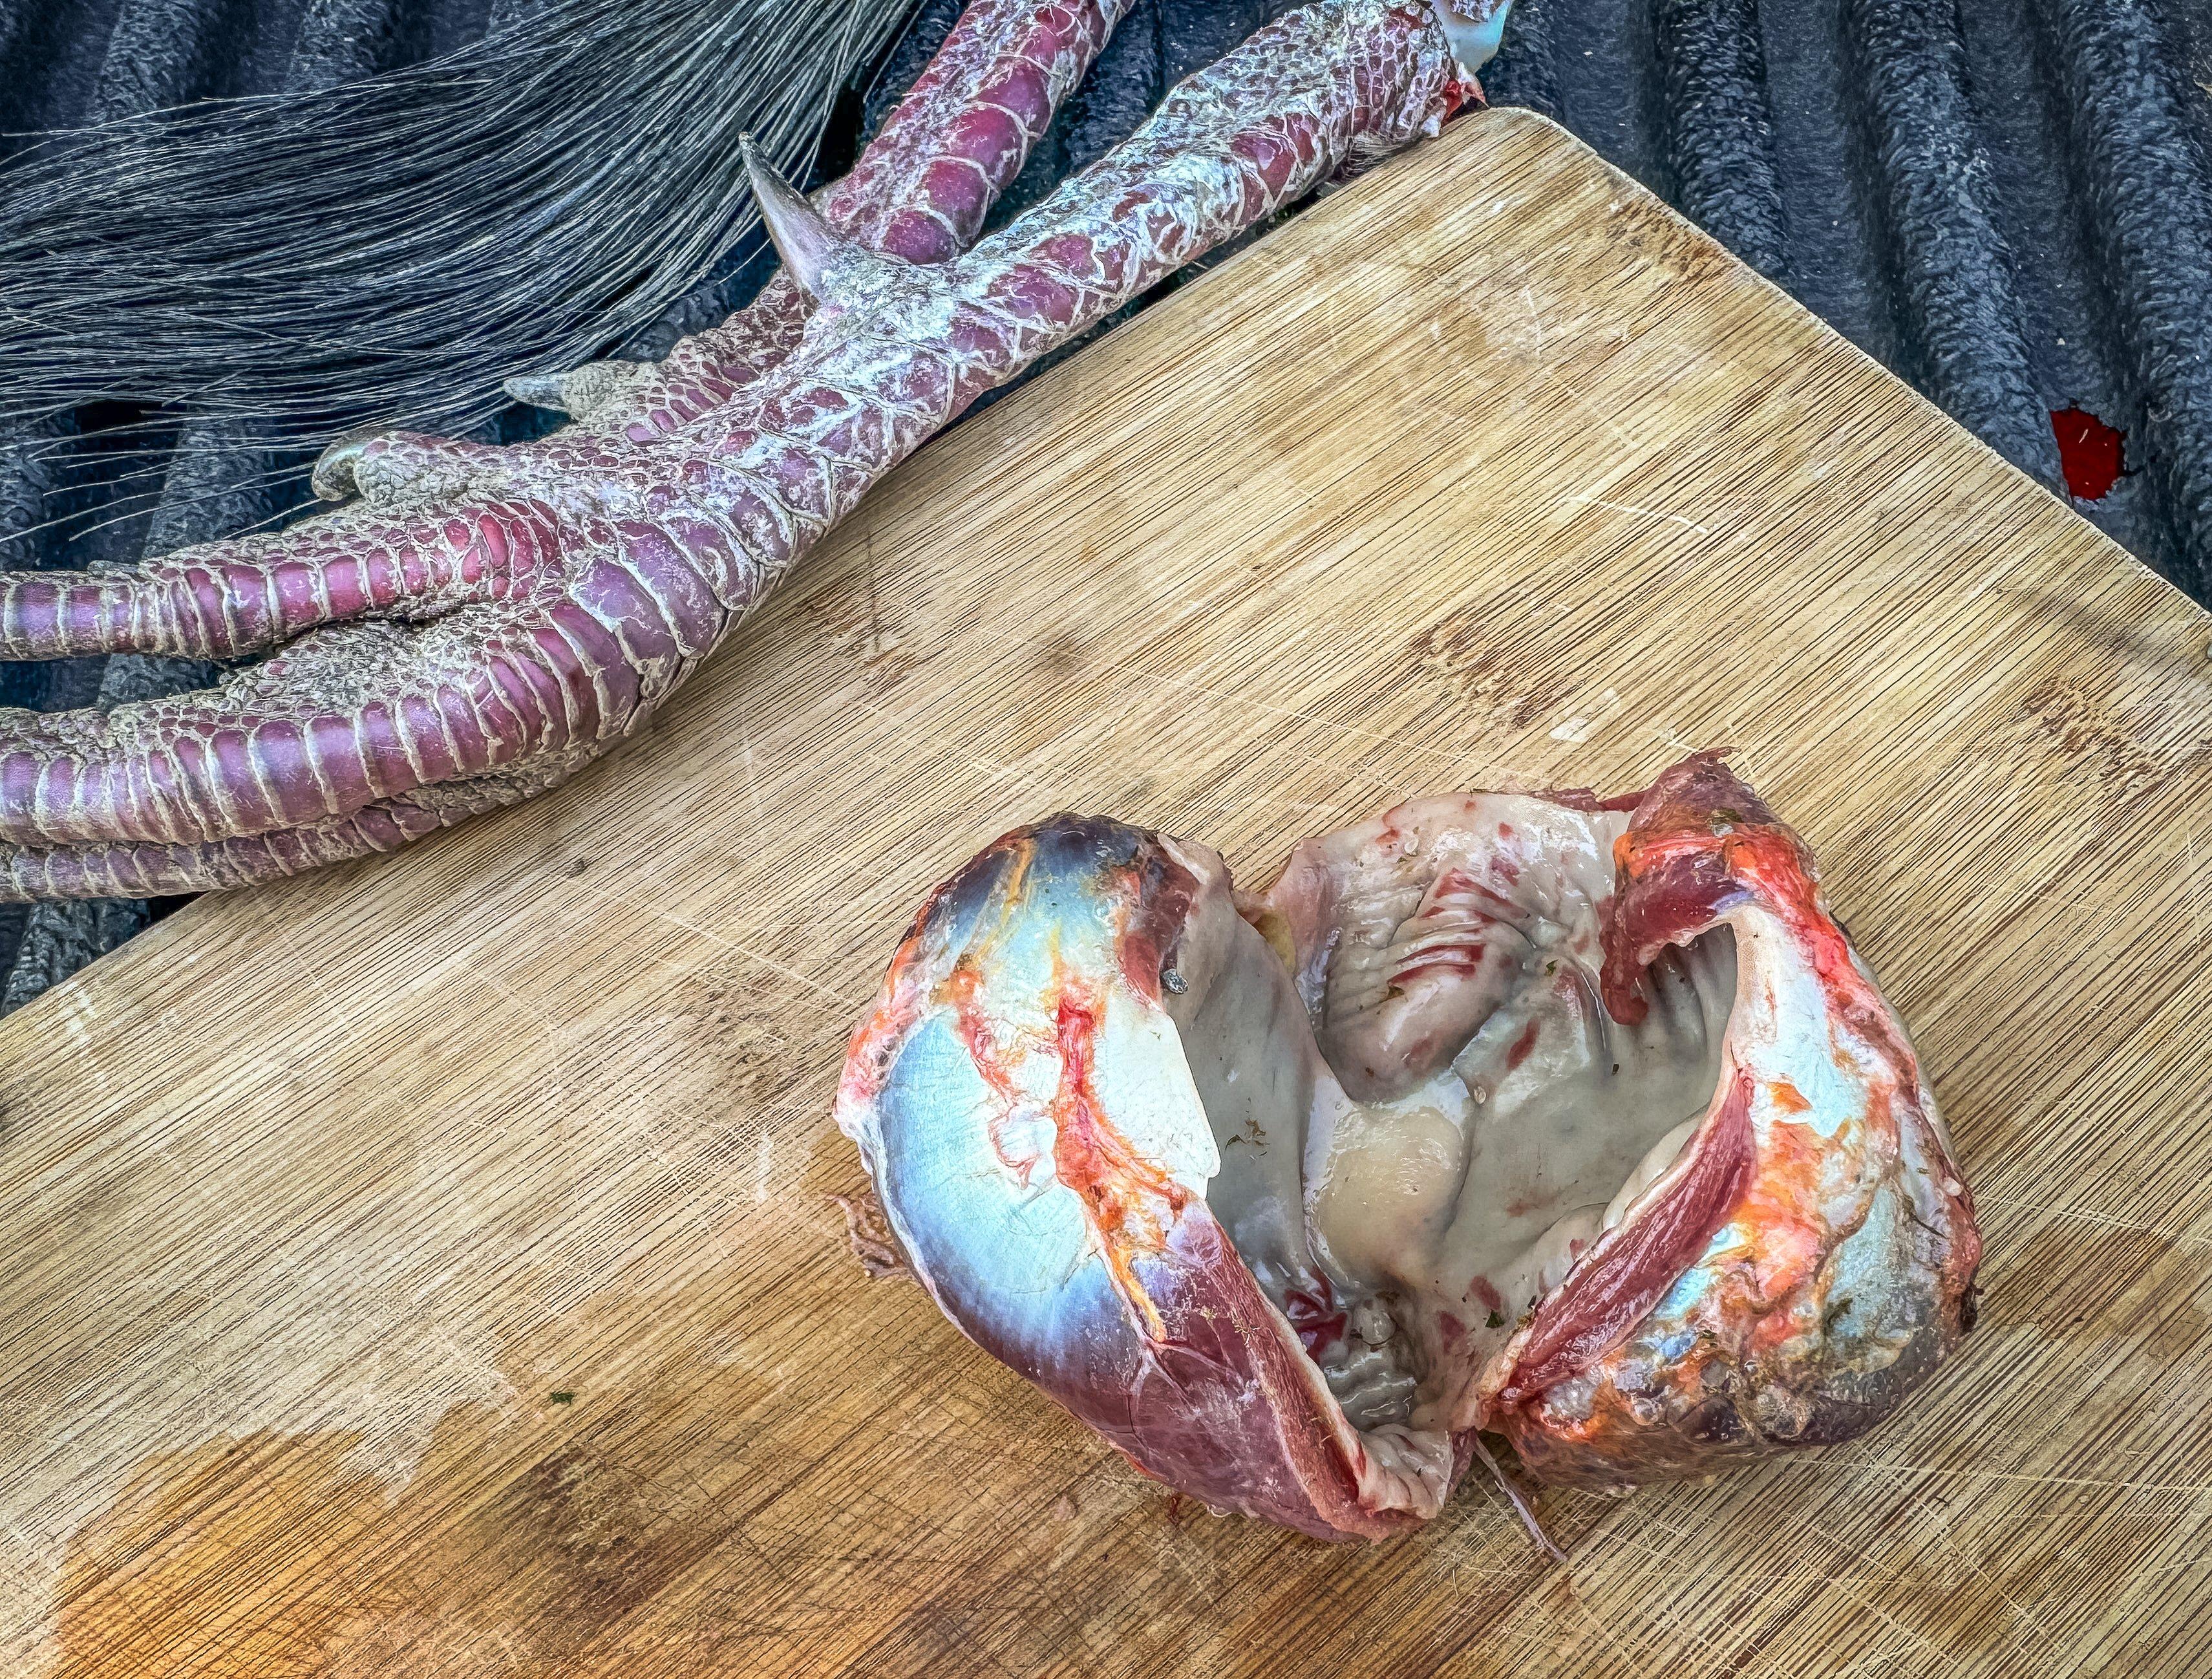
Reserve the outer part of the gizzard for dinner. Image by Michael Pendley
Remove the inner skin pouch and rinse the outer muscle well. This is the part you will trim up for dinner. Discard the inner lining.
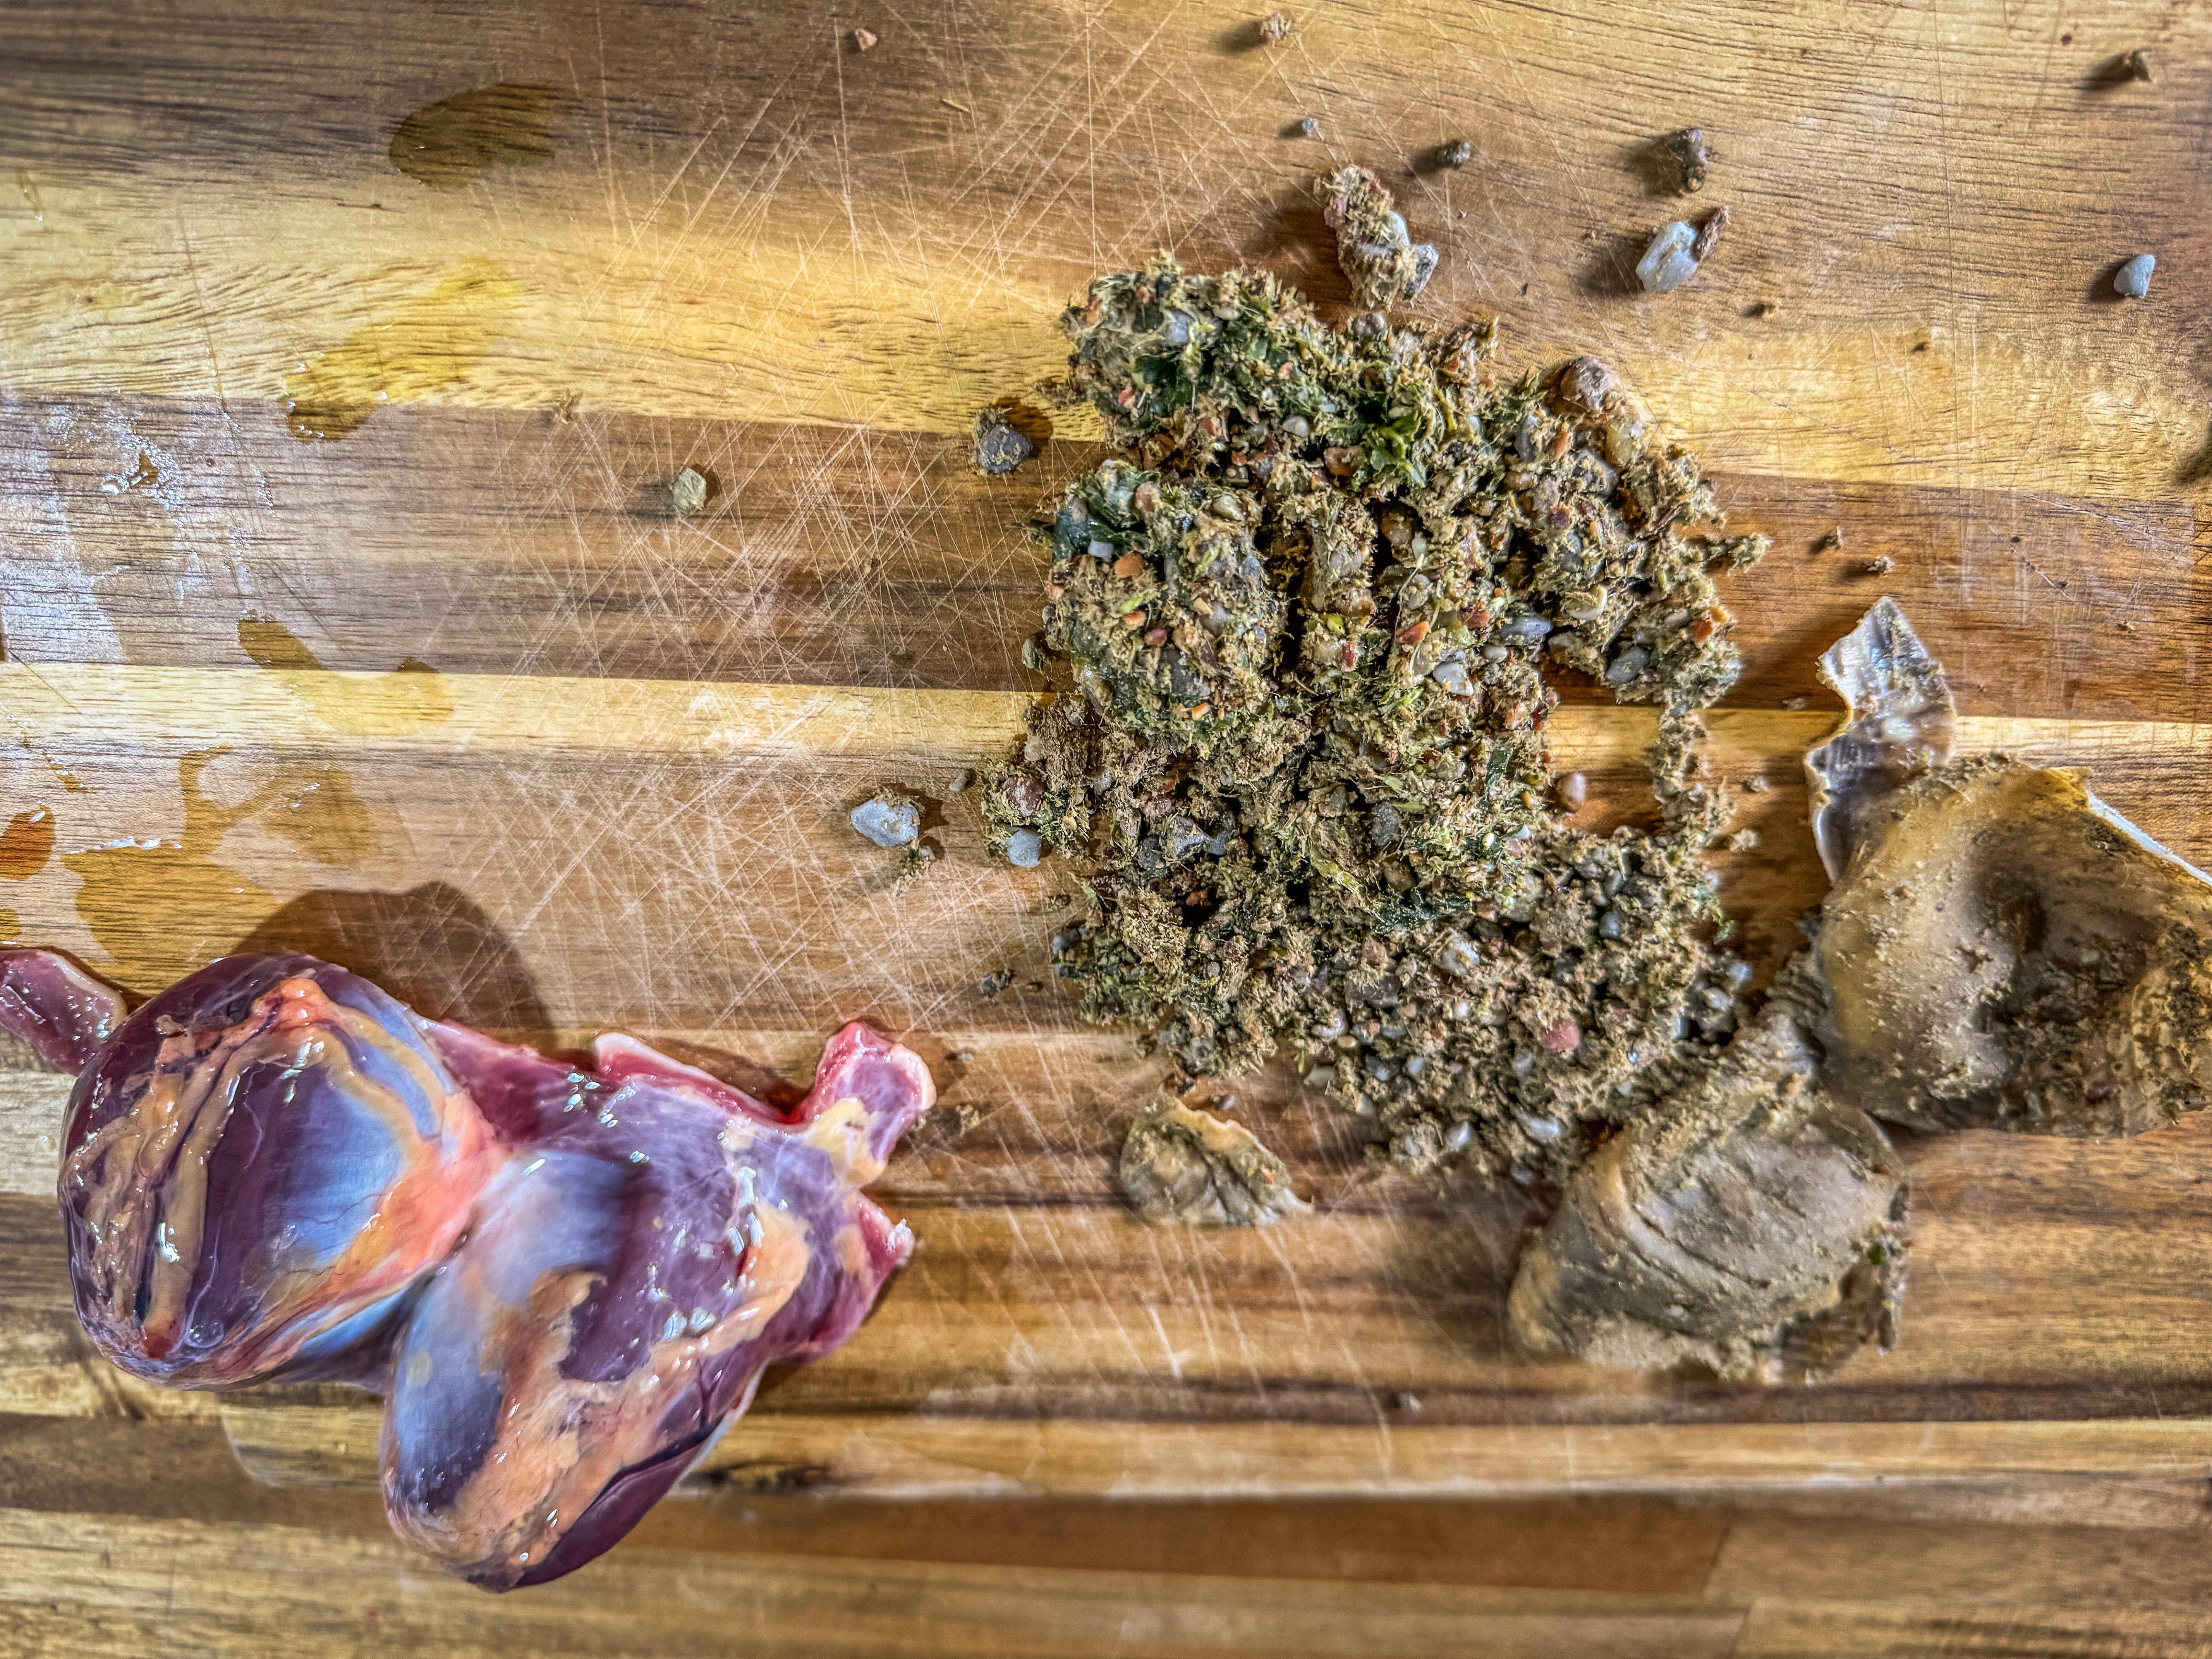
Dump the contents and peel away and discard the inner lining. Image by Michael Pendley
Step 3: Rinse the inner contents under running water, leaving only the small stones behind.
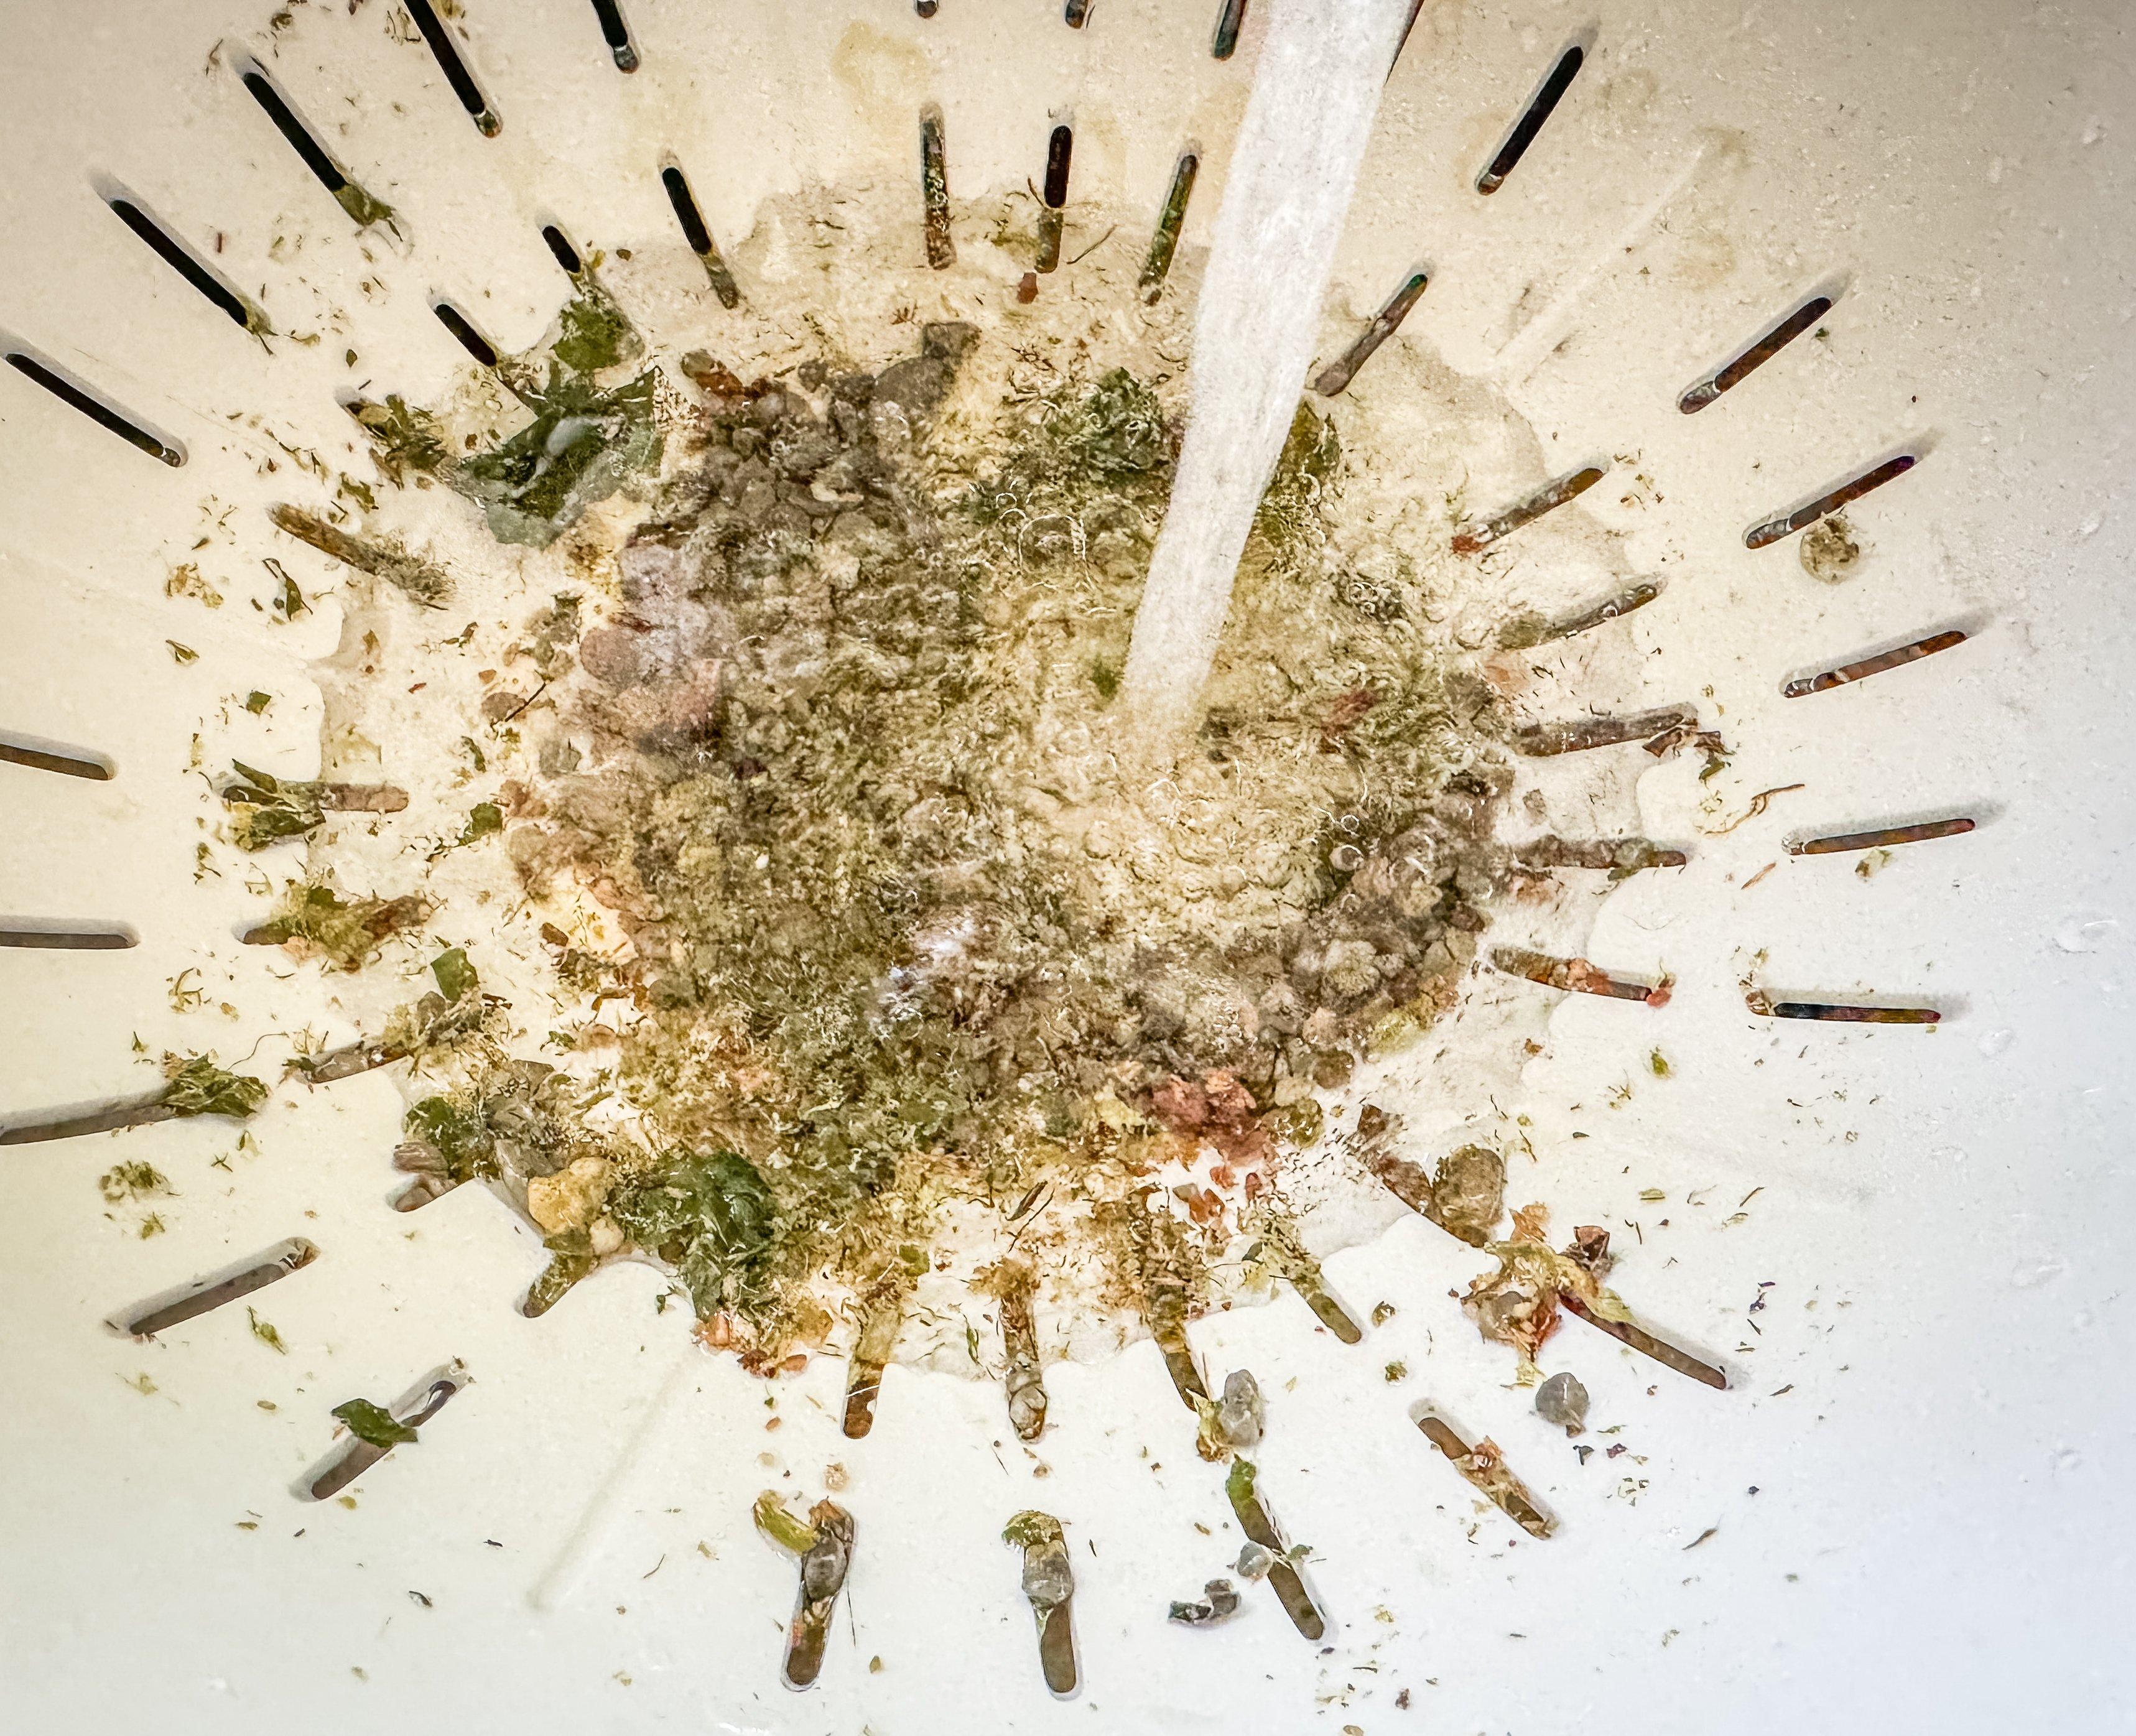
Transfer the stones to a strainer and rinse away the organic matter. Image by Michael Pendley
Dump the stones onto a paper towel and pat dry. Pick out any seeds or organic matter that remains after rinsing.
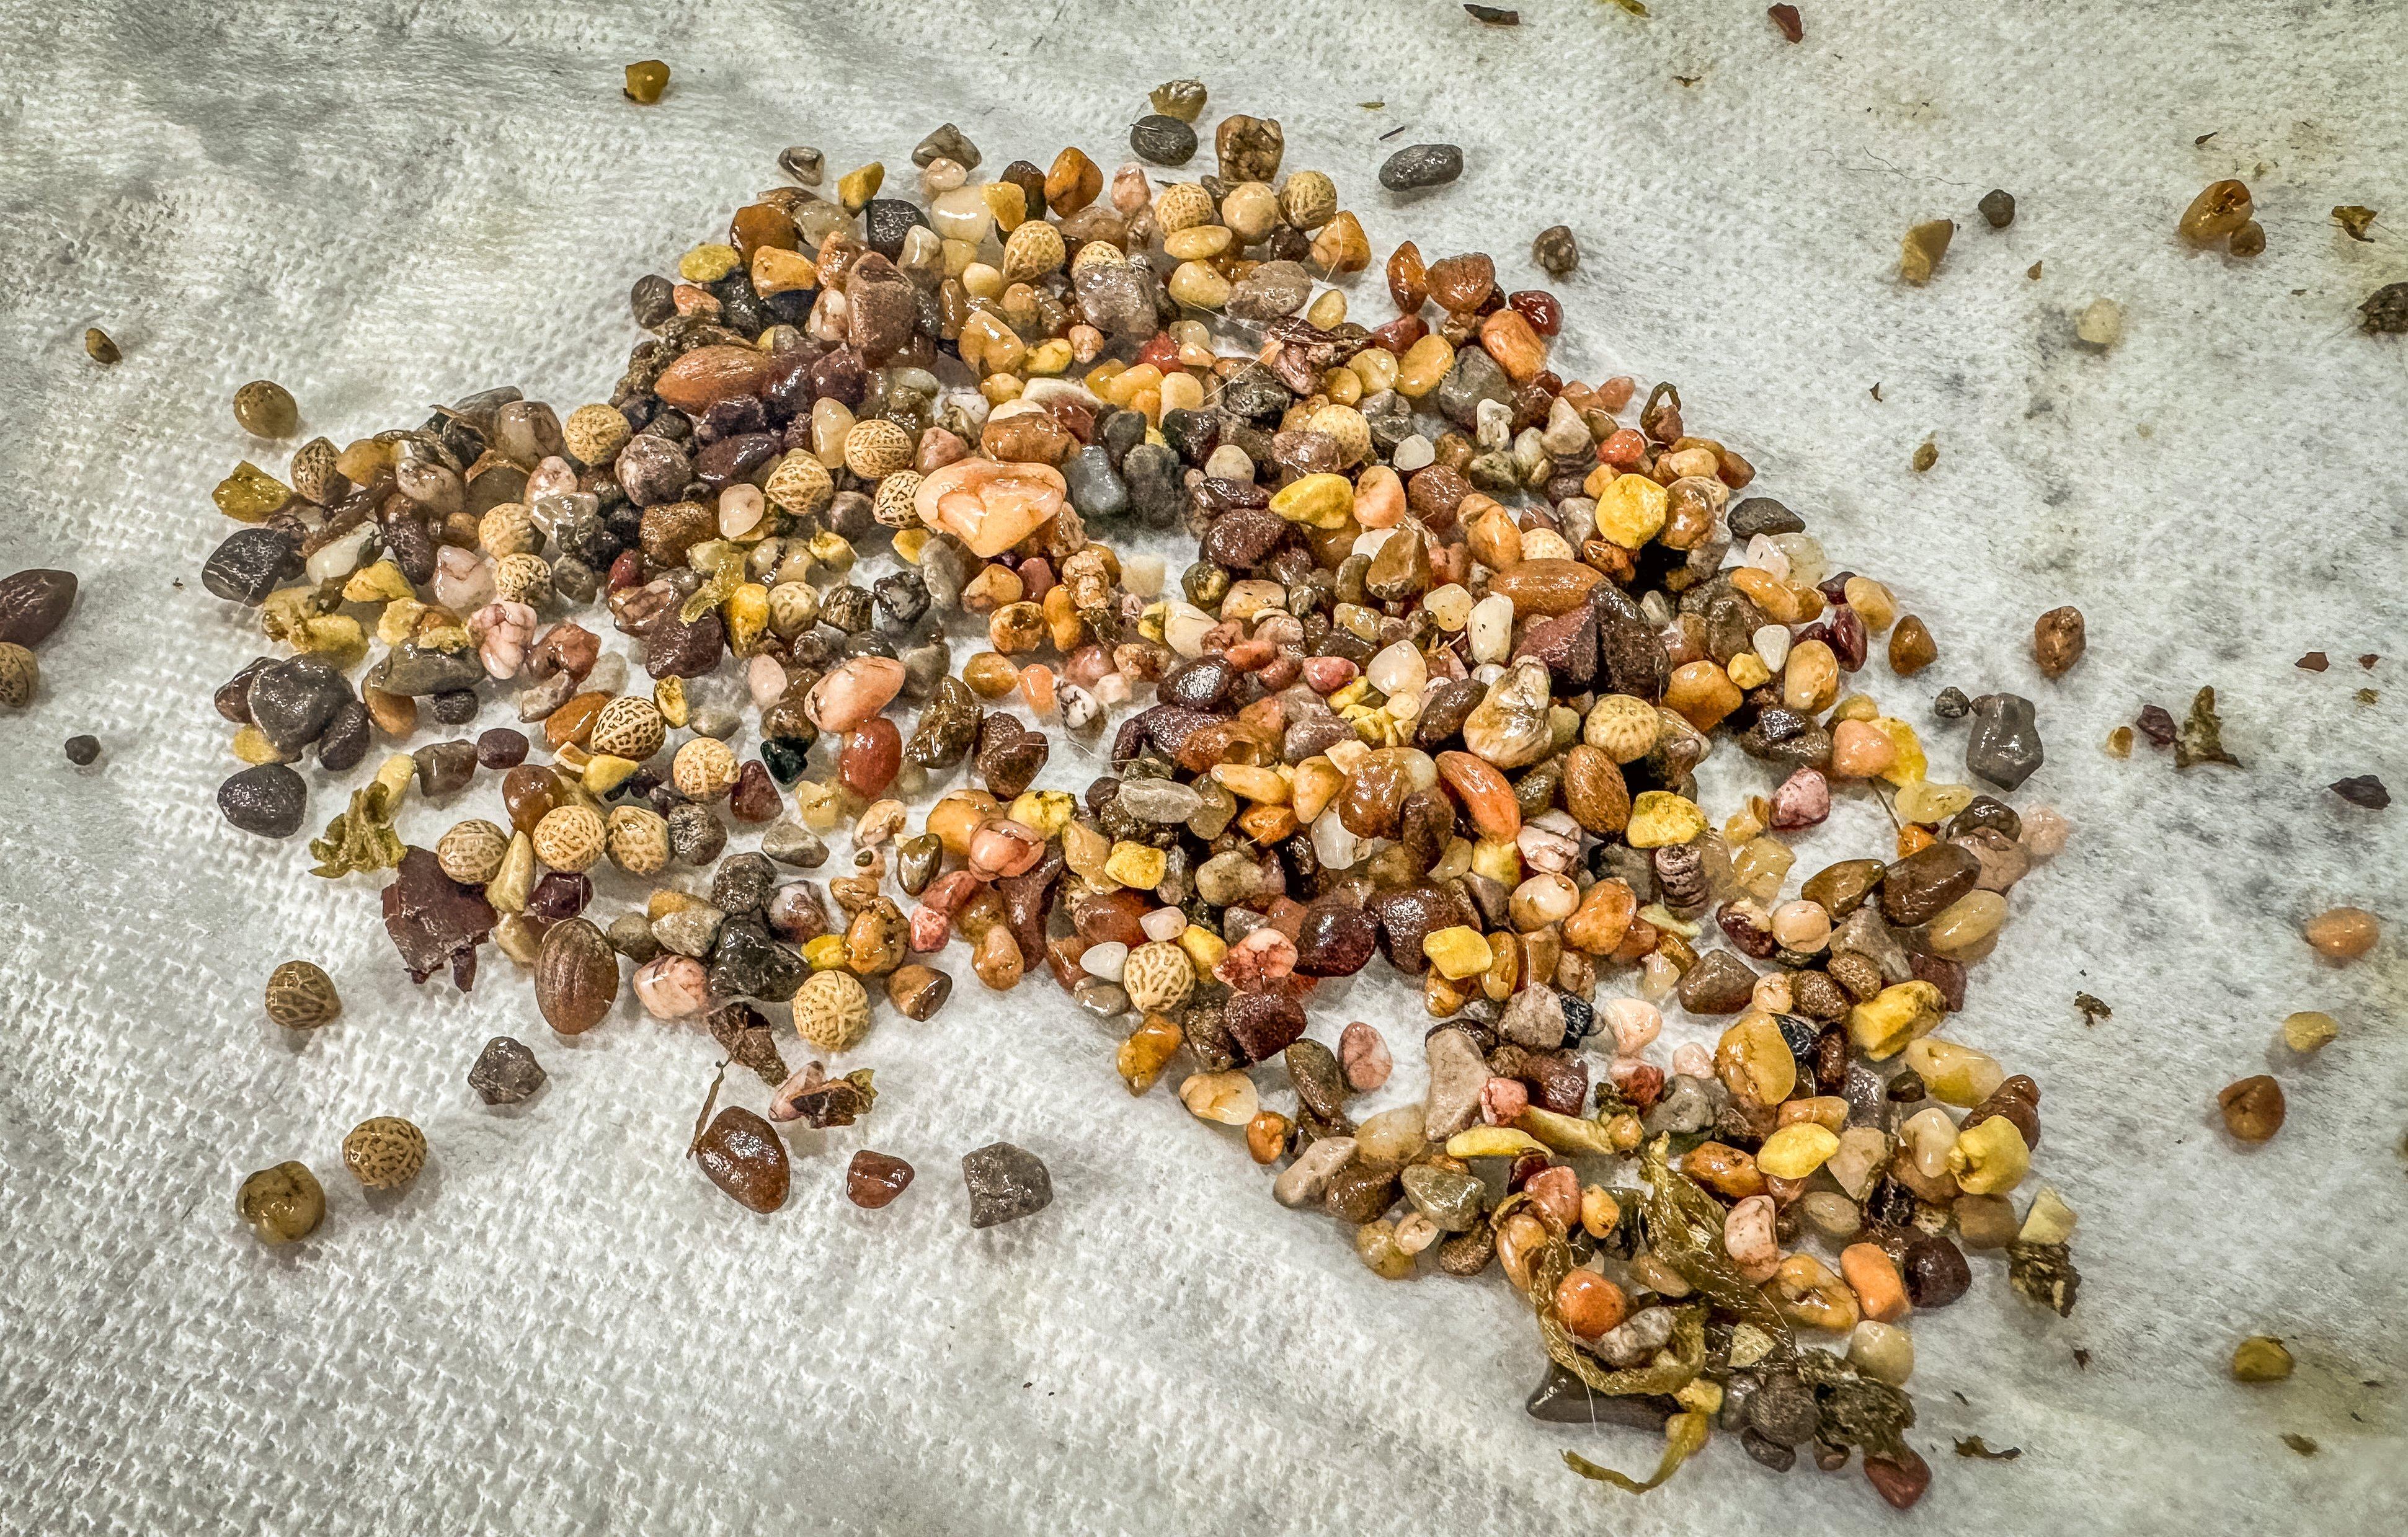
Pat the cleaned stones dry with a paper towel. Image by Michael Pendley
Step 4: Dump the stones into a jar or glass vial, and label them appropriately.
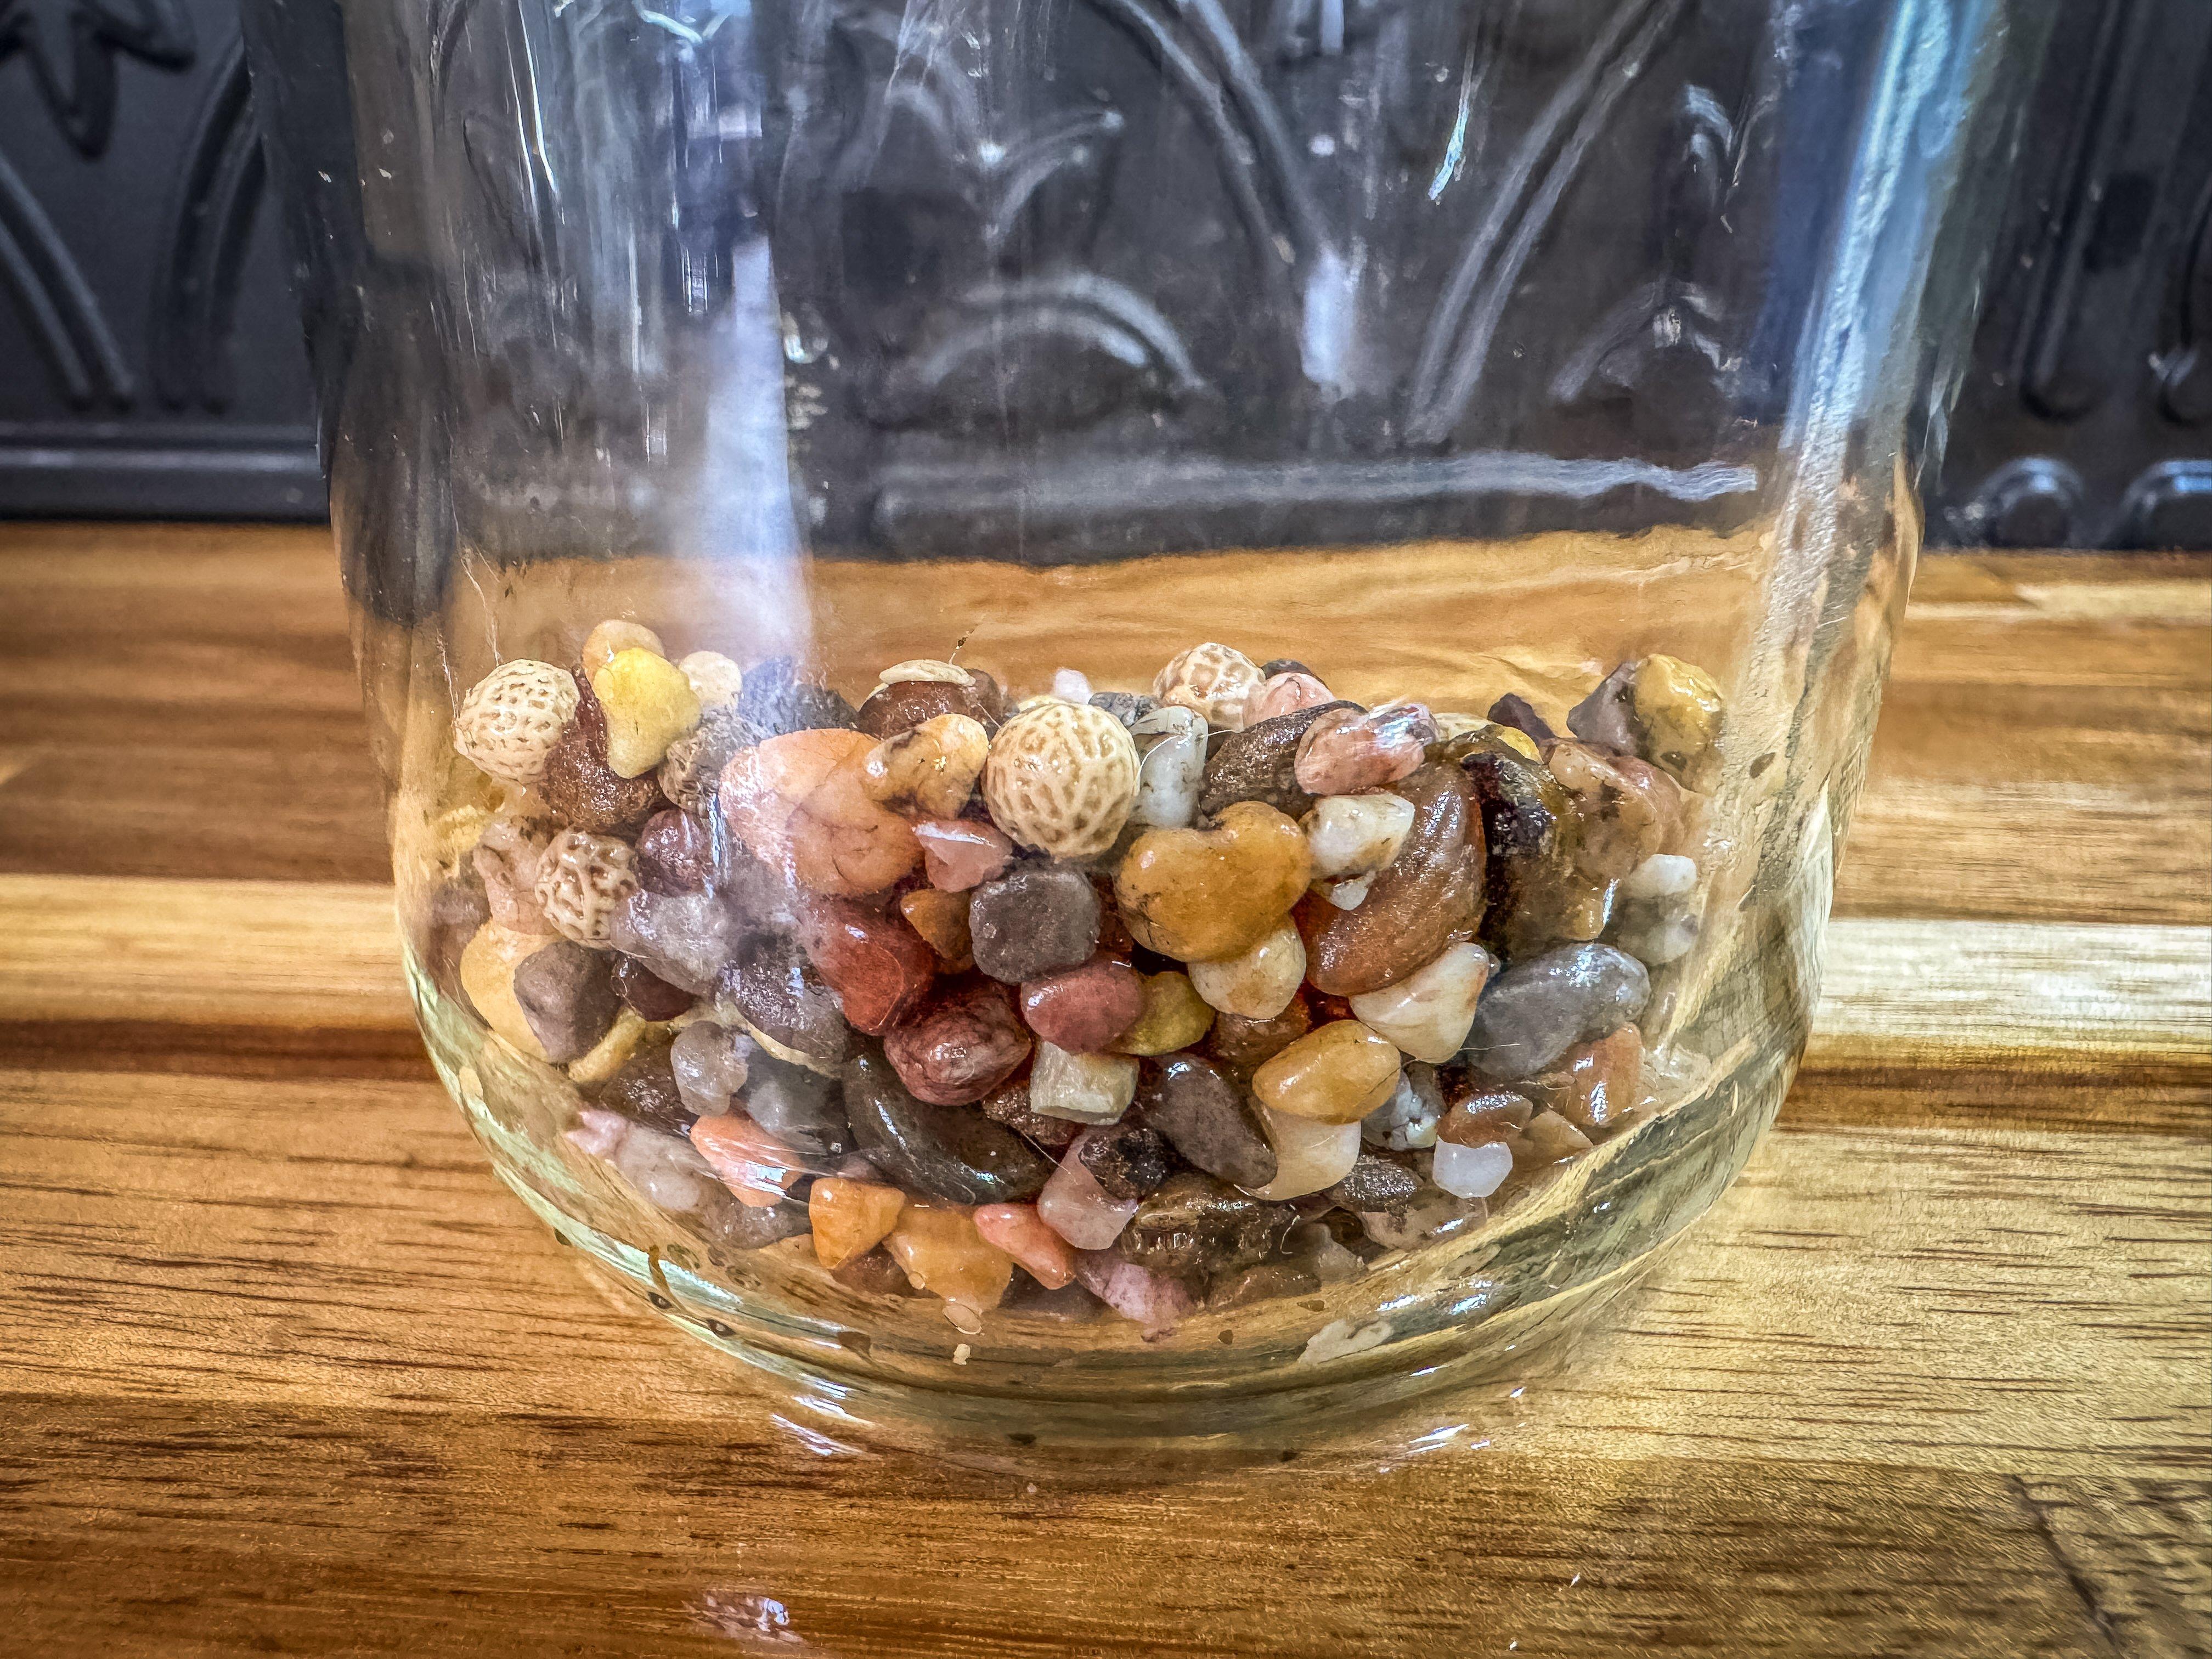
Transfer the cleaned and dried stones to a jar for labeling and display. Image by Michael Pendley
Step 5: Display the stones on your desk, shelf, or in a visible spot where you will see them often. They make great conversation starters, especially with fellow turkey hunters.


