A dull knife, in the kitchen or in the field, is as useless as a leaky bucket in a sinking boat. Get your knives razor sharp and keep them that way with these handy tips
Ever watch someone hack away at a deer or elk carcass to turn it into chops, steaks, and roasts? Or maybe you've seen someone in the kitchen smash a ripe tomato in an attempt to slice it for a sandwich. Maybe you've been there yourself.
A dull knife is a dangerous tool. All that extra muscle power that goes into cutting something with a blunt blade can cause a knife to slip in the blink of an eye, often leading to a nasty cut that could have been avoided.
Sharpening a knife, in its simplest form, is accomplished by rubbing the blade against an abrasive surface to grind away metal to form an edge. That surface can be as crude as a flat rock, or as fine as a 1000 grit diamond hone. For most of us, a good sharpener falls somewhere between those two extremes.
The Science Behind an Edge
The edge of most modern hunting and kitchen knives tapers down evenly on both sides, which is known as a double bevel. The angle differs depending on the style and use of the knife. Hunting and field knives tend to have a thicker edge, while kitchen knives tend to have a sharper, thinner edge. Custom knife maker Chris Smith says he likes to go with an angle around 20 degrees or a bit less on kitchen knives, and a slightly thicker 25 degrees on field and hunting knives.
Professional knife sharpener Laurence Mate agrees. The long and short is that the steeper the bevel, the easier the knife will cut, but there are trade-offs. A steep bevel results in a thin edge, and a thin edge is a fragile edge. If the steel is not particularly hard, that thin edge will simply roll over. A thin edge and a properly hardened steel, and the edge will likely chip when it hits something hard. So it's good to have a range of knives for different tasks.
With a single-bevel slicing or sushi knife, you're talking about a 10- to 15-degree bevel that will slice meat effortlessly, Mate continues. Put that kind of angle on a standard double-bevel knife, and you've got a 20- to 30-degree cutting edge that's good for everyday use. For a cleaver or a knife that's going to see rough use, a 20-degree bevel on each side is a good choice.
To form the edge, the knife blade is ground against an abrasive surface. As more metal gets removed, and the edge gets sharper, the texture, or grit, of that surface should get finer.
For a truly sharp double-beveled blade, it's imperative that the angles on both sides of the blade match, so always repeat the same number of passes with the same pressure on both sides of the knife.
Eventually, a tiny burr of steel will form along the length of the edge. That super thin band of metal often turns one way or the other. The final process in sharpening a blade, known as honing, is to straighten and polish that burr to form a razor's edge.
Need to cut shooting lanes? Realtree EZ Saw / $19
The Tools of the Trade
There are several tools and methods out there that will get your knives sharp. Which one you use boils down to personal preference and where you are when you need to sharpen your blade.
-
Sharpening Stones
When I was a kid, and still prone to breaking even a rock, I was forbidden to touch my father's sharpening stone. I'd watch as he carefully stroked the blades of his pocket and hunting knives back and forth. He'd used it for so long that the stone had a shallow depression where the blades had worn it down.
Sharpening stones are the oldest method of putting an edge on a piece of metal, dating back to before the 12th century, when samurai warriors would use large rotating stones to grind their blades. The more portable stones we know today come to us from the traveling Italian moletas, who would wander the Alps going from village to village to sharpen knives.
Today's stones come in both quarried natural forms, like Arkansas stones, and synthetic, like diamond or ceramic models. Natural stones are usually softer; synthetic stones, being much harder, are capable of sharpening even the hardest of steels.
Most sharpening stones require lubrication to work at peak efficiency. Depending on stone material, that lubrication can come from water or oil. Check with the manufacturer to see which is recommended for your system. While specific honing oil is available, standard mineral oil is cheaper and works well for stones requiring an oiled surface. Avoid products like gun oil, 3-in-1, or WD-40, since they can gum up and coat the grit of the stone, rendering it useless.
Realtree Timber T-Shirts. Buy here for $14
There are several theories on the best method of sharpening a knife on a stone. Some like to hold the blade at the correct angle and move it in circles over the stone, some start at the tip and pass the knife down toward the base, and others start at the base and move to the tip. All work. I fall into the base-to-tip crowd because that is how my dad does his. Always remember to cut into the stone while sharpening. You never want to pull your blade backward on the stone. Maintain moderate pressure. You want to press down hard enough to remove a microscopic layer of metal with each pass, but not so hard as to damage the blade or the stone, and not so light as to not accomplish anything.
Often, what we think is a dull blade isn't really dull at all. It's simply that the leading burr has been rolled to one side or the other.
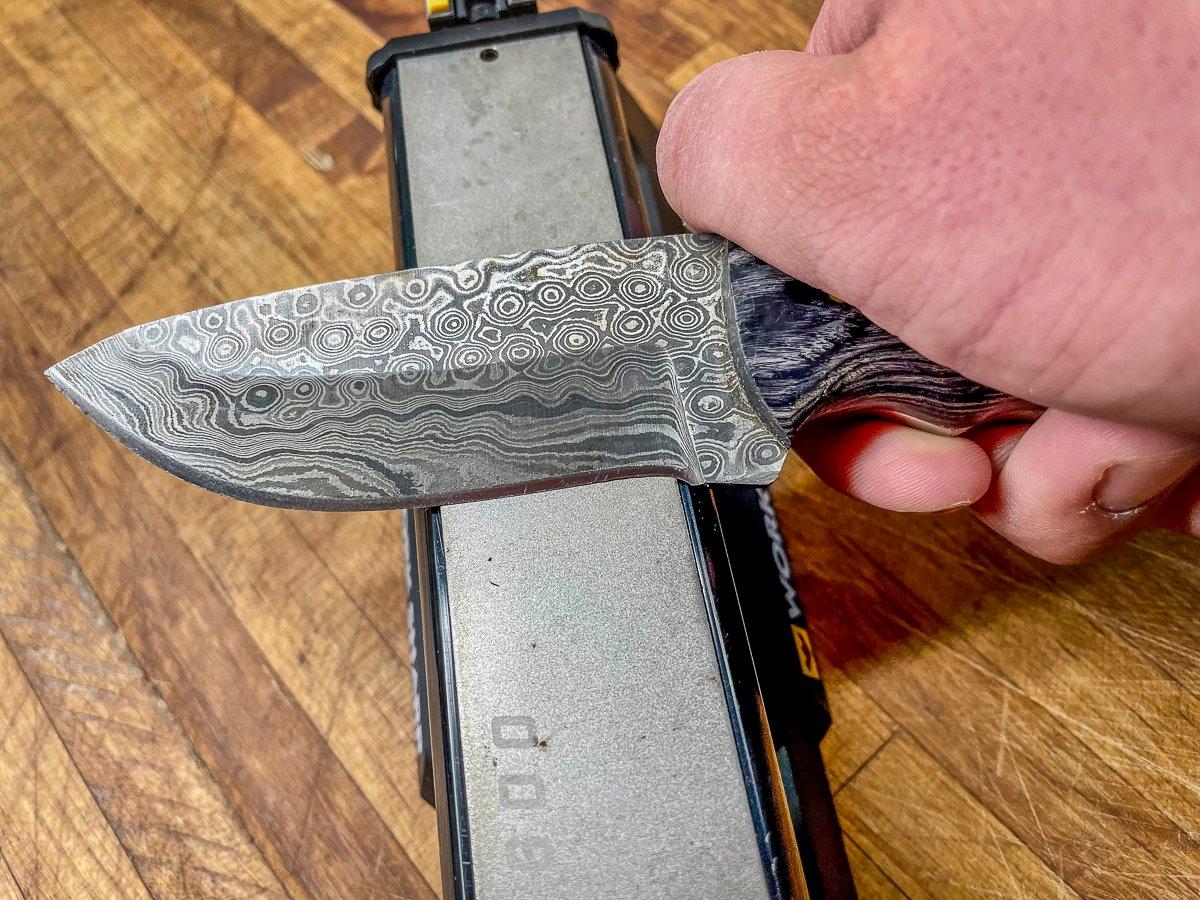
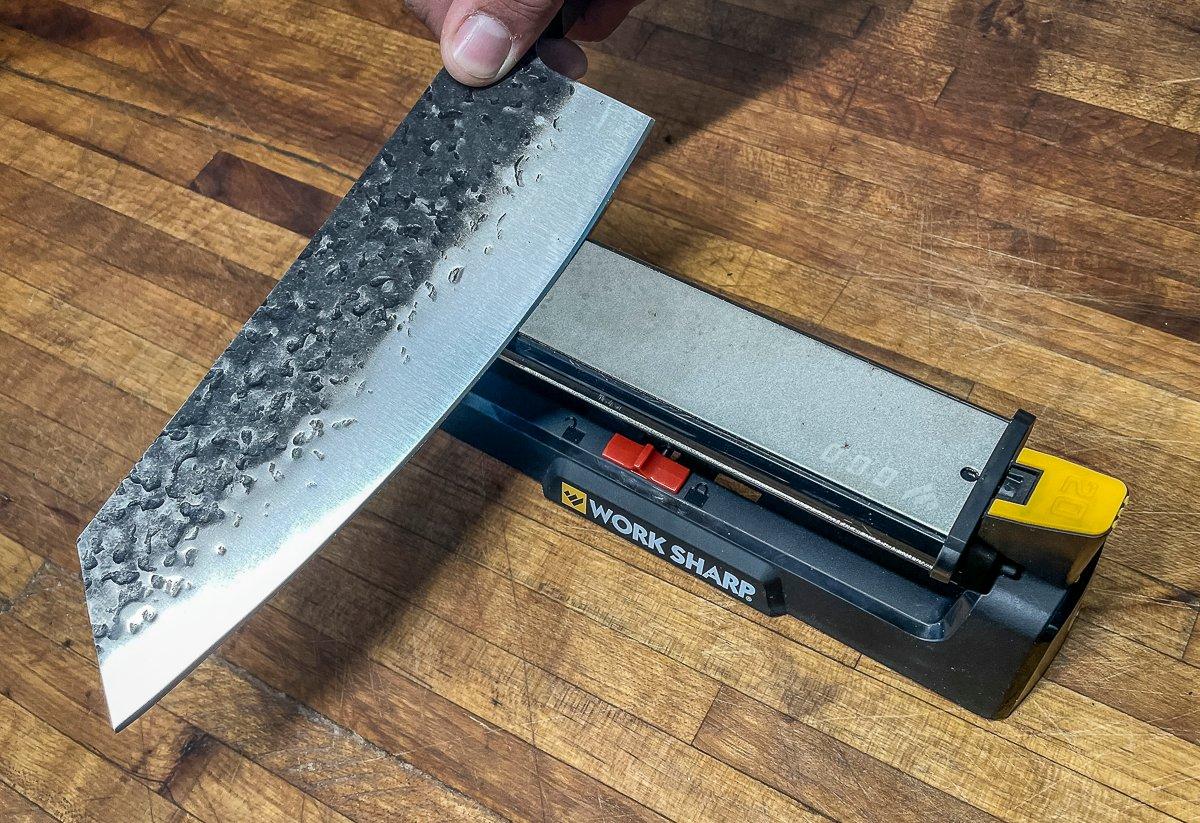
The hardest part of using a sharpening stone is maintaining the correct angle consistently as you pass the blade back and forth over the stone. To do it well takes practice. Lots of it. Modern stones like the Worksharp Guided Field Sharpener make the task easier with adjustable angled guides at each end of the stone to get your blade angle started correctly.
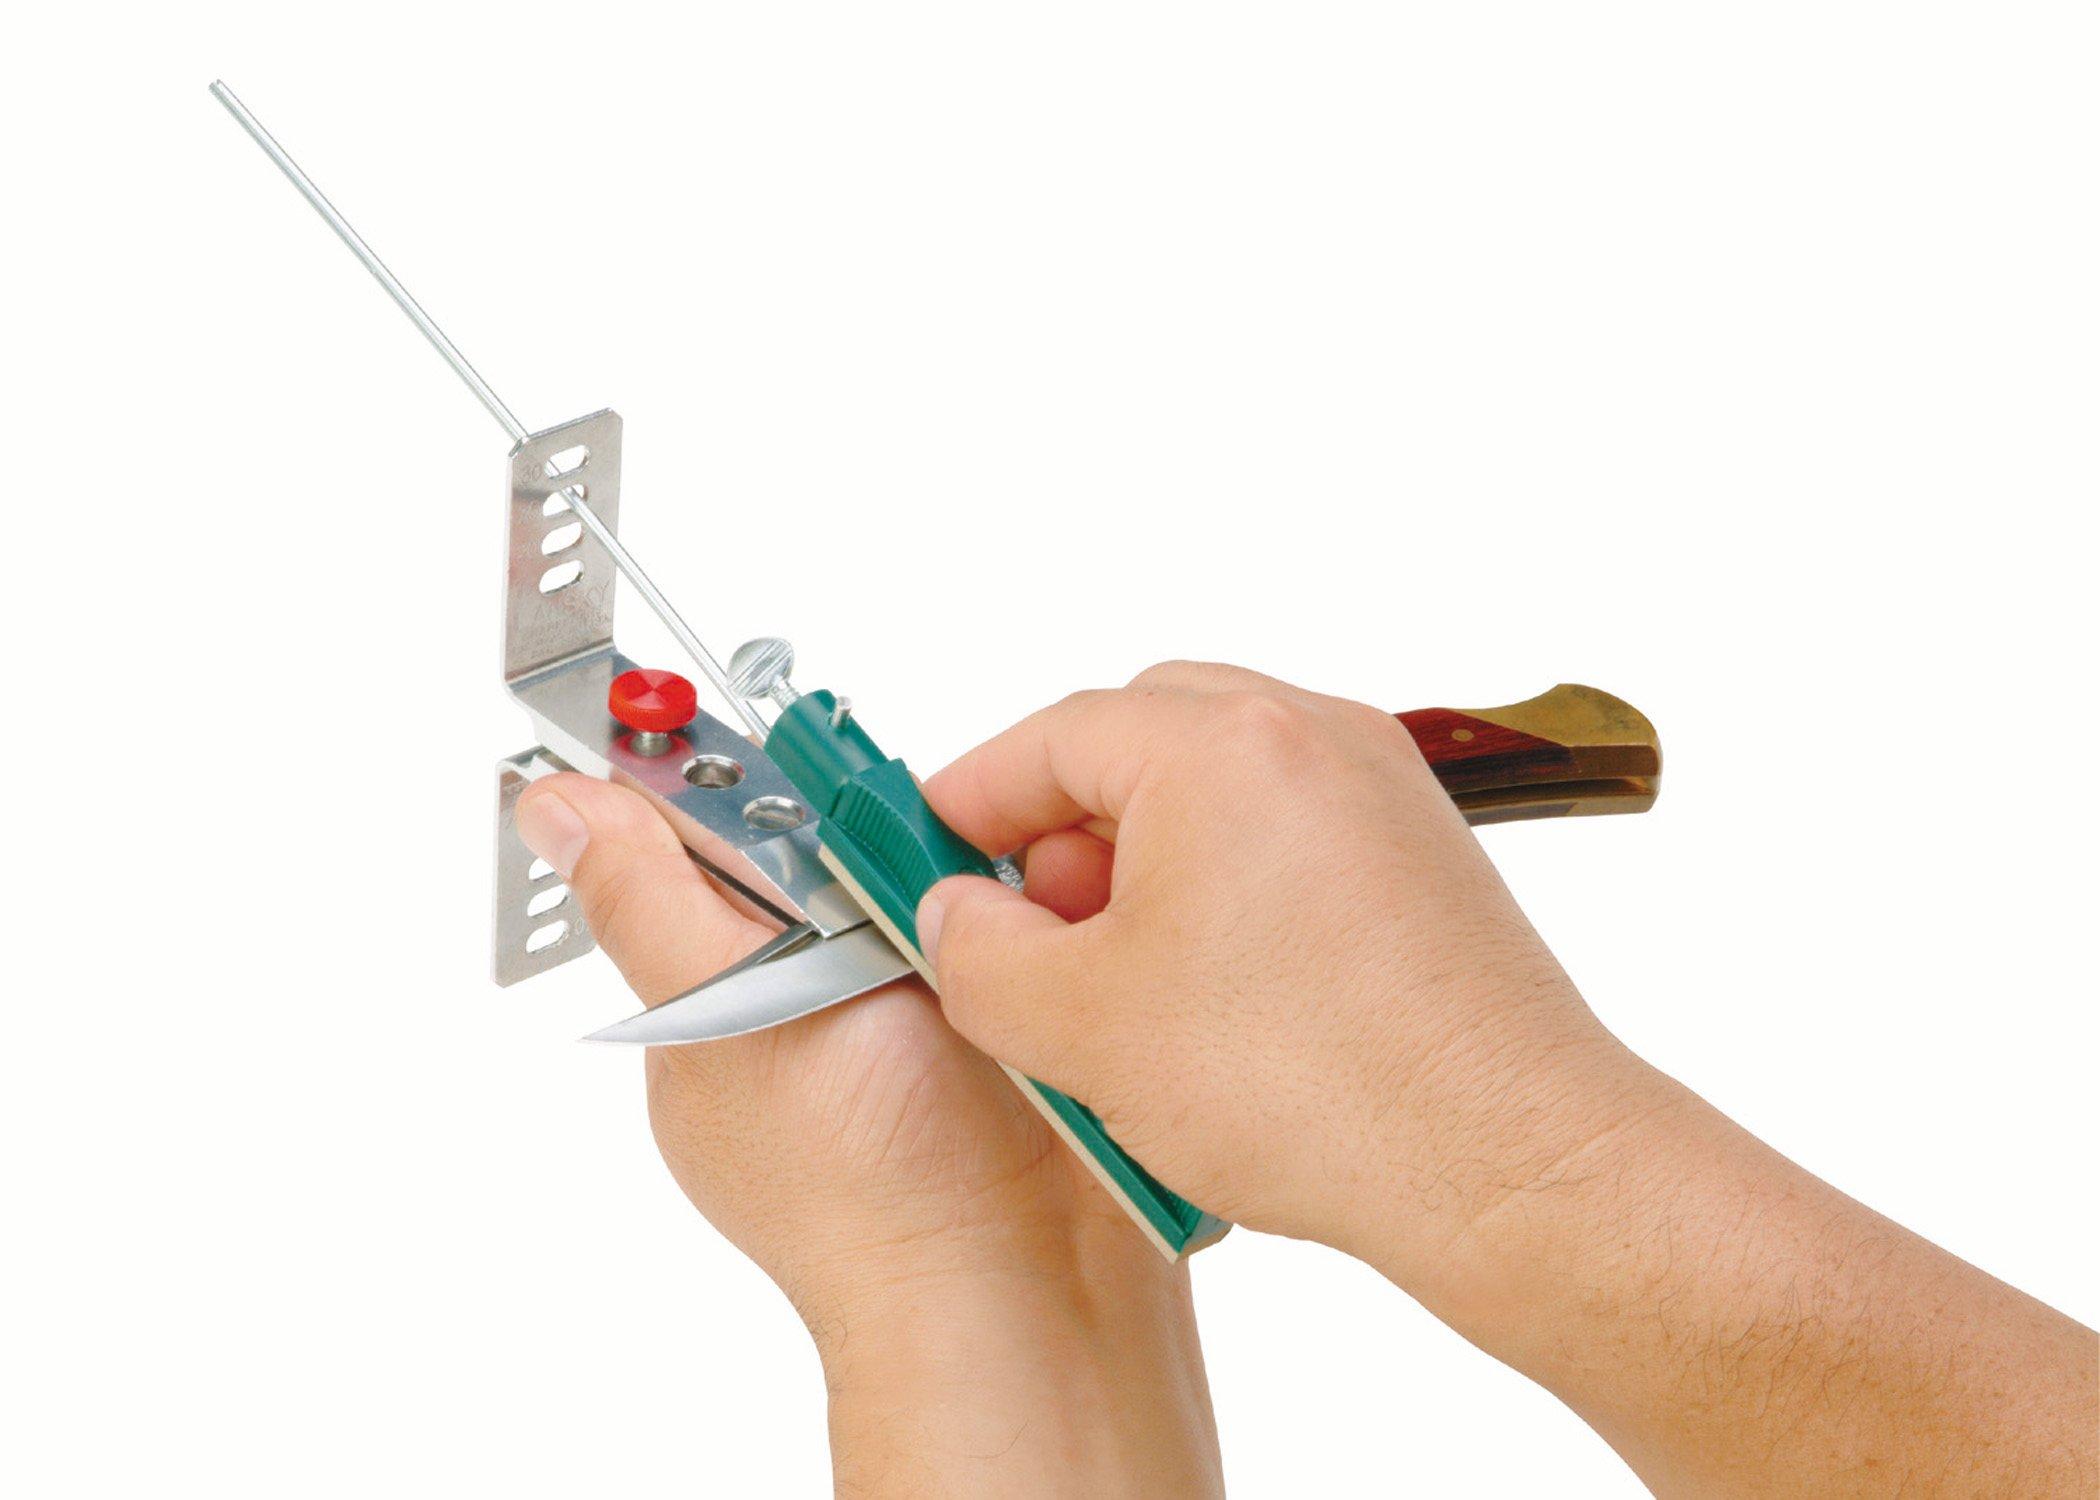
An even easier way to maintain the precise desired angle of blade to stone is to use a guided system like the Lansky Controlled Angle family of sharpeners. These employ a clamp to hold the knife blade in place, while a metal rod attached to a sharpening stone passes through a hole in the clamp base at the desired sharpening angle. This allows the stone to pass freely over the length of the blade while still maintaining a constant and precise angle. To do the opposite side of the blade, simply insert the rod into the corresponding hole on the opposite side of the clamp. The systems come in both diamond and natural stone models, with varied levels of abrasive to meet any sharpening need.
A major benefit of sharpening stones is that an edge can be touched up anywhere without the need for electricity. This is particularly useful for hunters or fishermen who might find themselves afield with a knife in need of sharpening to complete a butchering or skinning session.
-
Belt Sharpening Systems
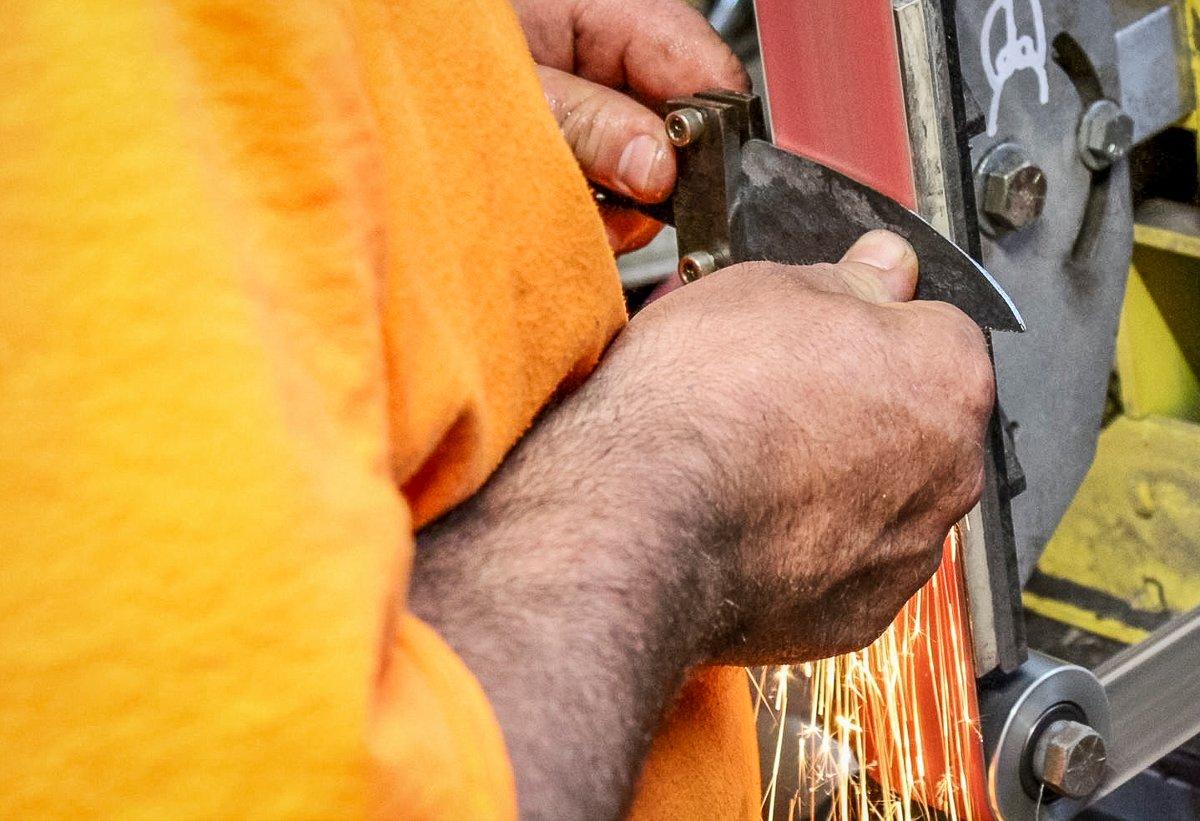
Many custom knife makers use a belt system for sharpening their blades. Blades are passed back and forth over belts of increasingly finer grit until sharp. Smith likes to start out with a belt of about 220 grit and work his way up to an almost smooth 600 grit. Belt systems are generally faster than stones and allow for more precise and varied textures for fine-tuning an edge.
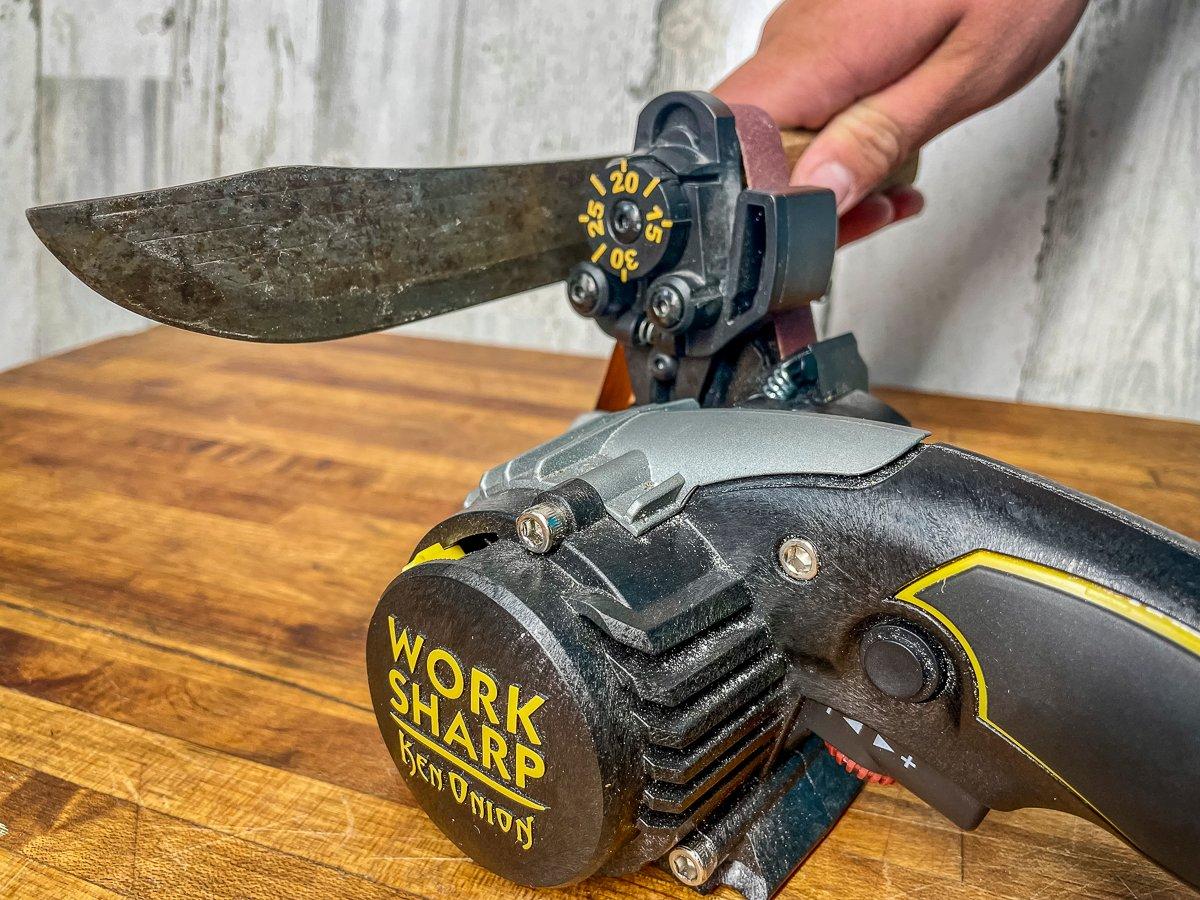
Like a stone, free-handing a blade on an open belt takes practice to maintain a consistent angle on both sides. An easier method is to use a guided belt system like the Work Sharp belt sharpeners. With the Work Sharp, interchangeable belts spin at a set angle while the blade passes through a slotted guide to the belt. Simply move the blade from one side of the sharpener to the other to evenly sharpen both sides.
Some models, like the Ken Onion Edition I use, feature adjustable angle control. This comes in handy when I'm switching from my kitchen knives to field models. Belts ranging from a coarse 220 to a superfine 1000 grit will handle just about every knife sharpening need.
Mate cautions users of belt-style sharpening systems not to linger in one spot on the blade too long or try to remove too much metal at a pass. Doing either can change the profile of the blade or cause the metal to overheat, damaging the temper. He suggests having a container of water near the sharpener to dip the blade in from time to time to keep it cool.
-
The Strop
Regardless of the method used to get your knife sharp, one of the best ways to finish your edge is to polish it on a leather strop. This strop can be any flat, unfinished piece of leather, or even a leather belt on your sharpener.
Add a bit of buffing compound and slide your sharpened blade back and forth over the leather an equal number of times on both sides to polish the final edge. Unlike with the stone or belt, always pull the blade backward on the stop to prevent the knife from cutting into the leather.
Repeat the stropping process until your blade reaches your desired sharpness.
Storage and Maintenance
No matter how sharp your knives are, storing them wrong will wreck your blade faster than just about anything you can cut. The worst way to store a knife? Mate says it's tossing them into a drawer with other knives, silverware, or hunting junk. The constant friction wears down the blade in short order. The best way? Stored on a magnetic strip on the wall, or in a knife roll, sheath, or block.
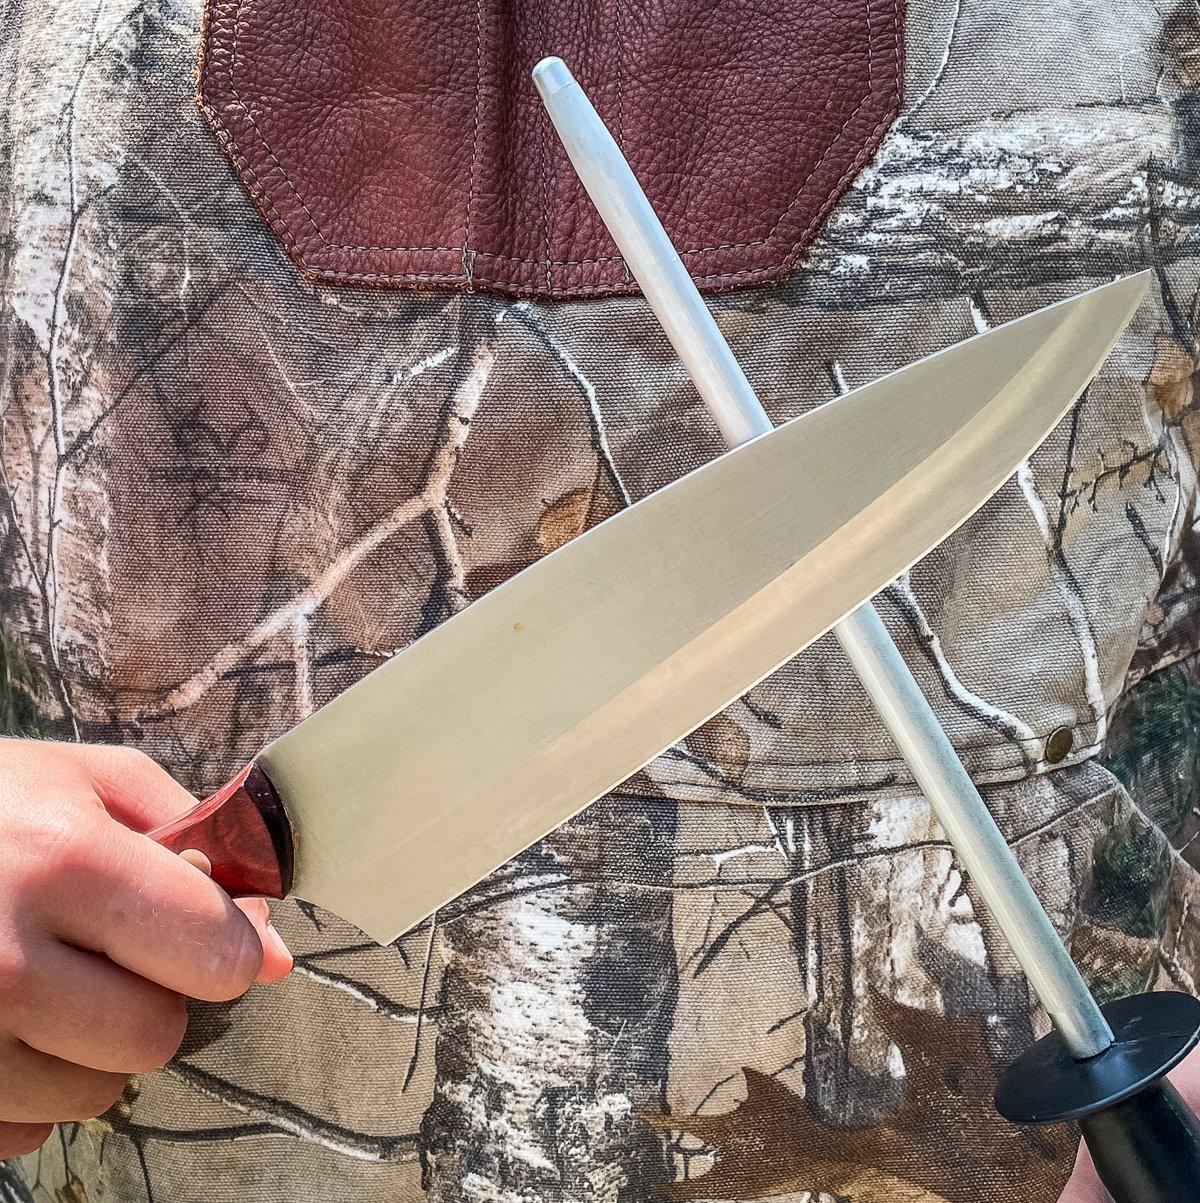
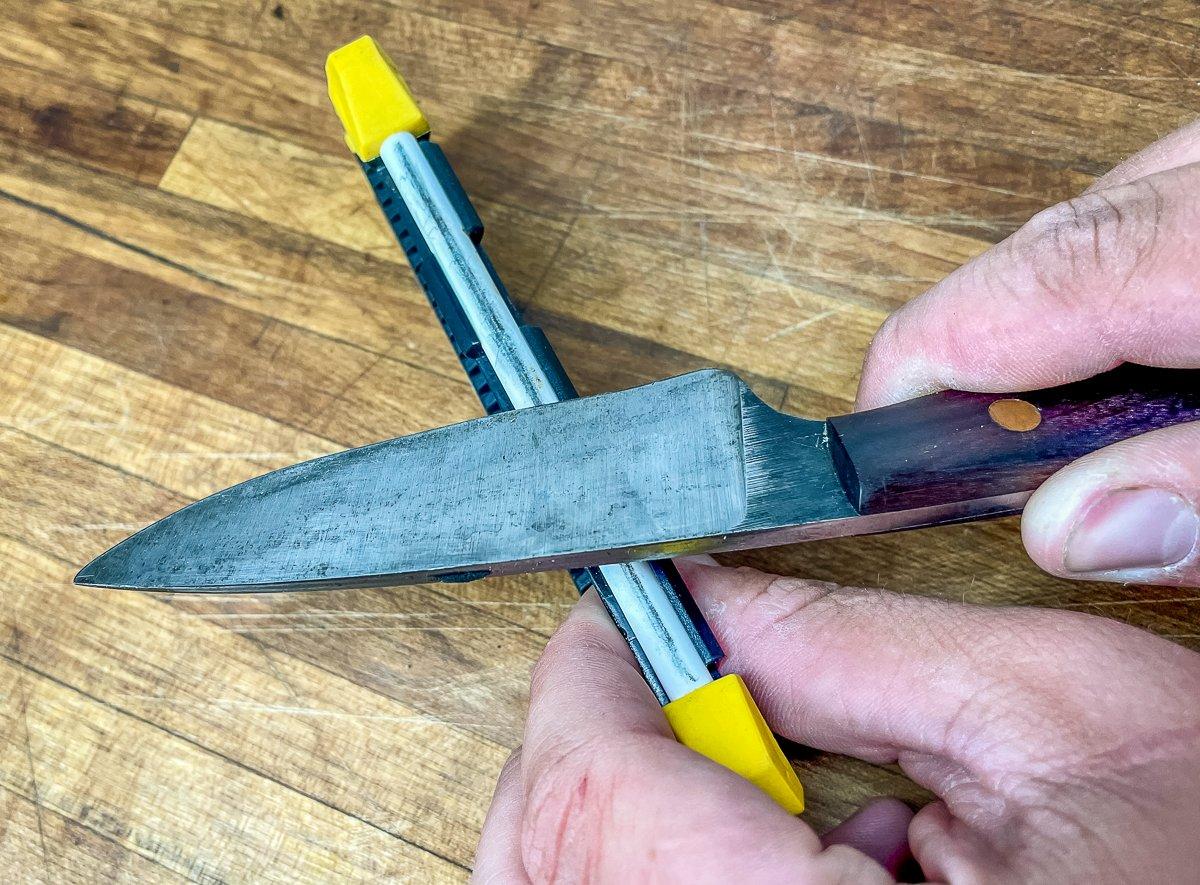
Blades need to be maintained, too. The easiest way to do that is to touch up the blade before, during, and after use on a sharpening or honing steel to keep that fine burr edge we mentioned earlier aligned and smooth. Sharpening steels are metal or ceramic rods with little or no abrasiveness. Their purpose isn't to sharpen the blade, but rather to align that thin burr of metal along the leading edge of the blade. Often, what we think is a dull blade isn't really dull at all. It's simply that the leading burr has been rolled to one side or the other. Mate prefers a smooth honing rod over one with grooves in it for the sharpest edge.
A few strokes against a steel will straighten and align that leading edge so that your blade is back to its original sharpness. How often should you use a steel? In the Timber2Table kitchen, I like to run a few strokes on the steel before each cutting task, then occasionally during the slicing or cutting process. Mate says that most home users can get by with touching up their knives once per week or so.
When in the field or the skinning shed, I keep a smaller steel in my pocket and hit the edge whenever I feel my knife is losing its sharpness. Take your time. You'll see butchers and chefs work blades so quickly against the steel that they look like they are engaged in mortal combat, says Mate. That's bad technique for most people. A few gentle strokes at a consistent angle is all you need.
Regardless of the method you prefer, make the time to get your knives sharp and keep them that way. Kitchen or field, it will make working with them a lot more enjoyable, efficient, and safer. Be warned though, once your hunting buddies find out you can sharpen a blade, you will be the most popular person in camp.

