Fish Fry Tips for Feeding a Crowd
Posted 2024-03-31 by
Feed a bunch of people well and in a hurry with a good old-fashioned fish fry
Spring has sprung. Turkeys are gobbling, fish are biting, and the weather is warming up. People are tired of being cooped up inside and are getting together again. It isn’t a get-together without food, and who doesn’t love a fish fry?
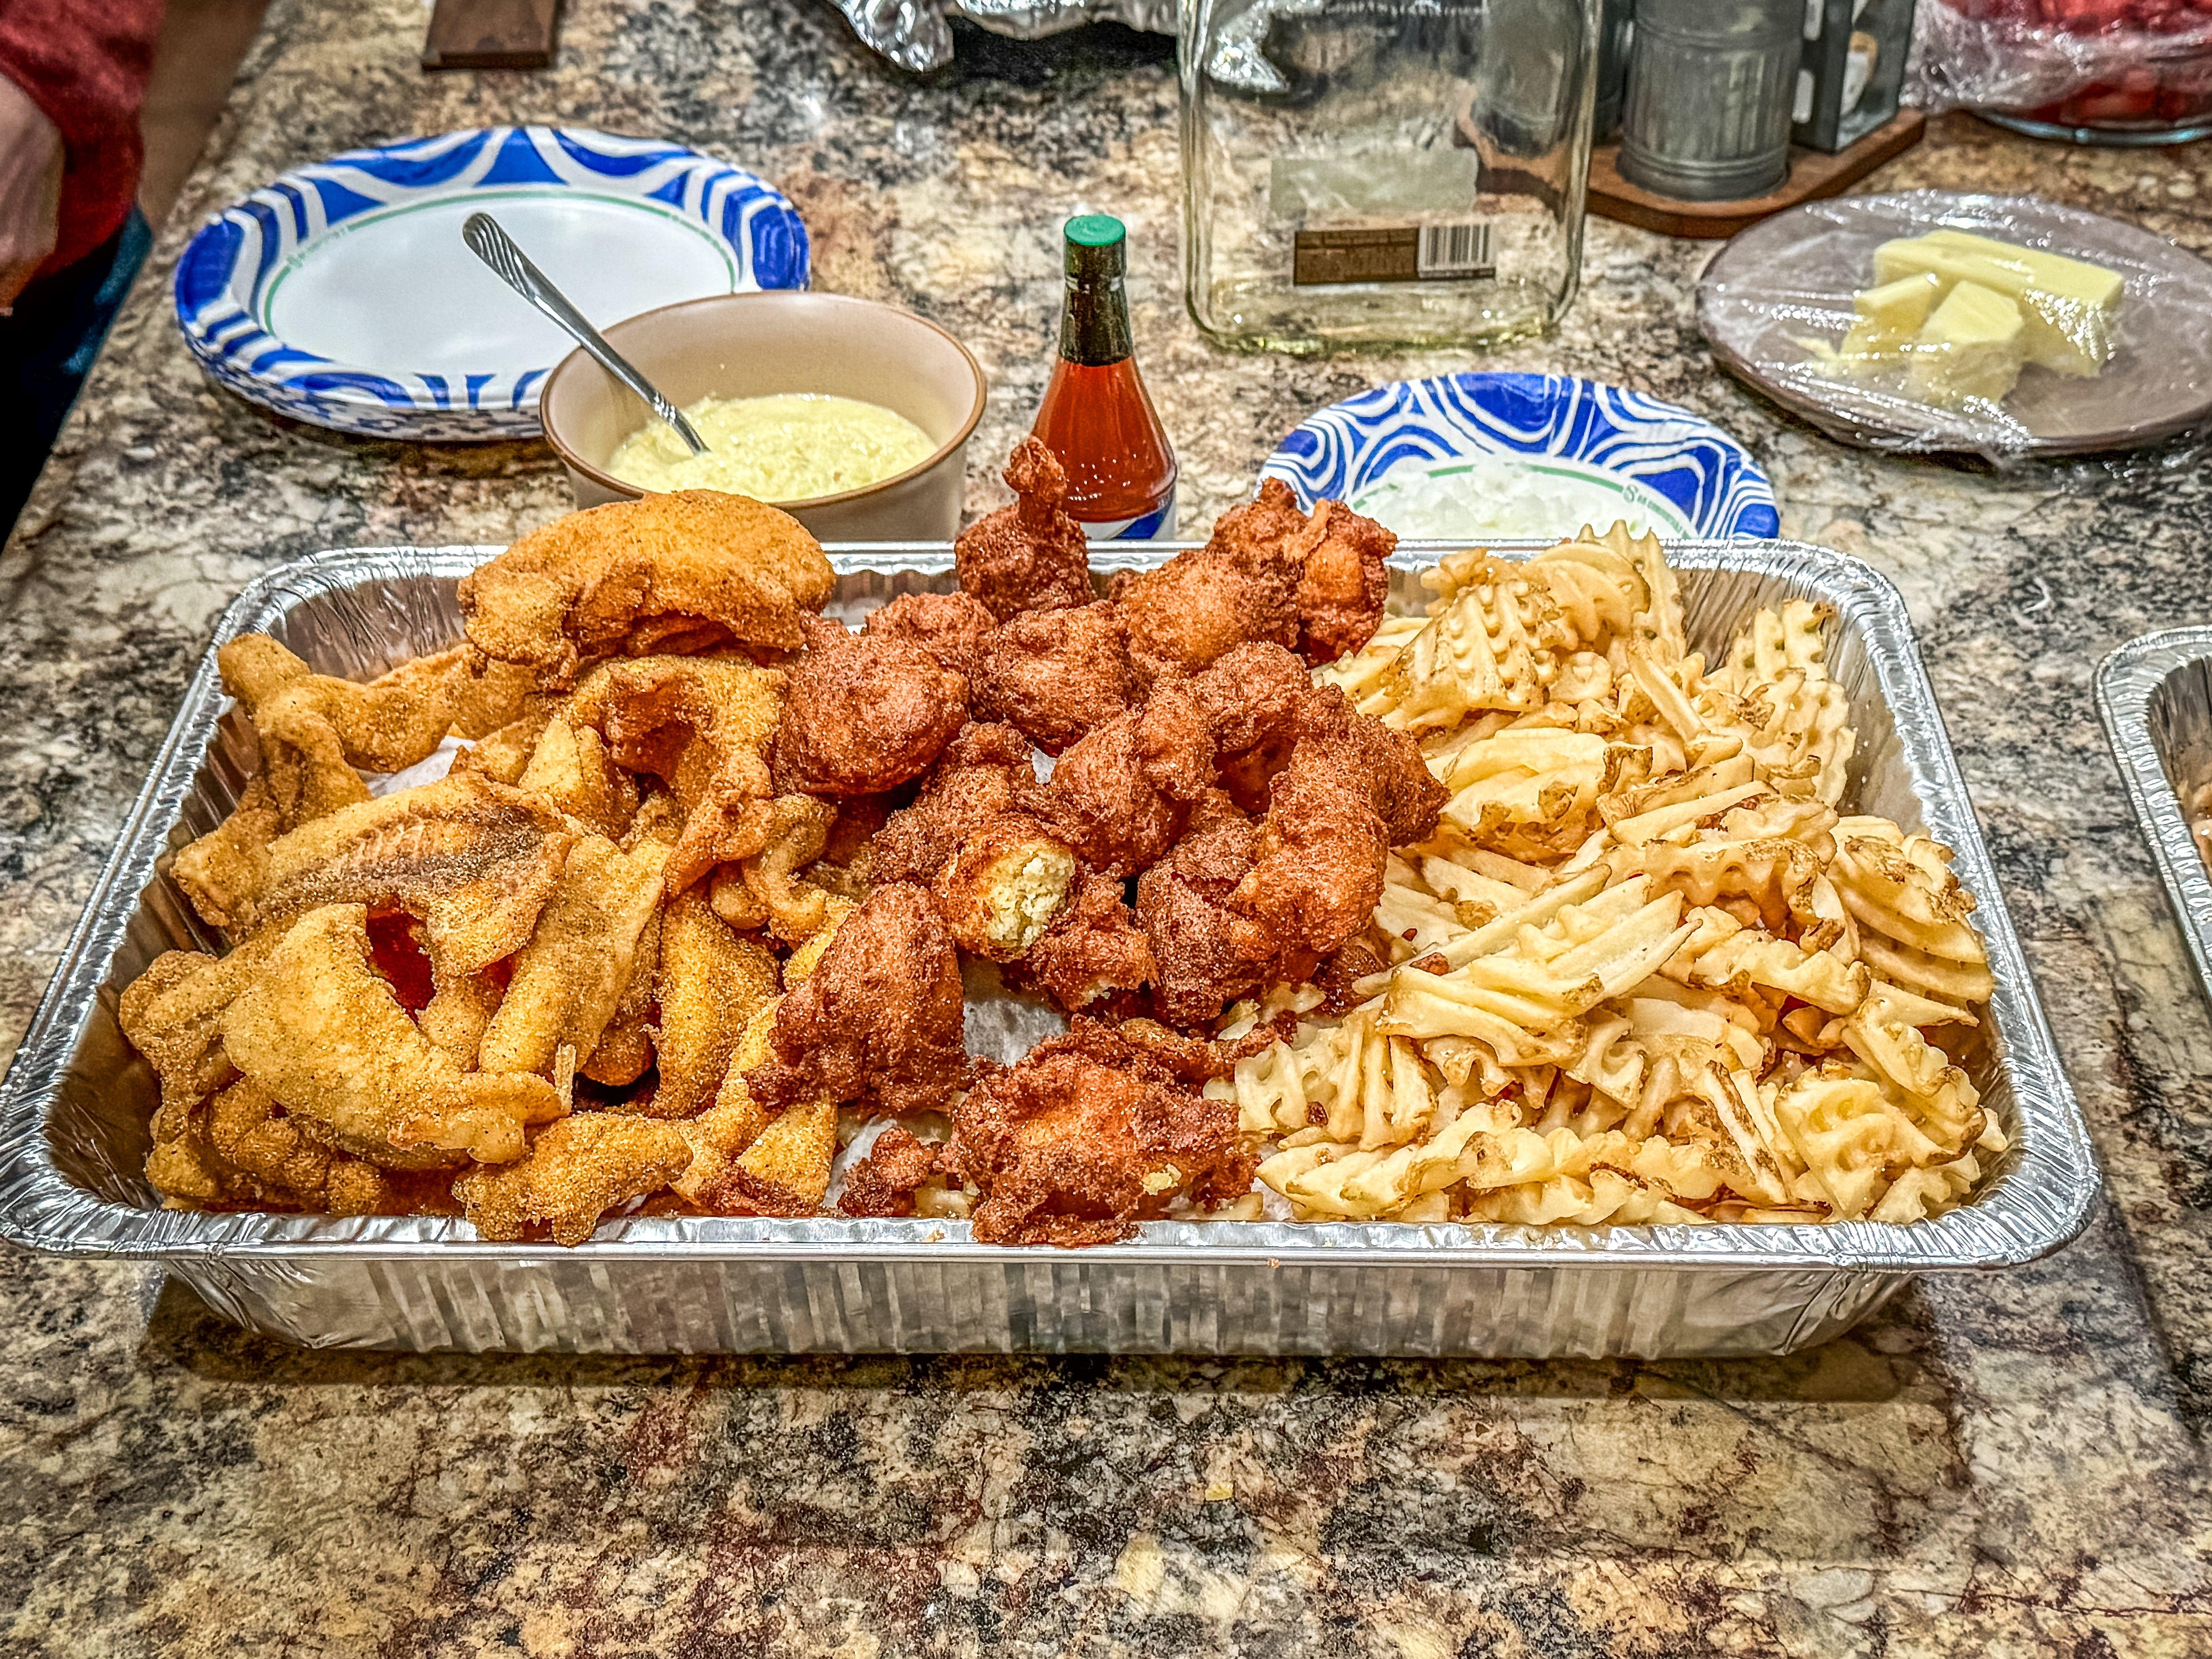
A fish fry feeds a large crowd in a hurry.
Some of my favorite fish for the purpose just happen to be easiest to catch this time of year. Walleye, sauger, crappies, white bass, largemouths, bluegills, catfish, red ears; all of these white flaky fish are perfect for a good fry.
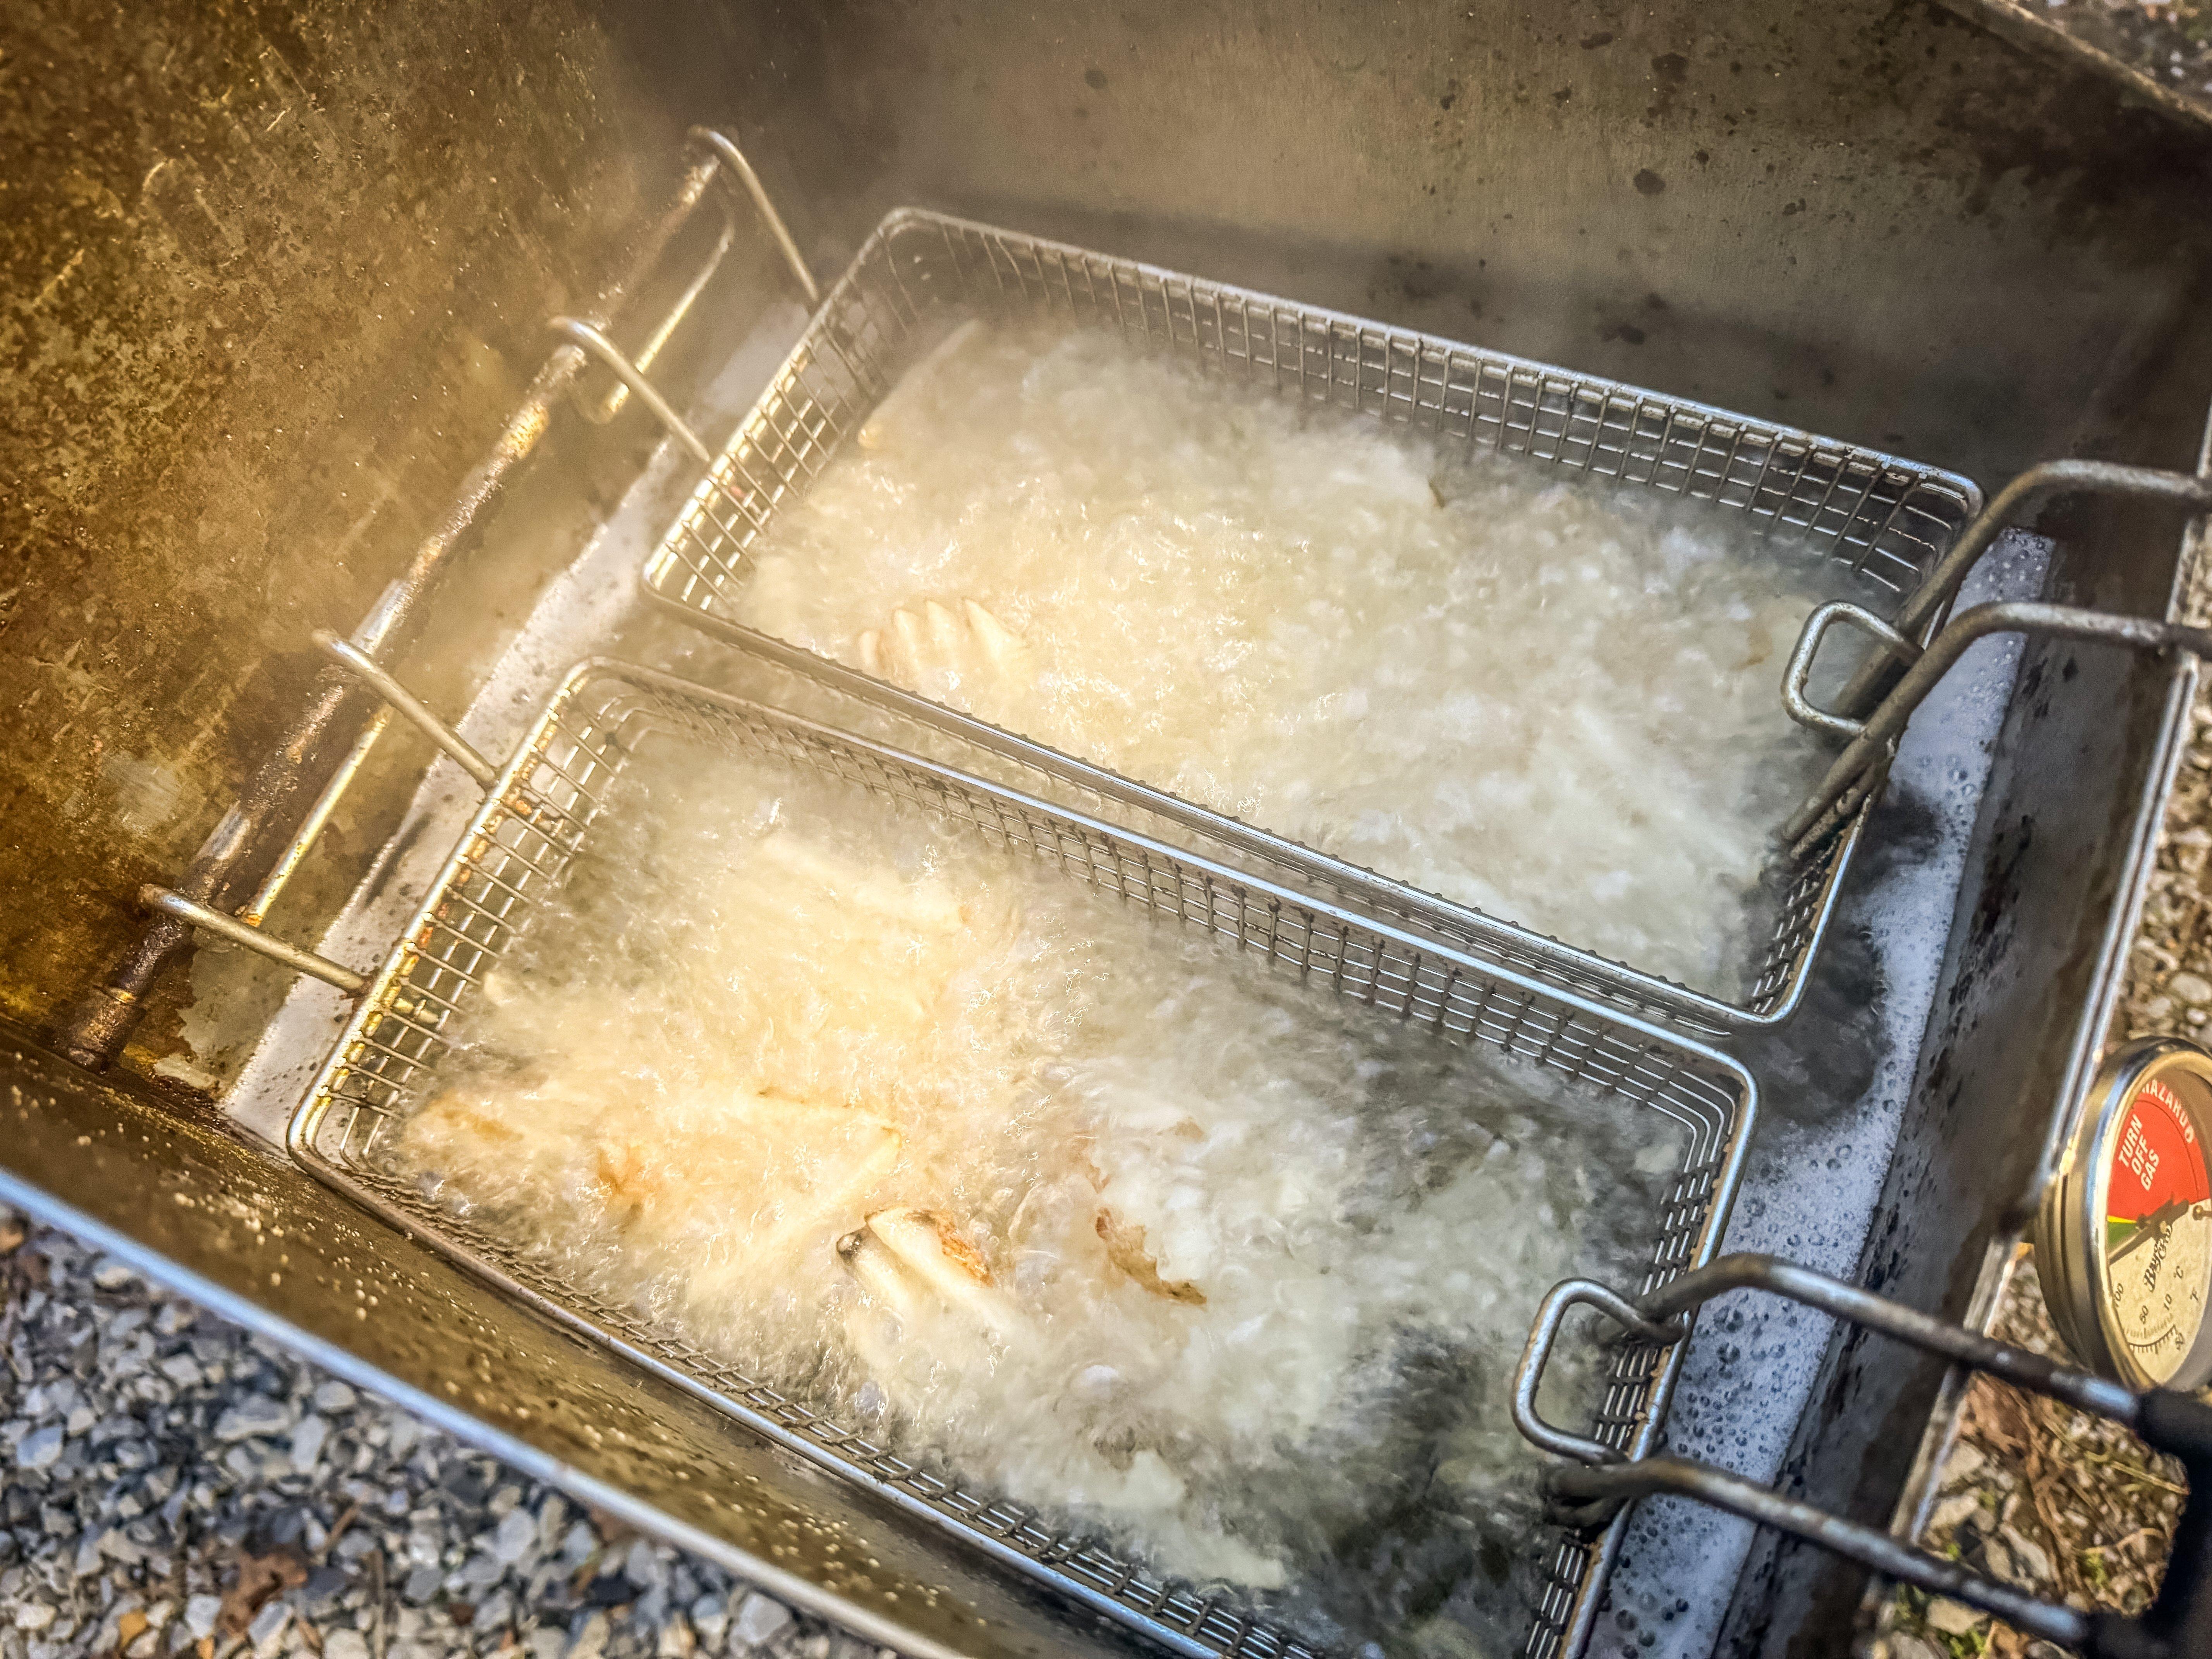
So how do you turn out enough fish and sides to feed a crowd and do it well? I prefer to do it outside. It starts with a good deep fryer like the 4-gallon model from Bayou Classic or the 12-quart model from Loco Cookers.
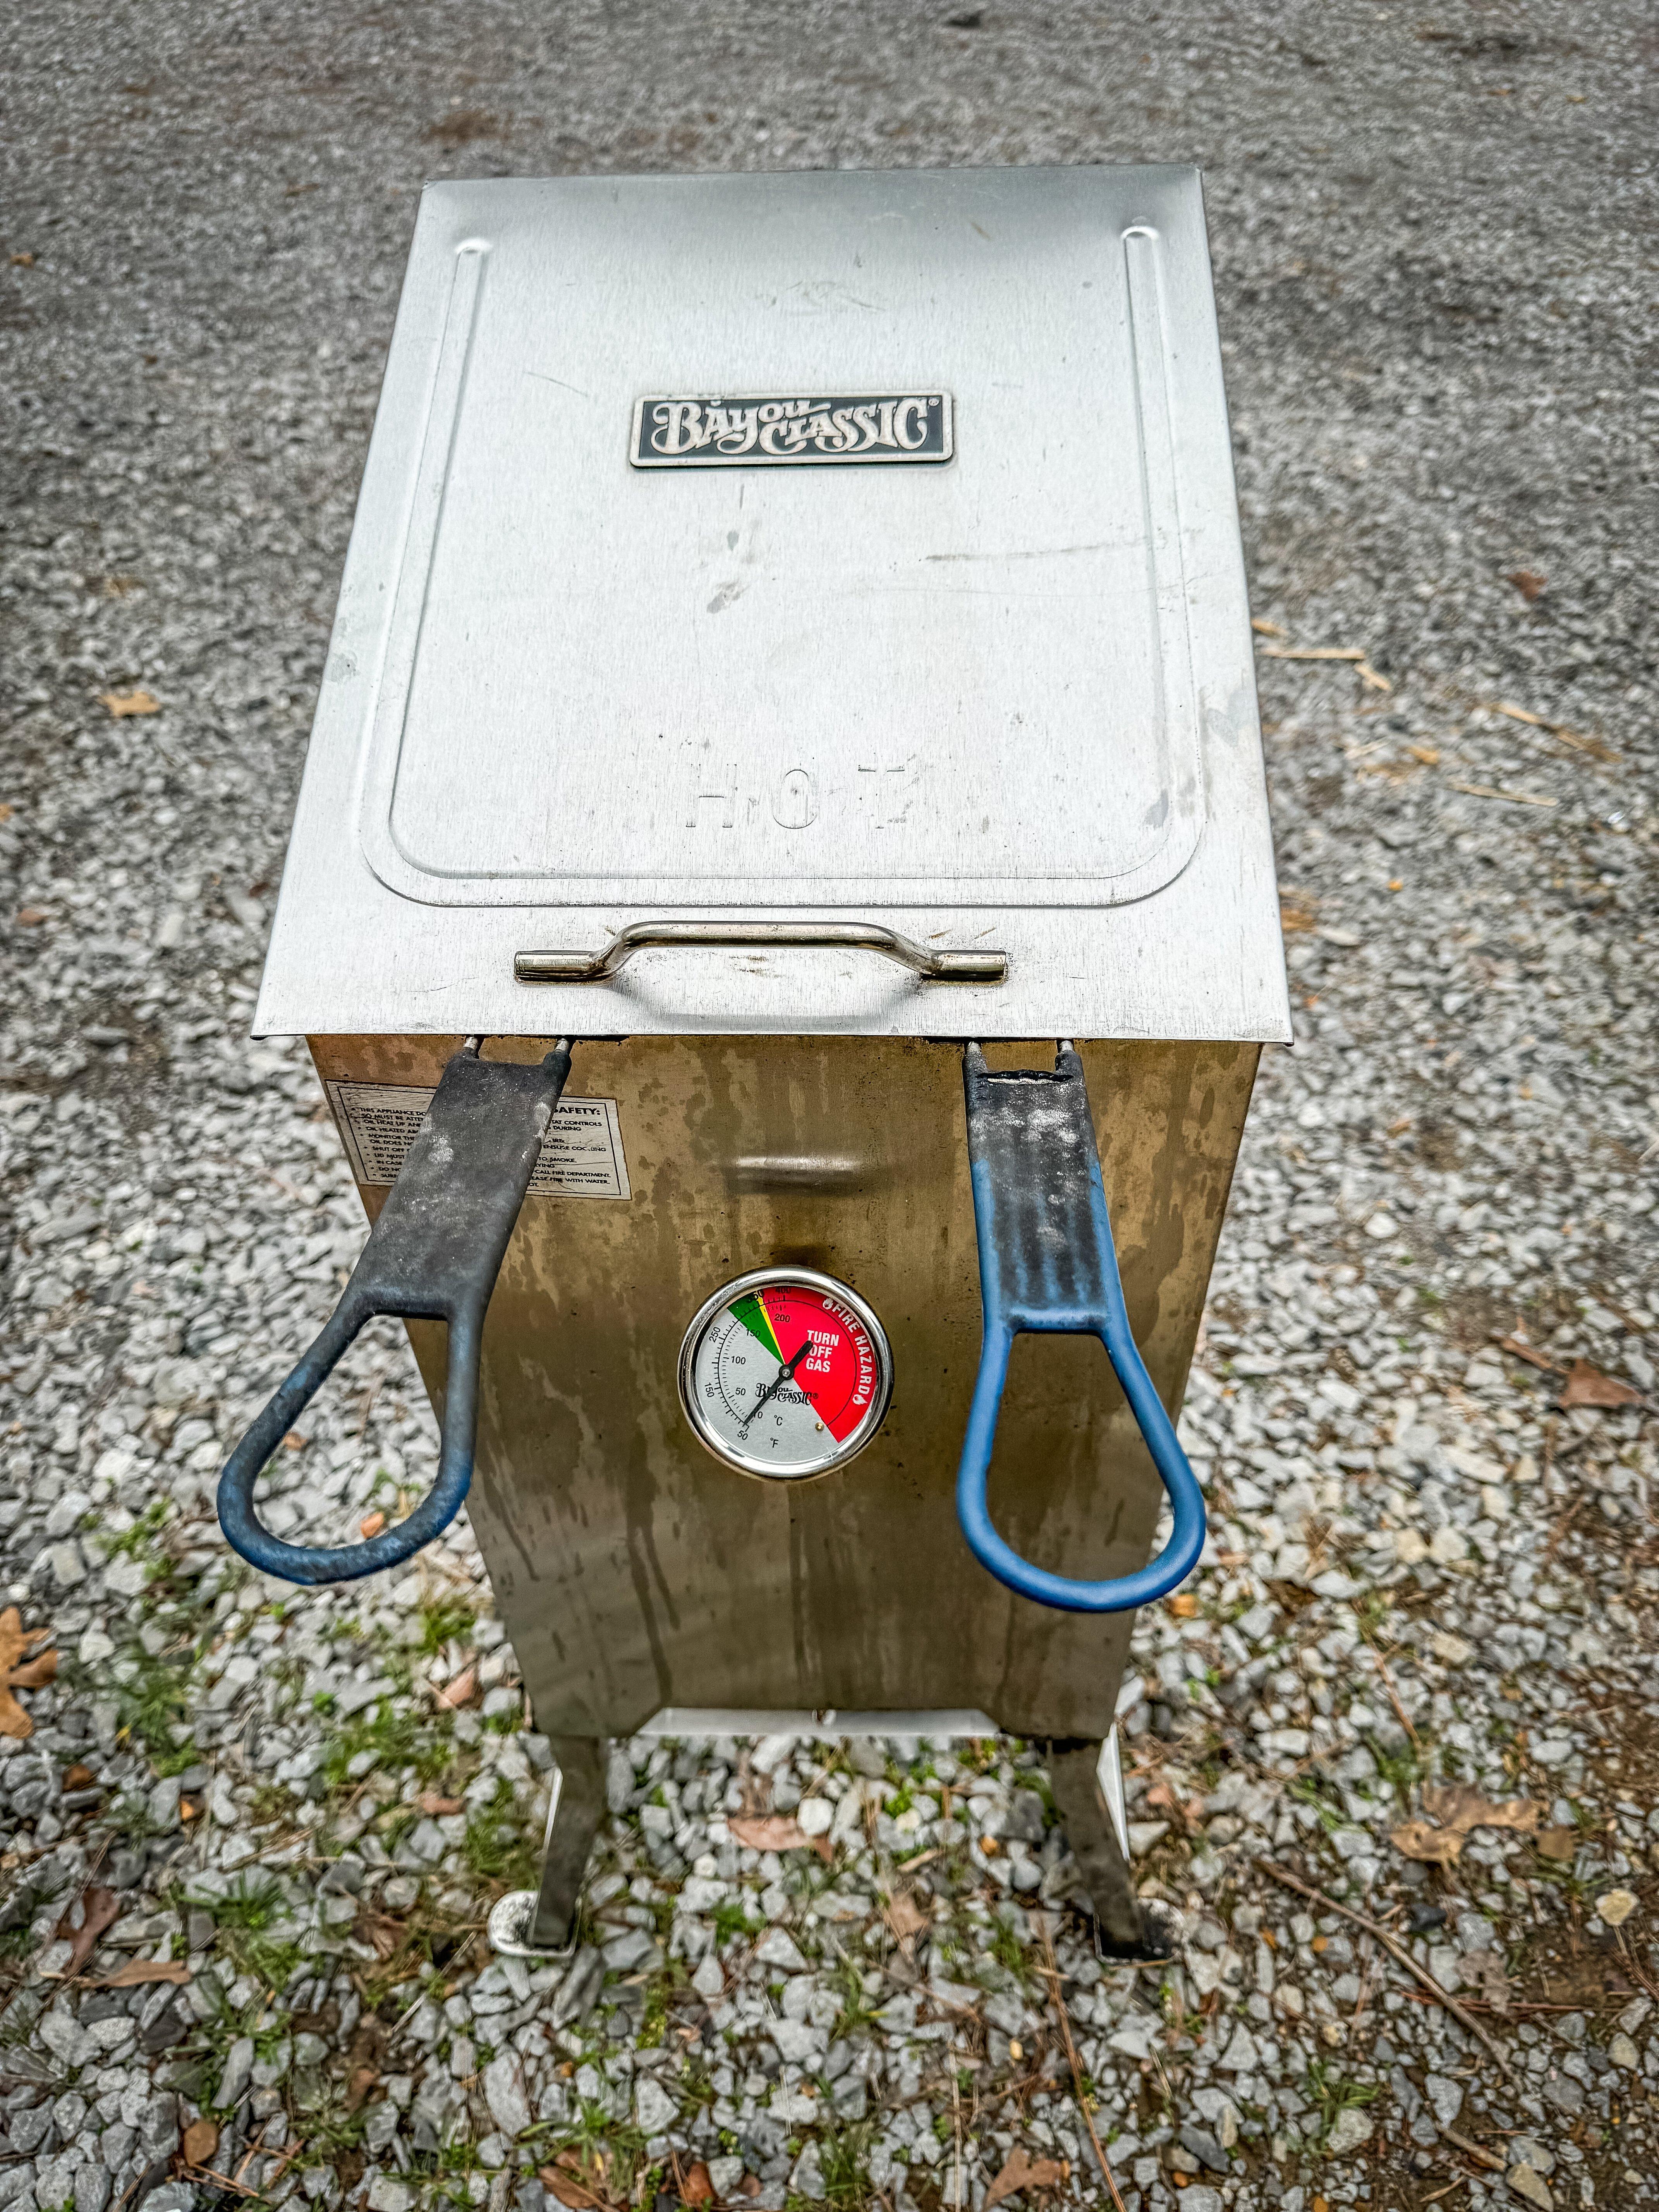
A good outdoor cooker makes the whole process go smoothly.
Being able to heat enough oil for several servings of fish at a time is key. You can get enough done to serve everyone without the first batches getting cold and soggy while you wait for additional rounds to fry. Whatever you choose, a submersible and liftable basket (or baskets, depending on the fryer) to hold and drain the fish is a must.
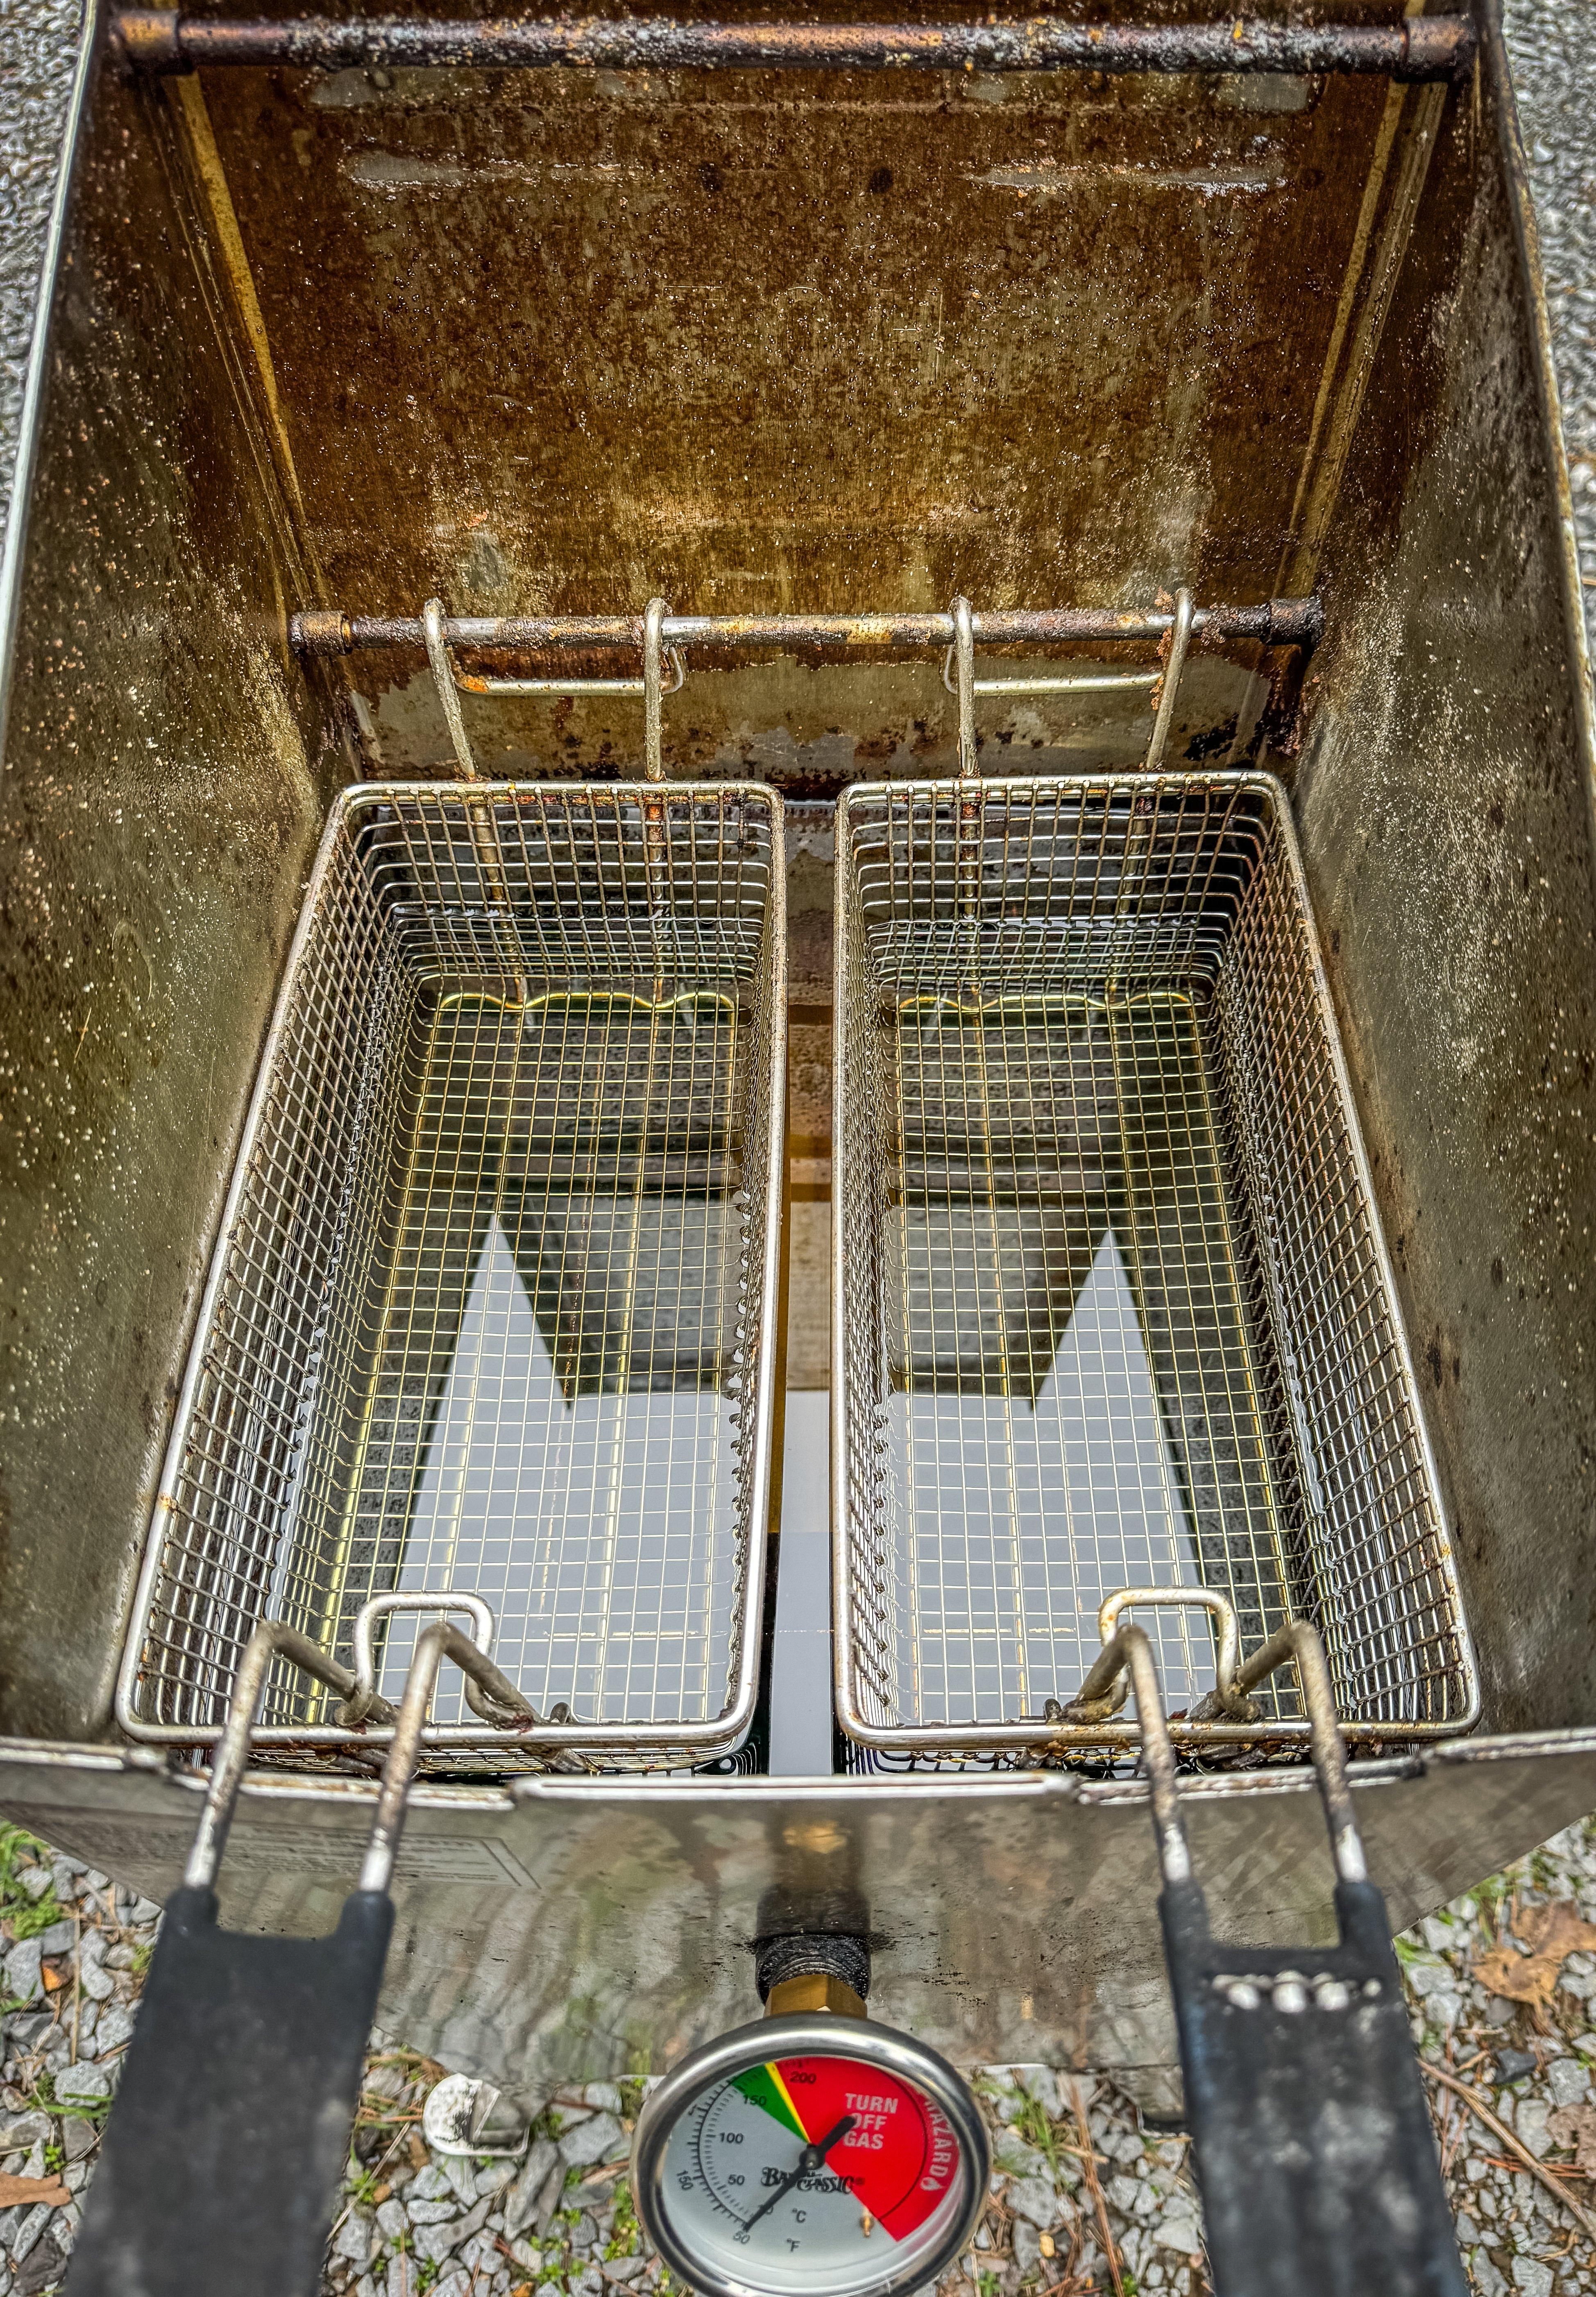
A submersible basket to hold and drain your fish is an important feature.
Next comes the oil. Look for an oil with a smoke point higher than 450 degrees Fahrenheit. Safflower, vegetable, sunflower, soybean, canola, or a fry blend sold at restaurant supply stores are all good choices. Peanut oil has a high smoke point and is favored by lots of fish cooks, but be certain no one on your guest list has a peanut allergy before going that route.
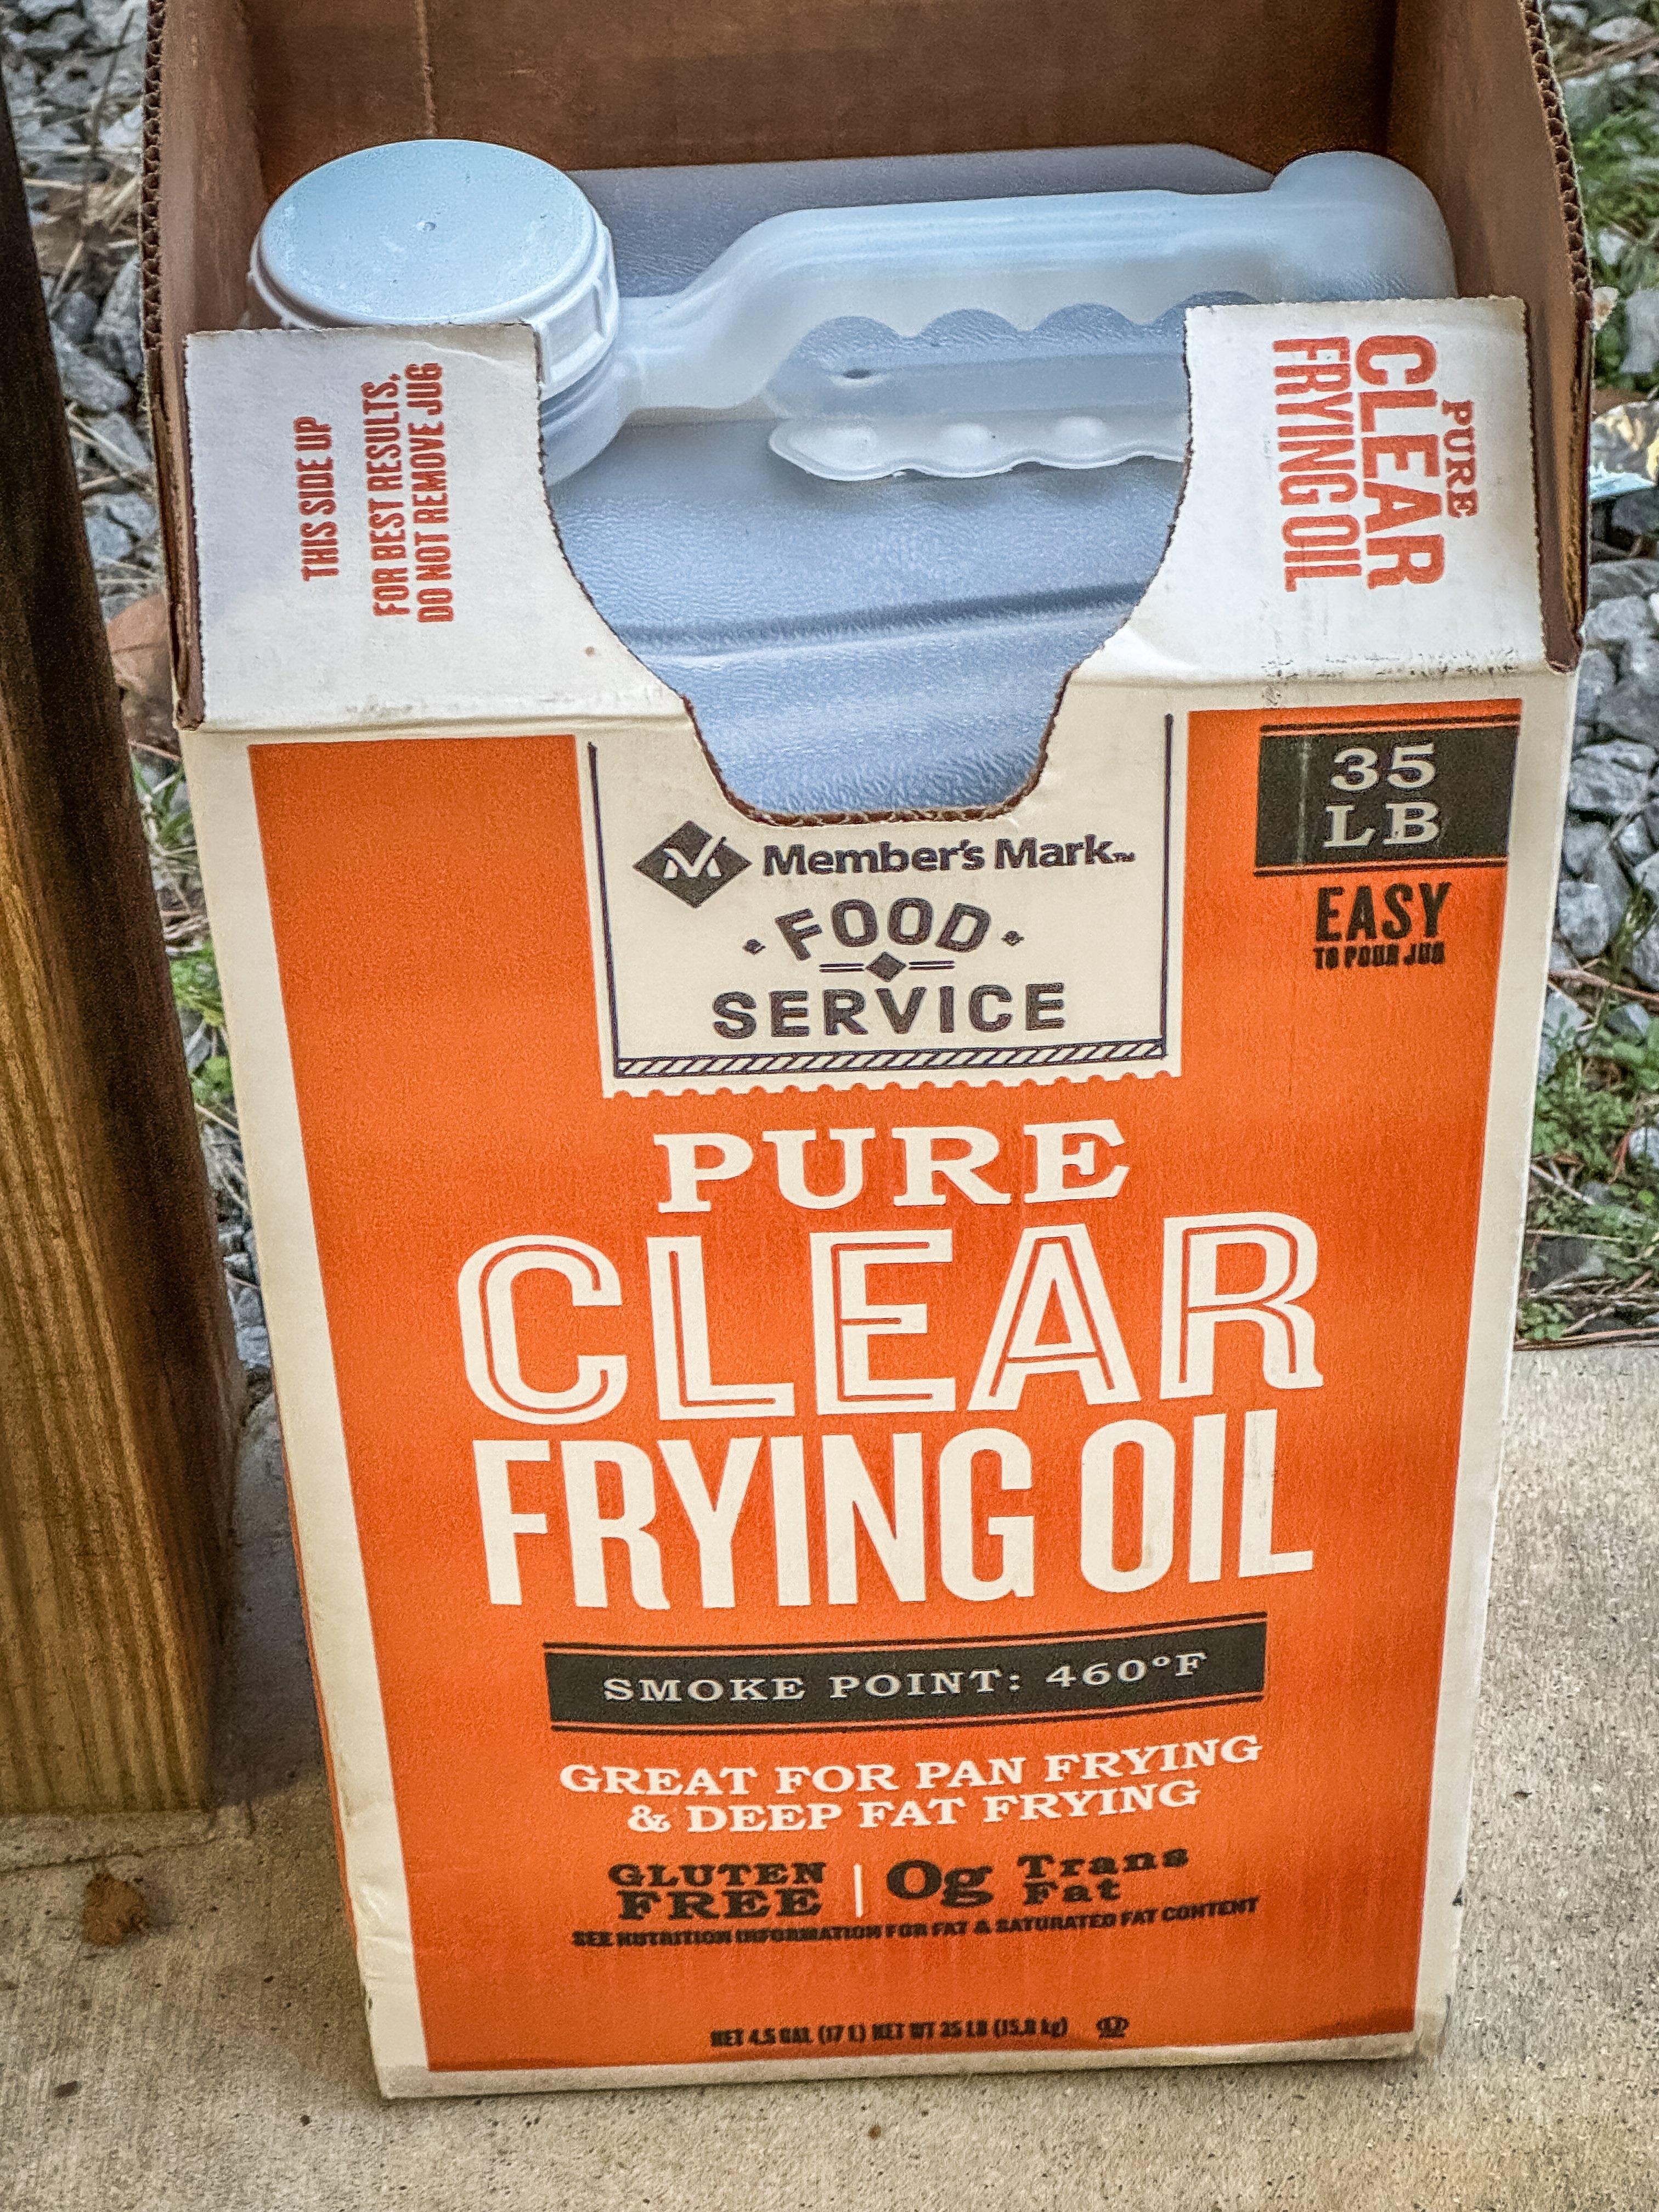
Choose an oil with a high smoke point and neutral flavor.
Now for the fish. For the best outcome, as soon as the fish is out of the water, it goes on ice. If I am fishing for the sake of filling the freezer or the fryer, my fish don’t linger on a stringer or in a live well where they will be stressed out. If I’m fishing saltwater, or for certain freshwater species like striped bass, I’ll kill and bleed the fish immediately before placing it on ice. With panfish, bass, walleye, or sauger, that step isn’t necessary.
That cold storage doesn’t stop in the boat or on the bank. As soon as the fillets come off the fish, they go back onto ice until ready to package or cook. You can find more about the best ways to clean and store fish here.
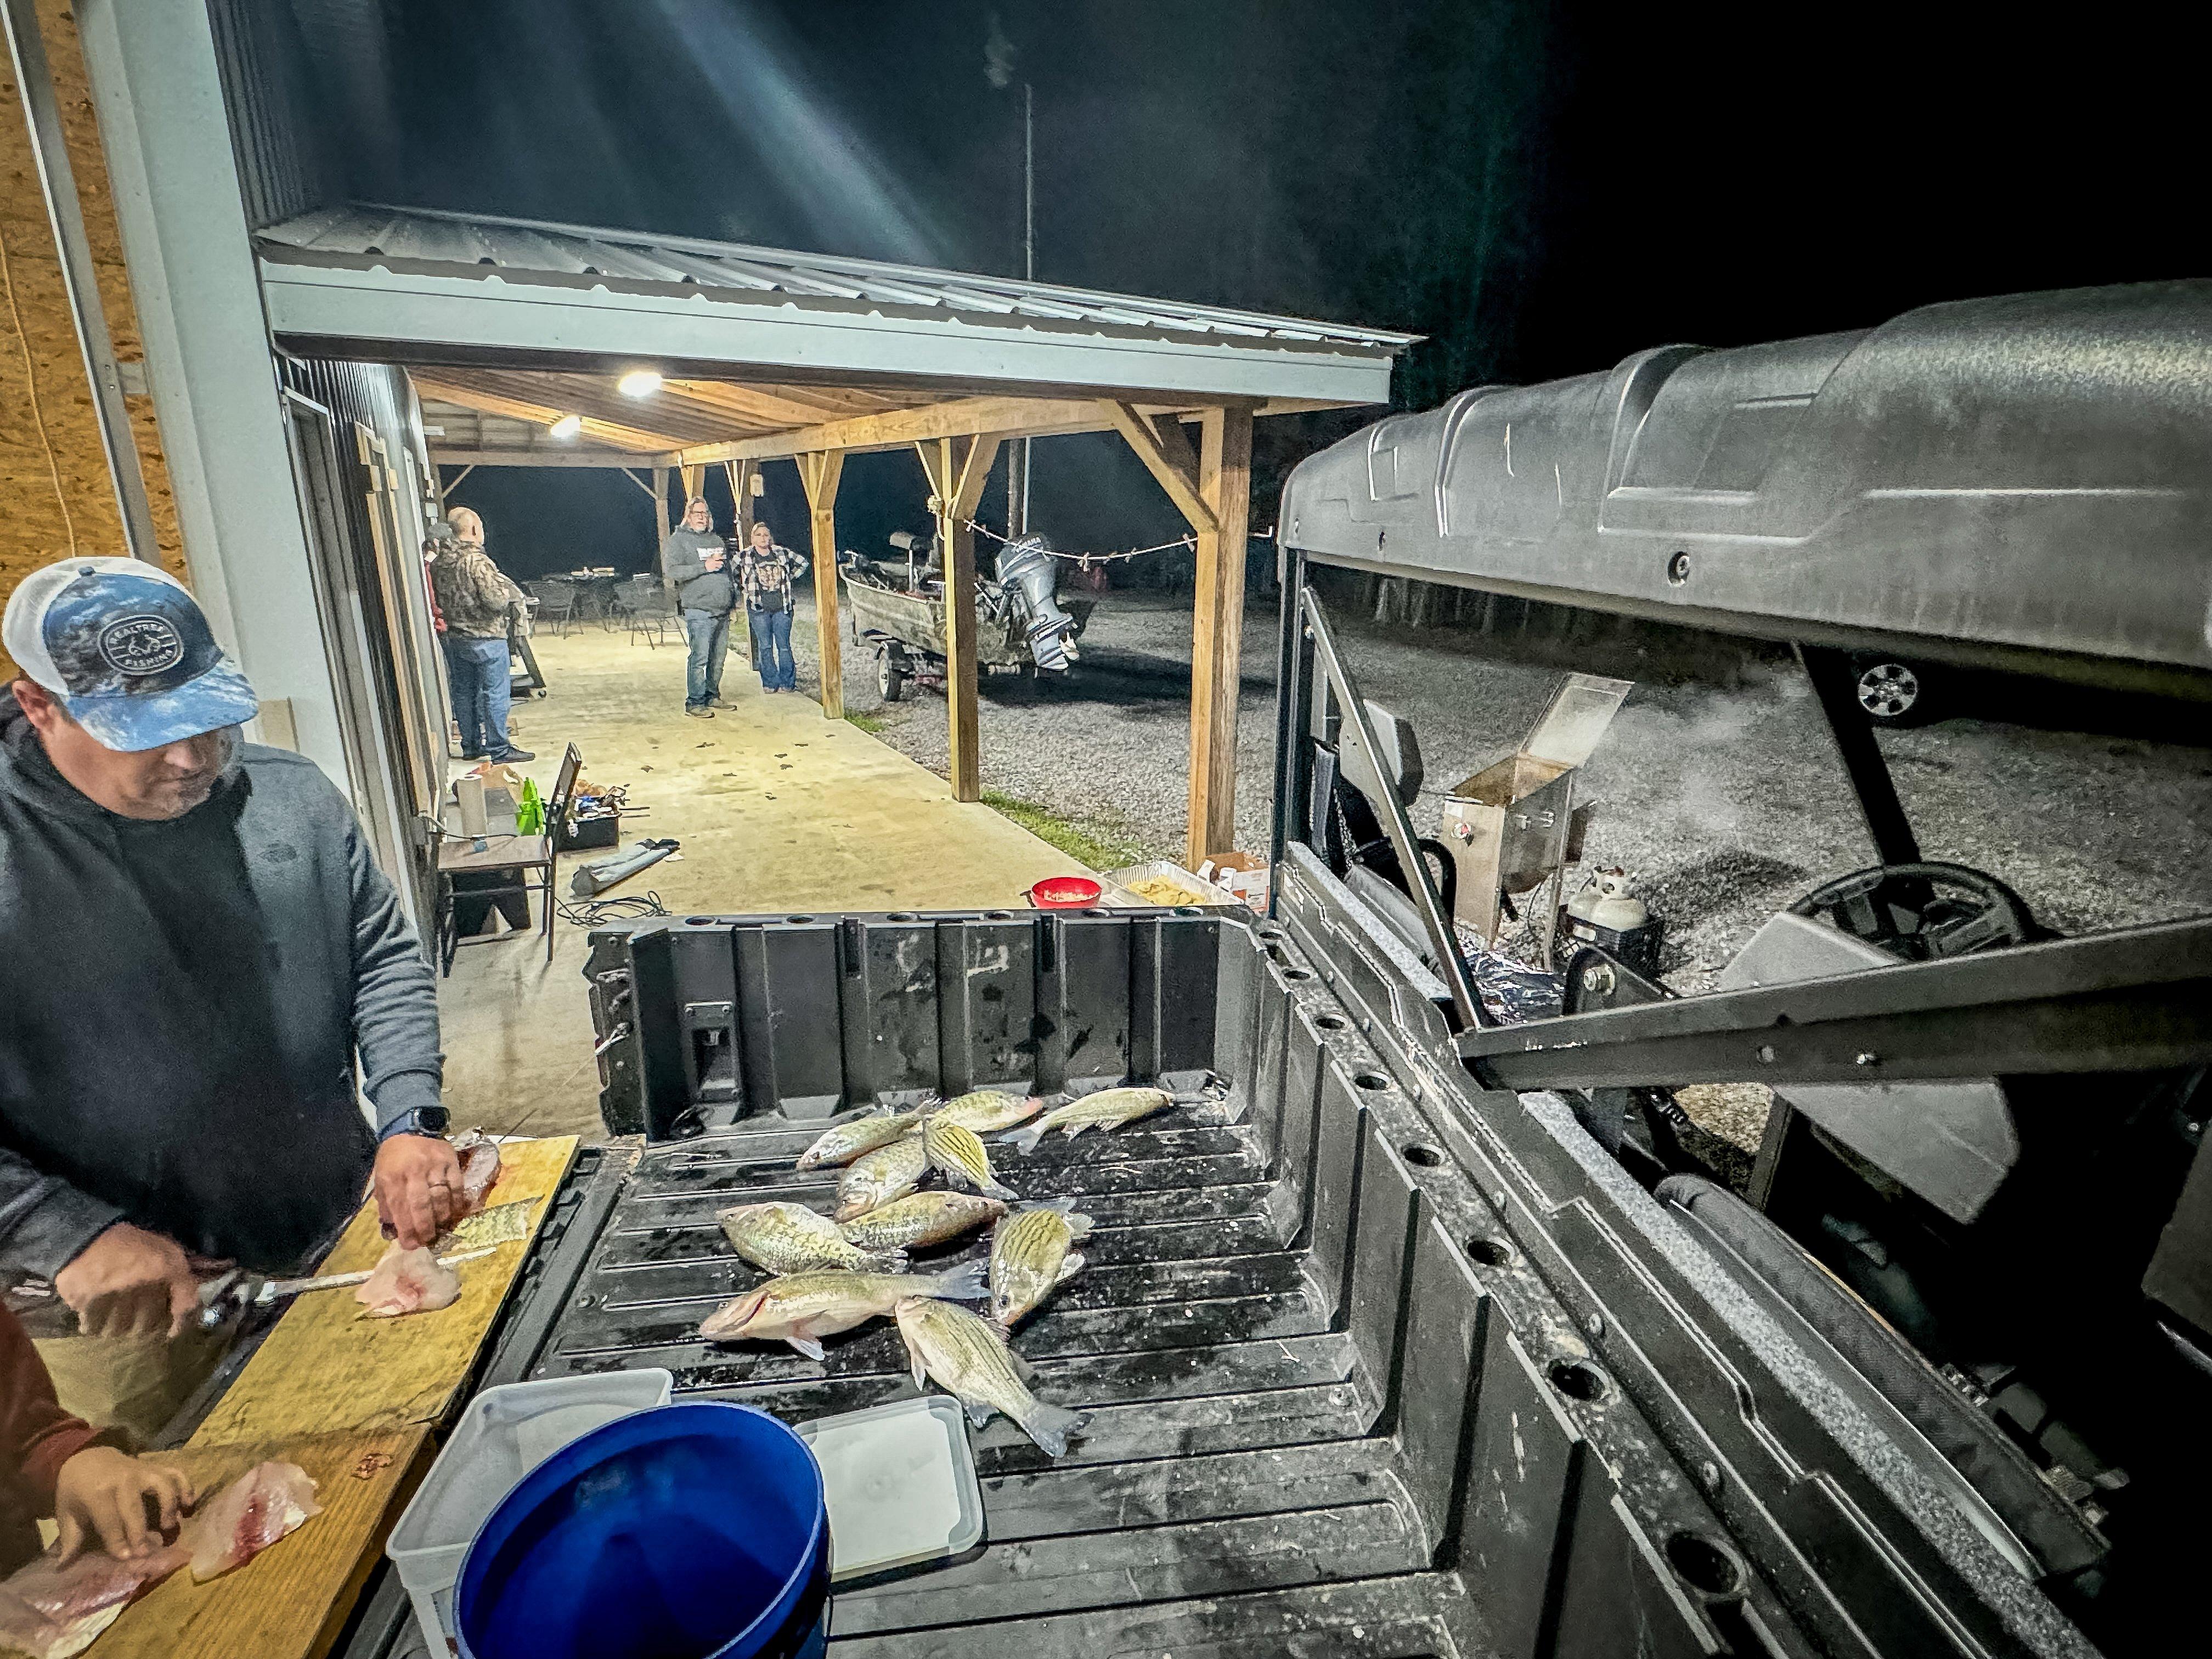
Keep the fish cold at every step of the process. These just came from a cooler of ice.
When the time comes to cook, heat your oil to between 350 and 375 degrees Fahrenheit. Any cooler and the fish will soak up oil and be greasy; any hotter and you will overcook the exterior before the interior is done.
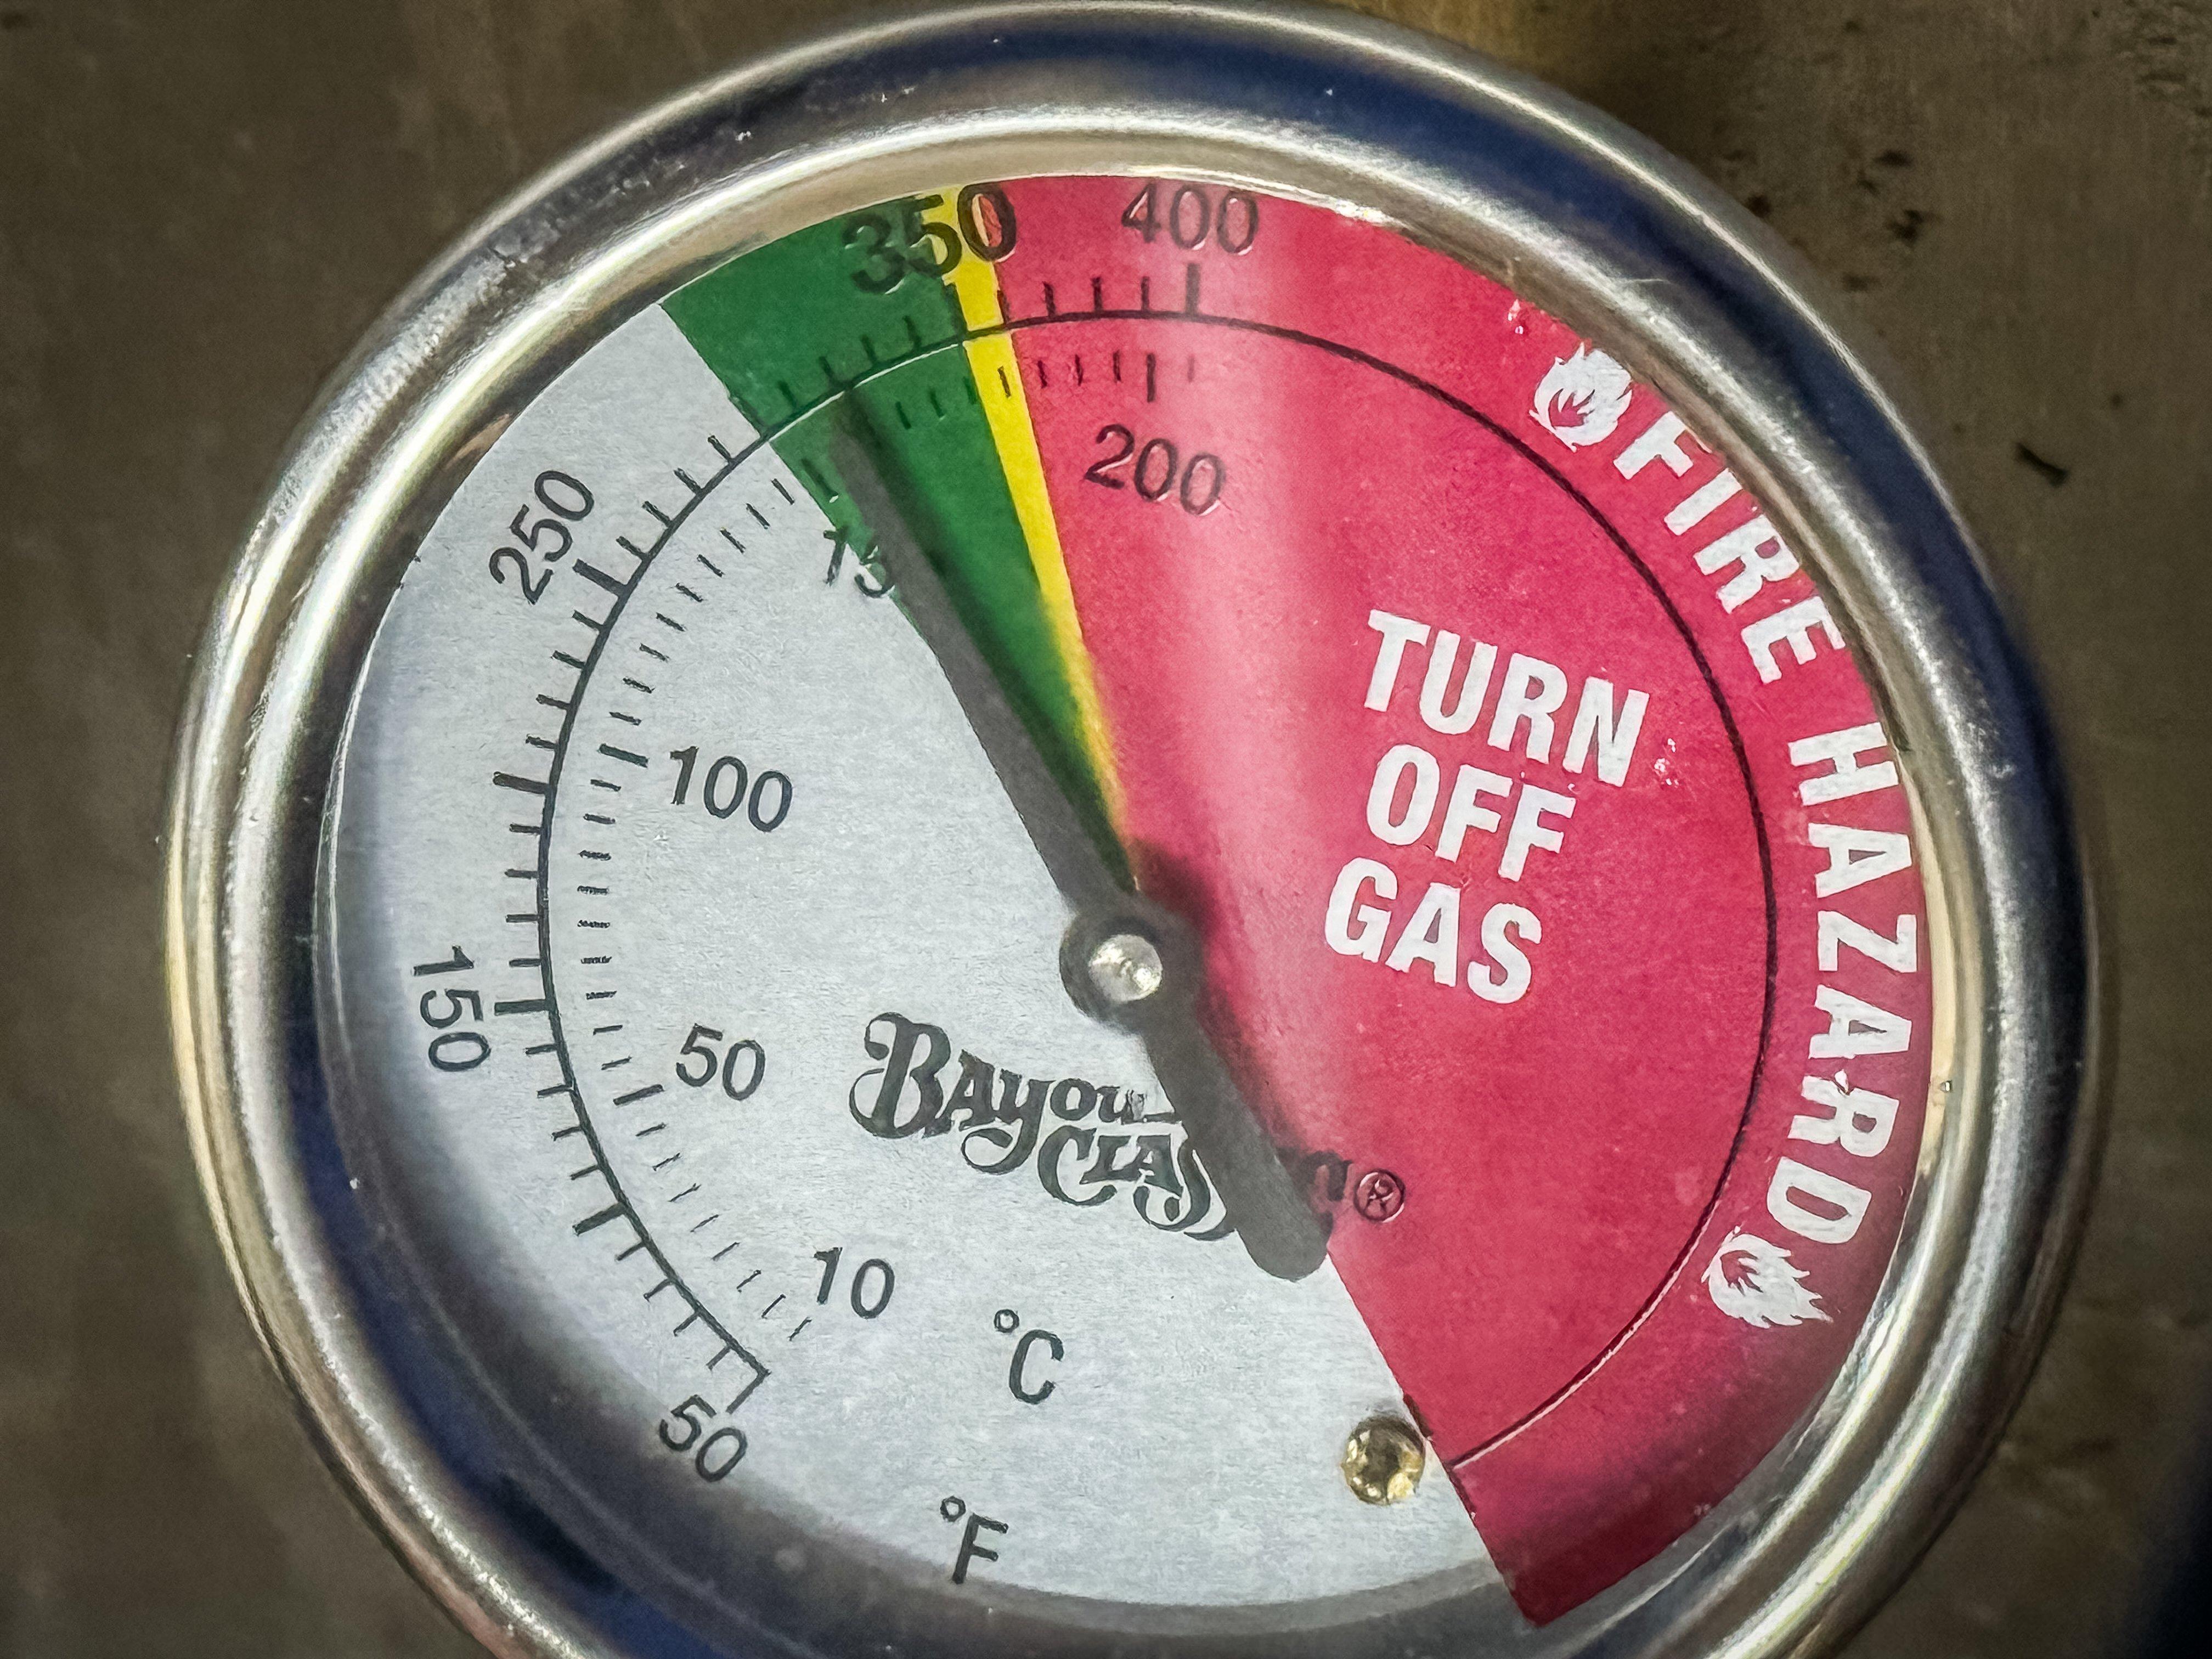
Maintain oil temperature at around 350 degrees.
Cut the fish into similar-sized pieces. That way they all finish at the same time and you don’t have to pick through to take out the done pieces while others continue to cook. Fillets cook faster and more evenly than bone-in when cooking for a crowd.
Pat the fillets with a clean kitchen towel or paper towels. When cooking large batches of fish, I prefer a dry dredge versus a wet batter for time savings. Choose your favorite pre-mixed seasoned cornmeal-based dredge, or make your own with plain cornmeal and your favorite seasonings like Cajun or lemon pepper. I like to work in large disposable aluminum pans to cut down on dishes.
Add enough seasoned dredge to the pan to easily coat the amount of fish you plan to cook. I add 1 cup of seasoned flour like Kentucky Kernel to about 8 cups cornmeal or commercial breading. You can adjust according to the amount of fish you are cooking at the time. The flour adds crunch to the crust and helps the cornmeal stick to the fish.
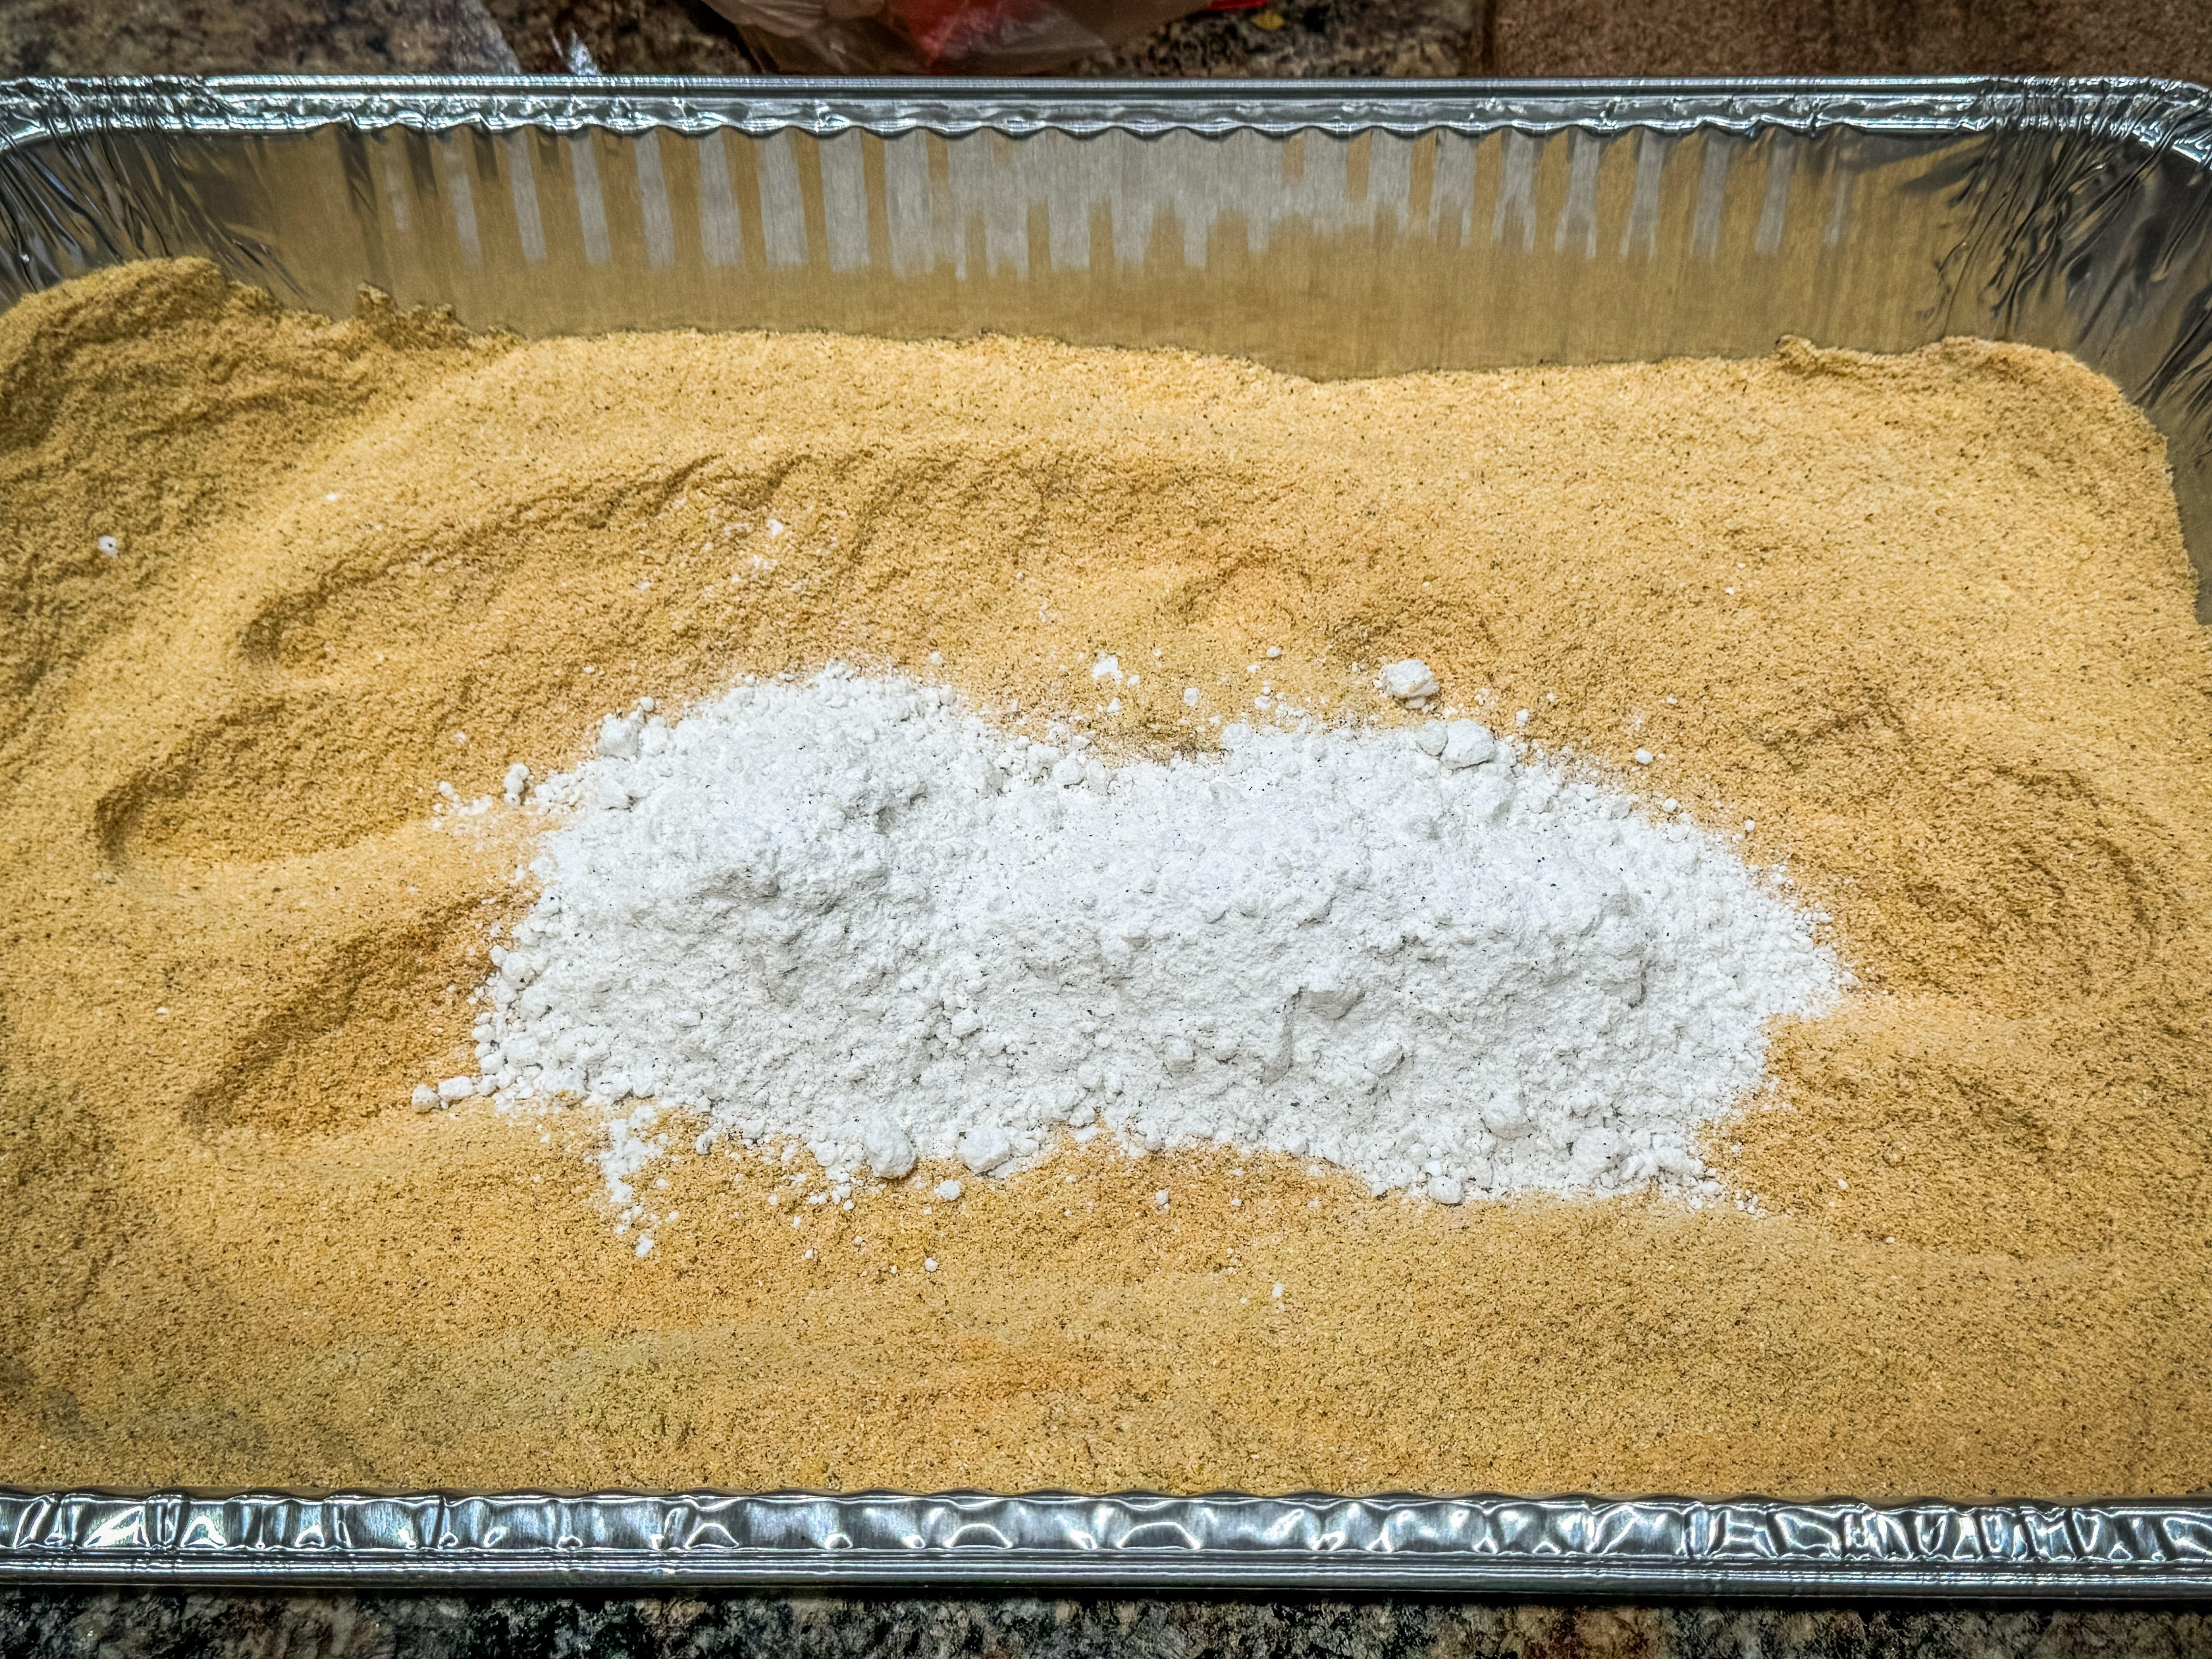
Adding a little flour to your cornmeal-based dredge improves the finished texture.
Once your oil is at temperature, bread your first batch of fish. Lift the fry baskets from the oil and add enough fish to cover the bottom. Don’t pile the fish in more than one layer; it won’t fry as evenly and is more likely to stick together. Give the basket a good shake outside your fryer to release any excess breading. This helps to keep your oil clean.
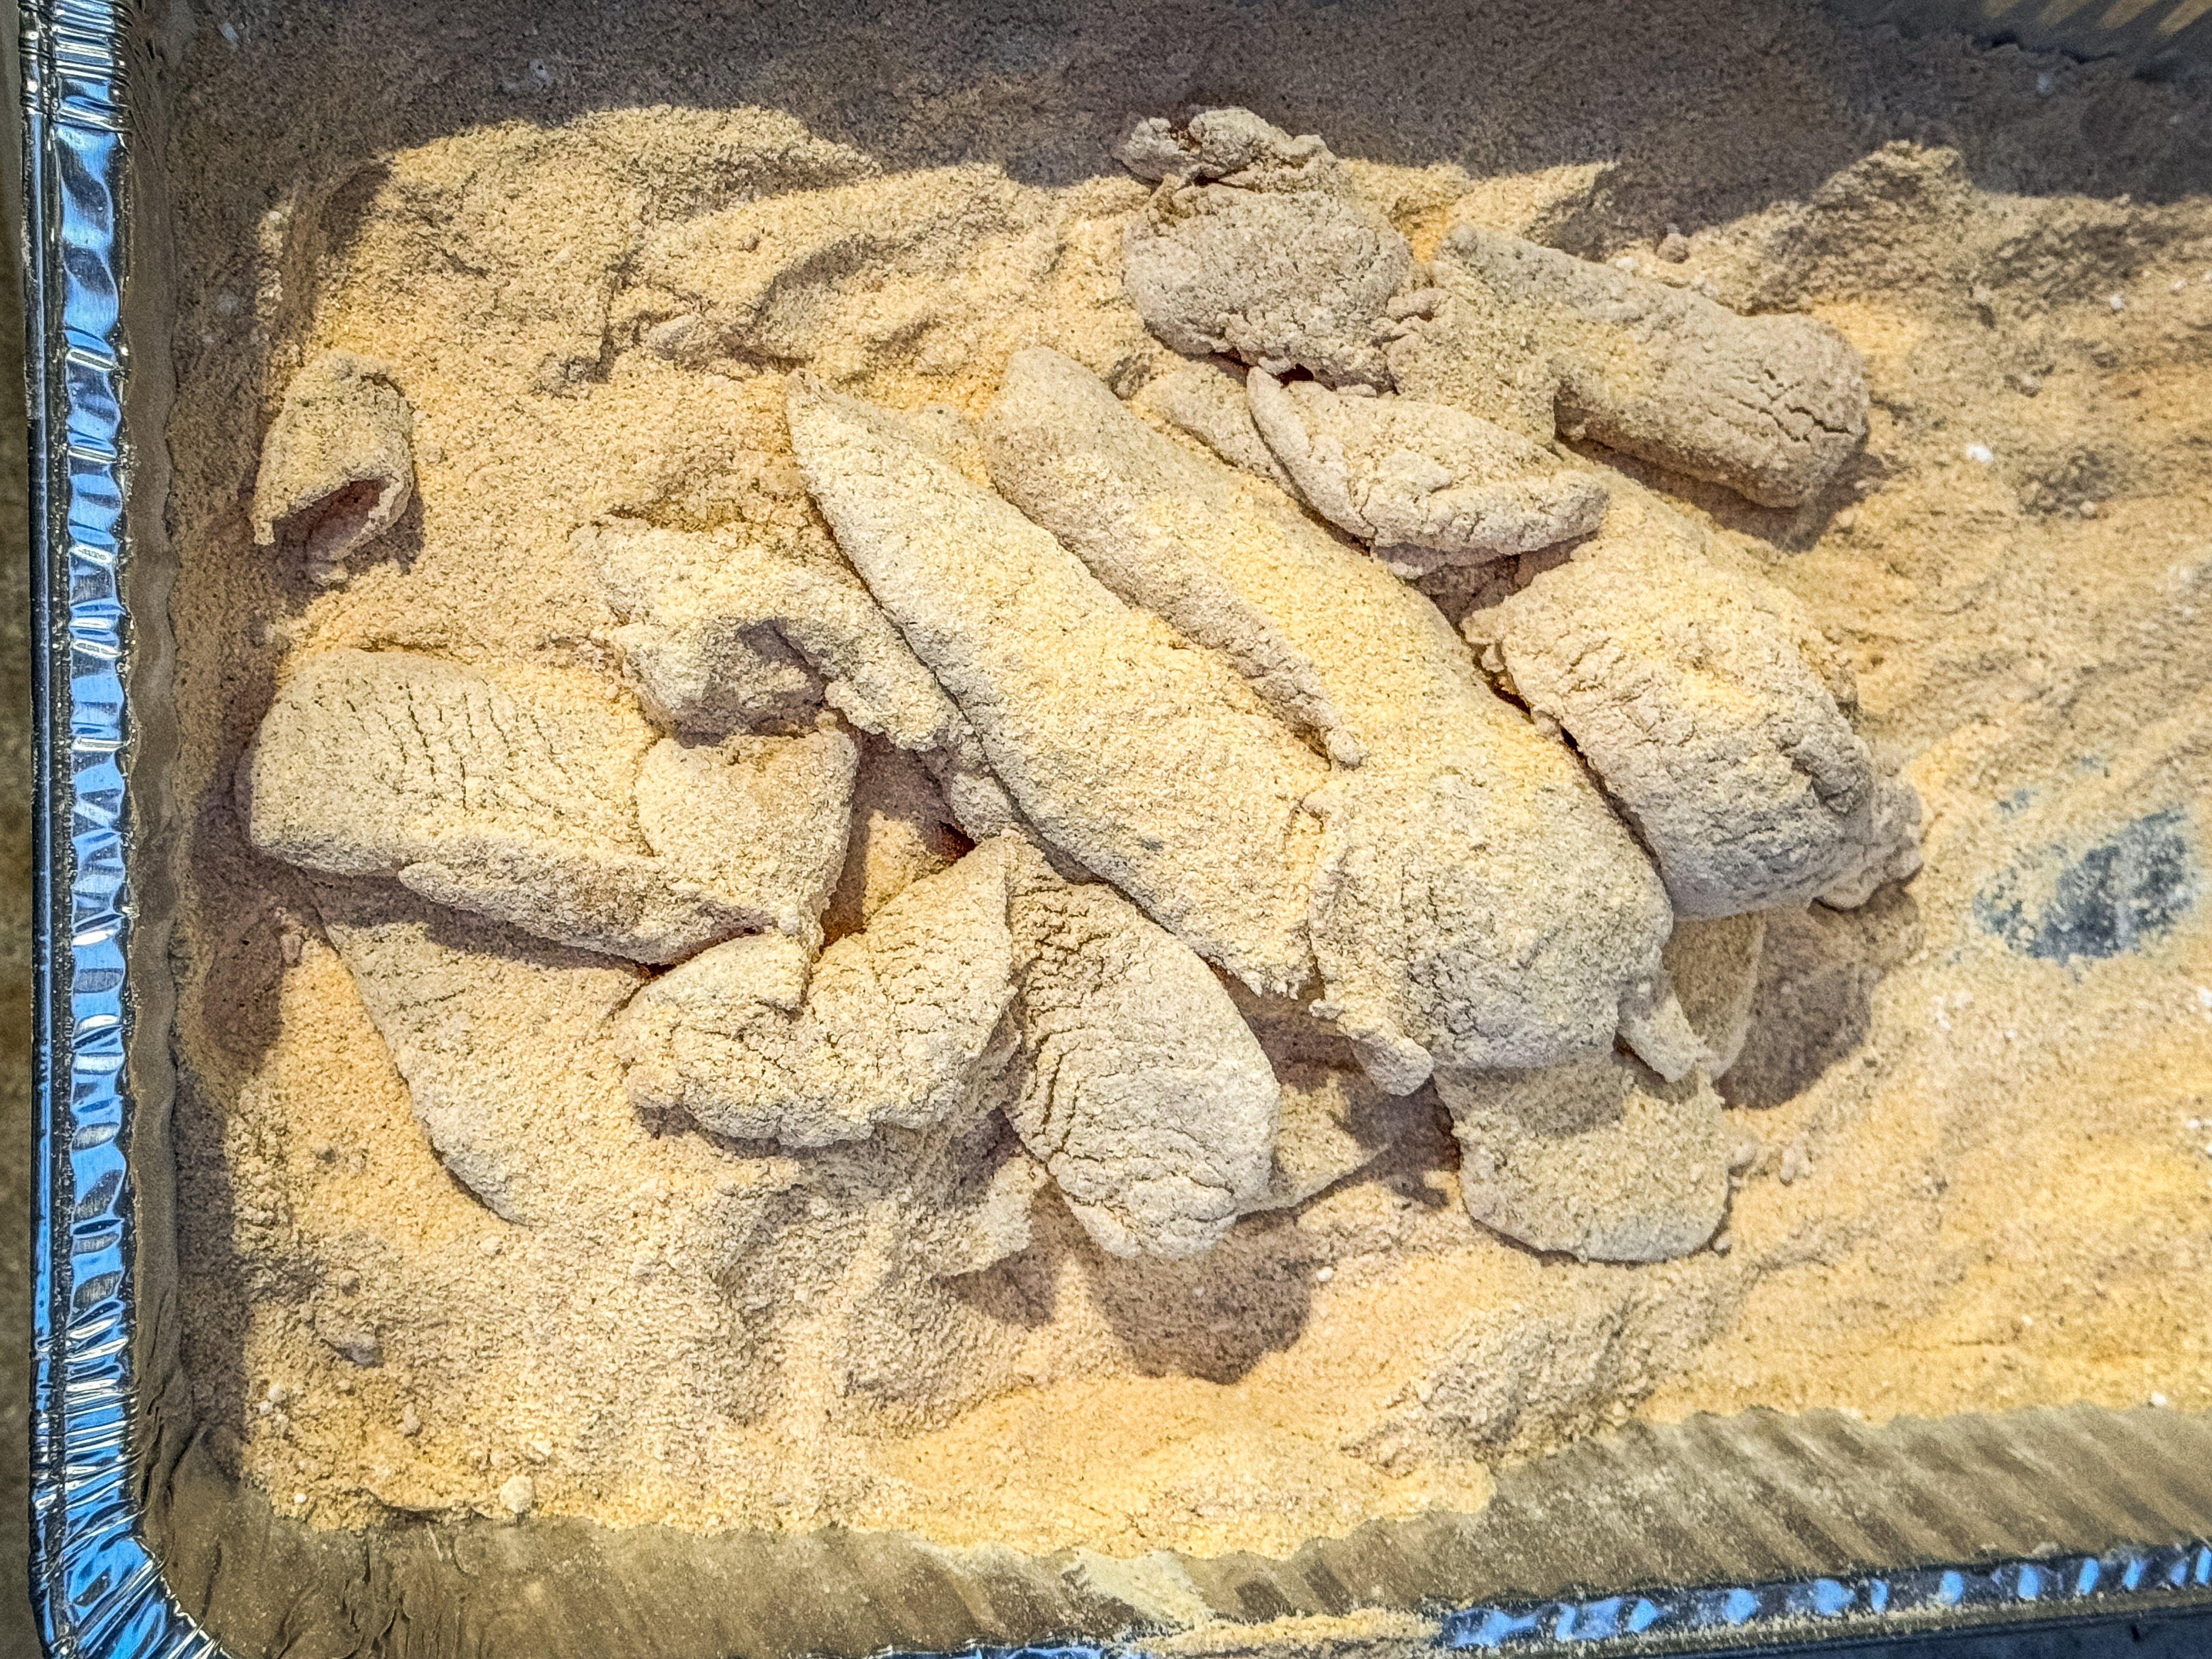
Dredge the fish as needed. Don’t overfill your cooking baskets.
Gently lower the basket of fish into the oil. Fry for 5-7 minutes, depending on thickness of your fish, or until the fillets start to float to the surface. Once the fish has cooked through and is golden brown and crisp on the outside, lift the basket and clip it onto the side of the fryer to allow excess oil to drain back into the reservoir. After a few minutes, dump the drained fish into an aluminum pan lined with paper towels or brown paper bags. Loosely cover the pan with foil to keep the fish warm while you fry the next batch.
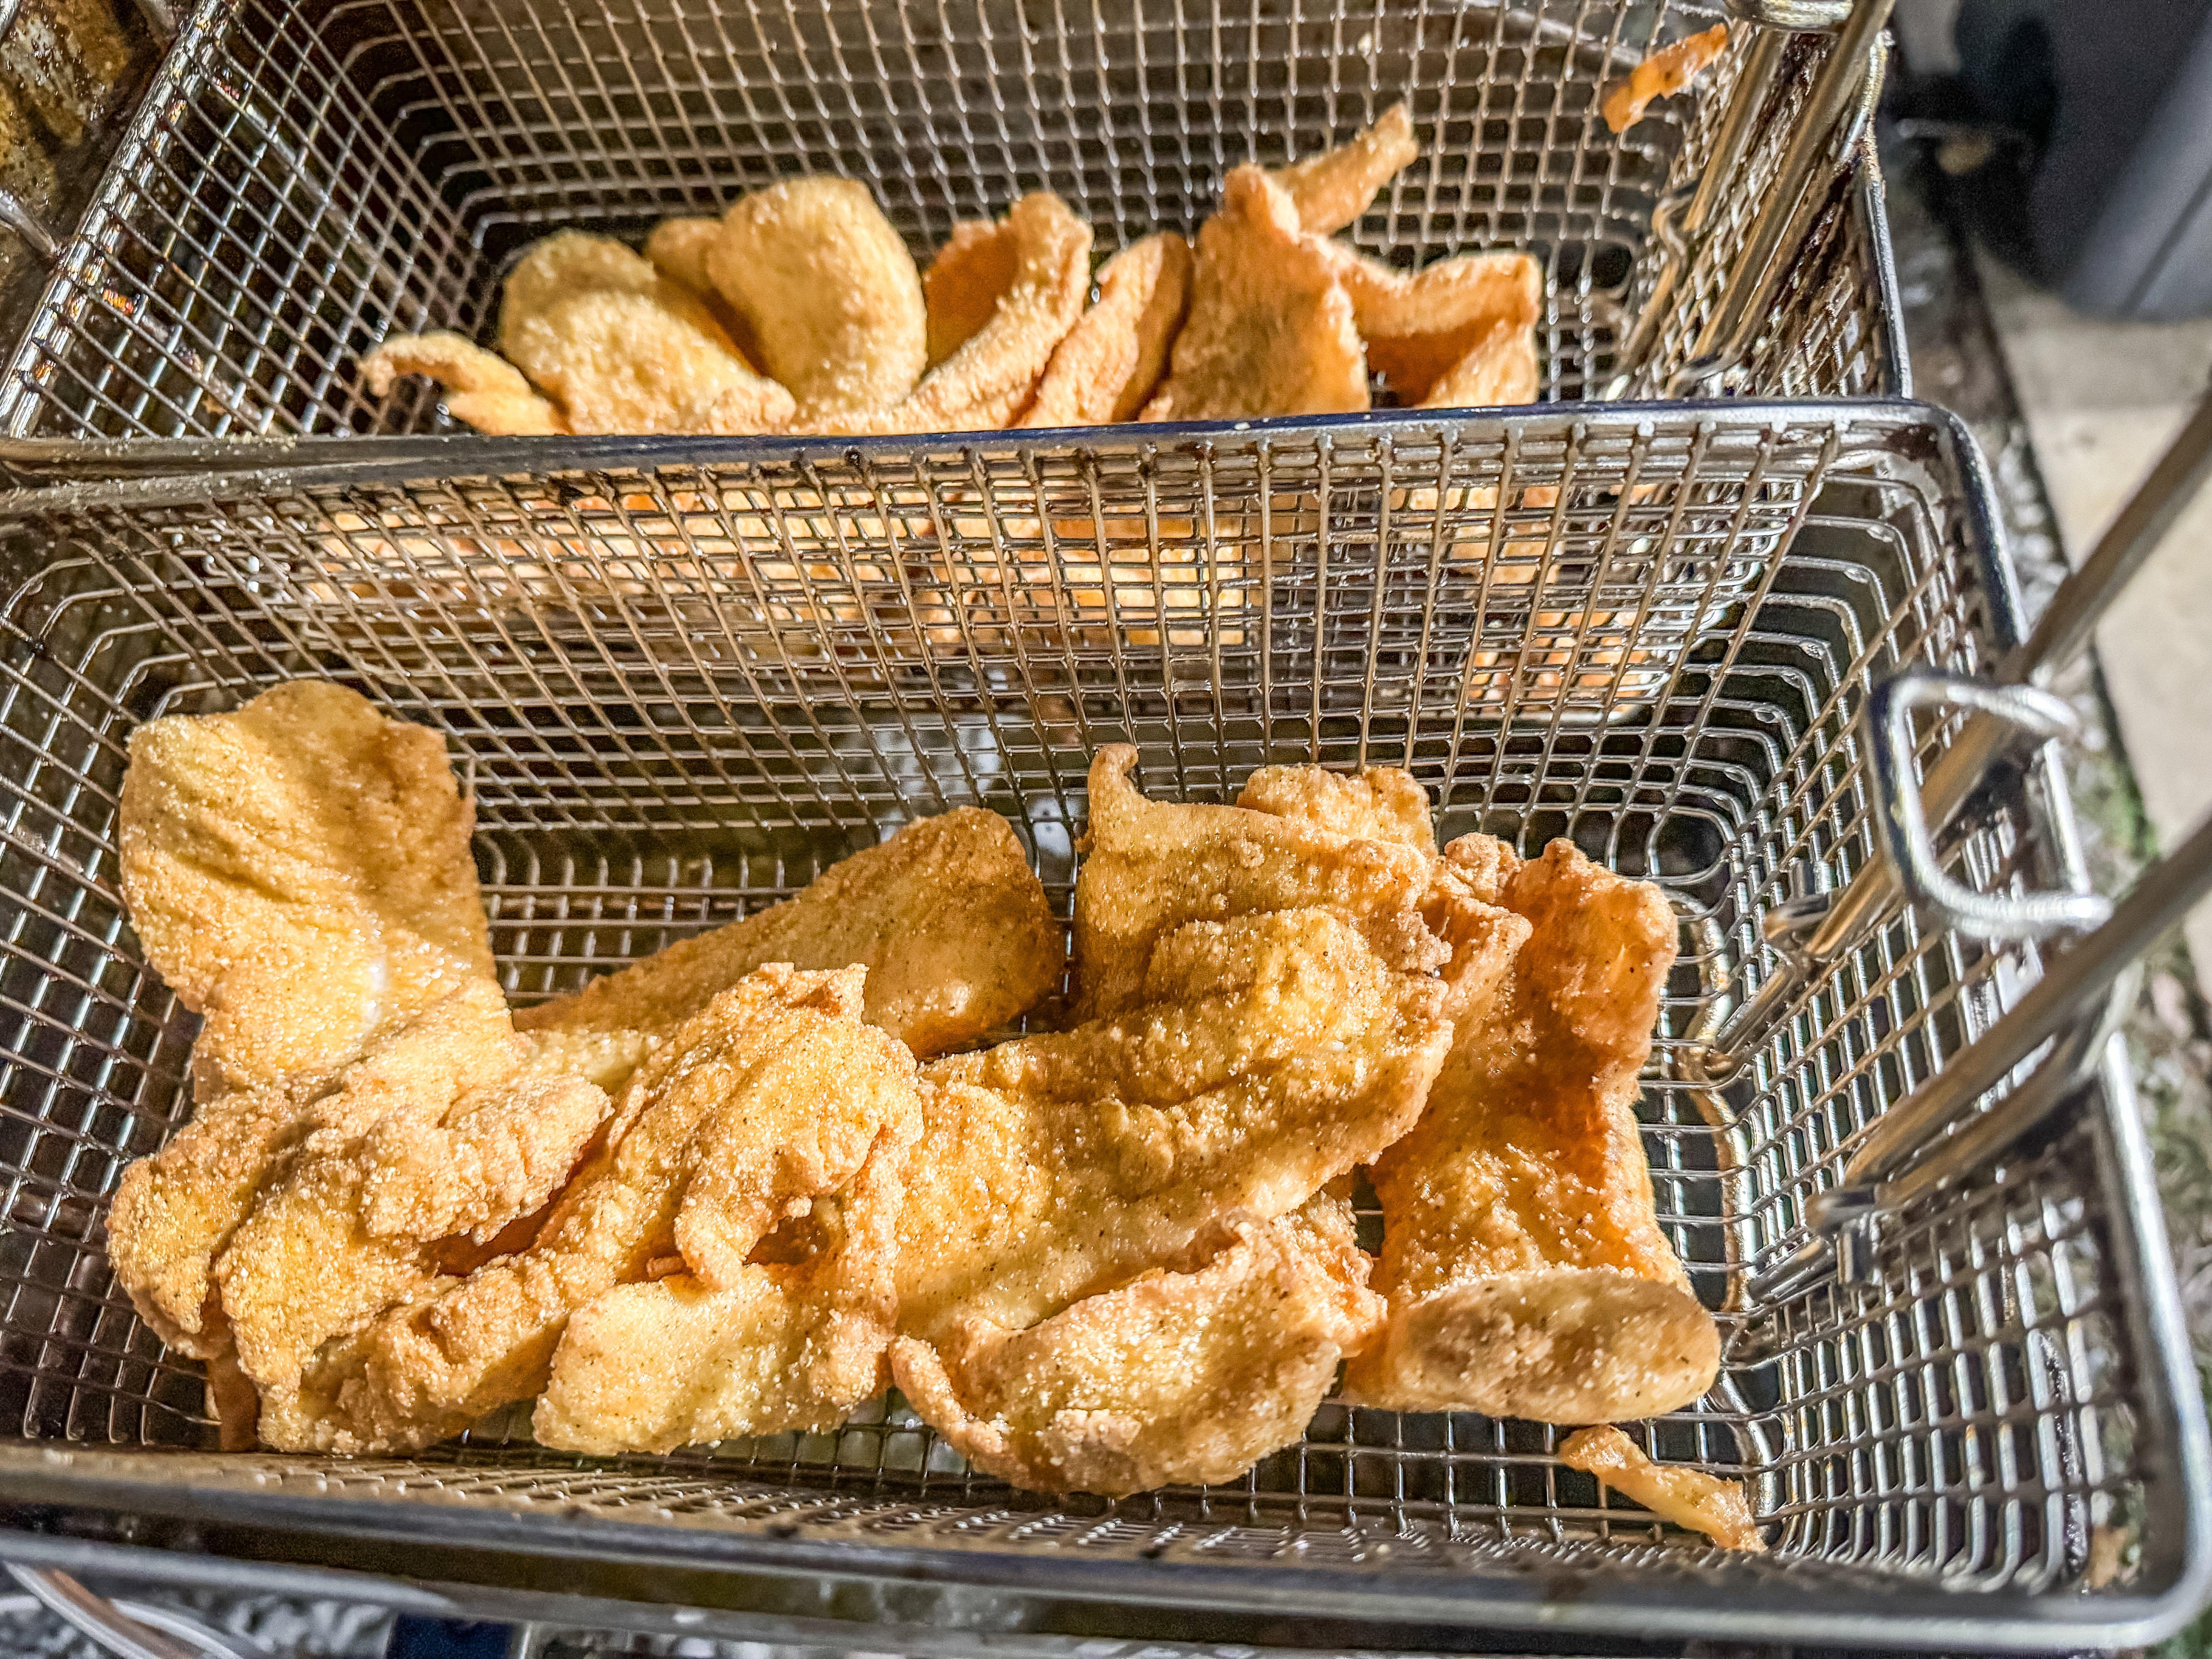
Allow any excess oil to drain back into the cooker.
What to serve with your fish? It’s hard to go wrong with fries. I like to cook a batch before I fry the fish, then finish with a second batch after the fish is ready.
It’s hard to go wrong with fries as a side, and they can be cooked in the same frier as the fish.
Cole slaw is the perfect vegetable option. White beans go well too.
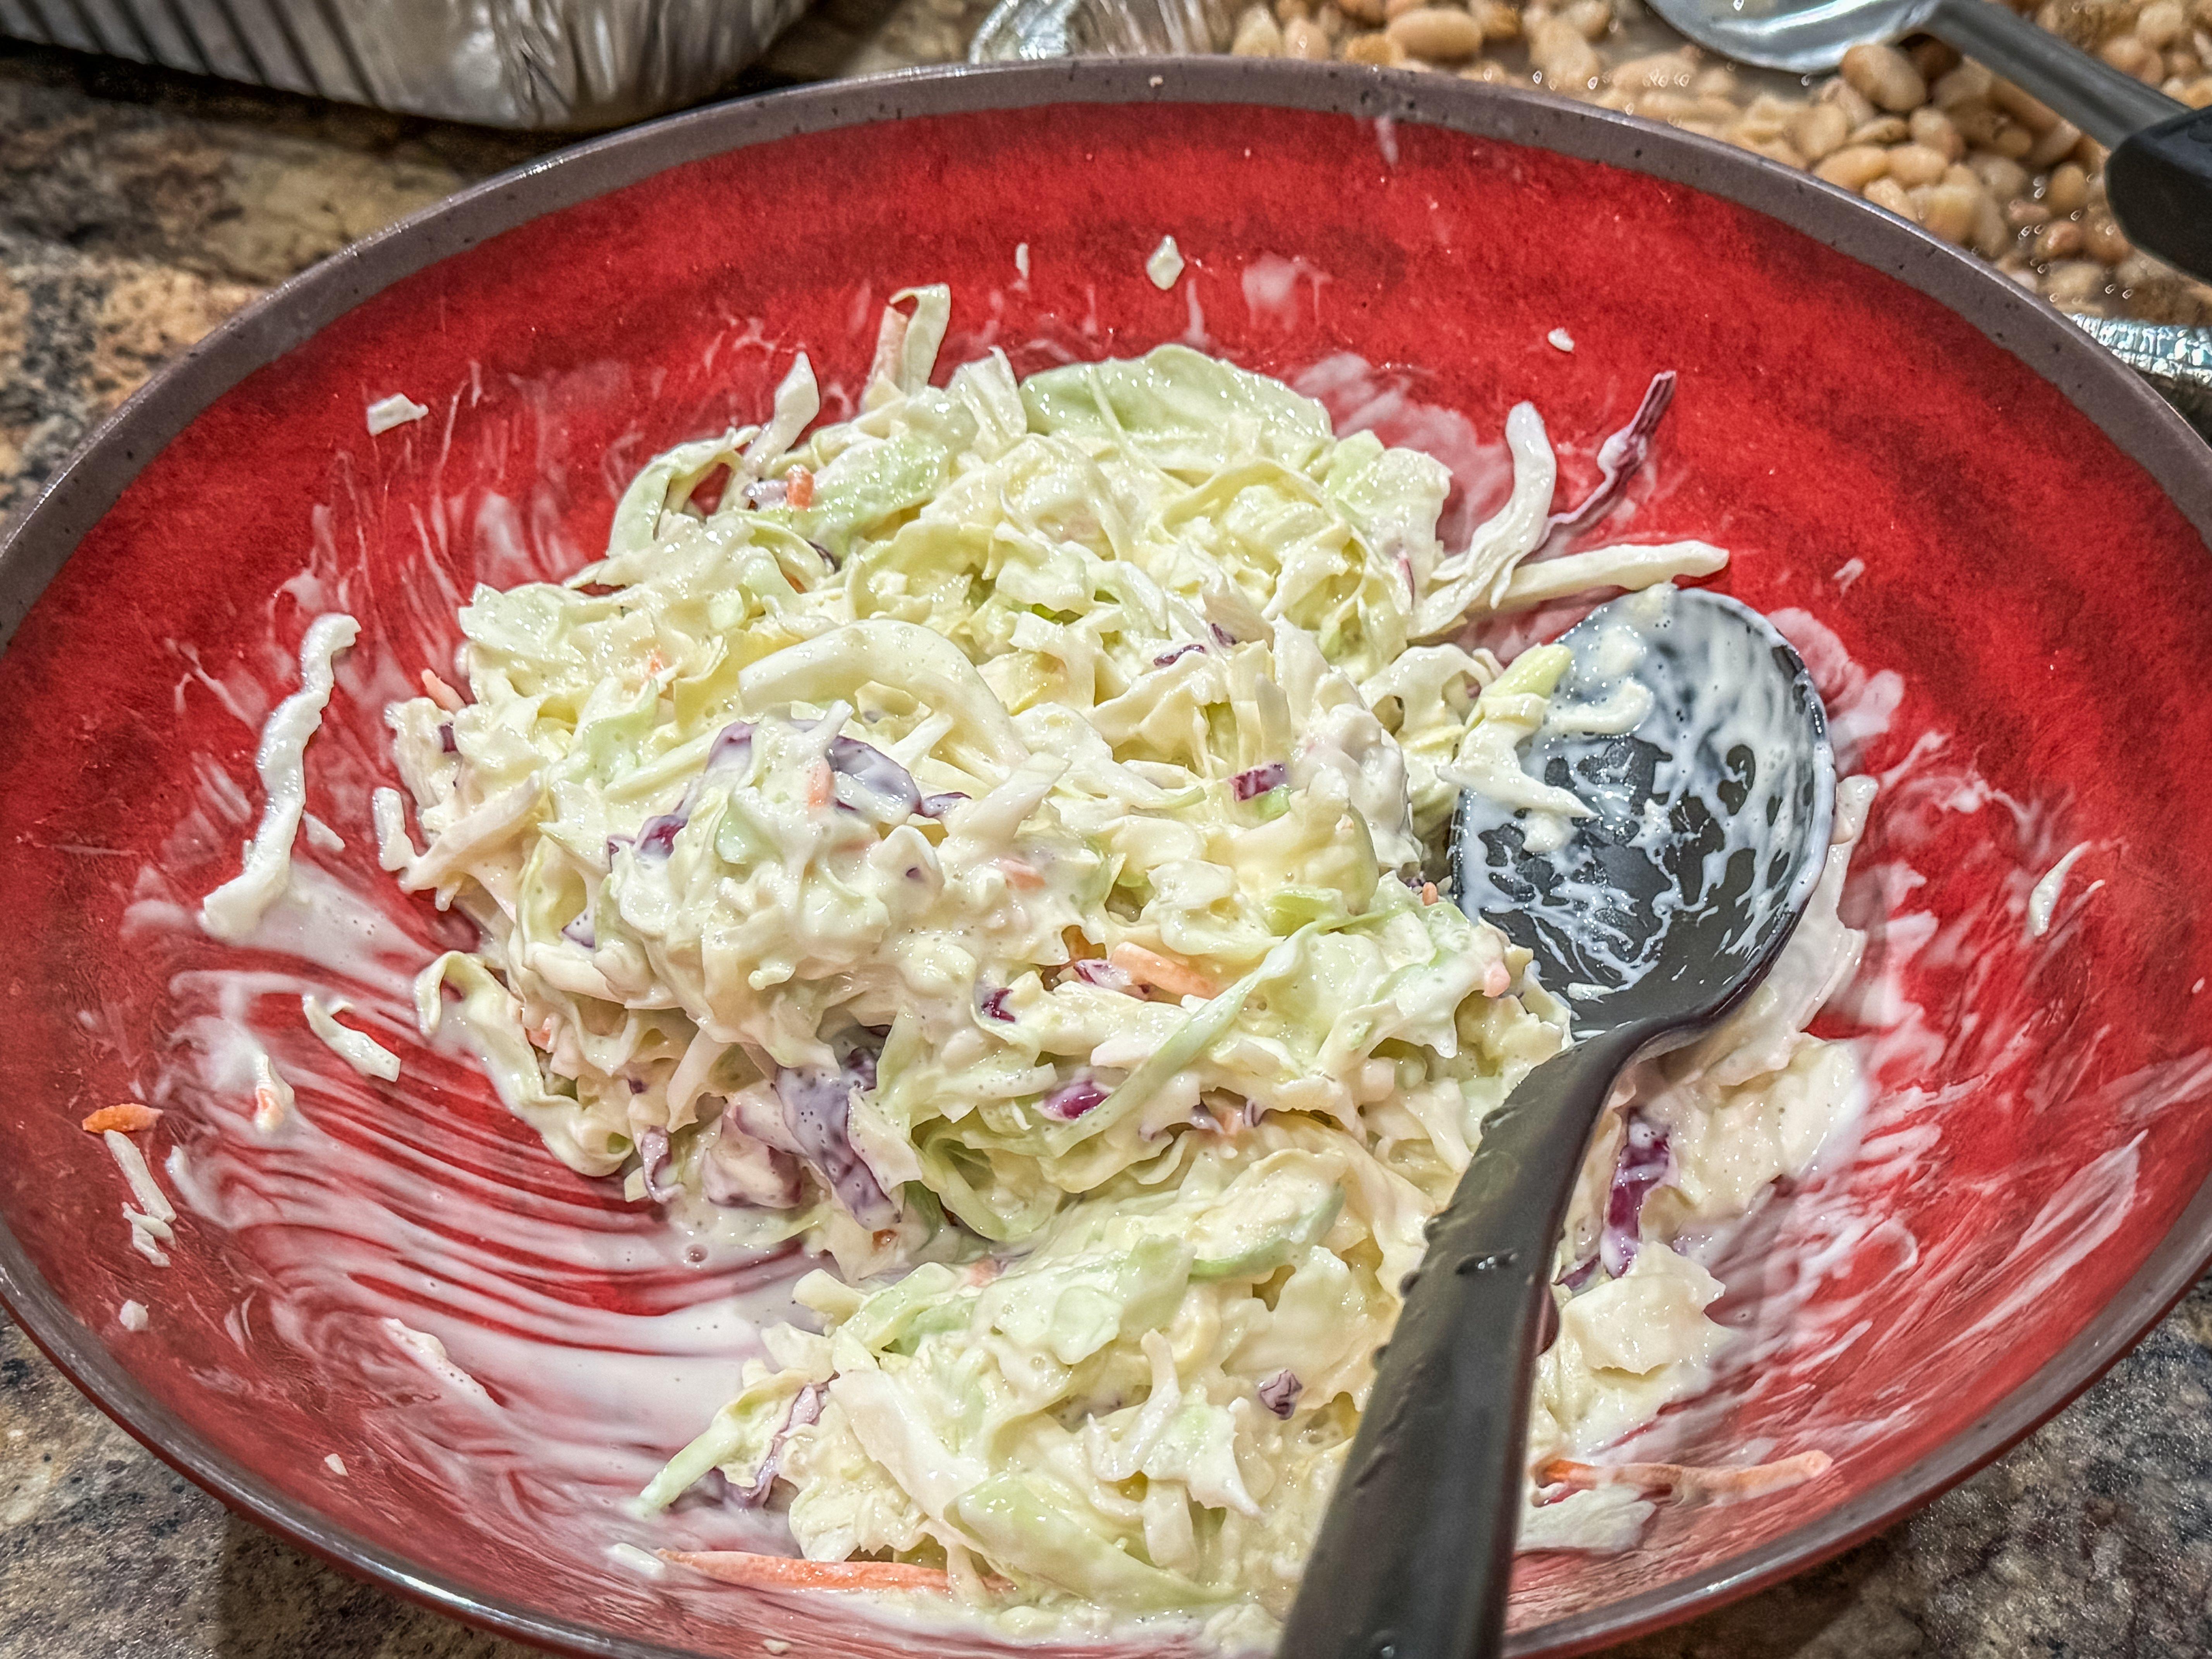
Cole slaw goes well with a fish fry.
One of my favorite sides for a fish fry is homemade hush puppies. This simple recipe is always a hit. Just mix the ingredients and drop a spoonful at a time into the hot oil. Don’t make them overly large or the exterior will overcook before the interior is ready. Golf balls or slightly larger is perfect. Like the fish, the hush puppies are generally ready once they float in the hot oil.
Hush Puppy Recipe
• 2 cups Martha White Self-Rising Enriched White Buttermilk Corn Meal Mix
• 1 cup milk or buttermilk
• 1 large egg
• 3 tablespoons finely grated onion
• 2 tablespoons self-rising flour
Use these tips to turn out restaurant-quality fish the next time you need to cook for a crowd. Your guests will love it, and you will love the fact that your kitchen isn’t full of mess and dirty dishes in the aftermath.