Equilibrium Curing, A Better Way to Make Your Own Bacon
Posted 2016-03-23T17:50:00Z
Equilibrium Curing, A Better Way to Make Your Own Bacon
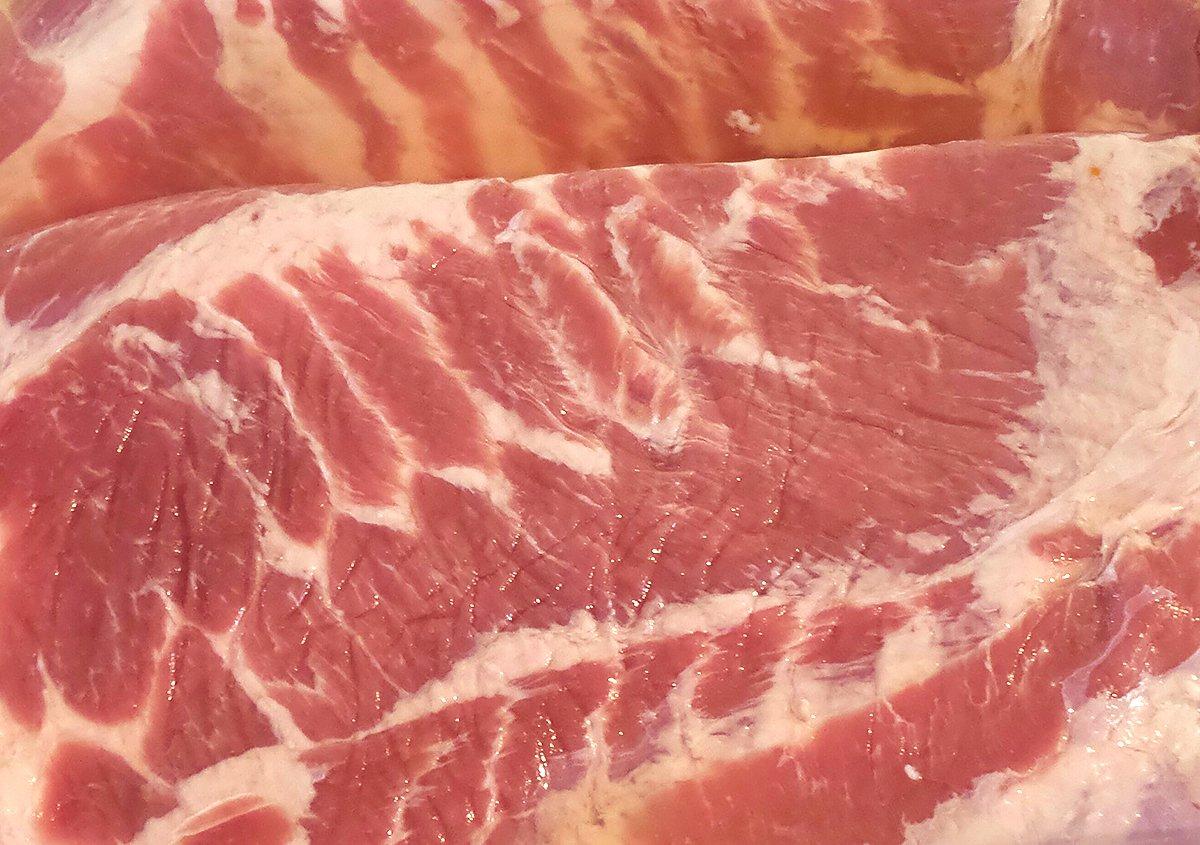
I use a lot of bacon when I cook. Can't help it, I am a bacon junky. And, if you are going to cook with (or just eat) bacon, home-cured and smoked beats the stuff you buy at a supermarket hands down. And it isn't that hard to do. In fact, sometimes the hardest part is finding a pork belly to cure. Check with your local butcher, Asian markets in your area, or even Costco if you have one nearby. The method also works well for curing the bellies or hams of wild pigs if you prefer to supply your own.
We have cured bacon on Timber2Table before using a dry cure method. It works well, but sometimes the bacon can turn out pretty salty. This method uses a wet cure based on precise weights of both meat and cure ingredients. Called Equilibrium Curing, or EQ Curing, it allows the meat to cure perfectly without the fear of over salting.
Now EQ Curing does require some math, and my hatred of math was one of the fundamental reasons I became an English major, but the formula is a simple one. With the help of cell phone calculator and a digital kitchen scale, even an outdoor writer can figure it out. This handy calculator lets you plug in the weight of your pork belly, and it figures the rest for you. Once you have your cure mixed, flip through the following photo gallery to see start to finish instructions for making the best bacon you have ever eaten.
[brine_calc]
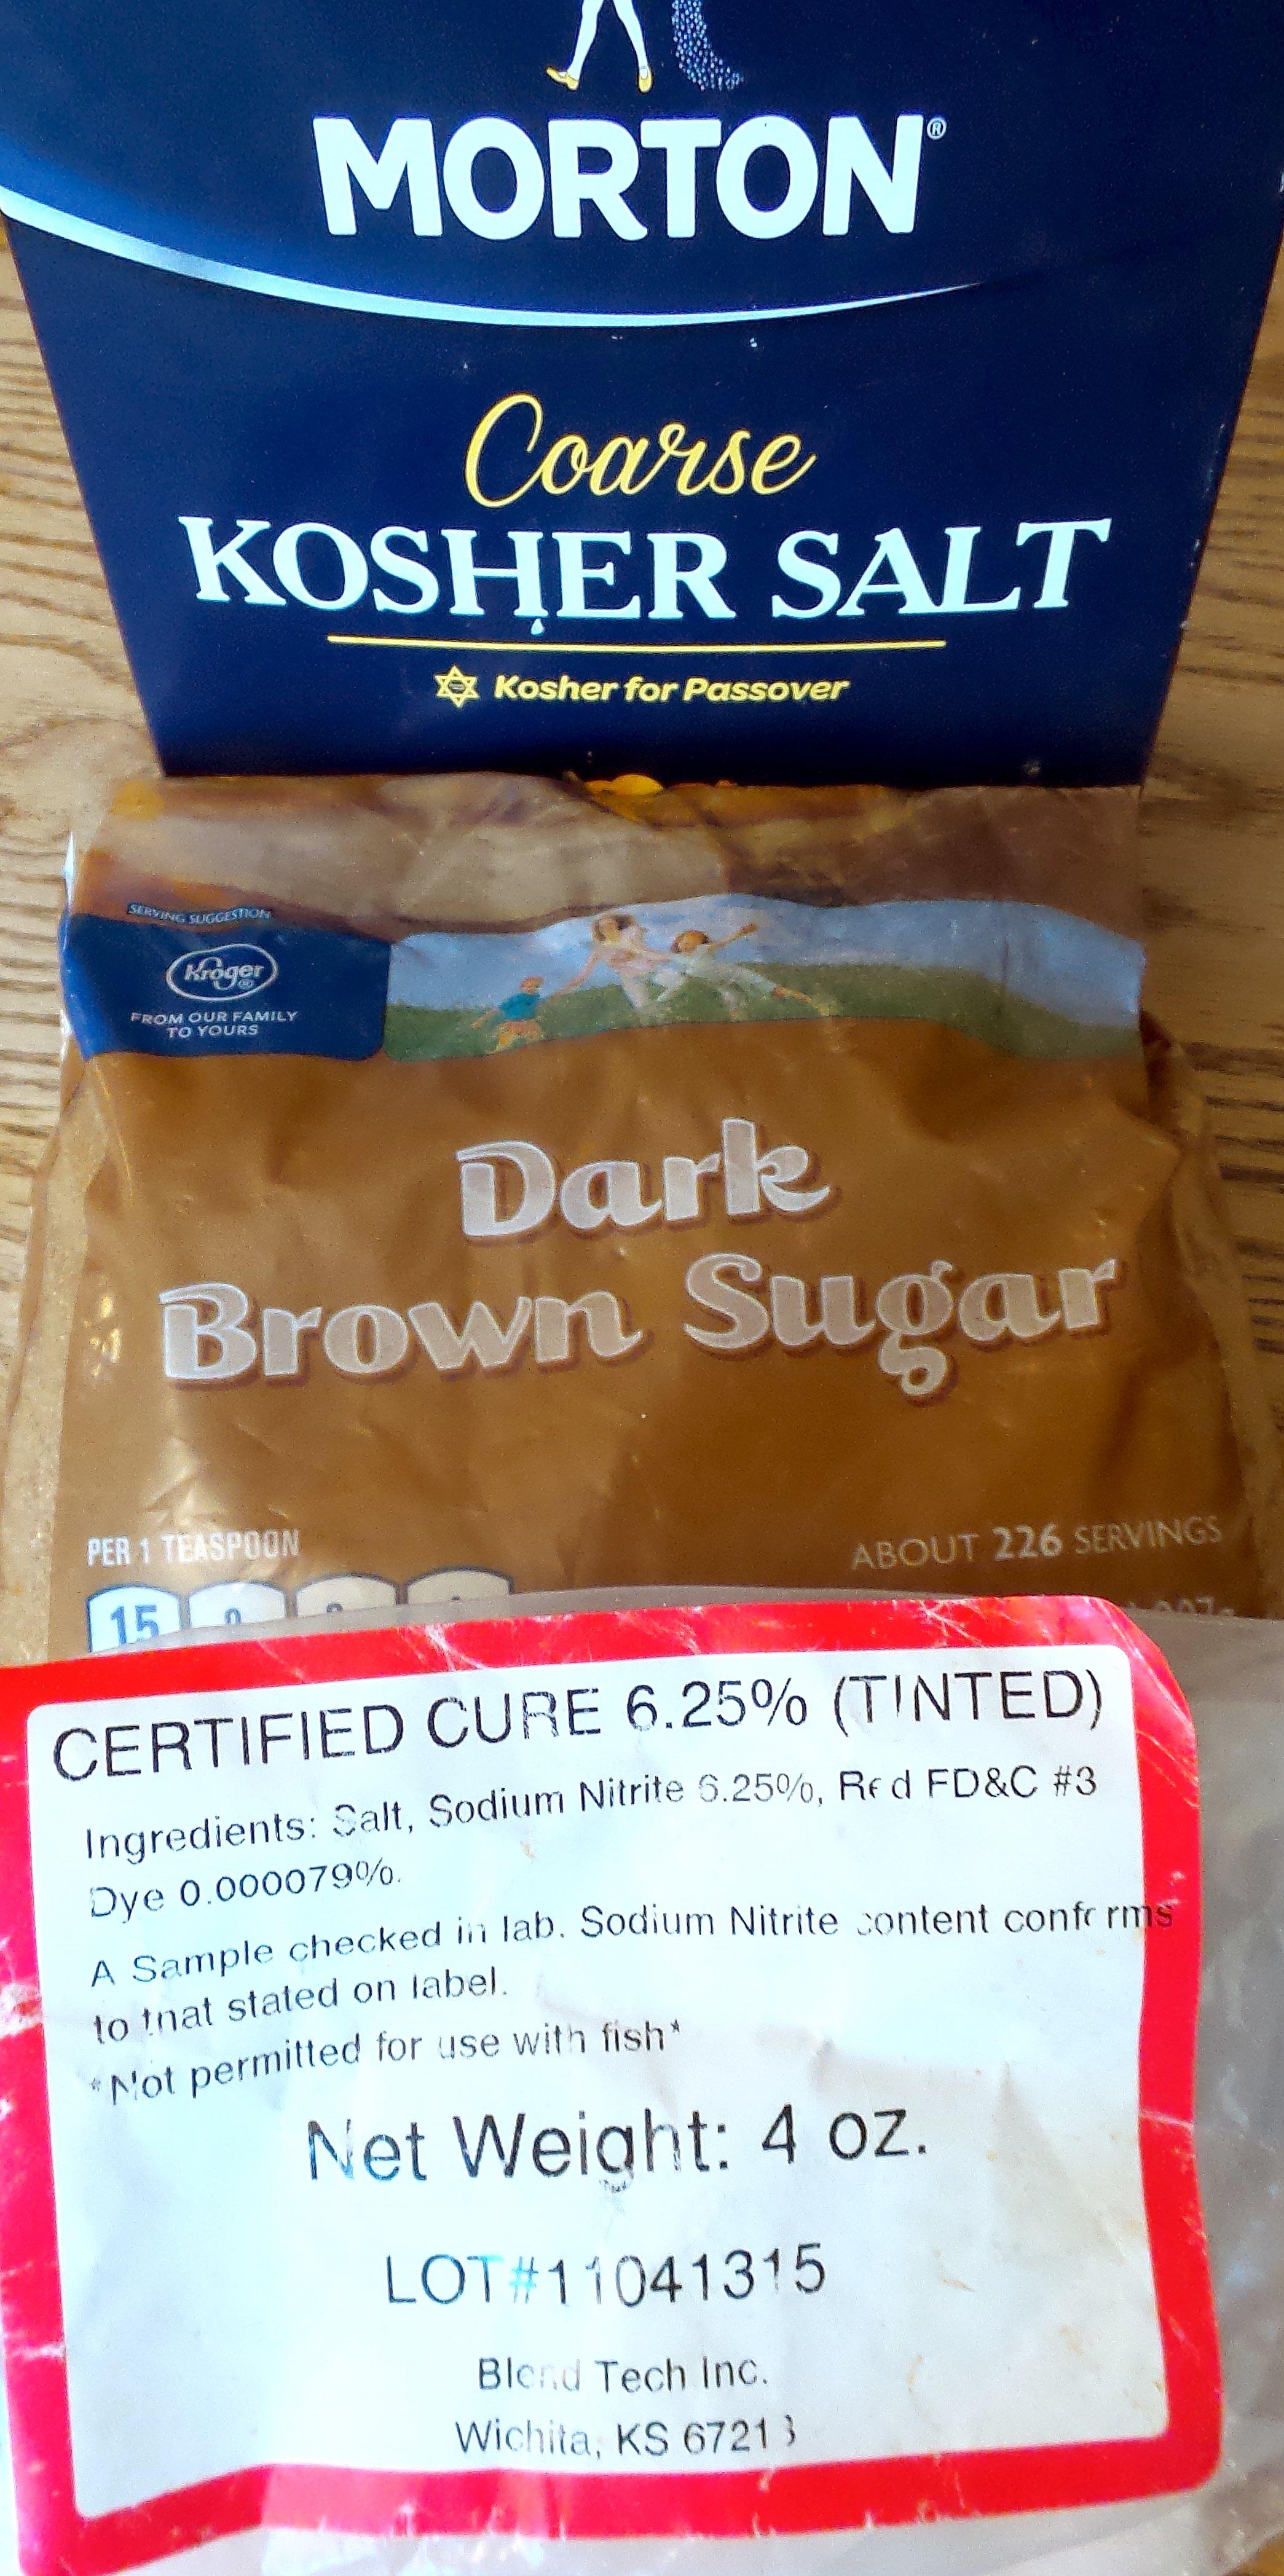
The basic ingredients are simple, fresh pork belly, salt (Kosher or sea), sugar (brown, white, or a mixture of the two) and Instacure #1 (also known as pink salt or Prague powder #1). Additional flavors are to your taste. Red and black pepper, honey, bourbon or maple syrup are all good choices.
You will notice that all weights are in grams, it makes it easier to figure the quantities precisely on a scale. To convert pounds to grams, just know that there are 453.5 grams in a pound. Simply multiply the weight of your pork belly by 453.5. A 10-pound belly weighs about 4535 grams. The other conversion you might need is grams of water to liquid measurement. A gallon of water weighs 3785 grams.
Once you have all of your cure ingredients measured, just mix them together and stir long enough to dissolve the salt and sugar into the water. Submerge the pork belly into the cure and refrigerate. I use a plastic storage container with a tight-fitting lid to cure my bacon. If I am doing a couple bellies at a time, I will figure my cure for the entire weight and place both bellies into the same container with all of the curing brine. If I have more than one belly in the container, I like to rotate them daily so that everything cures evenly.
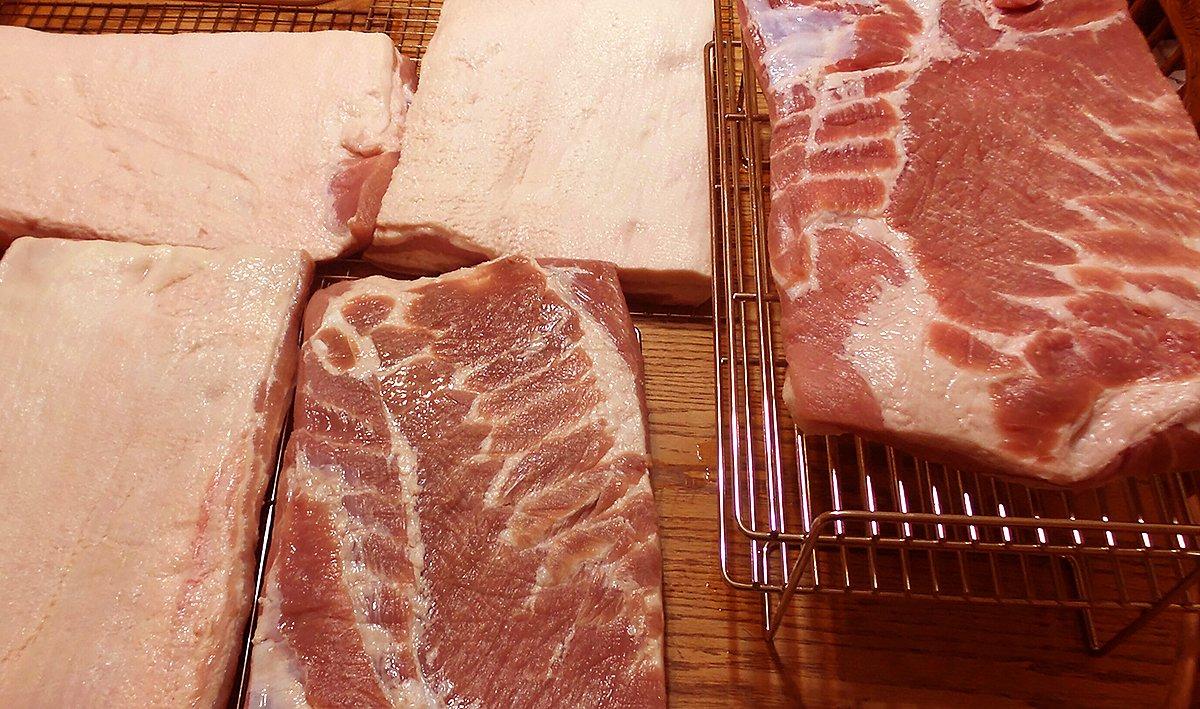
Cure for at least seven, and up to 10 days. Unlike dry curing, saltiness won't build up in the meat with extended cure time. Once the meat has cured, remove it from the brine and rinse it well under cold water. The next step is to allow the meat to dry and form a sticky pellicle on its outer surface. This can be done by placing the meat, uncovered, on a refrigerator shelf, or by placing the meat on wire drying racks on a kitchen counter or table with a fan blowing over it. Leave the bacon alone for at least six hours, but eight or 10 are even better. Don't worry about spoilage, as the meat is completely cured at this point and can be safely left out of refrigeration.
Next comes the smoke. Hickory, fruit woods like apple, peach or cherry, or even oak or maple can be used to smoke the bacon. There are two methods that work, depending on what equipment you have on hand. The first is to hot-smoke the bacon. Any smoker, pellet, electric, charcoal, wood or gas that is capable of producing smoke at a temperature of 180 to 200 degrees is perfect for smoking bacon. Use a digital thermometer to monitor the bacon's internal temperature and smoke until the bacon reaches 150 degrees.
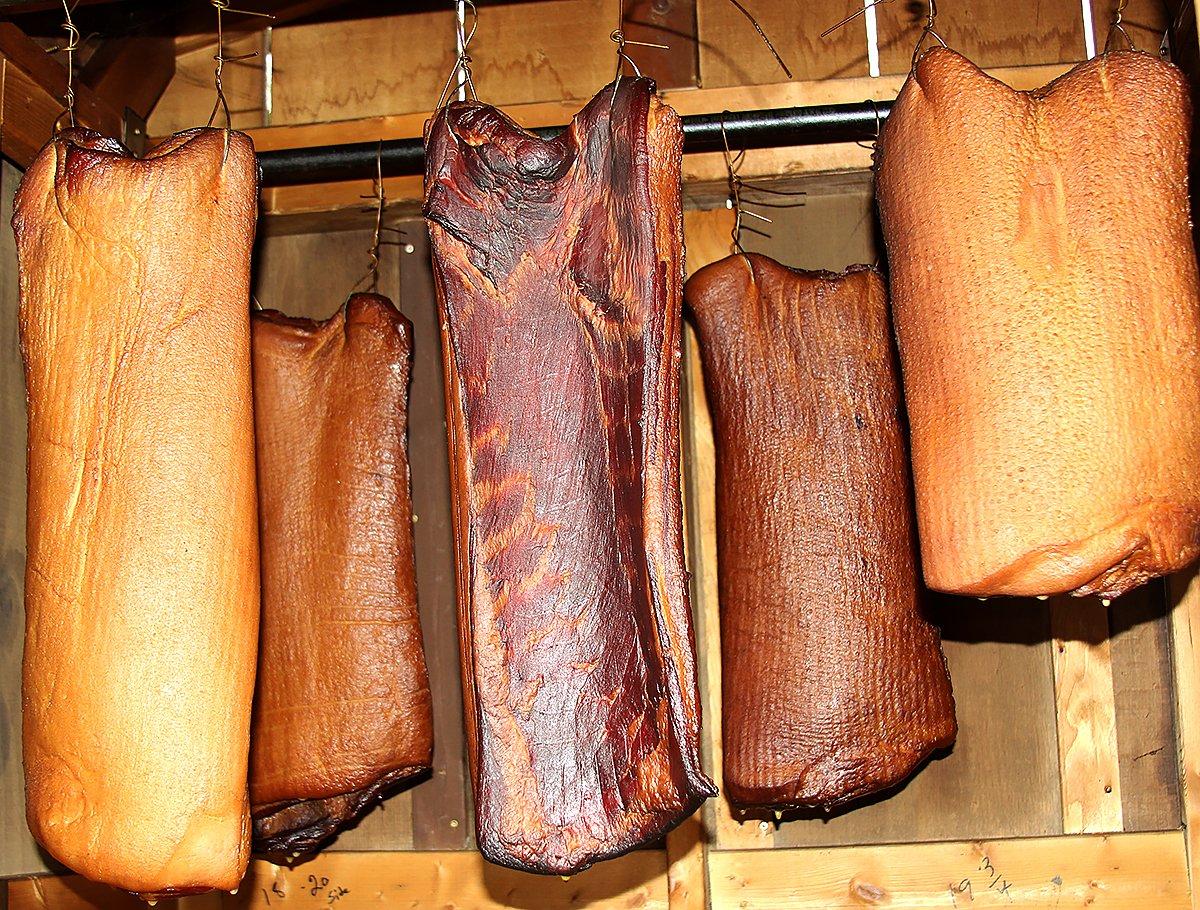
The second method is to cold smoke. This one is old-school and involves hanging the bacon in either a traditional smokehouse (ours was built by my dad, and it works incredibly well) or any large container like a metal locker or even a large cardboard box. The object of cold smoking is to flavor the meat without cooking it. If you don't have a smokehouse, you can produce smoke by placing an iron skillet full of woodchips on an electric hotplate. Turn the temperature up just high enough to produce smoke. If your smoking chamber is constructed of a flammable material, run your hotplate outside the box and pipe the smoke in through lightweight pipe like central heat and air duct. The amount of time spent in the cold smoker is up to you. I recommend a minimum of 8 hours, but we smoked this batch off and on over seven days. Before modern refrigeration, meat would be left hanging in the smokehouse until it was needed, often for months at a time. Each time a new batch was added, the existing hanging meat would be smoked again, with each round producing a smokier flavor. To decide what amount of time is best for you, sample the meat from time to time. Just slice a small slice from the hanging slab and fry it up. When the flavor is right, your bacon is finished.
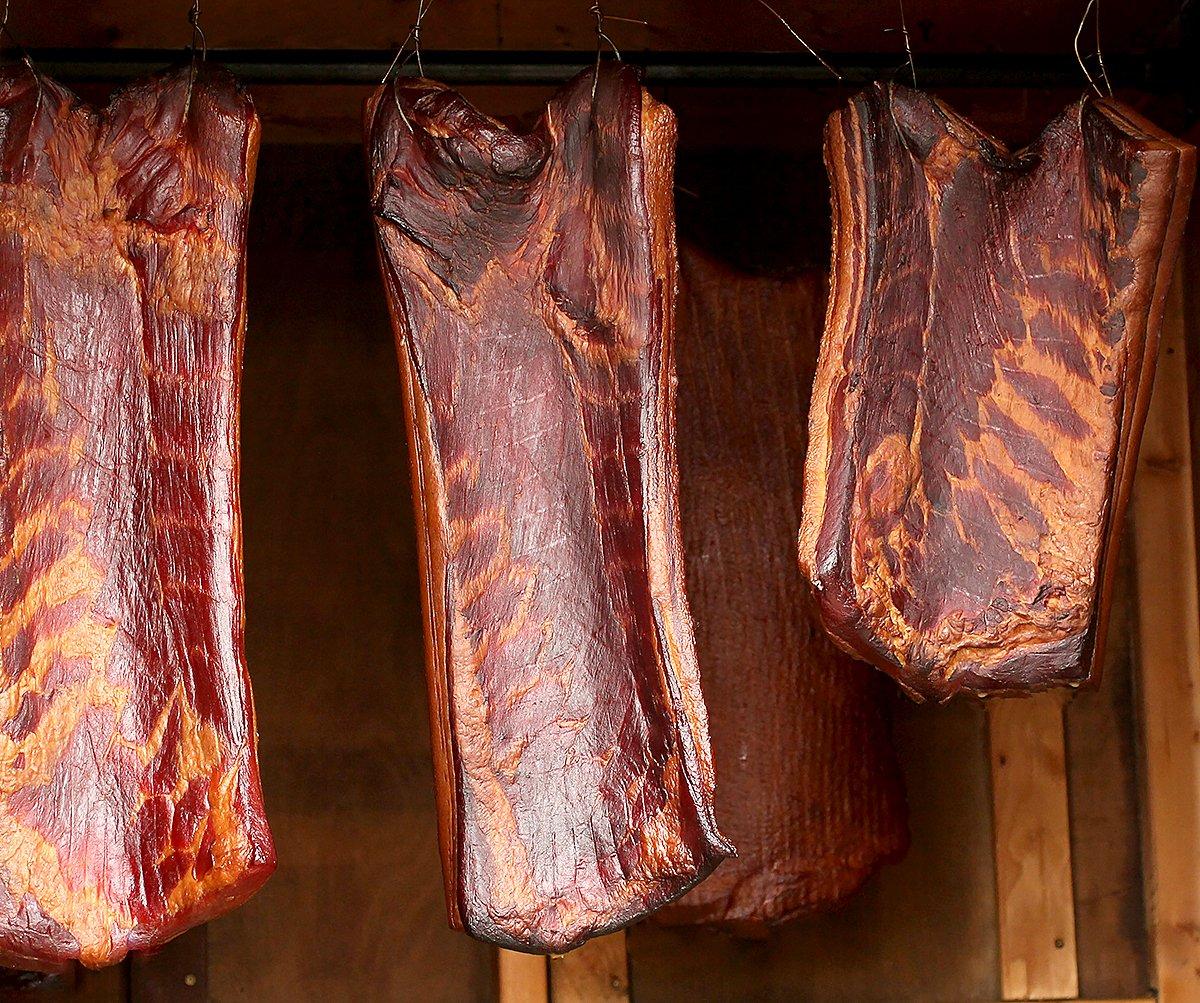
If you cold smoke your bacon, the color and flavor will become deeper and more pronounced as more smoke is applied. Start sampling the bacon after a day or two by frying up a small slice and giving it a taste. When it tastes right, your bacon is ready.
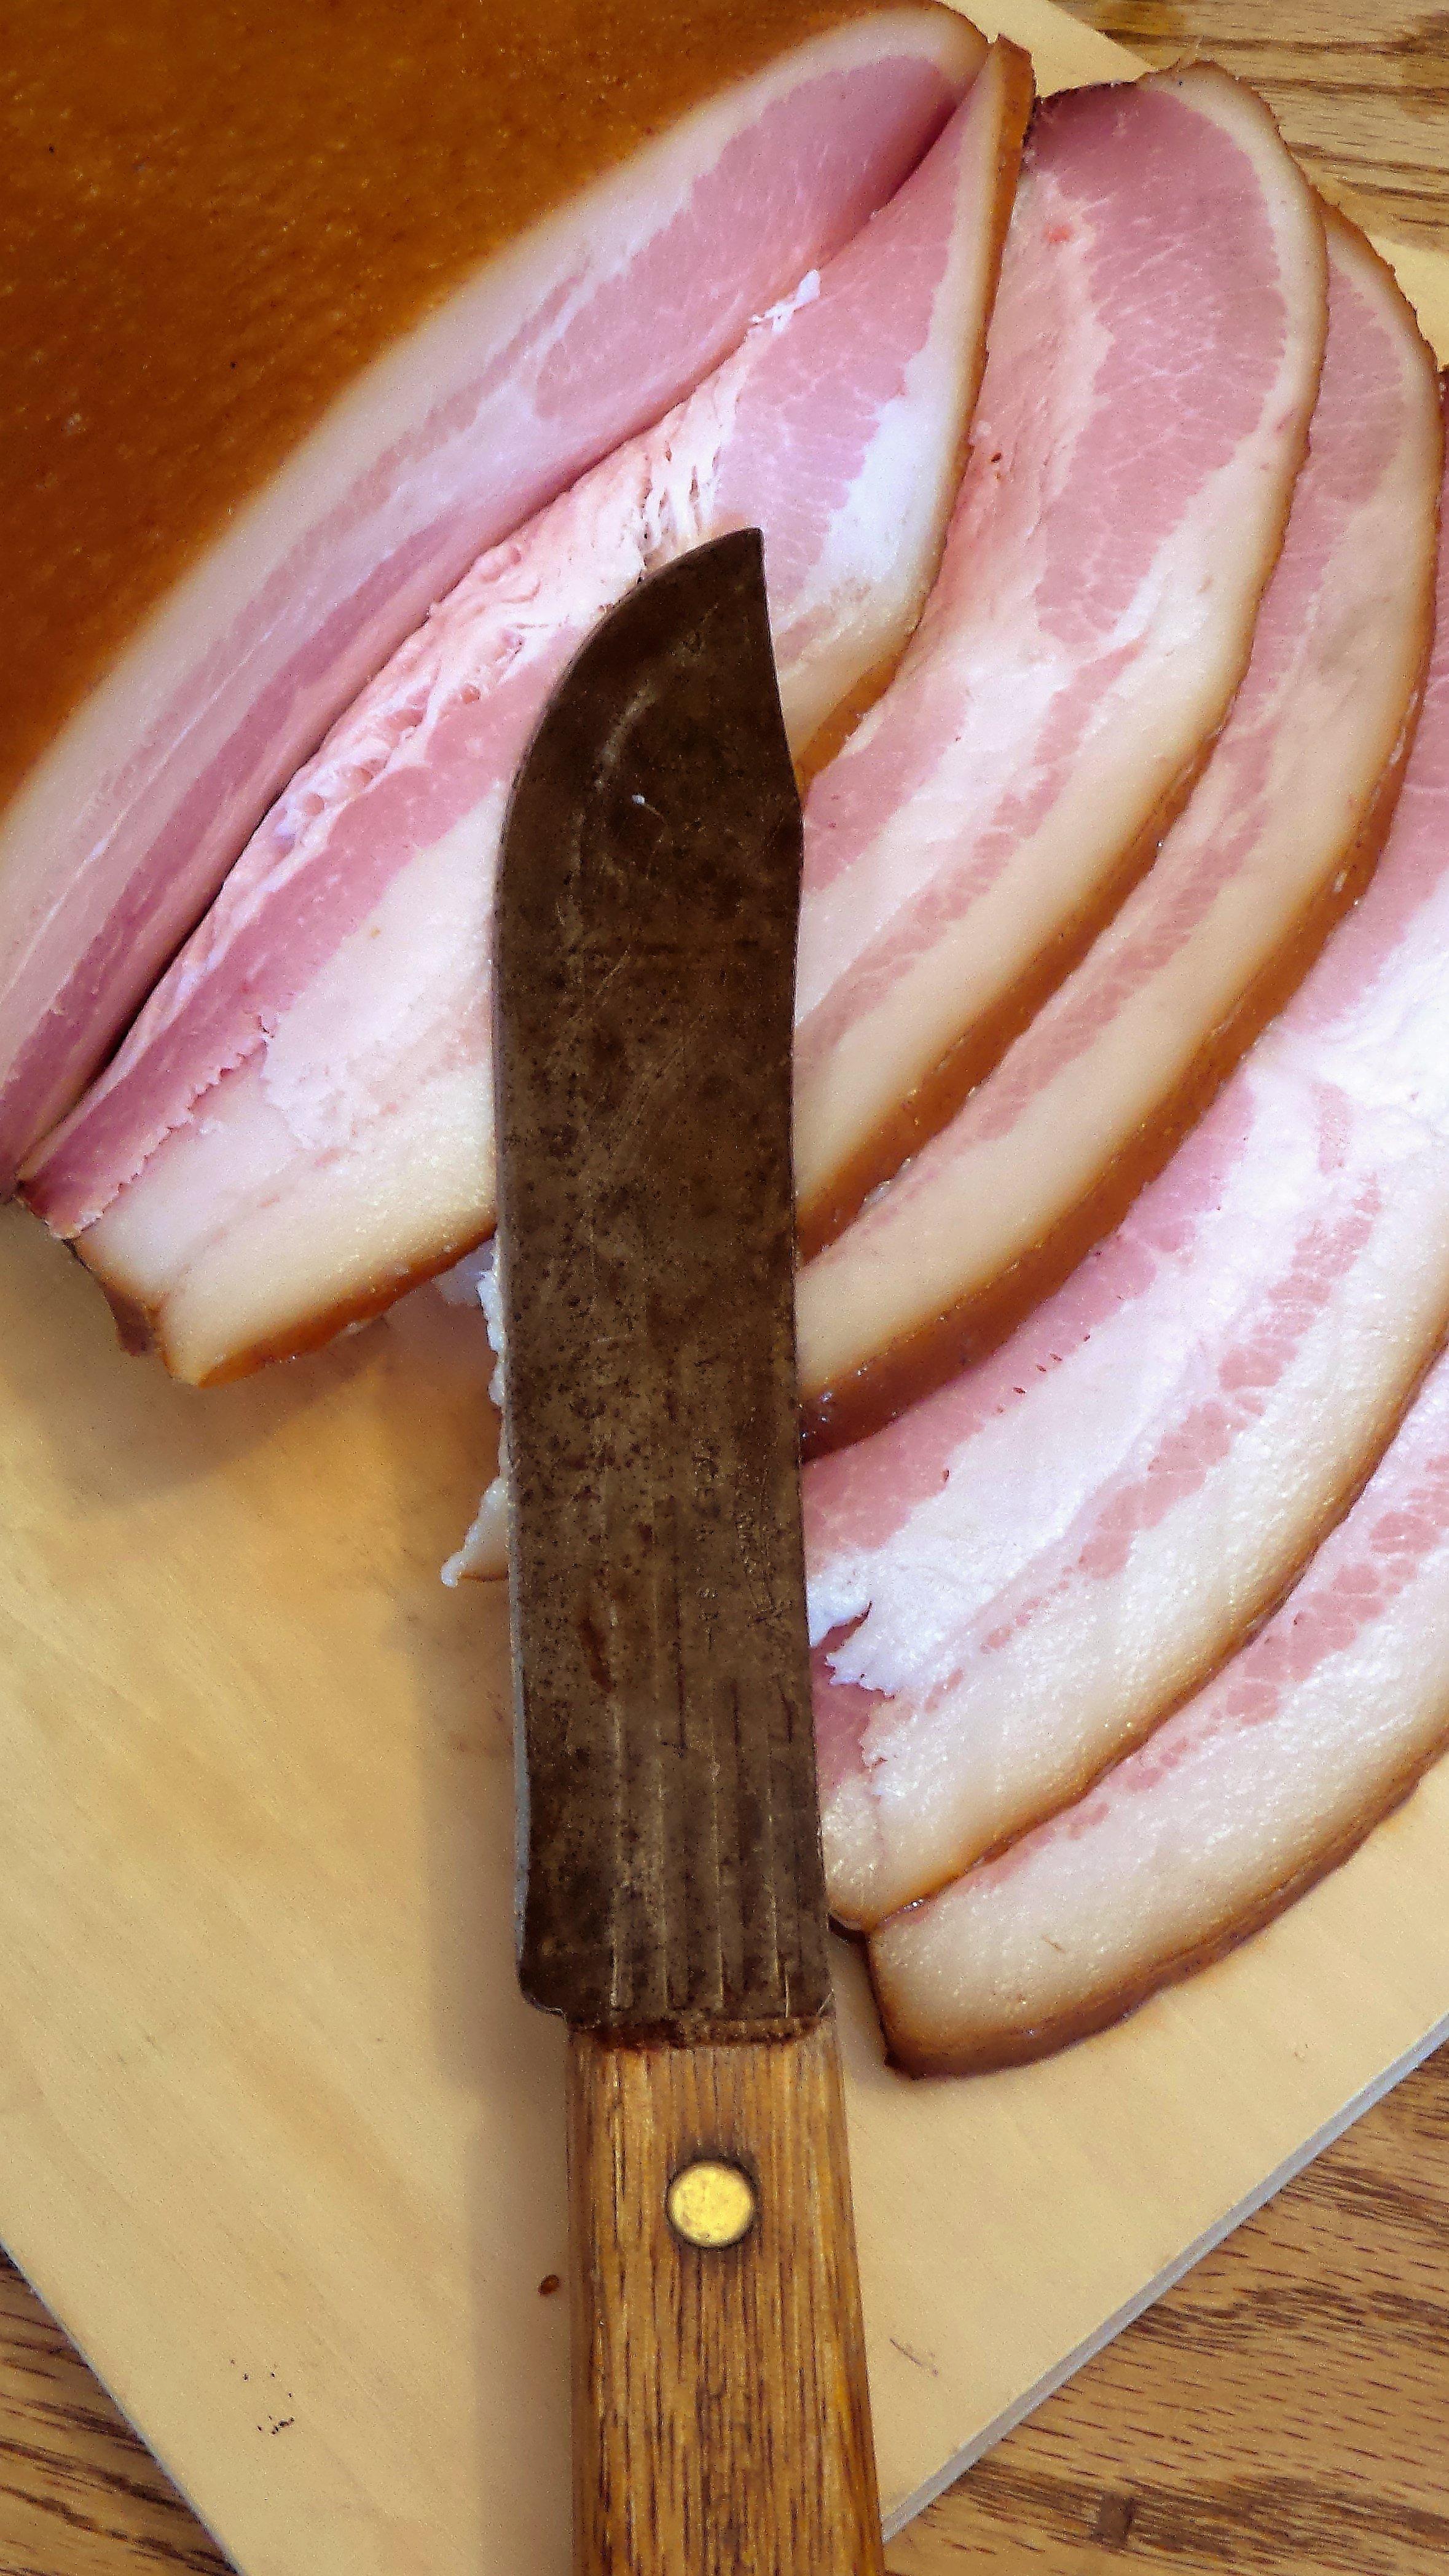
If you want to go the traditional route, slice your bacon with a sharp knife. Chilling it for an hour or two in the refrigerator or freezer makes the task easier.

If you smoked several pounds of bacon, an electric slicer like the Weston Realtree model makes the process a lot faster. As with hand slicing, cold bacon slices easier.

You can vacuum seal your bacon (we do one and two-pound packs) and store it in the freezer for up to a year. But it never lasts that long around our house.
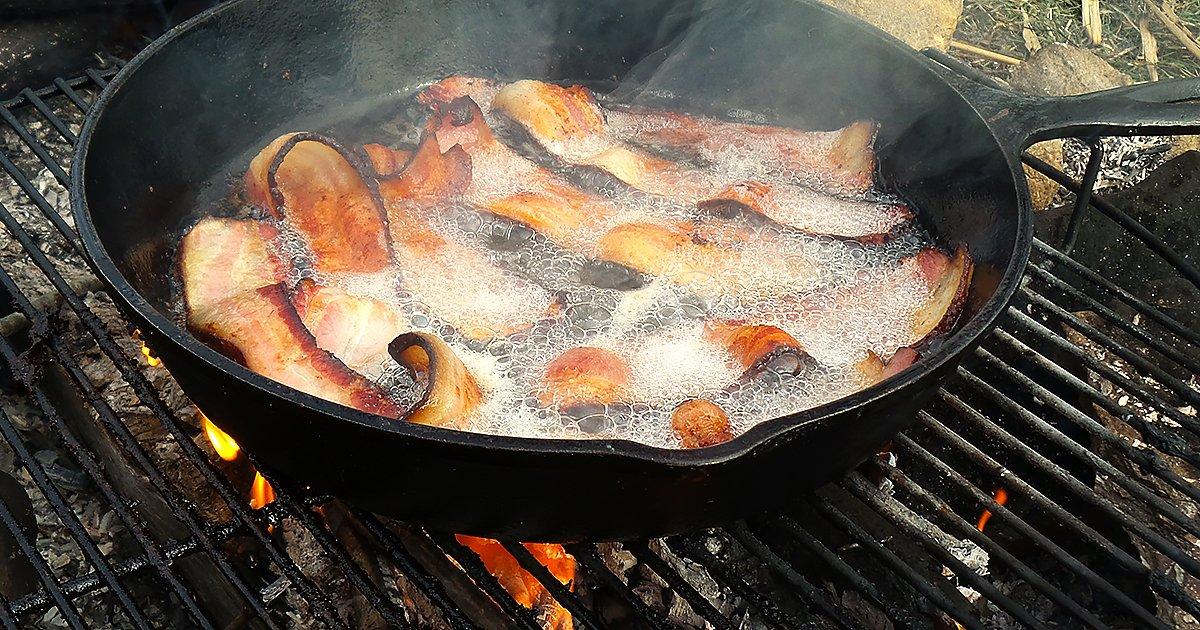
Now for the best part, cooking the bacon. Cook the home cured bacon just like you always have the store-bought stuff. Fry it, bake it, even microwave it if you have to. The best way to cook any bacon is in a cast iron skillet over a camp fire.


