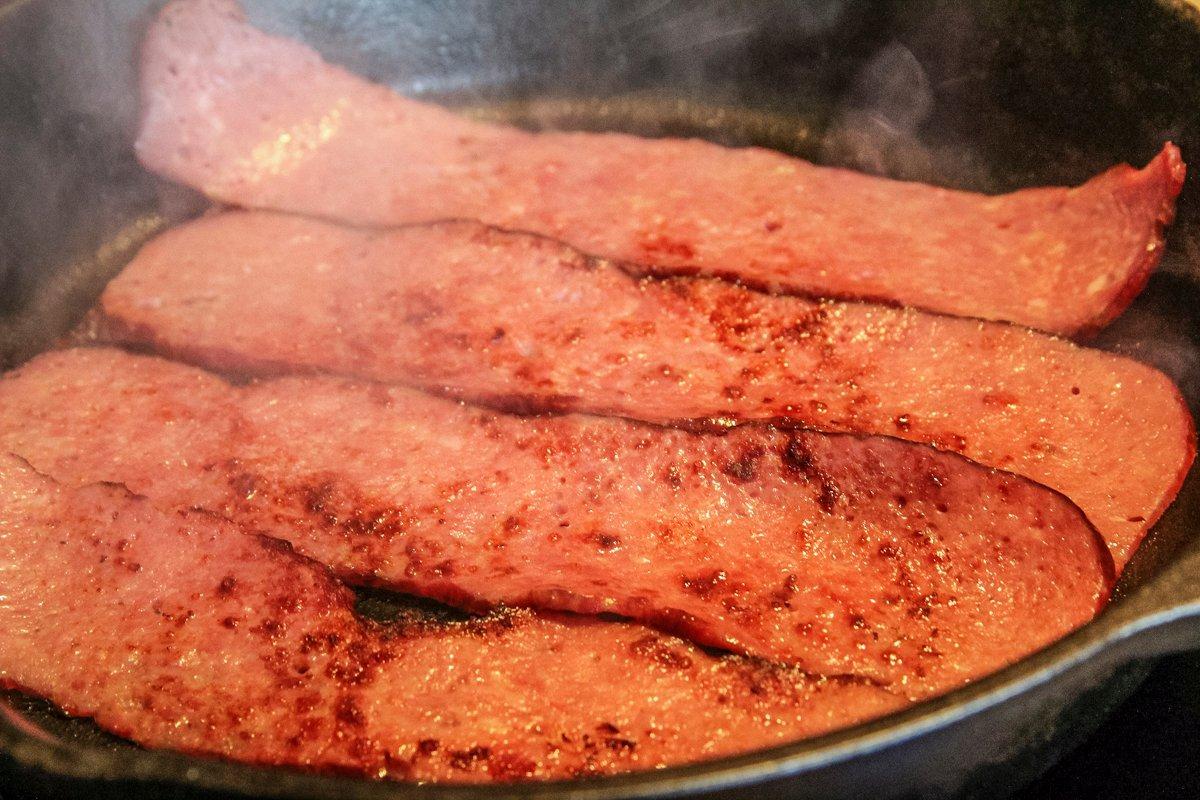
Add this tasty treat to your breakfast menu.
Is it really bacon? Not in the traditional sense. Is it really delicious? Absolutely. Making bacon from ground venison is easy and it makes a great addition to any breakfast. The process starts with one of the many seasoning and cure kits available. An online search will come up with several. Try a few and pick your favorite.
Pan-fried venison bacon makes a great breakfast.
For this batch, I used a seasoning kit from Legg's Old Plantation, a company whose seasonings I really like for breakfast, Italian, hot link, and bratwurst sausages, among others. This kit, as most, does 25 pounds of bacon. That may seem like a lot, but the extra freezes nicely in vacuum-sealed bags.
For proper texture, most kits recommend a mixture of up to 50/50 venison to pork butt or shoulder. I tend to go a little higher on the venison, say 60/40, but I've found that going any heavier than that on venison-to-pork ratio leads to dry, crumbly bacon.
Most recipes require an overnight rest in the refrigerator for the bacon to set before smoking, so plan on two days for the total process.
Step 1: Trim any fat and connective tissue from venison roasts. Cut venison and pork into chunks that will fit your grinder.

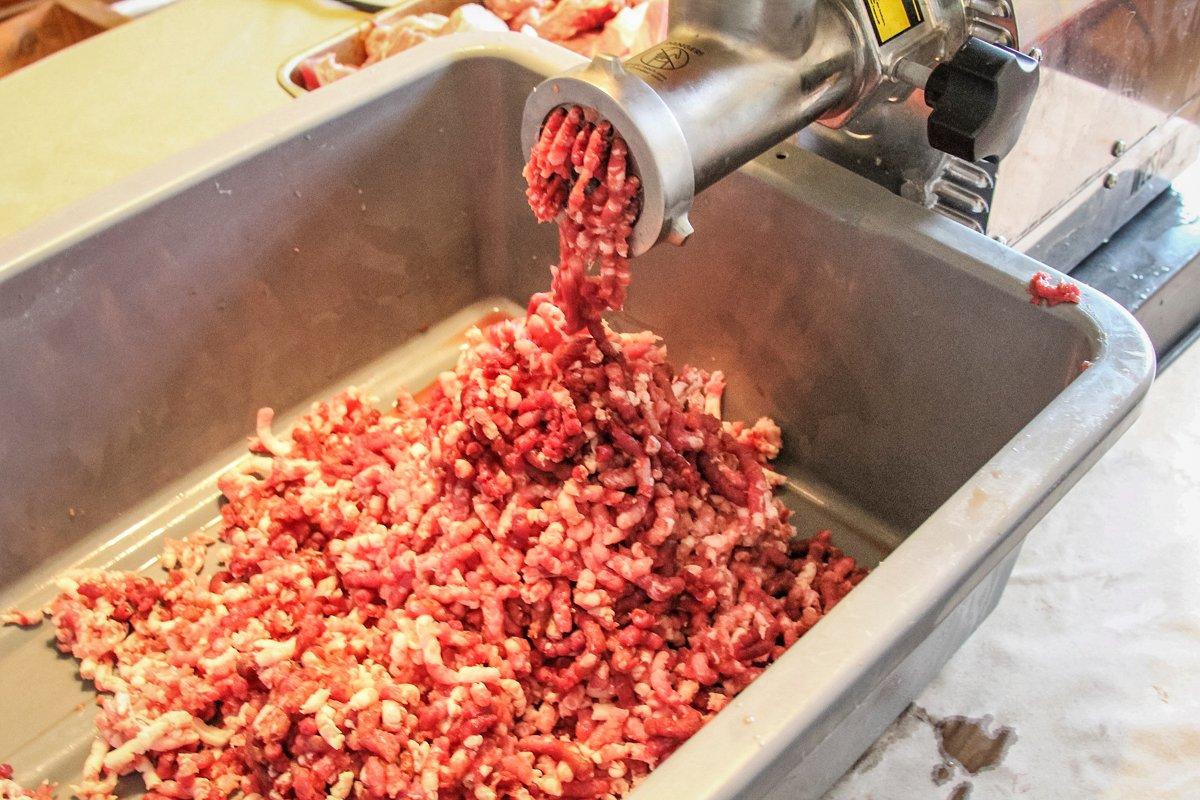
Step 2: Feed both pork and venison alternately through the grinder's largest plate. Partially freezing the meat before grinding will speed the process.
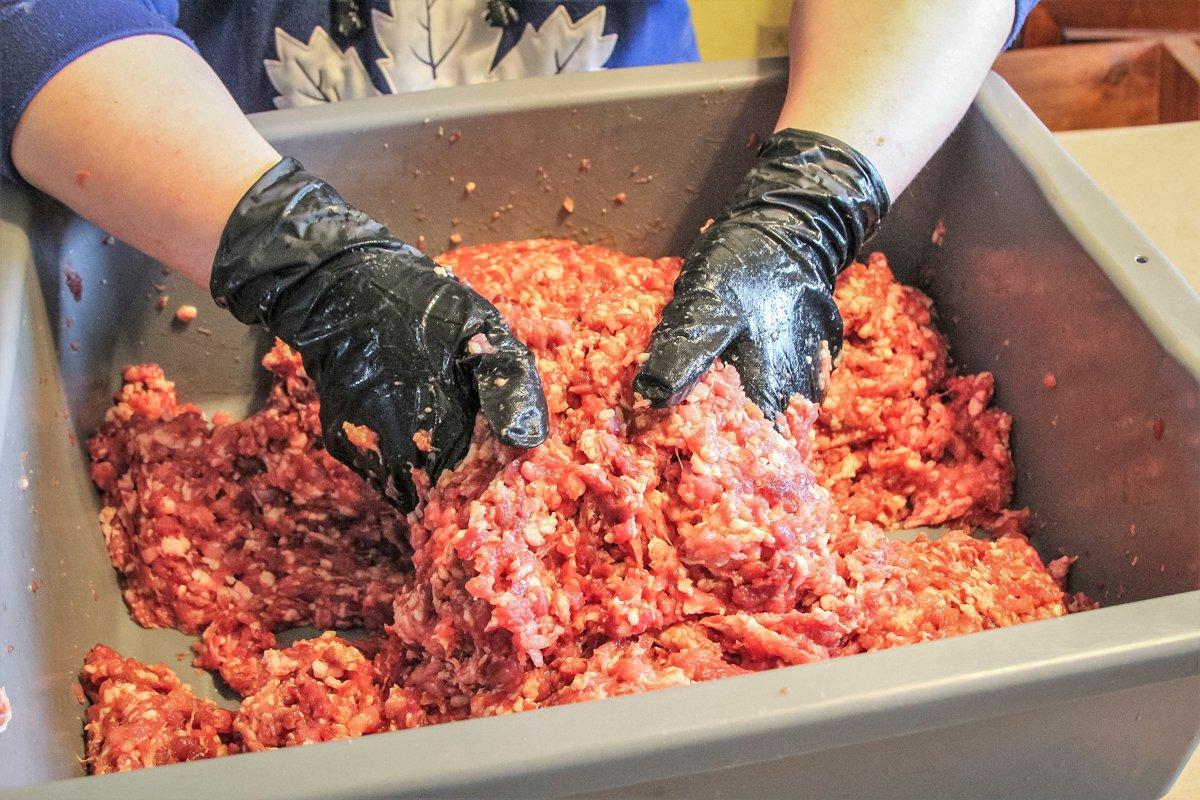
Step 3: Follow the instructions on your kit for seasoning. For Legg's, we mixed the seasoning and cure blend into just under 1 quart of cold water. The mixture gets poured over the coarsely ground meat, then mixed in by hand for 3 minutes.
Step 4: Re-grind the seasoned meat mixture through the smallest plate on your grinder. Hand mix again for another 3 minutes.
Step 5: Line 2-inch-tall disposable aluminum pans with plastic wrap. Fill the pans, packing the meat mixture in firmly to eliminate air pockets.
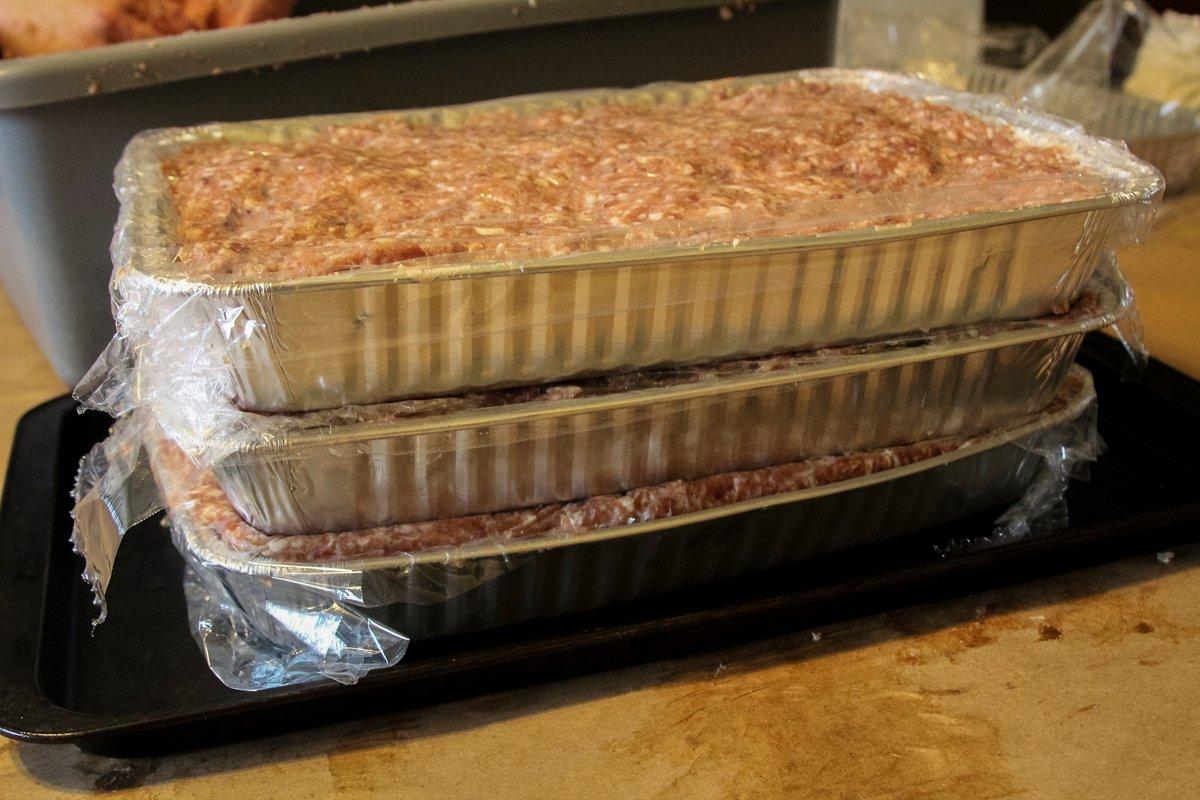
Step 6: Cover the surface of the meat with additional plastic wrap. Refrigerate overnight.
Step 7: Remove the top plastic wrap and gently invert the pans onto your smoker rack and lift away the pan. Peel away the plastic wrap that lined the pan.
Step 8: Smoke the bacon at 185 degrees until it reaches an internal temperature of 155 to 160 degrees. We used the Supersmoke function on our TRAEGER TIMBERLINE for added smoke flavor.

Step 9: Remove the bacon from the smoker and allow it to cool on wire racks.
Step 10: Slice the bacon on a meat slicer or with a sharp knife. We used our Magic Chef Realtree slicer.
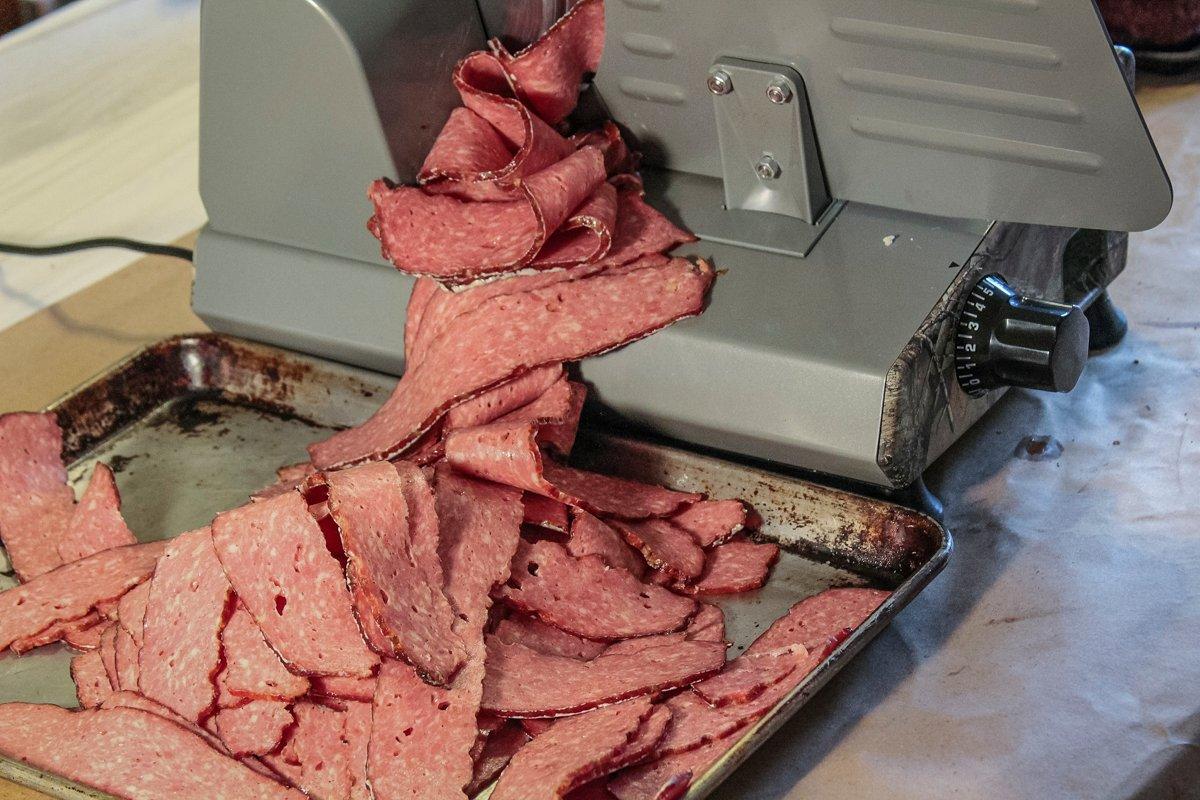
Step 11: Vacuum seal extra bacon in one or 2-pound packs and freeze for long-term storage.
Step 12: Pan fry the bacon in a skillet for 3 to 4 minutes per side to crisp.
