Editor's note: This feature was originally published in 2013. It’s been updated over the years with some new information, but the basics don’t change. Illustrations are by Matt Brantley, and images are property of Realtree Media.
Roll up your sleeves and get your hands dirty. Here’s the complete guide to field-dressing, skinning, quartering and cooking that deer you just killed.
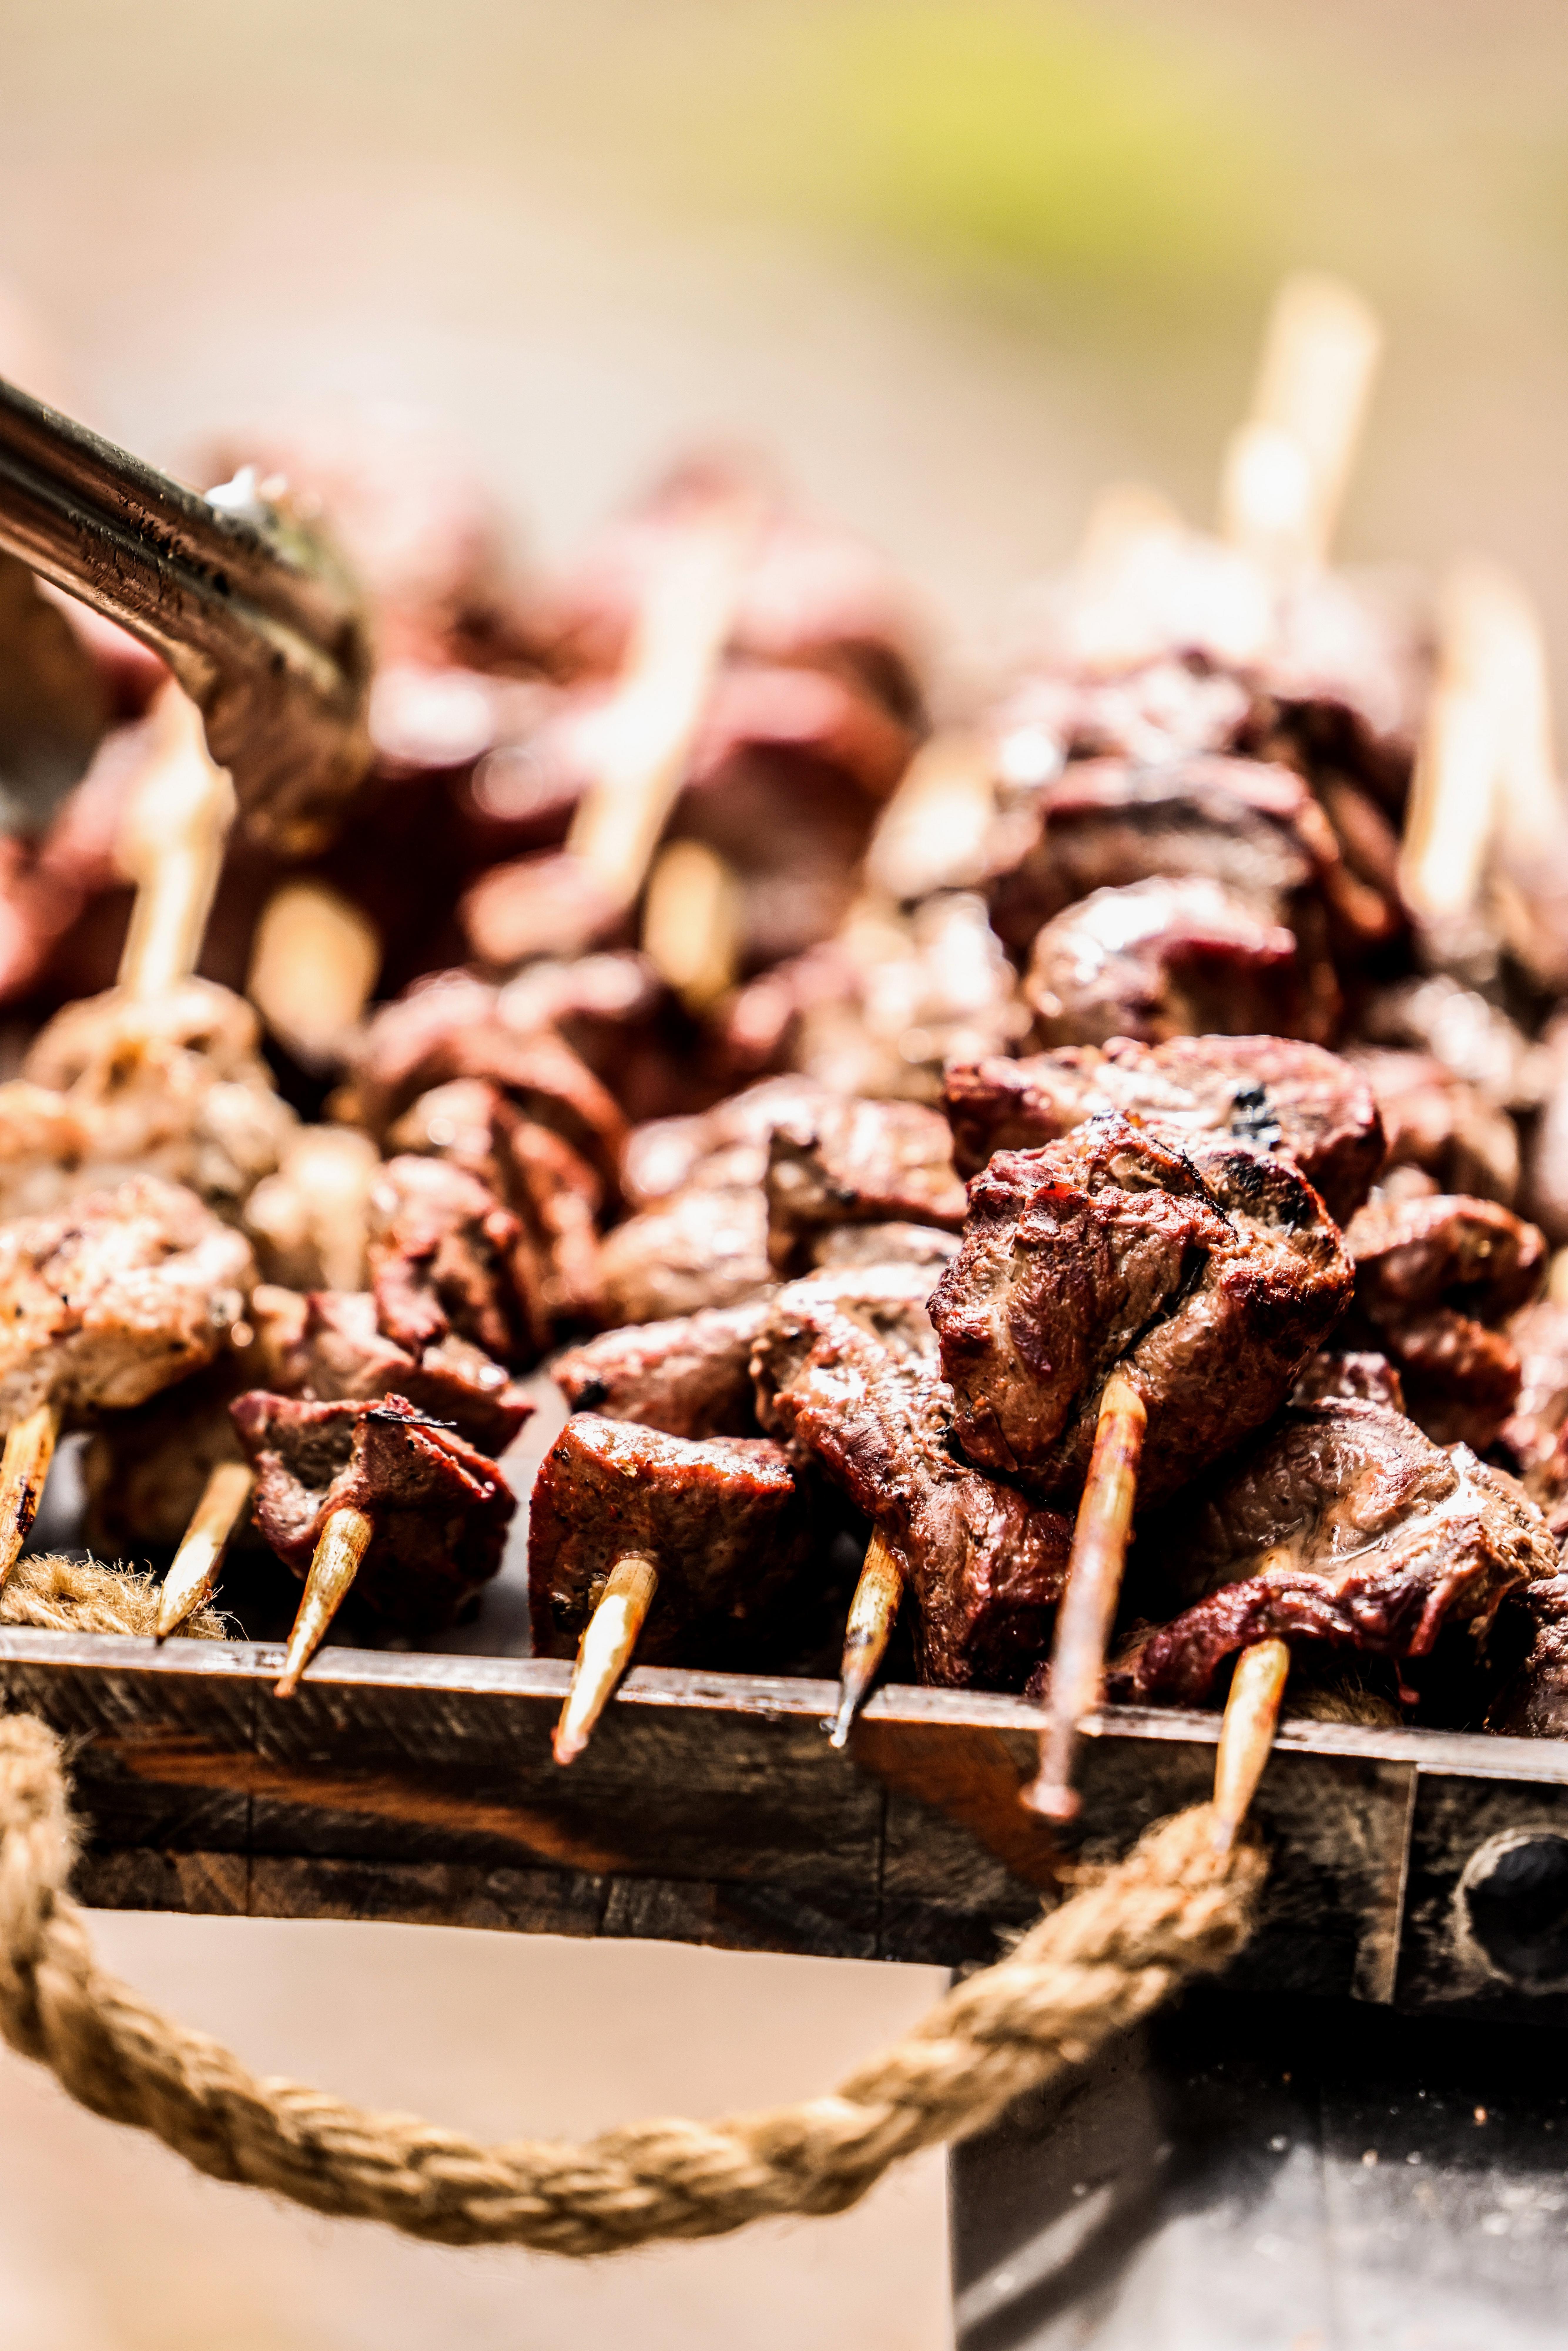
You’ve put in your time, made a good shot, and finally killed a deer. Now the work begins. YouTube videos can help, but the best way to learn how to process a deer is to roll up your sleeves, grab a sharp knife, and get started. The end result will be a freezer full of tasty venison—and a clear reminder that fast-food hamburgers don’t grow on trees. But having a good reference helps, and that’s what we’ve created with this guide.
DON’T MISS:
12 Reasons Why Your Venison Tastes Like Hell
The Best Shot Placement on Deer
Our favorite venison recipes at Timber 2 Table

Step 1: Field-Dressing
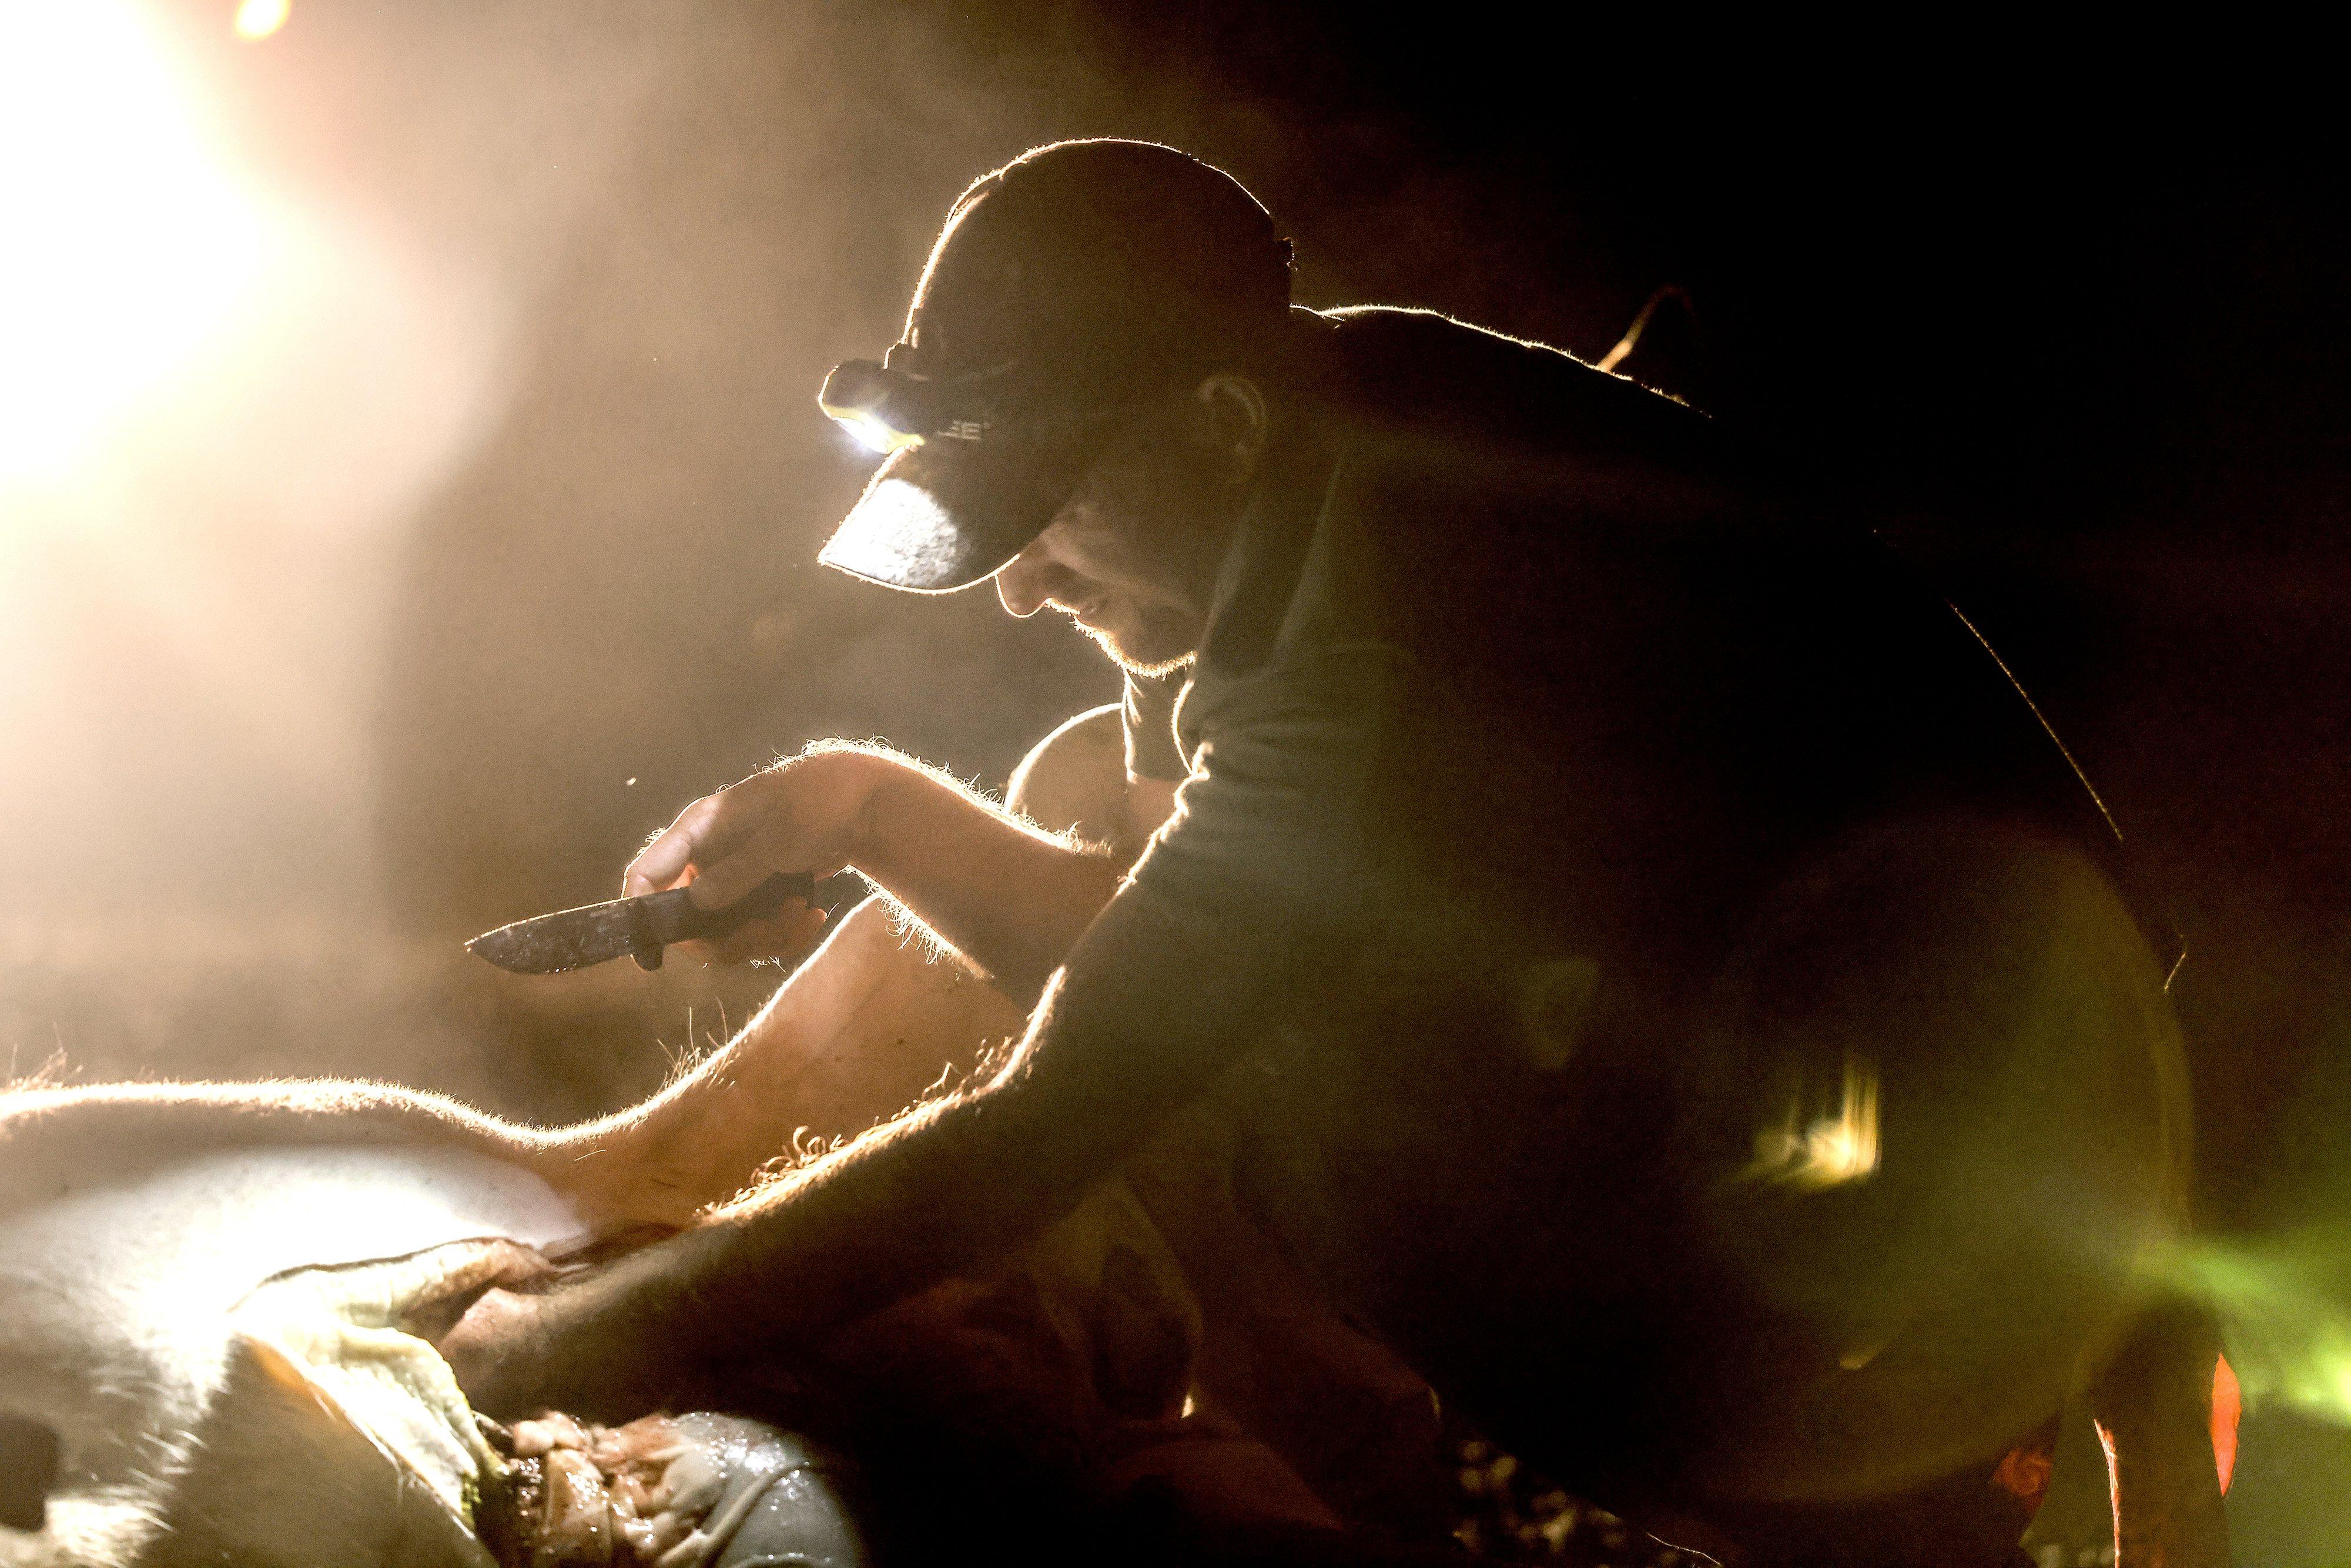
Field-dressing, or gutting, is the first step after the deer is down. A deer’s internal organs need to be removed as quickly as possible for a variety of reasons. Opening the chest initiates the cooling process and gets the organs away from the meat, a critical step in slowing bacteria growth and keeping spoilage at bay. The blood and gut pile will comprise 20 percent or more of a deer’s weight, too. That’s handy to know when you’re faced with a long, uphill drag.
The field-dressing process is pretty simple, and messy enough that showing it on outdoor TV has long been taboo. But we’re going to show you every step right here because hey, that’s real life. With practice, you can complete this chore in a couple minutes.
You obviously need a sharp knife for this chore, and one with enough spine for cutting through rib bones. A 3- to 4-inch fixed-blade is about right, though a folding lockblade will work just fine, too.
Don’t Miss: 7 Serious Field-Dressing Mistakes
Step 2: Skinning
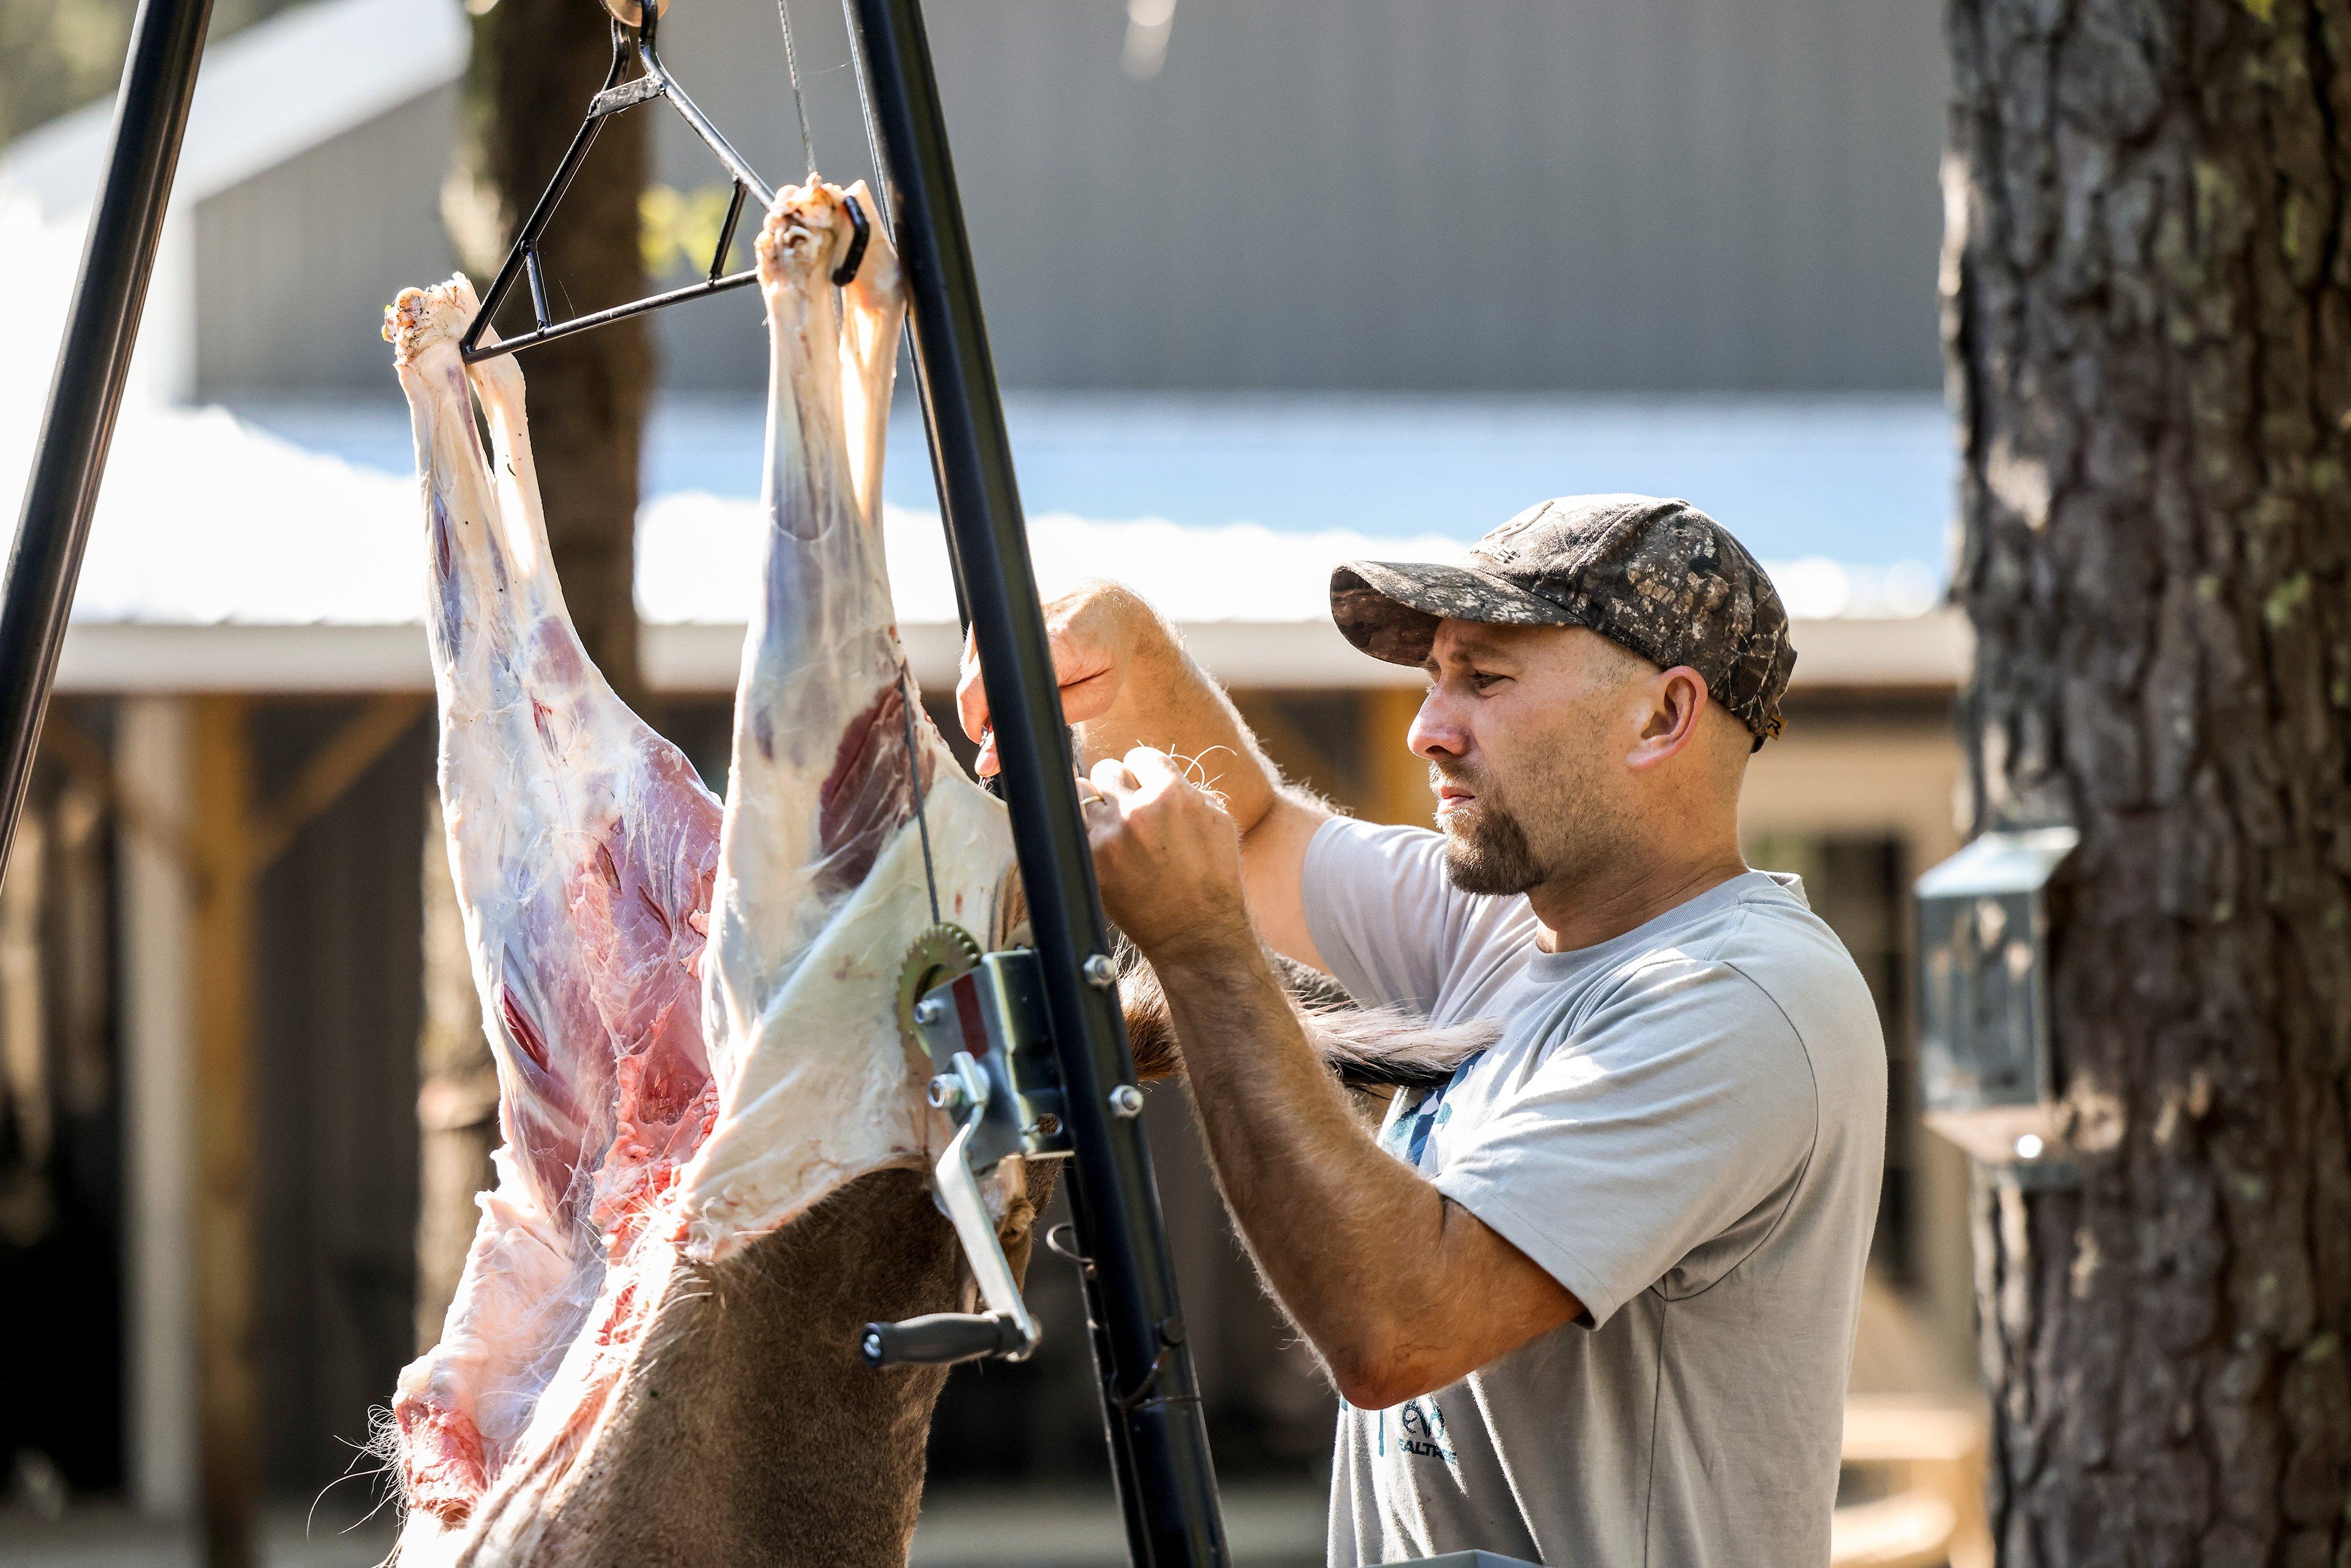
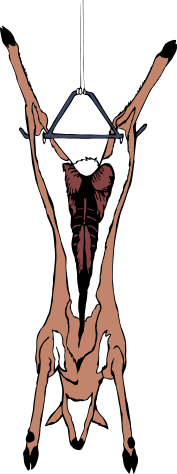
Field-dressing is the messiest step, but it’s perhaps the quickest and easiest. Skinning a deer is a bit more tedious. Though I’ve probably skinned more deer on the ground or on the tailgate of a pickup than anywhere else, the chore is far easier—and cleaner—if you can hang the deer first.
Most people skin their deer hung from the back legs on a gambrel. That’s what’s shown in the video here. But that’s not the only way to do it. If you’re in the field and don’t have access to a gambrel, you can hang a deer by the neck and skin it that way just as effectively. That method even offers some advantages when it comes time to quarter the animal and get the meat on ice.
Regardless, the steps for skinning a deer are basically the same. Initial cuts are required around each leg, usually at the knee joint (these days I frequently cut the legs off prior to skinning, just to get them out of the way). You’ll also need to make cuts along the interior of the legs to connect them with your field-dress cut across the chest. On a deer hung by the head, you’ll need to make a cut either on the neck or around the shoulders, depending on how much neck meat you want to save. From there, skinning the deer is simply a matter of working the hide away from the muscle with the edge of your knife.

Step 3: Quartering
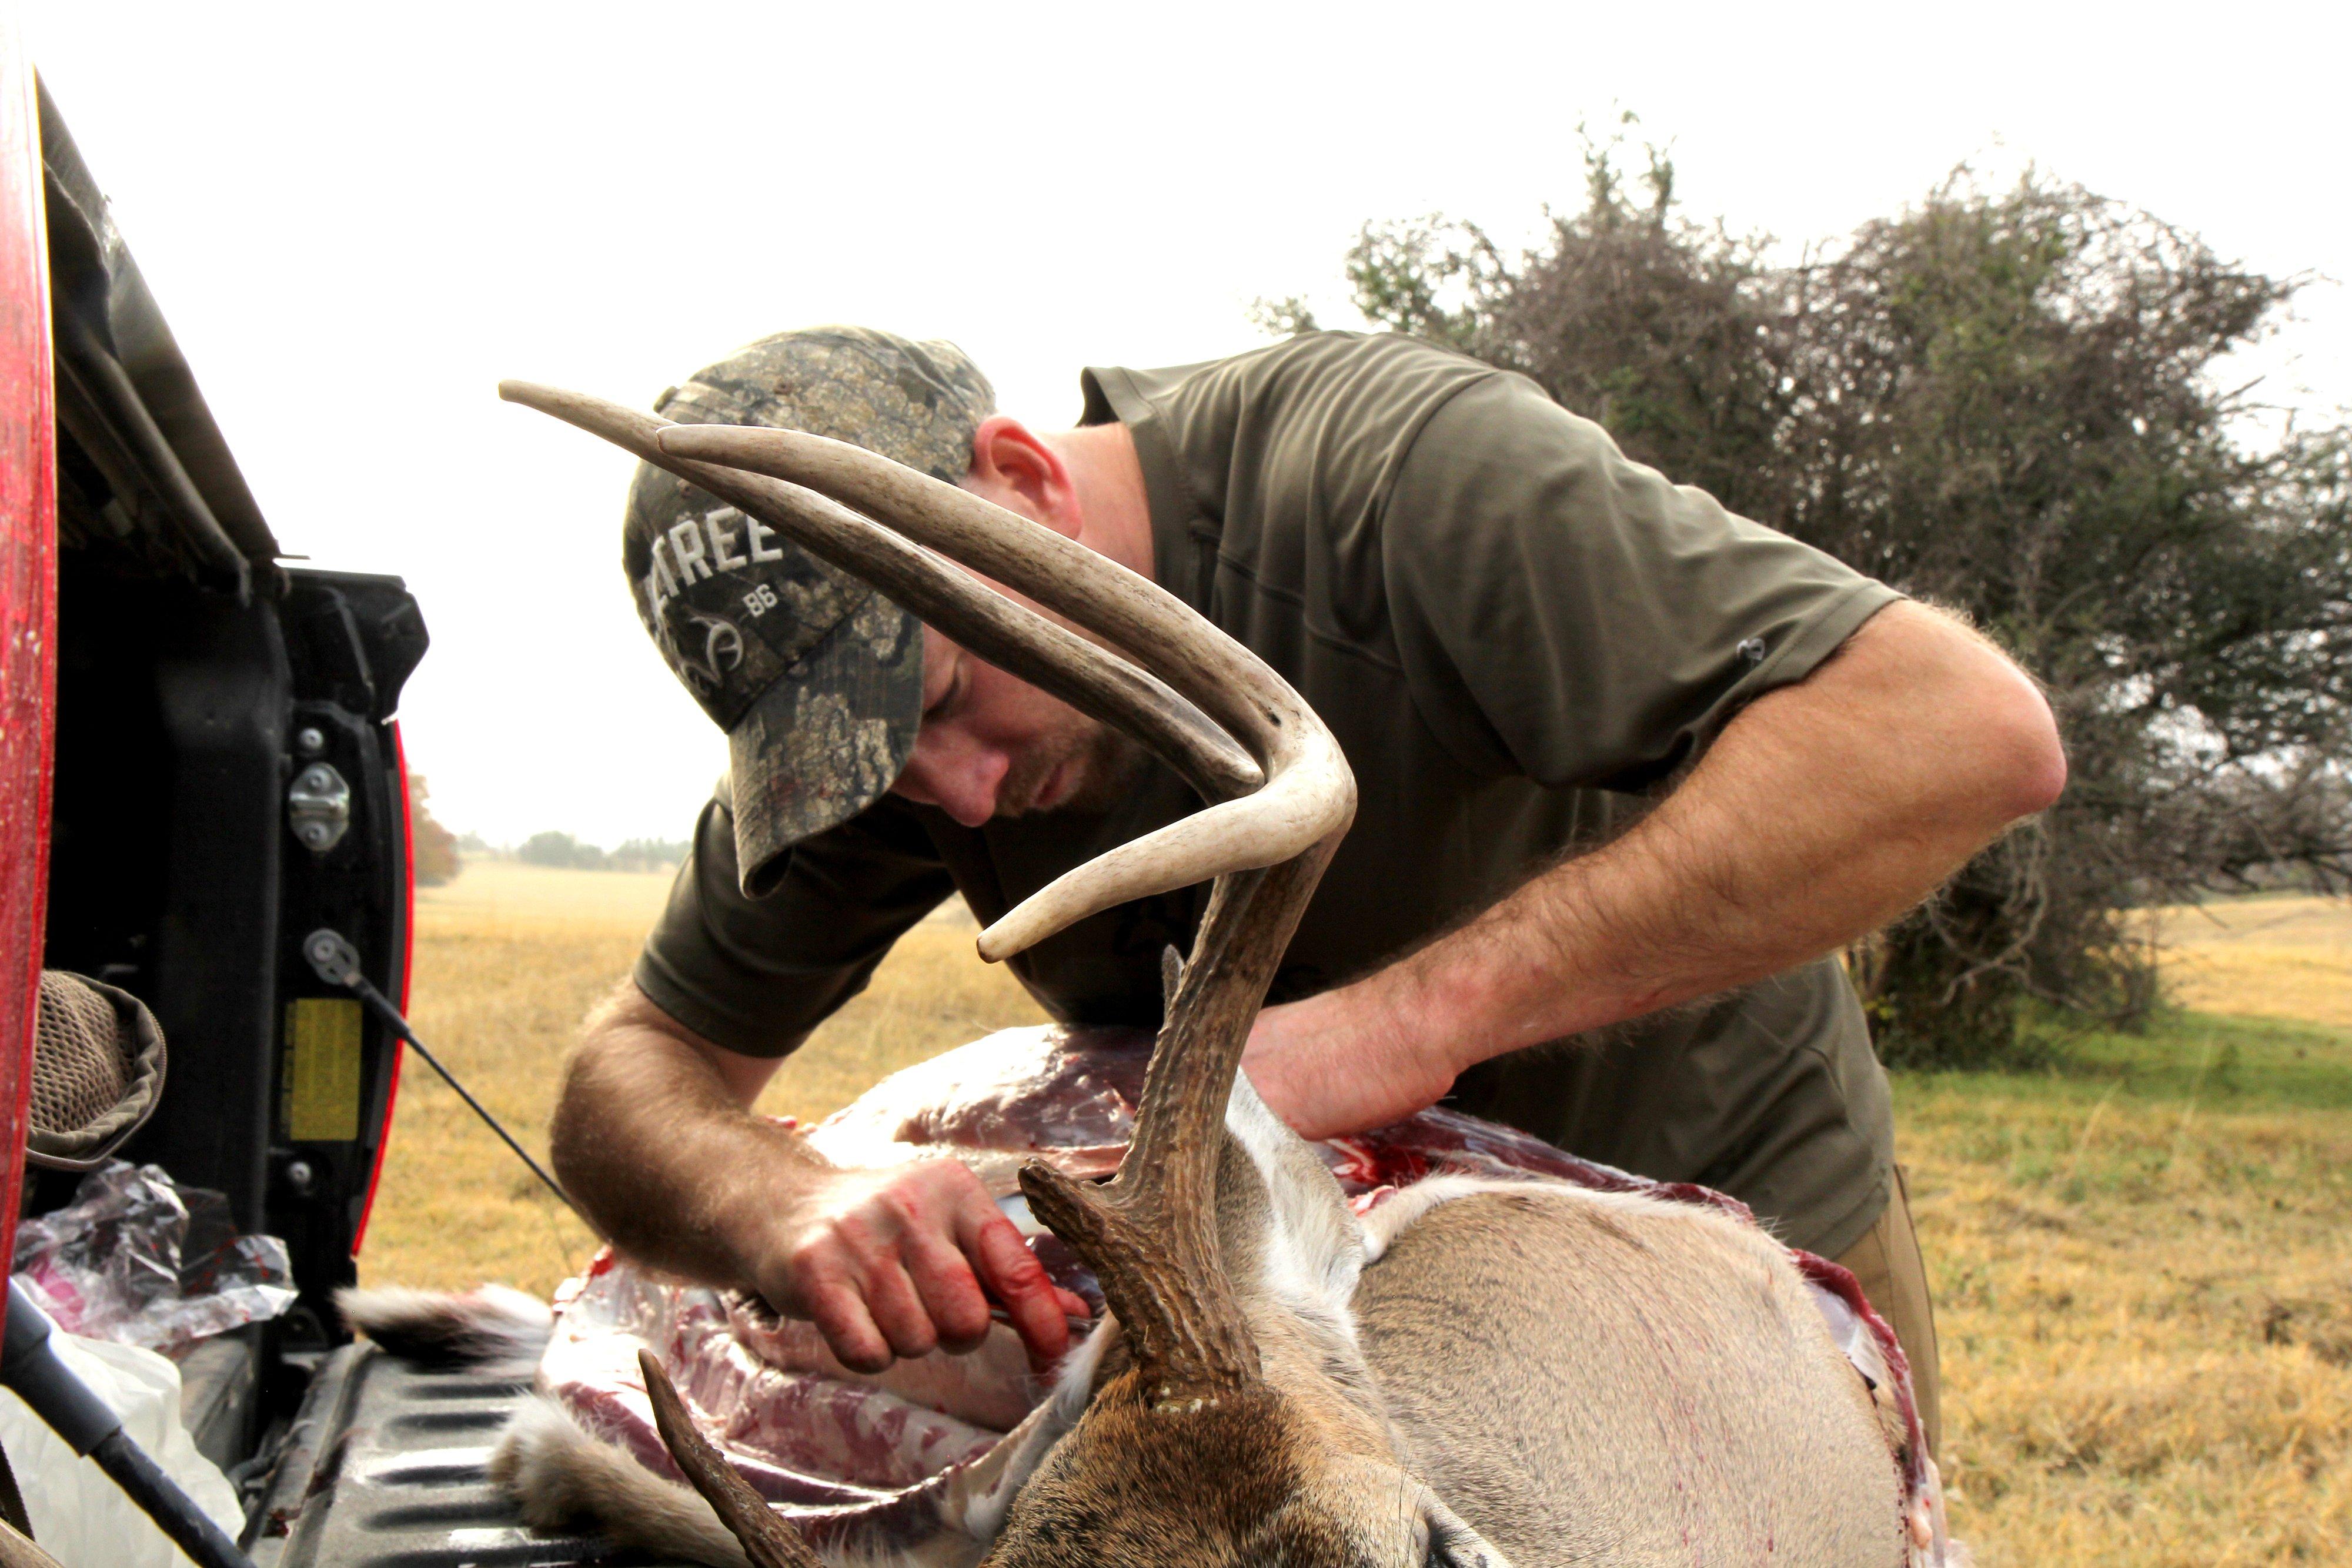
Quartering a deer isn’t difficult, but it can be intimidating. Because of that, mistakes are often made. With some basic anatomy knowledge, you can take a deer apart with a sharp pocket knife in a few minutes, but many hunters ignore that and instead tear into the deer’s bones with a saw. That’s messy and can contaminate the flavor of your venison.
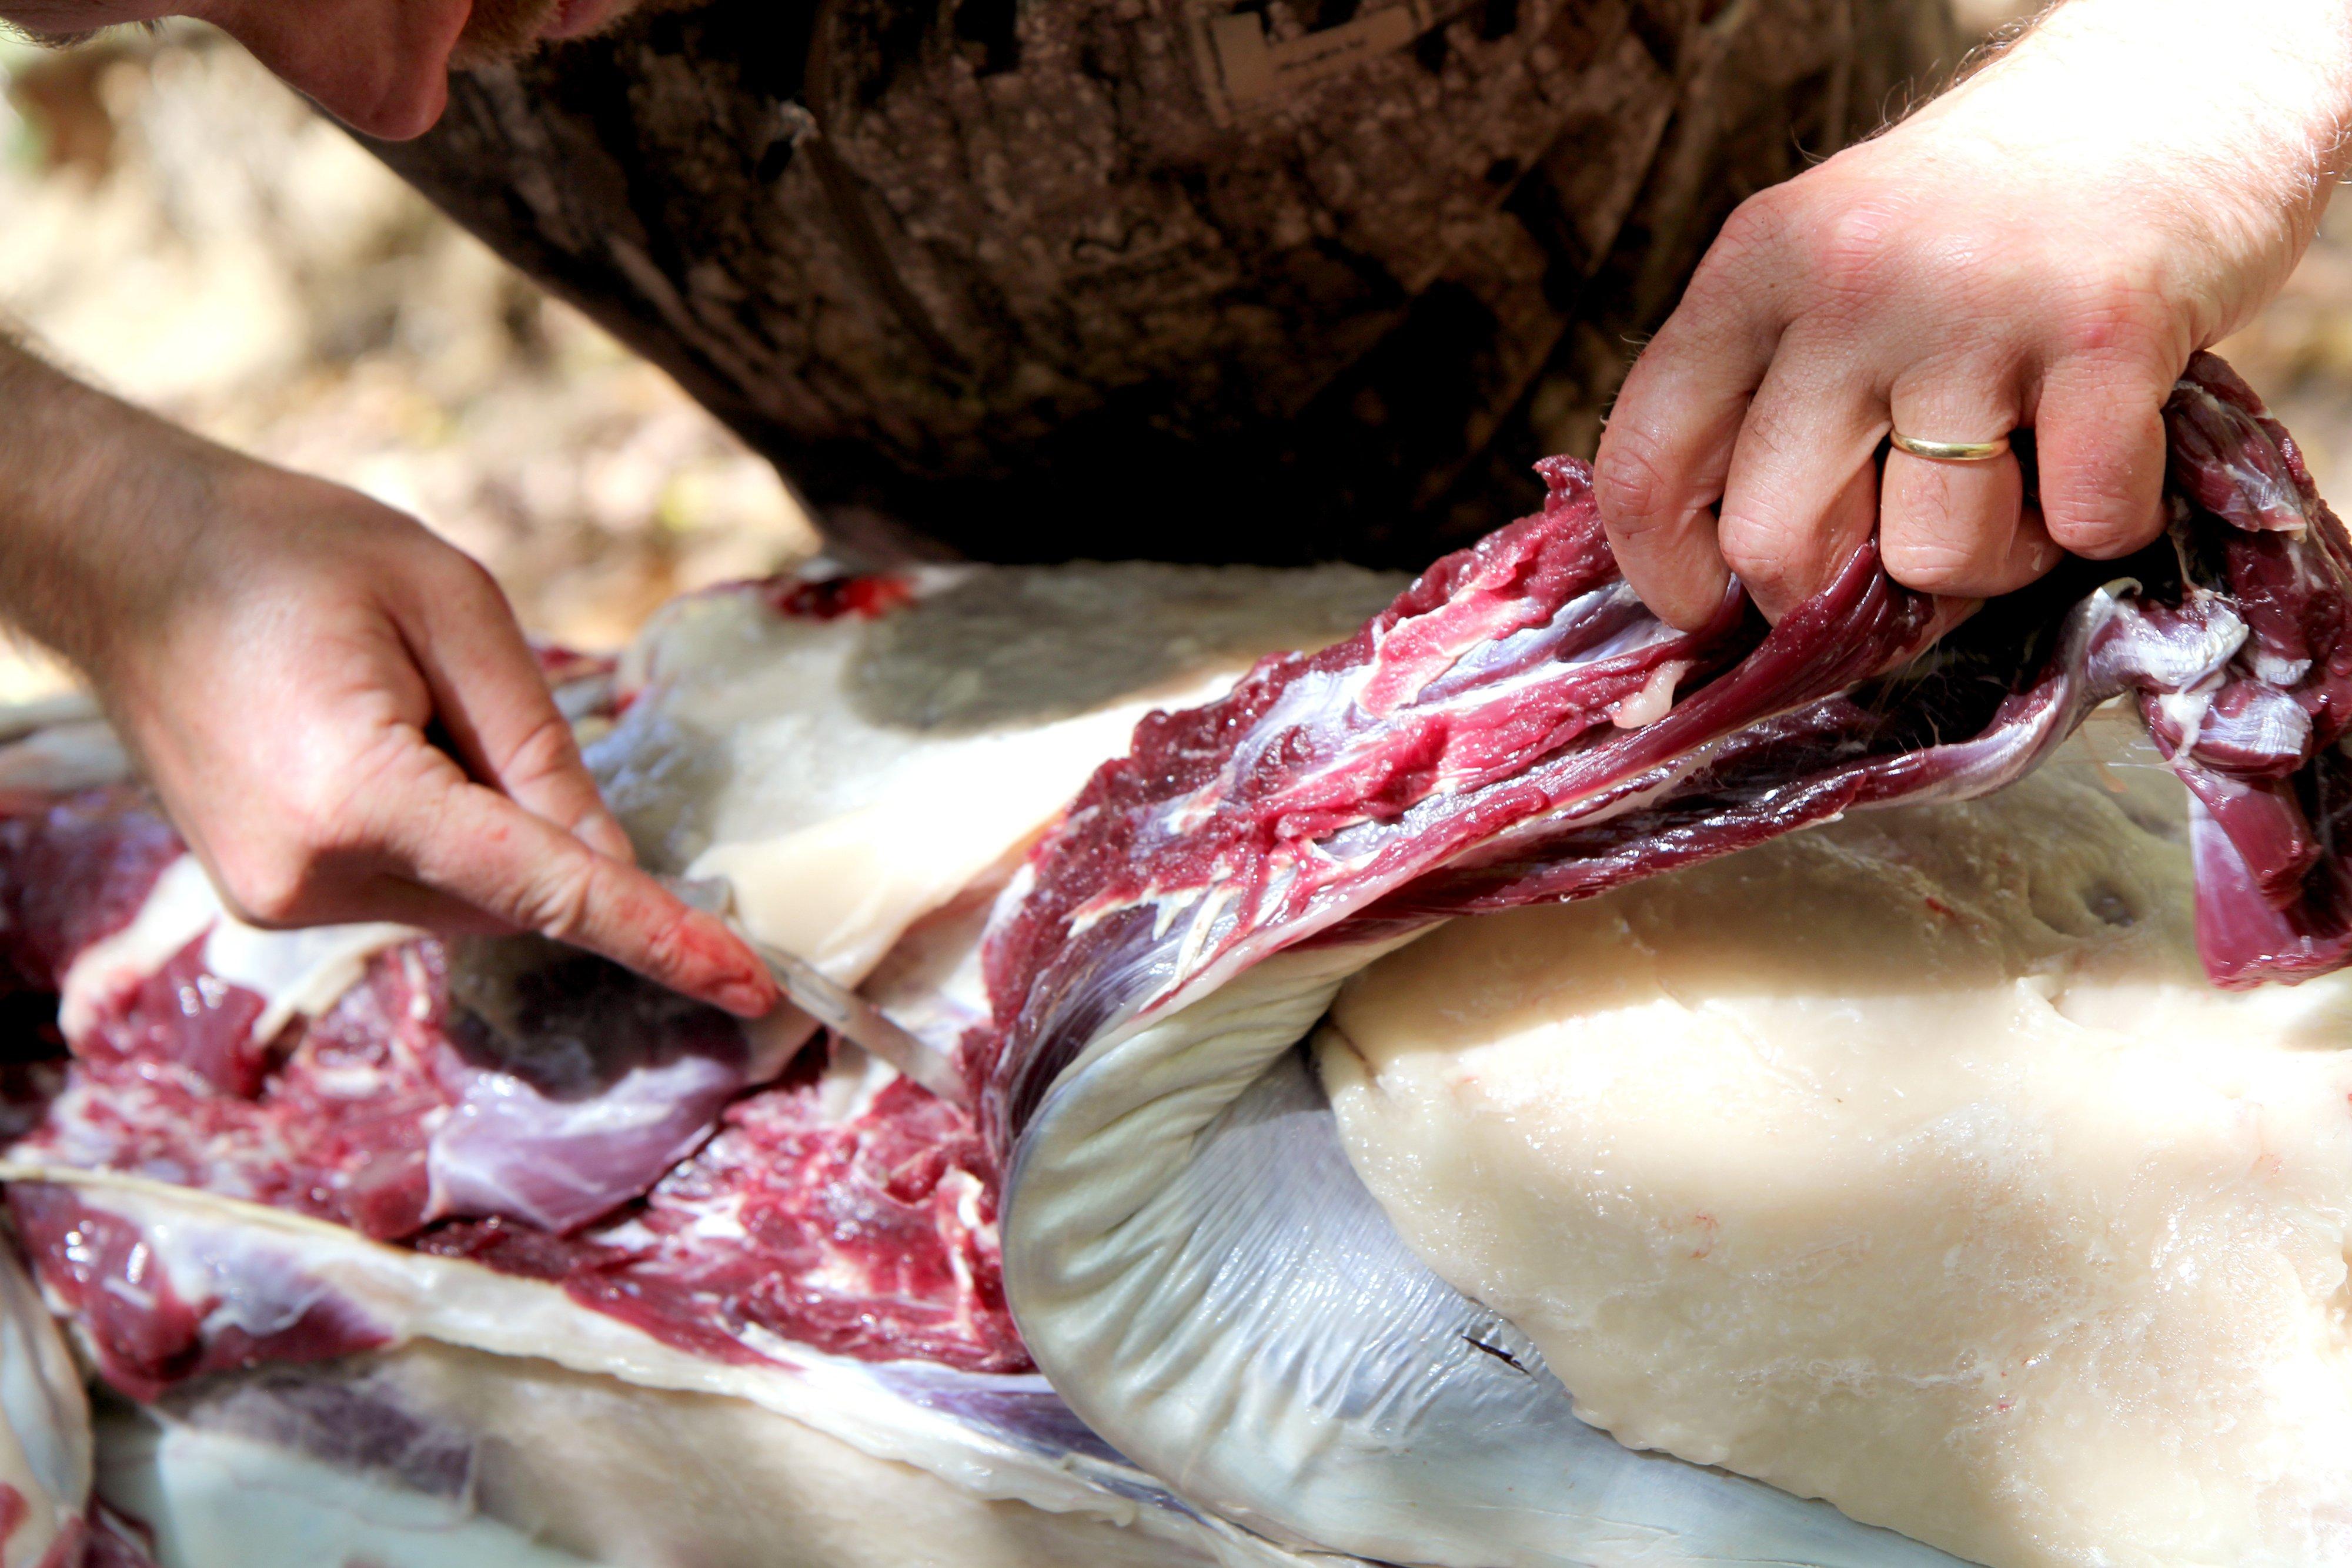
Each of the deer’s legs are held together by ball-and-socket joints. Once you learn where these joints are, removing the legs is simply a matter of slicing away the muscle and separating the joints with your knife blade. It’s amazingly easy to do … once you’ve done it a time or two. Remove the backstraps along either side of the spine, and the tenderloins from inside the deer’s rib cage. The neck meat can be sliced away from the neck, similar to the backstraps.
The remaining stuff—ribs, flanks, brisket, etc.—can be trimmed away for the grinder or for jerky.
Step 4: The Cuts
The USDA evaluates the quality of American beef on a scale that measures the flavor and tenderness of the cut. Generally speaking, the cut can receive one of three quality grades: Prime, Choice or Select. The grade is based mostly on the amount of marbling—or fat—within the meat, but other factors including the cow’s age and diet also come into play.
Venison is virtually impossible to evaluate on the same scale. Although there are a variety of things you can do to help the flavor of your venison, deer meat is always lean. The very best cut of backstrap will look much like the very leanest USDA Select cut of beef. Venison is low-fat. That’s part of the reason why we love it.
But not every cut of venison is the same. Some are succulent, tender and rich—perfect for a hot grill grate or pan-frying. Others are a little thicker, a little tougher, but tasty nonetheless. They’re excellent slow-cooked on a smoker or in a crock pot. And quite a bit of a deer is full of sinew and difficult to trim—but it makes excellent ground meat for chili, burgers and summer sausage.
Our Timber 2 Table chef Michael Pendley included a few of his favorite venison recipes for some of the cuts shown below. These taste great, but they’re just a scratch on the surface of the options to get you started. The great thing about processing your own deer is that the end product is the very definition of your own. Cooking it is much the same.
Our favorite venison recipes:
Herbed Garlic Butter Grilled Backstrap
Click on a cut below for more information


